- Design and 3D print an object (small, few cm) in page printing
- 3D scan an object
- Print the object you scanned
- Make our own 3D scanner (if you have the time)
Here are two examples of this.


To obtain a 3D model for picture, I tested various program:
- photomodeler scan
- Strada photo 3D
- 123D catch
The Strata software looks interesting but you have to make a mask for each of the photos if you want to start working.

After that,I decide to test 123D catch to create my 3D object. It's a online software from autodesk. You can create online your object, first you choose the pictures you want to use to make the 3D object, at most 70 (the more photos, the best).
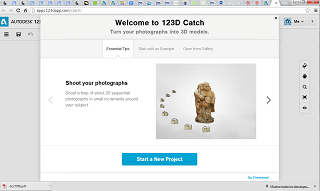
The problem with using a program online comes from the Internet bandwidth you have. In my case I always prefer to use a program installed and not on the cloud (or online)
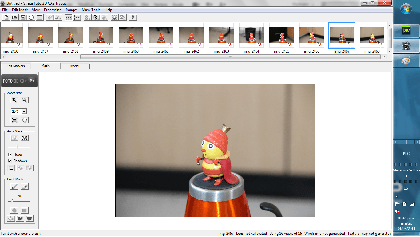
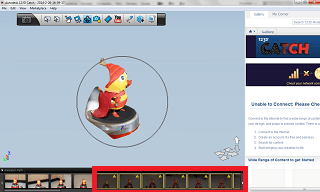
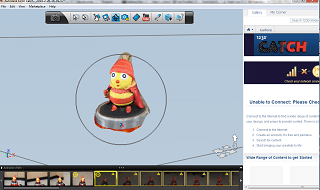
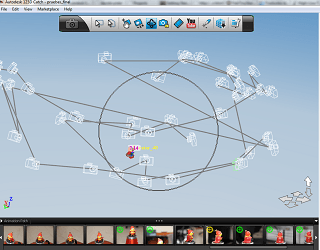
In the photo you look the result but I observe the object was no finished ....

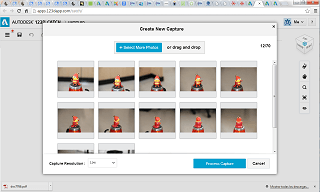
But the program also has a part that can be downloaded for using on the computer. I installed the program and used it to improve my 3D object. In the red part of framed pictures we see what the program ignores.
If you click on that picture a window in which we have to put markers on the same site in the three photos that appear is displayed. This program allows you to see the similarities and continue assembling the 3D object.
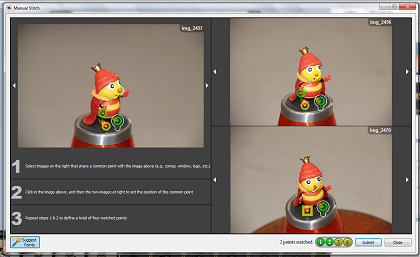
You follows this procedure with all the photos that the program do not use and also just completing the 3D object..
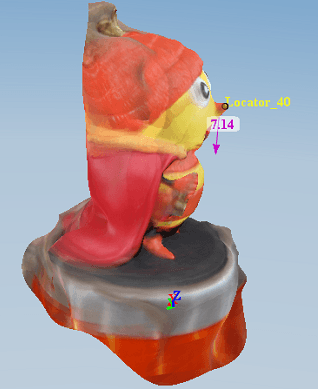
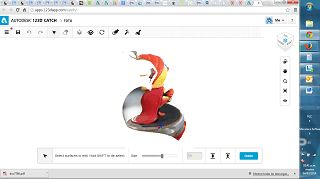
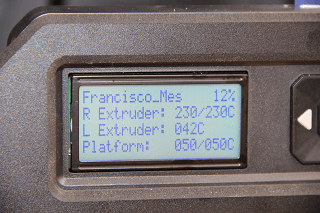
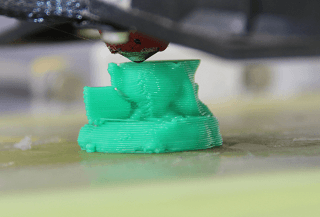
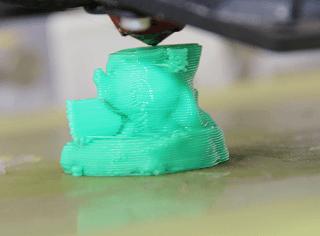
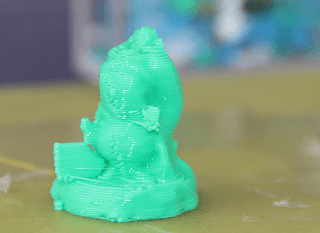
After having the 3D object, it is printed with 3D touch and the replicator 2x

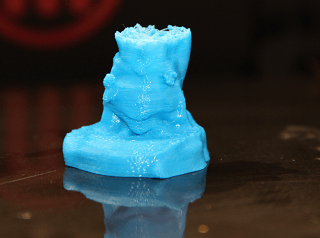
And now the result with the 3D touch.
> That's all ....