Output Devices
For this week assignment, output device I used a servo motor, arduuino code, and a crochet doll I have customized to the motor measures.
I still have to mill the board and solder its components, since I wished to figure out the principals of working with code and motor I first used an AduinoUno board.
For doll making I have used simple crochet technique:
I crocheted two pieces, one for head, which I sewed to the servo wing (there were some tiny halls on it, maybe for that purpose???).
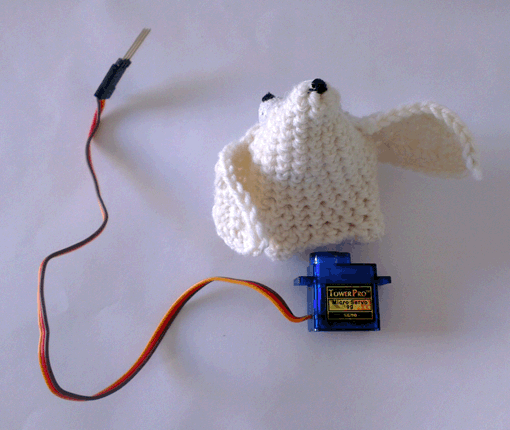
The other one is for the body and neck, on its side I left a small hall for the servo wire, and dressed it on the motor.
Together they look like that:
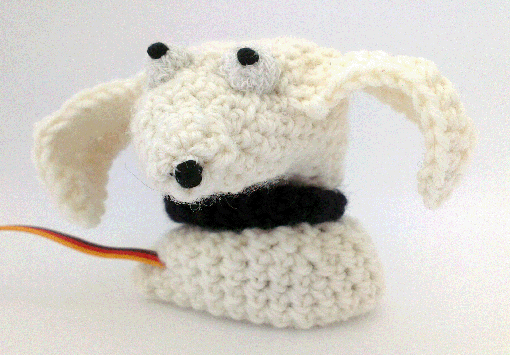
In the Arduino ide file>examples>servo>sweep, I found a code which I have modified in two different way in order to let my little dog move in two different ways.
The example code let the servo move in 180 to each direction in 1 degree steep. I have tried to modified those data and add more opportunities
This is the first modified version:
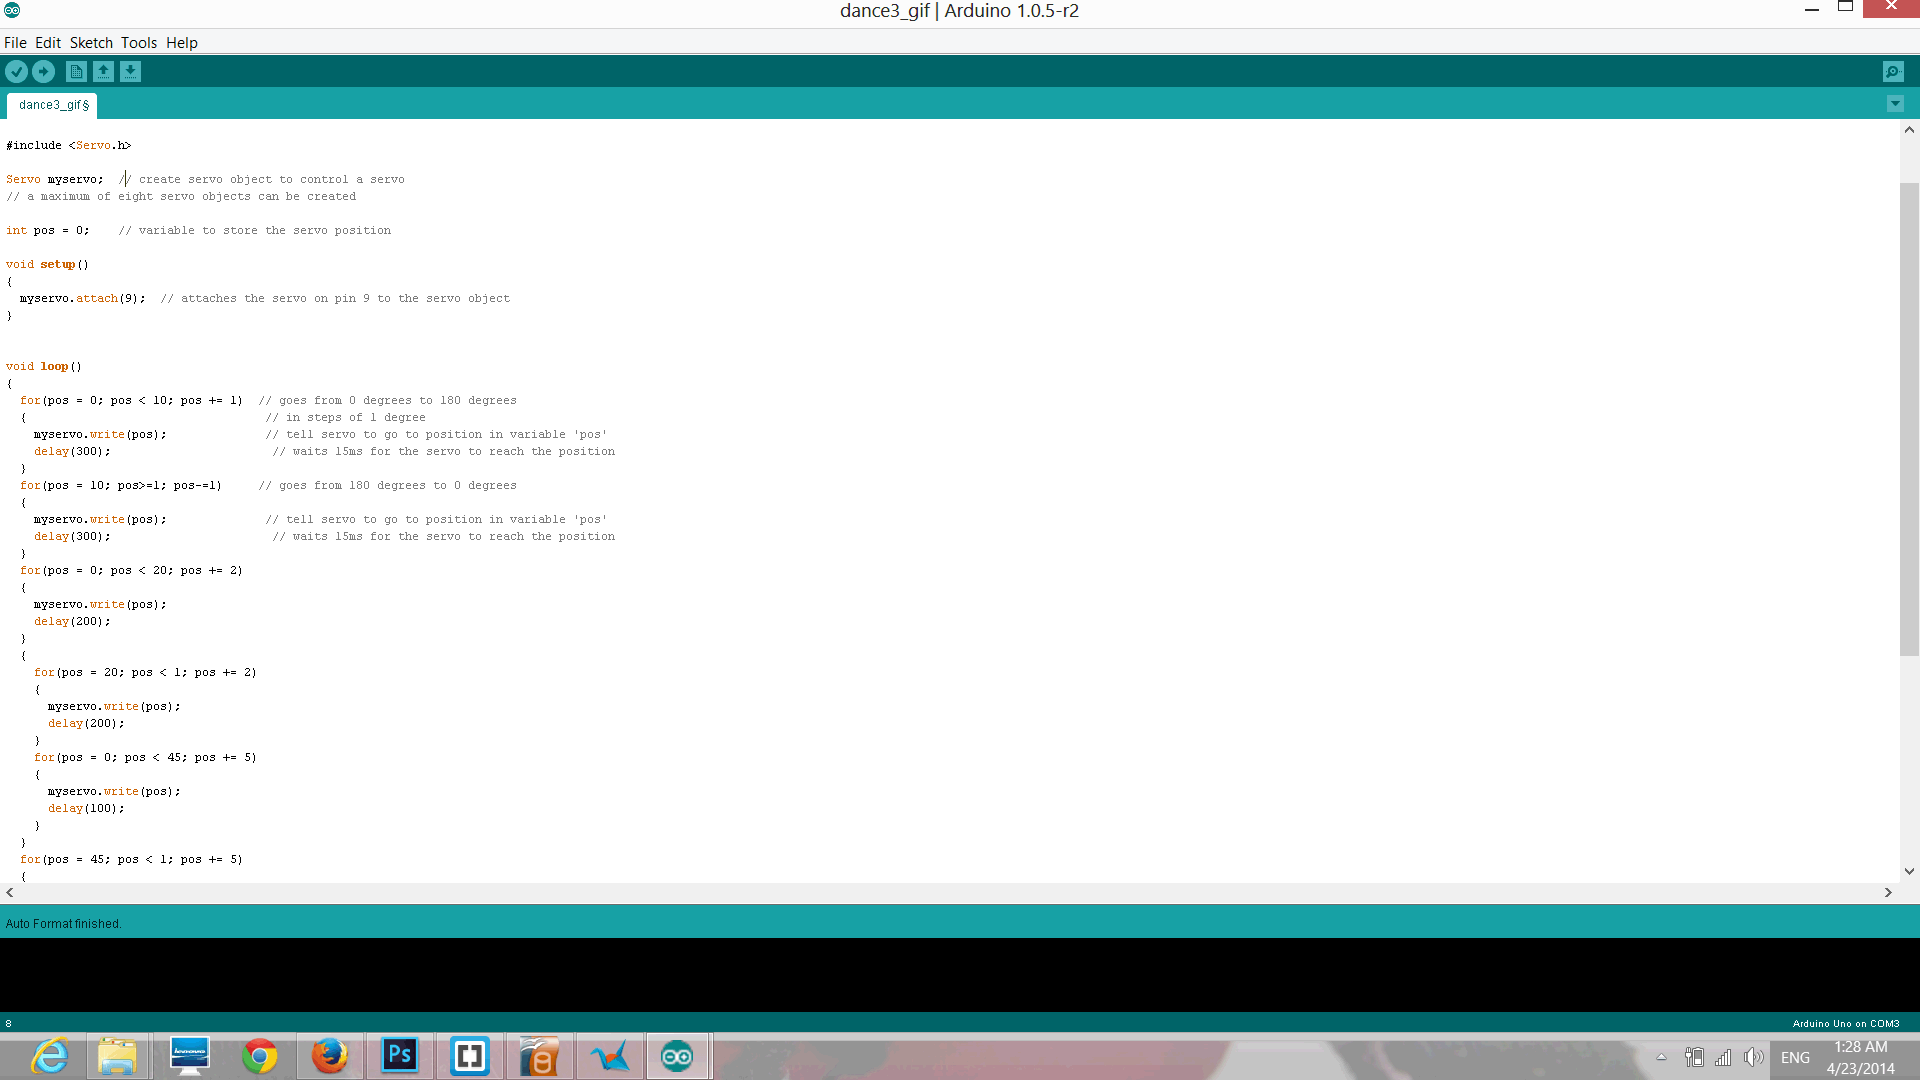
When code was uploaded it looks like that:
Second version is this one:
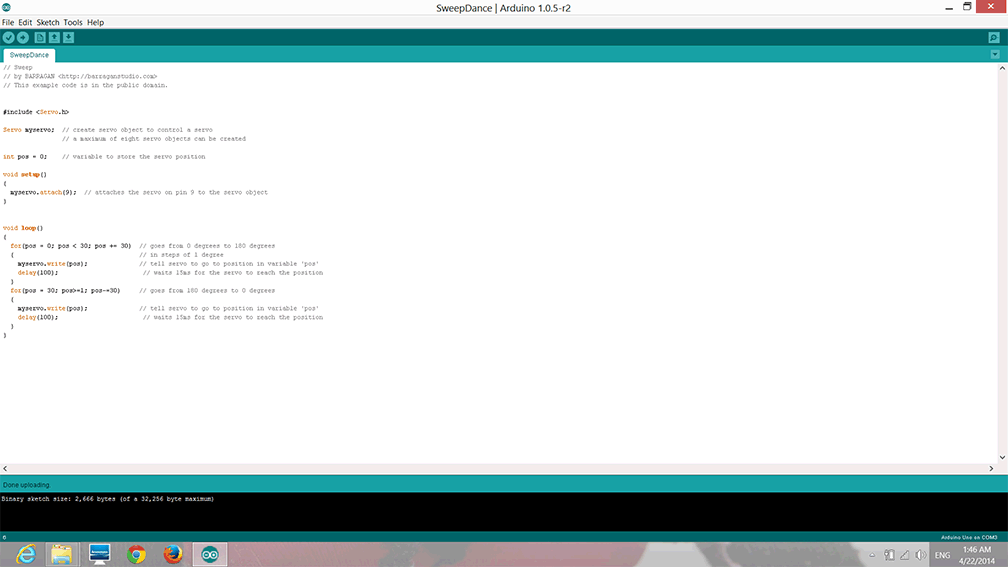
While uploaded dog seems to be much more energetic:
I have tried it with sound sensor as well:
For the sound sensor I used this code:
            #include

int sensorValue = 0;
int servoRightPin = 2;
Servo servoRight;
int pos = 0;

void setup()
{
  servoRight.attach(servoRightPin);
  Serial.begin(9600);
}

void loop()
{
  sensorValue = analogRead(A5);
  Serial.println(sensorValue);
  if (sensorValue <430){
    {
  for(pos = 10; pos < 180; pos += 1)  // goes from 0 degrees to 180 degrees
  {                                  // in steps of 1 degree

    delay(15);                       // waits 15ms for the servo to reach the position
  }
  for(pos = 180; pos>=1; pos-=1)     // goes from 180 degrees to 0 degrees
  {

    delay(15);                       // waits 15ms for the servo to reach the position
  }
}
    servoRight.write(73);
    delay(30);
  }
  else if (sensorValue > 400) {
     {
  for(pos = 0; pos < 180; pos += 1)  // goes from 0 degrees to 180 degrees
  {                                  // in steps of 1 degree

    delay(15);                       // waits 15ms for the servo to reach the position
  }
  for(pos = 180; pos>=1; pos-=1)     // goes from 180 degrees to 0 degrees
  {

    delay(15);                       // waits 15ms for the servo to reach the position
  }
}
    servoRight.write(73);
    delay(30);
  }
  }
For my final project I have design a board to operate two servo motors
board desin:
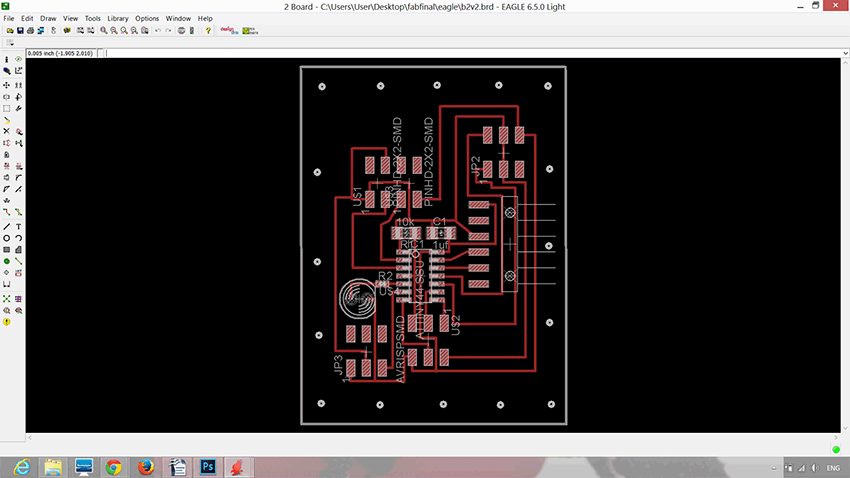
*
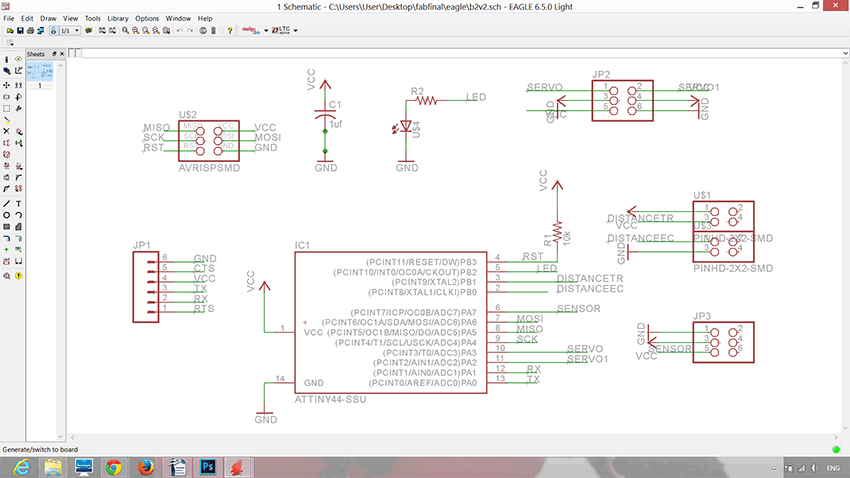
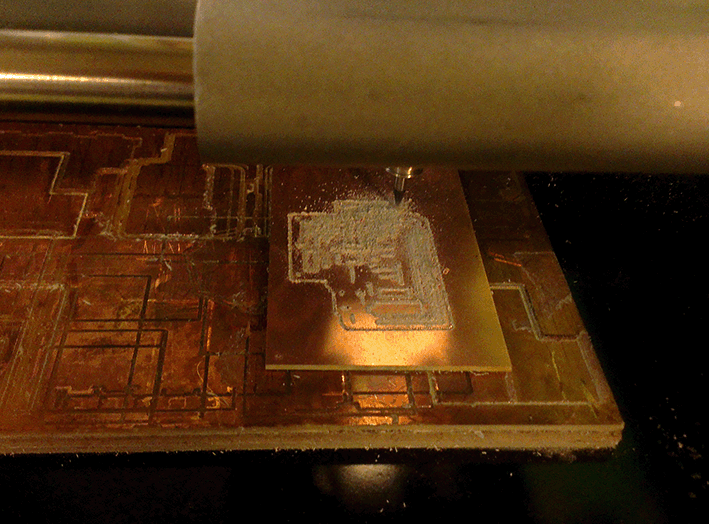
Milled it
and installed:
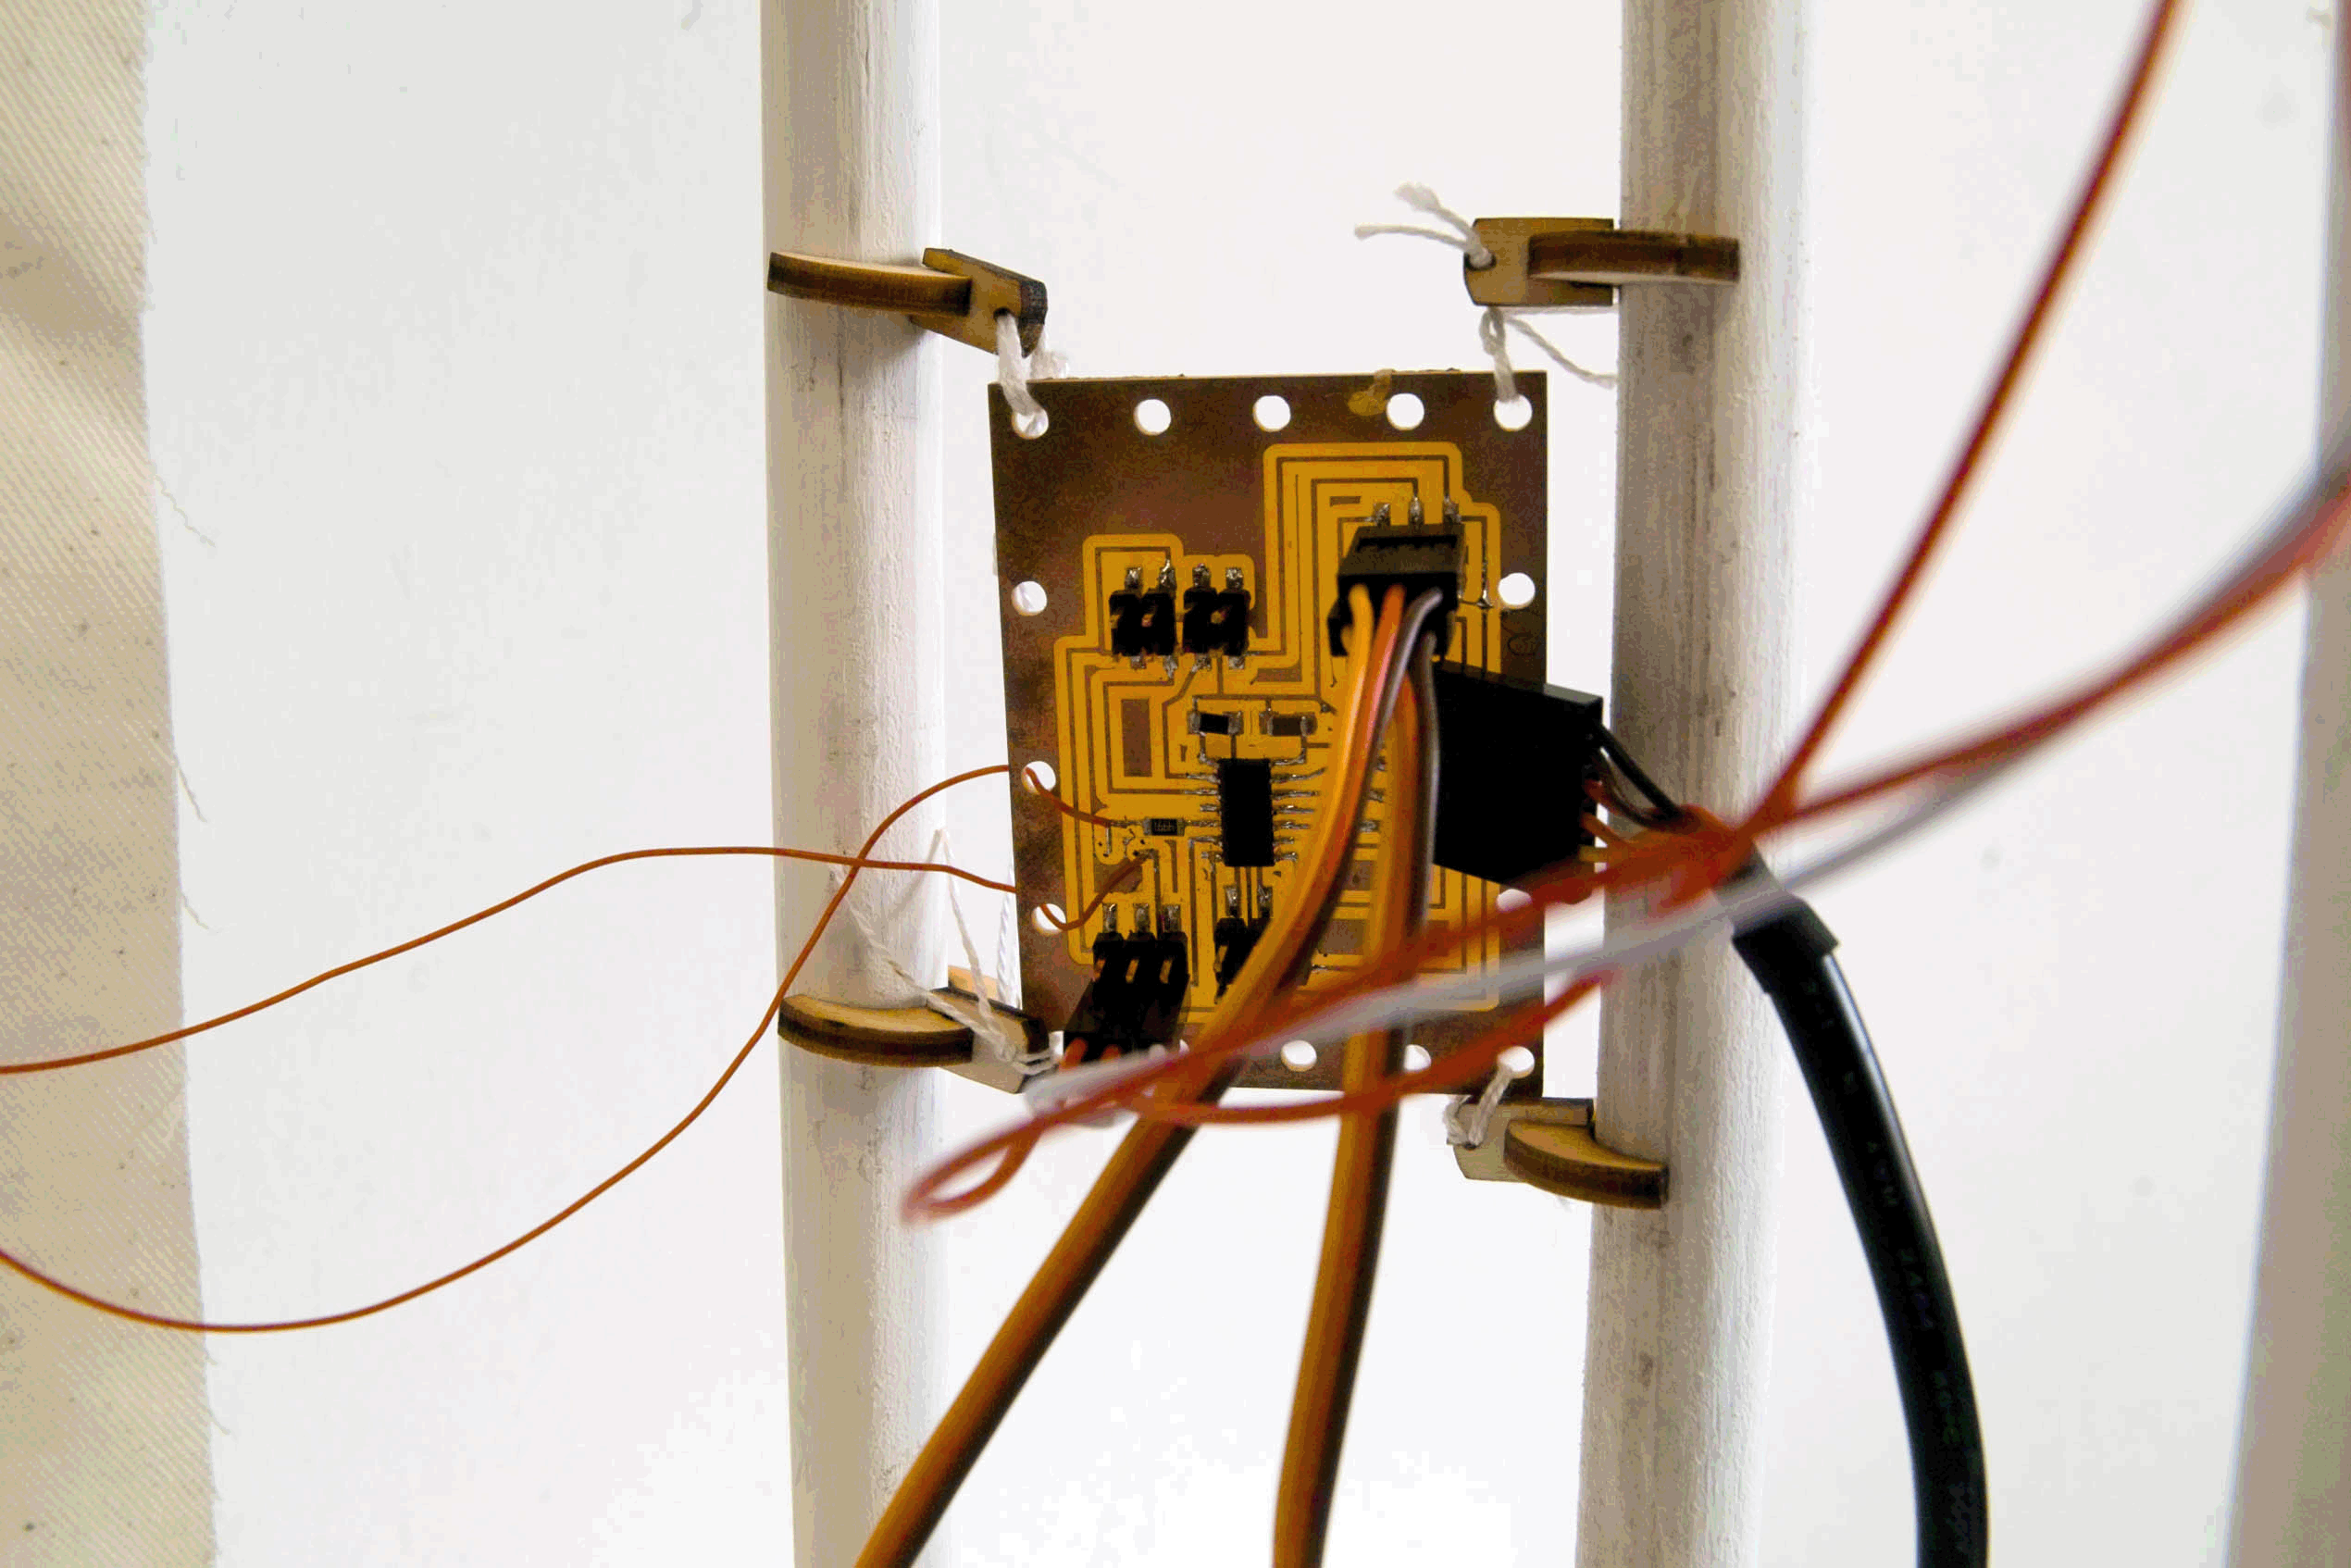
Here You can see how the servo motors work with my own designed board:
It work acording to this code:
             #include

SoftwareServo myservo;                 // create servo object to control a servo
                                       // a maximum of eight servo objects can be created
SoftwareServo myservo1;                 // create servo object to control a servo
                                       // a maximum of eight servo objects can be created
int ledPin=8;
int LEDbrightness;


int pos = 0;                           // variable to store the servo position
int pos1 = 0;                           // variable to store the servo position

int lightPin = 7;

void setup()
{
  myservo.attach(2);
  myservo1.attach(3);
  Serial.begin(9600);  //Begin serial communcation
    pinMode( ledPin, OUTPUT );  // attaches the servo on pin 1 to the servo object
}

void loop()
{


  int lightLevel = analogRead(lightPin);
  int lightLevel1 = analogRead(lightPin);

  lightLevel = map(lightLevel, 0, 1023, 0, 359);
  pos = constrain(lightLevel, 0, 359);

   lightLevel1 = map(lightLevel1, 0, 250, 0, 90);
  pos1 = constrain(lightLevel1, 0, 90);

    myservo.write(pos);              // tell servo to go to position in variable 'pos'
    myservo1.write(pos1);              // tell servo to go to position in variable 'pos'

  Serial.println(analogRead(lightPin));
    analogWrite(ledPin, analogRead(lightPin)/2);
   delay(10);
    SoftwareServo::refresh();
    delay(100);                       // waits 15ms for the servo to reach the position
}