Computer Controled Cutting
Laser Cut
For this week assignment (press fit kit) I have designed and laser cut a construction toy.
I designed few different parts which can be installed togethr into various imaginary creatures:
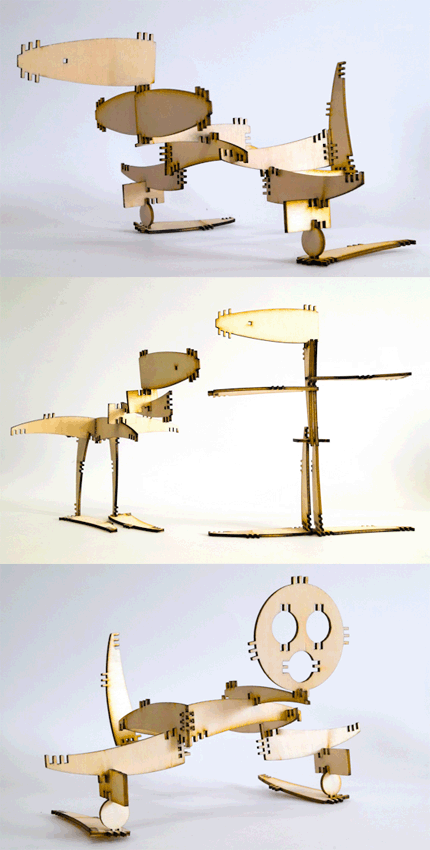
Or abstract constructions:
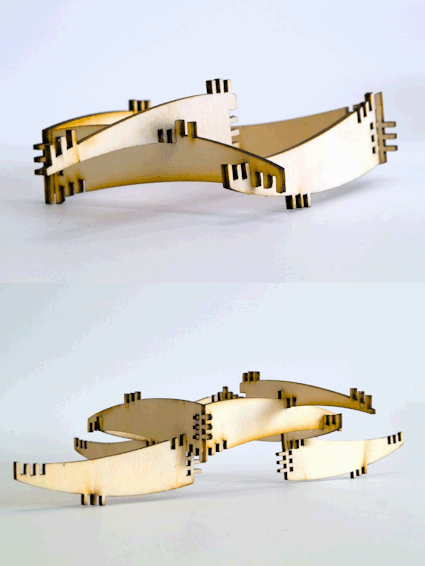
It contains few different parts, and tenons, so there are many different ways that the parts can be connected together.
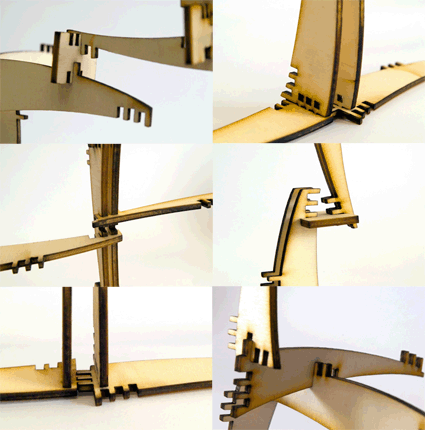
First step was to laser cut a small comb with different measures of the material (poplar wood) thickness, with others local group members we tested the wood with larger measure scales, and when I made my own measures, I already knew it should be between 2.65 to 2.70 mm and created my scale with three different measures in this range.
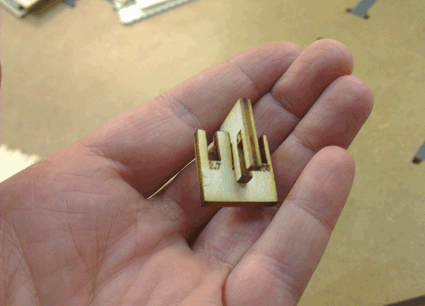
I designed the tenons to fit 2.68 which was the best in the comb, but when the game was cut I figured out it would have been better to make it 2.7 as it should fit kids and shouldnt be too tight.
For the design process I used inkscape, at first I have designed the basic shape, and similar one (its little sister) almost all the other parts were derivative from those two are .
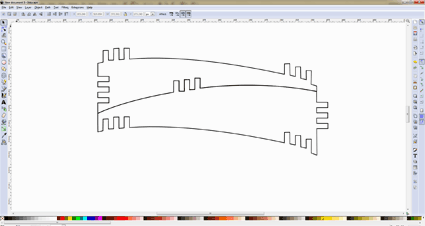
By inkscape I duplicated them several times, and flipped horizontally, and replacing them in new spaces from each other, that way I received surprising new shapes.
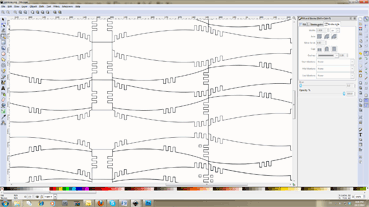
I add two circles on the top (in order to create another form of head parts) as well as small little squares, in order to create another kind of tennon like this one:
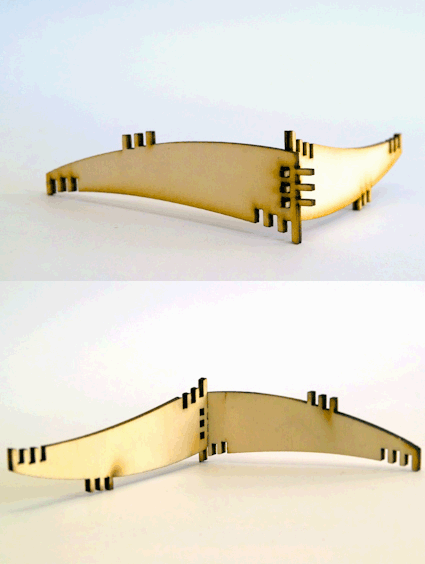
By the end the file looked like this:
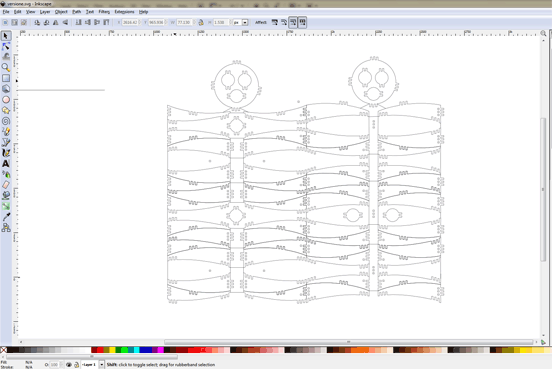
Then I converted the file to dxf , imported it to the machine computer, and arranged the file in two different layers because I wished that the interior parts (like the eyes) would be cut first.
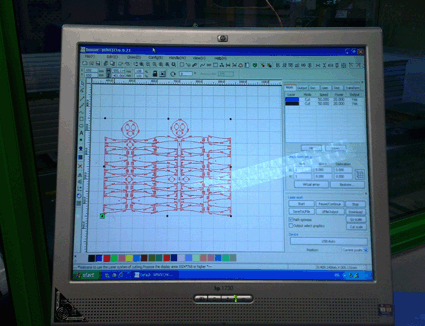
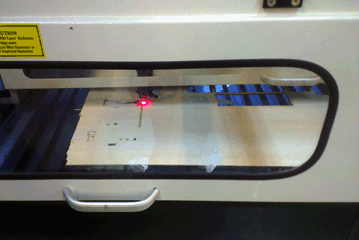
I inserted the wood, and operated the machine:
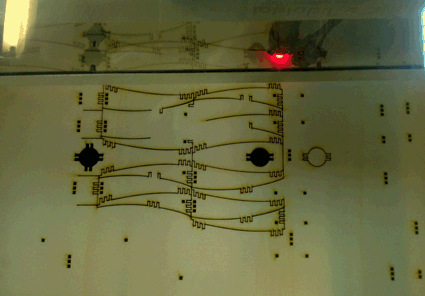
This is what I got:
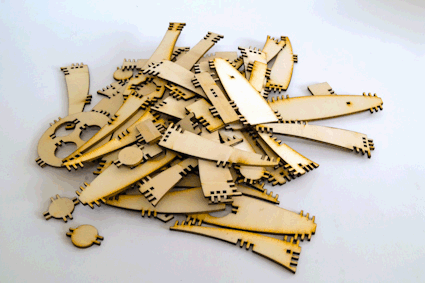
And I had some fun design some constructions out of it.
If you like to try it by yourself, you can download the layout file
Vinyl Cut
I used inkscape for the vinyl cut as well.
This process was quite easy and fun to do.
At first I imported a photo to inkscape, and converted it into black and with image by the trace bitmap in the path menu, then I used simplify in the path menu as well in order to reduce the dots number, and get smoother lines.
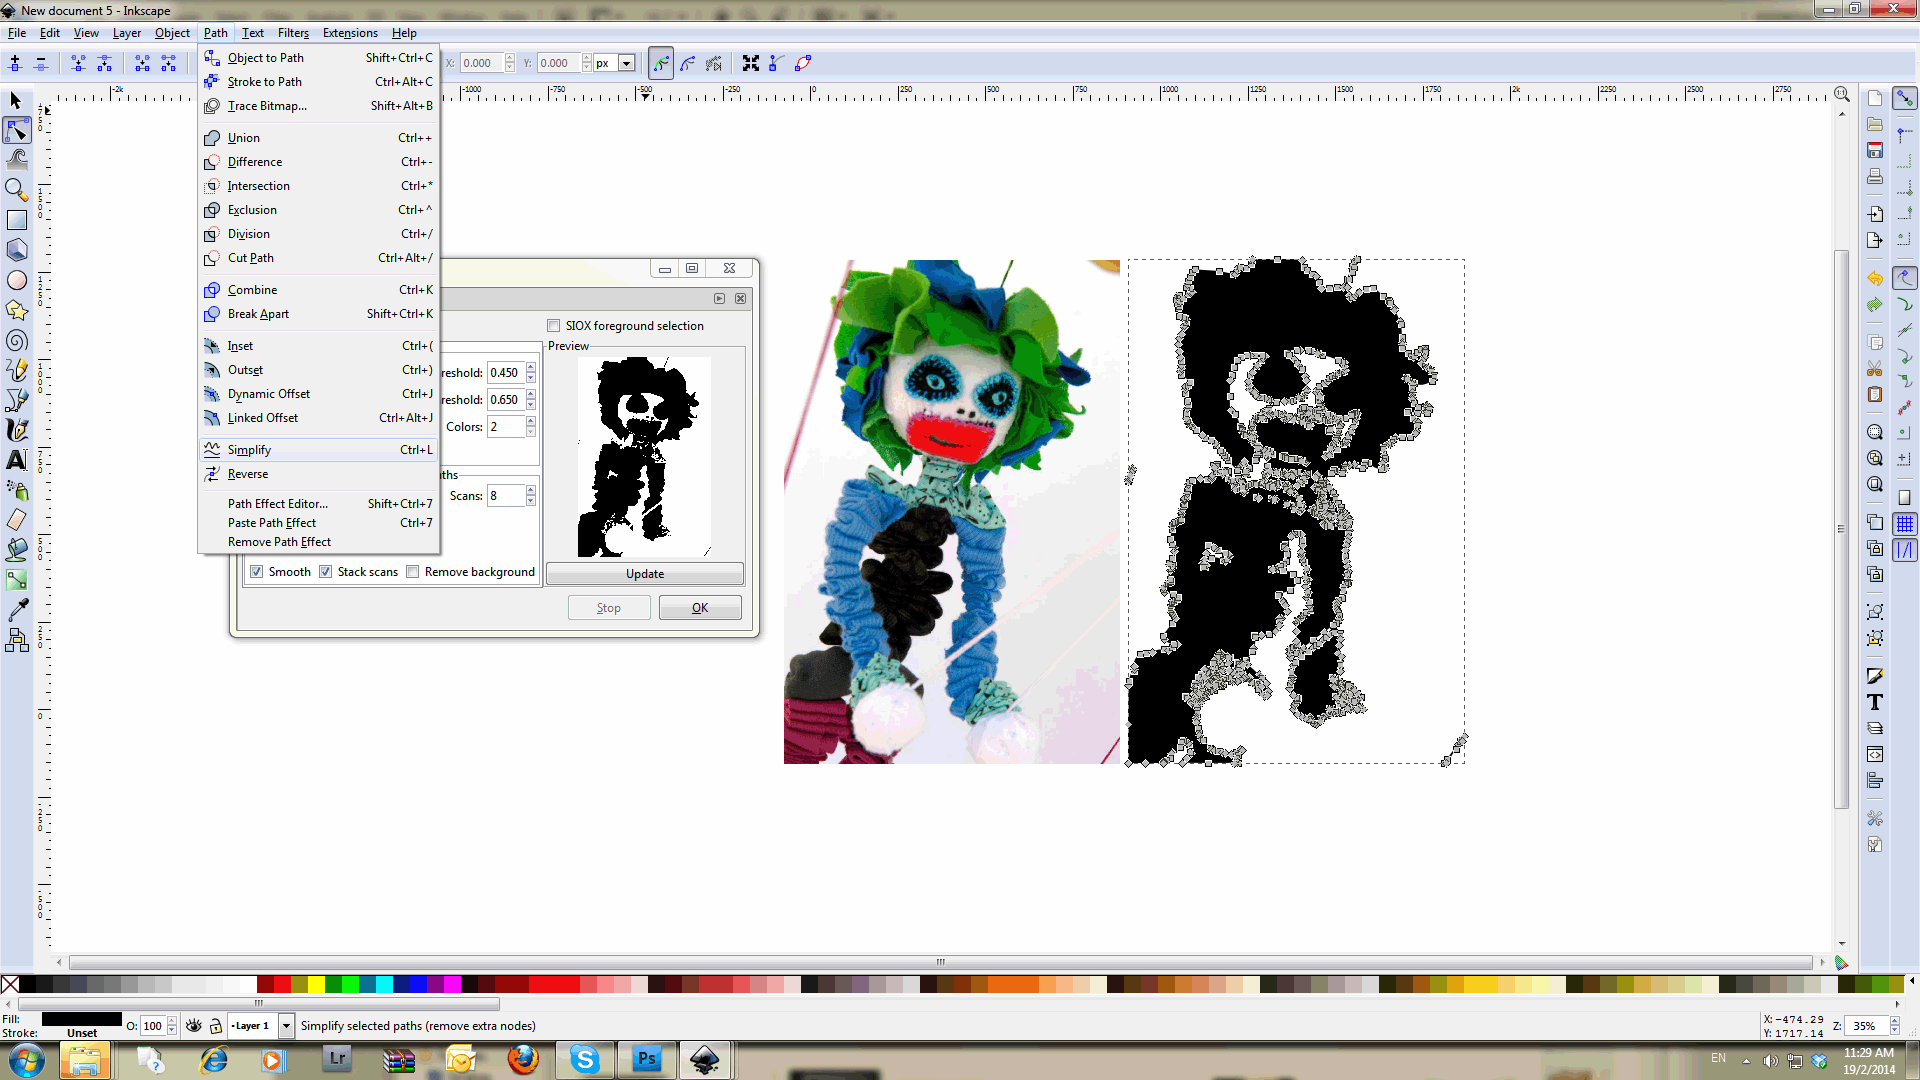
I used stroke, and got rid of the fill so I could get only the outlines:
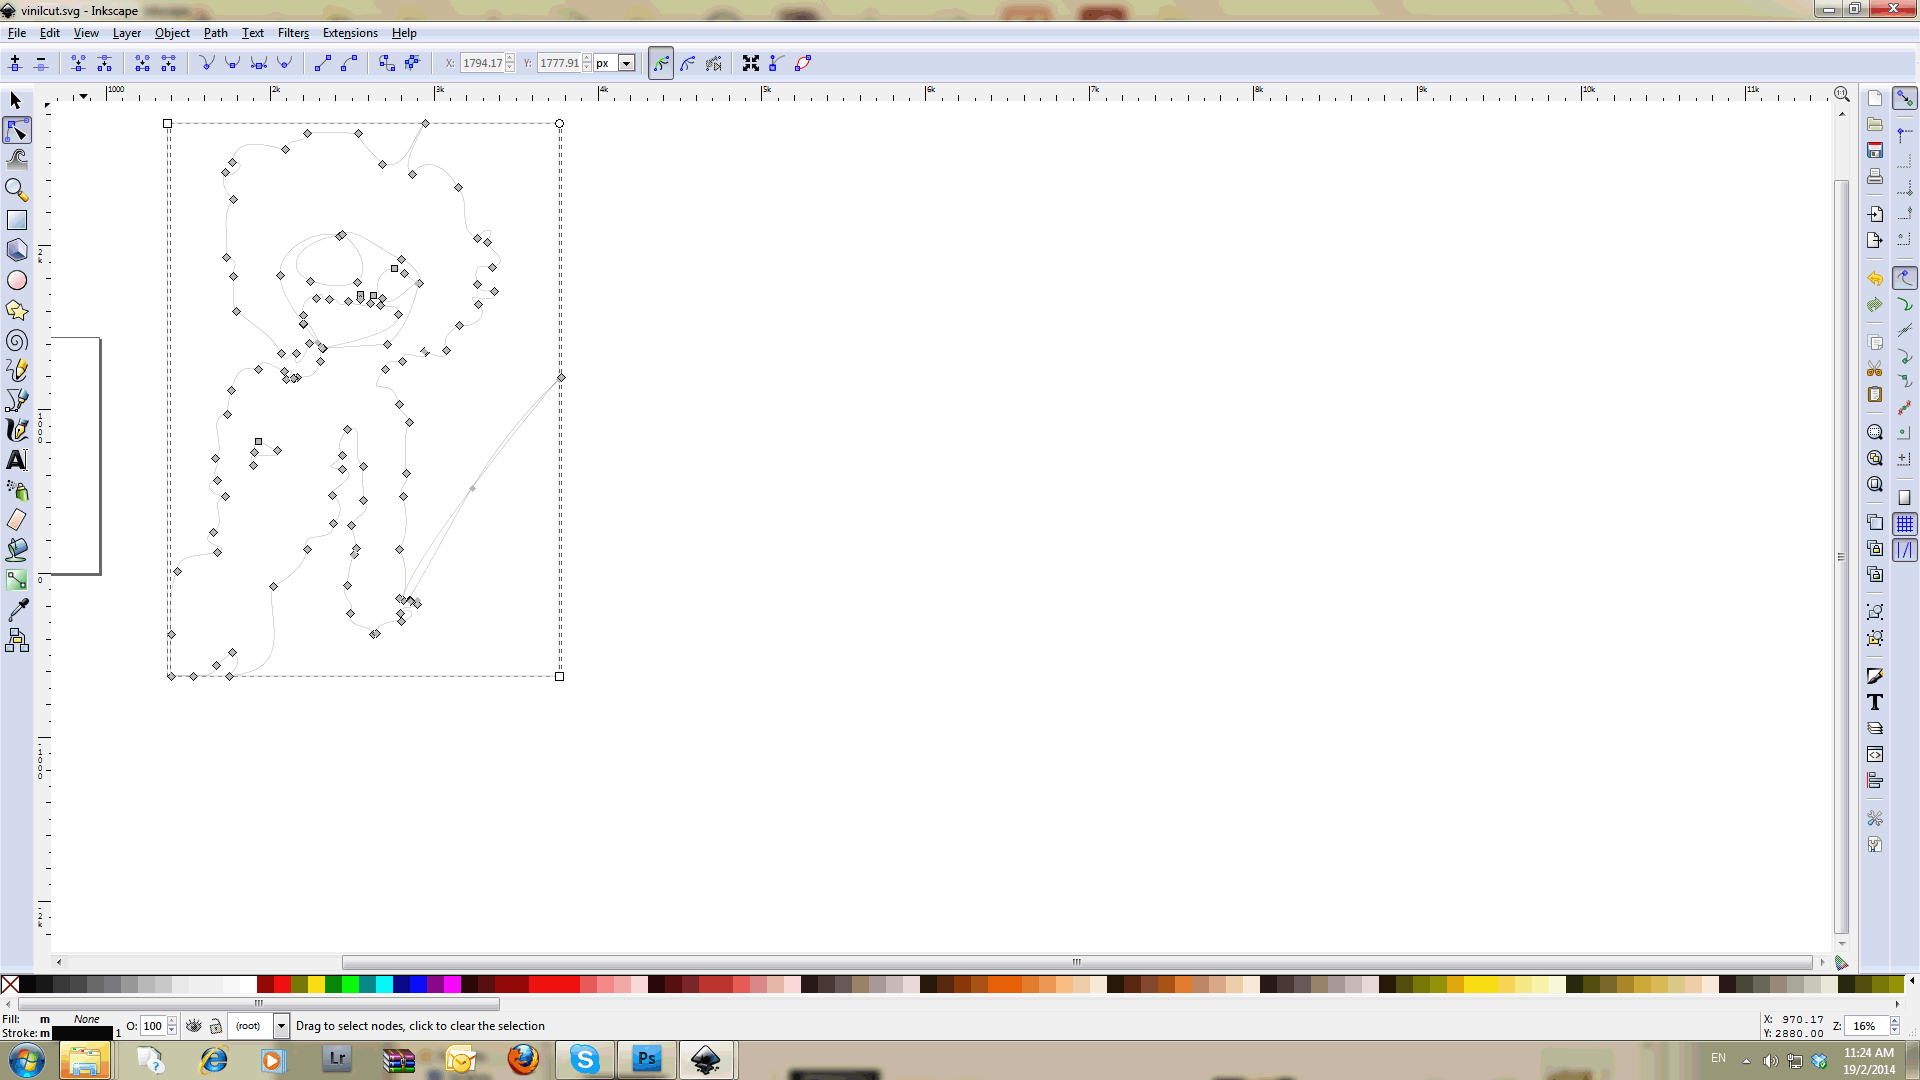
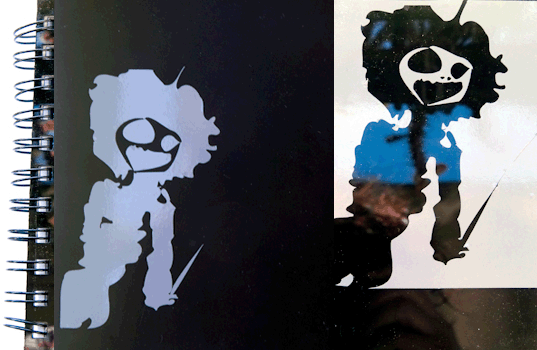
I imported the files to the cutter computer and received both positive and negative of the same image:
