Composite Materials
I took advantage of this week assignment – Composite Materials to combine something from my own world of textile crafts and doll making, with the digital fabrication methods of the fab academy.
I wished to create a composite mask.
At first I have designed the image in rhino.
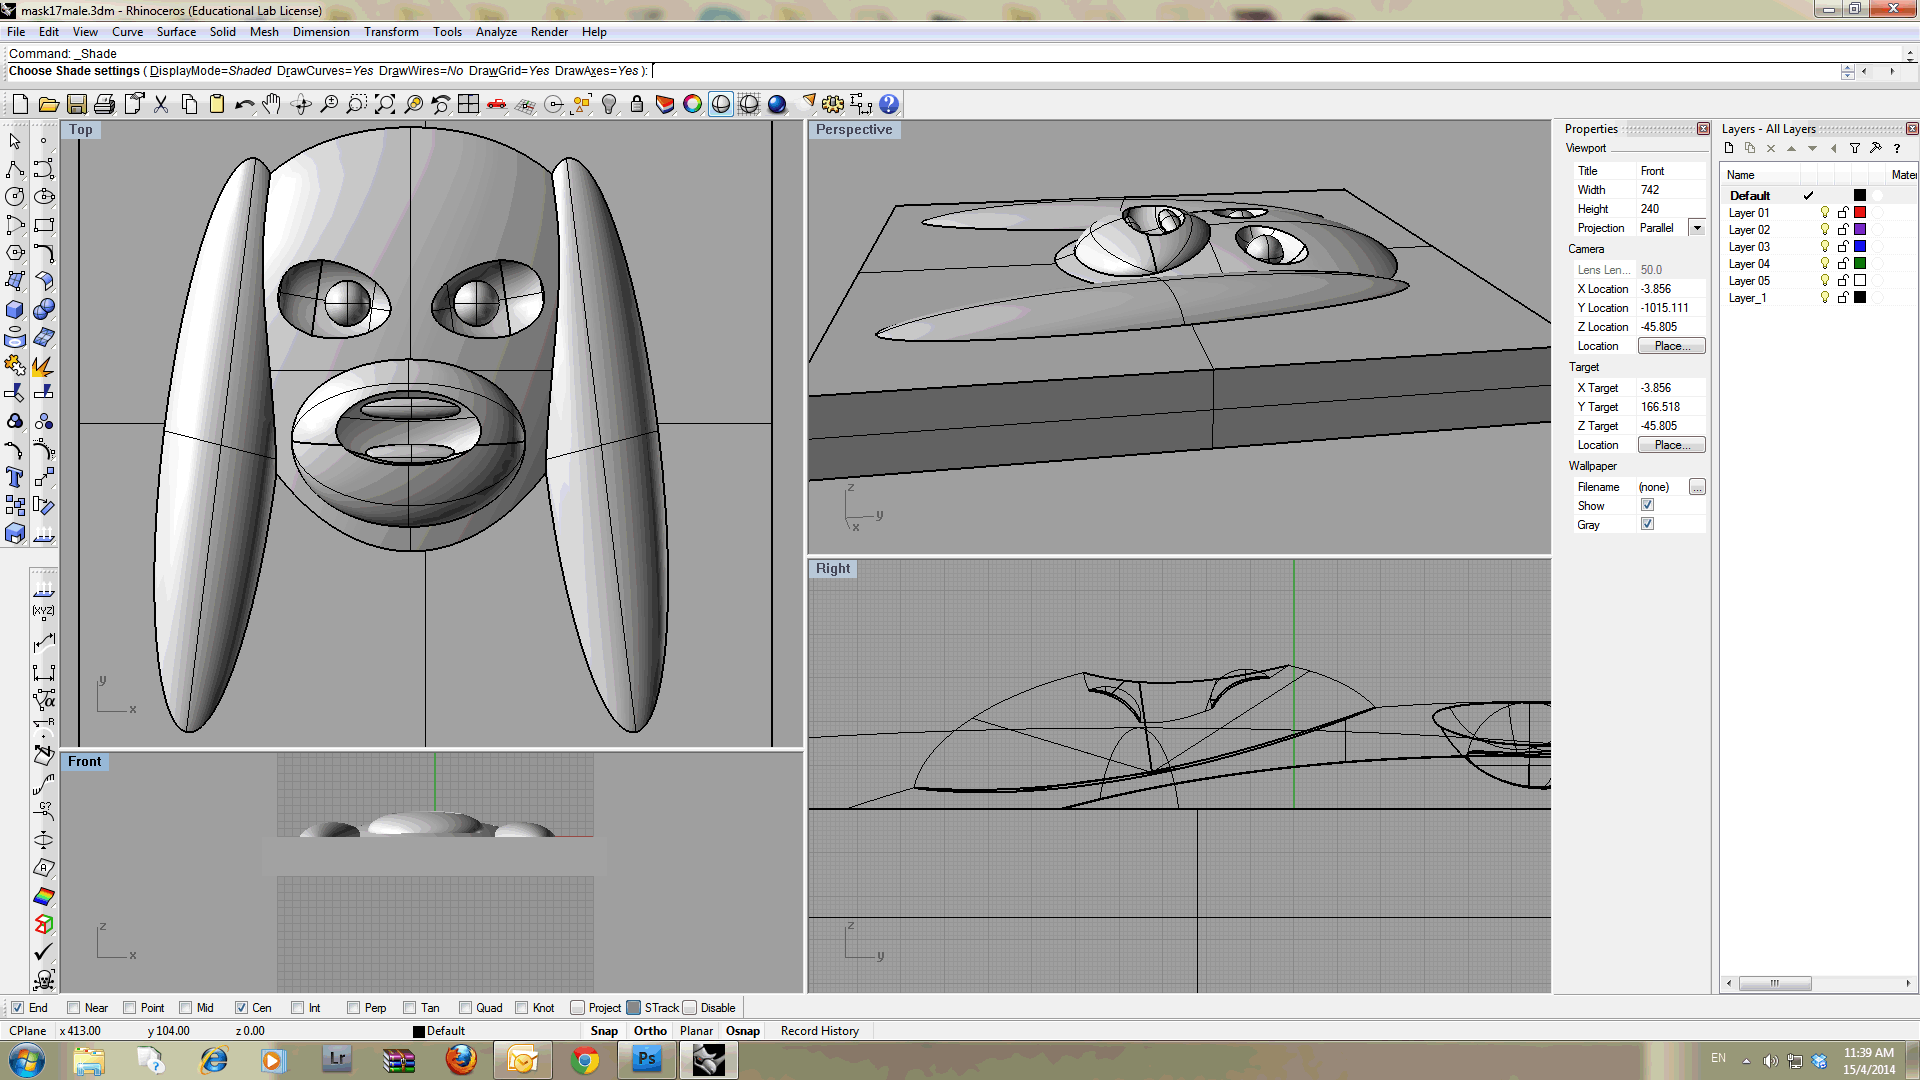
I had an idea that I can use the rhino to generate a crochet pattern, and use the crochet as one of the fiber layers.
I used the rhino dimension function in order to get the measures, which tell me the length, width and depth data I need in order to translate the digital image into a textile object.
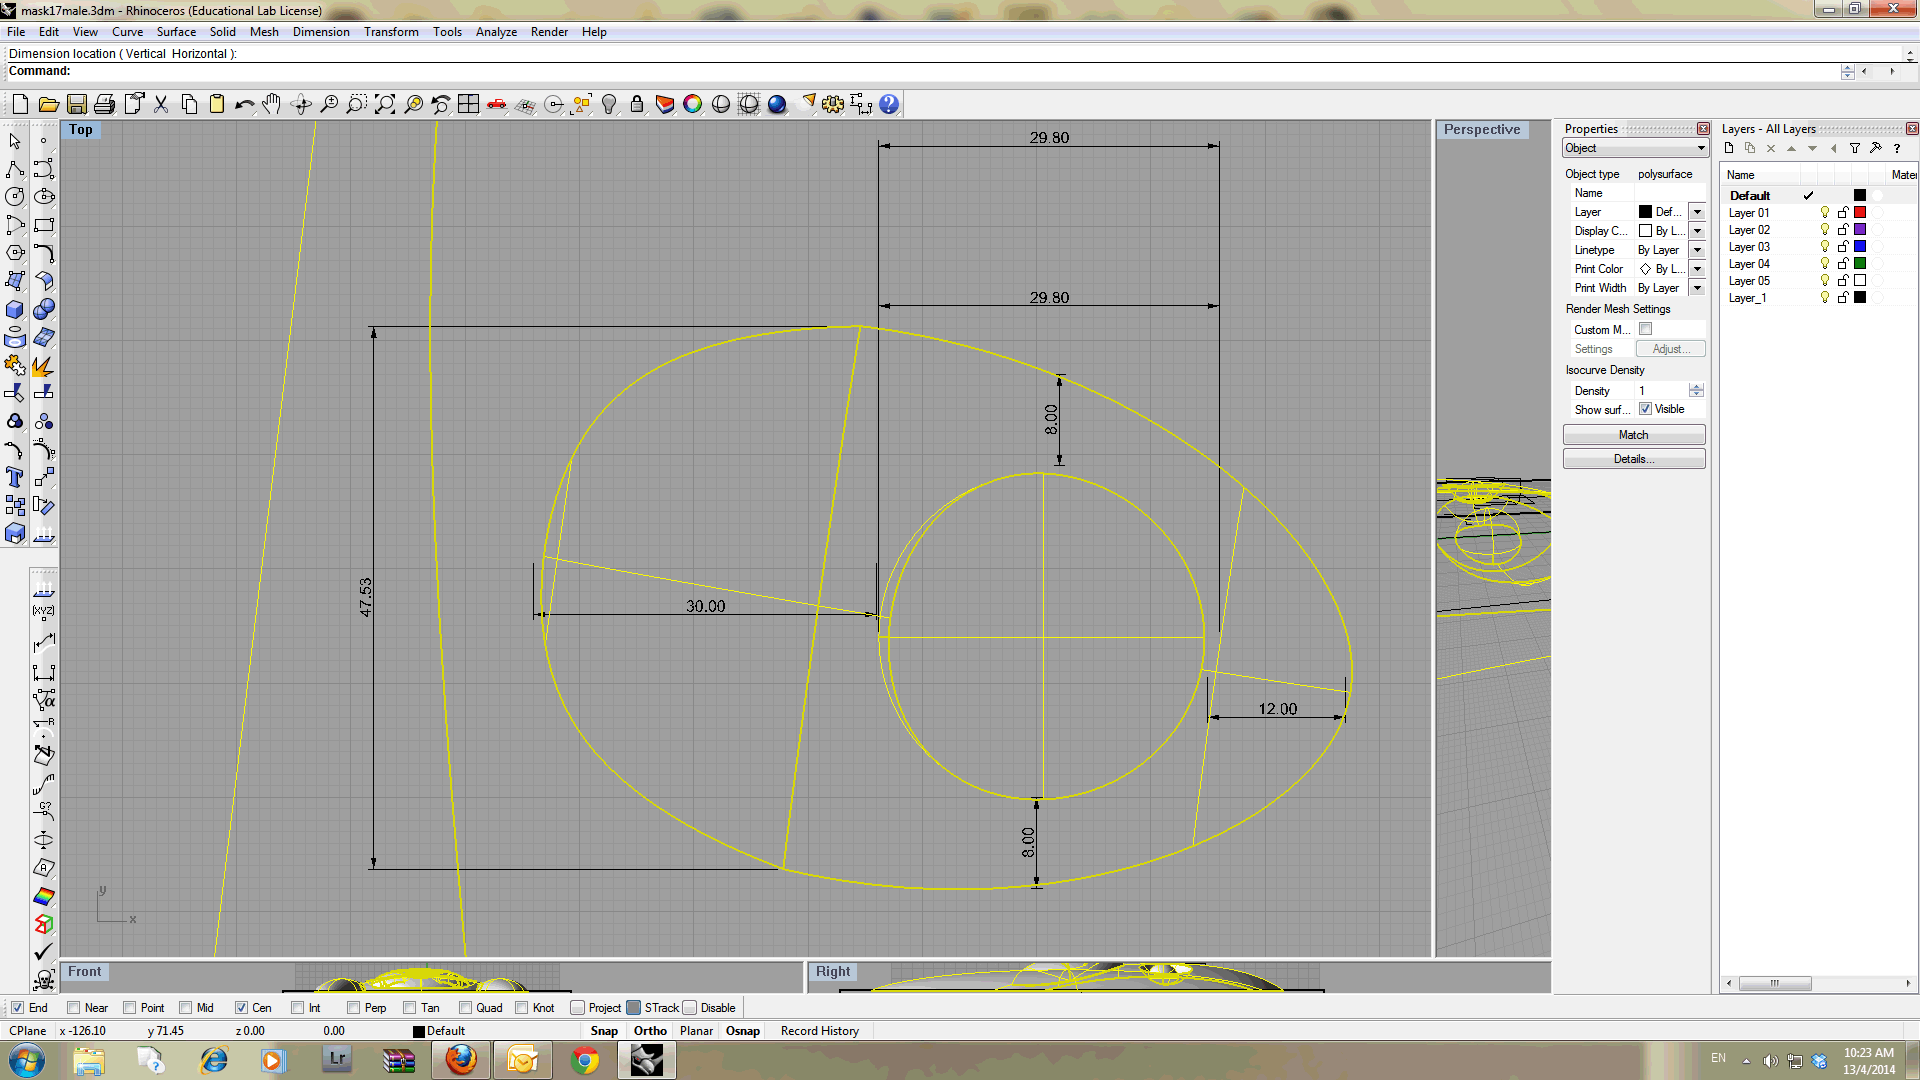
As textile artist and doll maker I use the crochet in order to design 3d shape, it is something I have learned from my grandmother, and practice from very young age.
Nowadays I usually use crochet to create 3d shapes and as sculptural tool rather than its traditional use of creating garments or fashion accessories.
At the last months in the fab academy I have learned completely new tools and technologies to design and create 3d objects,
for me it is like new way of thinking, and this week I wished to confront the two approaches.
In the crochet process I start with one loop (which can be describe as one stitch or one single crochet as well) of stitches and in order to enlarge it I have to add more stitches around the original loop and keep on increasing or decreasing stitches in circles.
Increasing and decreasing stitches enable me to control the shape and size;
For example instruction for simple ball crocheting will look like that:
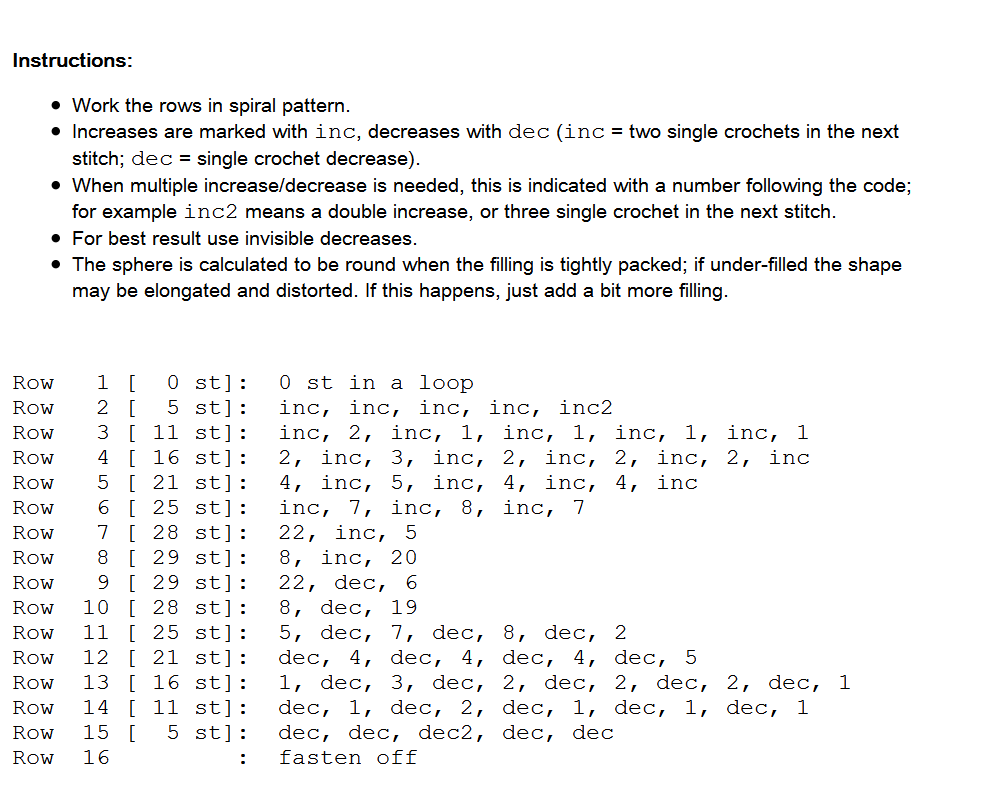
It is quite reminding the code writing we had learned last week, With crochet I usually work intuitively, and don’t use any written instruction,
I always prefer to invent them by myself, but what I would like to do in the near future is to write a crochet instruction (or a crochet code) out of stl file, same as we generate a code to the 3d printer.
At the moment I have just use the only the rhino dimensions function, to figure out where to increase or decrease stitches, and compare the digital image to the crochet results.
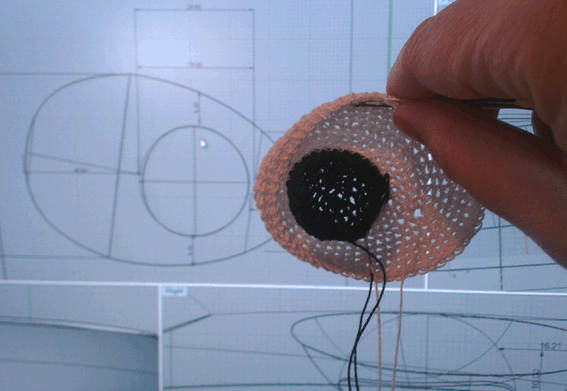
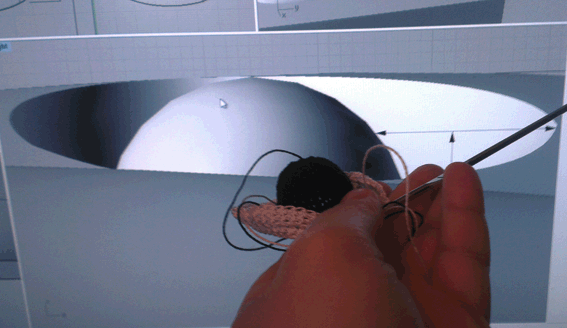
It was just first test of those ideas and I didn’t get to complete the entire mask this week.
Thought the crochet is a field I like and feel very confidence in it was yet small part of this week assignment.
Back to the digital world I sent the file to the cnc milling machine.
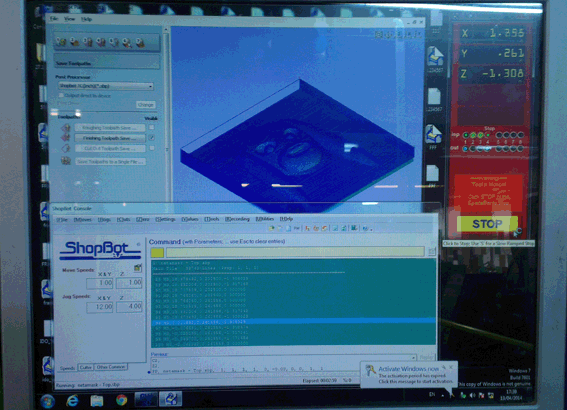
I used polystyrene for the mold.
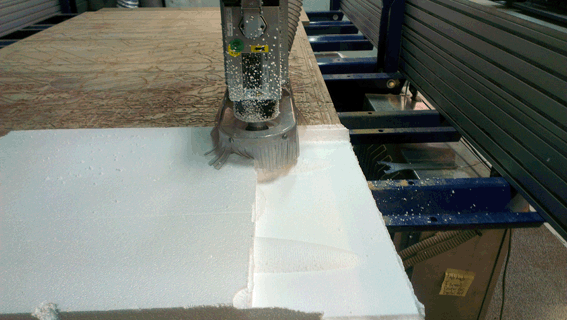
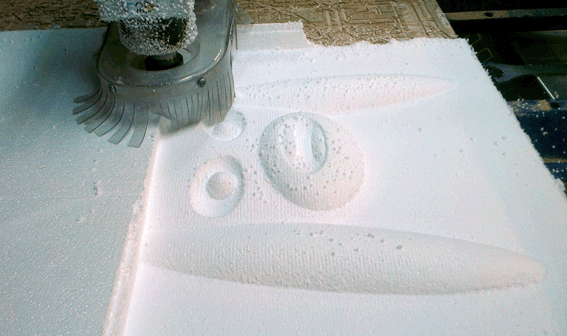
When it was milled I tested the crochet mask on the top of the polystyrene mold.
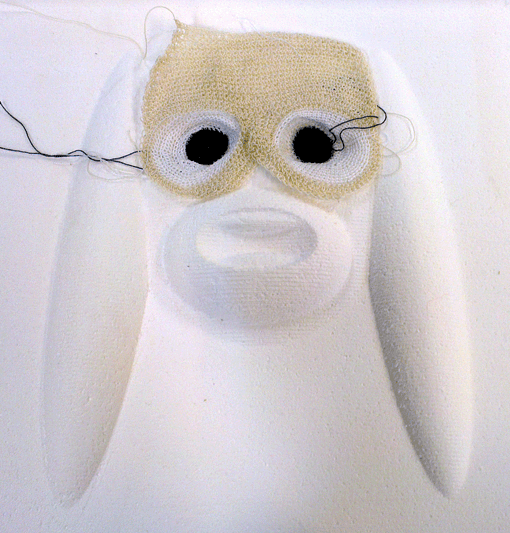
It was OK for first time, considering shortage of time but could be much more accurate.
Then I start to layer the fibers, with various fibers and epoxy.
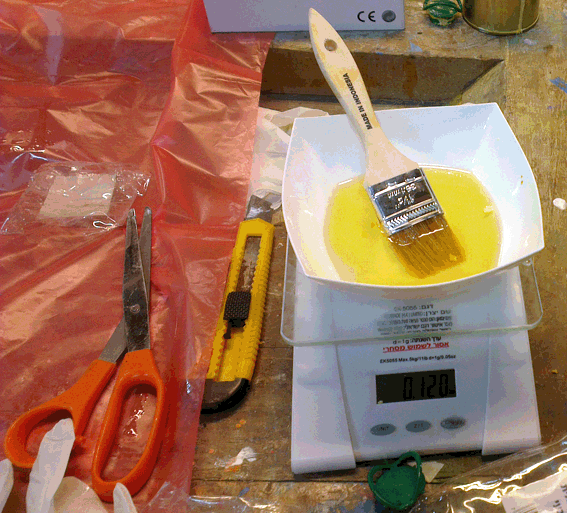
At first I used the peel ply in order to create a separation between the polystyrene and the other layers.
Second layer was a raw silk cloth, which turned out as the completely wrong material to use for such kind of work.
It folded and wrinkled and I couldn’t attach it to the mold very well.
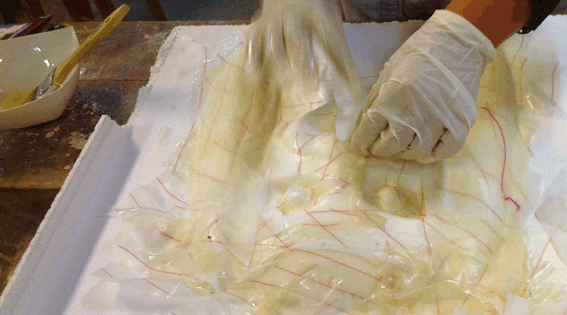
For second and third layer I used cotton fabric cut to small pieces in advanced and it was much better.
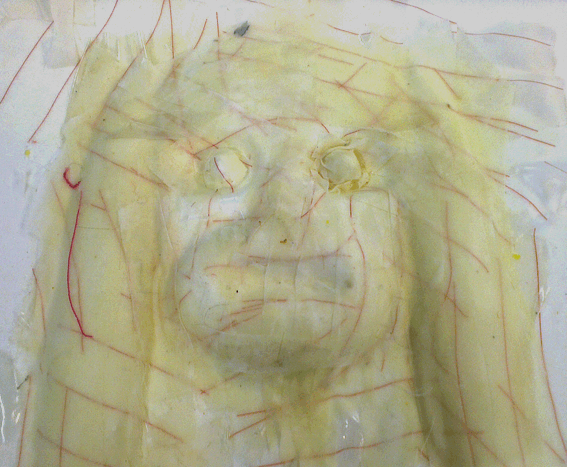
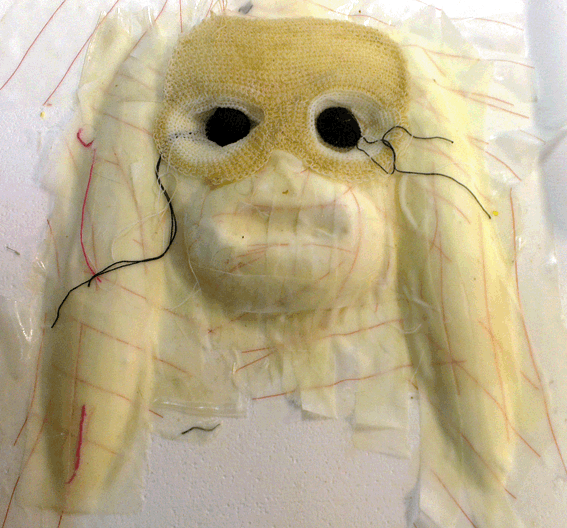
Last step was applying the crochet mask together with the epoxy:
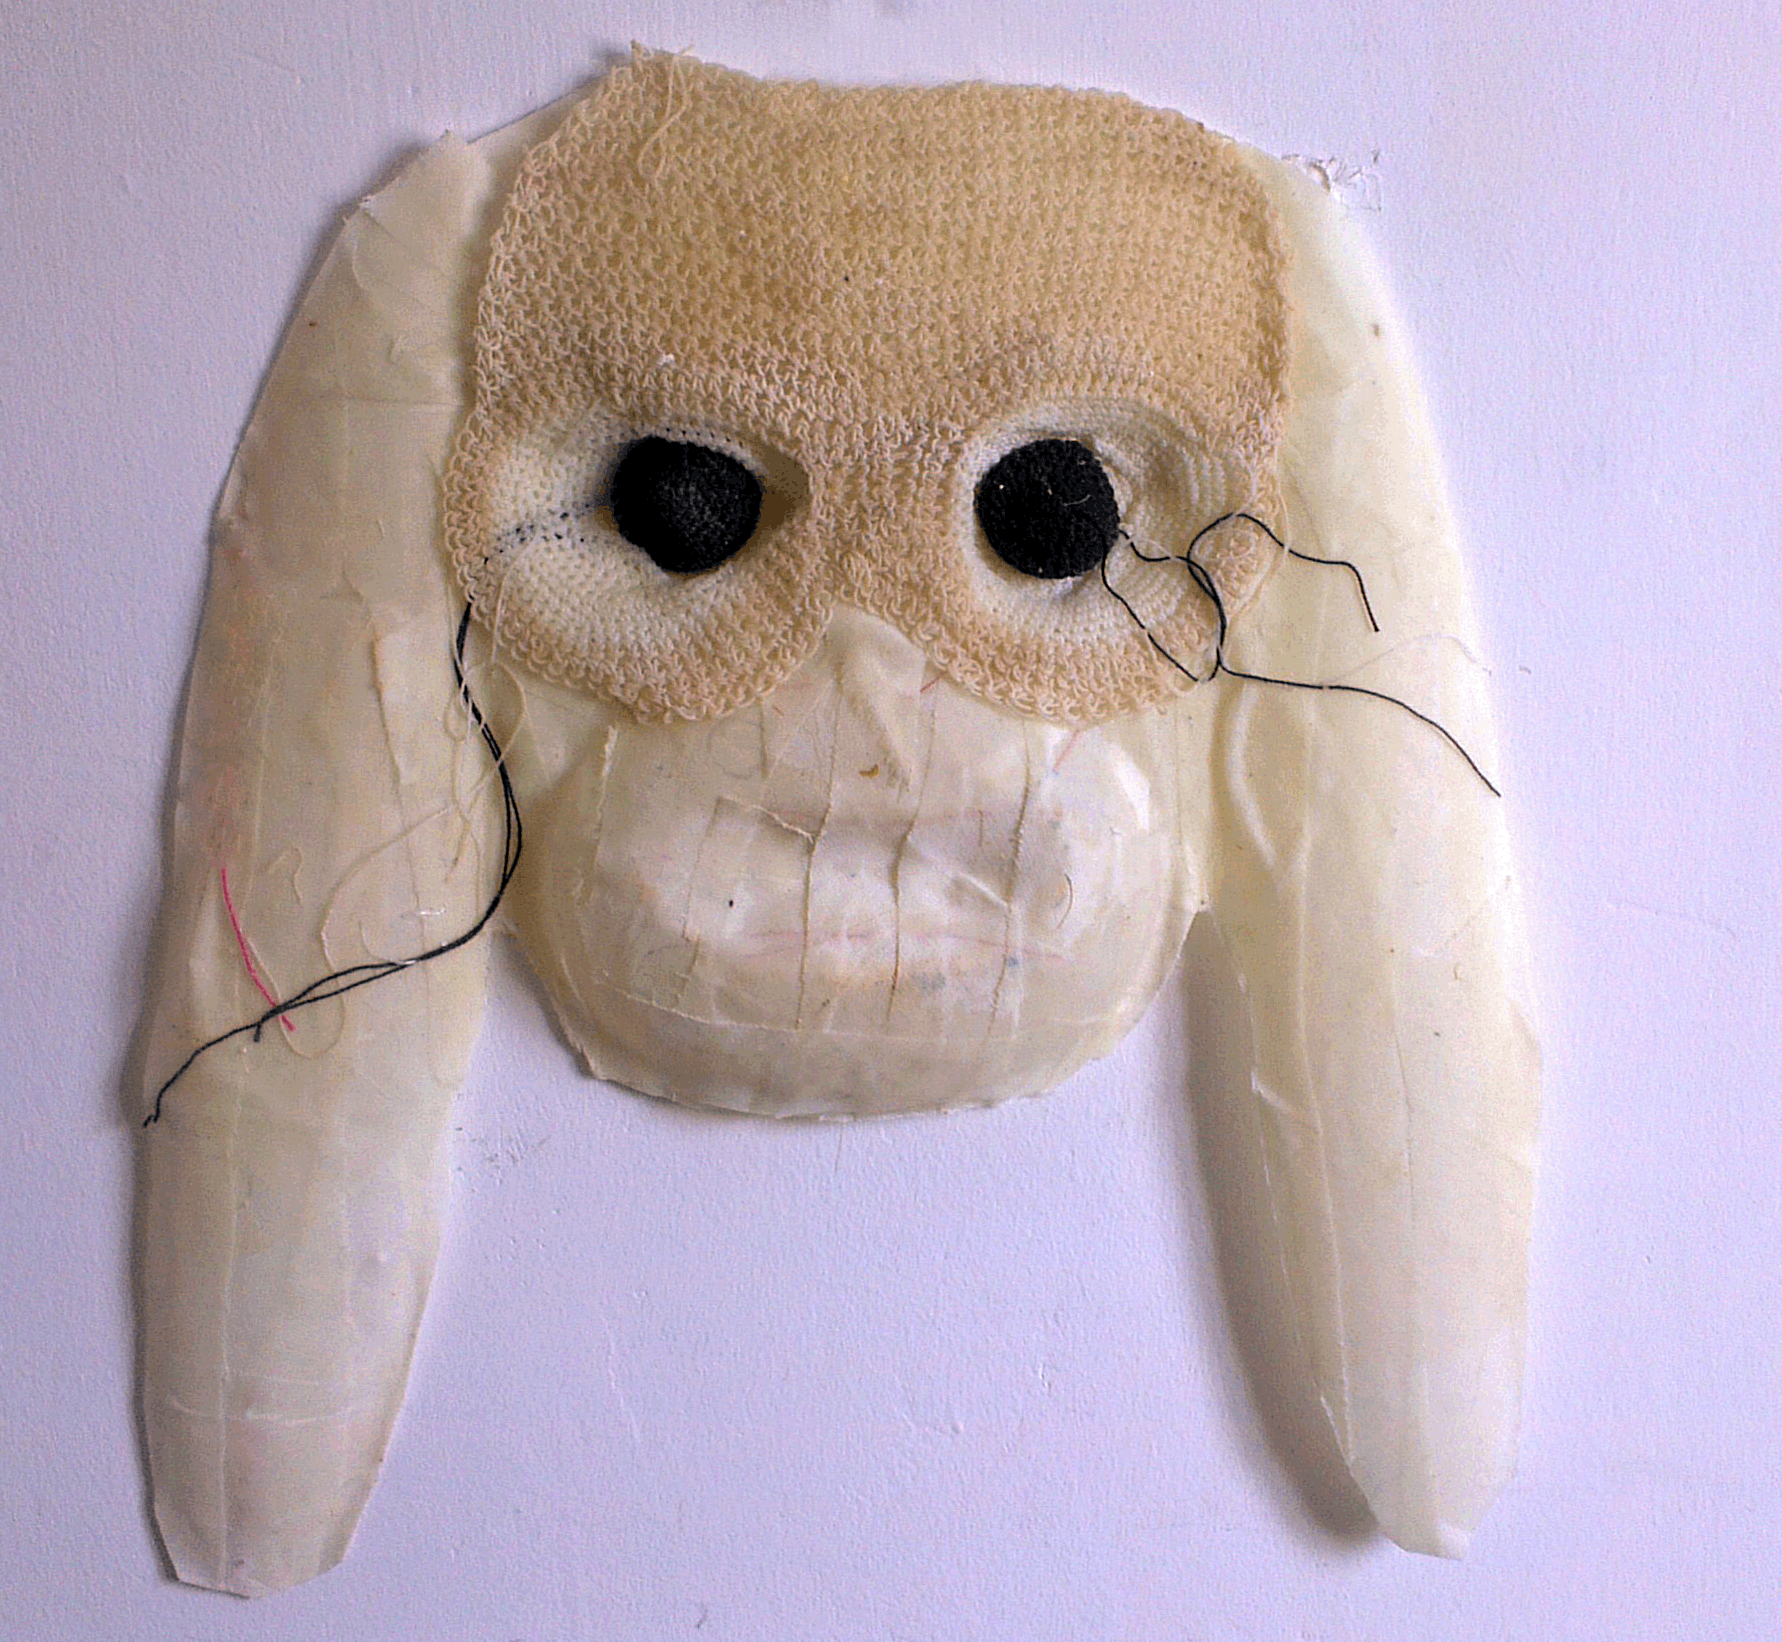
By the end, after saperating the mask from the mold, it looked like that:
If you like to try it by yourself, you can download the mask file