This week our goal is to create a wax mold using the Modela and then cast using that mold.
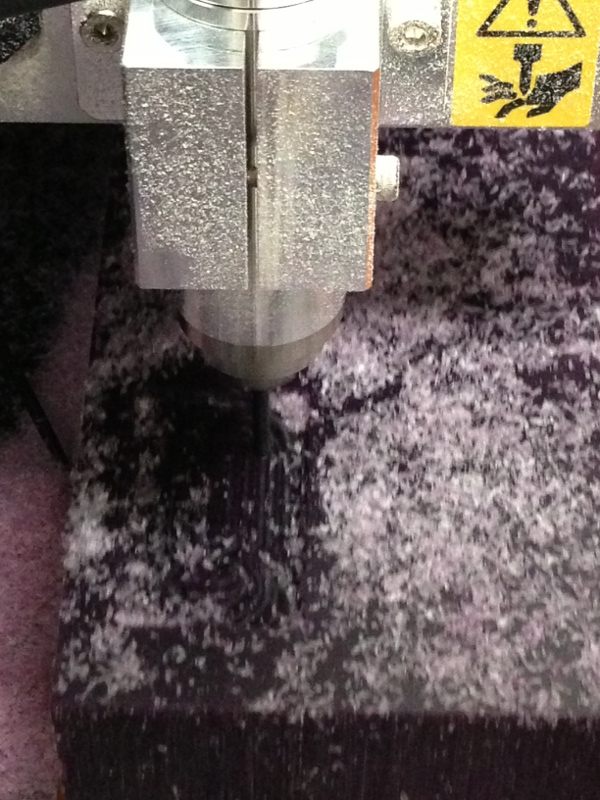
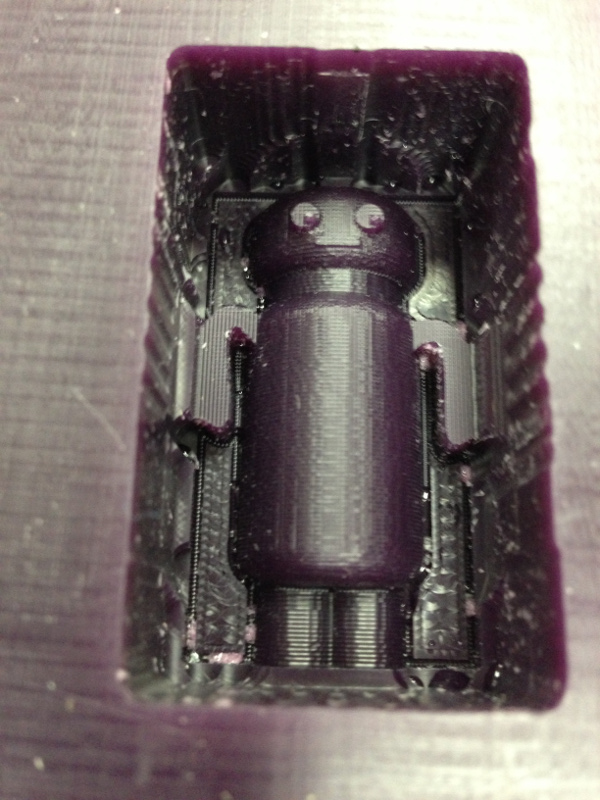
I decided that I would create a small robot figure. I created a figure in Autodesk Inventor and then exported it as a .stl file for use in the fab module with the Modela machine. I opened the file in netfabb to make sure that it was what I intented and scaled to the correct size. I then took the file to the Modela. I set the fab module to rough cut and hollowed out the mold.
I then set the module to the finish cut and finished the wax mold.
Encouraged by the success and perhaps a bit foolhardy, I decided to finish the cut with a smaller bit. I slightly lowered the z and changed to a smaller bit, modifying the settings accordingly. The results were very nice.
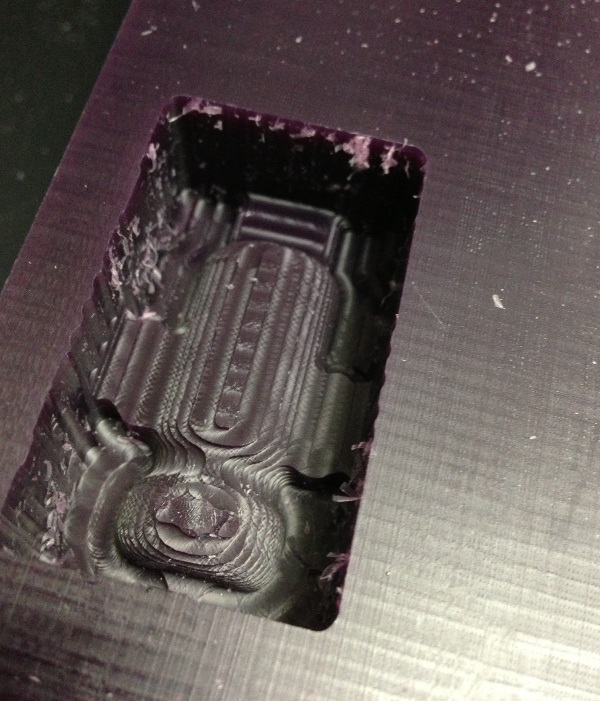
I realized that the mold would be difficult to use as I did not leave enough space around the robot, but I decided to go ahead with the OOMOO mold making. I poured the mold, and after an hour and a half, I removed the somewhat sticky mold. I left it out overnight to hopefully stabilize.
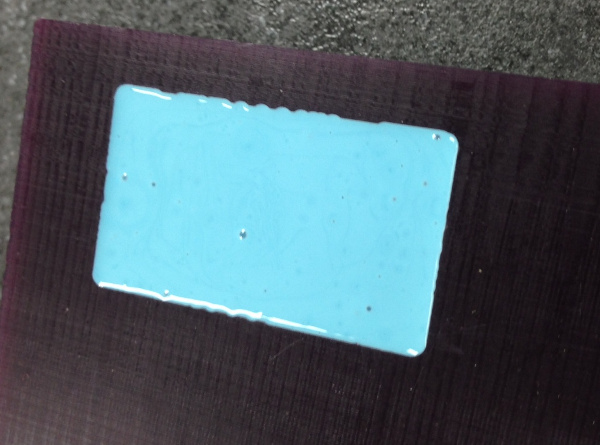
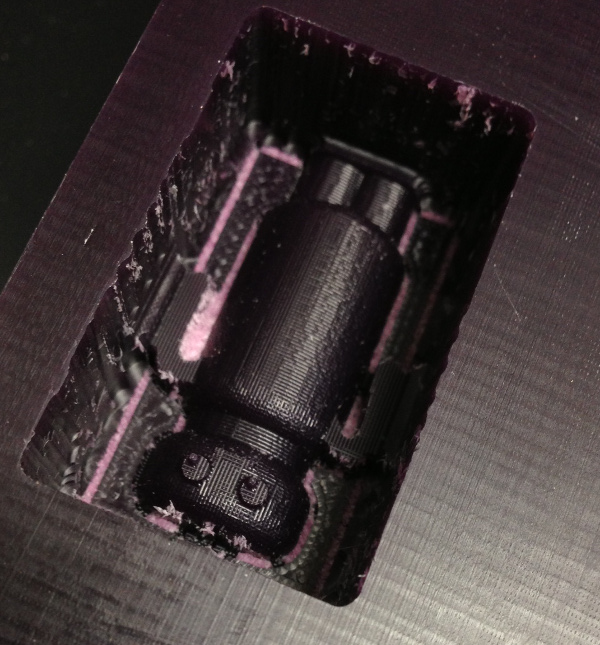
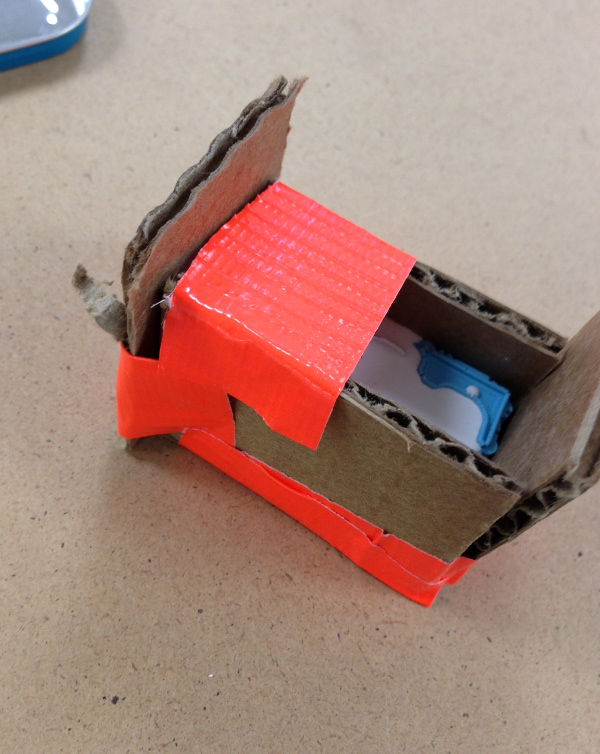
The next day it looked fine and was no longer sticky, but I decided to try to make a better mold (fewer bubbles). I then took that mold and made a small cardboard holder to prevent leakage due to my original design flaws and poured in the drystone.
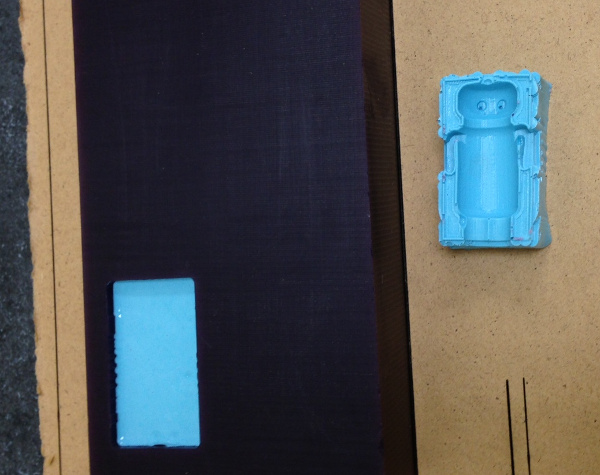
Success! Except that the arms were a bit too brittle. Although it might be safer for humans after the robot apocalypse if the robot has no arms, it was not really what I had intended.
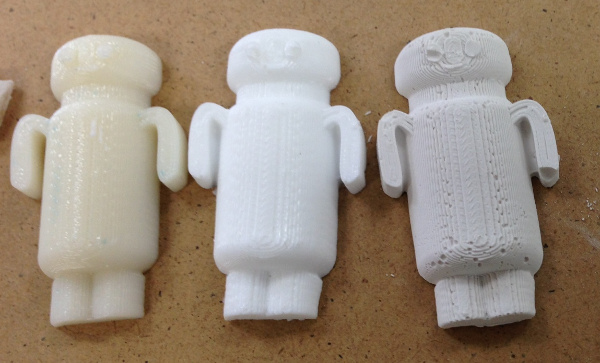
As a grand finale of my project, and as I already had a stl file of the robot, and wanted a good robot, I decided to print a robot on the 3D printer and make a mold using that in an old Altoids tin.

This worked very well and I made a drystone robot and a plastic robot.