This week our goal is to scan an object in 3D and to create and print an object in 3D.
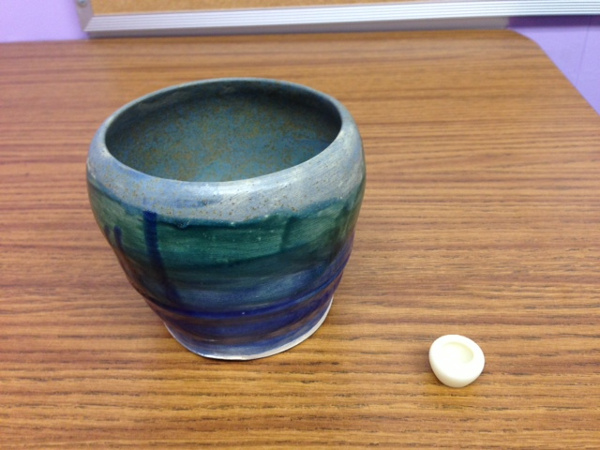
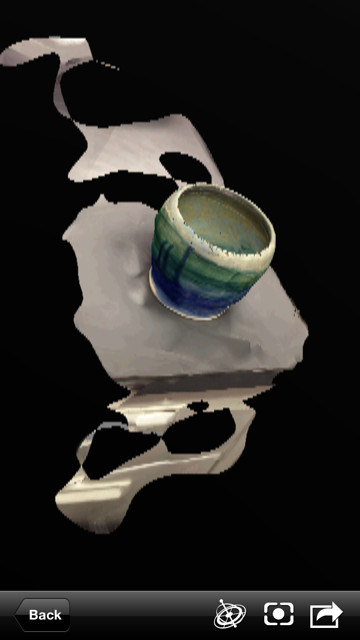
I decided to scan a piece of pottery that a student gave me a few years ago. I downloaded the 123D catch app for iOS and placed the pottery on my desk. 123D allows you to take up to 40 images and then uploads them to a server to do the mathematical stitching needed to create a 3D model. It took a couple of tries to get a workable model because I was thinking like a photographer and selected a plain background. For the app to work, it really is a good idea to use a busy or patterend background so that the program can pick out the object. When I finally had a usable scan, it still needed a lot of cleanup as it also had a portion of the desk included in the scan.
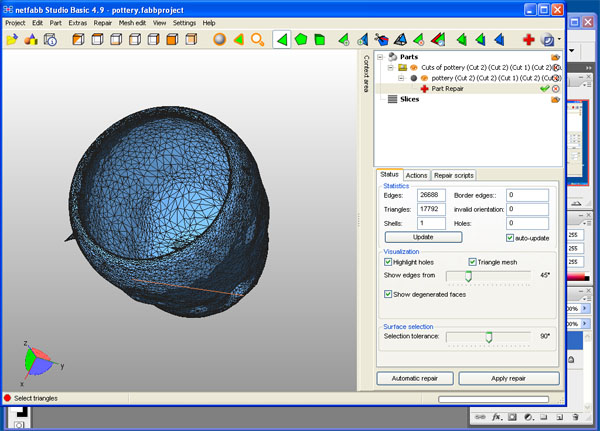
I downloaded the .stl file from 123D and opened it in netfabb. I sliced away the bad portions of the model, keeping as much of the original as possible. Basically you line up the cut in such a way as to seperate the unwanted portion from the whole, and then cut the part it two. You then select the unwanted part and delete it.

I then used the repair tool to close up any openings in the model. I used the auto repair function - truthfully, there were few problems to repair, but that may have been due to my choice of model.
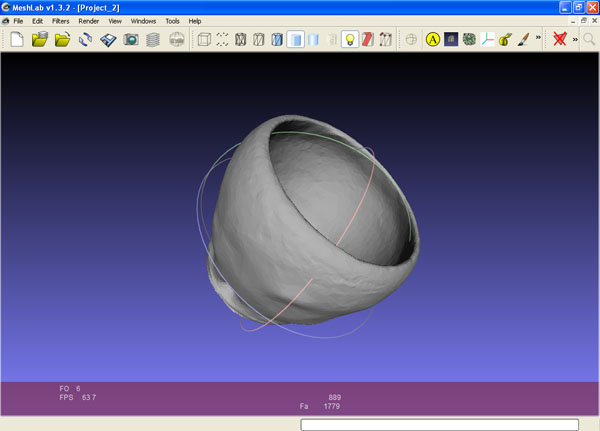
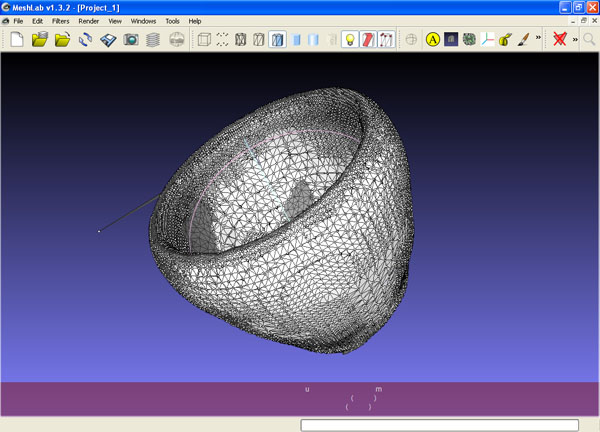
I then imported the .stl into Meshlab for some final tune ups. I tried to smooth out the problems, but it was a bit too exact for what I was looking to do. I didn't really want to move specific verticies, I wanted to smooth many of them at once.
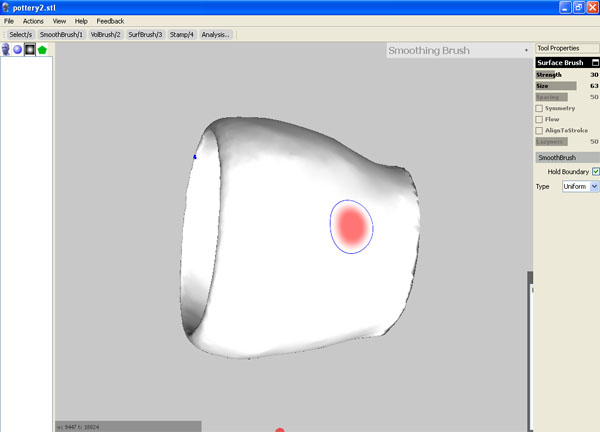
I opened the file in autodesk MeshMixer. This gave me the tools that were a bit better for the general smoothing that I wanted to do. I smoothed the sides of the model, doing my best to remove the problem spots. There were a few irregularities left, but overall much better.
I then reopened the file in Meshlab and did some final edits to the model. In particular, I removed a vertex that was causing problems and the verticies around it. I then repaired the resulting hole. The end result was very nice.
Now for the printing:
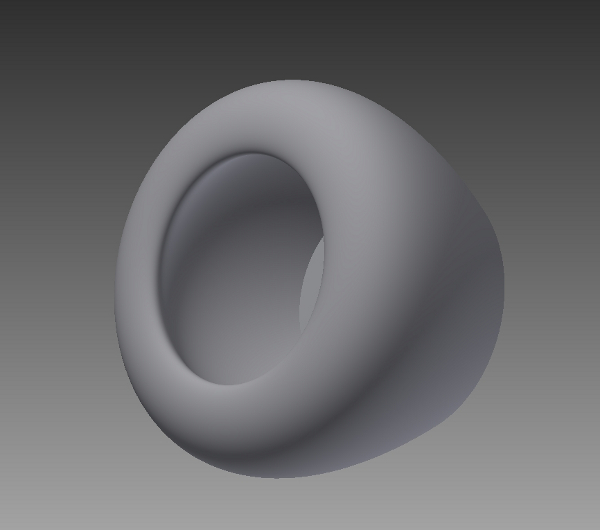
I decided to create a smaller version of the pottery that I spent so much time modeling. I could have used the repaired file if I wanted a more hand-made look, but I decided that it would be a good idea to try to make an object from scratch. I created a 3d model in Autodesk Inventor and exported the part as a .stl. The very nature of pottery made this easy as I just created a cross-section and revolved it around an axis to create my pottery.
I moved to the computer that is attached to the 3D printer and added the .stl file to the print area. The result is a smaller version of the pottery. This method works extremely well for any object with radial symmetry.
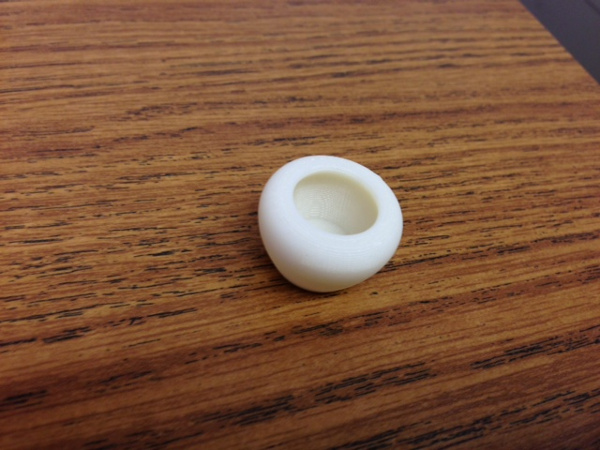
Below: the big brother and little brother pottery.