Academy 2013
Bridge shining
The first thing I had to do was to mill out the bridge and the two nodes in the milling machine. After that I soldered the boards and connected the bridge to my computer.
Now I had to connect the bridge to my computer with an
ftdi cable and an FabISP. I got all the files on the
Academy website. Before I programmed the board I had to
change the .c file a little bit. In line 41 I had to
change the node_id to 0. For the nodes I wrote 1, 2 and 3.
I did this by writing:
gedit hello.bus.45.c
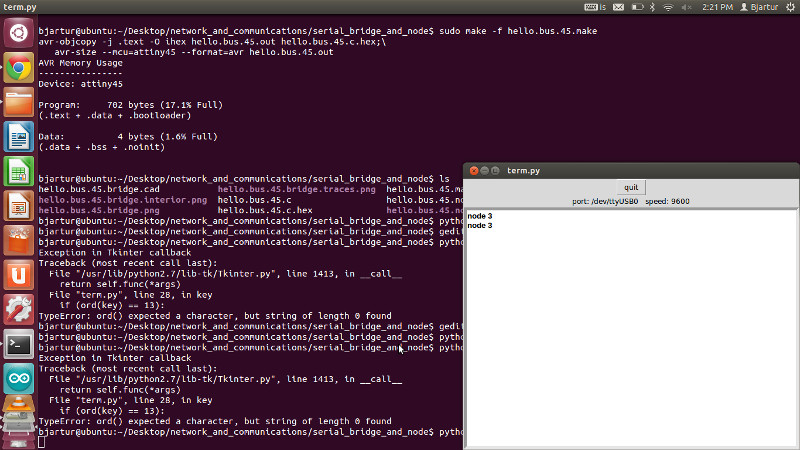
Now I programmed the board by writing:
      sudo make -f hello.bus.45.make program-avrisp2

      python term.py /dev/ttyUSB0 9600
Now the bridge was programmed and a window opened up. If
I pressed 0 on my keyboard the window said "node 0" and
the light on the bridge blinked.
Next thing to do was to program each of the nodes by
changing the .c file before I programmed it.
When I had programed all of the nodes I connected them all
together and ran the python file. Now I could press 0, 1,
2 or 3 and the lights on the circuit boards blinked.
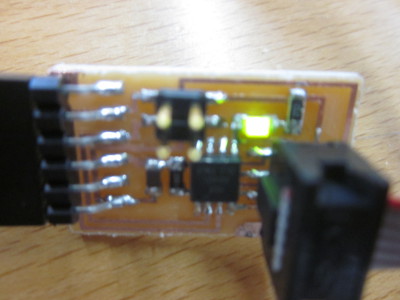
Here is the "node 3" blinking when I press 3
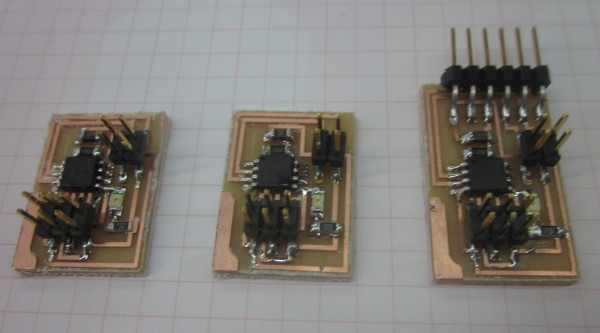
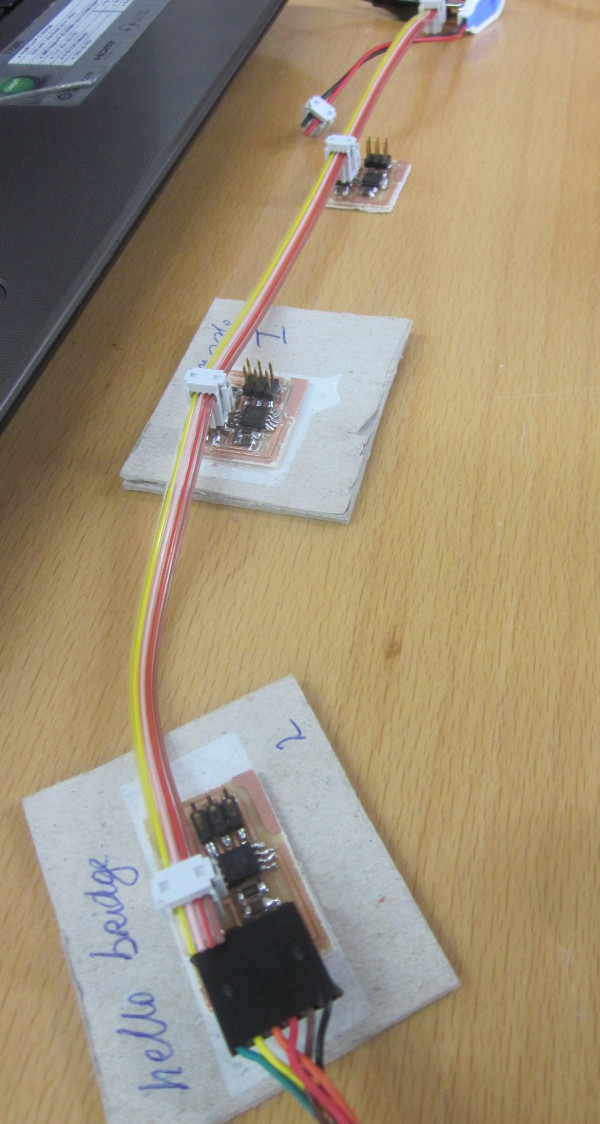
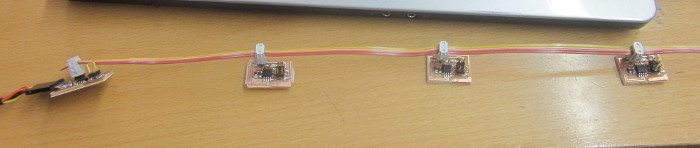
Here is a picture of the nodes connected
to the bridge
I also did the same thing with 3 nodes
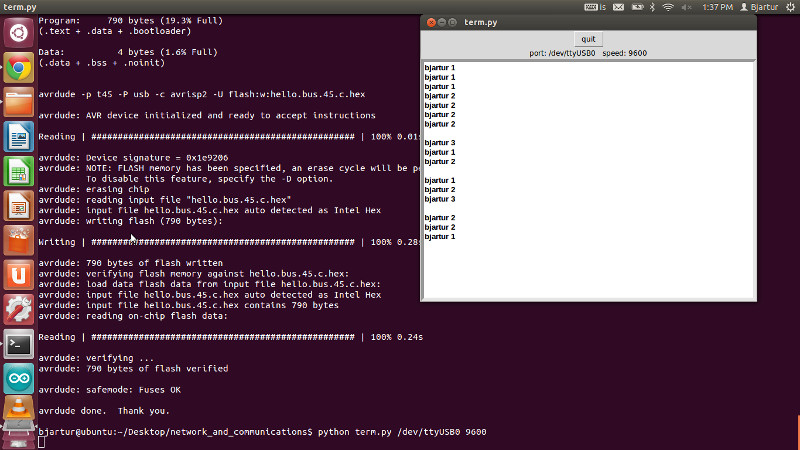
I wanted the screen to say something else so I found
where it was defined. I found a code that said "node " so
I changed it to "bjartur " and "hello " and programmed the
boards again. This worked perfectly.
Here are the nodes saying bjartur