Fab Academy 2013 · Michael Hviid Nielsen
Waag Society's Fablab in Amsterdam
· Lecture 03: Computer Aided Design, Manufacturing and Modeling
Lecture 03: Feb 6, 2013
Assignments: design, make, and document a press-fit
construction kit
Lecture Notes:
What I did:
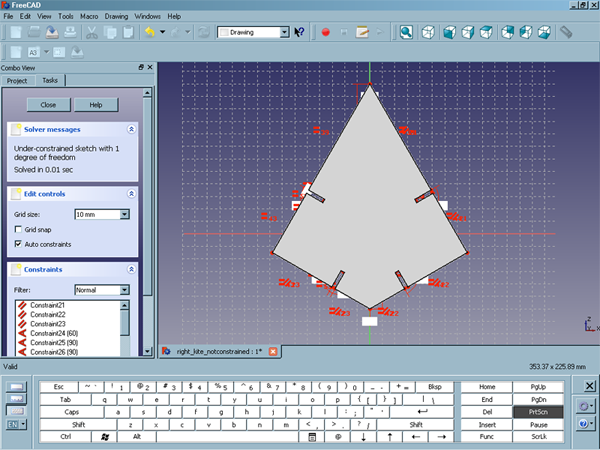
FreeCAD file with constrained drawing
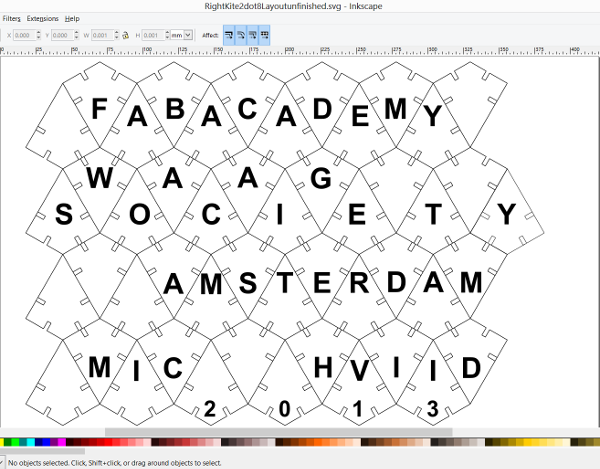
I partly chose a Right Kite with 60, 90 and 120 degrees angles because it tiles with "deltoidal trihexagonal tiling". That is if you reflect the shape along any of the edges - it produces a new tilable shape. So you can lay it out in any cutting pattern you chose. Due to the angles of the Right Kite, the pieces can be put together in a 3D shape wich appears slightly more disordered than with just equal angles. However, the shape also "closes up" more rapidly than endlessly tiling shapes
What I learned:
I leaned that eventhough two paths overlap completely in Ilustrator, and even if they are combined - they will still cut both of them. This not only takes twice as long, it also chars the cut edges more than necessary.
I also learned that eventhough all the settings are correct
for the lasercutter, and eventhough the same settings where
just used to cut the same material - sometimes things just
dont work as expected. Thus my snapfit pieces where not cut
all the way through and now more resembles a big beer coaster
than a snapfit construction kit.
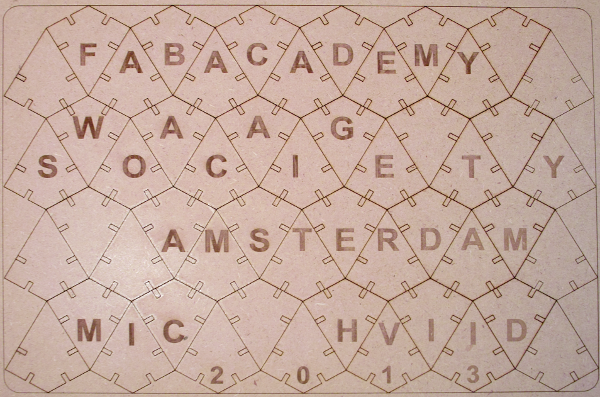
I ended up recutting the kit with the laser after it had been
repaired. I then discovered that the rightkites actually
allows to model a 3D form because the pieces "bend" to a
polygonal 3D shape while they are still snapped together. I
intend to follow up on this effect after the completion of Fab
Academy. The recut snapfit kit is shown as one of the many
possible shapes in this picture below.