Interface and Application Programming Apr 10
This week's assignment started off pretty rough, but through some of the cleverness of my colleague's I was successfully able to complete the assignment, but in a bit of a roundabout way.
I was tasked at creating a program that would display the input from one of the devices I built earlier in the semester. I chose the hello.light board, mostly because it was the board I was able to get to work consistently. During the Input Devices week, we created the board and then downloaded and ran the program from the Fab Academy website. When there was a lot of light input, the program would display a rectangle that was mostly blue. Where the light was covered, the program would display a rectangle that was mostly red.

My task was to create a program similar to this; Something that would display the input in an interesting way. To do this my first step was to download the program "Processing." This program allows users to create and manipulate display programs for any number of things. After downloading the program I ran through a few tutorials where I could create different colors and shapes. It worked great on my lap top.
I then tired to run the original hello.light.45.py program on my lap top. I was unable to get this to work during the input devices unit, and my troubles continued this week as I got this same error message.
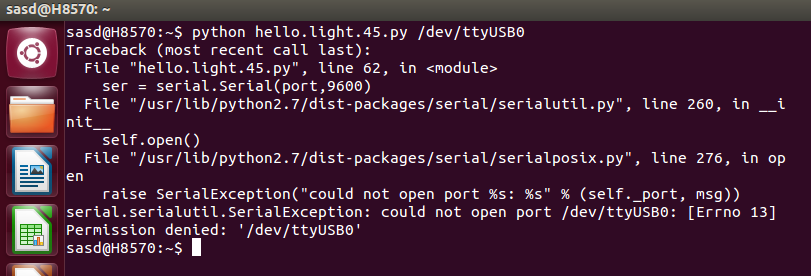
Something about "could not open port." I don't know enough about this to know exactly what that means, but I did know that I have gotten it to work on the desk top in our lab, so I went there. Running the hello.light program worked great. I downloaded processing, and while I could get all the tutorials to work, I could not get the examples on the AS220 page to do anything. I got the following error message.
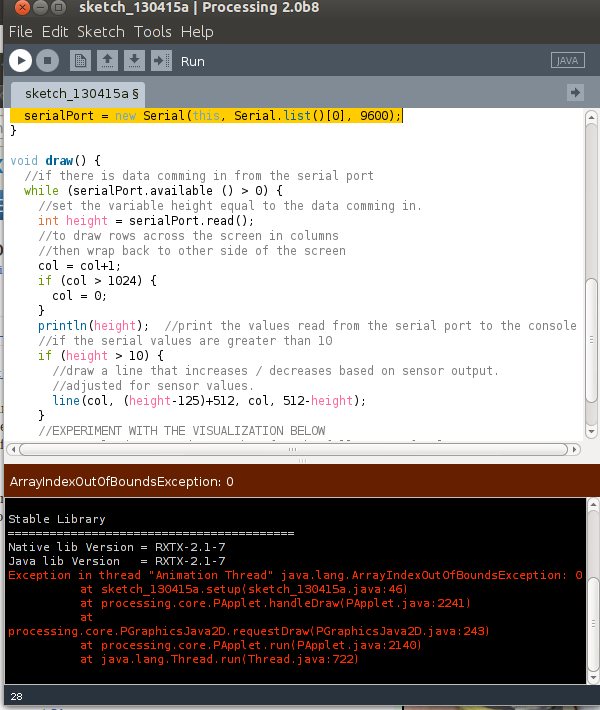
I was bummed and feeling a little stuck. It was then that my colleague Chris suggested that the real goal of this assignment was not to use processing, but to manipulate a program to show the input in a different way. We already had a program, the hello.light file, and since we have the script for it, we could just go in and tinker with it, and achieve the same goals without processing. Having never done this, I was confused but intrigued.
I opened the original file which looked like this.
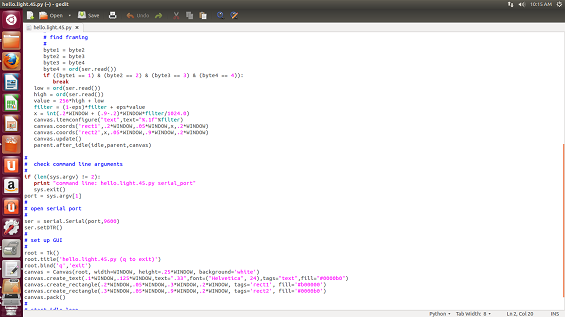
I then looked for something I could change without completely messing up the program. Without experience with code, this was quite difficult for me. Then I saw it. Words I recognized! The original program referenced "background = 'white'." I knew what that meant! I started simple, and changed the word white, to black. I saved, and ran the new program.
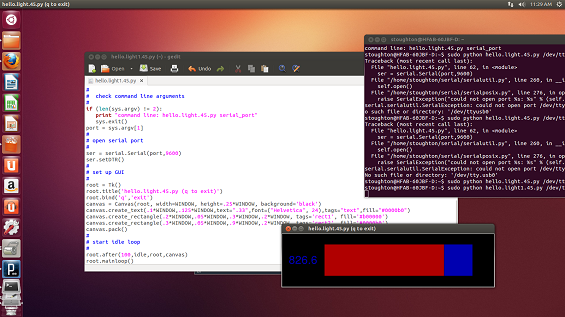
I cannot explain how much I freaked out at this tiny tiny thing. That was SO cool. I could change it to other colors too.
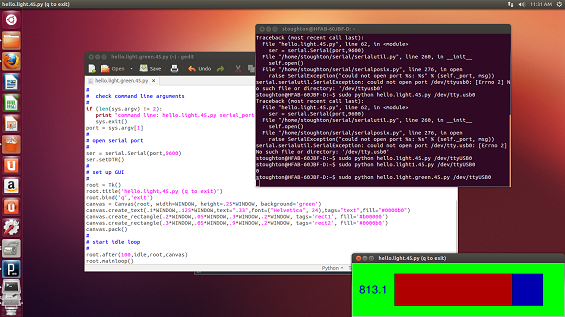
I wondered what else I could change and figured I would have to start delving a little deeper. I noticed some reference to the rectangles and figured out that there was a 6 digit code for the colors of things. A quick google search and I found a list which I could then change on my program.
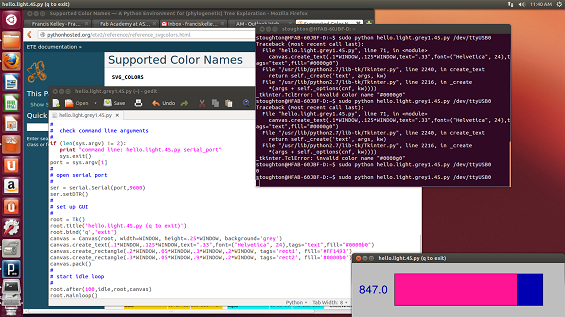
and more!
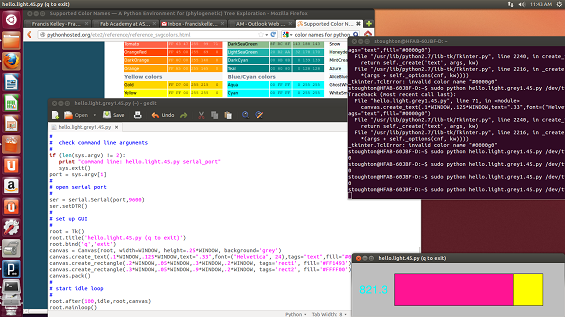
Thinking that color was very cool, but I should probably change some other things, I tried to find other things to manipulate. I can change some random numbers and get slight tweaks, but I really want to understand what I'm doing. I changed the size of the window by changing the height of the background rectangle and got a square.
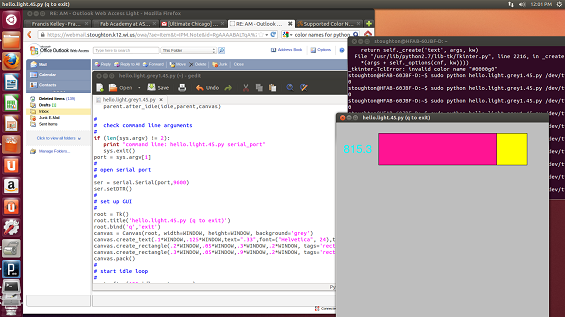
At this point, I think I have successfully completed the assignment but I plan to do a little more tinkering, I want to see if I can change the shape completely. If I update again you'll know I was successful.
Update: Houston, we have ovals (not circles!)
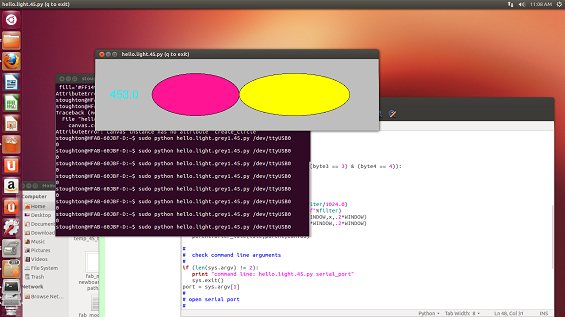
My goal is to have one inside the other, so that when the light is covered, the smaller fills the space, and vice versa. We'll see if I can get that to work.