Week 9 Assignments
Table of Contents
Week 9 - Computer-controlled machining
This week assigment involves creating something big using the CNC milling machine. I plan to work on a pedestal that could be used both by children a adults to play some games or to host game selection controller for my final project.
Working with the CNC milling machine
Our CNC Milling machine at Fablab Leon is a Tec-cam 3000, with a bed size of 2.44x1.22m. It can work with non-metal materials such as wood or foam. Given it's a powerful noisy machine, fully automated, we should follow some guidelines to prevent injuries or serious damages:
- Protective glasses and ear protection should be used at all times inside the machine room.
- Compressor should be always enabled before milling, to attach firmly the piece to the table.
- Martyr board must be always present to prevent the drill to cut through the metal base.
- When machine starts milling the board, you must verify there are no speed problems that could cause a fire hazard. Check the color of the wood bits, if it's black and smoke starts to appear, turn off the machine.
- Never leave the machine unattended.
Designing the object using OpenSCAD
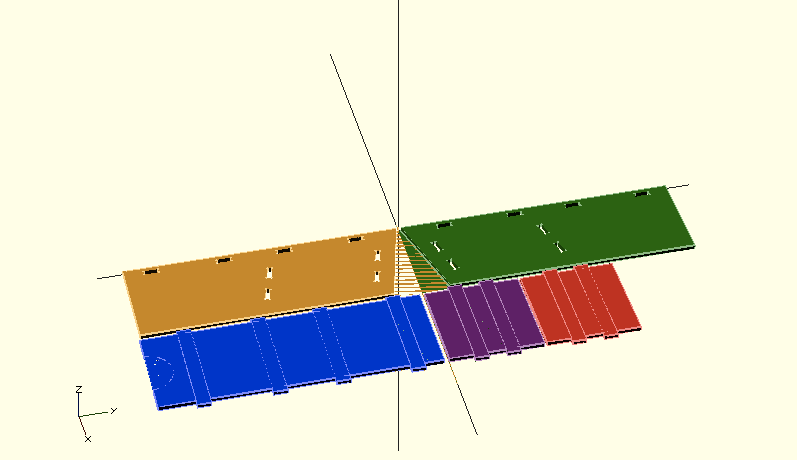
I decided to turn to OpenSCAD again to design all pieces. It was a real advantage to be able to rotate all pieces and see them match virtually before proceding to final cut.

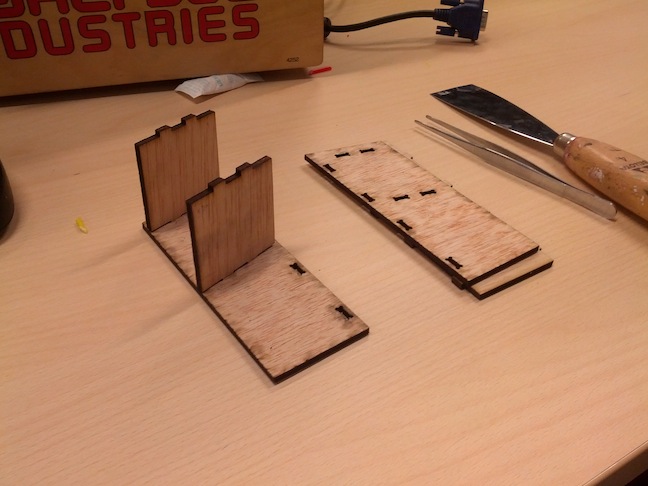
To prevent further errors, I did a smaller version using the lasercutter to make sure diagonal pieces would fit as expected.

To design for CNC, first I created an huge board resembling the real wood panel dimensions and then designed all the other pieces as a difference to make sure they would fit inside. In the last step, I removed the big board commenting on the given lines, so only final pieces would remain. Here is the resulting parametric OpenSCAD file.
CNC Machines allow for 2D and 3D shapes, but 3D shapes take a huge ammount of time compared to their biplanar versions, so I projected the 3D file into a dxf file using this very useful OpenSCAD sentence:
projection(cut=false) import("/Users/satch/Documents/FabAcademy/3Dpanelfilename.scad");
The output file can be processed by the CNC machine. Notice how we added some all circles on the joints as to allow both pieces to fit together. As the drill has a minimun radius, our corners will not be perfect, so we have to take some extra space on those area to ensure a viable joint.
Preparing the file for the CNC milling machine
Once you have a dxf file, you can import it into de CAM program to define all tool paths/trajectories and parameters. This step is mandatory and fundamental to make sure you'll get the desired output.
Importing the file
To process the file we use the Aspire VCarve program. It seems there is a glitch that happens when you double click file directly from explorer windows. To open it in the "right" way, you have to open program first and then select on Archive -> Import -> DXF file … This is the only way to make sure the program will respect original file dimensions.
Our first step is to configure the board dimensions and make sure our design is centered and not scalated. Next step is to decide what drill will we use. In my case, I chose 6mm flat head drill. Parameters to cut MD boards of 19mm depth: cut depth 19.1mm, advance speed 750, down move speed 400.
We must cut 19.1mm of materials in several pases. Each past depth should be between 2.5mm and 5.0 mm. Deeper pases could break the drill easily. In our case, we selected 4 pases with a depth of 4.8mm each.
Our next steps involve defining the real path the drill will follow. We have to select each trajectory on the 3D preview and choose whether it will be followed by the inside or the outside. For each one, we should also select to slope during the drill in 45º angle, to reduce the tear and wear on the drill.
One of the last steps is previewing the result and getting a time estimate. After all trajectories are selected we should save each one in a different file ordered by milling strategy. Then we export each resulting G-Code file to a pendrive and move to the CNC mill itself.
Operating the CNC Mill
To operate the milling machine we must always follow these steps:
- Verify martyr table is placed on top of the cutting area. (Martyr table is a board that is meant to protect the machine from the drill point, serving as a wood buffer)
- Put the new board on top of the martyr one
- Insert the drill and turn the CNC head firmly and gently to ensure it will not move out of control.
- Turn the compressor on while you step on it to prevent it hits the CNC Mill.
- Verify both boards are firmly secured by vacuum system. If that's not the case, verify the levers on the front side of the machine are open.
- Turn on the CNC Mill and move to the control panel. Insert the pendrive into the panel port.
- Move the head using X+/X- Y+/Y- buttons until it's on top of the wood area. Press set origin button to mark this position as the origin.
- Take the aluminium block from the side of the CNC bridge and place it on top of the board, below the head.
- Press the two buttons on the down-left corner at the same time. Head will begin moving downards until it contacts the aluminium. If it starts turning, just press the STOP button and try pressing at the same time.
- Turn on vacuum extraction system
- Select Read from USB and select a file and then push GO button. a) During the first five minutes inspect the milling process to check if configuration is appropiate or not. If you detect strange noises, smoke or black debris stop the machine and double check your settings looking for the problem b) Attach the aspiration sytem cover and wait for this job to finish.
- Repeat step as many times as necessary until all files have been processed.
After all files were processed, this was the output of the CNC mill
Assembling all pieces
This is the final aspect of my pedestal once all pieces are placed together