Week 7 Assignments
Table of Contents
Week 7 - Molding and casting
This week assignment involves creating a mold and casting a shape from it. It's a very interesting practice albeight it's neither easy nor fast. As in previous weeks I'll try to advance my final project exploring the possibility of using molds to cast my playground pieces as I'll need about one hundred of them.
Molding
Preparation
The first step was to decide what shape should I get from the mold. I had my UFO-shaped piece designed from the 3D printing week but the edges were a bit point and some children might get hurt playing with it, so I redesigned it to be based upon a sphere instead of two cylinders. This is the new shape that resulted, much more finger friendly:
To get this shape out of the mold I had to use two complementary molds, as it's not really flat and has details on both faces. I reviewed several tutorials but most of them involved using Rhino or some other tool to get a positive out the 3D model. As I was commited to use OpenSCAD from day one, I searched for possible solutions and I was extremely lucky. There is a openscad to two-mold script at Thingiverse, that takes your file and creates the two parts of the mold automatically doing the boolean operations to get the negative out of the shape. As fast as my luck came, my luck was gone as I discovered that using my shape, the program was unable to calculate the necessary parts: the object grid was stuck inside one of the parts of the mold, rendering the final file useless.
I went back to the drawing board and decided to do it by hand, even with my limited knowledge of 3D manipulations. The main problem is that I was trying to create a two part mold out of a cylindrical shape, so to get it right the mold had to be cut not in a classical horizontal or vertical shape, but a conical one. One cone includes the lower part of bowl and the upper part creates the holes and details on contact with the bottom layer. Unforntunately I was not aware about the good geometry to the bowl part was incorrect, but fixable somehow.
Here is my openscad design for both parts:
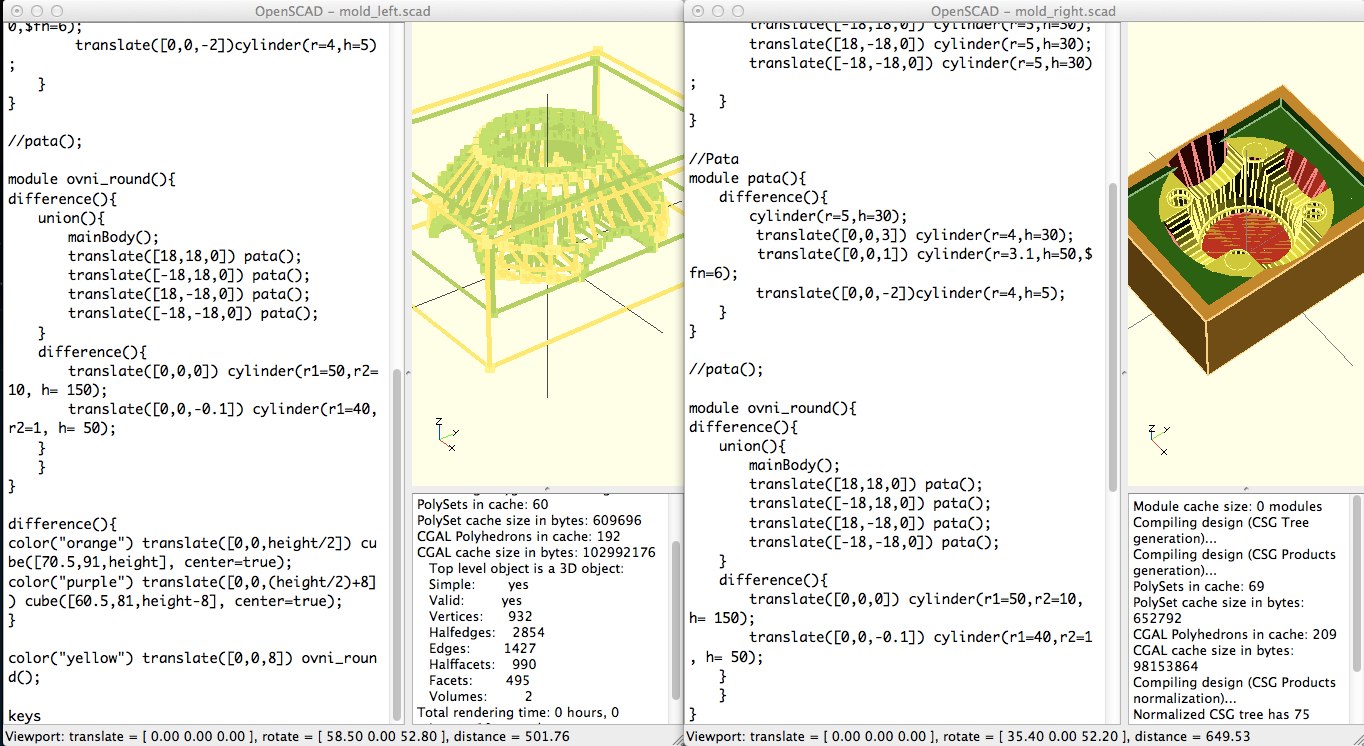
Here it is the OpenSCAD files: Left Mold Right Mold
In this image, you can see some details that were improved after reviewing both mold parts together in Rhino:
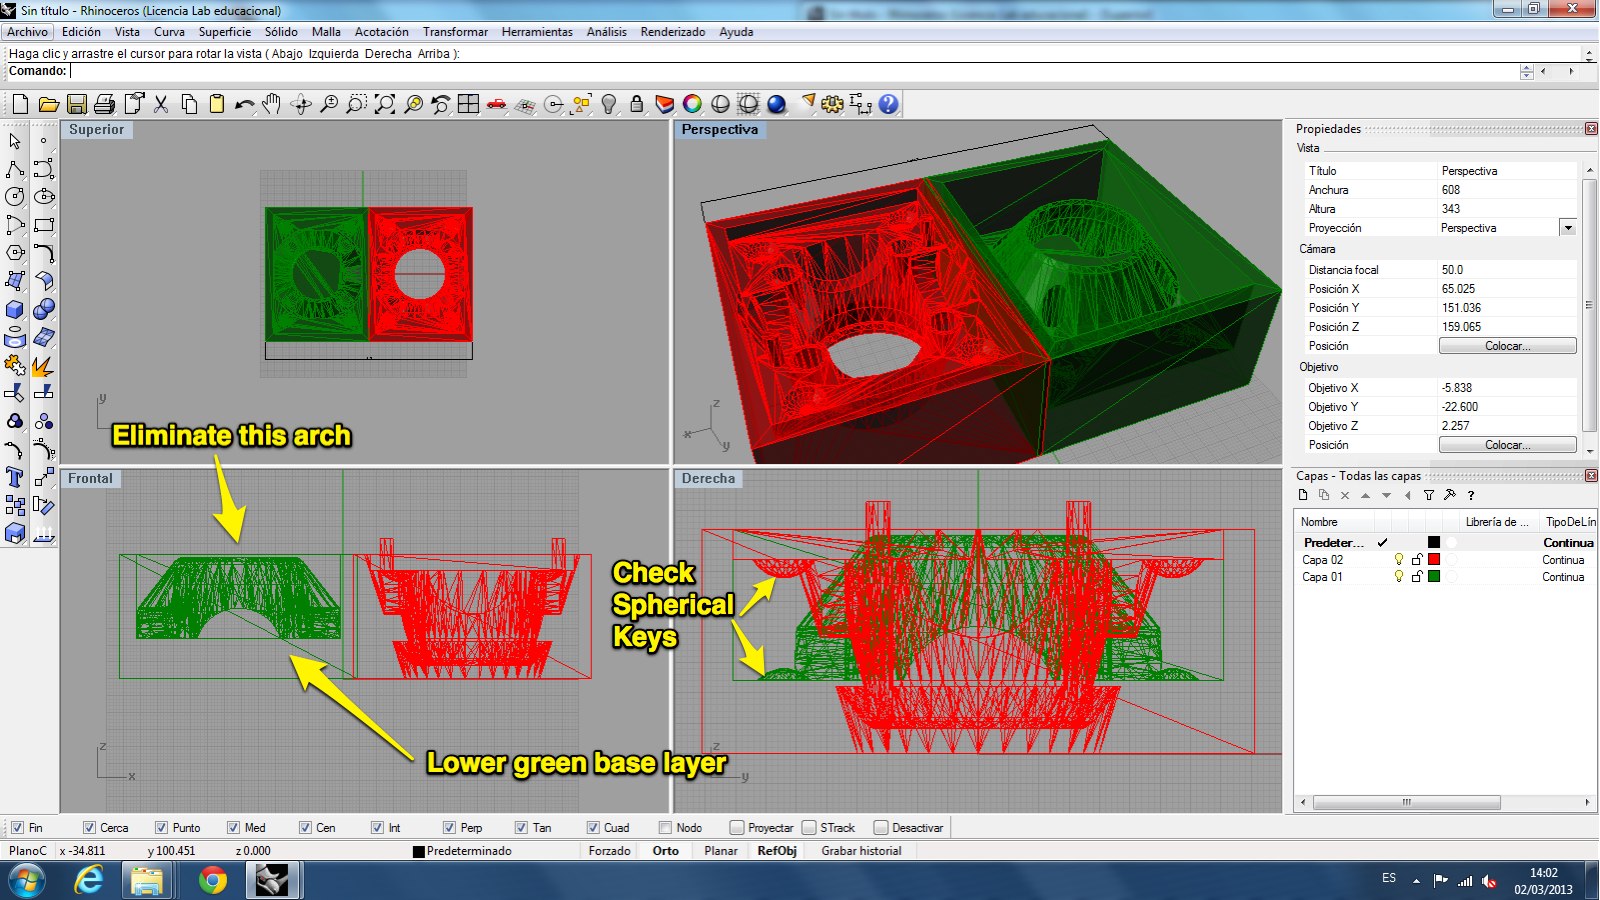
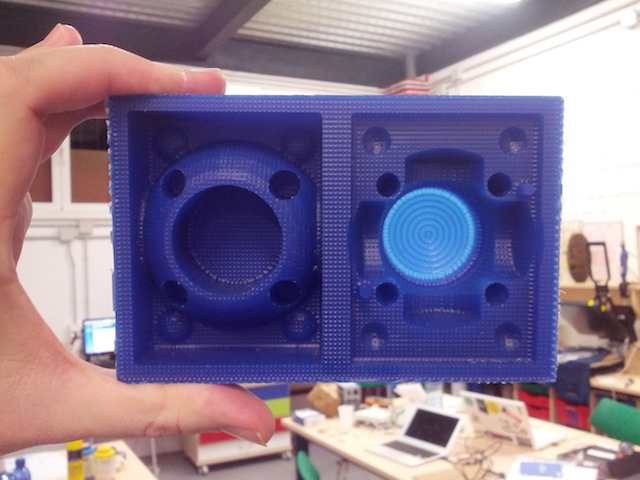
I exported the rendered (F6) view to a stl. Next step was to mill the mold in the Roland Modela MSX-20 using FabModules. I chose the stl to rml option (makestlrml) and selected the exported file. Fabmodules creates a greyscale image with the white points meaning top height and the black ones as drill to the bottom ones. When you click on make path it calculates the drill route along the shape. My UFO was extremely deep, like 36 mm out of 39 mm depth of the material itself in some parts, so it took ages to create. In total it was 4:30 hours for the first pass (rough) and about 1:30 hours for the second finish pass. Afterwards my positive mold was ready:
Creating the mold
To create the mold we had to choose between some components. Beacause I didn't plan to create something edible out of it, I decided to discard alimentary grade silicone and chose uretane (PMC-130). Bad choice as it seems like I'm midly alergic to it. I mixed both parts 50/50% using a weight. After mixing it for a while, I poured it over the mold until it covered the wax brick and left it the lab, with some windows open for over 14 hours until the next day.
After it was dry, I tried to extract it to discover that the uretane had filled the holes completly and that it was not possible to extract it at all. Lesson learnt: always leave a ventilation hole or some way to push on the other side of deeply filled areas.

Casting
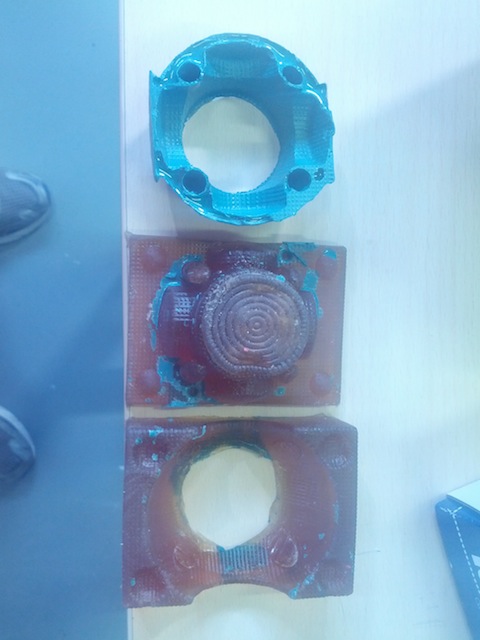
For the casting we used a pretty fast plastic called Smooth finish. Again, it required 50/50 mix, but this time it dried in 3 minutes. I put some red tint into the mix and poured into the mold, to extract hardly the piece. I had to destroy some parts of the mold to extract it, but in the end it was not a problem as the central part was unnecesary, as it was badly designed.
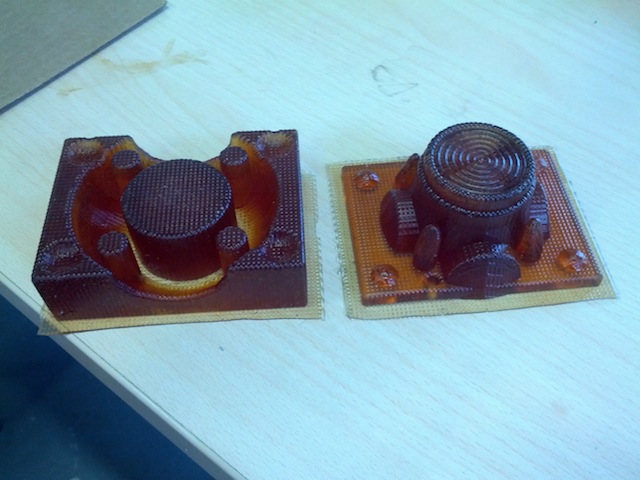
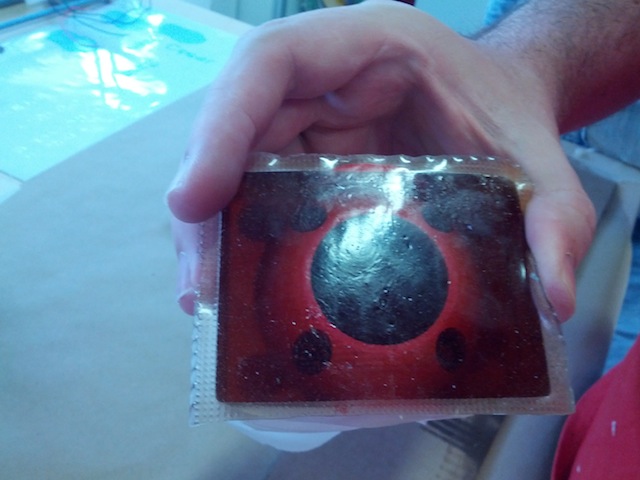
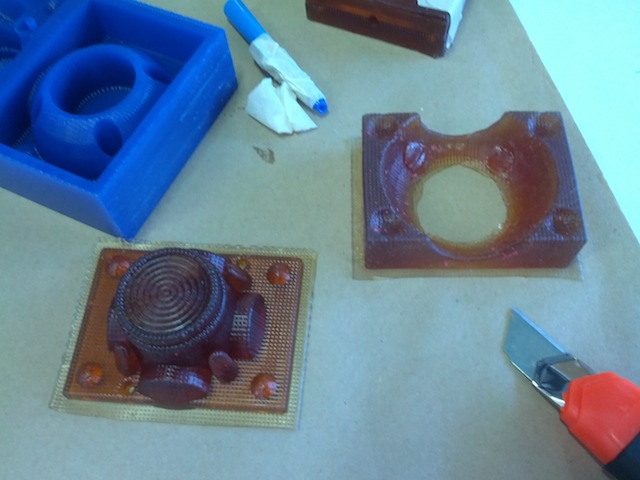
Once I destroyed the mold it was time to try the two sided mold, using some card board to fill the other holes. This time I used green tint to distinguish both pieces. I applied the mass through one of the upper holes using a syringe. I waited for 3 or 5 minutes so I could get ir ready. This is my final piece once out of the molds.
