Week 5 Assignments
Table of Contents
Week 5 - 3D Scanning and Printing
Assignment
This weeks assignment is double, as we had to 3D scan an object and then design and 3D print an object. There is extra credit for making your own scanner, and in this occasion we even tried a larger goal, to build our own 3D printer too! Let's explore how far we've advanced on this topic.
3D Scanning
We explored the different options available for 3D scanners and decided to build a fabscan 100, a fablab friendly open source scanner. Pieces were cut using the Epilog laser cutter and for the electronics we opted for the FabScan Shield to save time. During this week we will try to mill a one sided shield to compare them side to side.

As we where assembling the pieces we discovered the laser was a bit thicker than the hole, so we will modify the files for our laser size and finish it during this week. Here are some photos from the assembly process.

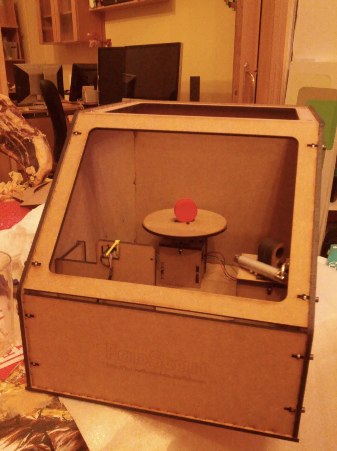
Update: The first laser we received was broken and we had to get a new replacement. Something similar happened with our fabscan shield! In the meantime, I tried using Kinect to get a 3D scan of myself using a Kinect. The results are far from impresive but it could be a great tool to scan great areas or surfaces into a mesh. I used the PointCloud code from the OpenKinect Library. Here is the output:
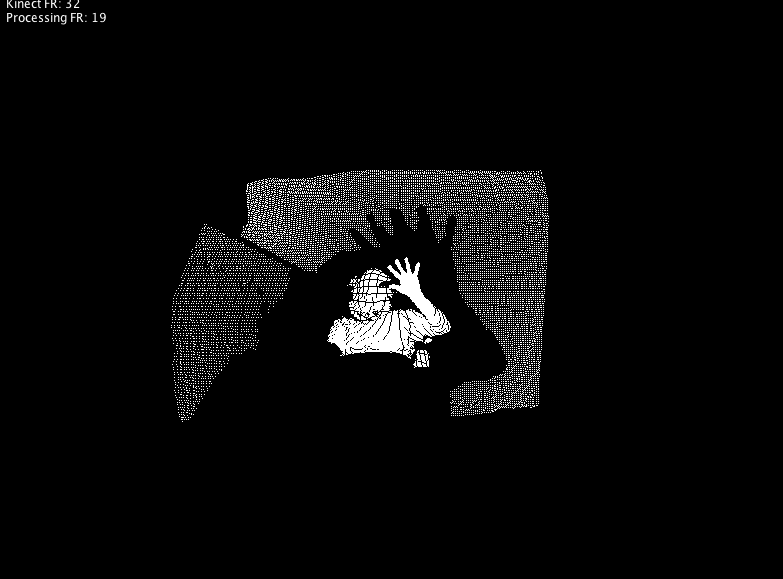
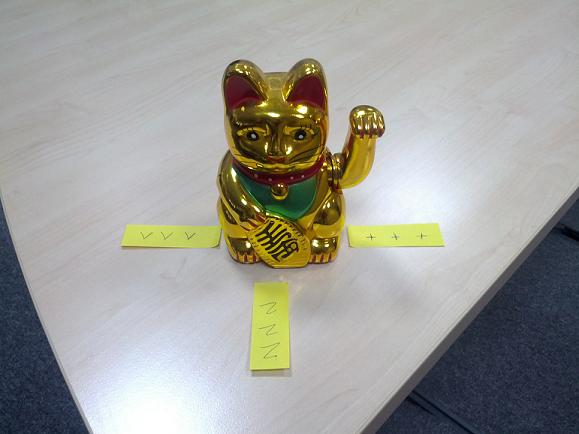
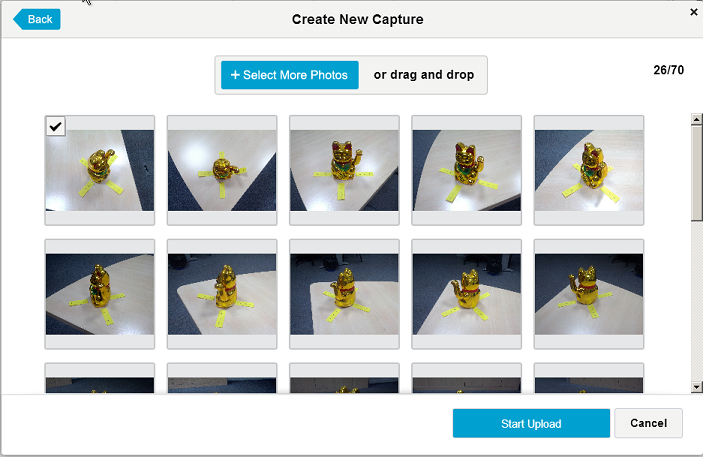
The output is not very promissing and it's not very clear how should I export this to something printable. I decided to try another additional method in the meantime, using Autodesk 123D Catch. This software enables you to take several pictures to create a 3D model without any special hardware. This software is available for Windows and iPad, but my combo is MacOS and Android, so I had to choose the 123D Catch cloud option, that does all rendering once you upload the photos. I took 20-30 photos of a Chinese Cat figurine to test the quality of the output.
I uploaded all files to 123D Catch website and filled in the model details:
Afterwards, I got this result with some artifacts:
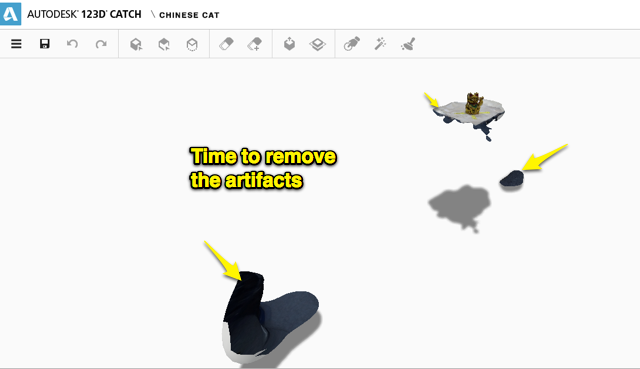
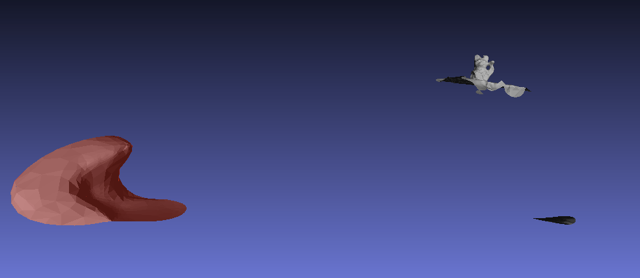
I tried to remove these artifacts using the web interface, but it's very confusing and most of the options to erase were greyed out. I decided to export the result as STL and open it using meshlab. This is my original file imported on meshlab:
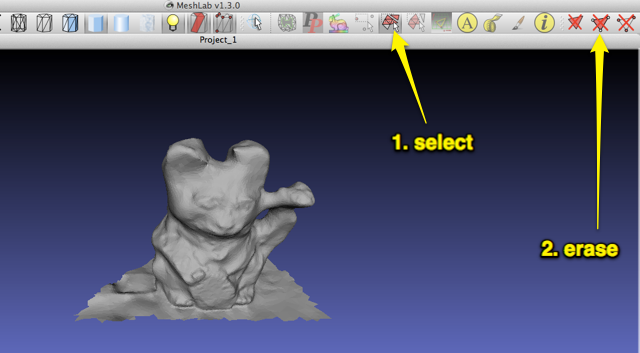
In meshlab I selected areas to delete, the erased nodes and surfaces using these two buttons:
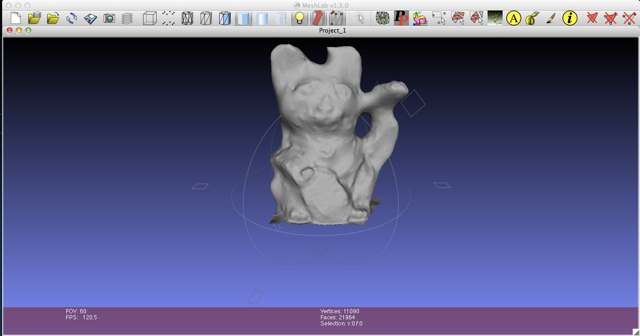
This is the final 3D print after the artifacts were removed:
3D Printing
For the 3D printing part, I decided to design the upper and lower parts of the my final project playground pieces. That would allow me to prototype the electronics dimensions, verify how to work with nuts and bolts, and check the strength of this shape.
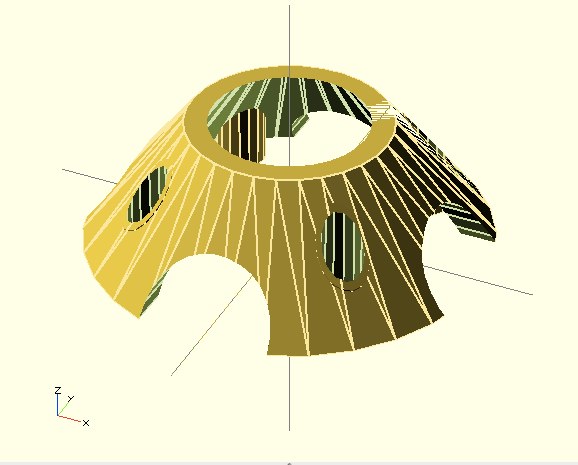
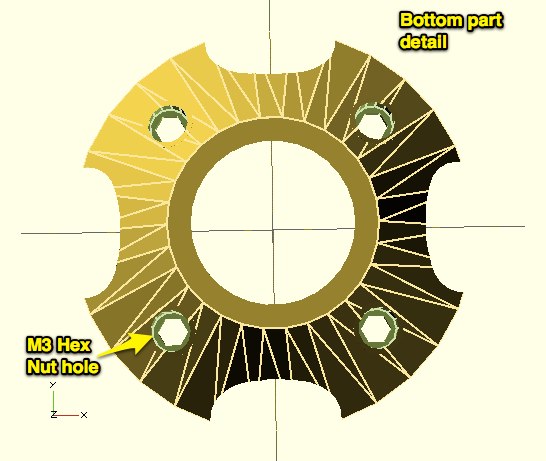
Both parts were designed using openscad and exported to STL afterwards. The only differnce between them is that the lower one has a M3 hex nut hole using th $fn=6 property. Nuria just gave me wonderful inspiration and I firgured out I could even create the same piece using a mold, that could fit nut and bolt at the same time!
This is the upper part (OpenSCAD file)
This is the lower part (OpenSCAD file)
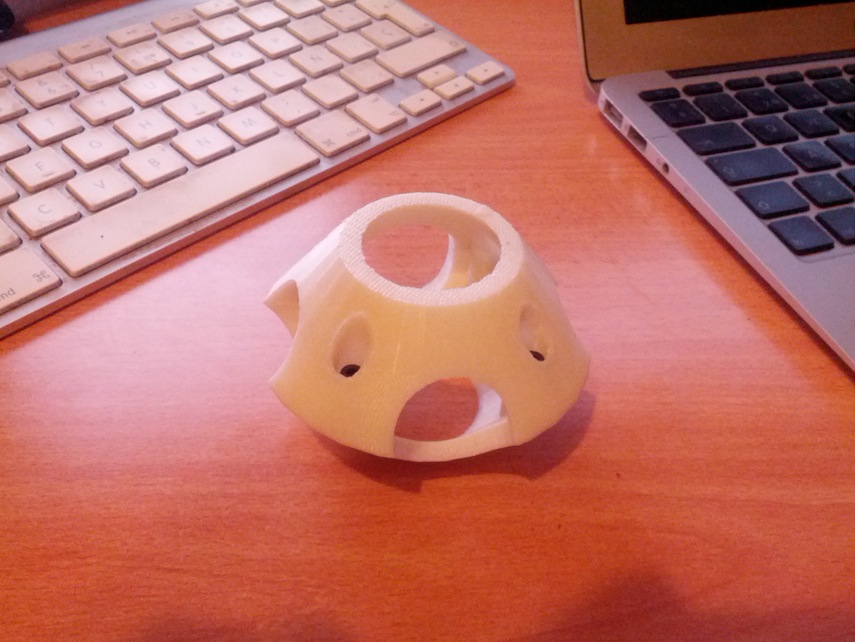
To print those parts we used the HP Designjet 3D. This printer can create very fine parts even though its ABS plastic is quite expensive.
I opened the files and them main window appeared. I configured both pieces in the same package.

Pieces were turned upside down with support material, even though I believed it could not be necessary as only a small layer of 1mm would be an overhang
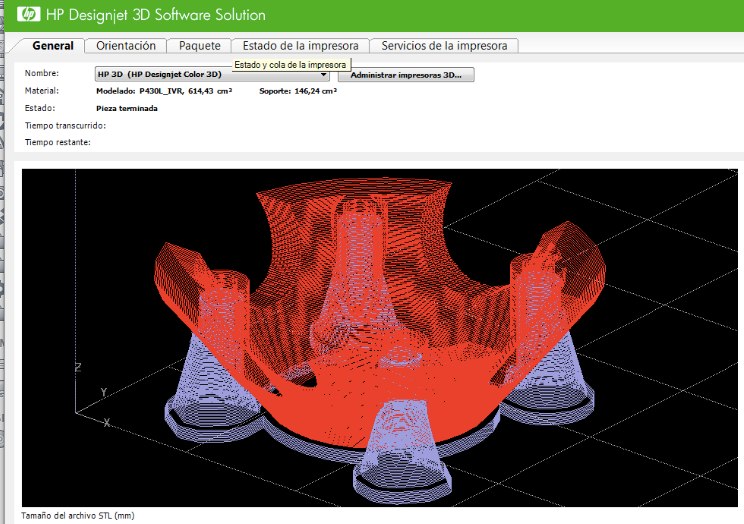
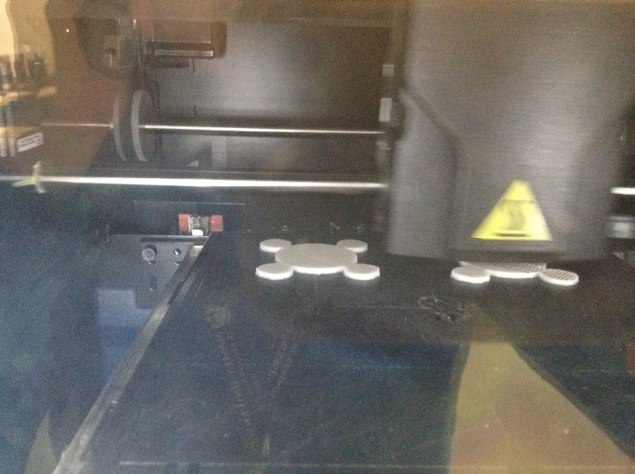
This is the beginning of the print proccess and these are the final pieces
An additional printer is born
I was quite lucky to attend MakerShow Zaragoza, where some pieces for my PrintrBot were donated to me. The original donation was done by Juan Manuel Amuedo, quite involved in the CloneWars movement about reprap machines.
I assembled all mechanical components for my new printer, Aedea, and during this week I plan to have it printing the same pieces as in the HP, so we can compare quality and easy of use.
Some work ahead
There are some pending tasks that would need to be completed during this week:
- Redesigning laser mechanism
- Scanning a 3D piece
- Modify it and print it for the extra credit
Conclusions
This was a super intense week, as we had to create the scanner, work on the new 3D printer and visit a Maker Show in Spain. I could learn so much along the way! Being able to talk to people creating their very own printing devices is awesome!