

DESIGN
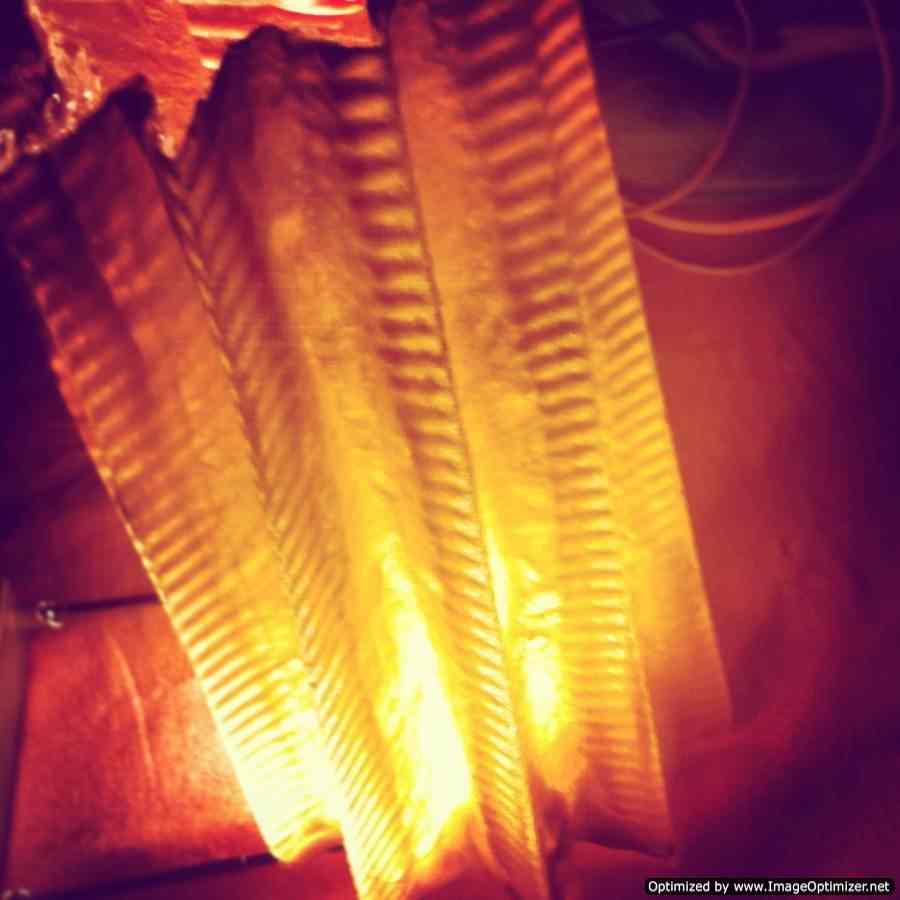
-This week we are doing composites. i
decided to experiment more and not
just use it as a rigid surface
composed of layers,
but as a resilient surface that
bends but still holds it's shape.
-My design was so simple while
modeling but was difficult at
milling yet more difficult at adding
the composites. the digital design
was made with RHINO 4 . then i
used RHINOCAM to get the GCODE for the
CNC cutting machine
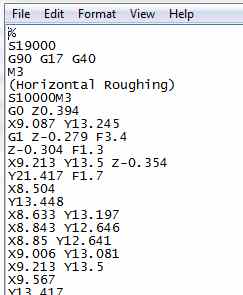
-I used
two files one for the rough phase
using the 12mm pin and the other was
the fine one using the 6mm pin. The
rough phase is
basically done in horizontal
lines with a bold pin moves only along
horizontal line roughing the material
. while the finalizing one is in the
opposite direction with a finer
pin for a finer resolution.
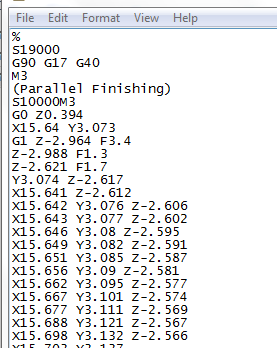
-On the left
img is the ROUGH job Gcode, if you
opened gcode on your computer using
word-pad you will get this image,
bunch of vertices.
that's what rhino cam does after
setting the pin's radius and depth it
coordinates each vertex to the zero
point resulting a digital code
for the machine. so basically rhino
cam is like a translator between the
digital model to the physical
world.
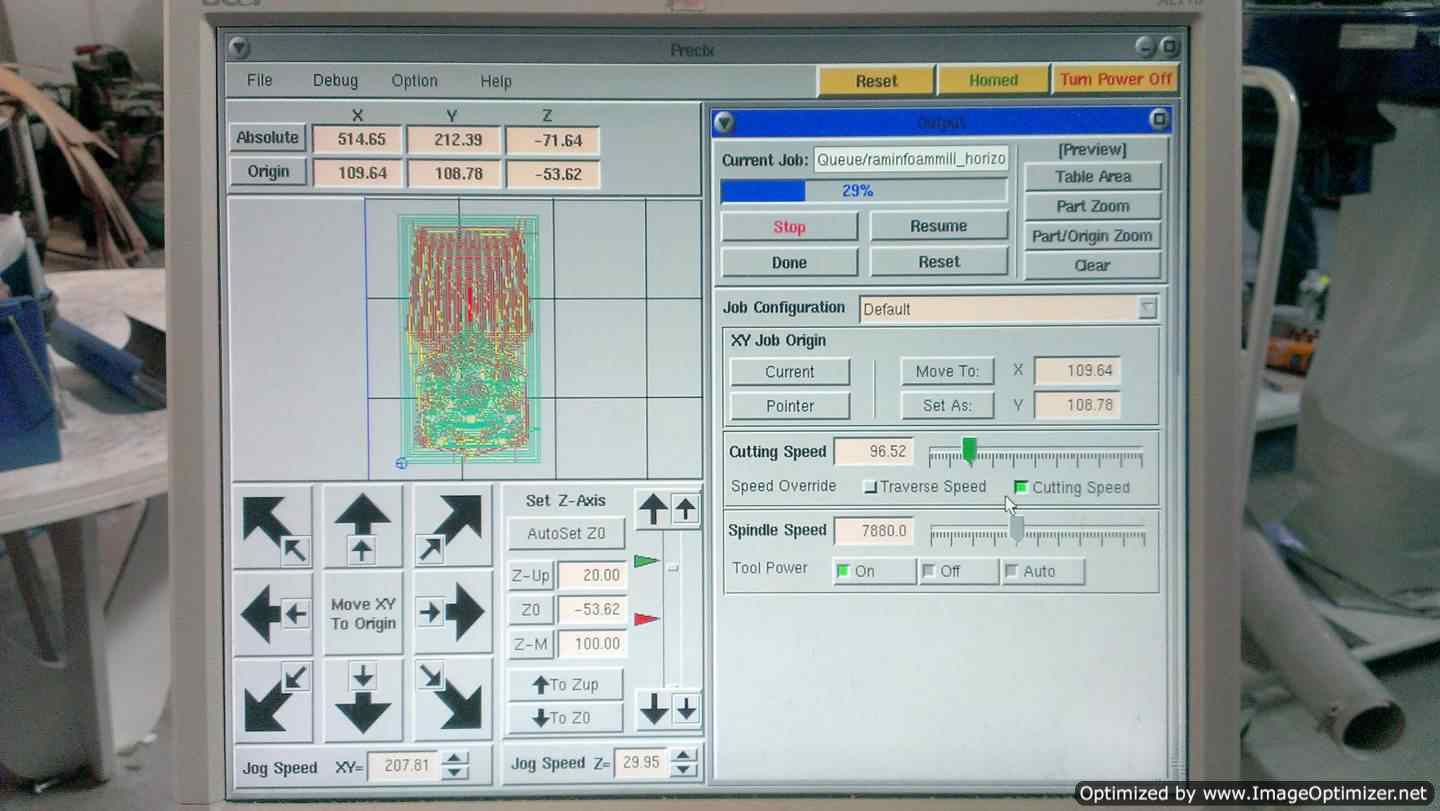
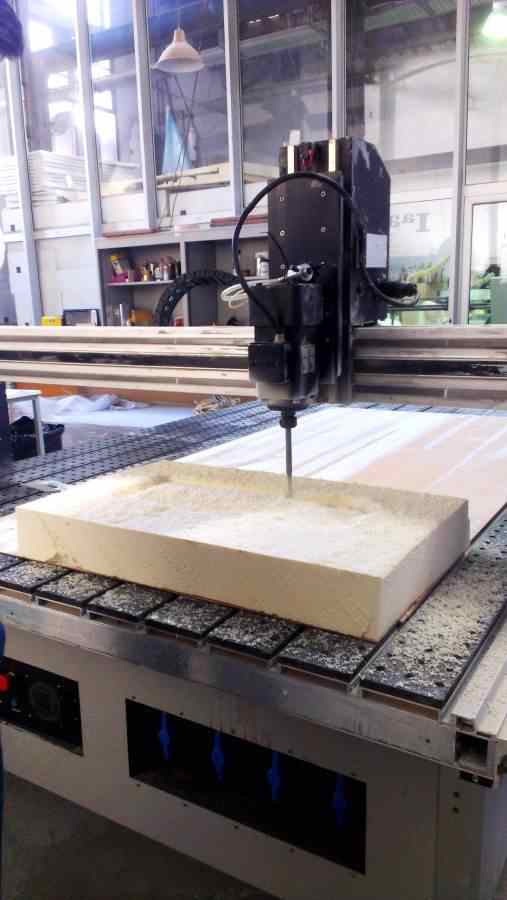
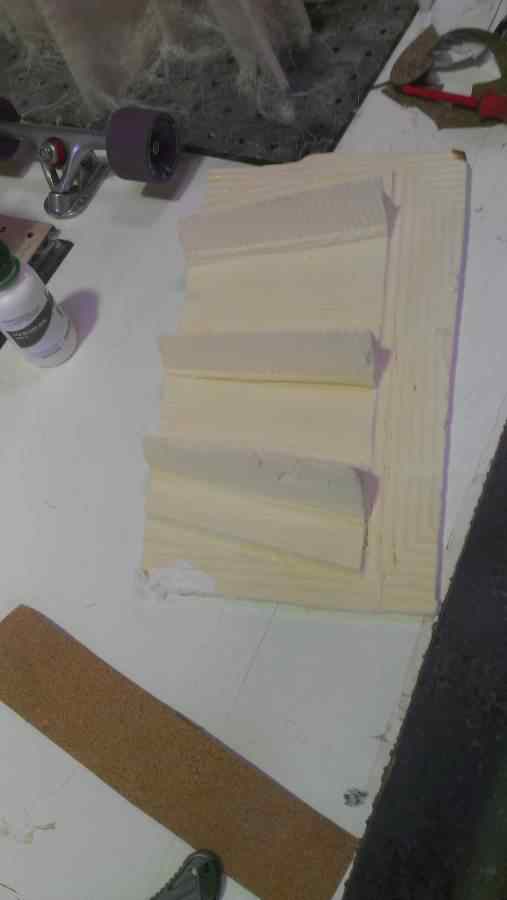
MILLING
after sending the
files to the machine and fixing
your foam piece, you start
calibrating the zero point to move
the X & Y you do them manually
with the arrows the big ones
move faster than the smaller ones
and the Z has to be above the
material and it's adjusted with
the up and down,
the green arrow is the
maximum up while the red sown is
the maximum down which will be 100
according to the materials
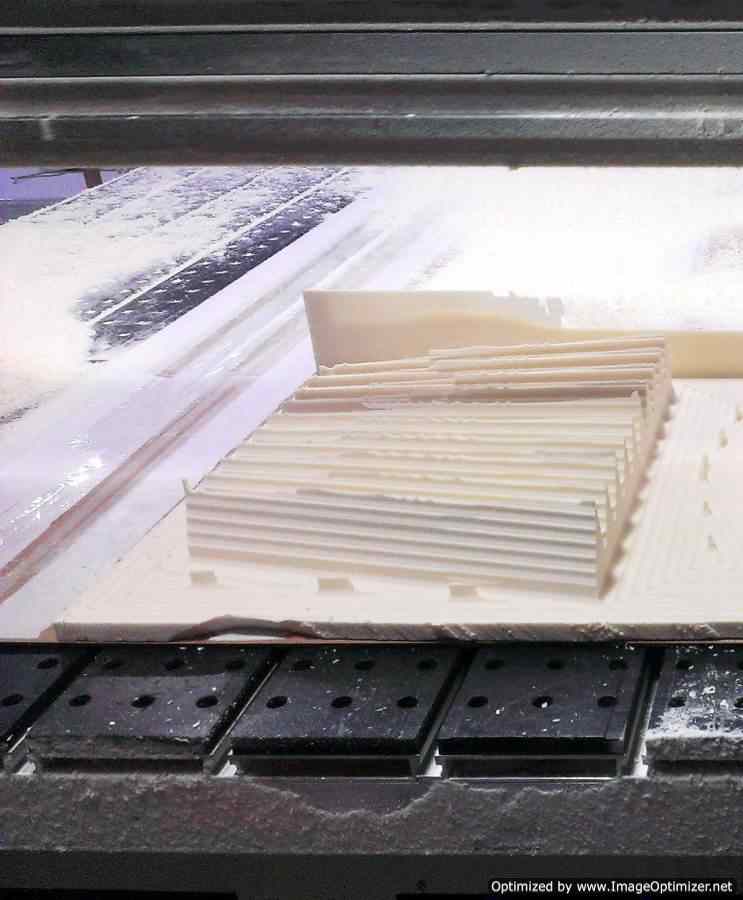
thickness. Speed
you can increase it up to 96 as
foam is a flexible material will
not the break the tool. you send
jobs one by one, first the rough
then after 100%
you click DONE then ADD NEW FILE
TO THE JOB and send the other one
after changing the tool

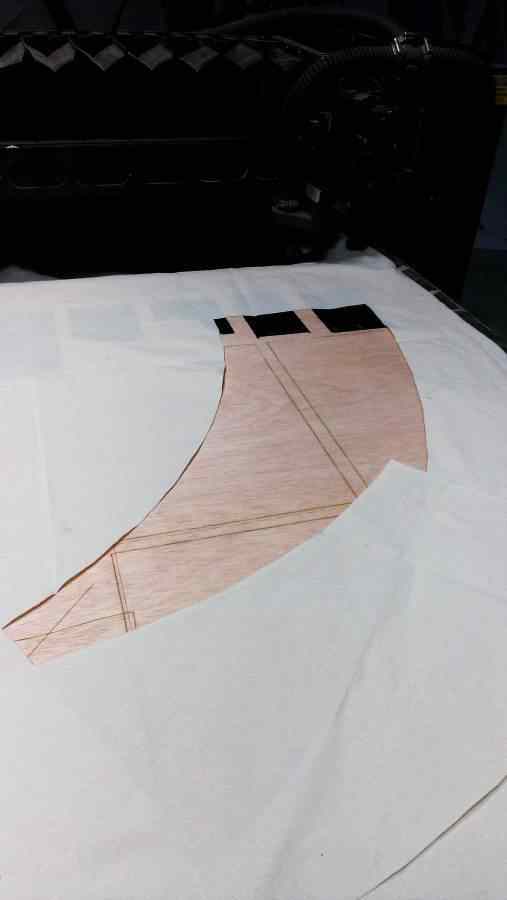
LASER
CUTTING
While milling the
model i prepared the fabric layer
using RHINO5 to unfold the model
using the command SQUISH.
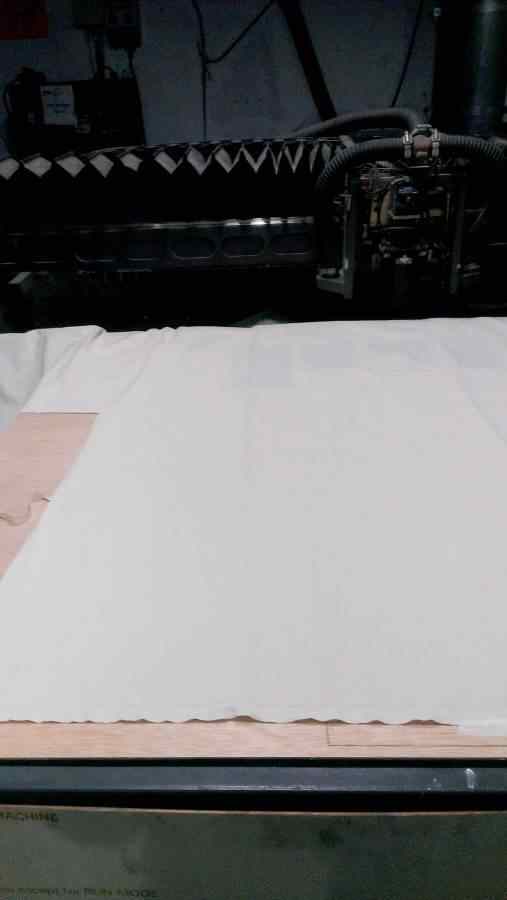
Cut it with the laser
cutter on a cotton fabric. CAREFUL
while
unfolding any file rhino explode
the shape automatically don't
forget to either join the segments
or redraw it in a neat way
if you had to. because if you send
it to the machine the same way you
got it from rhino the machine will
read the line
in pieces and you will just
use more power and get an
inaccurate result.
-IF that
happened DONT pull the fabric,
use a cutter not any force
because natural fabrics are
like a mesh with perpendicular
grids so if
you teared the connected
part you will screw the whole
part.
-Be aware that the unfolded
shape rhino5 gave you probably
wont fit your mold due the
probable inaccuracy of the
milling machine. for
example here at my
design the sides were too
steep so that the pin didn't
penetrate the foam exactly the
way it is in the model. So i
had to cut
the extra parts even
after laser cutting.

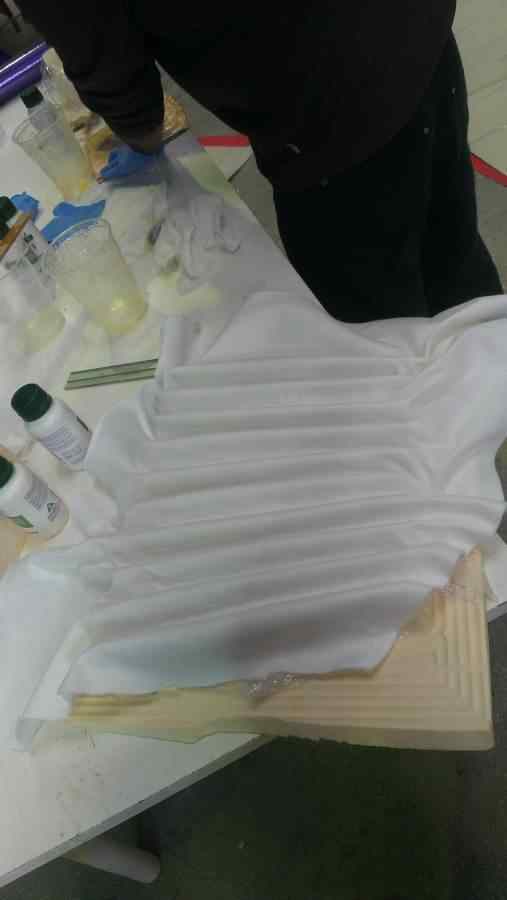
cooking
-After two hours
of milling and laser cutting, both
the mold and the fabric are now
ready for the cooking. I
then started mixing the
EPOXY with the HARDENER
with ratio 2:1 respectively.
then i dipped the fabric in it
make sure it's all covered with
the mixture, then
squeeze it to get rid of the
extra past.
this transparent layer
facilitates the removal of the
composite off the foam after
finishing so you start with it
then you composite
layers then another
additional one to protect it from
the white cotton layer. TIP my
design was complicated it had a
lot of imperfections
so a tip for you in the
future add the layers separately
from the model respectively as
mention then apply them all
together at the same
time on the model to avoid
wrinkles or sticking into your
gloves.
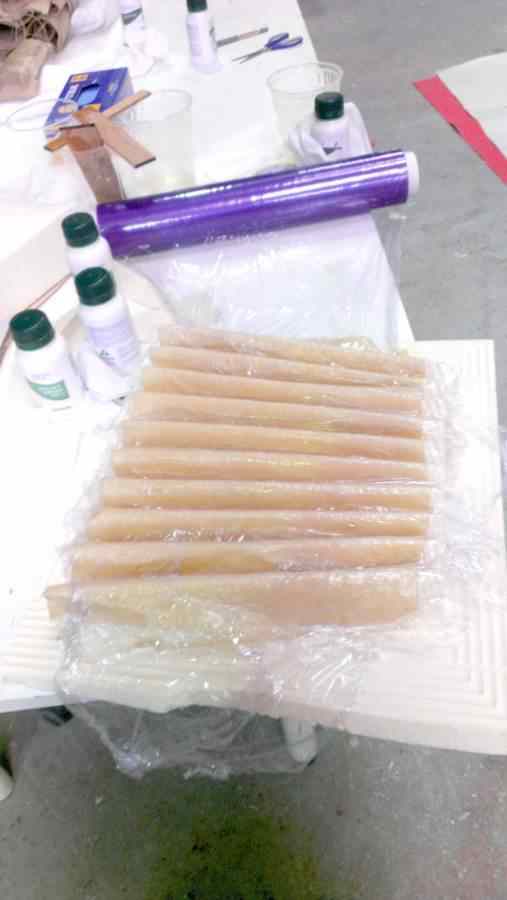
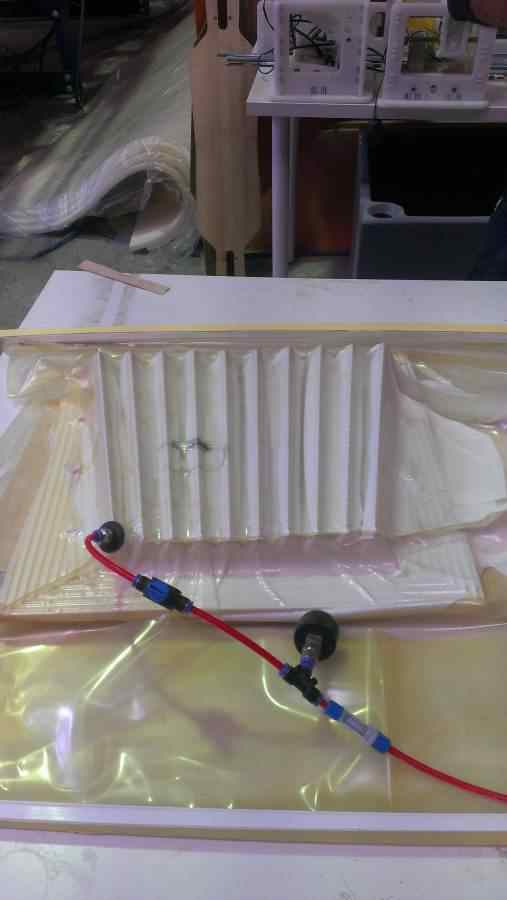
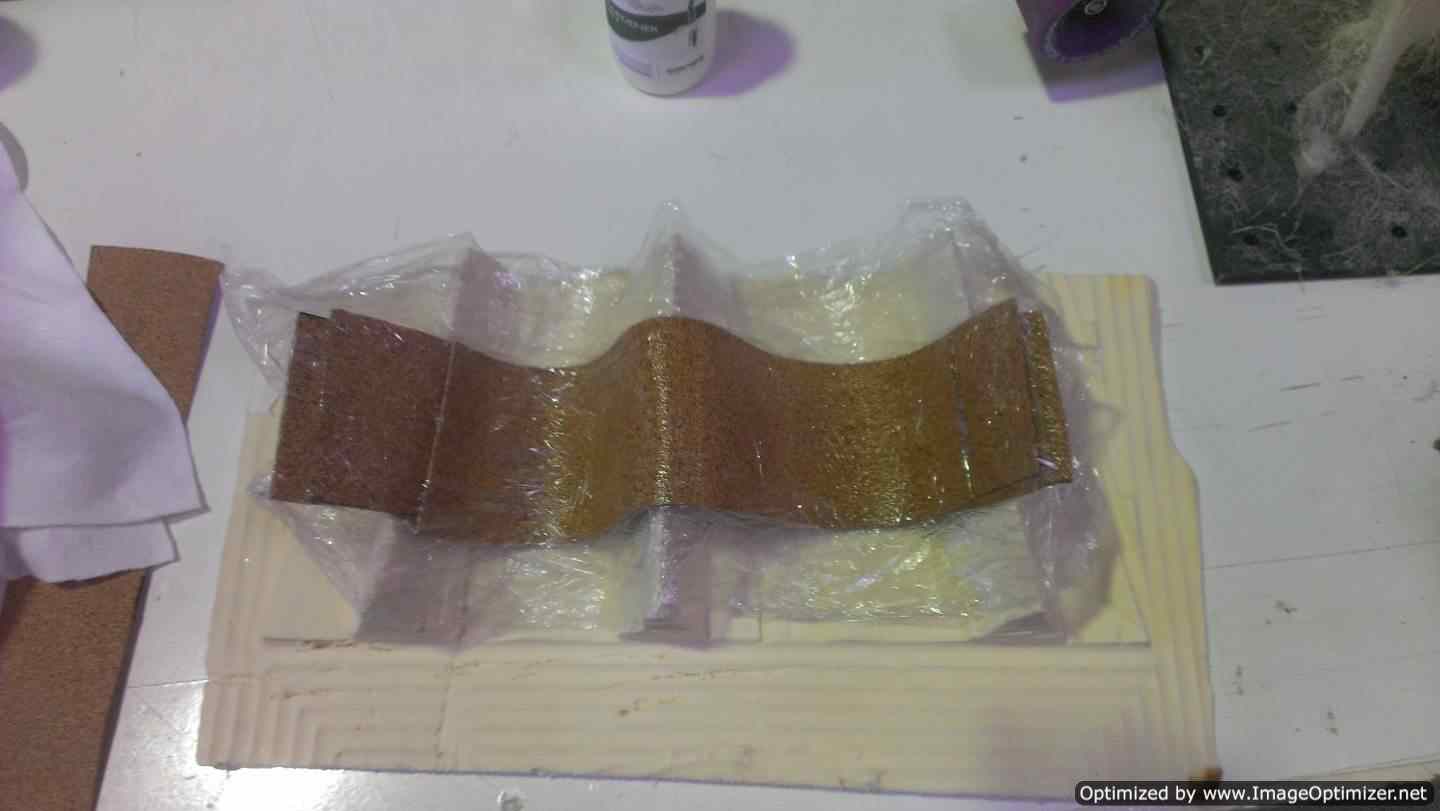
EVACUATING
-Preparing the bag
by cleaning the inside from the
previous job and making sure that
both the front and the back side
are perfectly
closed to prevent air from
entering the bag. the tool has to
be perpendicular on the foam
preferably away from your design
and on the
cotton sheet.
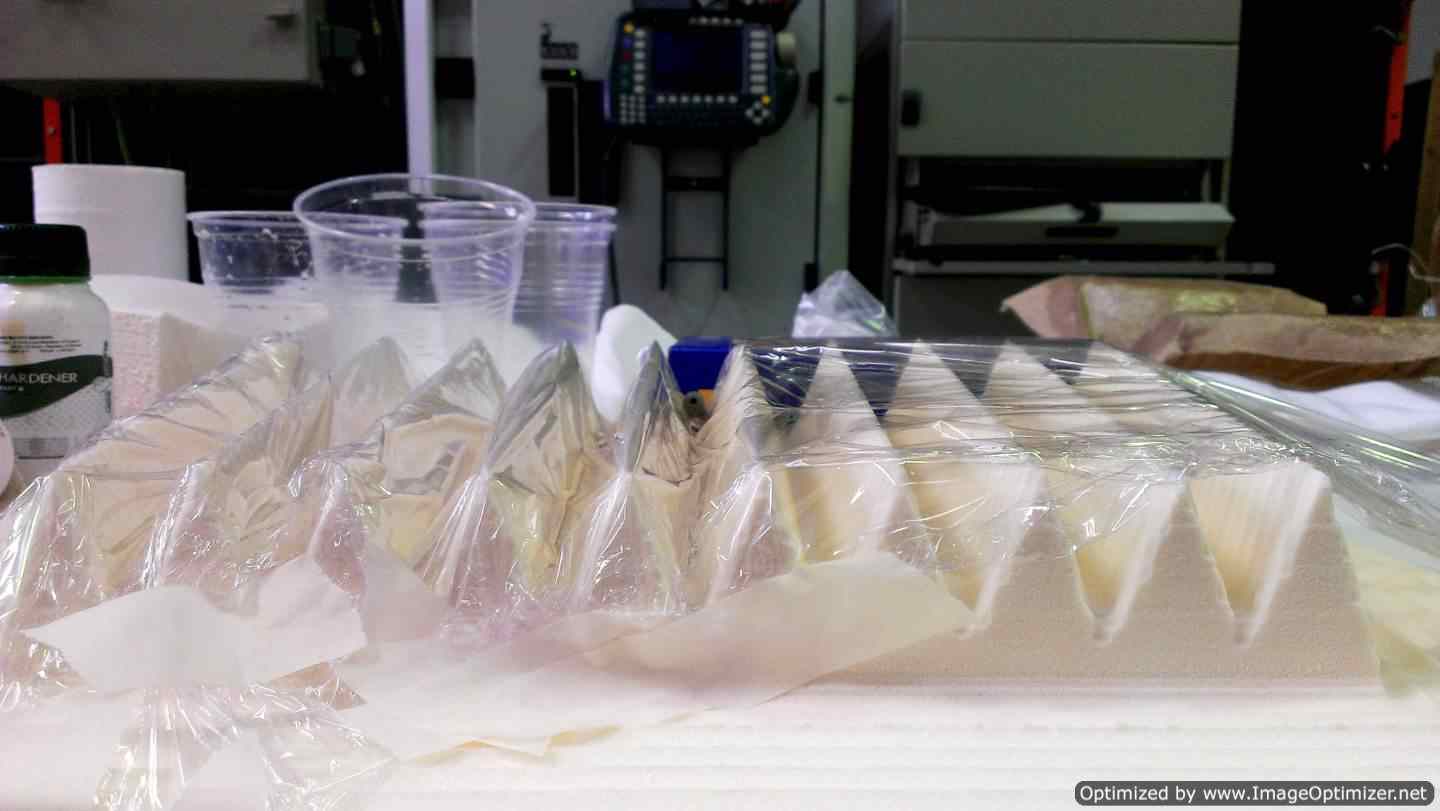
After a nearly six hours i took
the model out IT WAS A MESS!
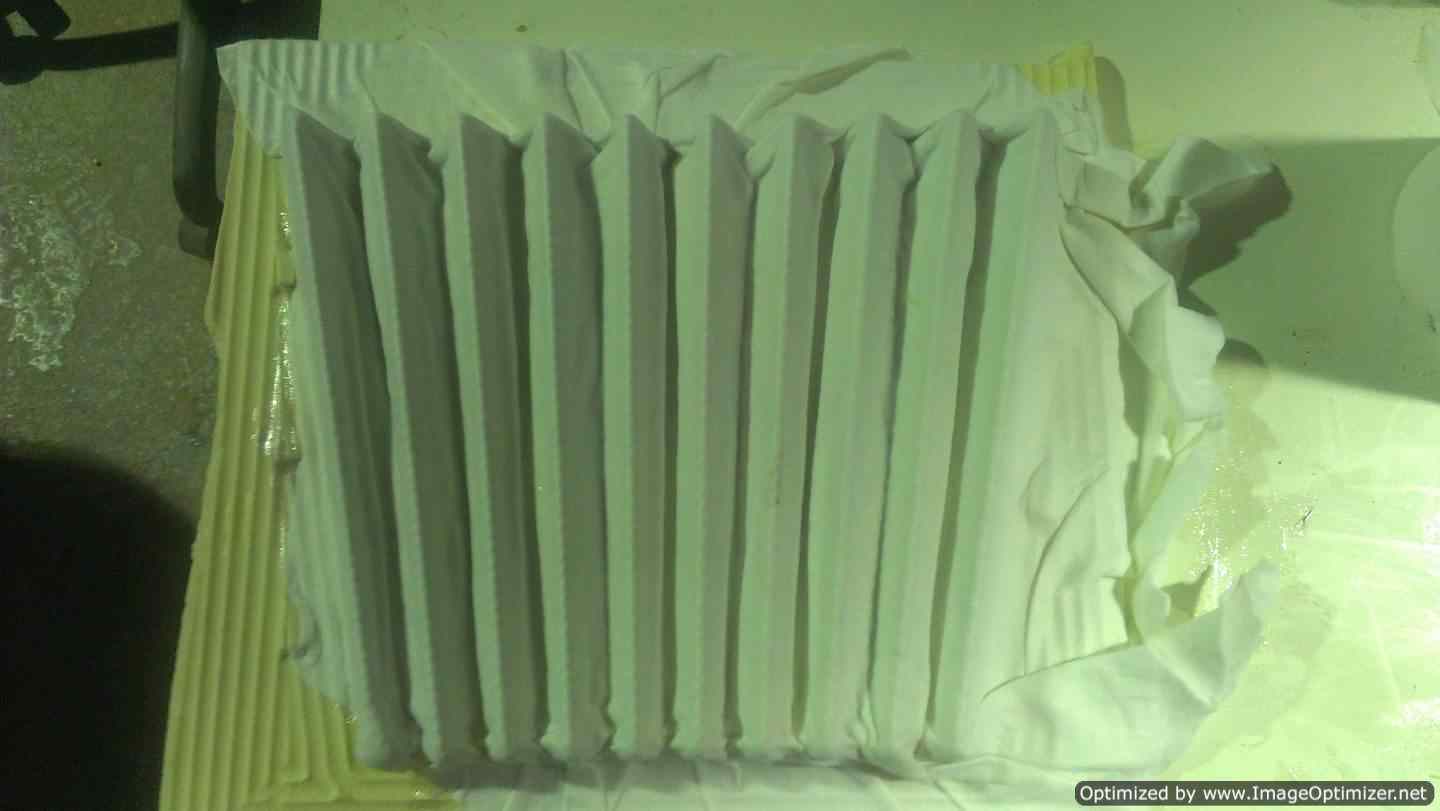
FIRST the
cotton layer wasn't easily removed
i had to pull it off by force,
which means the fabric wasn't
completely covered with the
transparent paper from above SECOND
most of the folds were
wrinkled which means either the
fabric was too much, or it wasn't
put properly
and in my case it was both
THIRD the tips were almost
impossible to remove because they
weren't covered very well with the
transparent sheet from beneath
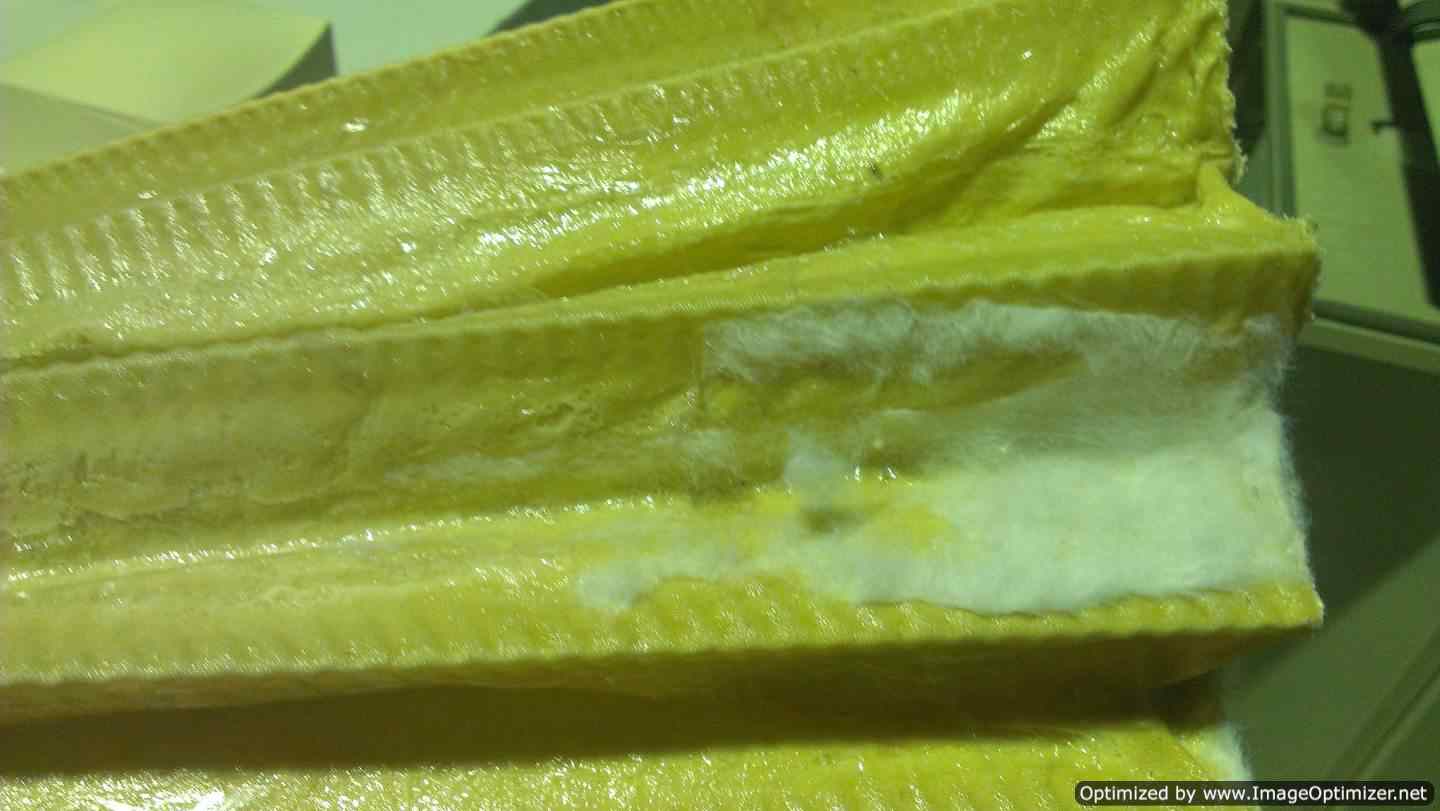
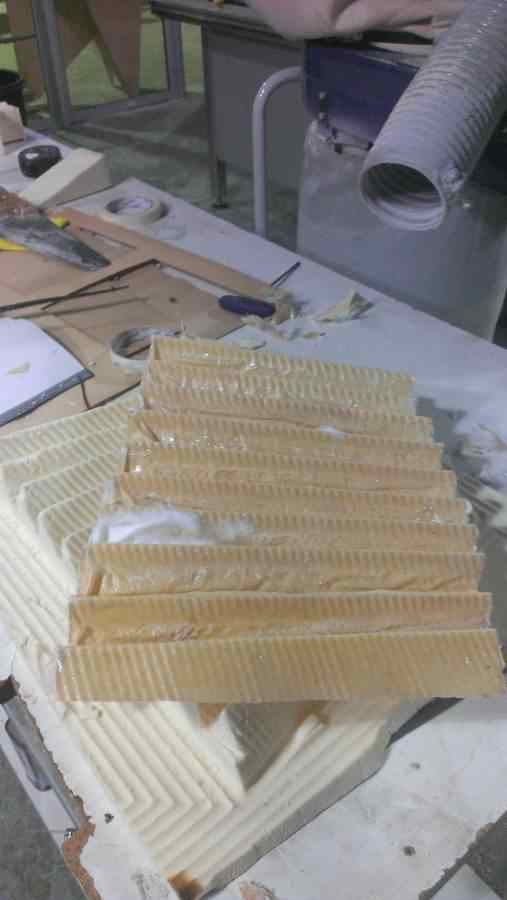
SECOND
TRIAL
i simplified the model made it with
less edges and tried a new material now it was
CORK, by goin through same steps regardless
the material
took more time but the results were good
enough
>Proposal
>Digital model
>Laser Cutting
>Electronic
production
>3D Scanning
& Printing
>Electronic Design
>Molding & Casting
>Embedded programing
>Computer-controlled
machining
>Input devices
>Composites