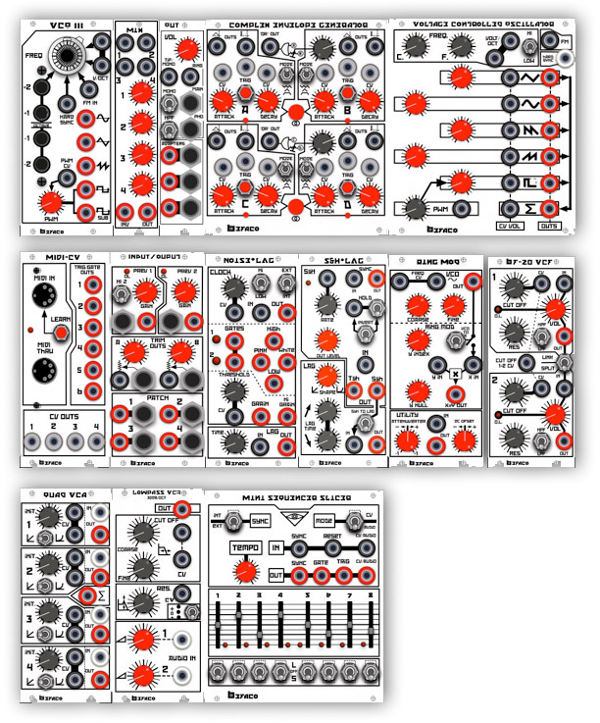
This week I wanted to build a modular container for my DIY modular synthesizer. We build them, thanks to the fantastic help of BEFACO, two guys from Barcelona who organize whorkshops to build the different modules of the synthesyzer. Since this is a modular approach, I wanted to build a container that is also modular, and that it can grow as you build the different modules. These are the modules that have been designed and built so far:
And these are the kind of containers/boxes that people are building by their own:
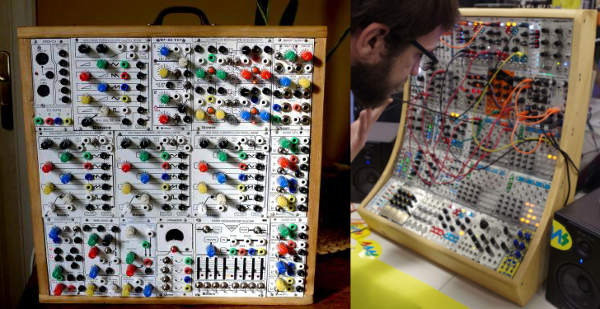
As you might see, these boxes are not modular, they can not grow or shrink as needed, they are thought for a number of fixed modules. And here is where I wanted to try something new, a box that can grow or shrink as you need it , a box that, like the synthesizer, is modular.
Next you see a 3D sketch of the idea, four boxes that contain several modules and two ribs, that fit them together, in an arc shape. A good one to play this kind of instruments:

If the modules are growing, you might go as far as four boxes with two ribs. In this case a third element is needed to make the whole thing stable:
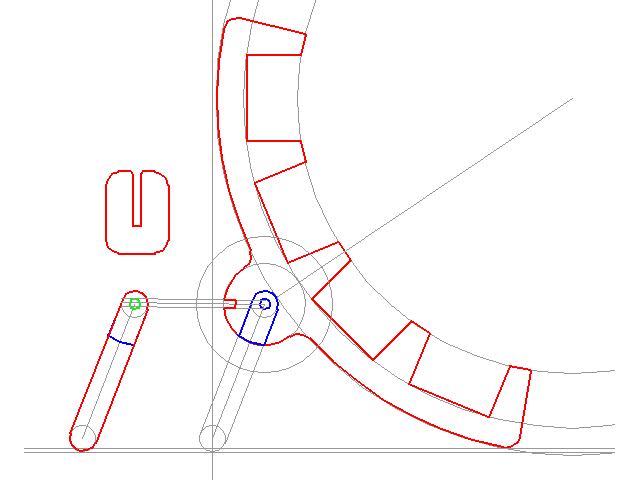
This is a press-fit design for a leg that you might use whenever you need. And it can be removed very easyly since it has no glue or screws.
At this point it is time to design the boxes that will contain the modules. The modules follow the eurorack standard, here you find an explanation if you are interested in further reading.
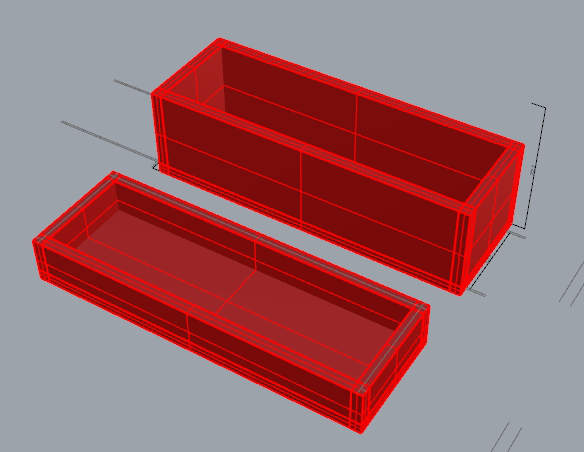
I want the box to look perfectly closed from outside, without seeing the joints of the different parts. To achieve this I used the classic arrangement of interlocking tabs and slots at a ninety degree angle.
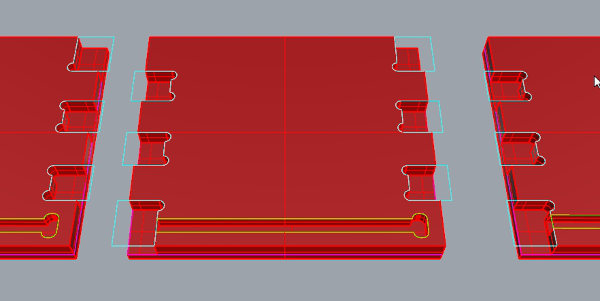
But the tabs and slots are not as deep as the whole material, wich is 15 mm. They are 10 mm. so that the joints are hidden from the outside. This is the detail in 2D:

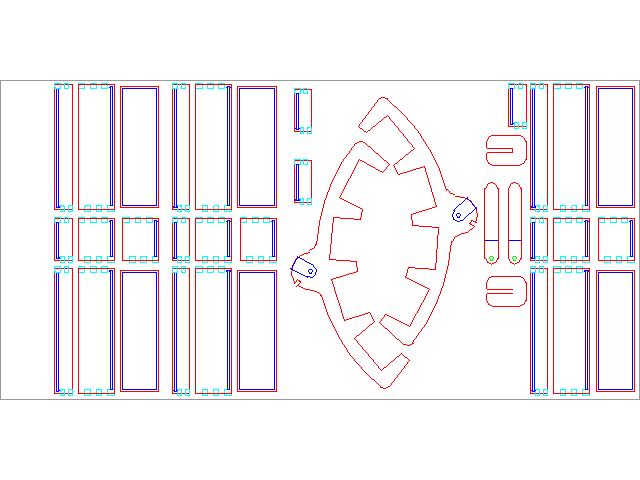
And this is the final layout for a 2400x1200 mm board, with three boxes and two ribs:
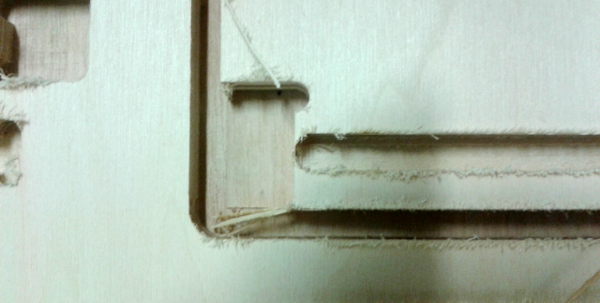
Before milling the whole board I made a test, with the three main elements of the box that define one corner. I made it in a medium density overlay (MDO) 15 mm. board This is how pieces look like after the milling, quite a rough result in only some directions, depending on the orientation of the wood fibers or maybe also on any of the milling parameters:

Another issue that I found is that the mill I used was brand new, and after this test it looked darkend in the tip:

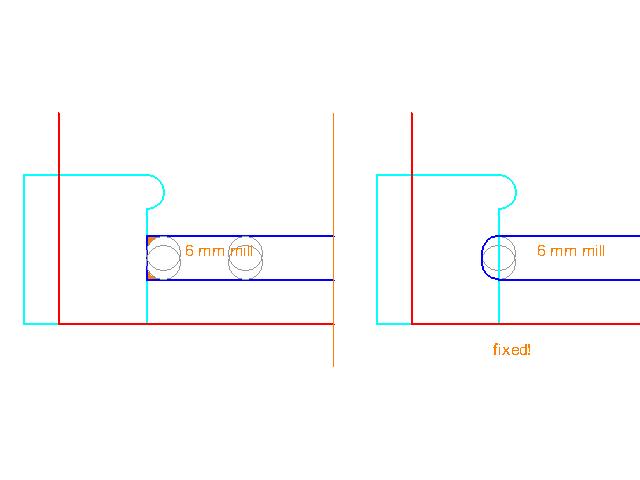
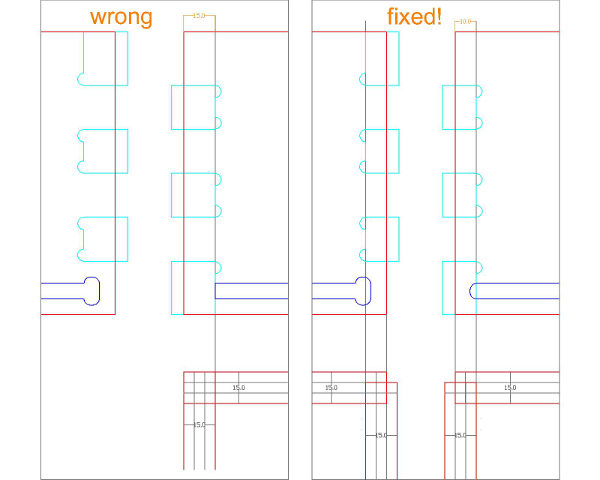
I also found some design problems. The first one is in the slot for the cap of the box, here I show the picture showing the problem:
And how to fix it:
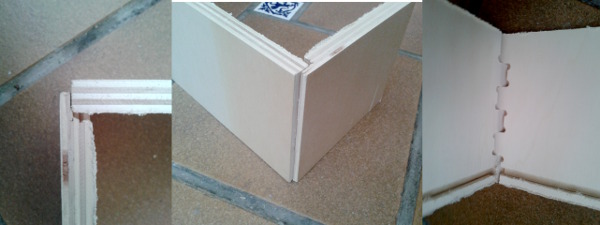
Second problem is in the corner, where the two vertical pieces interlock, you see in the picture they dont fit perfectly in the interior, there is a gap between them, since the meassures are wrong. From the outside it looks great though:
And how to fix it:
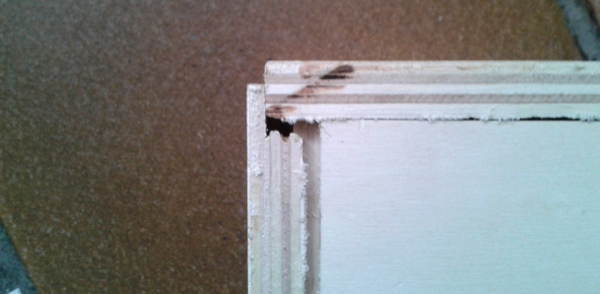
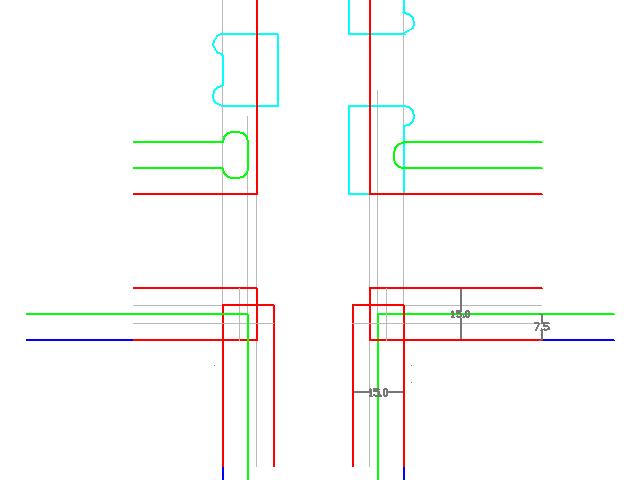
Problem three is in the conection between the walls and the cap:
Again I had to redraw it, here is the solution:
And this is as far as I reached into this week:
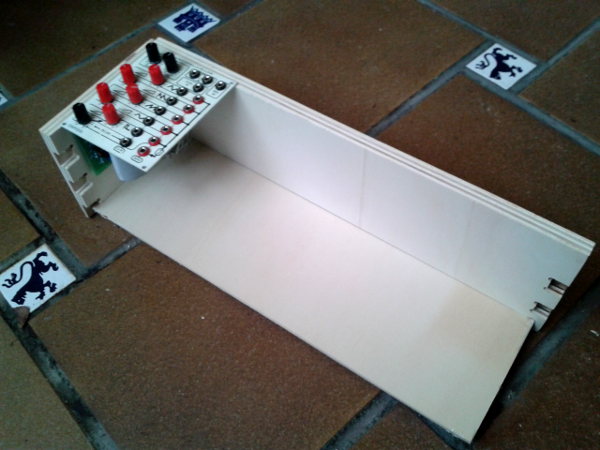
Who said that building a box was easy??
I also made with Alex the prototype for a five litter bottle wine rack. The idea is to use these big bottles to be served in the restaurants, in big tables with many guests; and because of the big weight, the wine weights 5 Kg and the bottle around 2 kilos and a half, a device is needed to help you out serving the wine.
Another important issue of the briefing was the building of the winery, wich is made by Santiago Calatrava. We based our design in the roof of the building:
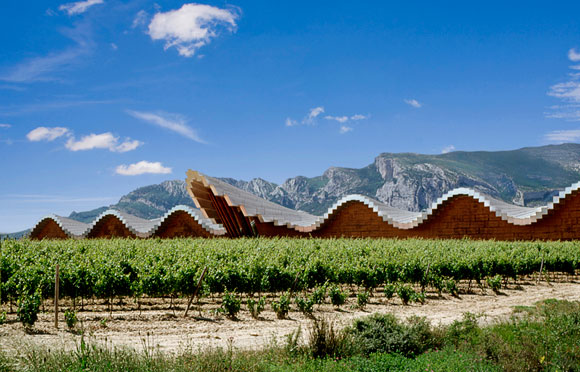
The idea has been to take the main entrance roof, and use it as the mainframe of the wine rack.
These are the first sketches showing this idea:
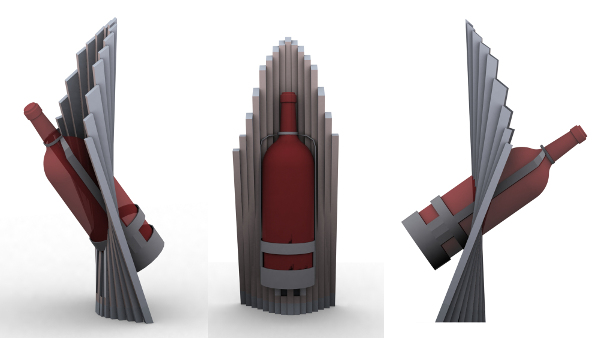
After the design concept was clear, we went through the 3D detailed drawing, for this porpuse we used rhinocerose. At this step we needed to create a prototype to test the functioning with the bottle. This prototype is made with 19 mm MDF board:
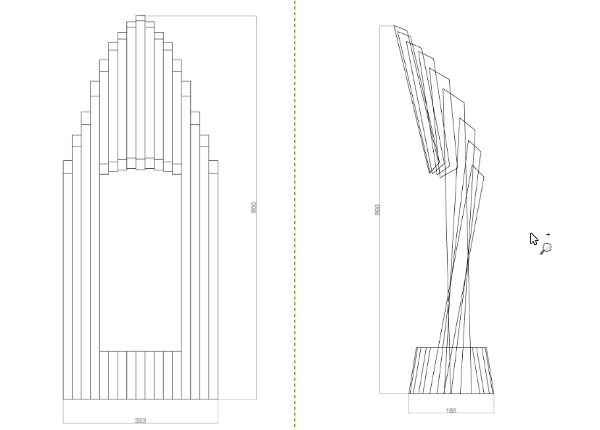
And this is the layout to cut the pieces in a big CNC machine with a 20 mm mill. Due to the strengh of this machine we had to leave small bridges between the different parts, so that they stay together in the whole process and none is broken.
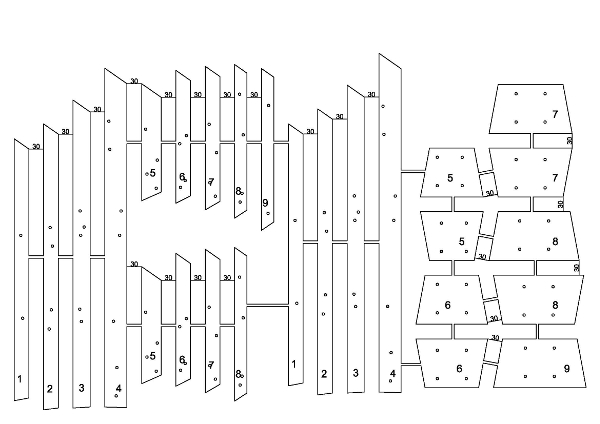
We glued the different parts together, and as each piece has a different angle we had to use small wooden pegs as guides, two per each side. To hold the bottle we used folded steel plate:

And the prototype with the five litter bottle:

And a final video of the prototype sucesfully working with a filled bottle: