applications and implications
Week 16 Overview
This week is all about the possibility applications and implications digital fabrications and
fab labs can have.
The assignment for the week was to propose a final project that integrates the range of units covered:
- what will it do?
- who's done what beforehand?
- what materials and components will be required?
- where will they come from?
- how much will it cost?
- what parts and systems will be made?
- what processes will be used?
- what tasks need to be completed?
- what questions need to be answered?
- what is the schedule?
- how will it be evaluated?
- projects can be separate or joint, but need to show individual mastery of all of the skills
- where possible, you should make rather than buy the parts of your project
What will it do?
I work in the area of interactive installations for museums and science centre so
I've decided to create a prototype installation that demonstrates a concept.

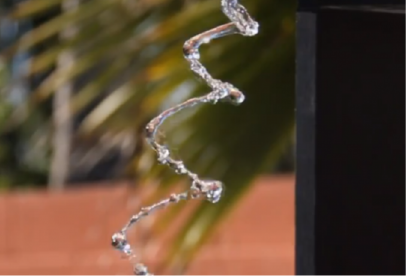
I'm going to make an interactive water fountain that showing how playing a
sine wave through a speaker effects water.
who's done what beforehand?
I'm not sure when this was first done but I only found out about it recently and though it would be
great to use this for an interactive exhibit. For the project I'm hoping to carrying out one step
of this. Being able to create an input output system that you can manipulate the water.
http://www.geek.com/science/sine-wave-water-illusion-1542765/
You can see a video of it here
- http://www.geek.com/science/sine-wave-water-illusion-1542765/
How does it work?
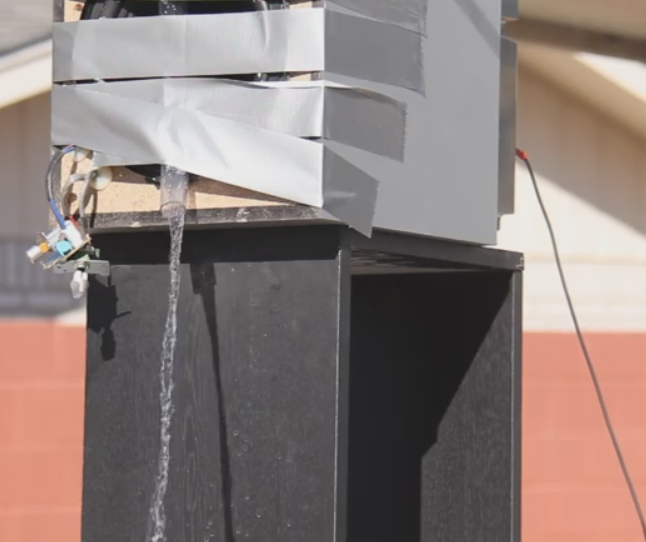
The hose the water is coming out of it attached to a speaker.
When you play a sign wave through the speaker is manipulates
the water to flow in a wave. To the naked eye you can't see
this effect but through a video camera capturing 24fps you can
see the effect on the water.

The interactive installation will consist of 3 main parts:
- Part 1) an input station to change the hertz the sine wave is playing at. This will be 4 large buttons to play the wave at 23hz, 24hz, 25 hz or 26hz. I want to make large spring buttons because these are very appealing for children in museums and science centres
- Part 2) Water fountain and speaker. For this I'll need a large tube of some sort to capture the water, a garden pump to pump the water back up the hose and a large speaker.
- Part 3) Finally, I'll set up a raspberry pi camera to be working at 24fps and a large screen to show the water output.
Having the video feed on the monitor beside the real water will enable viewers to
compare what they see with their eyes verses the effect they see through the camera.
Some useful links that will help with the project
- http://www.thisiscolossal.com/2013/03/this-is-what-happens-when-you-run-water-through-a-24hz-sine-wave/
- https://www.youtube.com/watch?v=uENITui5_jU
- http://www.dailymail.co.uk/sciencetech/article-2292678/The-incredible-water-sculptures-created-SOUND-How-bassy-sine-waves-make-corkscrew-stream-appear-stand-still.html
Components for installation
- raspberry pi
- raspberry pi camera
- water pump
- water bath
- speaker
- monitor
- 4 buttons
- home made arduino to communicate between input and sine wave output
- Structure to hold water fountain
- Structure to enclose buttons
- Wooden buttons tops for nice texture with different HZ on them
- Structure to hold monitor and camera together
To find out more about how the project turned out have a look at:
- week 18-Project Development
- and week 19-Final Presentation

Week 16, May 8