Week 5: 3D Scannning and printing
I elected to perform my scan using Autodesk 123D Catch. I wanted to prove the technique by creating a 3D print of a seashell. The process of taking the photographs and stitching them together was not as straightforward as I expected.

I did not spend sufficient time reviewing the web tutorials before attempting my first capture. I took 6 photos spaced at 60 deg angles of the top and 6 of the bottom of the shell. The photos did not stitch together in 123D Catch as these was an insufficient number, more than 40 are needed, and the process will not work if the subject is moved during the photo shoot.
My next attempt encountered similar problems with stitching. Although there were sufficient photos, they were shot against a plain black background. 123D Catch requires copious background detail to find reference points to allow it to relate the different photo viewpoints to each other.

In my third iteration I used a piece of newspaper to provide a varied background as recommended in a video I found on YouTube. This was a successful technique and allowed the software to produce my first complete 3D model. However I also learned that shooting the photos with flash caused the shadows created by the flash to be incorporated in to the 3D mesh.

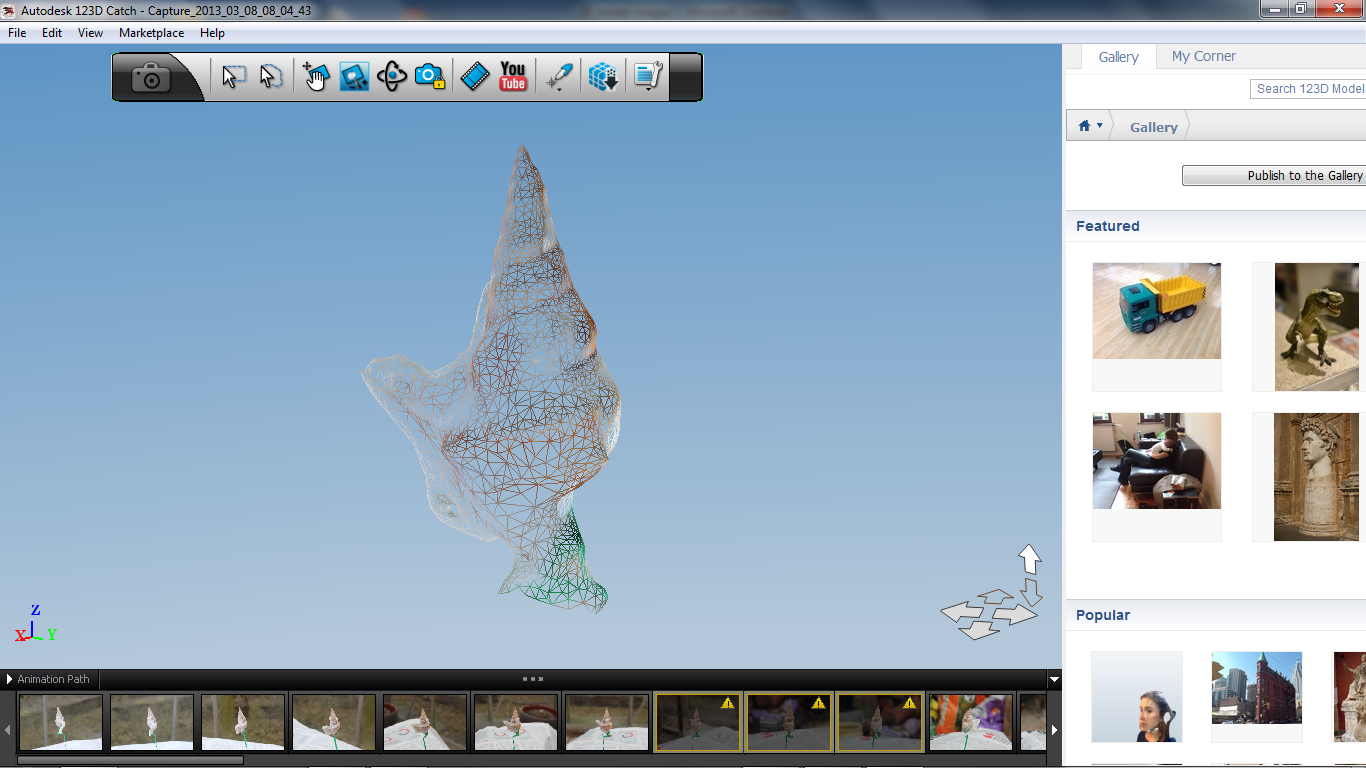
My final sequence of photos was taken in natural light with a newspaper in the background. Two circuits of 20 photos were taken one at high level and one at low level. Extra photos were taken of special features of the model. In this case I took extra photos of the shell’s opening. The photos were taken on a Canon 550D with a 15-55mm zoom lens, zoomed in, in macro mode, in external light on an overcast day to minimise shadows.

Once I had an acceptable model, I cleaned off the extraneous detail – newspaper and support. This left an open mesh model of the shell itself. I export this to the MESH software in the FabLab for review. In general the mesh was good, with all external surfaces. I repaired the hole left by the clean-up in 123D catch and also removed one hole in the mesh. The mesh was then scaled to approximately the size of the original and printed.
