Composites week
We needed to make a 3d mold and use fiberglass on it.
So I started milling out a boat that I designed in Sketchup last year. Frosti then teached me how to cut it out in 3D. And so I did now. I still had the files, but changed the bit and the speed.
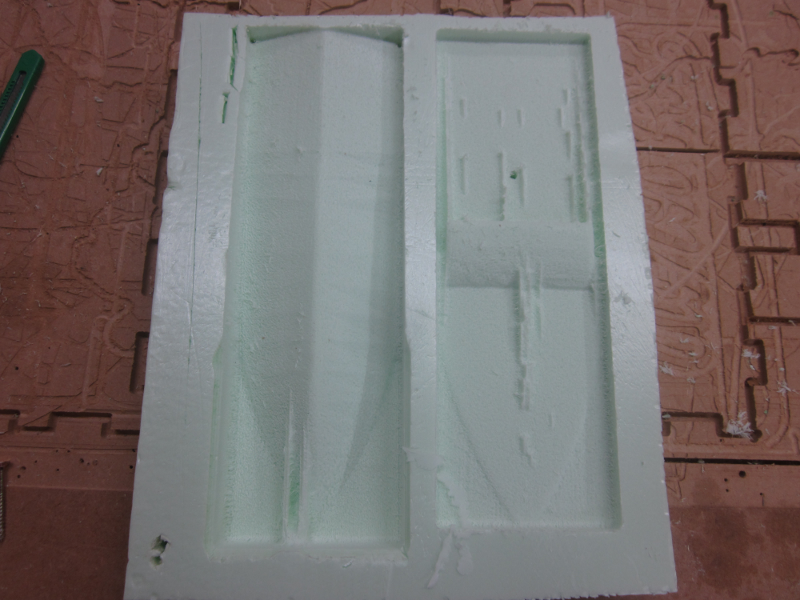
The first part came out great. Very smooth, just like I wanted. Then I took the other side the 'top' side. But the seize changed so I had a big bottom but small top that didn't fit on each other.
So I cutted out the top side again and tried molding and casting on it. good for me that I just did one side because it's impossible to take the gum out of the mold now. Frosti cheked on me on friday and said that I should have put a coat of paint or something under it so that I could take it out afterwards. I made a mistake and learned from it. Also just putting the 2 parts together wouldnt work out because the boat would be to thick.
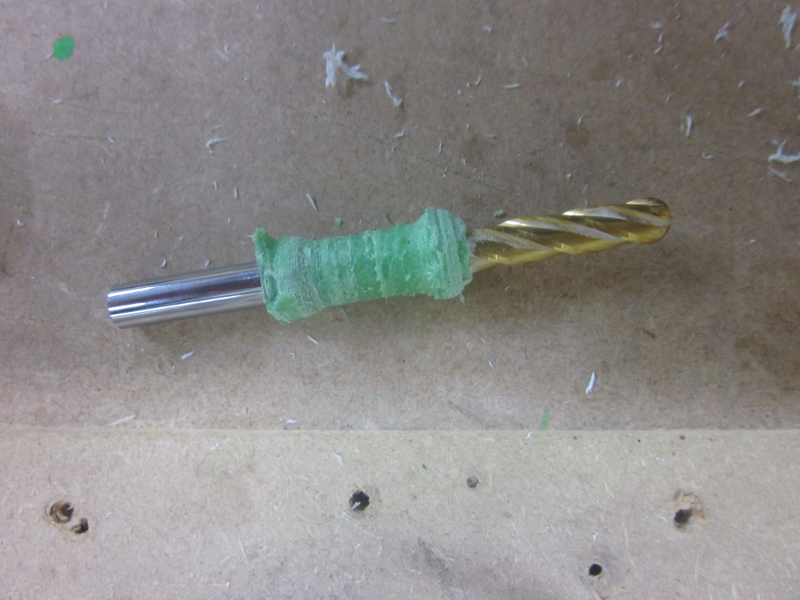
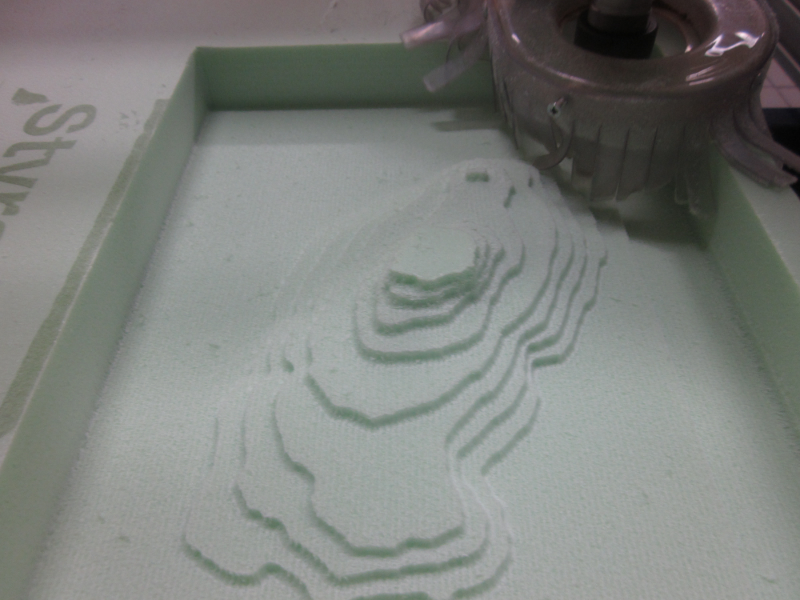
Also be carefull with the speed of the shopbot. In the picture above you can see that the foam melted to the drill. It was very easy to take it of though.
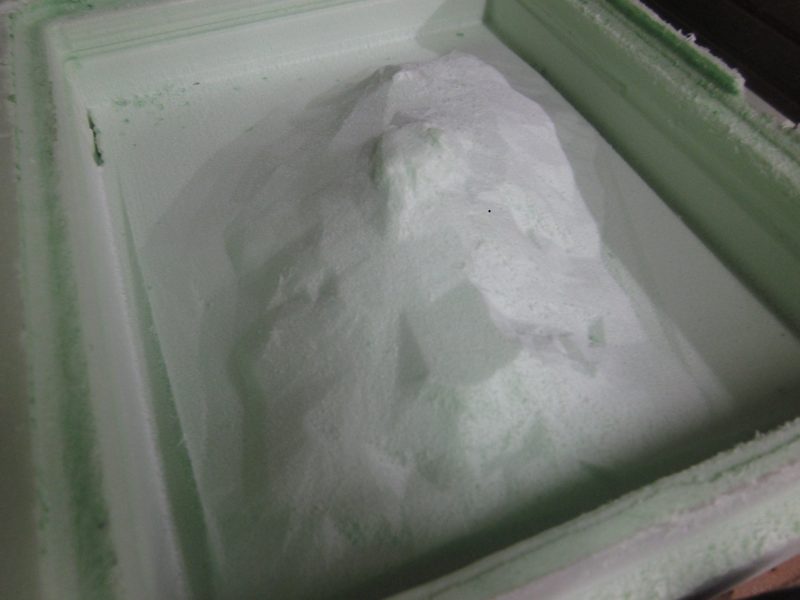
Since that didn't work out, I've restarted with miling out in the CNC. Now watching the seize very well. And it turned out perfectly. I only needed to cut throug a few milimeters of foam and both sides were perfectly fited on each other.
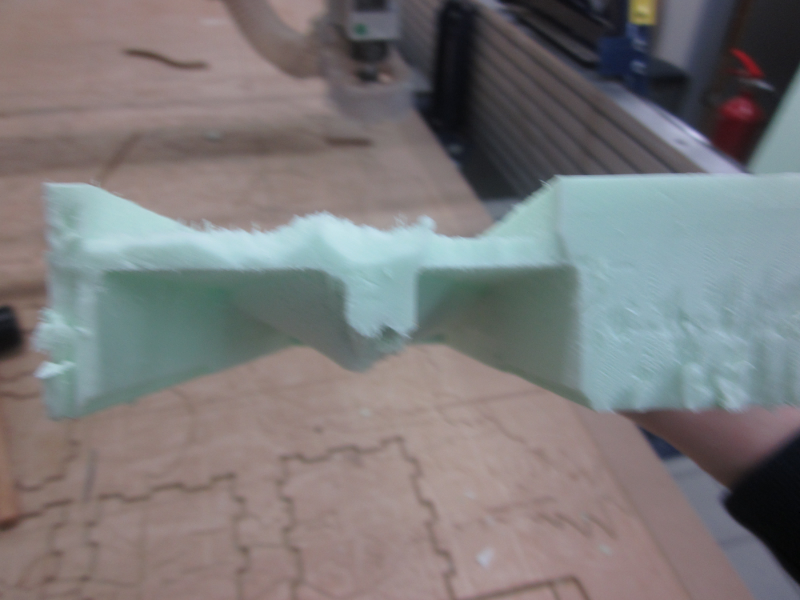
Since you need to cut out first one side and then turn all the foam around and cut out the other side, I've made hole with a screw, longer than the thickness of the foam, to mark my X - Y zero point. I've also did that to the other side of the boat. So that, when the CNC was finnished milling out, I could fine my X - Y point back on the other side and knew where to put my X - Y point there.
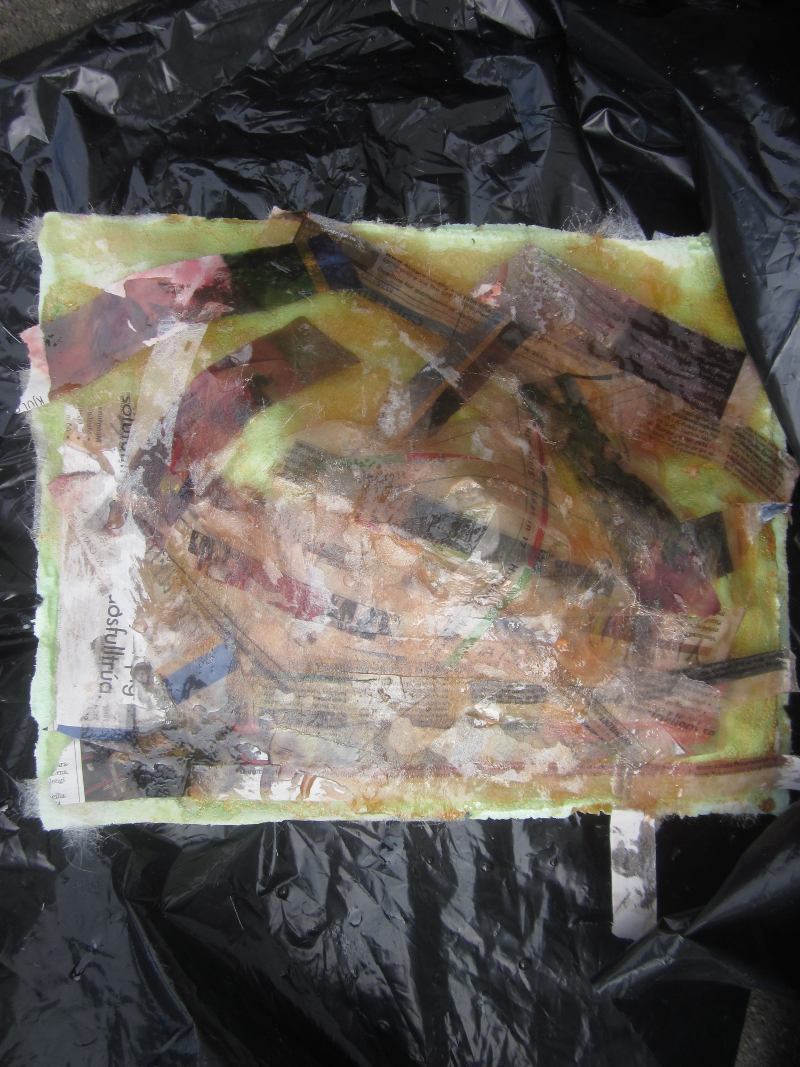
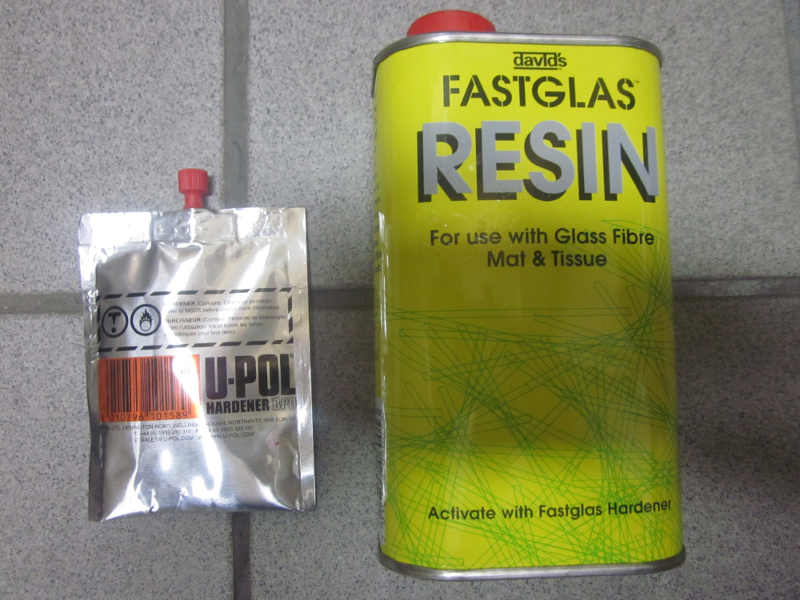
And then it was time for the fiberglass. Since no one had an idea how to work with it, we followed the instructions on the box. We cutted the fiberglass in long lines, about 2cm thick. Then made soms of the fluid. Bjartur did the fluid on the model, while I kept putting lines of fiberglass over it.
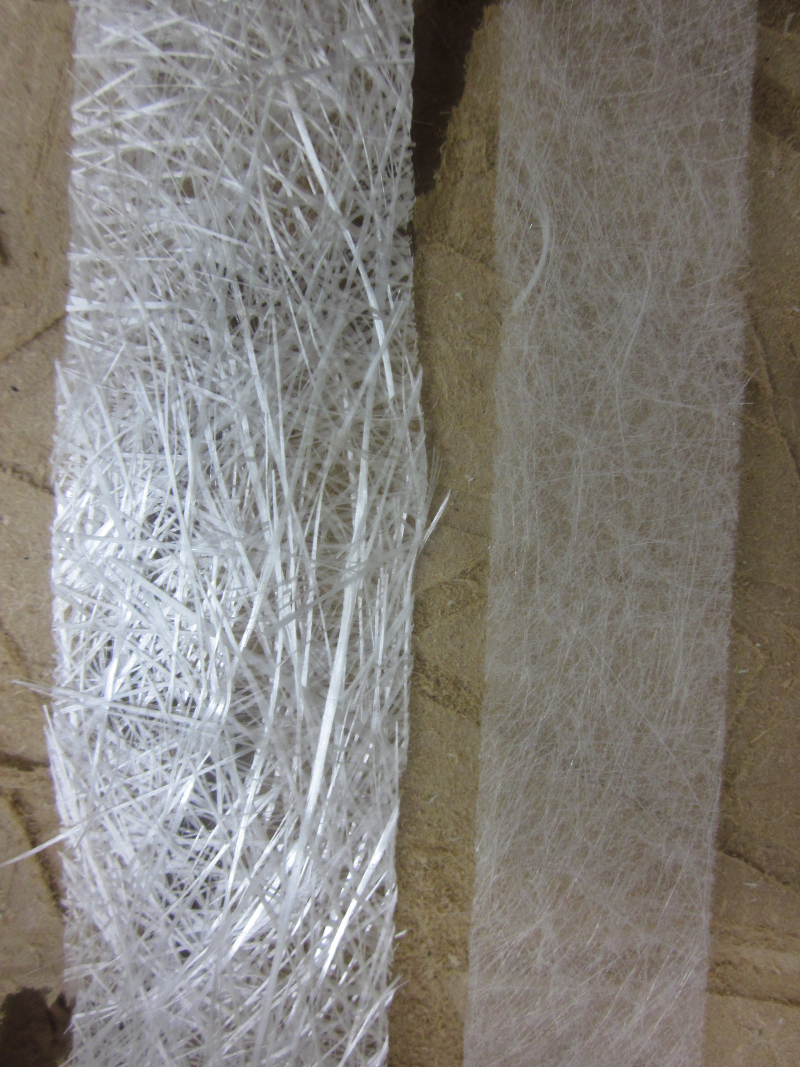
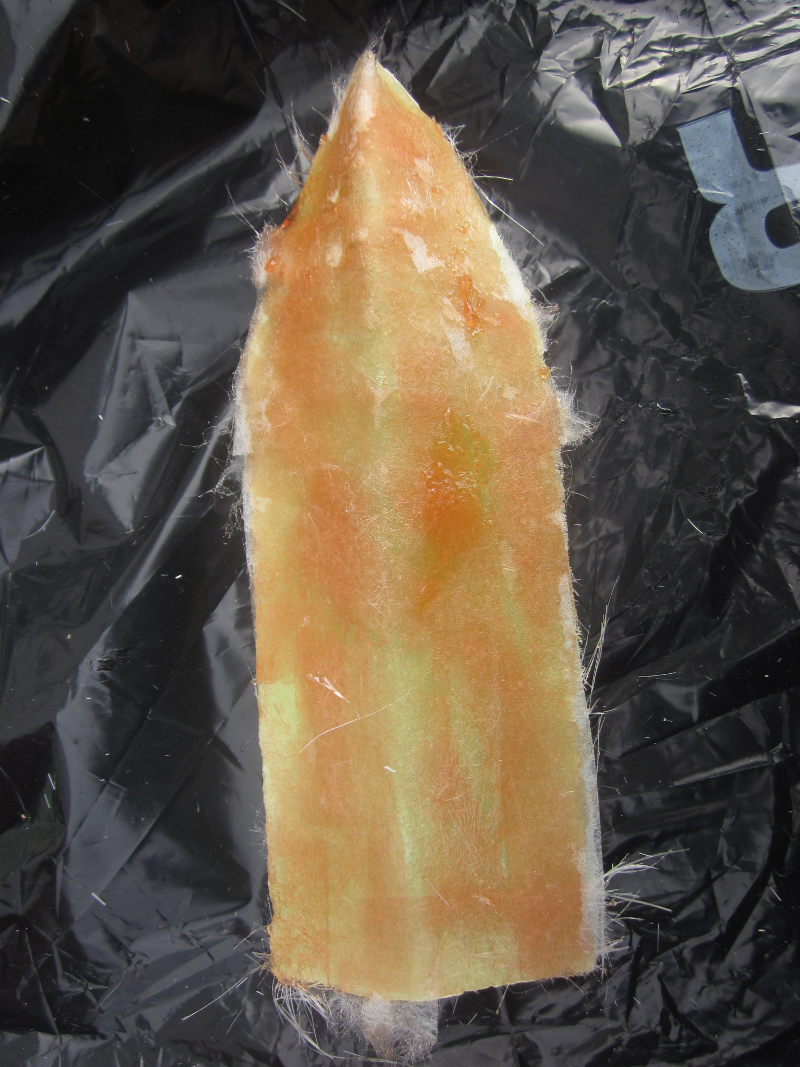
On the model from the Kilimanjaro we used fine fiberglass and paper. On my model we used most of the time the thicker fiberglass, since there are less details in my boat than in the Kilimanjaro.
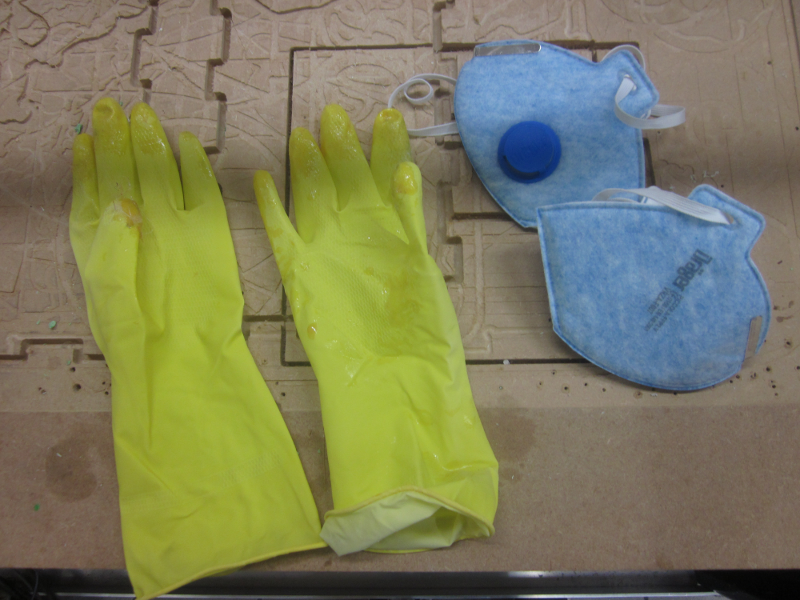
And about safety. I really recoment to put all the things on that can ventilate the room. From the ventilation for the lazercutter to the ventilation on the ceiling for in the summer. And put all the doors open. Since we are in Iceland, doing this outside wasn't really an option. We both also ended up with a vest to protect our clothes, gloves and a mouthmask.
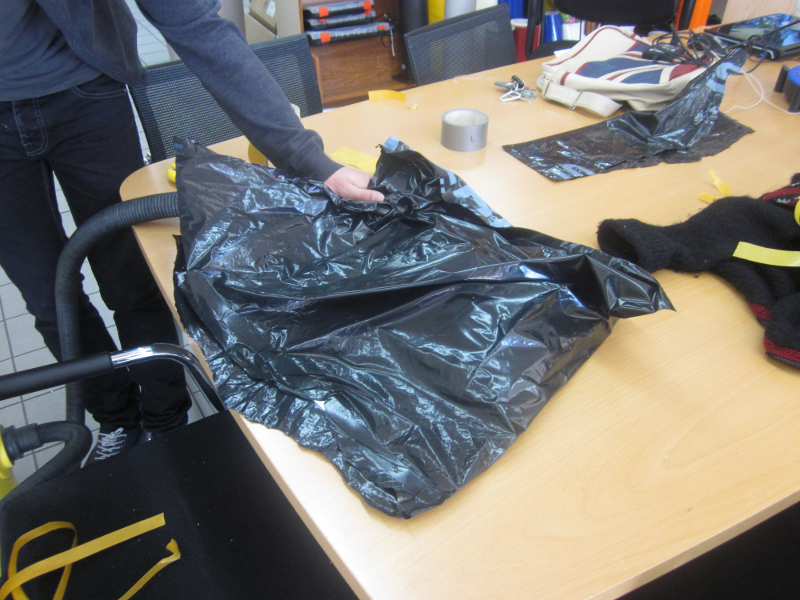
While using the fiberglass we didn't use the vacum bag, but we tried out how it should have worked. We were afraid the epoxy would stick to the bag and we wouldn't be able to cut it lose. After the fiberglass dried on the black plastic we noticed that you can take it of very easily.