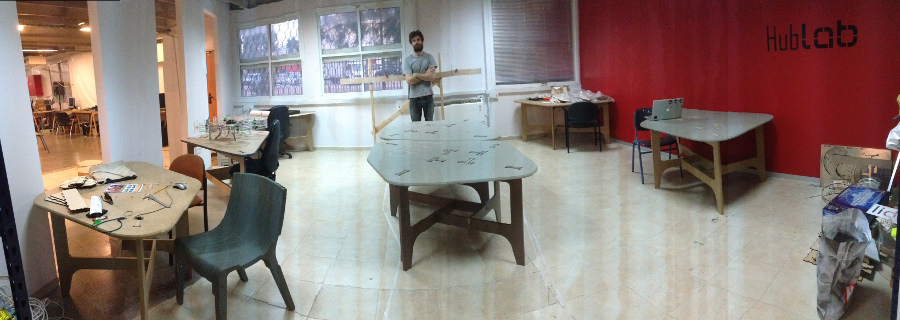
The designs for the tables and chairs constructed here are derived from open source designs for a number of sources. These designs have been modified for thickness, material type, and overall shape and aesthetics to suit the requirements for furnishing fablabil. PLEASE NOTE: All of these designs WERE MADE and all of the furniture is currently in use in FabLabIL
Open Source Designs
Some of the original designs were sourced from the following links:


Bits and Settings
Three bits were used for the cutting of all of the furniture shown here: the 60deg v-bit for chamfered edges, the 0.25" 2 flute up cut for all inside cuts, outside cuts and pocketing where possible and a 1/8 ball end for the hold down holes and finer detail pocketing cuts.
The V-bit was run at a cut depth of 3mm at a feed rate of 80mm/s. The 2 flute up cut was run at a pass depth of 8mm and a feed rate of 100mm/s. The ball nose was run at a pass depth of 4mm and rate of 60mm/s
FablabIL Furniture
OpenDesk Meeting Table
Modifications
Made with 15mm mdf - joints and connectors changed
Extended leg supports for added strength
Design Files
Click to download
Comments
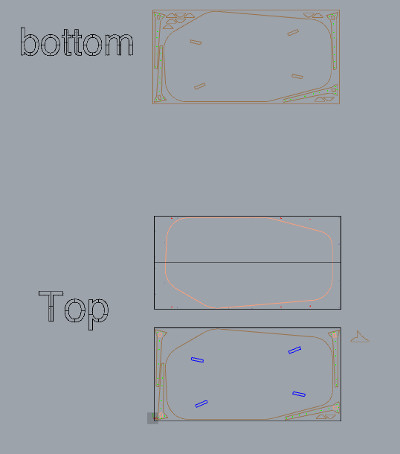
The TOP sheet needs to be flipped over during the milling process to allow the v or radius edge on the top side and pocketing on the underside. Here, i reccommend zeroing from the centre of the sheet and adding some symmentrically placed dowels, in the holes labelled, to locate the sheet again once flipped.
The legs of this design made in mdf are not stable enough. The Table can used and is aesthetically pleasing however the lateral motion of the mdf version of the table is beyond a reasonable level.
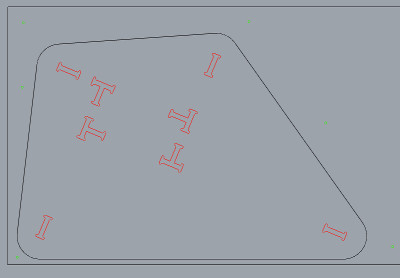
Filson-Rohrbacher Cat-in-Bag-iii table - 21mm mdf
Modifications
Many different variations of the original design used - table top shape and leg positioning
Used with 21mm MDF - joints and connectors modified
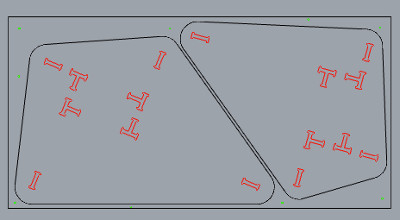
Two table tops fitted into one sheet
Match-together tables made for adding to group situations
Design Files
Click to download
Original Design modified for 21mm mdf
Comments
For Chamfered edge use 60deg v-bit on line, 8mm depth
Some notch testing pieces are included in the files for testing notch sizes
Current notch sizing worked well for 21mm mdf
Manually adding a chamfered edge on the underside of each notch hole (or flipping the sheet during cutting) allowed for more easy assembly
No fixings required
Original CIB 3 plus extra small table for 21mm mdf
Comments
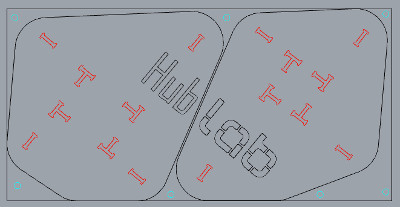
Two original Top Designs - with fablabil logo 21mm mdf
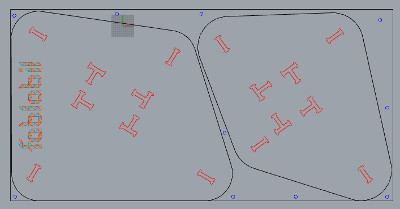
Comments
The legs for the smaller table are labelled sm
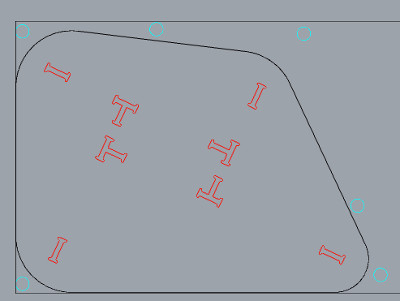
Two More Original Top Designs - 21mm mdf
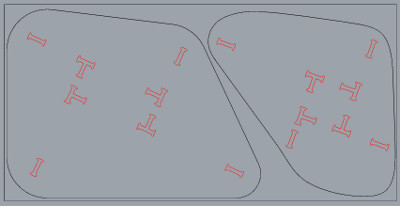
Comments
Legs of larger table labelled b1-b4, smaller s1-4
FR leg style - 19mm mdf TOP 21mm mdf LEGS
Modifications
Original Top design
Legs modified to suit 19mm top
Design Files
Click to download
Comments
This table was made using the coloured mdf for the top. This mdf is harder and has a greater dimensional accuray than the regular mdf. If using regular, new notch testing is reccomended to ensure fit.
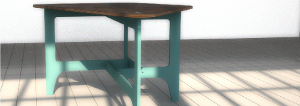
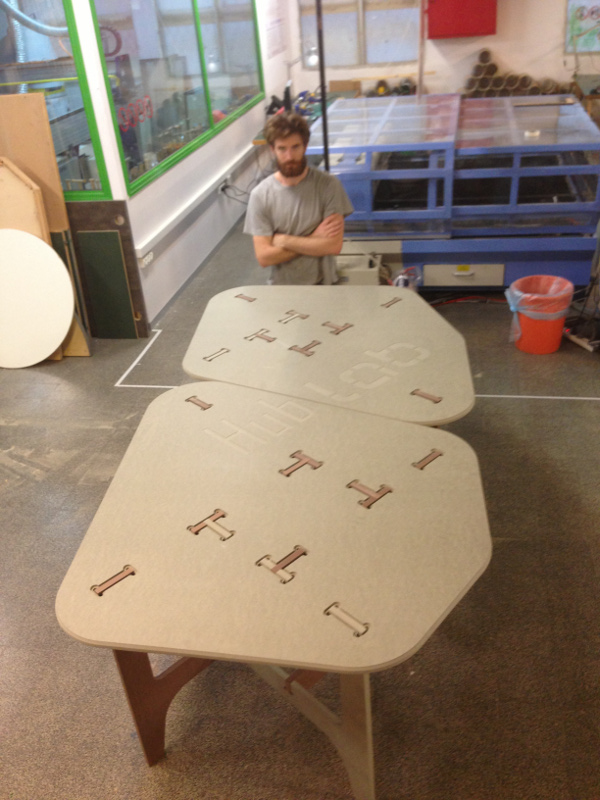
FR Leg style - 19mm coloured mdf
Modifications
19mm coloured mdf used
Match together edge for meeting table
Some pocketing details added
Pocketing "HUBLAB" text detail added
Design Files
Click to download
dxf
Comments
Legs for hub side labelled with h, lab with l
Pocketing done at 1mm depth using 0.25" two flute up cut
Additional outside cut detailing added to joint openings at a depth of 6mm
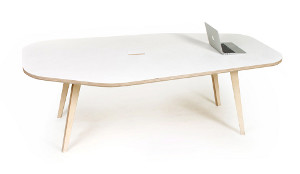
FabLabIL Pocketed Logo Table Top
Modifications
Design Files
Click to download
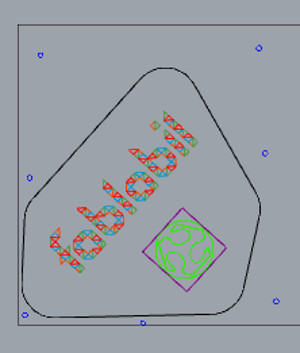
Comments
4 layers of pocketing for the fablabil logo at different depth of 0.5mm incriments
FabLab worldwide logo pocket 1mm
Layer Chair - Dyvik Designs 19mm mdf
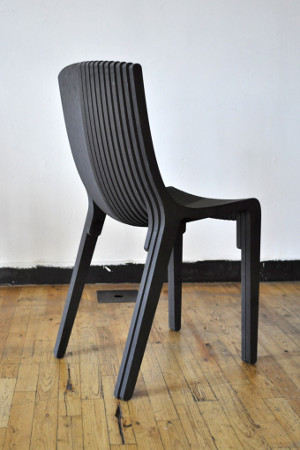
Modifications
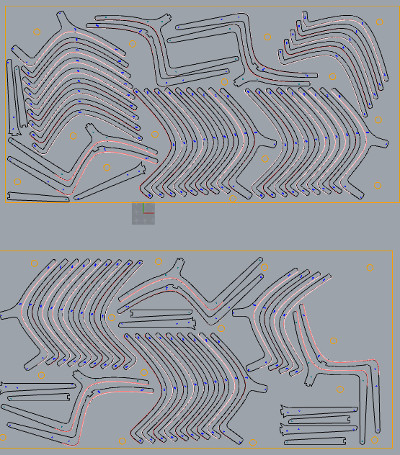
Nesting modified to make 3 chairs from 2 sheets of 19mm material
Design Files
Click to download
Comments
Drill hold down to 21mm with 1/8 ball end > apply hold down screws > drill holes to 20mm, and outside holes to 15mm > change to 0.25" cut ON trim 1x to 6.3 > cut ON trim 2x to 12.6 > cut OUTSIDE cutting lines to 20mm
After milling the drill holes, stop the tool and add screws to one of each of the pairs of holes (there are many) the 0.25" bit will not hit the screws. This is neccessary to prevent excess vibrations moving parts.