
Classes > 3D Scanning and Printing
This week we tried several methods to do the 3D scanning, and all failed. First we tried with the "David's Laserscanner" software. We built the reference wall, and used a laser level to do the scanning. We had problems with the lighting, the webcam, and the laser level itself (the beam is a bit thick) so the output was not very good...
Then we tried using 123Catch. Some of the tests we did were almost usable, but not as good as we wanted, so we wanted to try some other method.
After some weeks, I borrowed a Kinect, and using Reconstructme, meshlab, and netfabb, I managed to scan and print objects. As we were making tests, we started to scan ourselves, and it was very funny, so that's the thing I printed, a small copy of myself.
We started with reconstructme, using the kinect to scan. This has some tricks, you need to keep the object centered in the camera, or it gets weird, looses the object, stops scanning, etc, but it works really nice. After scanning we tried to repair the object with meshlab. Using a combination of filters, we managed to close all the holes, fixing faces and the like, but it was a bit difficult. Then we tried using netfabb, it was just a matter of using the automatic repair and voila, the object was printable.
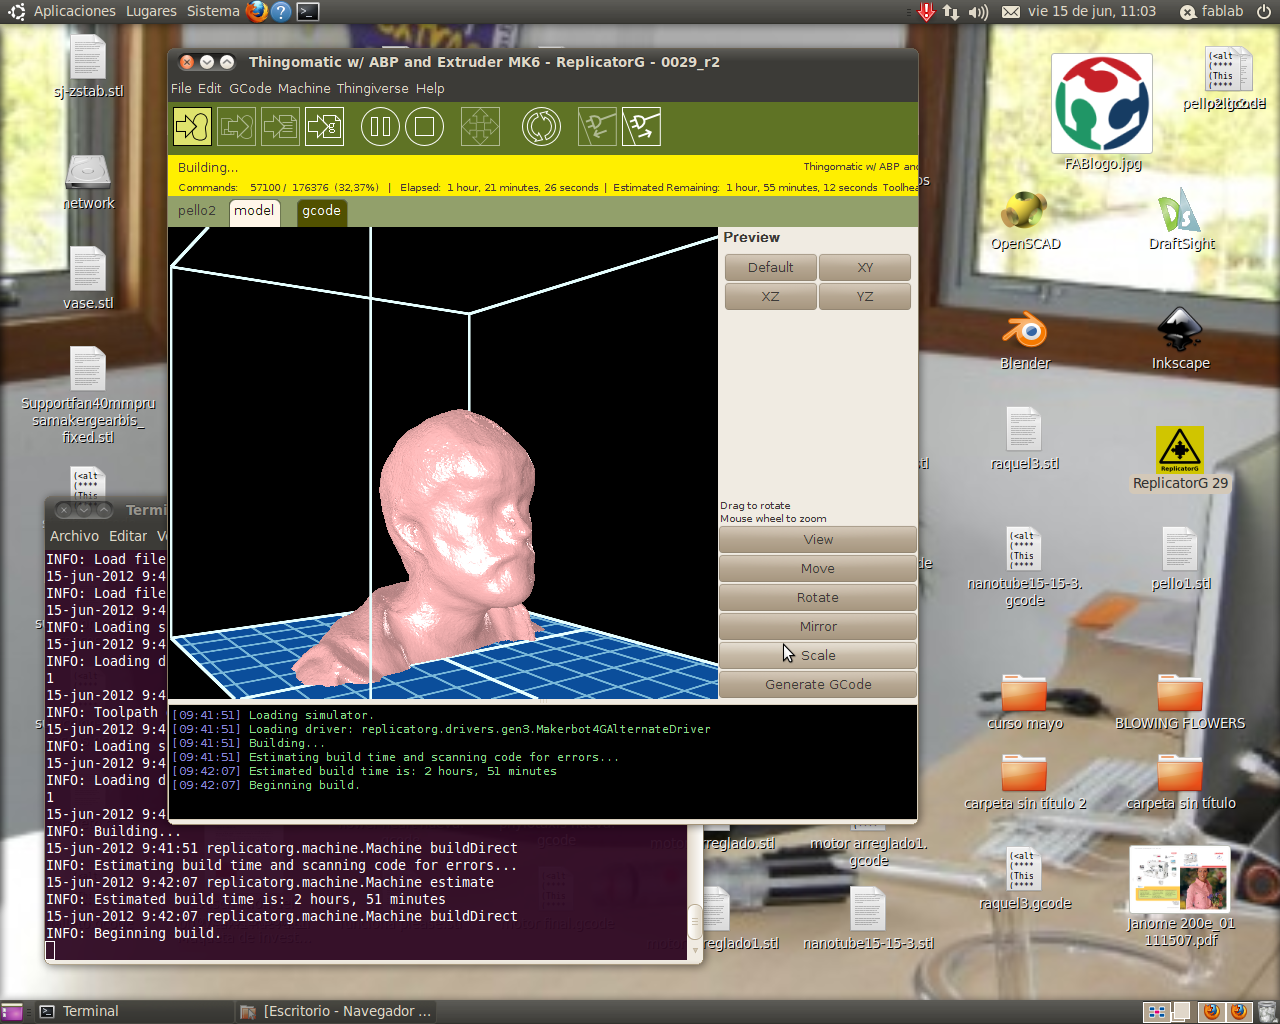
I had to use some support for the chin, that is totally in the air while printing:
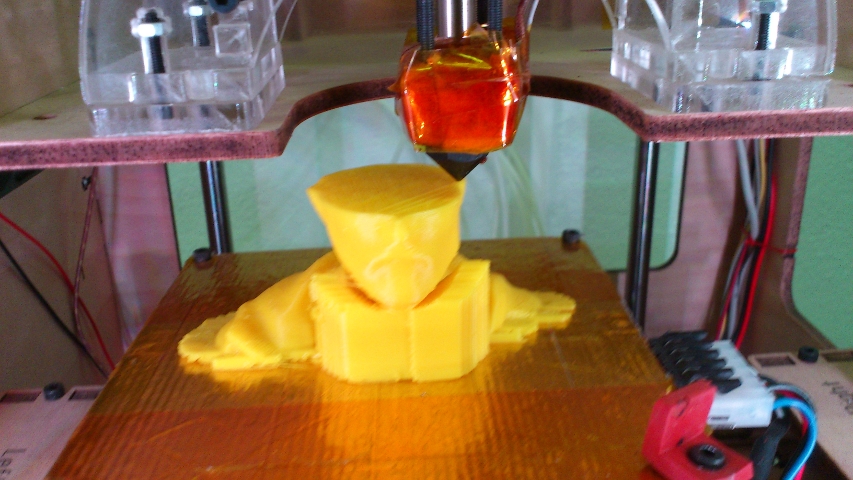
So after a couple of hours on the makerbot, I got this:
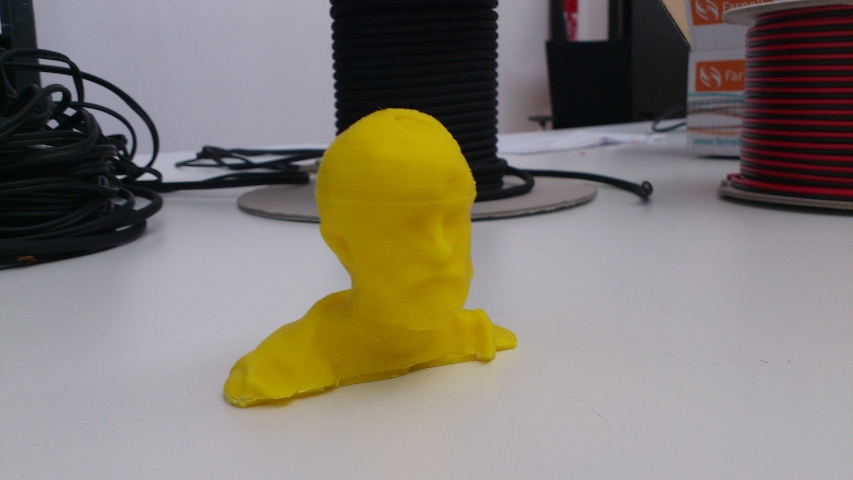
I'm thinking of putting myself on the RC planes I'm doing in the fablab!