Comptuter-Controlled
Cutting
I started to learn to use the tools (Inkscape,  by a little project and a gift for my nieces :
puzzle_test.html


assignment
design, make, and document a press-fit construction kit
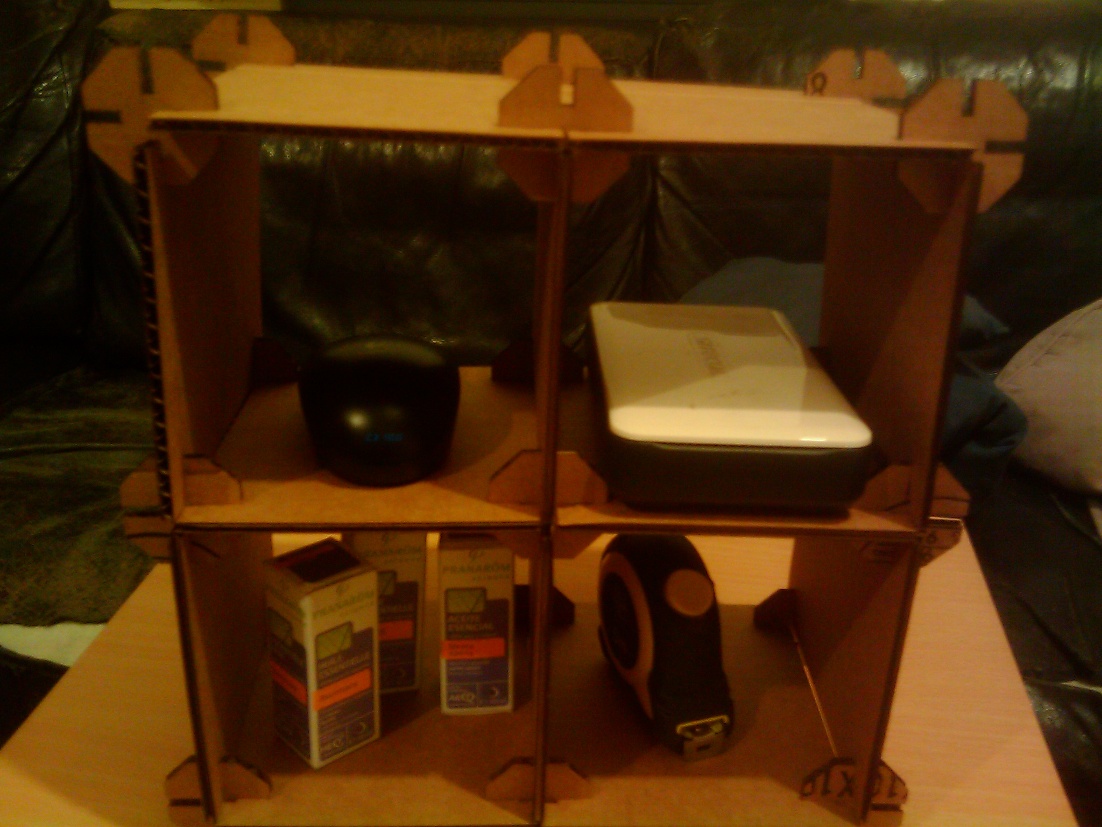
I will build-up a cardboard-shelf to put some little objects but
it should be possible to increase the size of the shelf for
books or CD.
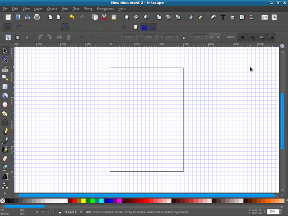
1st step, the drawing :
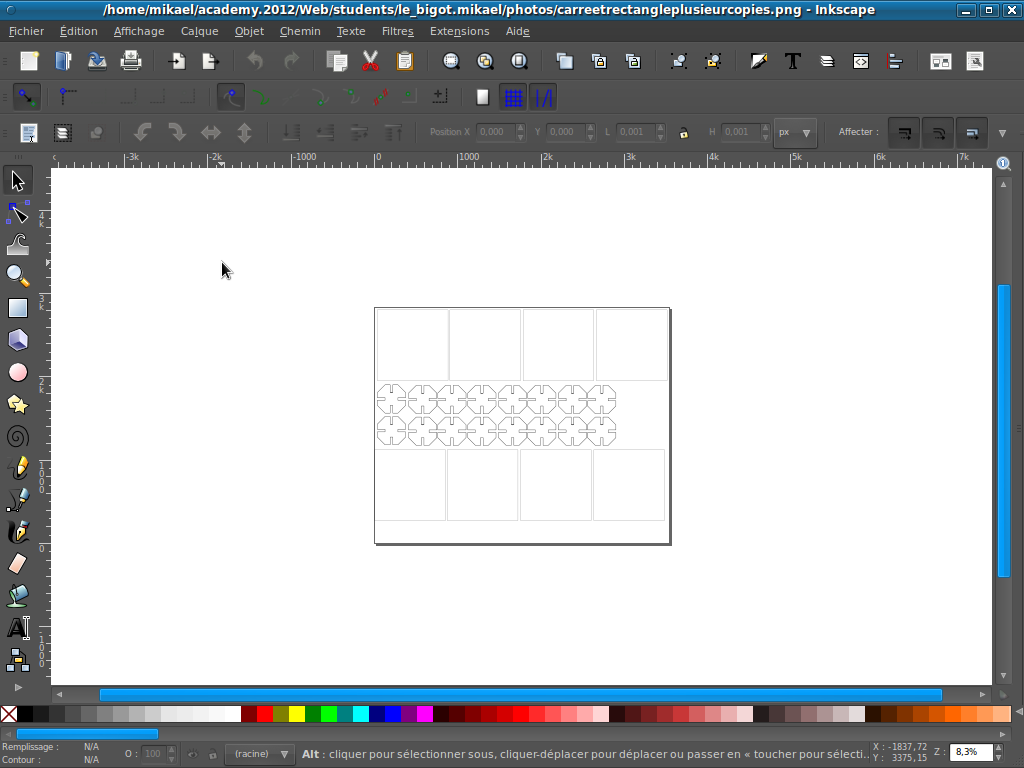
I did use Inkscape to create the drawings which will allow me
later to use the lasercutter. I did select the « view »
button and then the « grid » one. I am now able to start
the drawing with the grid for helping me. I am using the button
« Draw Beziers curves and straight lines » to creat my
drawings.
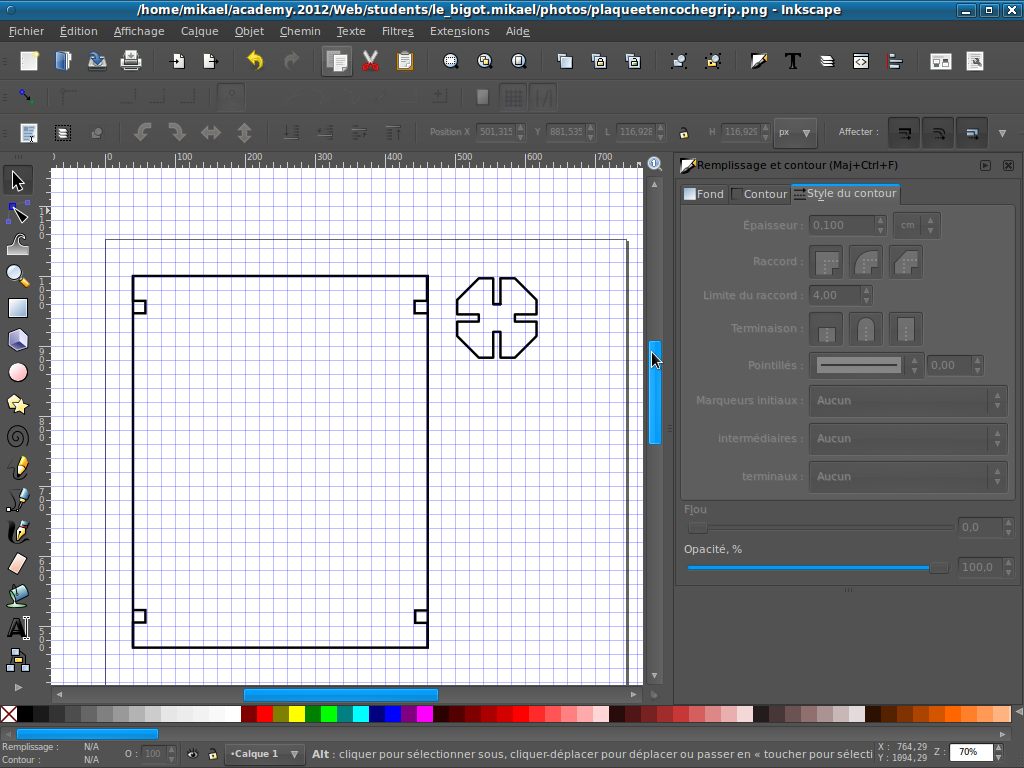
The cardboard that I will use to print my drawings will have a
thickness of 0,4 cm. I need to know it this information to set the good
value of my notches on my 2 drawings.
I did set for the rectangle the values of 11,983 cm * 15,086 cm and
a sharp close from a square get as values 4cm * 4cm. Each notches have
a thickness of 0,4 cm
(see below the drawing)
The drawing above to be handled by the Illustrator has been saved in
"svg" format allowing me to use any victorielle software to print my
drawings.
2nd step, the printing:
I will print the drawing on a cardboard which have a thicness of 0,4
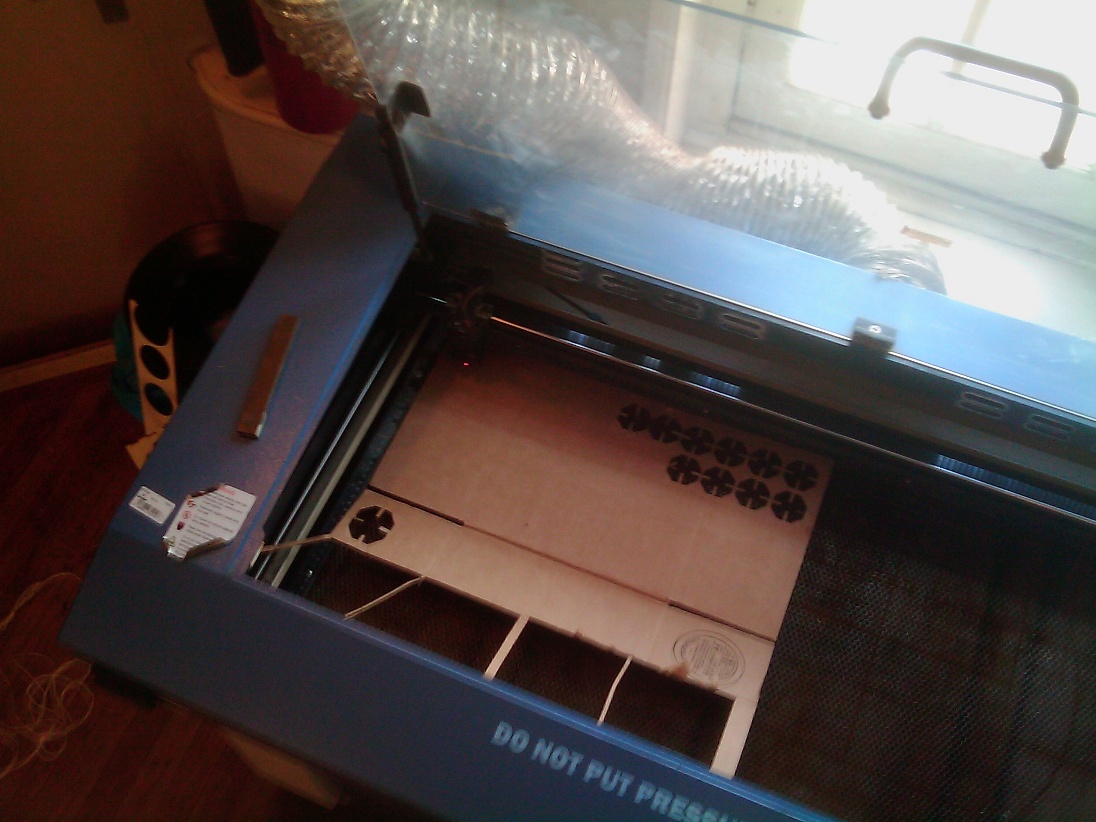
cm. I need to prepare the machine by push on the button
"autofocus" which will allow the machine to
get ready to cut the cardboard.
picture of lasercutter
After that, I can use the both drawings that I did prepared above and
copy each of them as much as needed on a new page matching to the size
of the cardboard, I go to use.
So mesure you cardboard ans set the value. When you copy your
drawings to a new page double check that any change did occur regarding
the sclae and the size of your drawings. As if you make a mistake then
your printing won't match anymore to the value you did set. Be sure it
is not occuring.
see below the example of drawing copied several times.
I did
transfert my drawings above with the "svg" format on the Illustrator
software and I did prepare the printing by doing these steps:
click on print
placement set X 0 and Y 0
setup
click on preferences
options
black and white
but also possible
Manual color fill
black
speed 0.1
power 100
ppi 400
advanced
relative
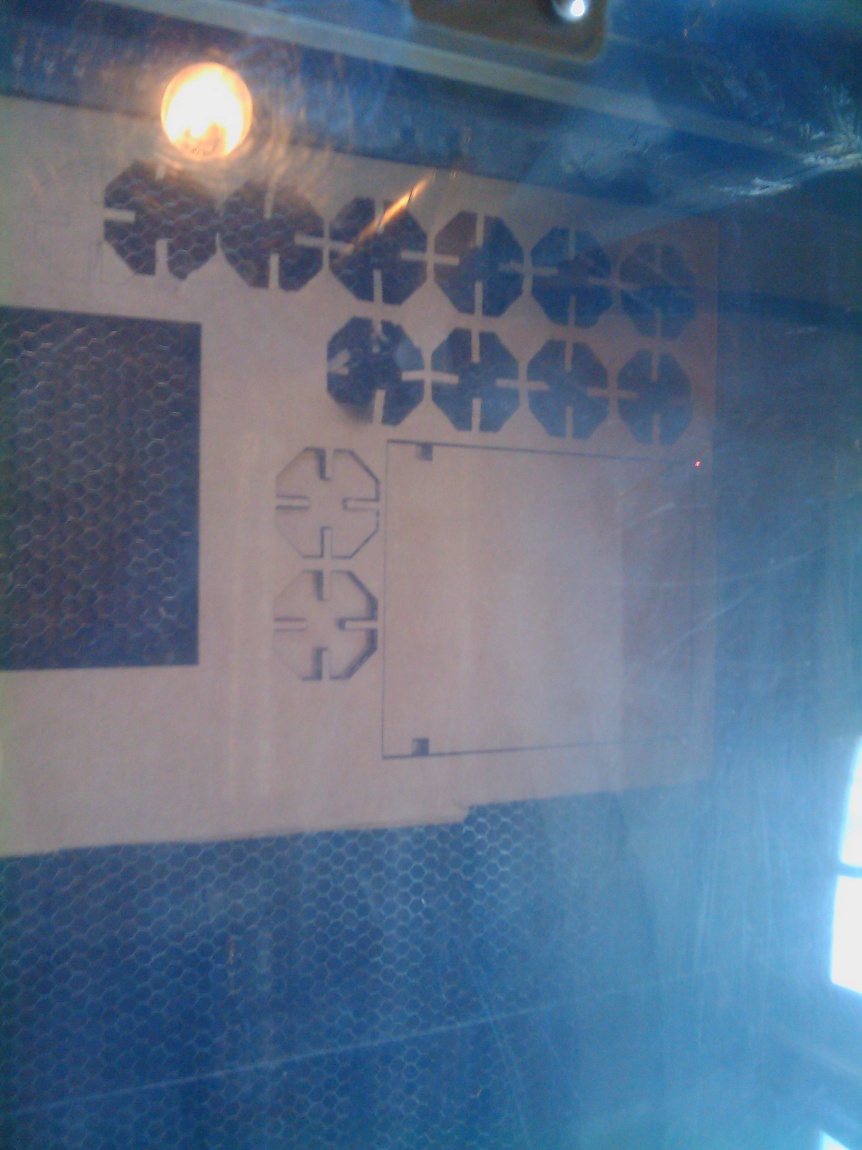
pictures of cuts:

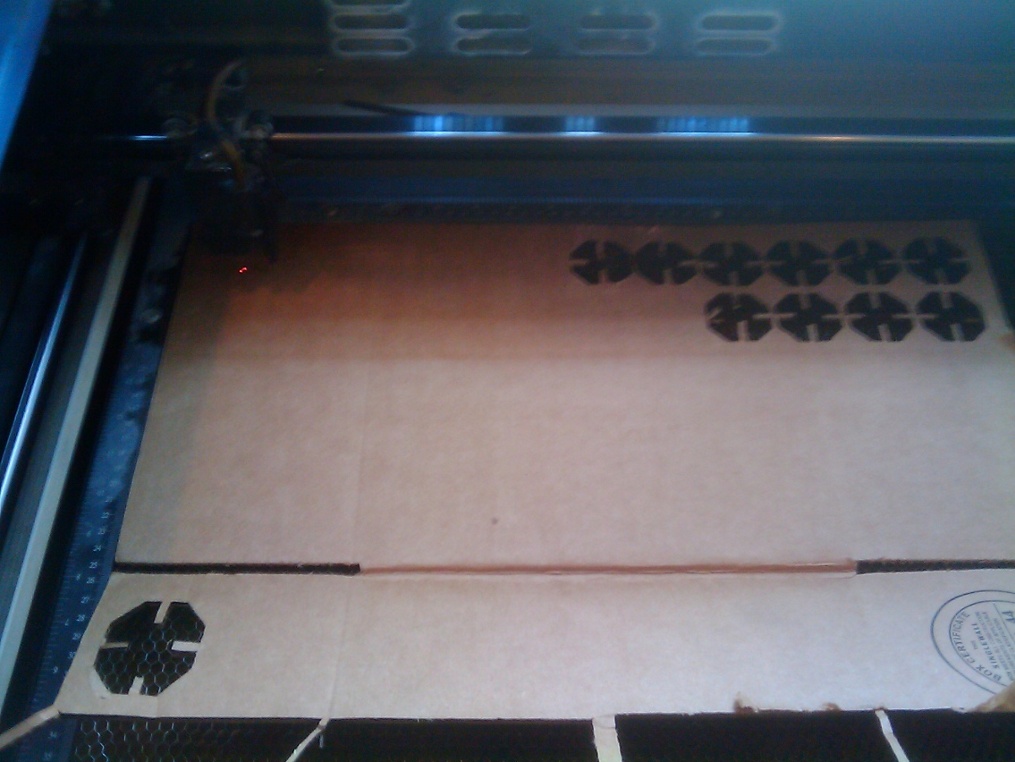
On the fist picture, you can see some burns on the cardboard due to a wrong setting regarding the speed used which was to slow
On the second picture, the lasercutter is applying the autofocus to get ready tp cut cardboard
On the third picture, you can see the result of a cut done by laser
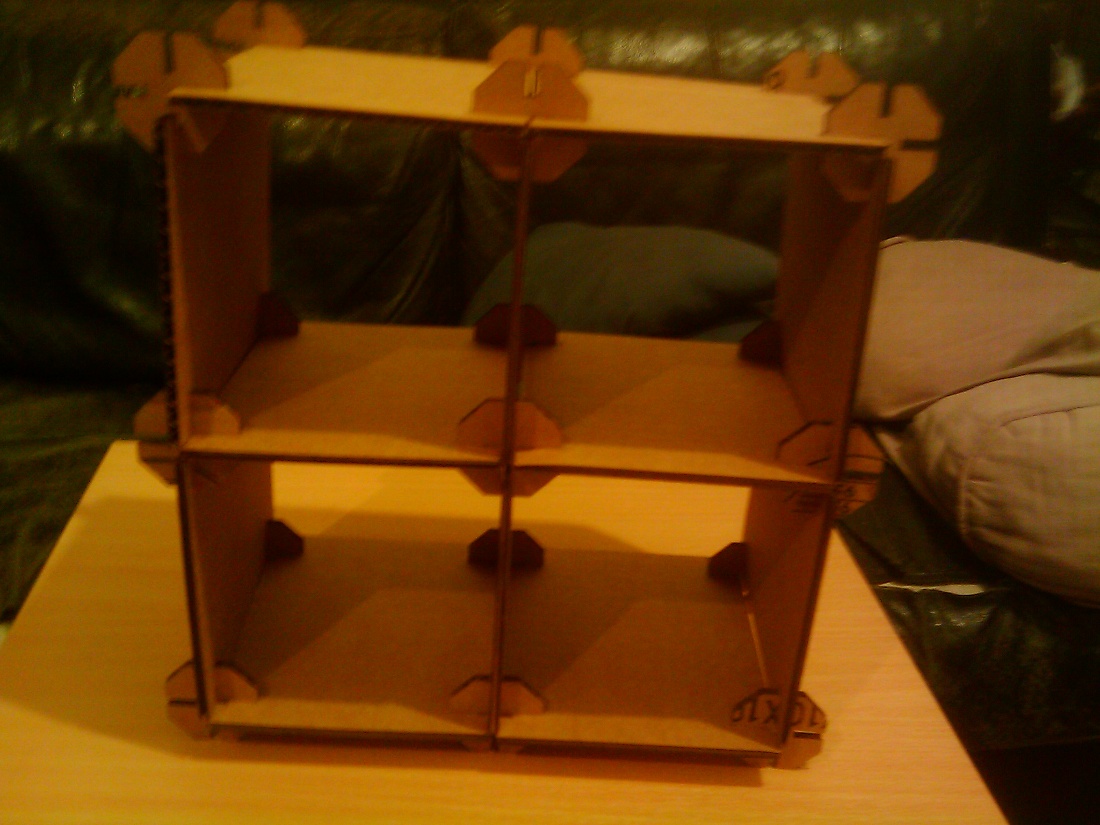
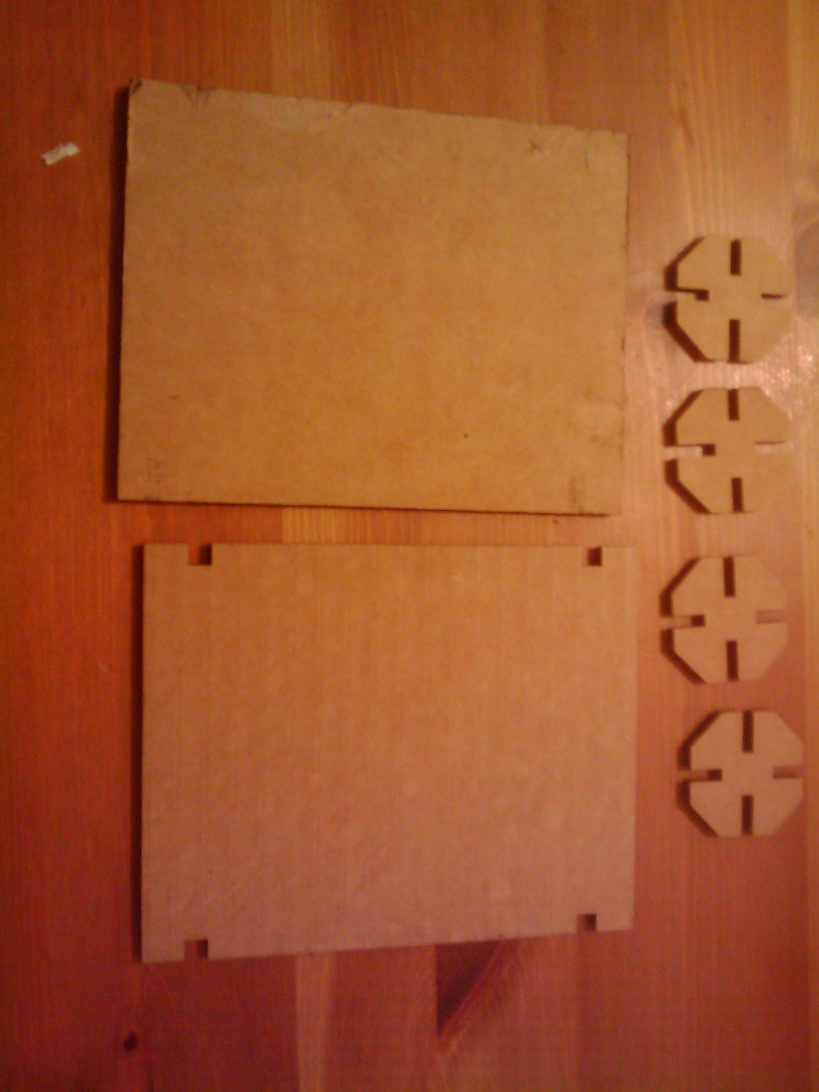
3rd step, build the printed pieces:
This is the result of the cutting out done by laser (during my work,
the first time I didn't cut any notches or joints on the rectangle but
I did correct after the advise of Alex Schaub. Without the joints on
the rectangles the construction is very less stable)
The pieces, once cut
the pieces all together, I finally get my cardboard-shelf