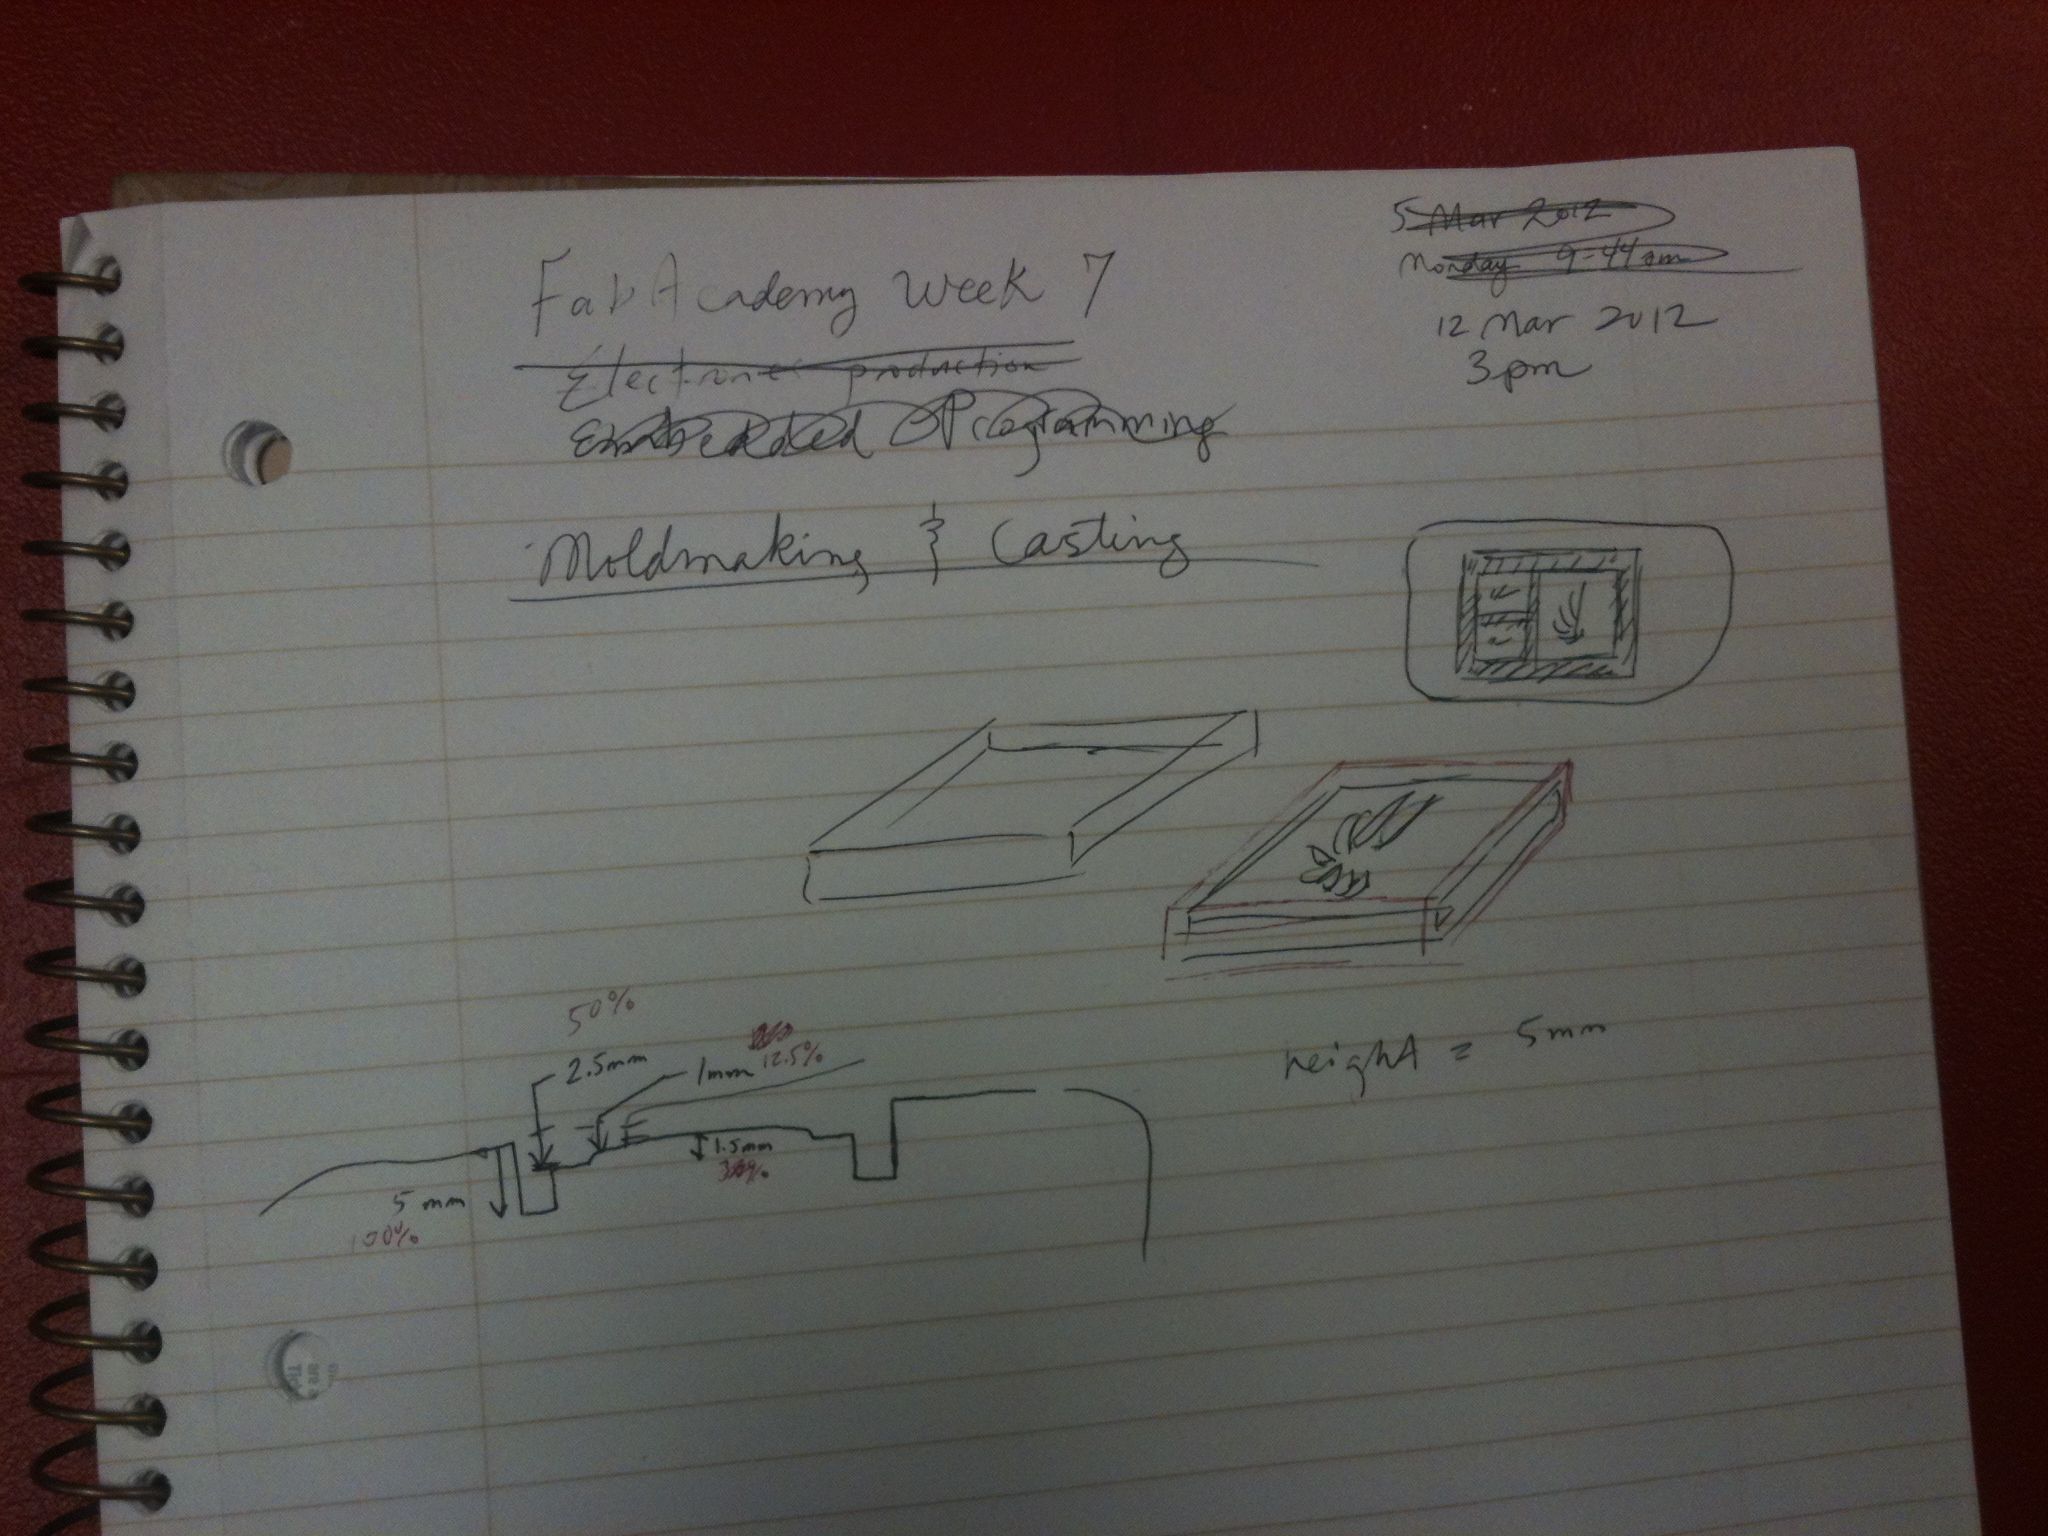
For week 8, we were tasked with generating a 3d model to be carved out of wax using CNC milling, then carving the wax model, using Room Temperature Vulcanizing rubber to take a mould from the carved model, and finally casting multiple copies of the design out of a material of our choosing.
I didn't make it through the whole project this week, so I'll have to update this page later when the project is fully finished.
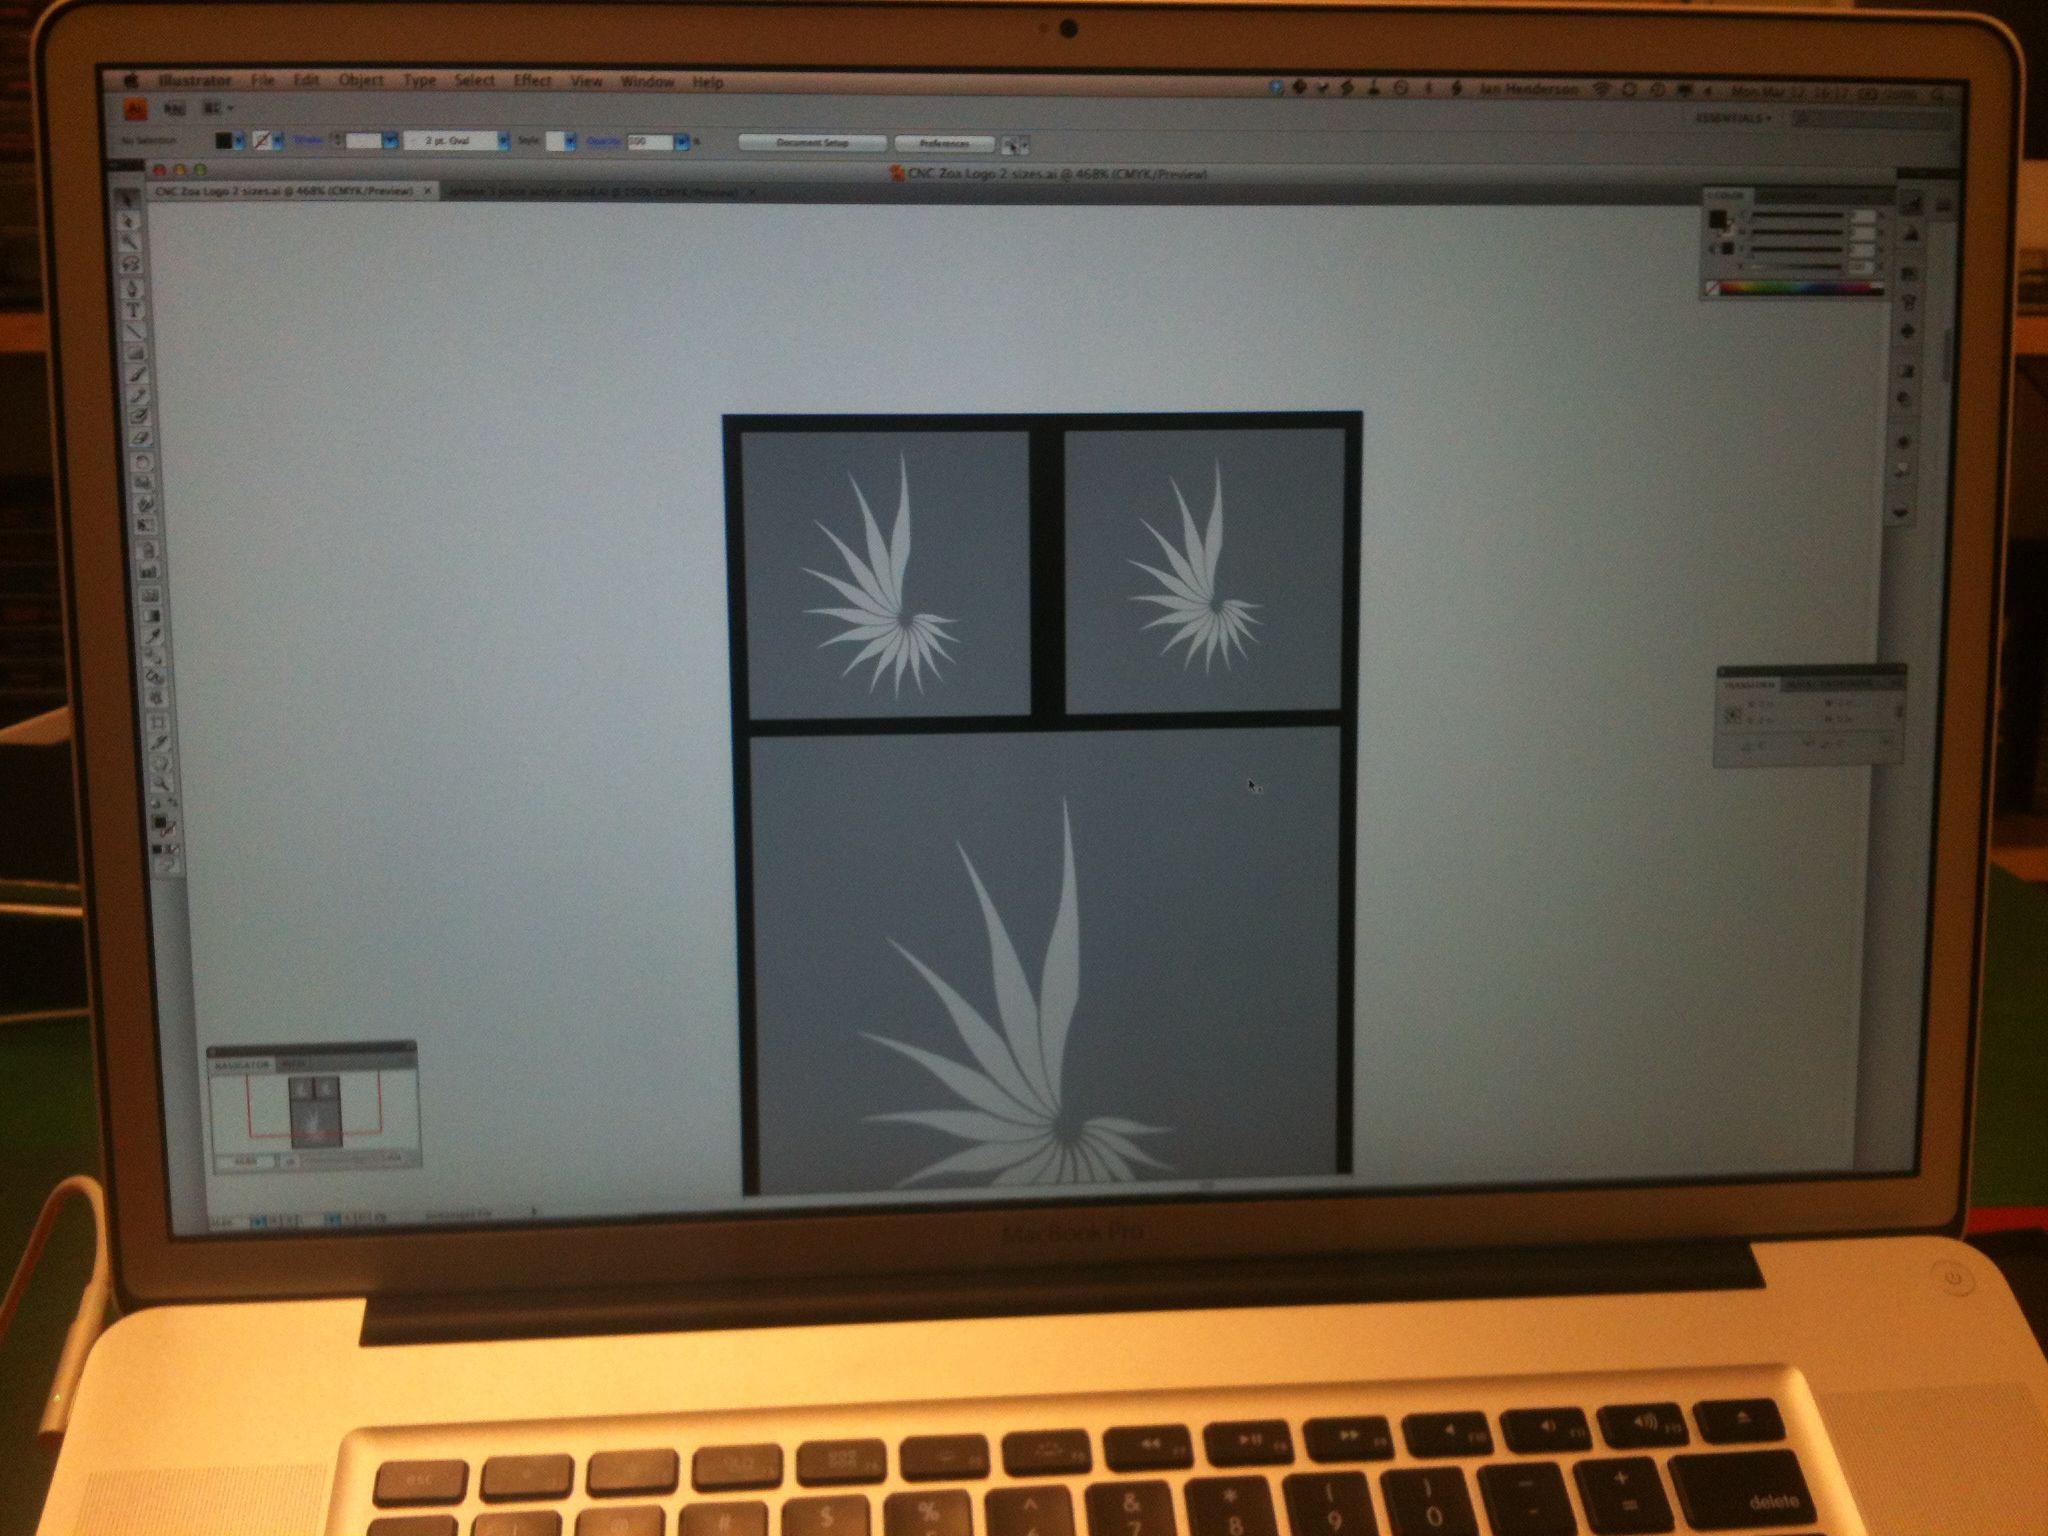
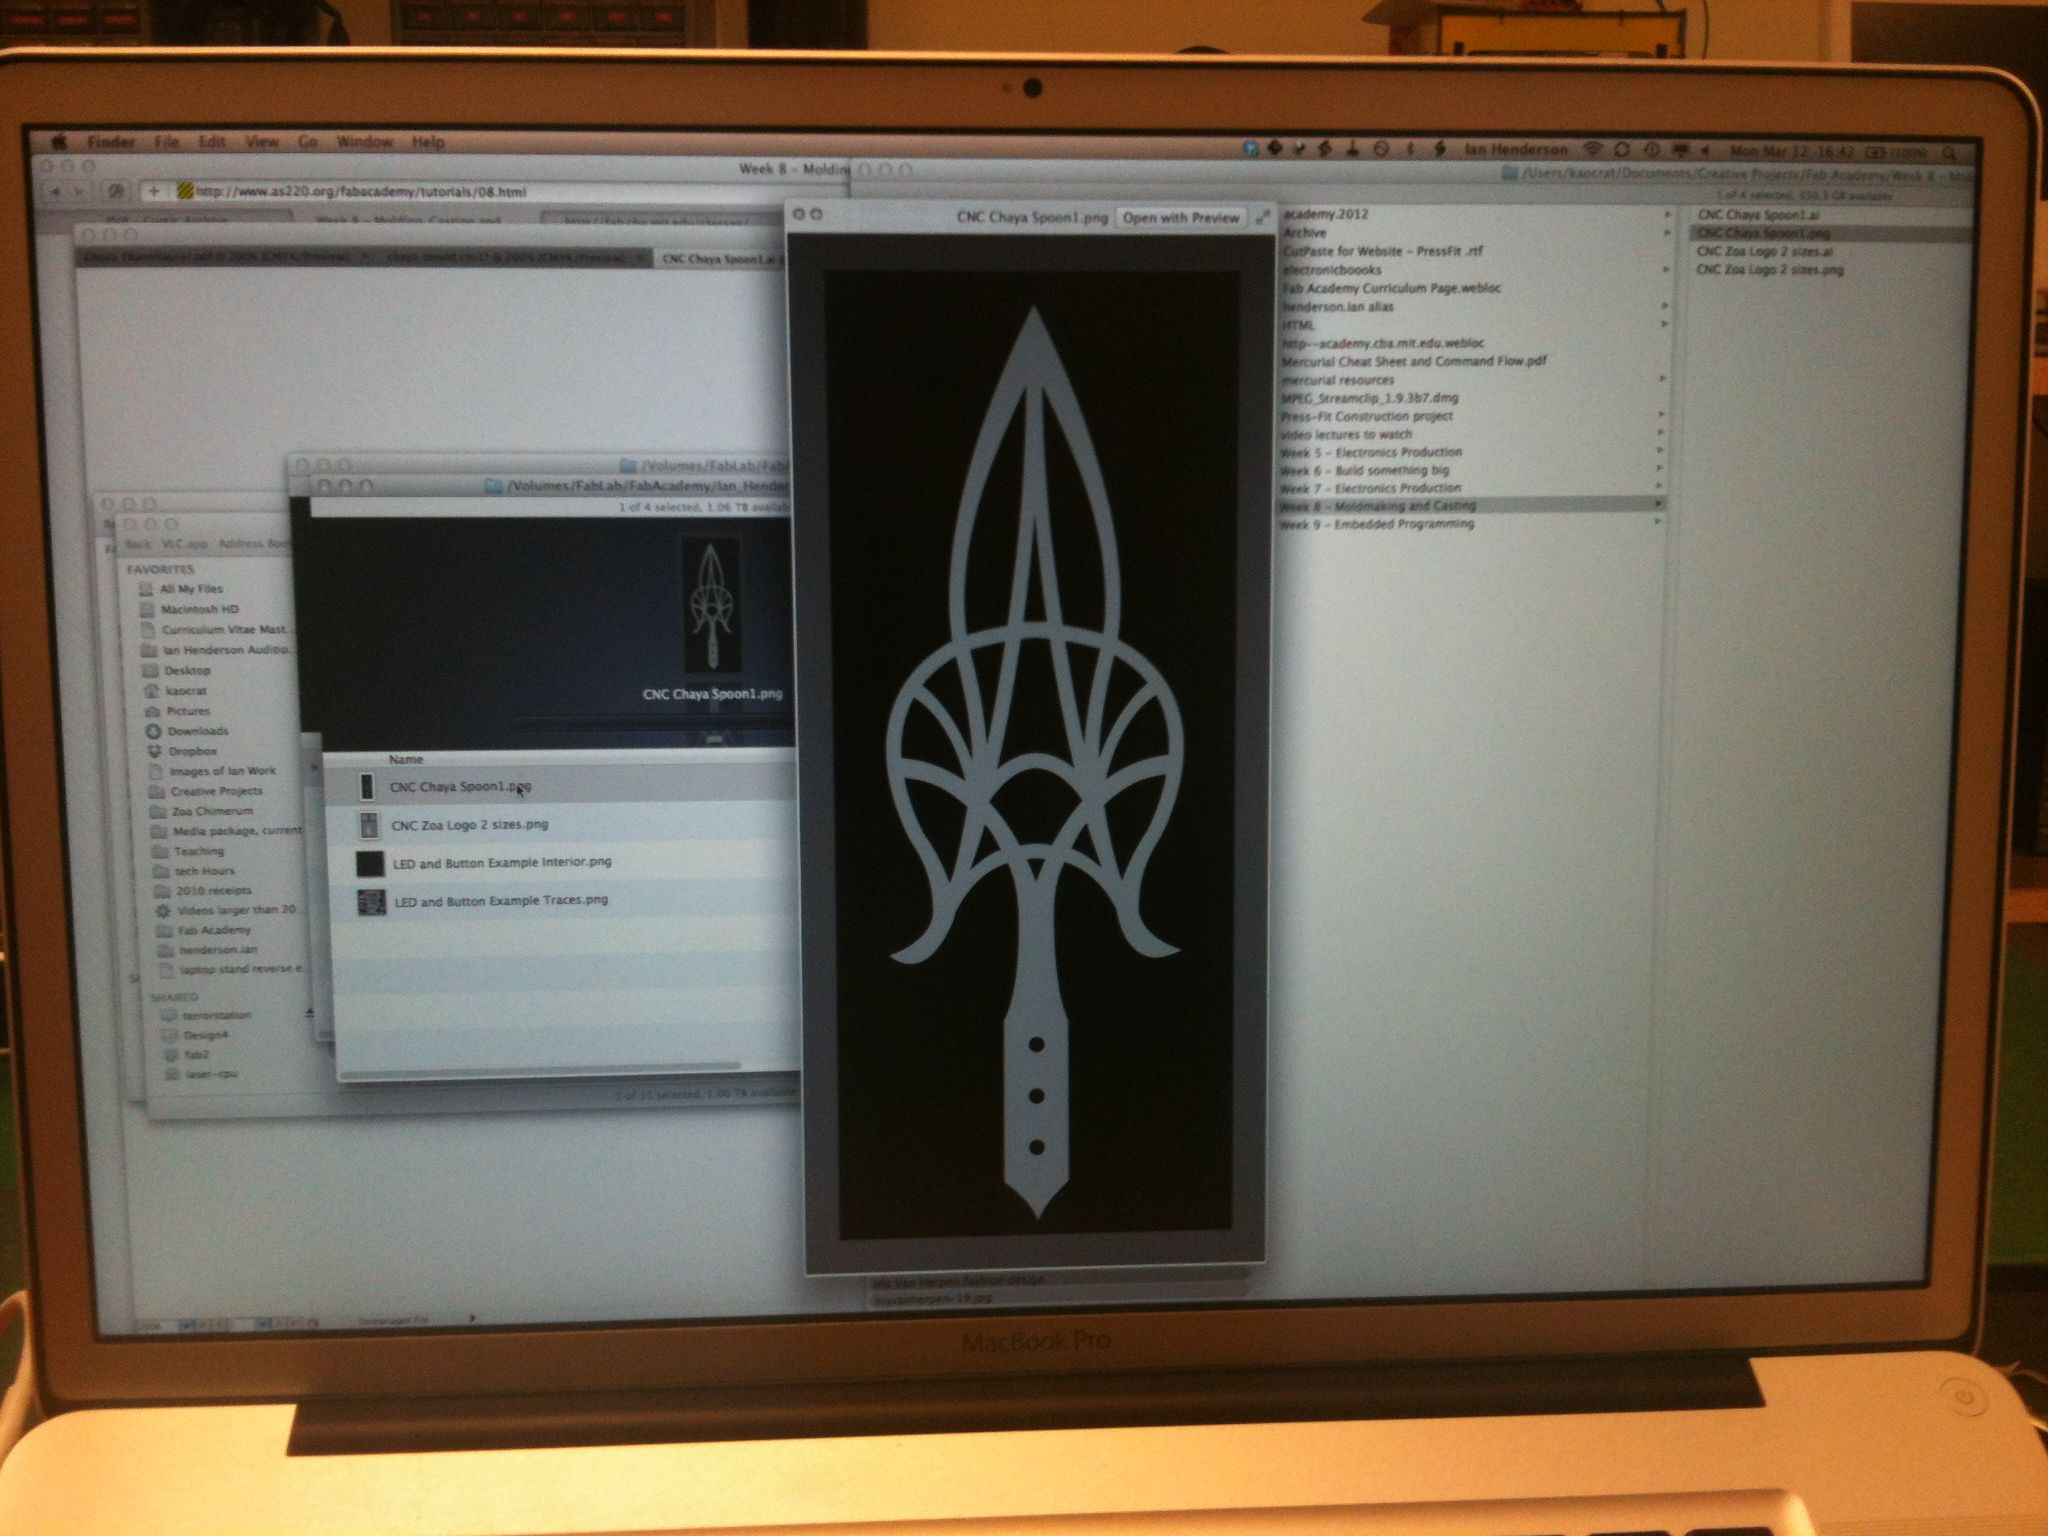
Initially I had hoped to make a rubber stamp of my Zoa Chimerum logo, to use on packaging and so forth. I figured I'd make a small one which could be cast in some hard substance like metal and used as a wax seal, and another larger one to be cast in rubber for ink stamping. Trouble is, the modela CNC router only has mill bits going down to 1/64 inch, which isn't nearly fine enough to reproduce even the large version of my stamp. I realized this only after I had spent some time playing with the file in Illustrator and creating a final image to go into the CNC machine.

After some fussing with Rhino it became apparent that I did not have the skill needed to make the chamfers work and so I abandoned this aspect of the modeling for now, and switched back to Illustrator.
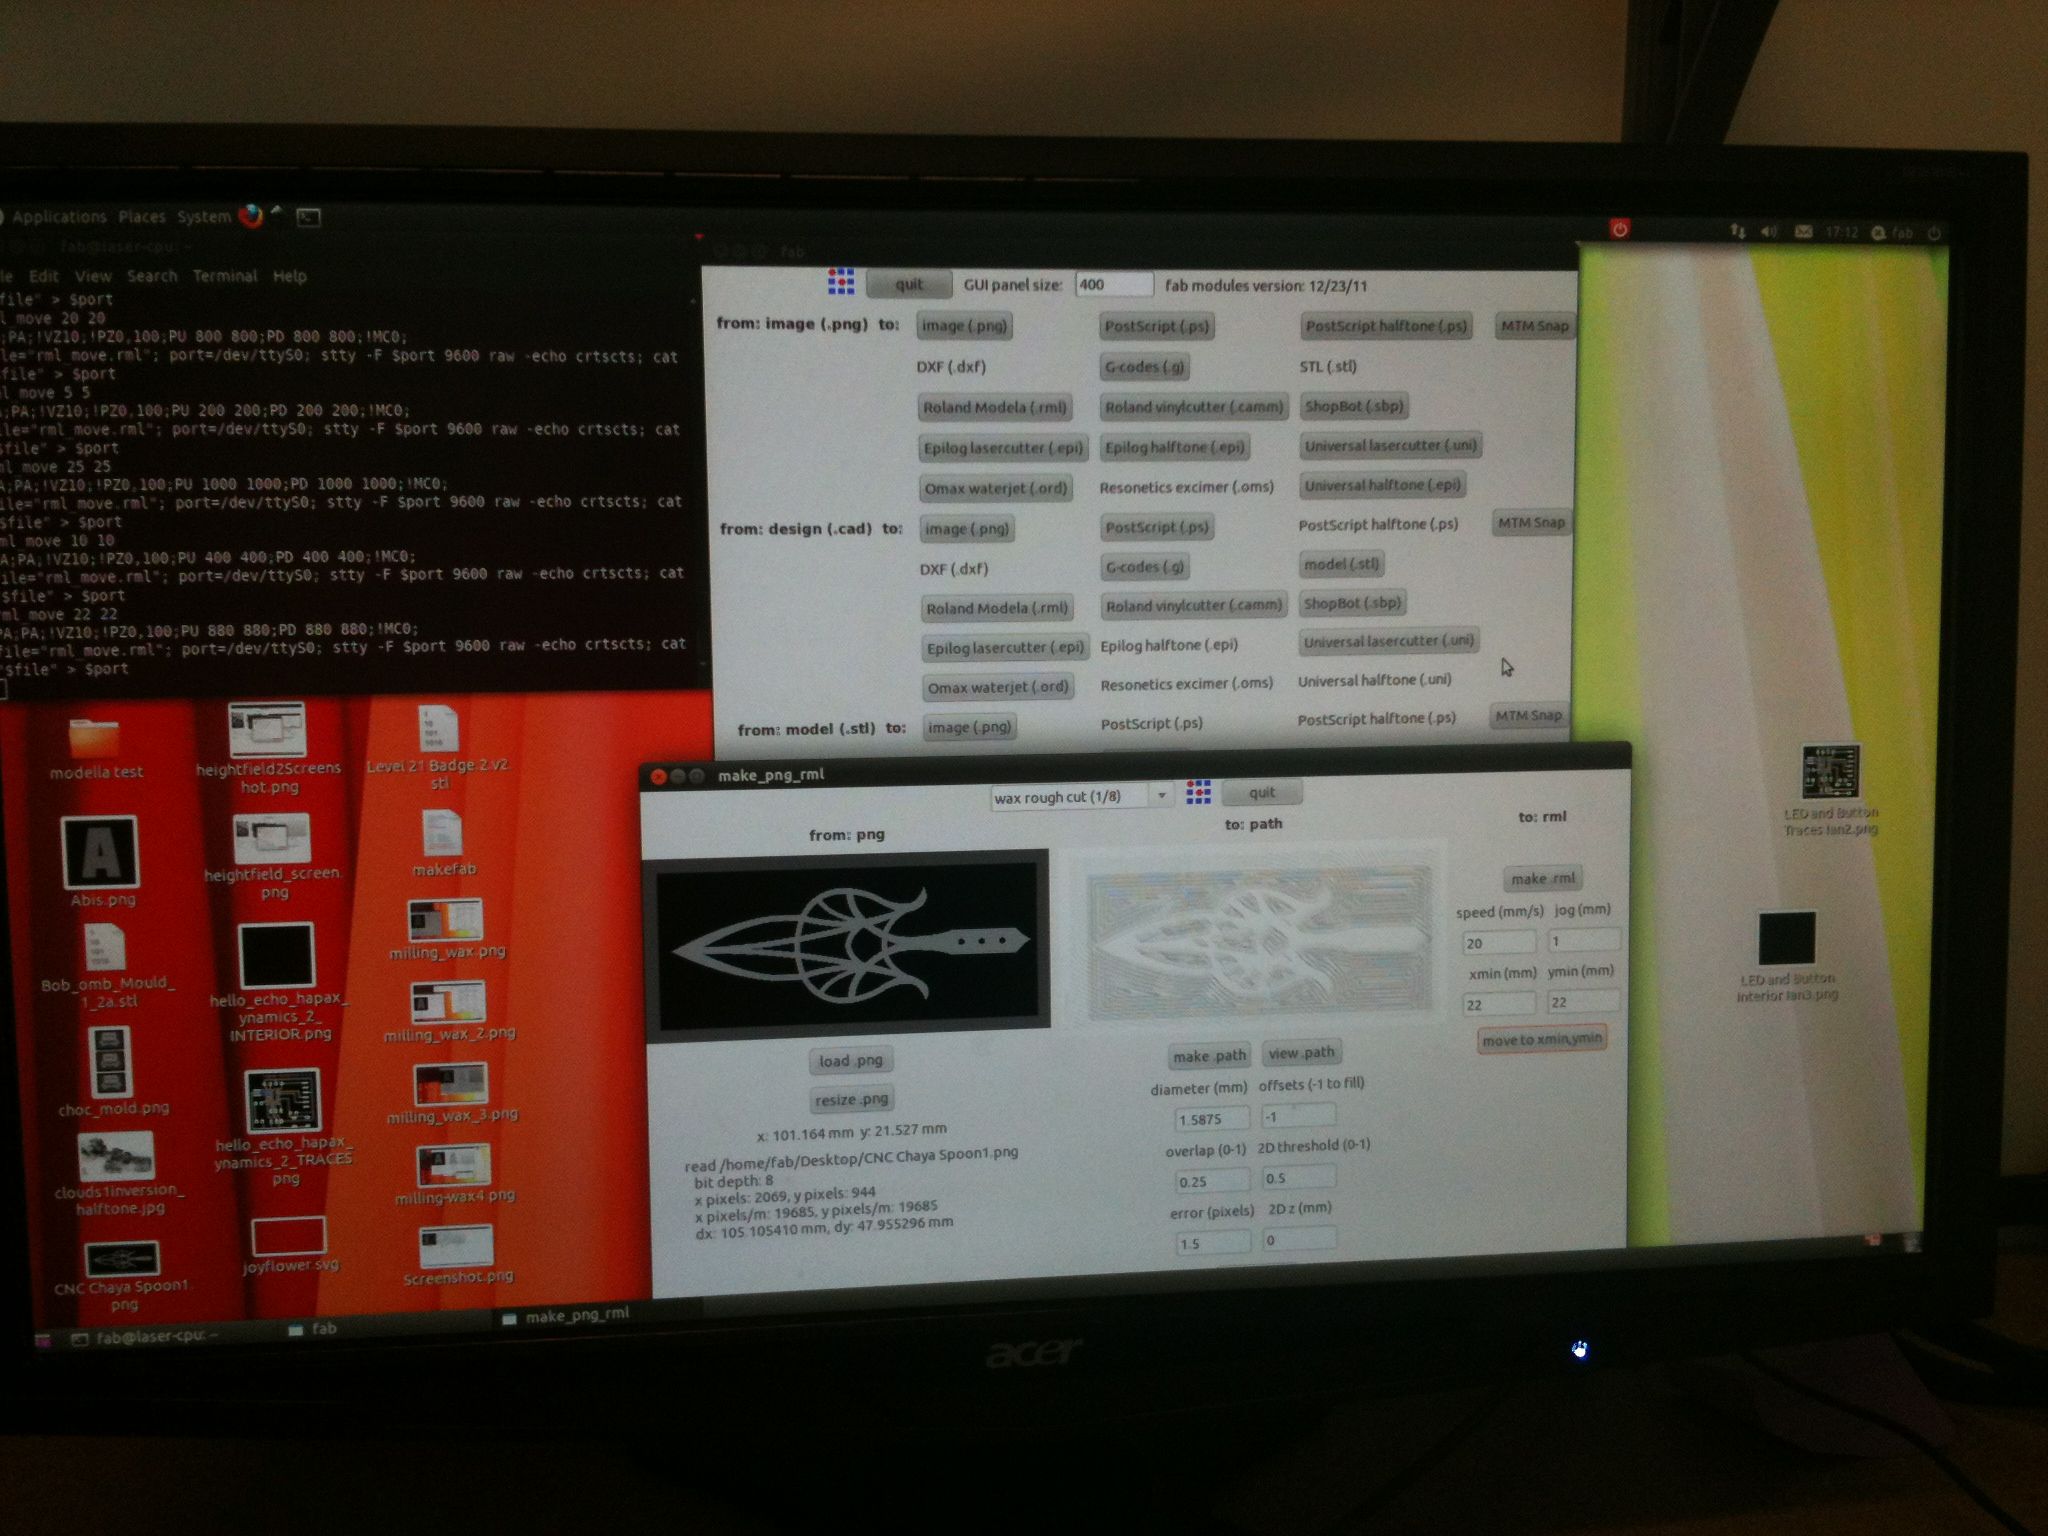
Once the greyscale image was ready, I had to import it into the Linux-based PC which is connected to the Modela CNC machine. This in itself was problematic, because for some reason the PC doesn't save any preferences to connect to the AS220 FabLab network, which means you have to know some very specific information and type it into a control panel every time you connect to the network.
There's also something wrong with the CNC machine in that once someone has sent a job to the machine, there is no way to clear it without rebooting the computer connected to it. This is a problem because when you press the "view" button on the machine, it runs whatever the last job was, which will of course destroy your project. In order to change mill bits, though, you need to press the view button in order to get at the collet. (normally pressing the view button moves the bed back and out of the way, then brings the toolhead forward so that you can get at the machine screws to tighten and un-tighten the holder and remove or insert mill bits.
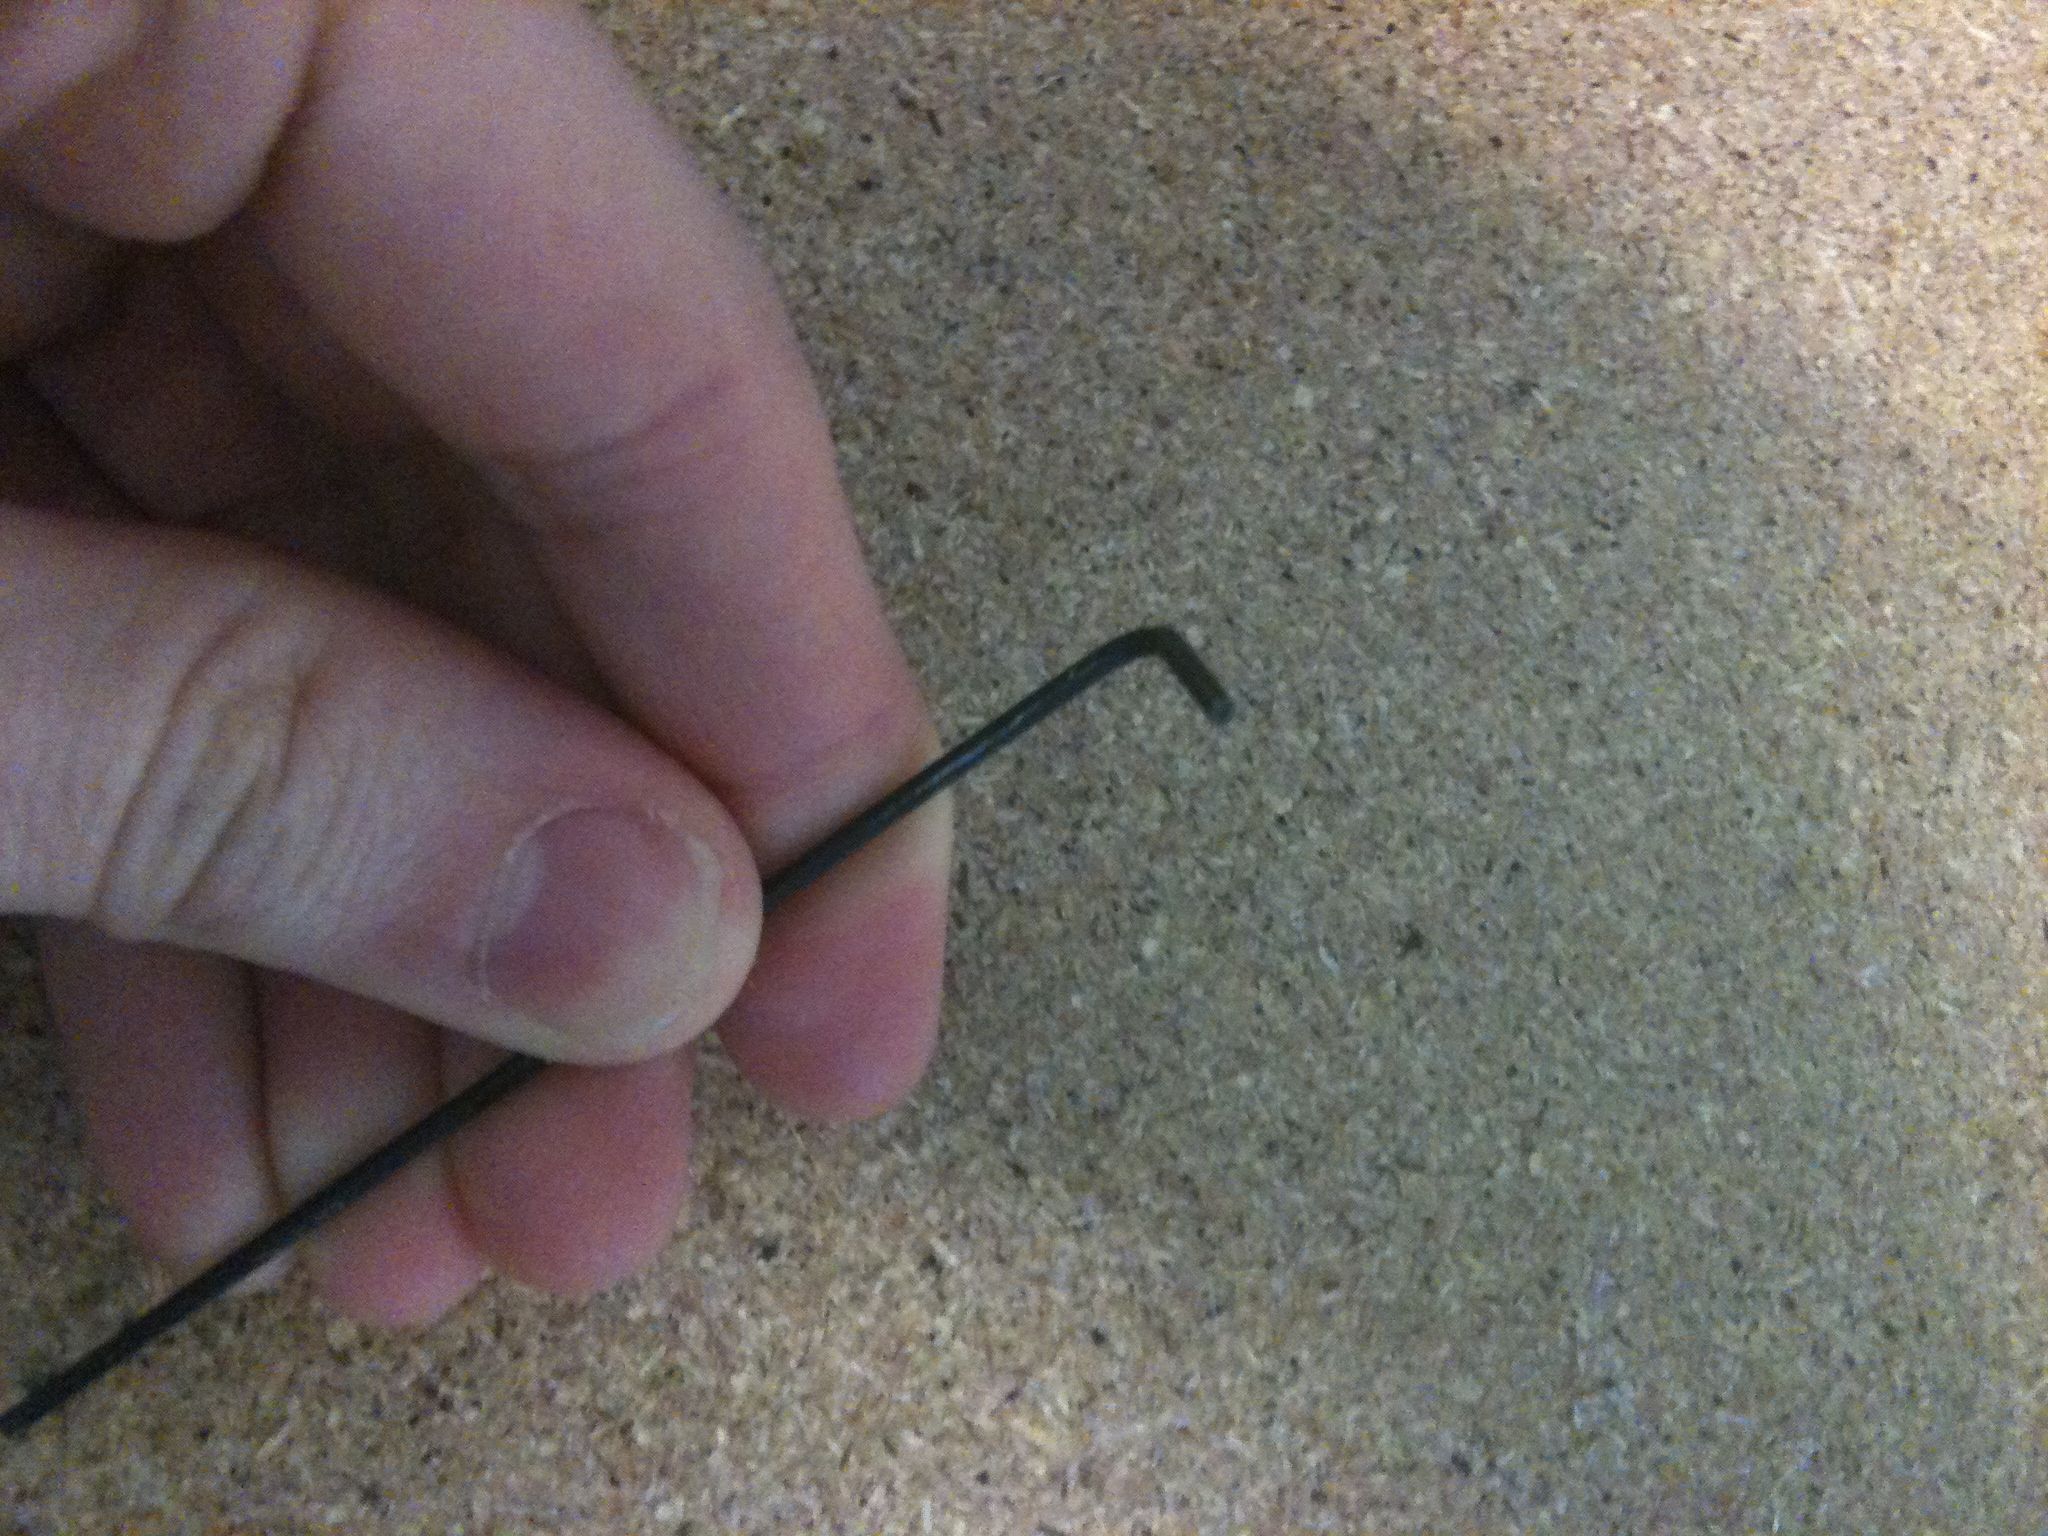
An additional problem has to do with the hex-wrenches we're supposed to use to tighten and untighten the screws in the toolhead. The hex wrench is an L shape with one short end and one long end. The short end is the service end of the tool and the long end is rounded off. The trouble stems from the fact that the short end is too short to readily access the machine screws, and the long end sticks out so much that it gets caught in the architecture of the CN machine housing, making it very difficult to tighten or loosen the screws holding the toolbits in place. Most troubling, though is that I don't thing we possess the correct hex wrench for the machine screws in the first place. The wrench fits into the hexagonal sockets in the screws, and initially provides tension, but will slip as you turn it. I think this is because the wrench is a tiny bit too small. Perhaps the screws are metric sized and the wrench is US units, or vice versa.
There's a problem with the software on the PC as well. At certain times, the fab Module will freeze up and refuse to respond to any input. At this point it is necessary to close the software and restart. This happened about 4 times, and each time it was necessary to re-load the source file into the fab module, adjust all the settings again, and re-generate the tool path. This, along with the network connection issues and the need to restart the machine to clear previous jobs, wasted a lot of time.
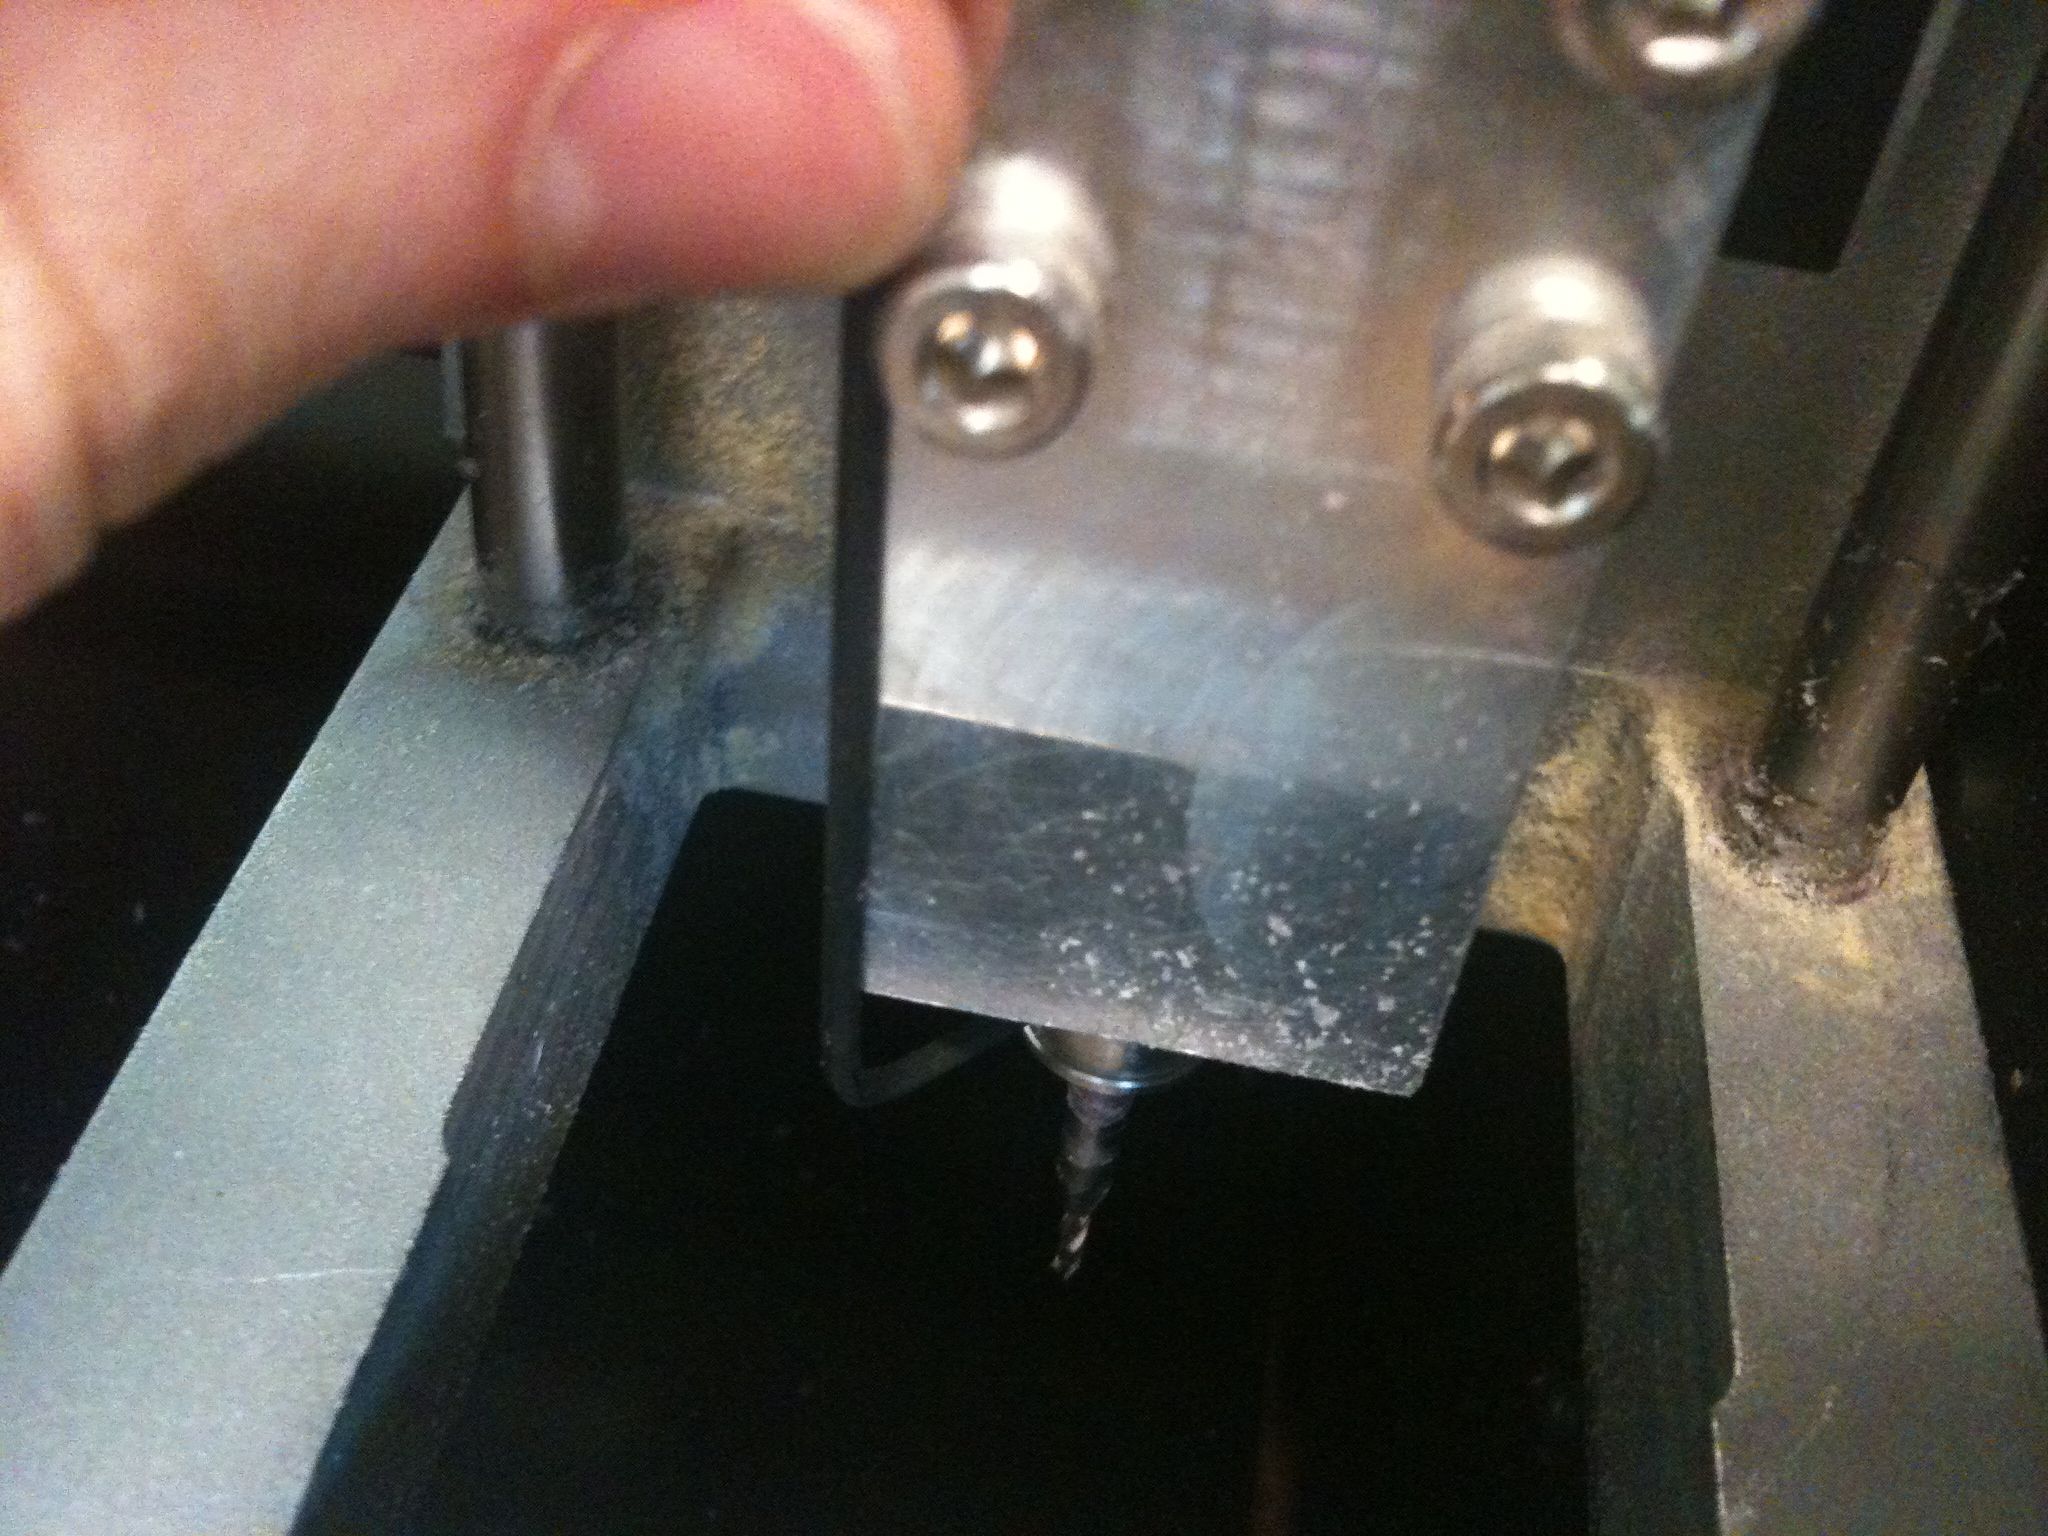
Setting up the wax block on the machine is fairly simple. You fasten it in place with double-sided tape and then run a bead of hot glue around the perimeter with a glue gun to affix it more securely.
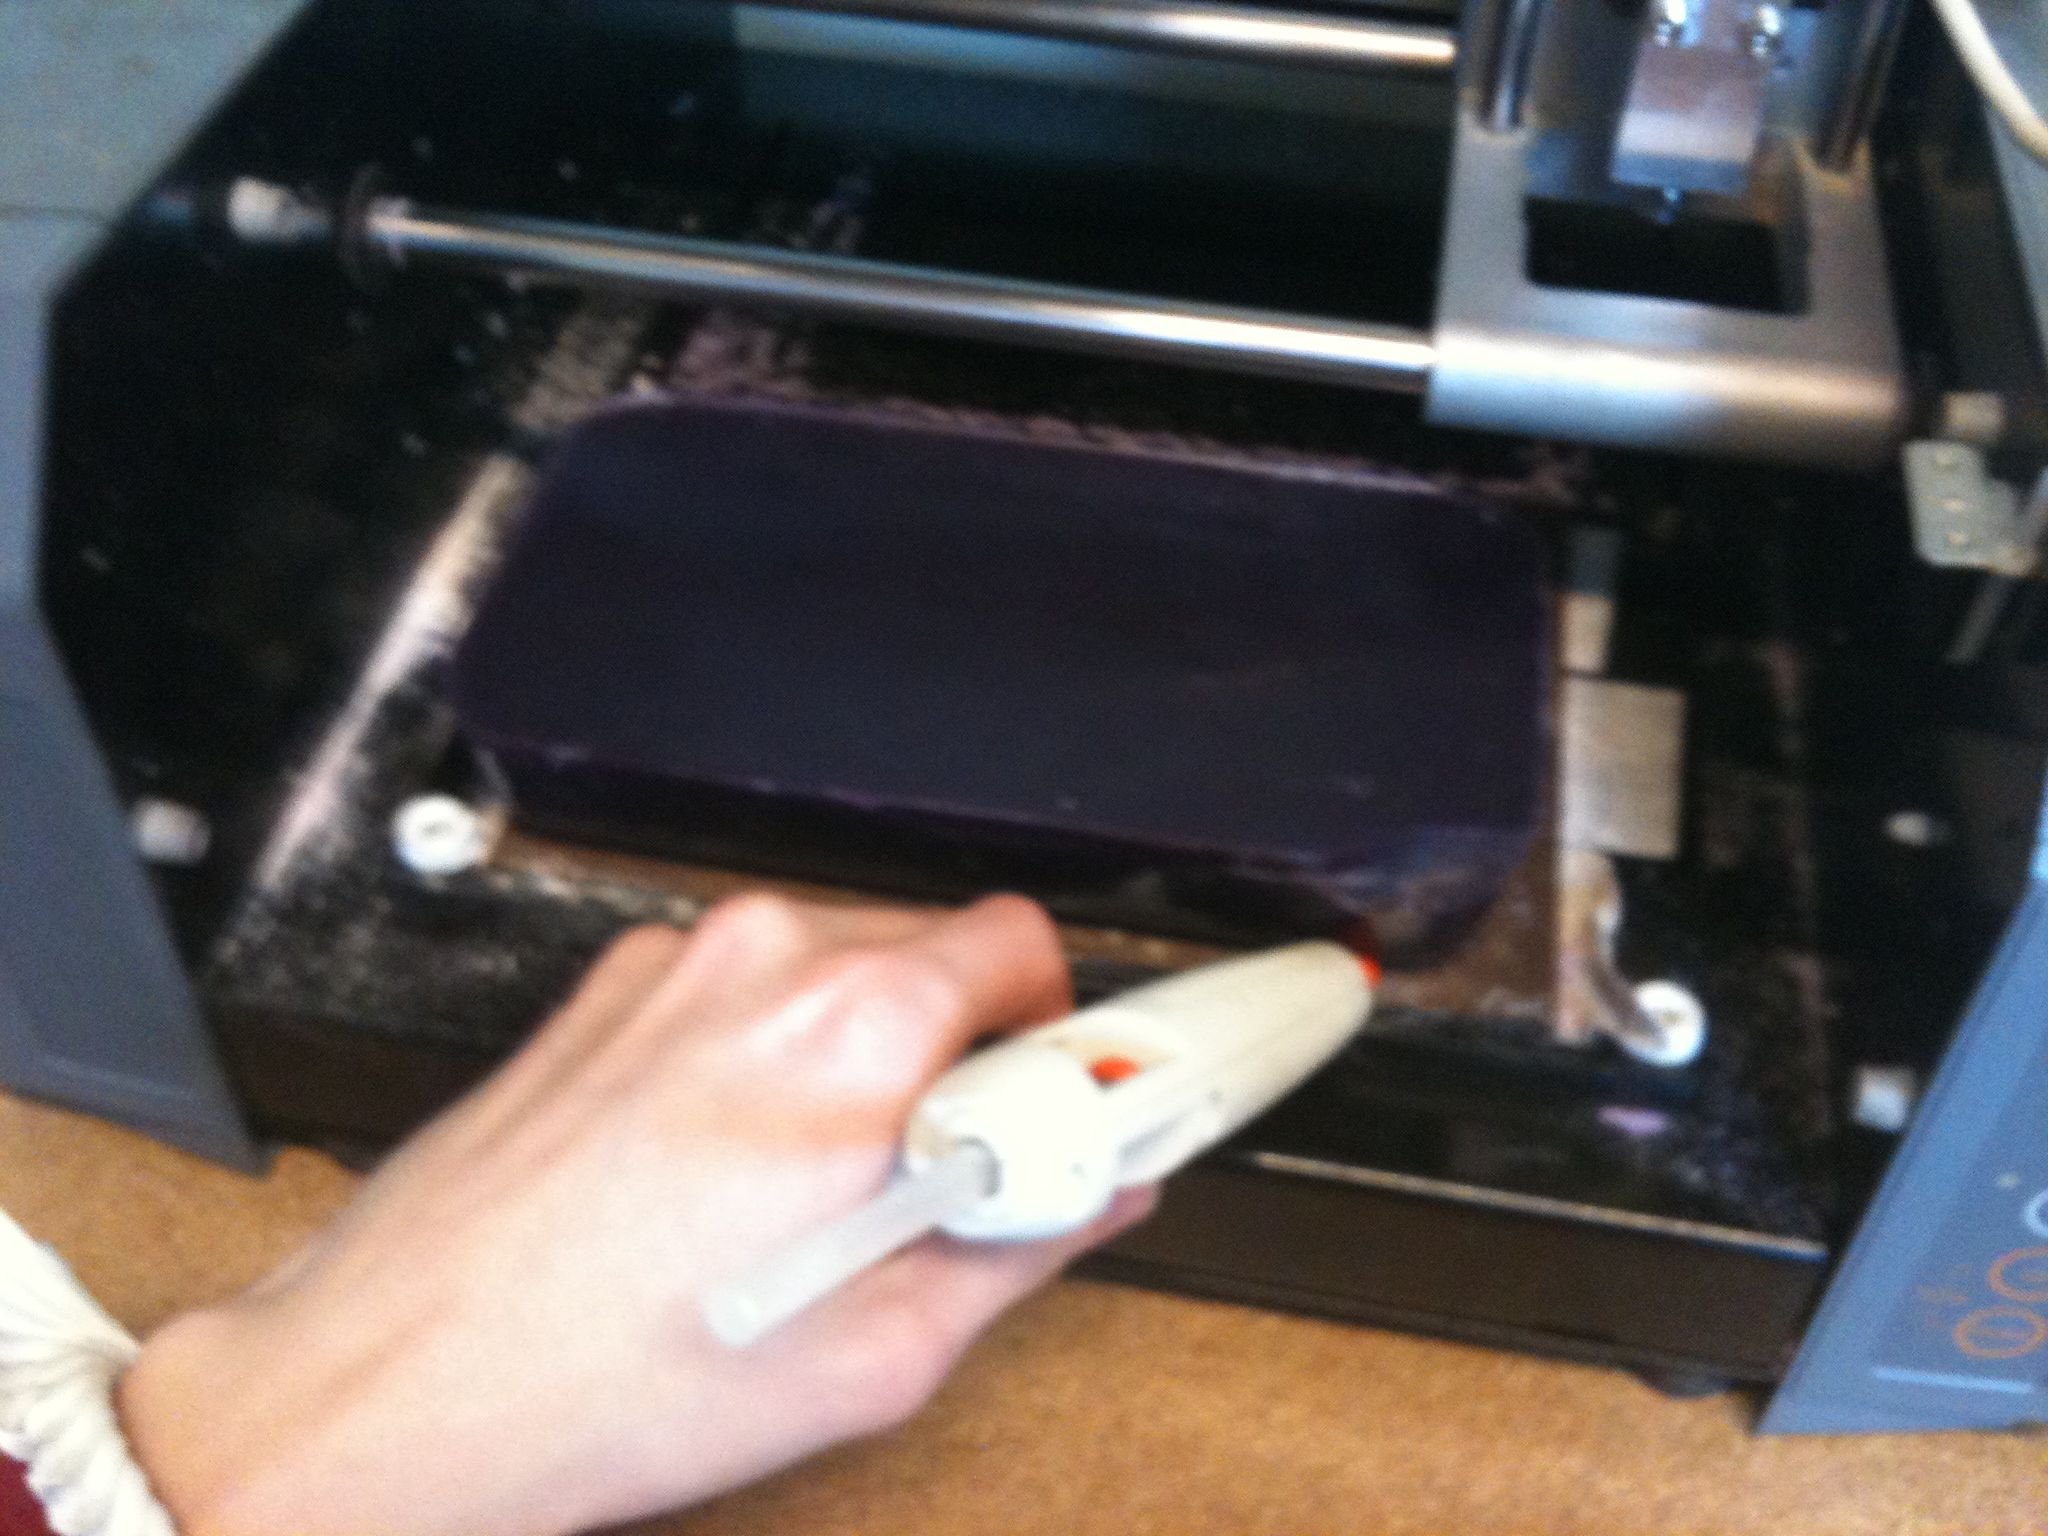
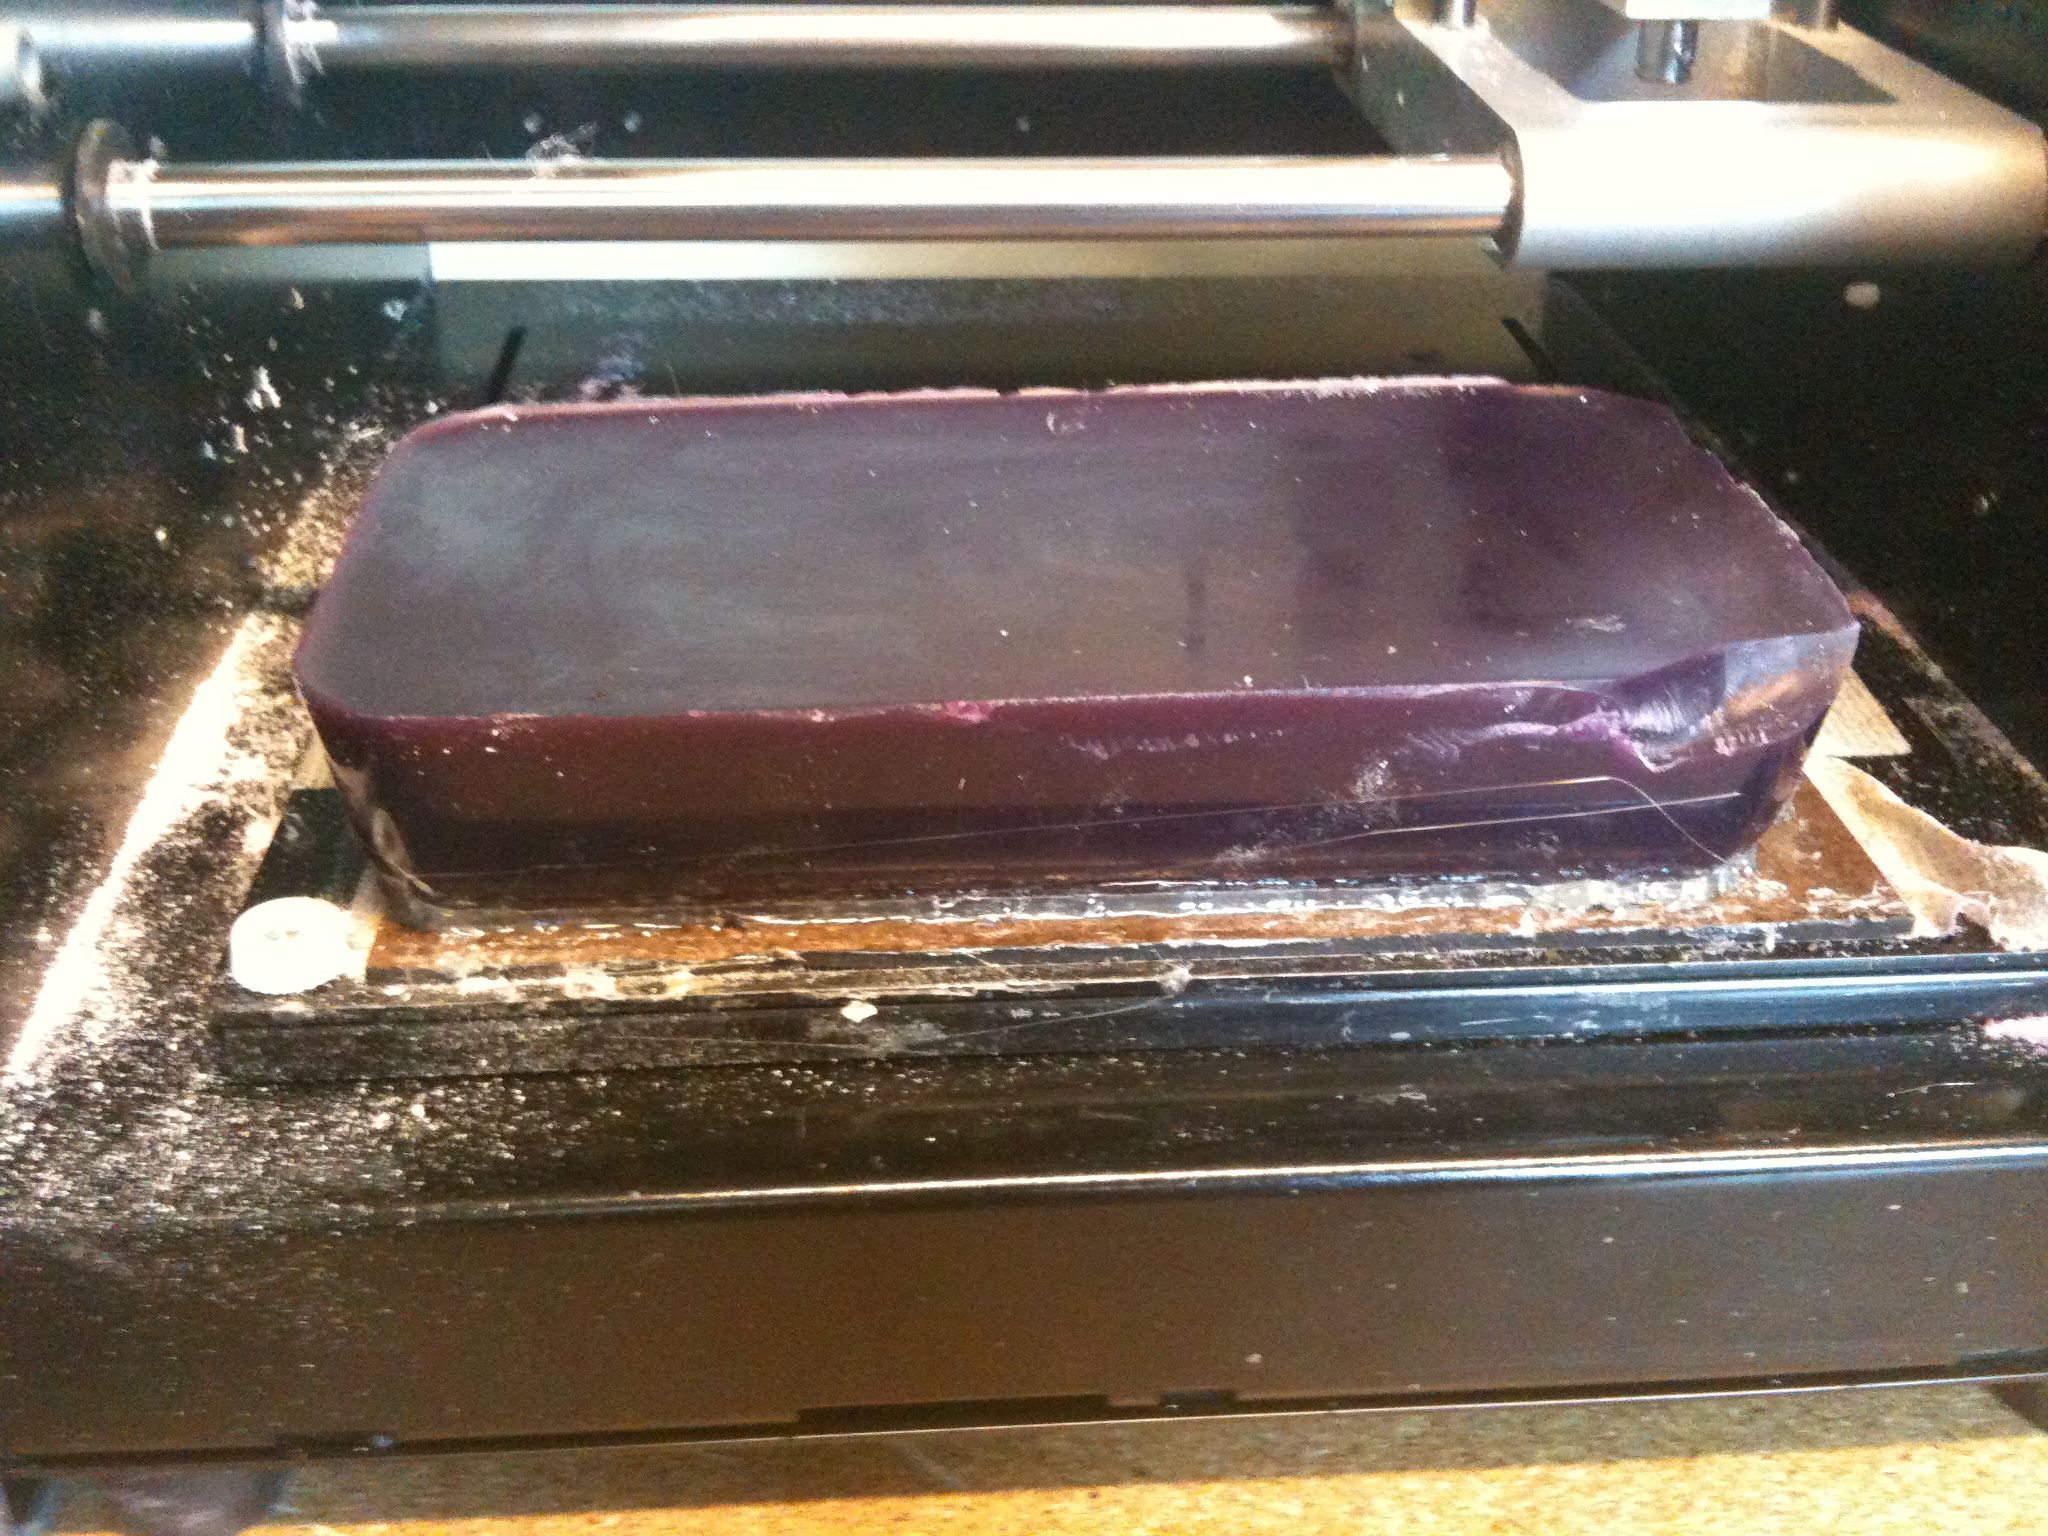
Once this is done you zero out the tool and run the job. Which is what I did.
After about 10 minutes of milling, the toolbit dropped out of the collet and the job was ruined. This is something that happened to another student who was using the machine prior to me, somewhere into her 7th hour of milling. Fortunately for her she had enough of the design milled out so it at least looked like "a thing". This was not the case with my own project and it will be necessary for me to restart the project from the beginning.
This is as far as I made it this week. After the ruined project, it was necessary to leave in order to catch the last train out of the city. I'll update this page with further attempts as they are undertaken.
Update - second milling attempt
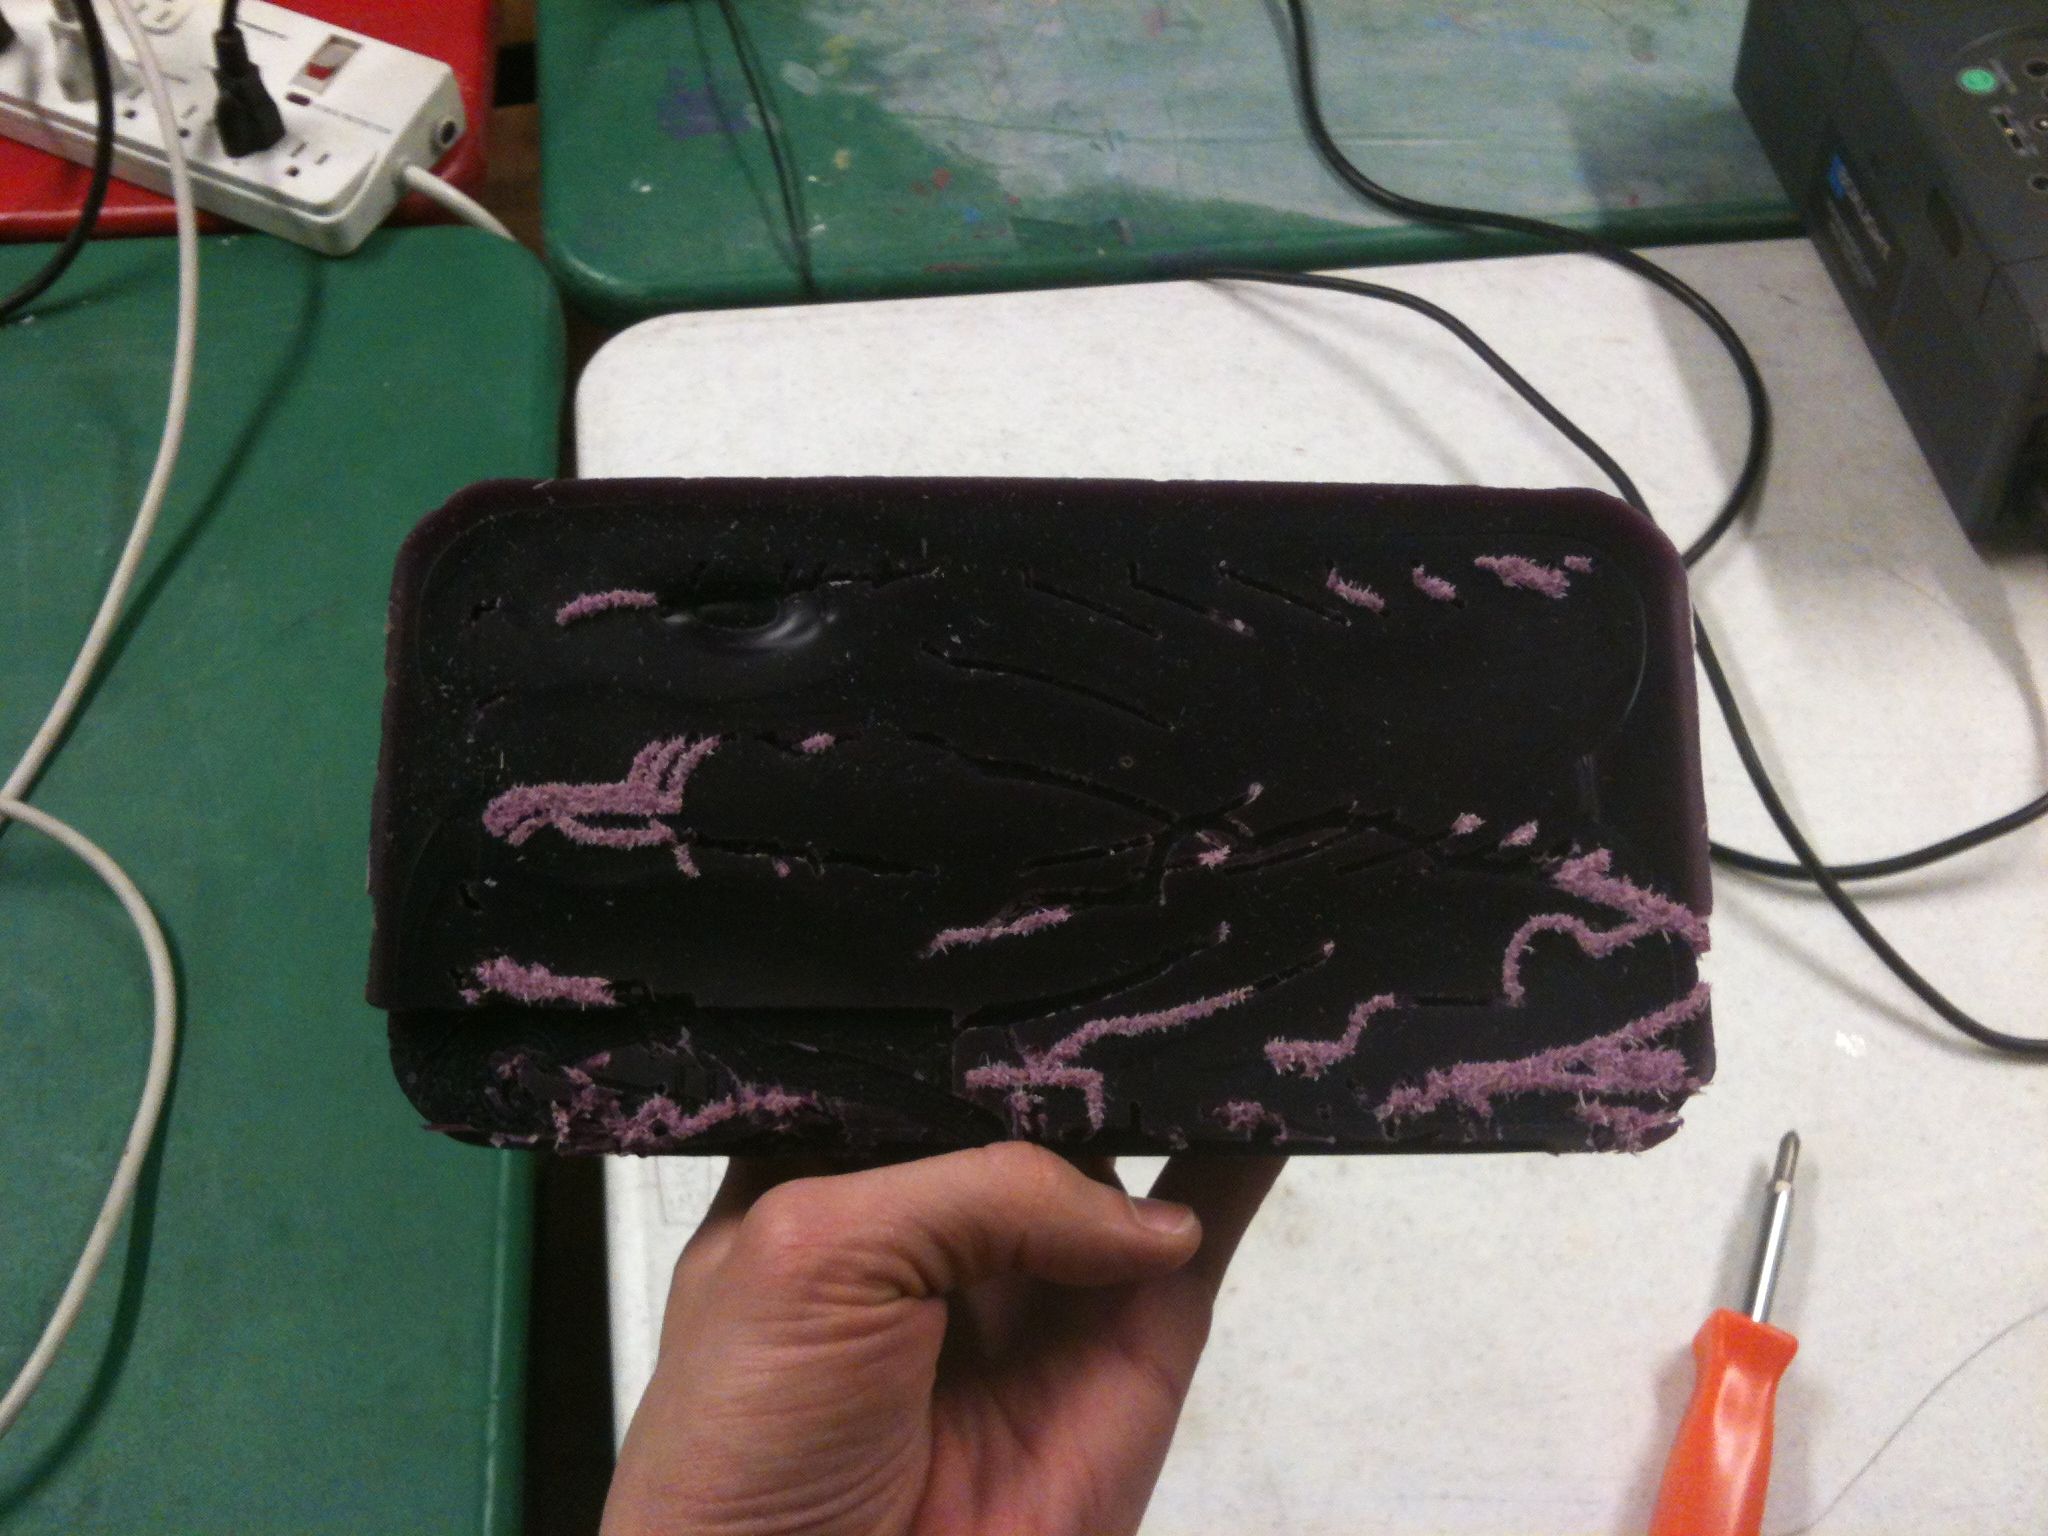
Yeah. this was a disaster too.
So I set everything up the same as before, with a new block of wax. I was very, very, cautious about getting my settings correct and following the tutorial steps To The Letter.
I don't know what is going on here. After setting everything up and running the job, the tool began moving in patterns that didn't seem to remotely resemble anything that would be related to my design. I shrugged my shoulders and decided that maybe the CNC machine knows what it's doing, and so rather than stop the job I decided to take a leap of faith and let it do its thing.
The machine did NOT know what it was doing. I still don't have a mould and I'm not sure when I'll get to make a 3rd attempt. (actually 4th - there was an earlier screwup where I *didn't* put my faith in the machine and stopped the job when it got all erratic)
WHAT