1 / Fablab chair version 1 :
For this assignment I started to design a chair on C4D. The chair would ideally be made with corrugated cardboard sheets or mdf sheets glued/pressed together, or from any kind of material you can find, if it looks like a sheet. You could recycle unused products also.
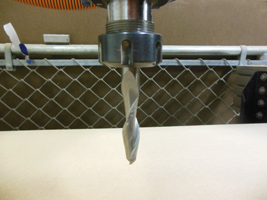
I had to renounce to this version of the chair because it would be to expensive to make it from new materials. And we would have to buy a new bit for Keeseh's shopbot. Actually this bit is more like a blade and costs around 200 $. This version of the chair was too expensive and too long to make as we would have had to cut around 100 sheets.

I also worked on a version of this "made of layers" chair for the laser-cutter's bed size. This is not a press-fit. This design should be re-enforced when assembling the parts, with glue, nails, screws, cables, and what ever you have or whatever technic you can imagine. Pressing the layers together is the best way to make it work.
2 / Fablab chair version 2 :
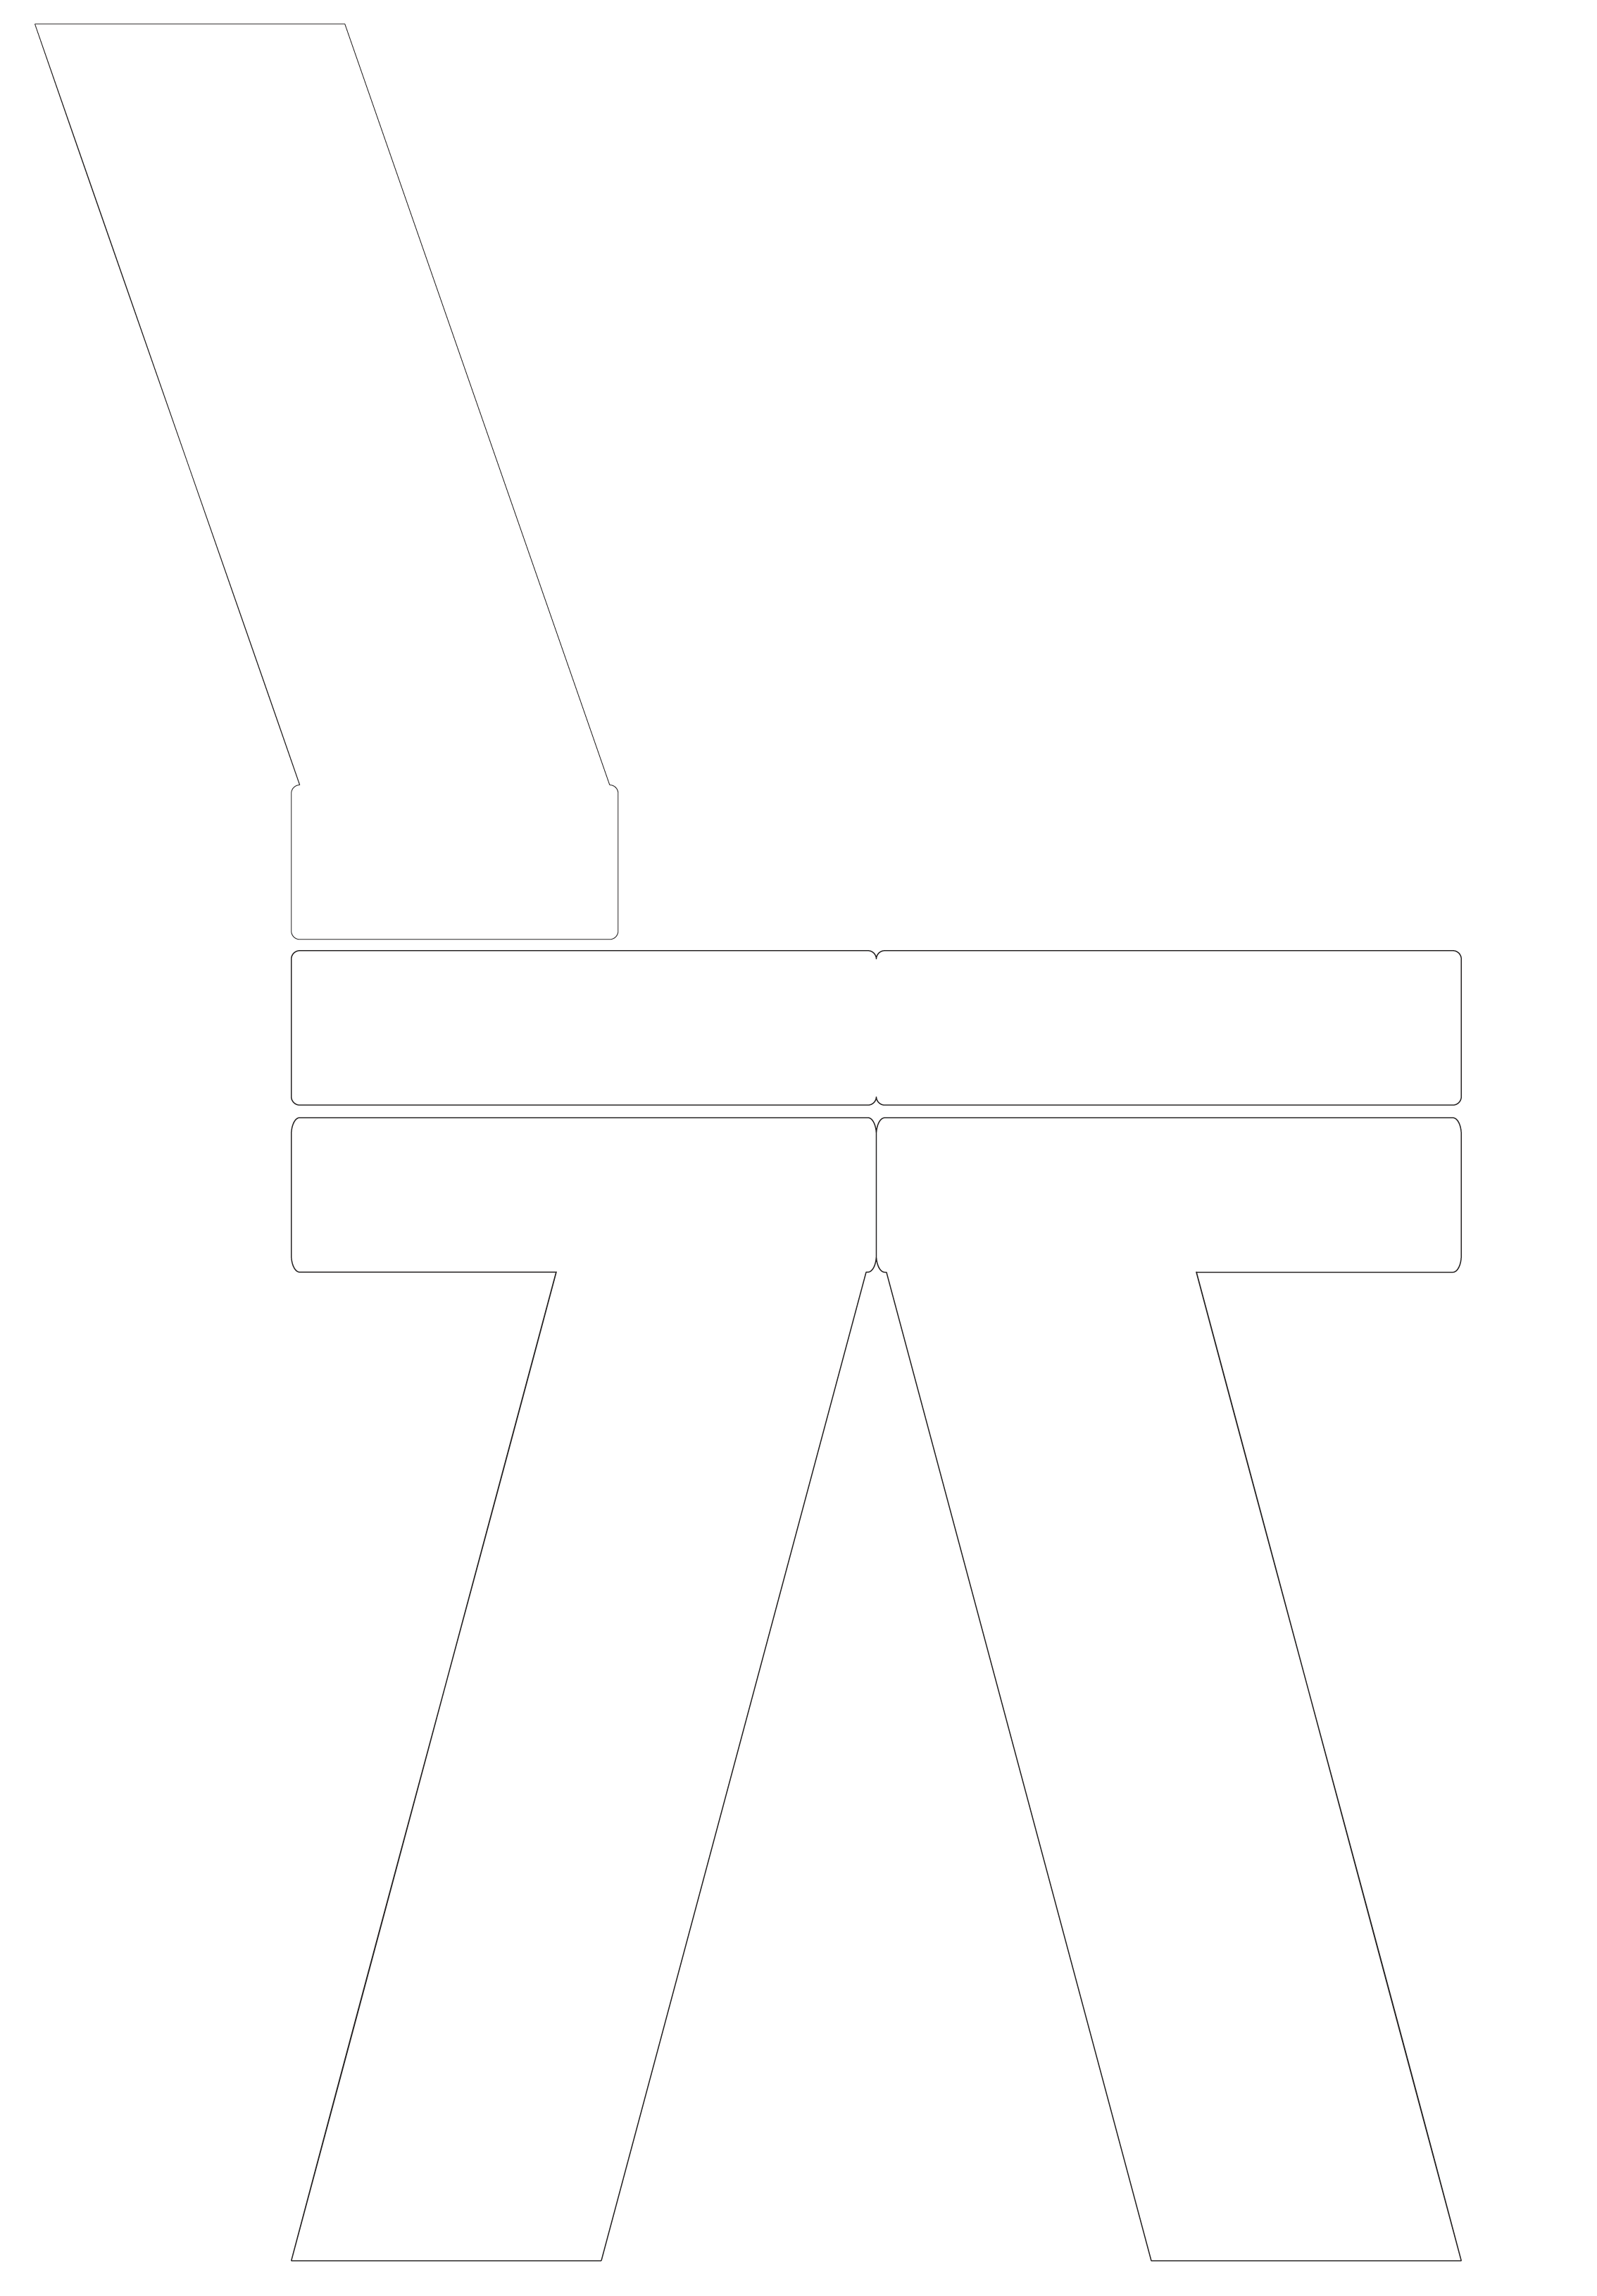
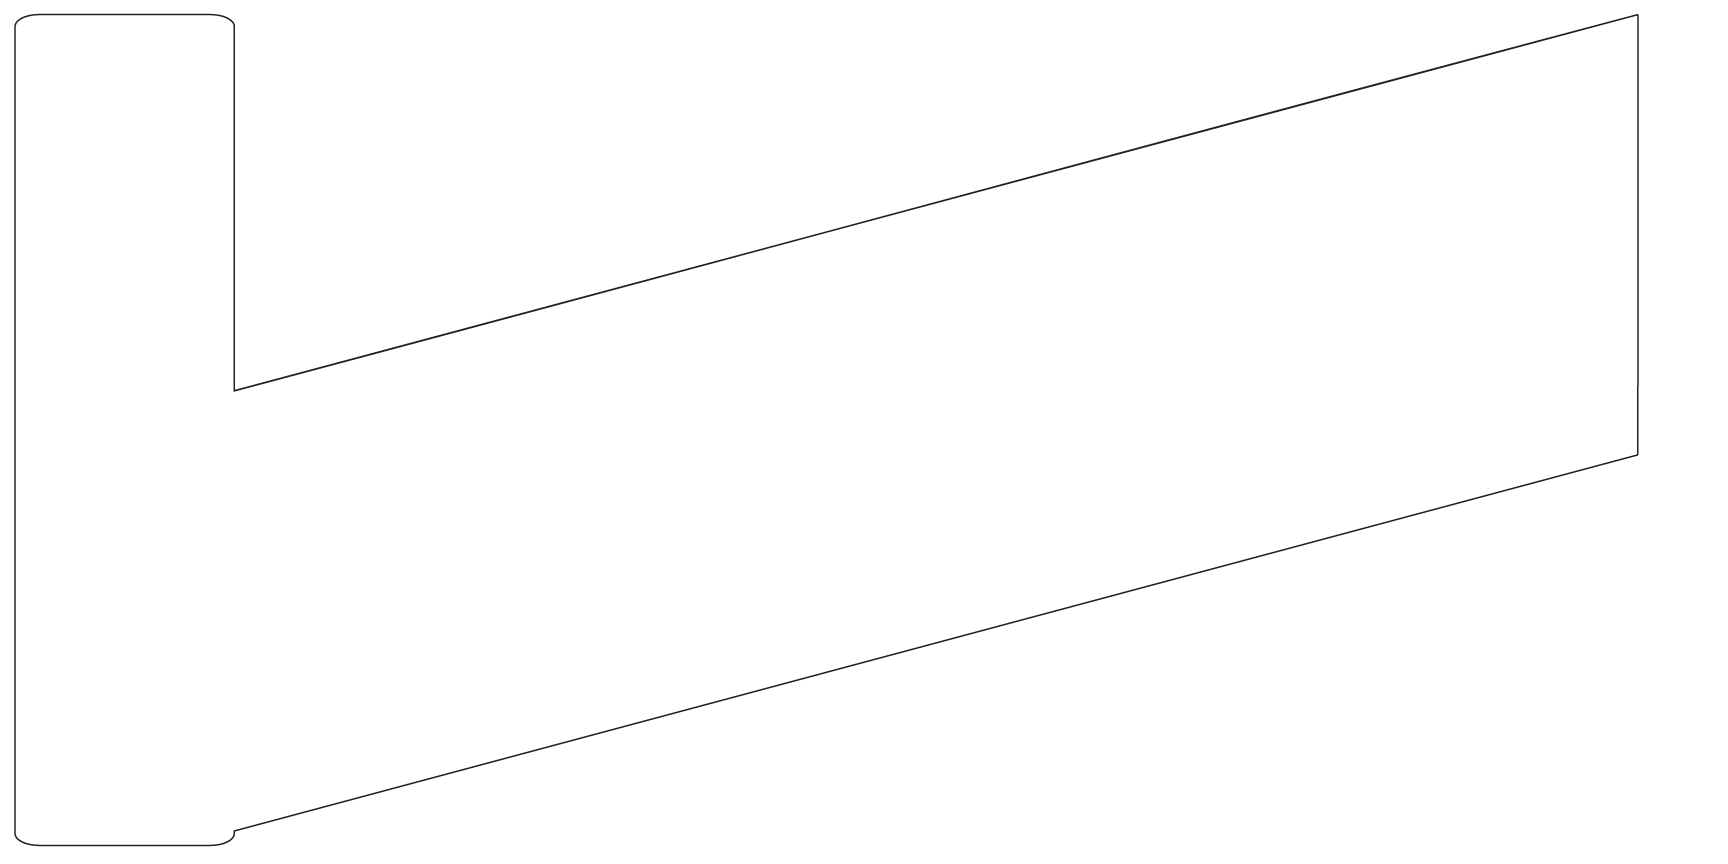
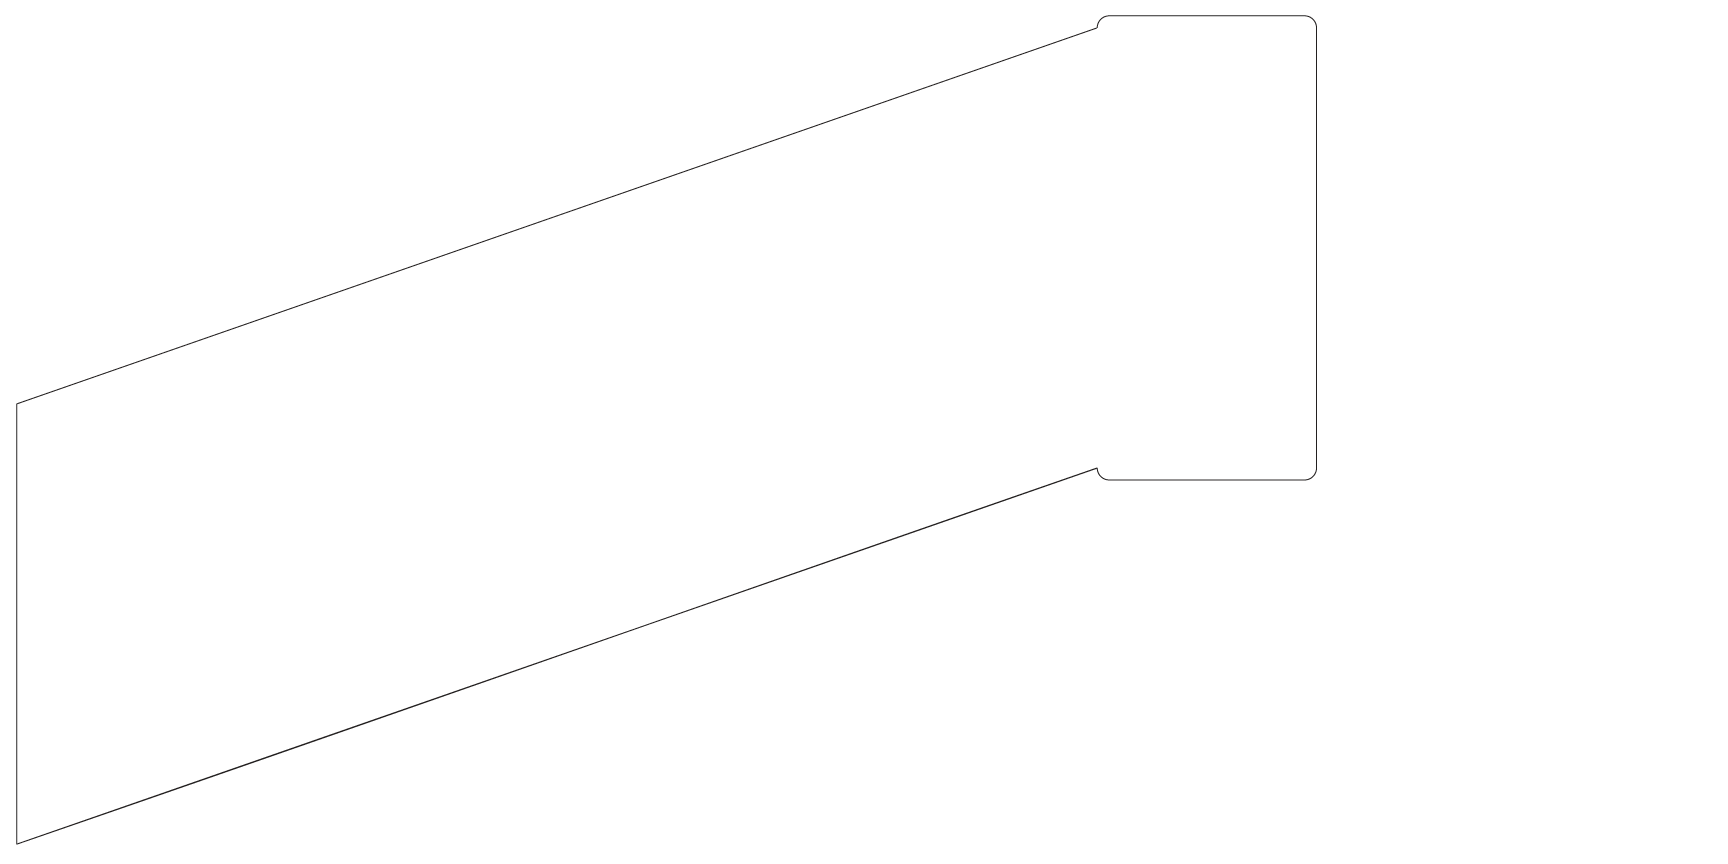
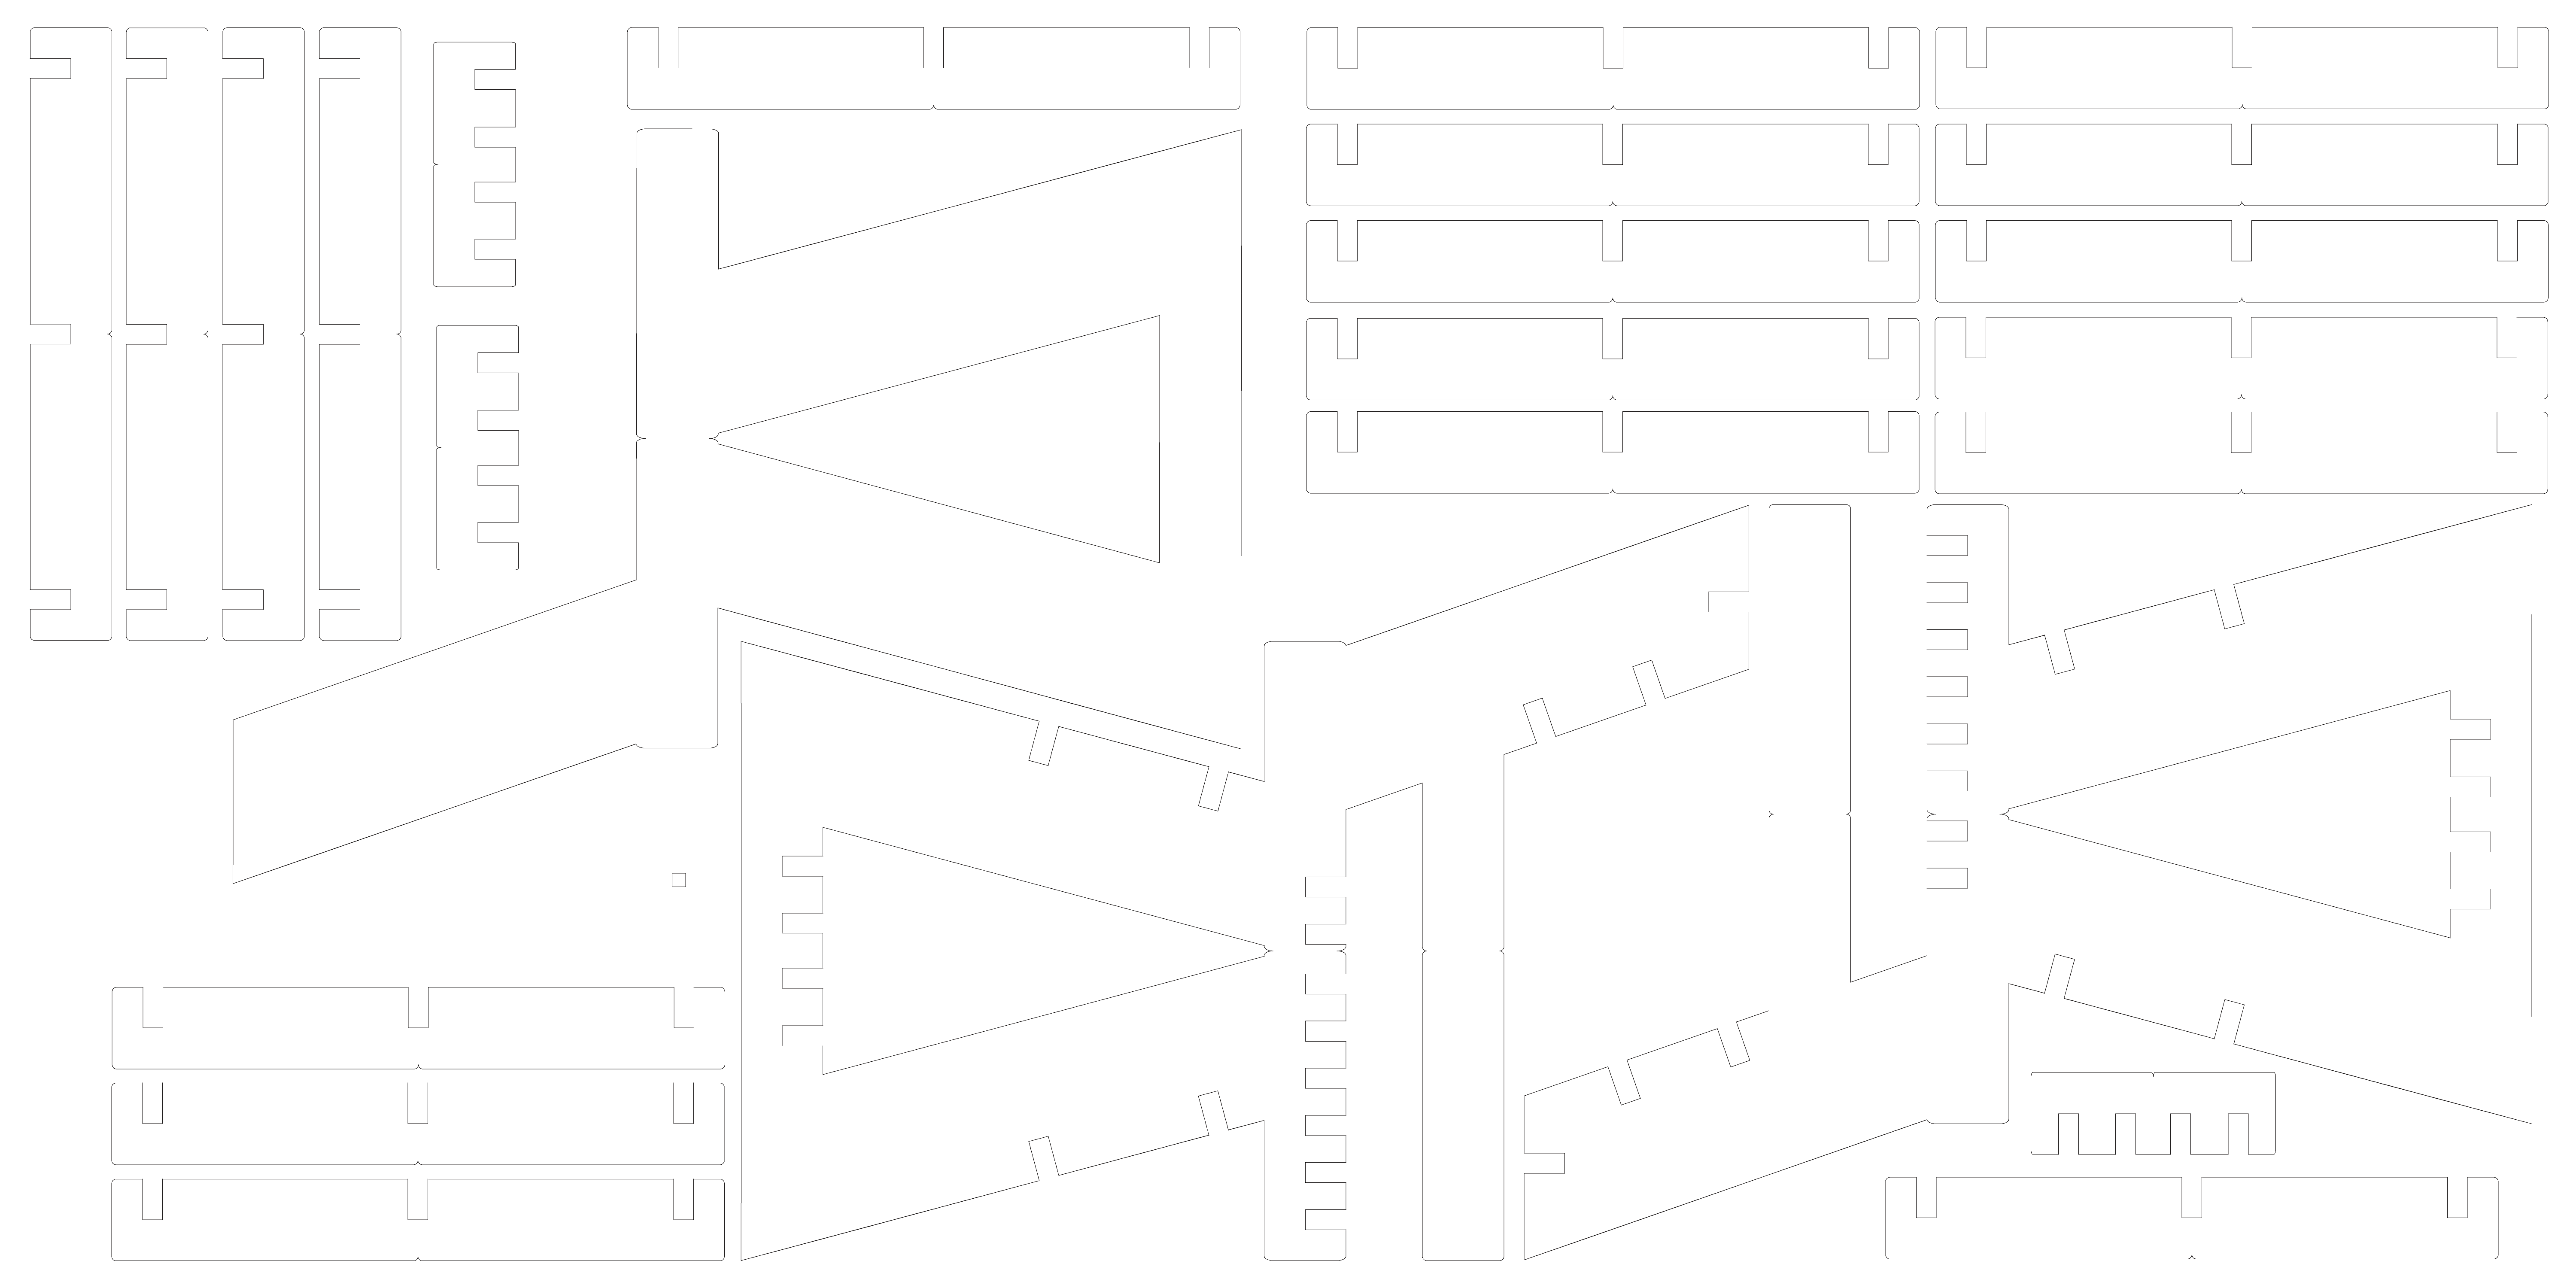
For some reasons, we didn't have access to the Shopbot before june 2012. And we had time to get prepared for the "make something big" day. I redesigned the chair on Illustrator CS5 to make it press-fit. I drew it a little bit higher than a normal chair because I am tall and chairs are always to low for me. As I am not yet fluent with Illustrator, my design wasn't closed. I should have joined each parts together before making the .DXF file. This is something I know now.
Finally, I had to renounce to this version of the chair too. The Shopbot session was to short to cut a complete chair, and my file finally appeared corrupted, with lines crossing the design and unclear cutting path. This happended when I joined the shapes together. The big error was from me, using the eraser pencil in Illustrator to refine the design of the chair. I should have used the path divider instead. I had this design uploaded on Thingiverse but I removed it because it's a trap.
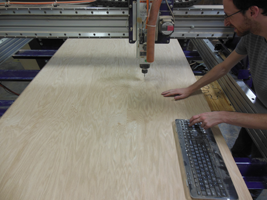
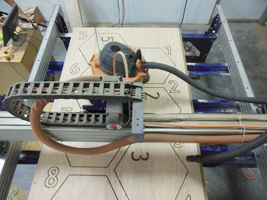
As the big day was coming, I had to figure out something new, easy, and fast to make. So I made floor tiles with numbers printed on it (Illustrator). I used a 4" x 8" x 3/4 in (thickness) Oak plywood sheet. It's a little expensive (45 $) but good looking compared to the common mdf.
3 / Tiles :
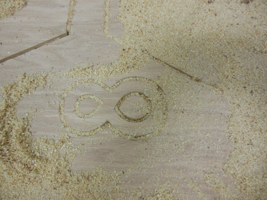
This project is not very exciting but (more decorative than usefull), I found a way to make it interesting for me. I always liked the idea of playing with wood veins and starting to make marquetry. So I cut 2 groups of numbers, one group on the tiles, the other one outside of the tiles's area. The numbers outside the tiles were oriented perpendiculary to show the veins in another way. They will be inserted into the holes of the tiles. I used the ASH font for the numbers.
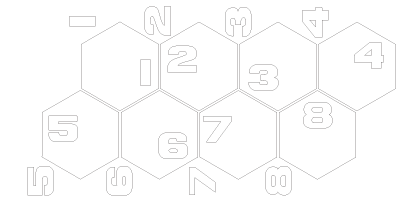
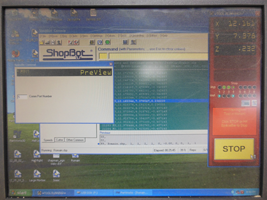
The result is not exactly what I was expecting. The font had to be changed to correspond to the shopbot's software requirements, and in the end, the letters don't fit into the holes without a very precise post-production sanding. We needed more time making tries on the shopbot to adjust our knowledges and make something interesting and usefull.
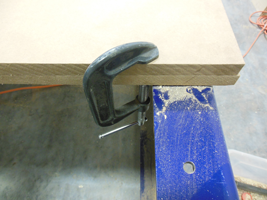
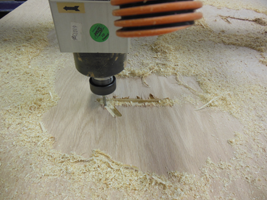
Among other things, we should have inversed the file horizontally because the cut is definitively cleaner on the hidden part of the sheet. The cut on the visible size is sharpy and not very good looking. We should also never forget the clamps (uncut parts on the design) to avoid wood pieces to come out of the sheet and break the bit.
4 / Back to the chair design at AS220 :
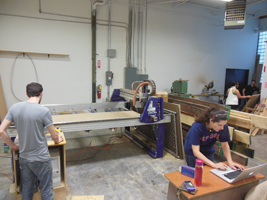
AS220 received a Shopbot 2 weeks before I left Providence. With James and Josh, me made a few tests of my chair design on the brand new machine. We cut 4 small pieces to press-fit them together. That was pretty good, it just needed to be an half millimeter tighter to make a strong and durable chair. Here is a very short video of the cut. My camera ran out of power and I forgot to take picture of the parts when assembled.
After this successfull test with the small parts, we decided to try again to cut the rest of the design but it was entirely corrupted with lines evrywhere. We thought that I should apply an Offset Path on every single shape to make it easely readable by Partworks. So I spent something like 6 to 7 hours to make the Offset Path and to clean the collateral damages...and it never worked (goddamn it). I will have to make a new file and to use the correct vector tools to avoid this kind of issues.
Then, we thought I should remove the Offset path, so I did it. And by doing it I realized my press-fit design for the seat was missing some tooth...I had been making over and over again this file so many times that I copied and pasted an older version of this design with 3 tooth instead of 5.