WEEK_10_fab_academy_3d_scanning_and_3d_printing_march_21.

1 / Fab Academy logo :
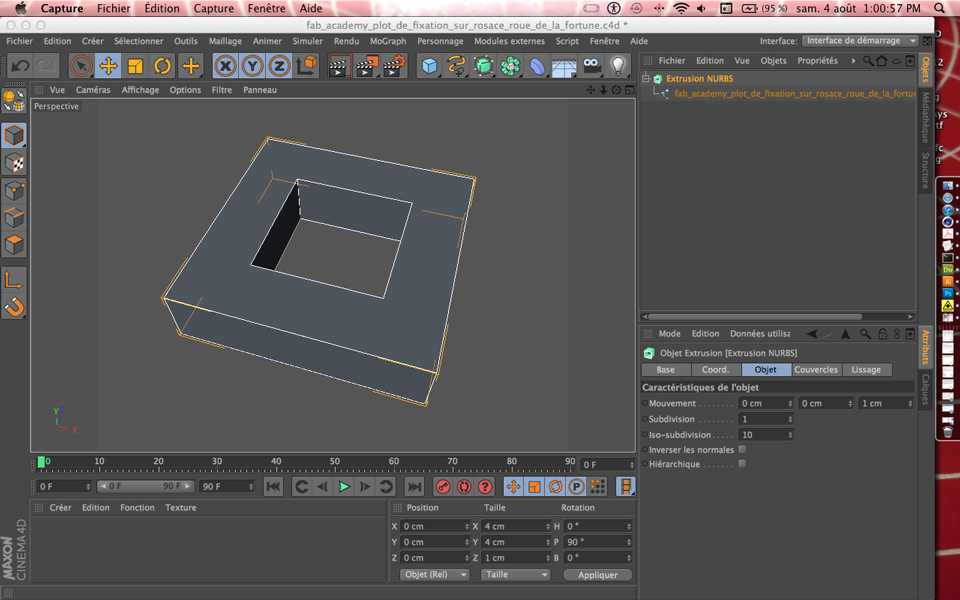
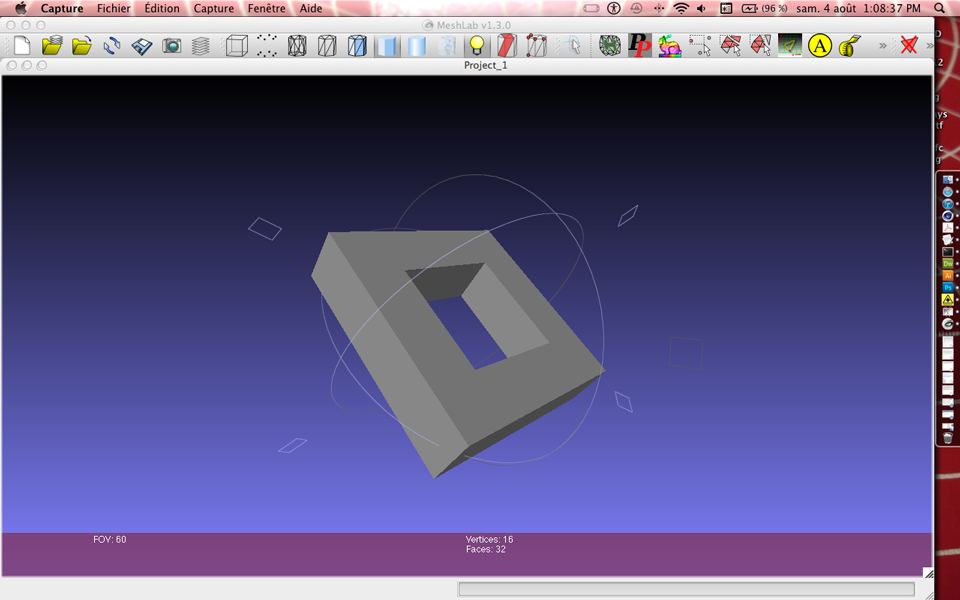
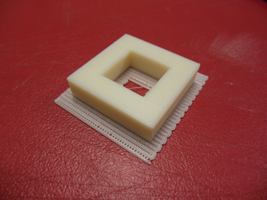
During the very first weeks of Fab Academy I 3d printed the Fablab logo. I cut the pattern on Photoshop CS5 and Ilustrator CS5. Then I imported the file from Cinema 4D (Maxon), I applyed an extrusion nurb on the file and made an STL file from it. I checked it in Meshlab to see if it was clean and ready to use.
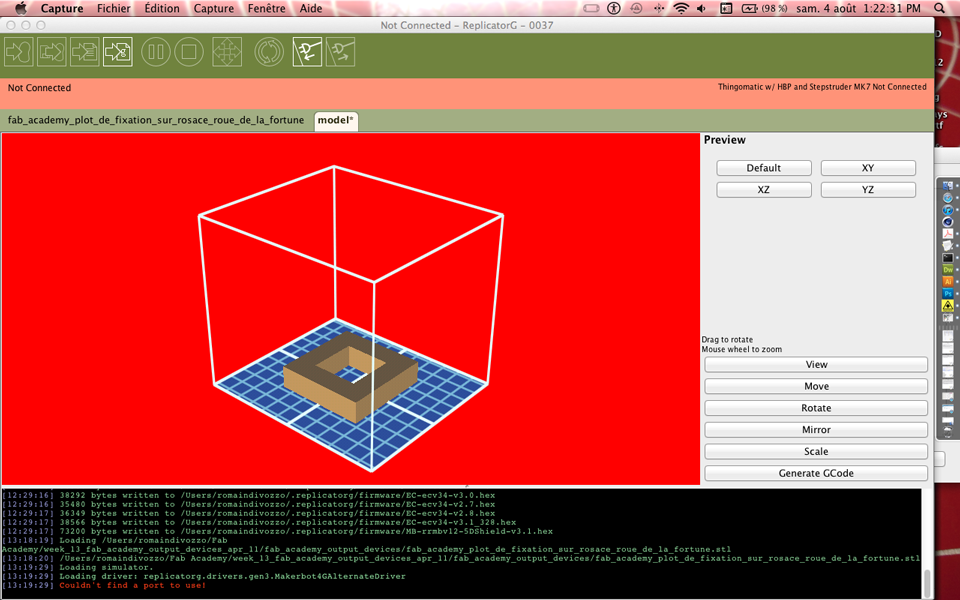
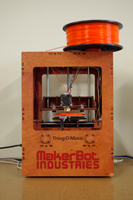
1 / 1 / REPLICATOR G process with THING'O'MATIC :
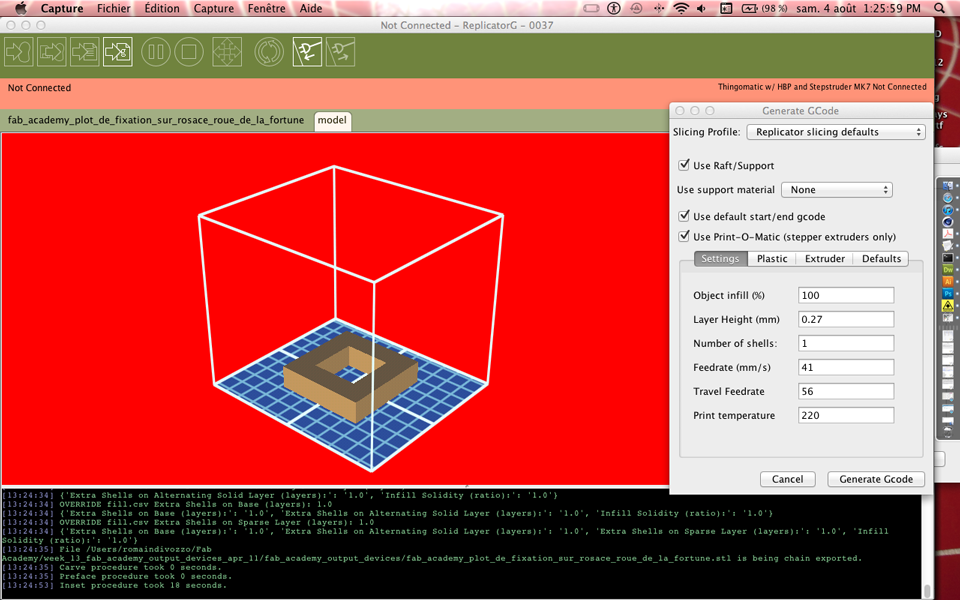
From the Replicator G software, I followed the process for 3D printing the logo (see the list below). Through the pictures below you can also see the software chain I used to make a part of my final project. I've used Photoshop to make the pattern (I made a path from the pattern and saved it as a "path to illustrator"). From there, I imported the file in C4D, I added an extrusion to it and saved it as an .stl. Then I opened the .stl in Meshlab to check it before openning it in Replicator G. In Replicator G, I defined the settings (this print is a 100 % fill) and generated the G-Code the Thing'O'Matic will use to print the object.
1 / Put the file properly on the platform using the dialog box. Adapt the scale if needed.
2 / Warm the extruder (220 C) and the platform (100 C).
3 / Choose the filling percentage you want. The higher it is, the longer the printing will last. This logo is a 15% fill.
4 / Make the G Code ( this can take a very long time if the file is big.
5 / When the G Code calculation is over and the temperature of both extruder and platform reached the correct settings, you can send the 3D printing to the Thing'O'Matic.
6 / I recommand to stay around to make sure the printing is on its good way.


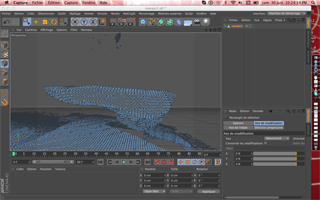
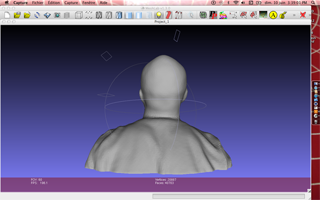
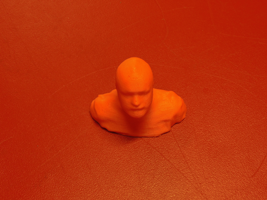
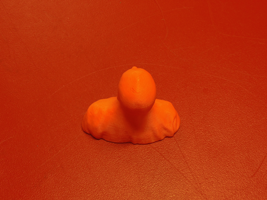
2 / Scanning My Face with Kinect :
The idea here is to use an XBOX Kinect to 3D scan our faces. The Kinect uses the Light Coding technology. It's tricky but it works well enough if you are patient. You have to learn how to move very slowly to avoid any bug from the Kinect. The best way to make a good 3D scanning with Kinect is propably to stay sat on chair that has wheels so as to make a very slow turn on yourself.
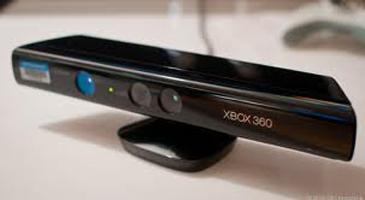
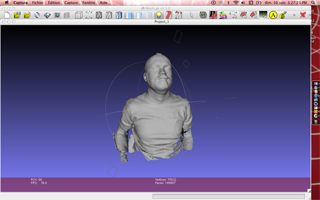
The bad point with Kinect is that you can't use it with a mac system... Anyway, when you have your file, you need to reconstruct your face. You clean the frame with Meshlab and Netfab for example. In my case, I had to fix a hole on the top my head. I felt like some nice doctors from Bruegel's painting had just worked on my skull. Well, now comes the 3D printing with Makerbot's famous Thing'O'Matic.
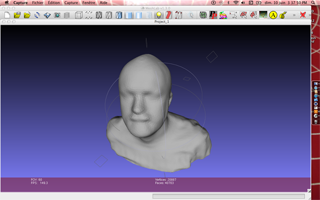
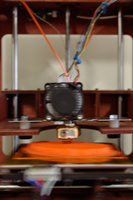
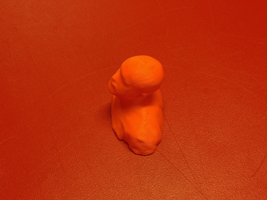
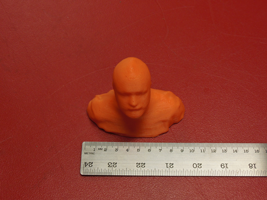
3 / Printing My Face with Makerbot's Thing'o'Matic :
I am not very enthusiast to make my documentation for this assignement... The reason is that our Thing'O'Matic hasn't stopped bugging for the last 2 months, despite everyone's tries to fix it. This seems to show the limits of sharing such a machine with a lot of people who don't always take care of it. I kind of gave up with it because it was failing or aborting all the time. It's nickname is Craperbot... but, by chance, the 3D printing of my face worked.

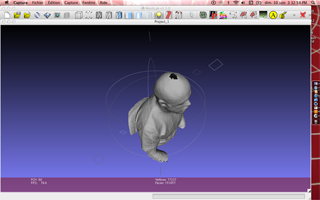
4 / Scanning an artwork :
I wanted to scan one of my artworks. And I also wanted to scan something by myself to understand what makes a good scan, how slow you must move, etc. I used Josh's Kinect to scan my art piece. This is a pinetree bark which looks like a incomplete US map. It's size is 25 cm x 16 cm x 6 cm.

This time, I used C4D to clean my file. CD4 environment is more stable than the free version of Netfabb. I still have to finish the cleaning. I also would like to add a map on the upper surface of the bark. This is very delicate and I don't know yet how to make it.
When I'll have figured out a way to insert the map layer on the bark, I'll will make 3D printed replicas. Unfortunately the THIN'O'MATIC platform is not big enough.