Home >Class Feb 22 Assignment
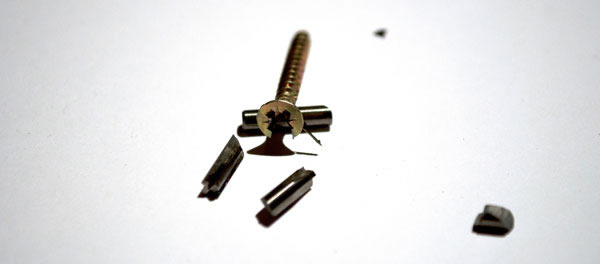
Make something Big (and don't mill into screws in the mean time ;)
My first attempt at making something big skidded out of control bacuase of my too big ambitions and some misterious troubles with our machine.
The bit i've been using for this was a 4-flute straight end-mill. (The very same one you see broken above)
We do have a procedure in place to prevent this from happening.
When you load your design into partworks, you define the material as you have it on the table (eg: x:2440mm, y:1220mm, thickness: 15mm)
Then you add the screwholes to your design. These you output as a drilljob. Partworks then just moves the bit down te center of those holes.
Now you have your screws in known loactions and (providing you don't output the drilljob during your mill jobs) your bit won't end up inside a screw.
I chose this bit to minimize the splintering of the wood. Our up-cutting 1/8bits were out, so i first used a down-cut spiral bit. This gave a very nice upper-surface, but gave me some trouble on the bottom-layer of the wood. Then i found the 4-flute straight bit and this gave the best results. The top layer got a little bit more damaged than before, but the bottom layer came out a whole lot better.
I used forward speed of 100, and plunge speed of 50 with the use of ramps. Sharp outside corners were also selected in Partworks V2
Next came the problem that the inside-cuts that i made so the pieces could slot together, came out almost two milimeters too small!, and the error was not the same in both directions. The biggest fault seemd to be on the x-axis, the y-axis was less far off.
The fact that the error was different along the axis seems to rule out a wrong thicknes of the bit (although after i measured it it turned out to be 3.1 mm instead of 3.17 mm)
Added to these complications, the complexity of the chair (dispite ist's deceivingly simple look )i desided to cancel my attempt for the lounge-chair.
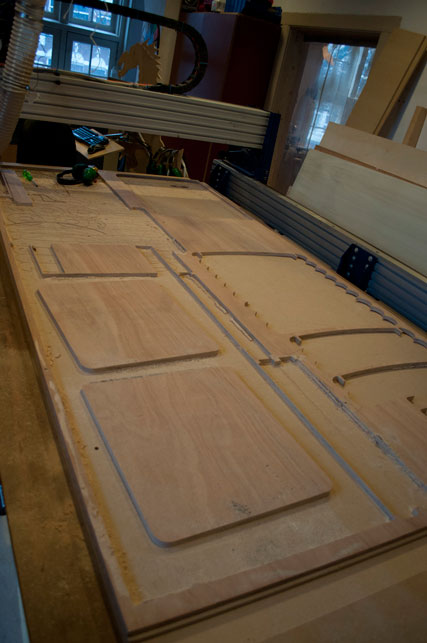
I then started on a cabinet for the modela. As our fablab is relatively small, i decided to make a cabinet for the modela to free up some table space.
I drew out the measurements for a Modela bench on paper and drew all the shapes directly in partworks.
The design can be expanded on by clipping/hanging-on etc.

To make a test i first milled one slot for one of the connecting members from the board. This enabled me to first test this cut and leave the possibility to correct it.
And indead, after measuring my first cut it was again too small. So i first adjusted the size of my milling-bit (made it smaller to compensate in both directions for his error). That compensated enough on the y-axis to enable the wood to be pressed in. I then adjusted the height of my connecting members to compensate for the remaining error on the x-axis.


The board the modela stands on sit's in a slit in the wood, this might enable the user to pull the modela forward into view, or push it backward into a sound-dampening closet (for longer milling run's)
