sudo make clean
sudo make hex
sudo make fuse
sudo make program
An excellent tutorial on making, programming and otherwise getting the fabISP up and running and programming other boards can be found here
I then grabbed the following code off the Internet from our colleagues at Providence, with minor modifications to conform to my own LED and SWITCH configuration:
; blinkTest.asm
; [Modified.Hello.Echo.Blink LED.44.asm]
;
; blink LED when button is pressed
;
; Code Created At FAB ACADEMY AS220
; by Shawn Wallace & Elliot Clapp
; Modified 08/05/2010 - Anna Kaziunas France
; Modified 03/21/2011 -Mercedes Mane
; Modified 03/22/2011 -Dean Rose
;
; Permission granted for experimental and personal use;
.device attiny44 ;this is the microcontoller we are using;
.org 1 ;turn on power
cbi DDRA, 2 ;check bit instuction (button)
sbi DDRA, 7 ;set bit instruction (led)
loop:
sbic PINA,2
sbi PORTA, 7
sbis PINA,2
cbi PORTA, 7
rjmp loop
Then I issued the following command, calling the assembler program:
gavrasm blinkTest.asm
Which gave me the hex file I needed.
I then plugged the FabISP and the hello world board together, plugged it into a USB port, and set the fuse on my board with the following command:
avrdude -p t44 -c usbtiny -U lfuse:w:0xFF:m
Note that I changed the fuse setting to the 12 MHz used for the FabISP of 0xFF, not 0x7E as was done with a 20 MHz crystal
Then loaded the file blinkTest.hex:
avrdude -p t44 -c usbtiny -U flash:w:blinkTest.hex
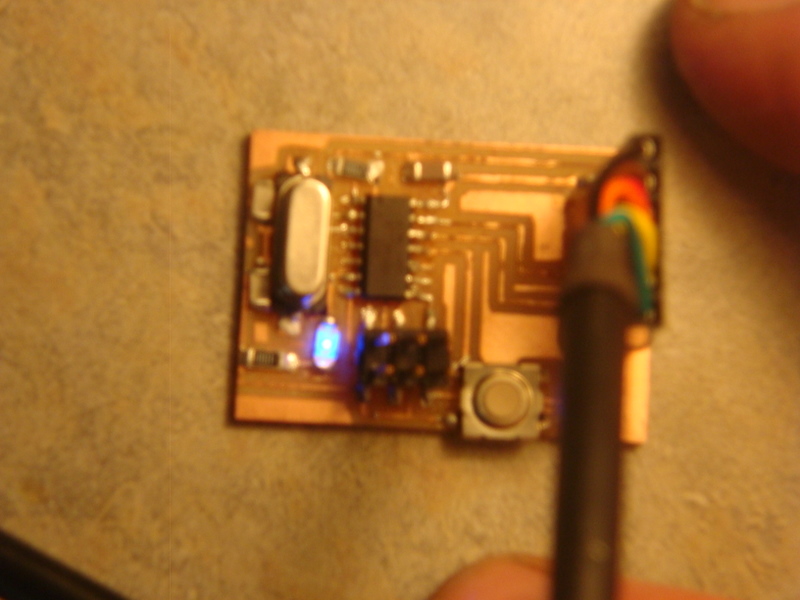
In the interests of full disclosure, although I was able to program and talk to the FabISP, I had nothing but problems with the hello world board I was trying to program. There is a short which makes it a bit more challenging to work with. Mercedes was able to issue the commands while in her Mac OS and program my board, but I was not able to duplicate that in Ubuntu. For some reason, the hello world board is not being recognized and the attiny is not being found. However, once it is programmed on a different machine, it runs fine (just so long as I hold my finger on the back of the board and ground it). I will need to redo the board so it is a bit more robust.
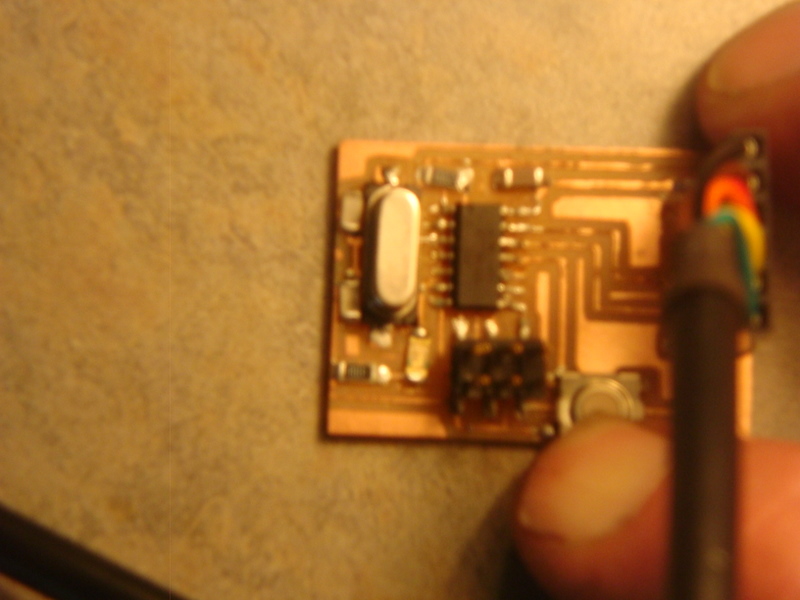
I am a little suspicious of the simplicity of the above code. It would seem that I am simply giving a pin some power and then shorting it out when I push the button. Alternatively, I can get the LED to blink on and off also by "tapping" on the back of the board. Or, if I hold my finger to the back of the board and ground it so the LED comes on, I can also short it by grounding another finger to the switch chassis, without depressing the button.
The long and the short of it was the board did do something, just not exactly what I expected.
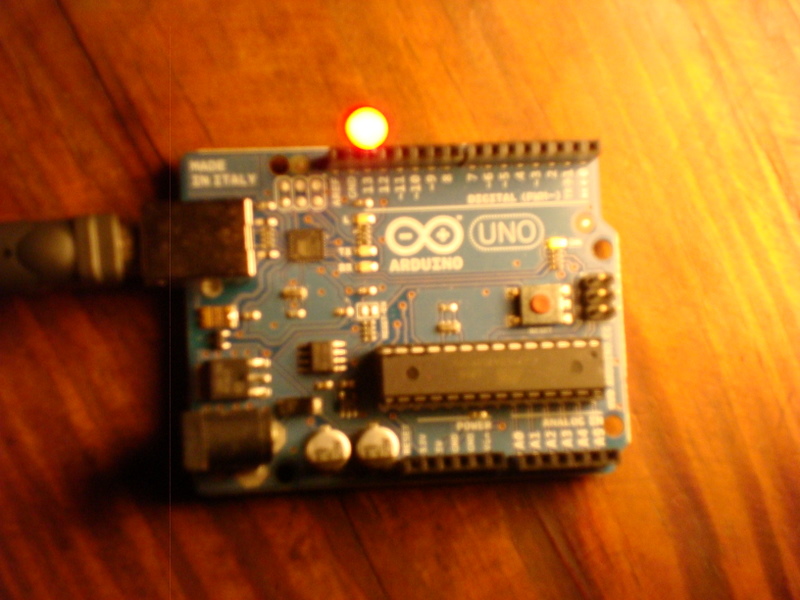
I was able to run the following program in the Arduino environment, on an Arduino Uno, and something called "anarduino" which is sold on eBay for about ten bucks. The anarduino was soldered with some pins so it could be mounted on a breadboard. Here is the .pde file that made it go:
/*
Blink.pde
Turns on an LED on and off
*/
#define LED 13 //define the pin on the Arduino Uno
// initialize the digital pin as an output.
// Pin 13 has an LED connected on most Arduino boards:
// Other pin numbers may be defined as well, depending upon the layout of the board - I used pin 6 for the anarduino
void setup() {
pinMode(LED, OUTPUT);
}
void loop() {
digitalWrite(LED, HIGH); // set the LED on
delay(1000); // wait for a second
digitalWrite(LED, LOW); // set the LED off
delay(1000); // wait for a second
}

The code here is pretty straightforward, my next project will be to do the same thing in "C", and load it on one of the AVR chips.