3D scanning and printing
This week's assignment:
* 3D scan an object
- extra credit: make the scanner
* design and 3D print an object (small, few cm)
- extra credit: edit and print an object
that you scanned
Commercial 3D-scanner
This week I skipped class with Harris. Instead of going to class, we
went to a fair called 'rapidpro', where many suppliers were present
dealing with rapid prototyping products and techniques. This was
precisely the subject that includes all
our lessons.
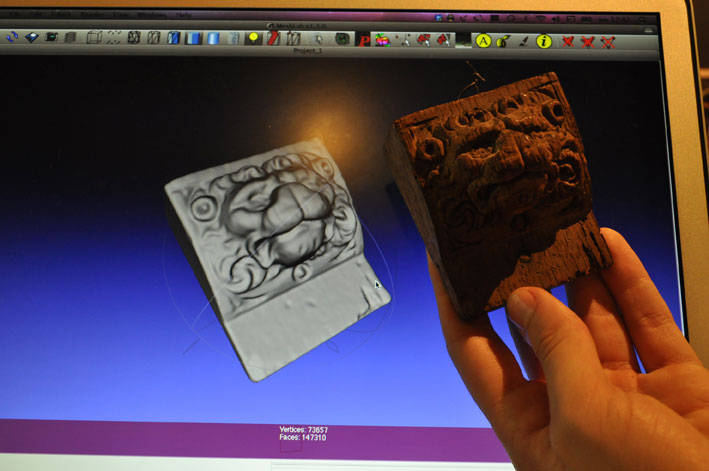
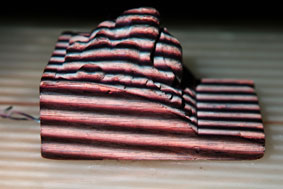
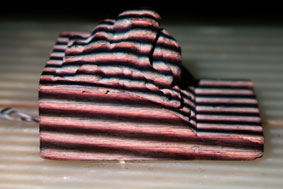
I had taken a piece of wood carving, a lion head, with me from home. I
wanted it to be scanned by as
many different scanners in order to compare results in resolution and
ease of use. I was wondering if one of these scanners can be used for
reproductive purposes and some restoration purposes. Ultimately the
piece was scanned by two scanners the Z-snapper and MMDX 50 3D Scanner
from Nikon.
Tools, materials and techniques
- zsnapper 3D scanner
-
MMDX 50 3D scanner Nikon
- meshlab
- Rhino
- Z-corps 3D printer
Findings MMDX 50 scanner Nikon
The 3D scanner Nikon MMDX 50 was a handheld scanner that you have to
move around
the object, like as if you are spraying the object. On the screen
you'll see realtime results in a point cloud, so you know exactly where
you left off.
-This scanner is very easy to use. With an inventive adaptation you
could possibly also scan bottom of the object.
- The files are not very large.
- Result is also dependent on how long and how exactly you've scanned.
I had not much influence on that, since I didn't operate the scanner.
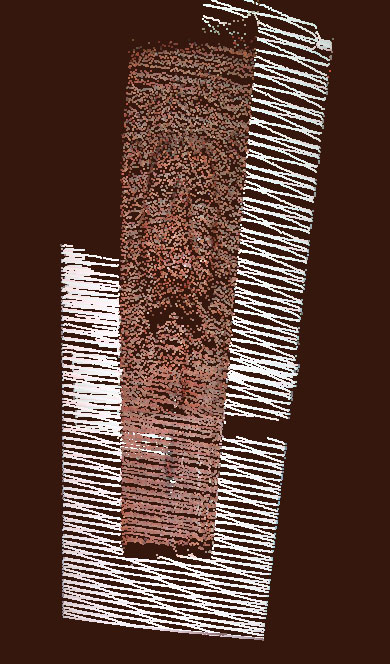
Findings 3D zcapper
Coded targets on the object plate were used to determine the
position of the scanner and the object. These coded targets consist
round stickers with a dot in the center surrounded by a circle, that
was broken in different places on each sticker.
- In this set-up the scanner was mounted on a
tripod
while the
object turned. Although it
was also a handheld scanner.
Results
Z-snapper
Nikon
3D scanning by structured light
with three-phase
method
Tools, materials and techniques
a pico-projector
camera
object: wooden carved lionhead
processing
Results
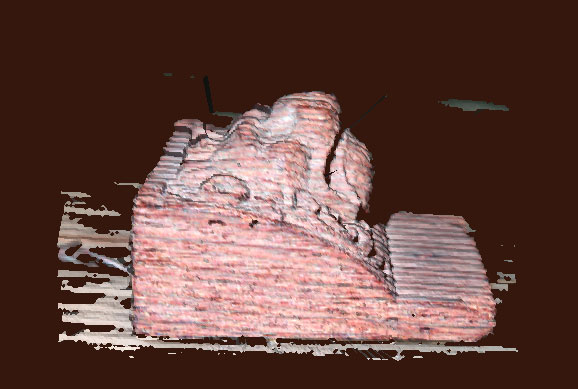
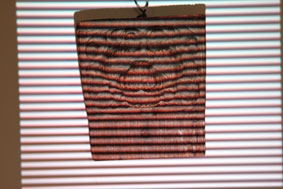
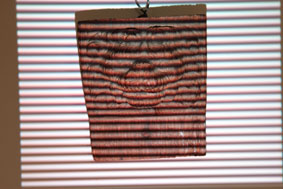
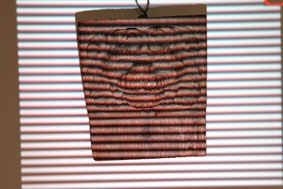
Findings
The result is not very good. In first place, we thought the position of
the camera and Pico projector was not right. We have set up the Pico
projector so that the projection was as a square as it could be
and put the camera in different angles in comparison to the object and
exactly above the projector. Unfortunately without better results.
Then we decided to do calibration of the projector and the camera
properly by using the technique described in this
article. We found a camera
calibration program using OpenCV library on Internet, compiled and
tested it successfuly with a
set
of chessboard pictures. And we planned to translate this
program to Python (OpenCV used in this program has bindings for
Python), because it would be easier for us to modify by adding
projector calibration functionality.
So far this project due to time restrain
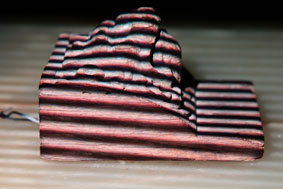
Printing
I took the file from one of the scans processed with one of the
commercial scanners. Then closed some wholes
in meshlab and then made it watertide and resized it to a smaller
object using Rhino. This STL file I sent to Fablab Barcelona. They have
the object printed with the Z-Z510 corps. The results of all
printed
objects
from the
Fab-students will be seen in Lima on Fab7.