7. Computer-Controlled Machining
This week I used Autodesk Fusion to model and used a CNC machine to cut a wooden shelf.
Research
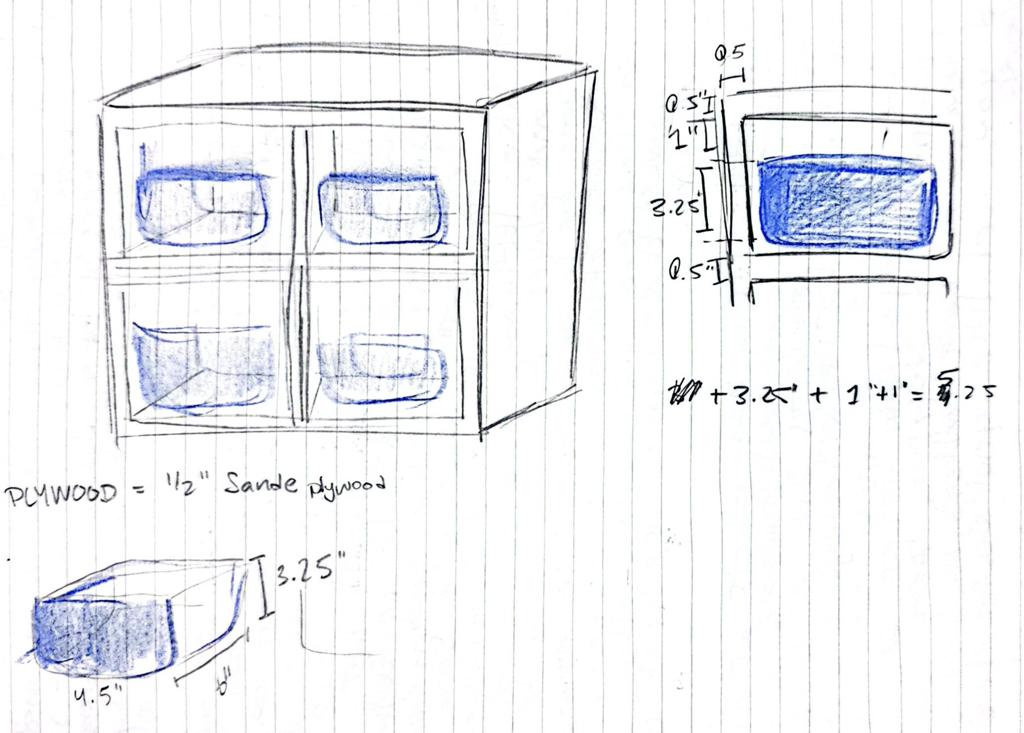
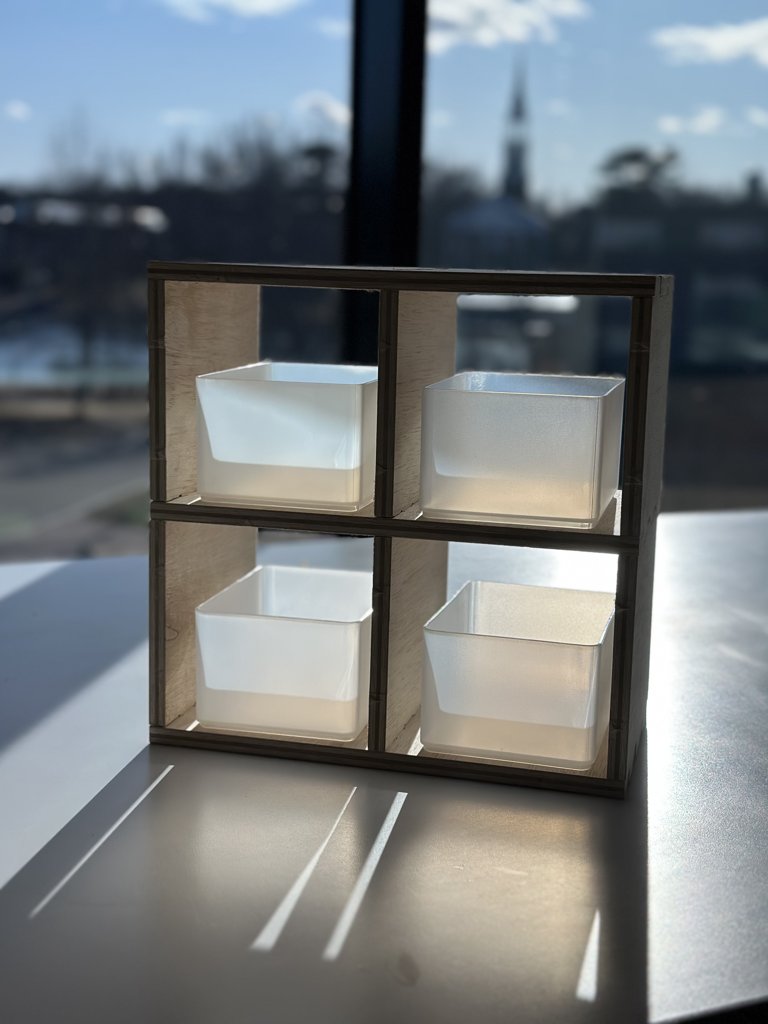
This week I was using Autodesk Fusion to create my design, which I have used for previous Fab Academy projects. This week I wanted to create a wooden shelf organizer for my Target clear boxes. I already had the boxes but not proper storage for them so there was a very clear purpose for creating this item.
Sketching and Autodesk Fusion
I started the design process by first sketching it out on paper. I took the measurements of my clear bins, which were from Target. I've had them for so long I was finally happy to make something with them. To get the measurements for the box, I took the length, width and height. Then, to create the measurements of the shelf I factored in the thickness of the material, 1/2" plywood, and added .5" to the length of the shelf and the height of the shelf.
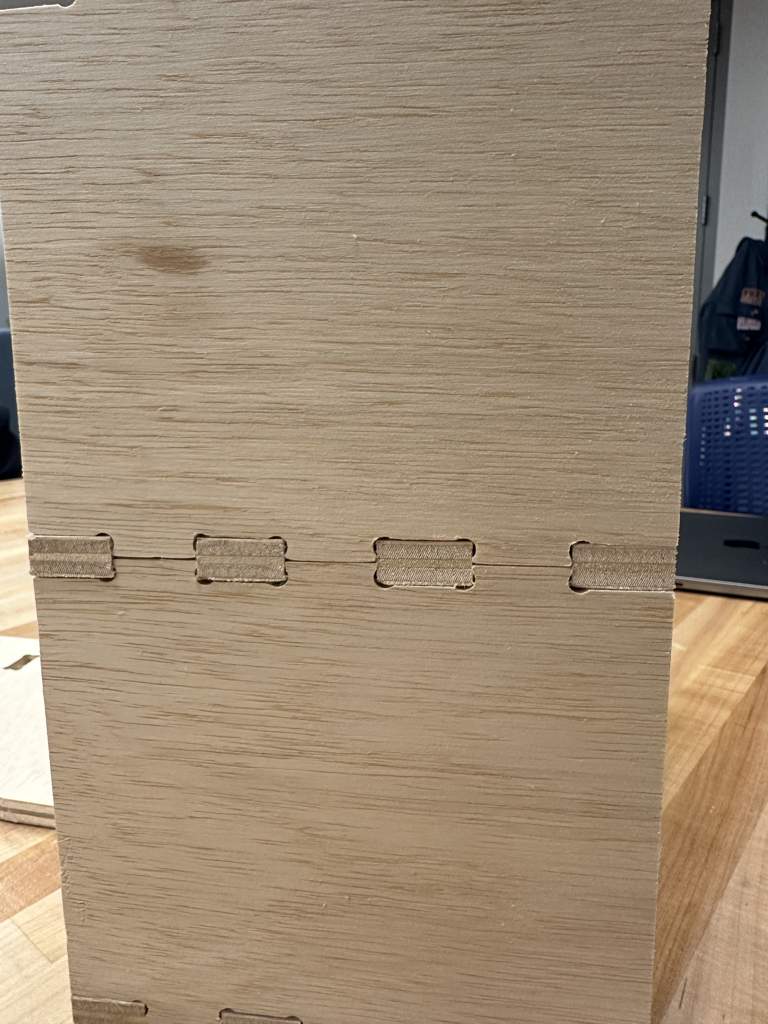
When creating this design I wanted to have as few pieces as possible so it would be much less confusing during assembly. I aimed to make my pieces reversible so it wouldn't matter which way you put them in. The divider pieces were intended to fit together into the shelf (horizontal) pieces, which is why I had to make sure the slots in the horizontal shelf boards were wide enough to take in twice as much as the thickness of the material.
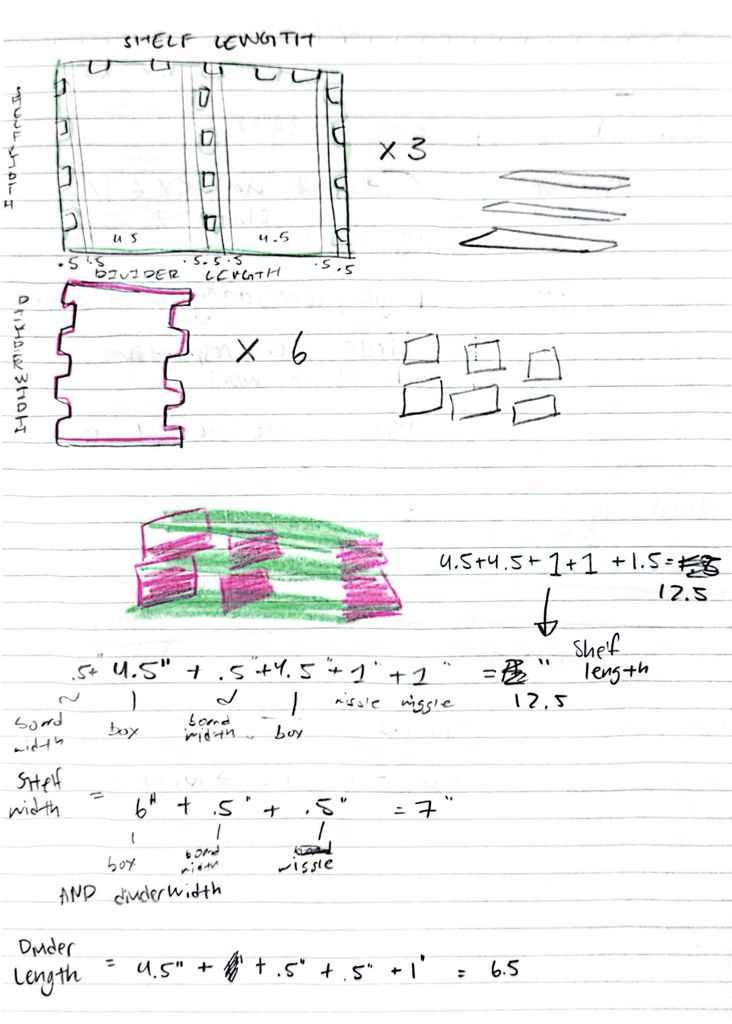
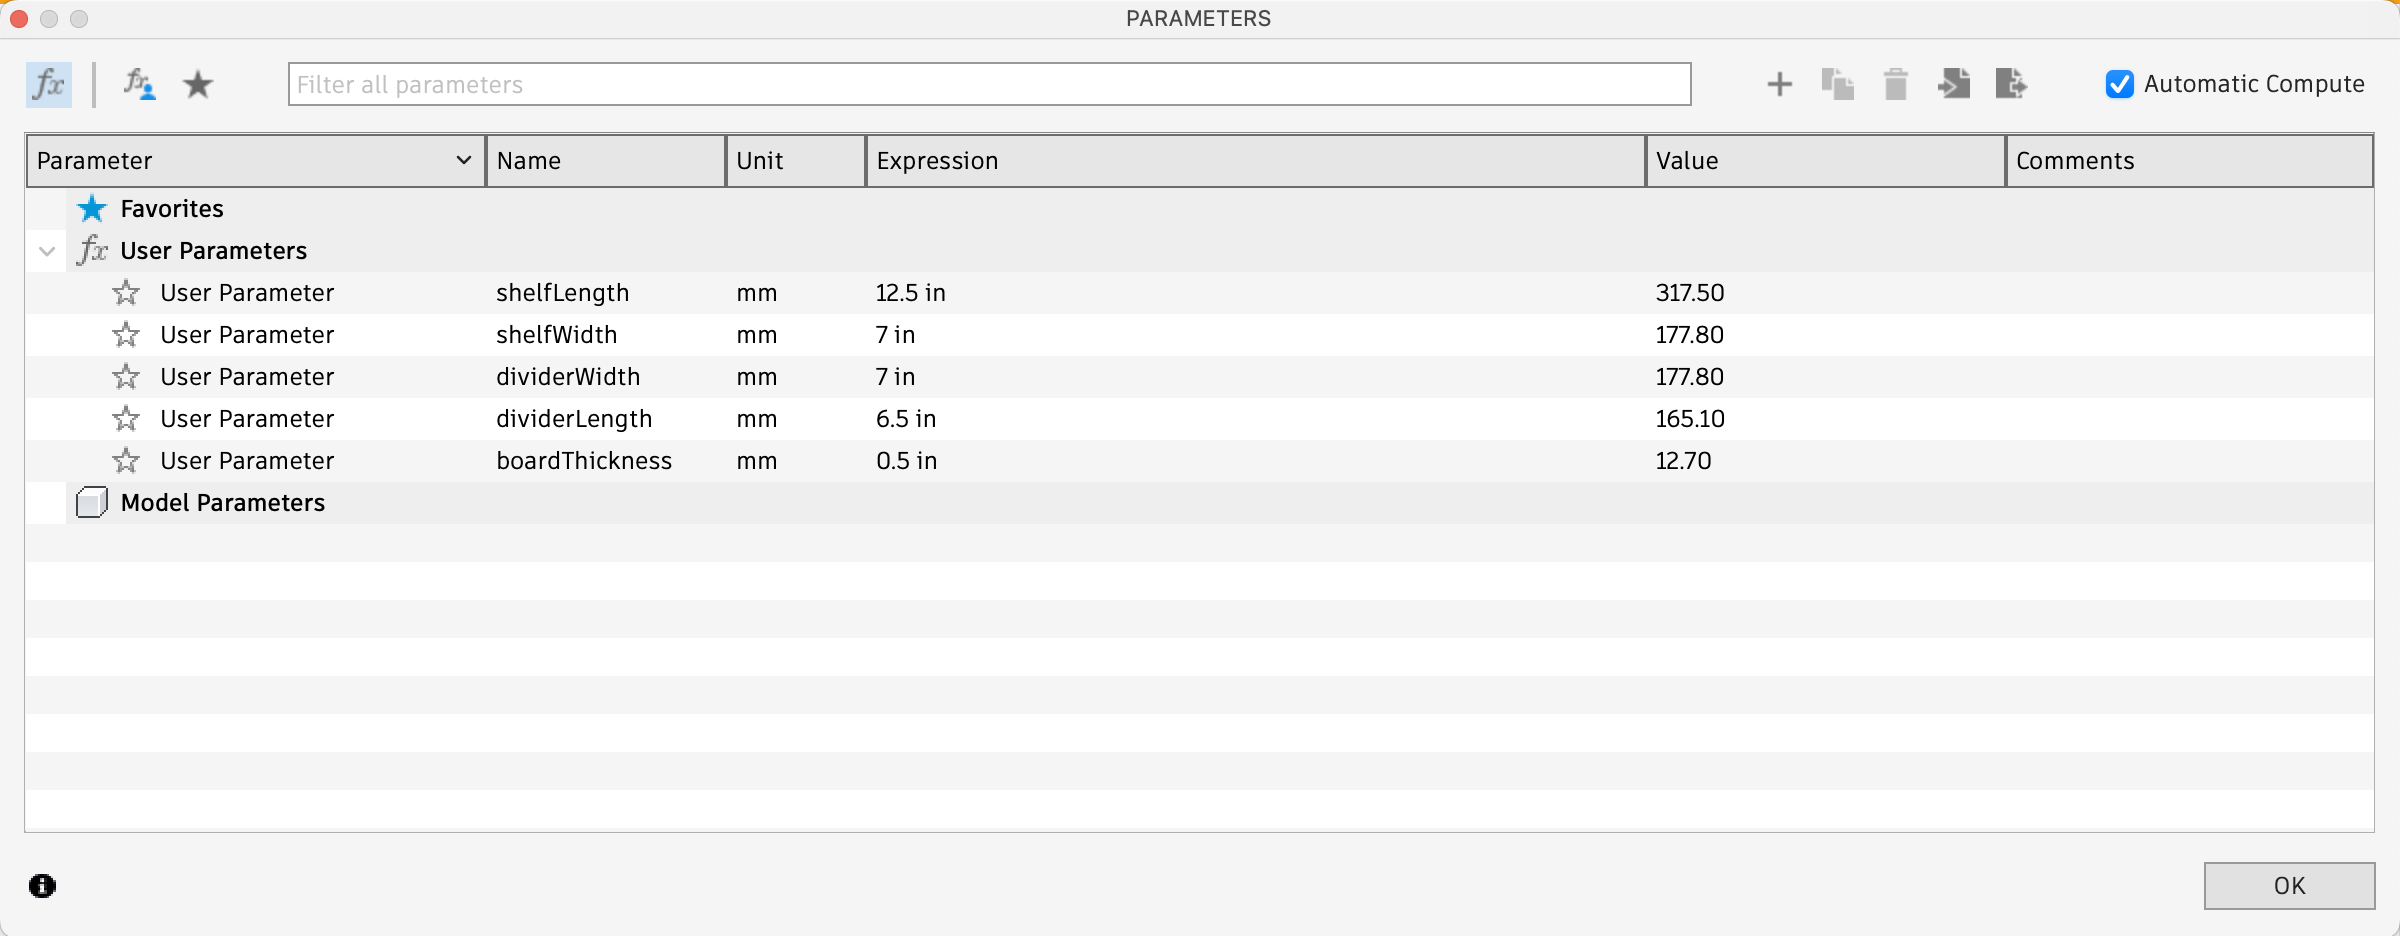
This left me with the final measurements which I then used to create parameters in Fusion. I will explain each measurement and how I got it.
- shelfLength: 12.5 in
- shelfWidth: 7 in
- dividerWidth: 7 in
- dividerLength: 6.5 in
- boardThickness: .5 in
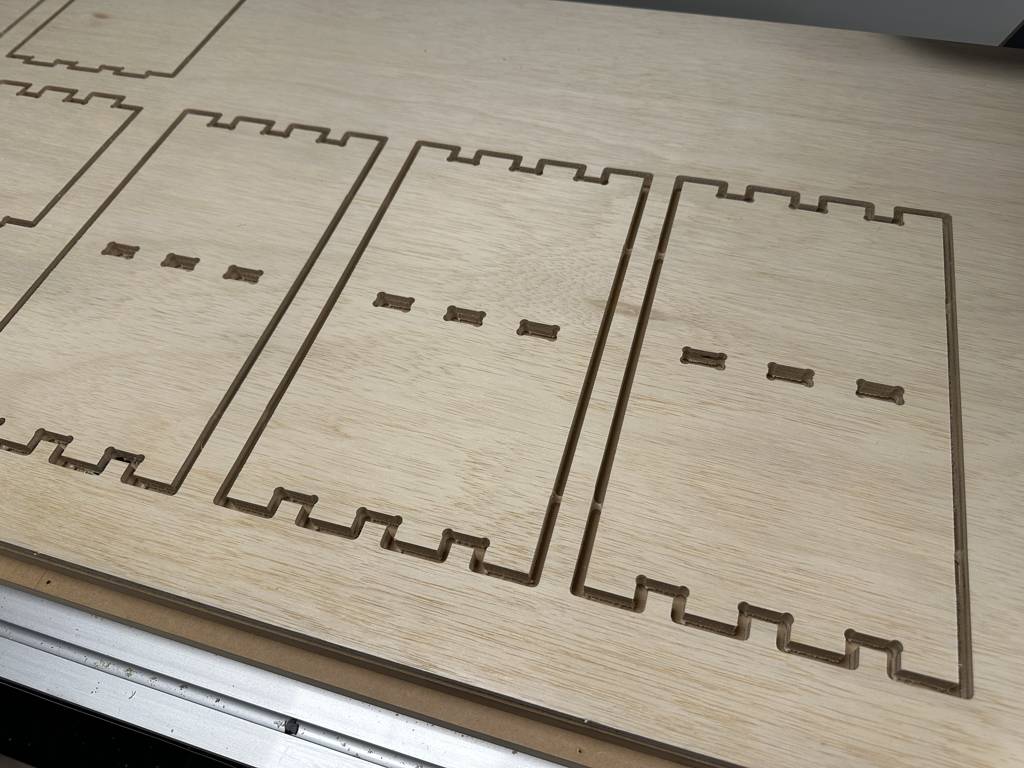
Shelf refers to the longest horizonal part of the entire project. It is the long board that functions as the top, middle and bottom of the entire structure. These pieces have slots along the edges and middle for the smaller divider pieces to slot into.
Divider refers to the shorter vertical part of the entire project. It is the shorter verticals board that functions as the sides and middle brace of the structure. These pieces were designed to be reversible and can be slotted in any which way.
Making Toolpath
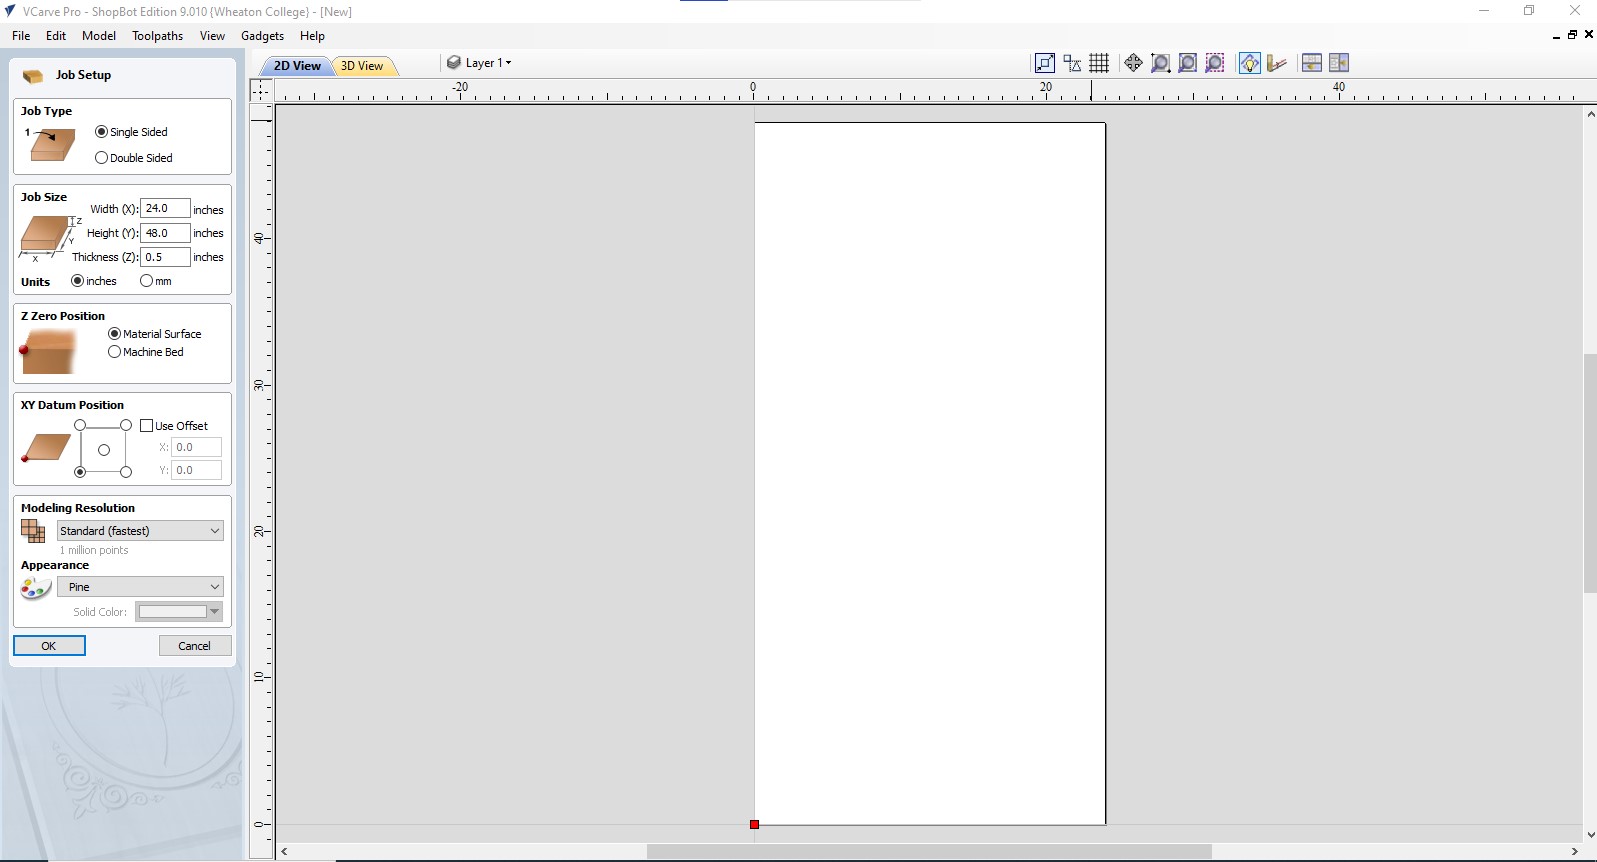
The hardest part of this project was creating the toolpath. Once the machine was set up, I had a basic understanding of how to operate it, but generating the toolpath was challenging because I had to learn an entirely new program. For this project, we used VCarve Pro to create our toolpath. I began by setting the dimensions of the plywood we’d be cutting from, which were 24 inches by 48 inches. Then, I imported my Fusion design file, which I had exported as a .DXF.
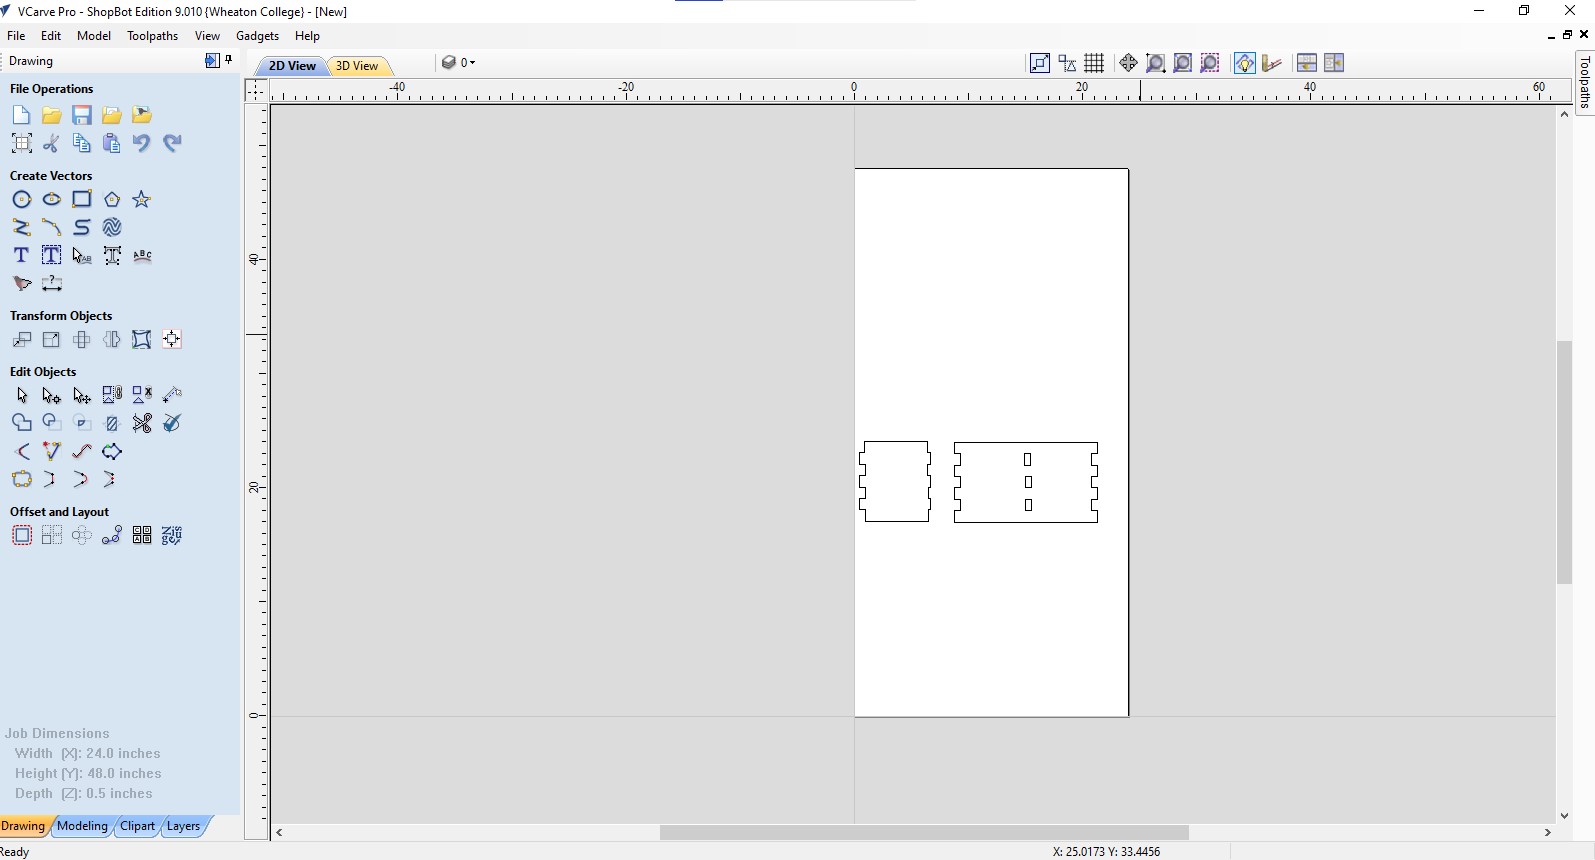
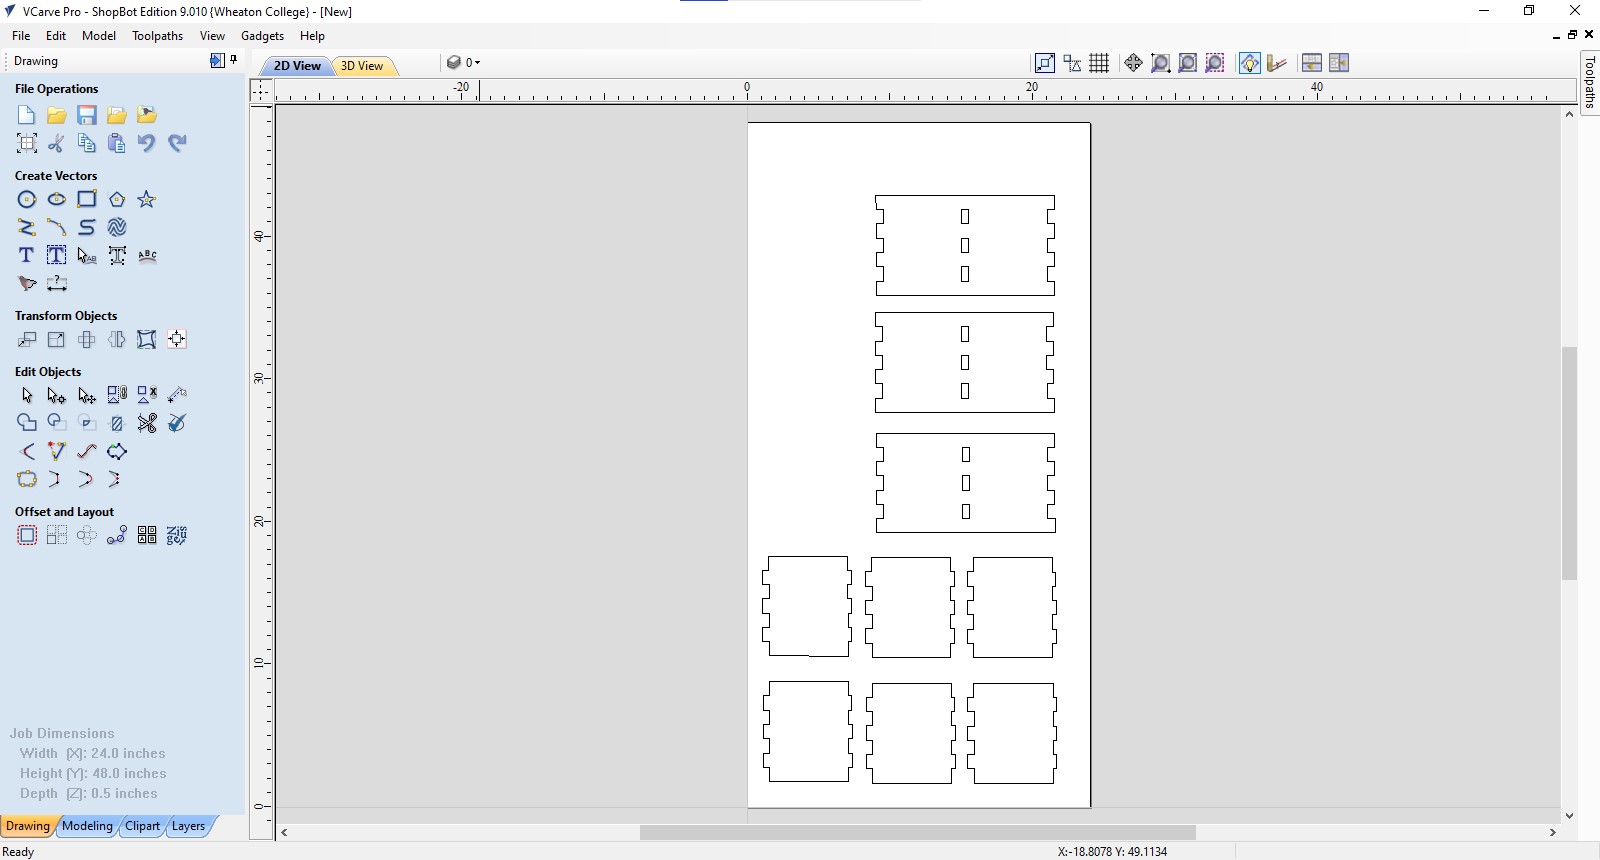
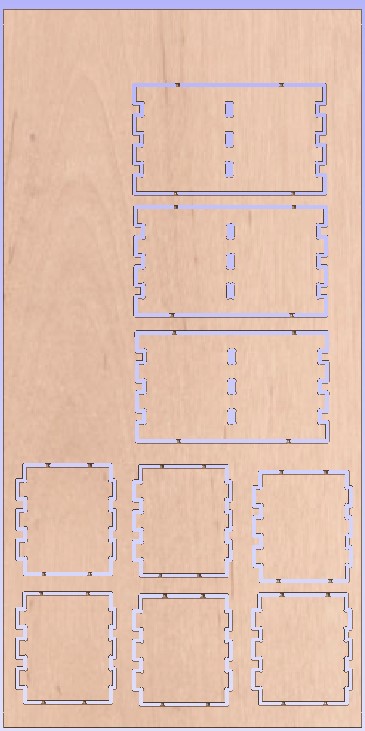
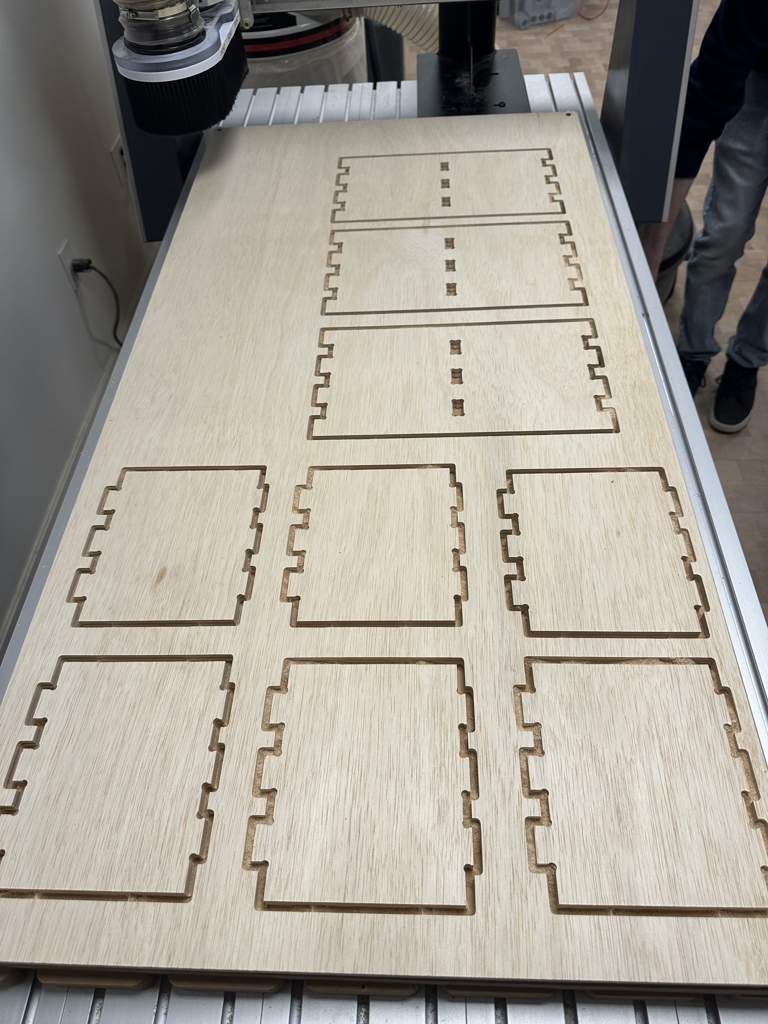
Once my files were imported, I needed to duplicate them enough times to actually create the shelf. Reflecting on the design I had already made, I knew I would need six divider pieces and three shelf pieces. I copied the design and arranged the parts on the surface so they would fit neatly and all be cut from a single sheet of plywood—which ended up being very successful!
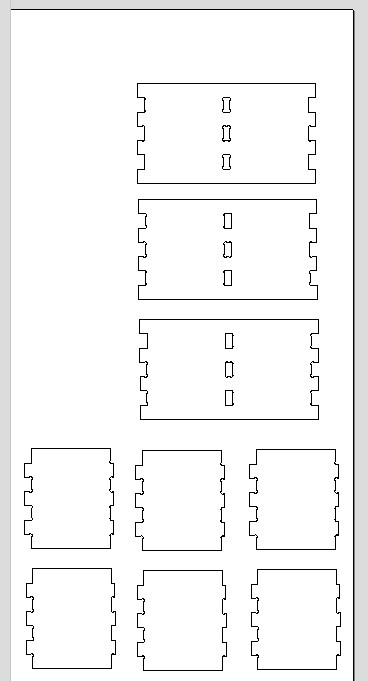
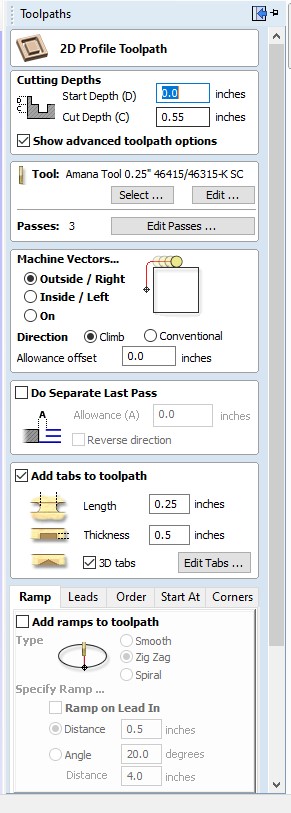
Once I had everything aligned on the plywood, it was time to add tabs. Tabs are an important part of creating a toolpath because they connect your design to the larger piece of wood being cut from. They prevent the cut-out parts from flying around during the milling process. This is especially important when cutting thin pieces—if the material isn’t secured, the high-powered spinning bit can send parts flying, which can be dangerous. I definitely didn’t want that to happen.
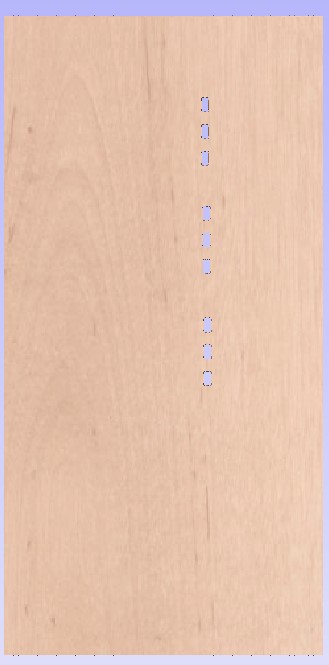
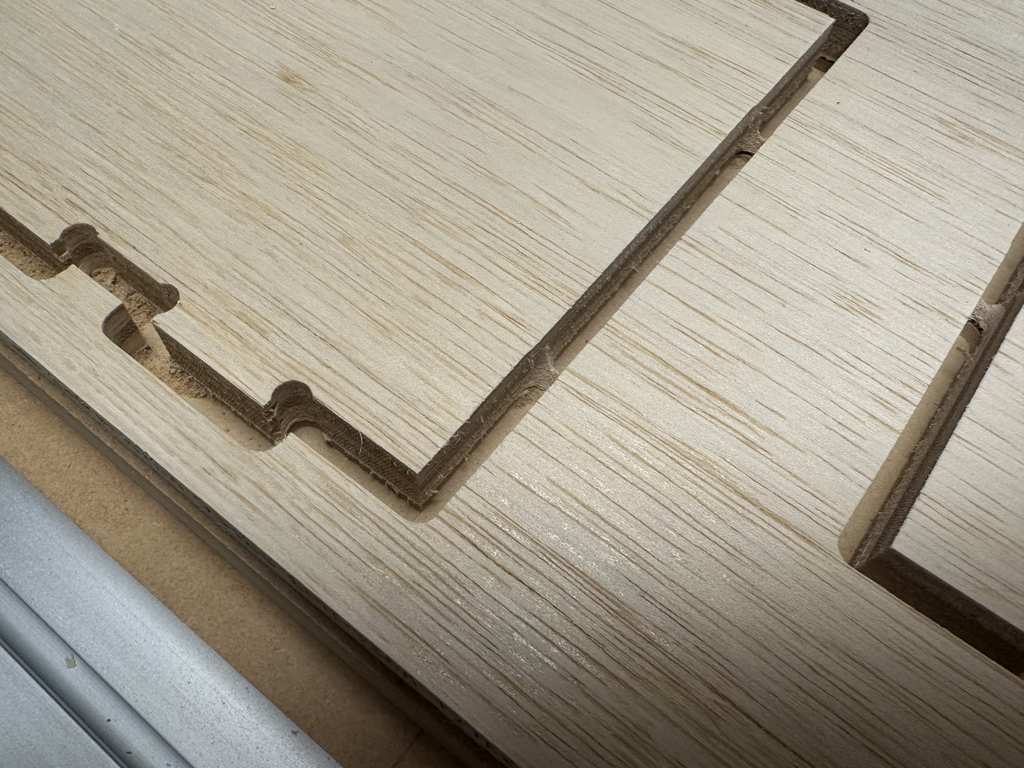
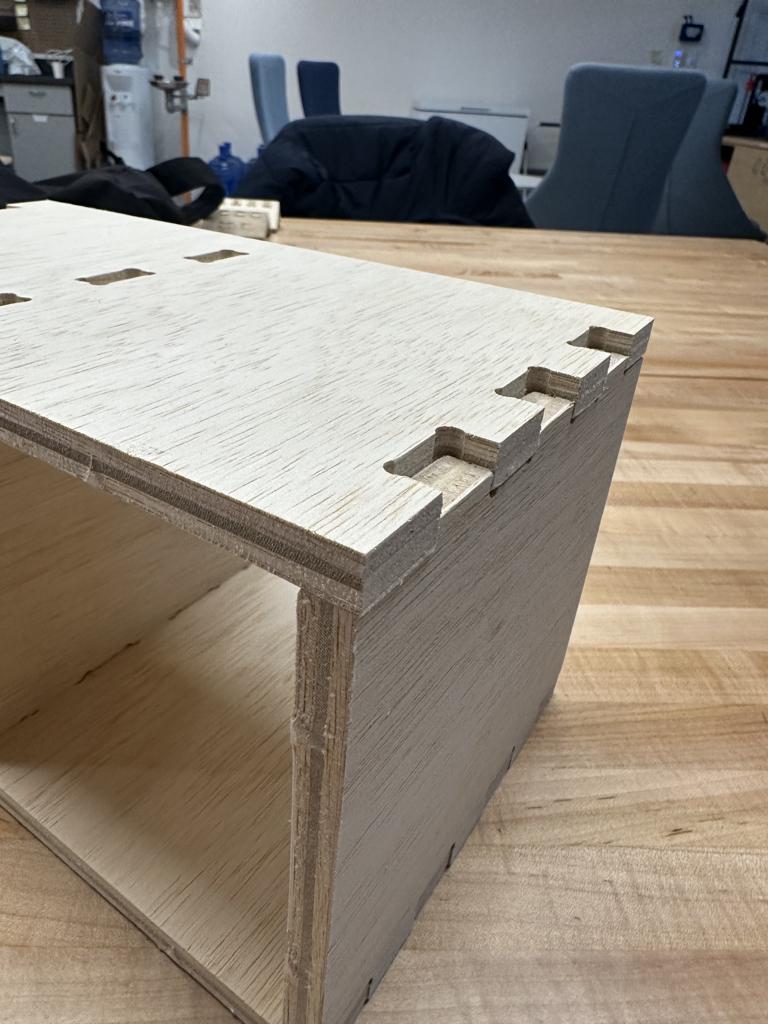
Now that the tabs were added, I moved on to adding dog bones. Like tabs, dog boning is an important part of the process. When fitting pieces of wood together, there needs to be enough clearance for the edges of one piece to fit into the other. Dog bones round out the tight interior corners, allowing the pieces to fit together snugly and smoothly. I had to add dog bones to the inner corners of all the crevices, as well as along the slots inside the piece and around the finger joints on the outside.
I can now preview my design. First select 'Profile', and then press 'Save Toolpaths'. Now I have the file that the machine will use to cut the interior cuts, or slots, of my design. The machine will do these cuts first.
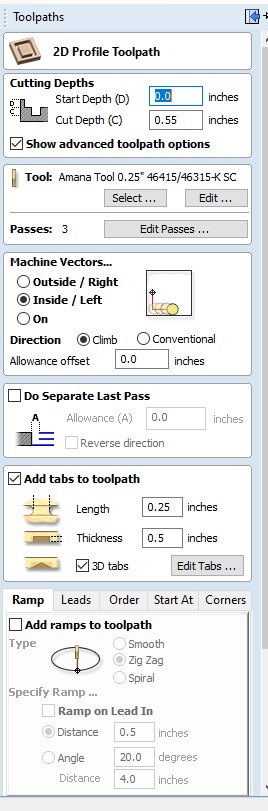
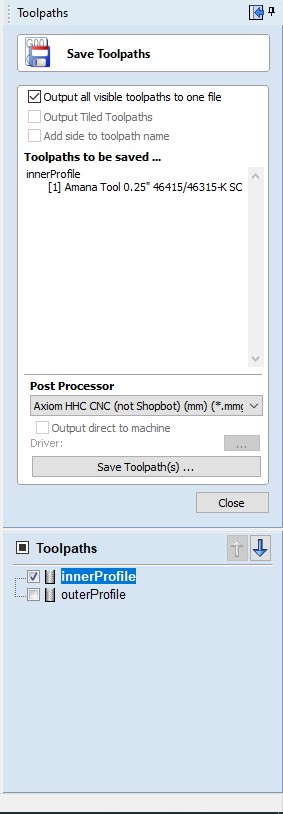
Now repeat these step for the exterior cuts of my design.
Now, I can export the file onto a USB stick, which I then plugged into the machine. Now it is time to prepare the machine to cut my design.
Setting Up the Machine
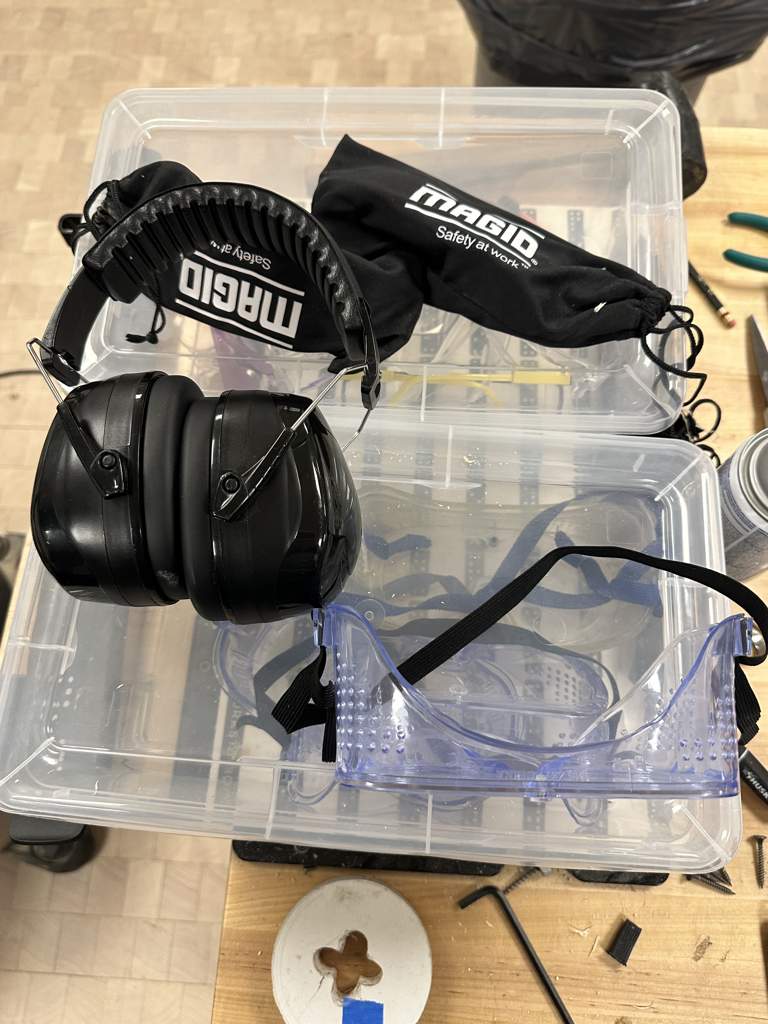
Wow! Now it was time to prep the machine for cutting. The CNC machine is very dangerous, very loud, and very messy. There are several precautions you must take before starting a cut: you need to wear safety goggles, keep your hair tied back, and stay alert at all times.
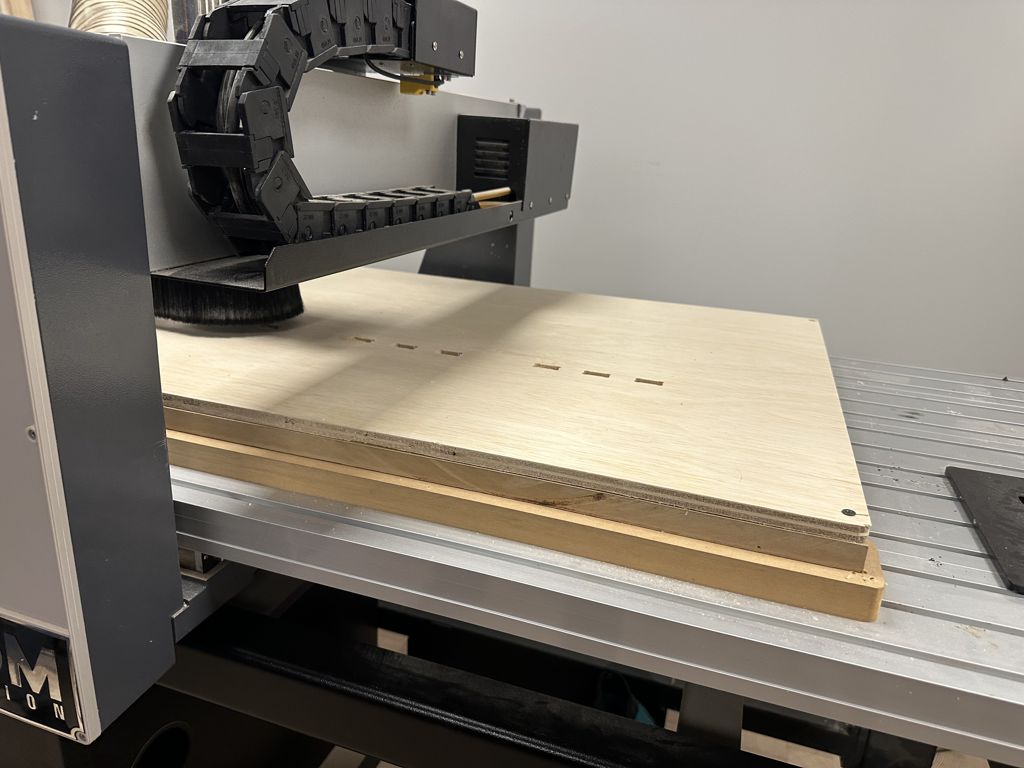
Step 1. Fasten Plywood
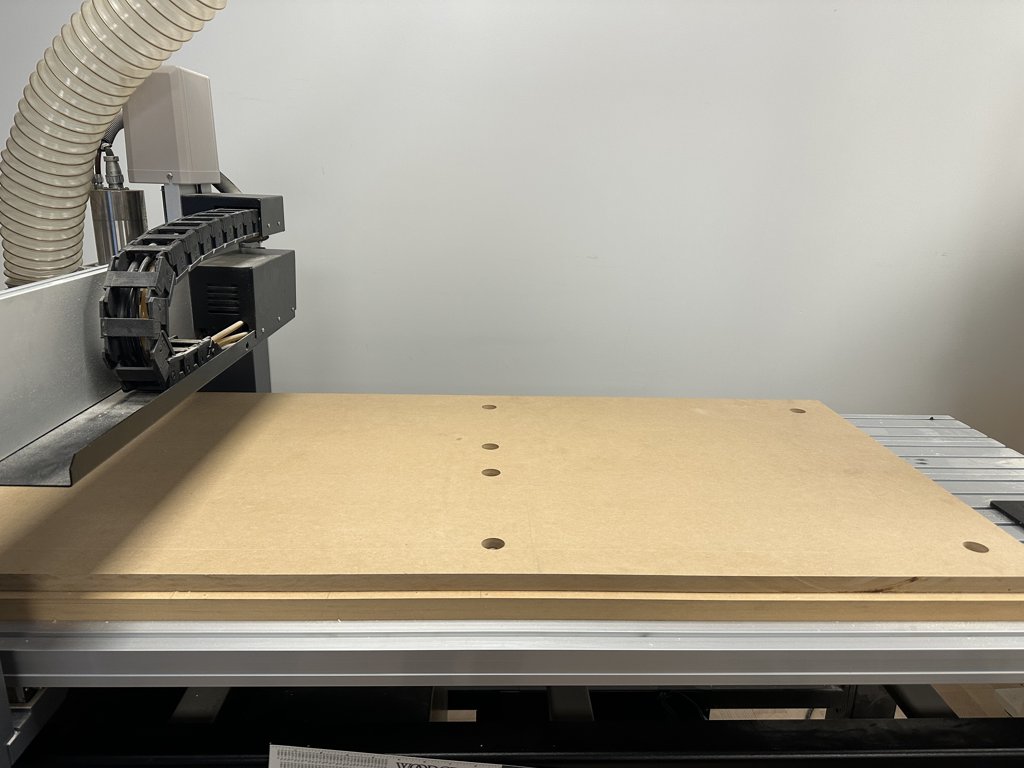
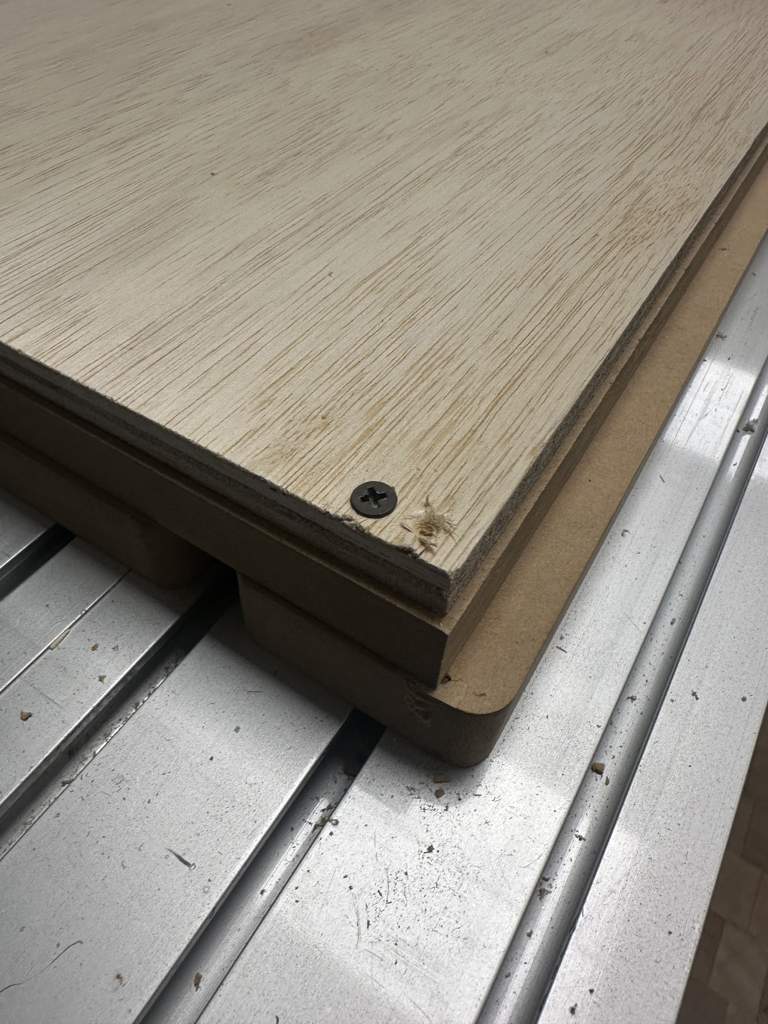
Next, I needed to fasten the plywood to the surface. Underneath the plywood is something called a spoil board—a sacrificial layer of wood that it’s okay for the machine bit to cut into. It’s there to prevent the bit from damaging the CNC machine in case the design file doesn’t have the correct parameters or depth. If the bit were to hit the machine itself, it could be dangerous and cause serious damage, which is why the spoil board is essential. I used four long wood screws to securely attach the plywood to the spoil board and keep it firmly in place.
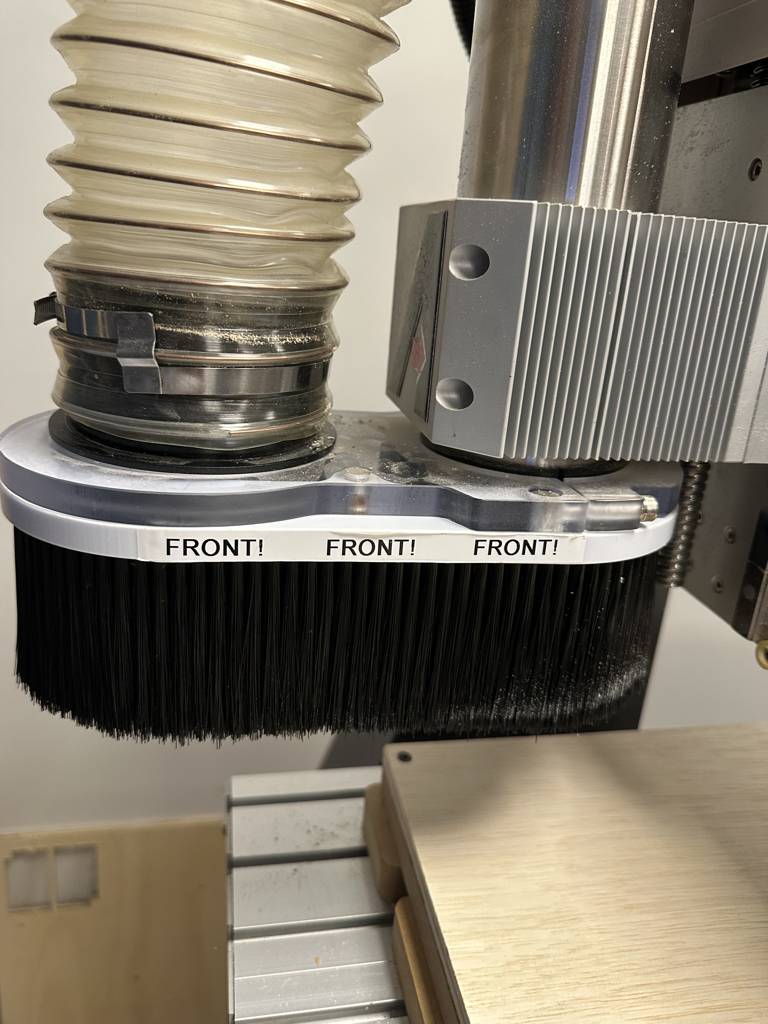
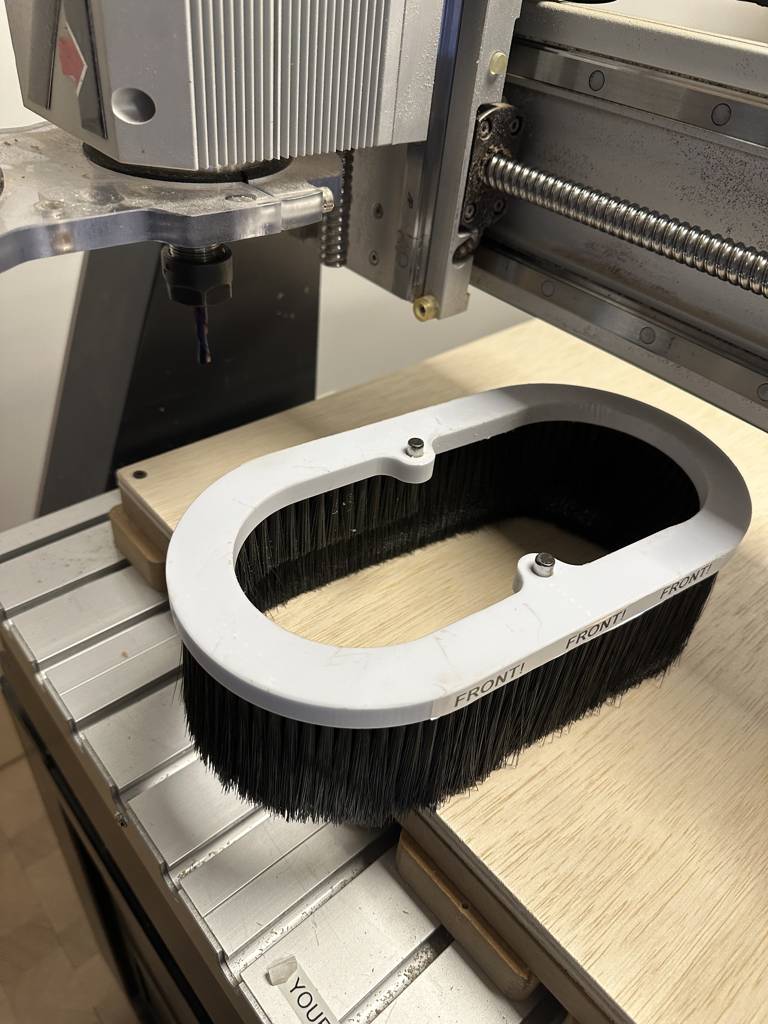
Step 2. Remove Dustcover
Before anything, I need to make sure I can access the bit and move the drill freely. To do this I need to move the big brush dust cover from it. This was easy to remove because the dust cover is magnetic.
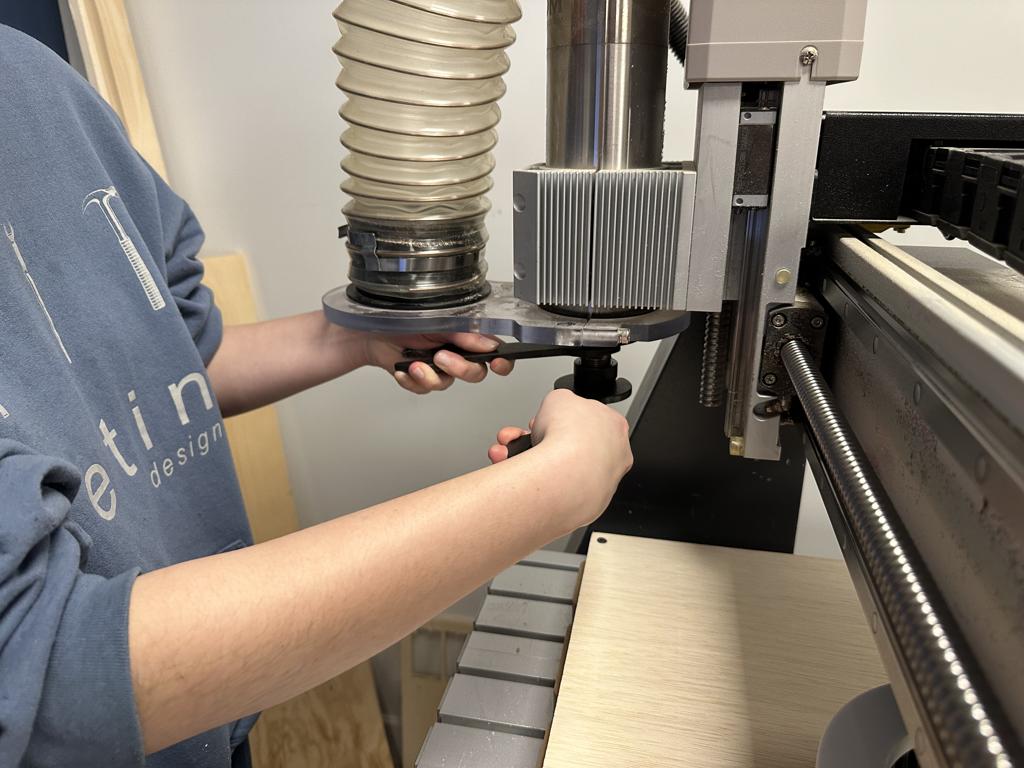
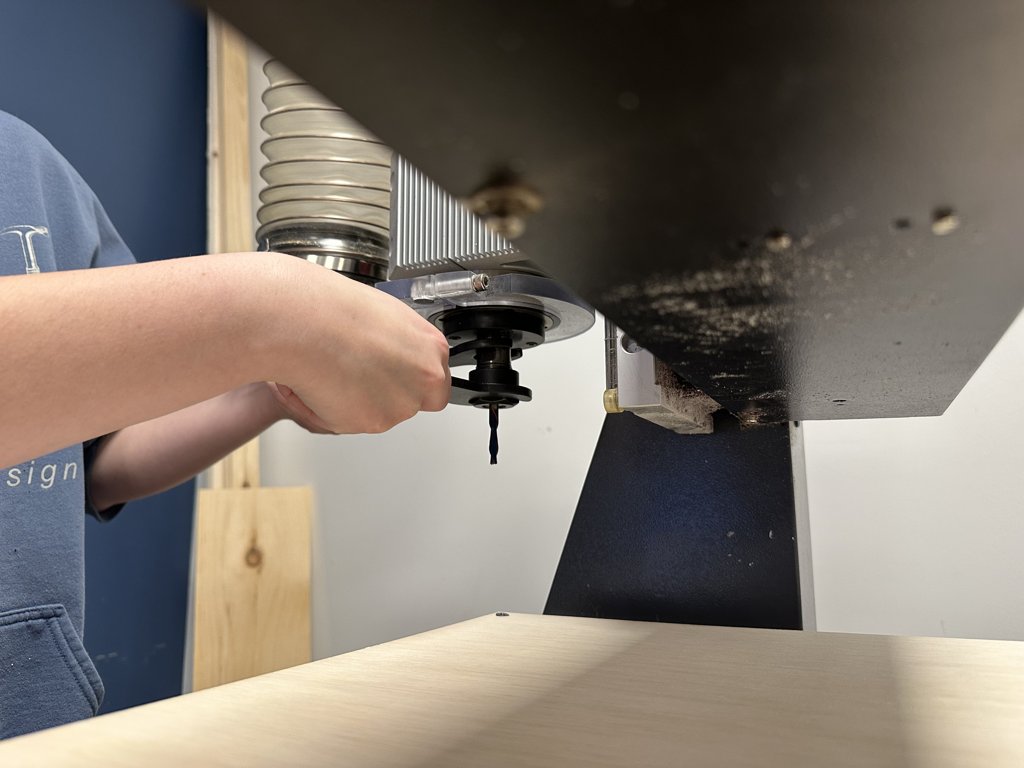
Step 3. Change Bit
I needed to remove the current drill bit and change it. To do this, I used two wrenches, twisting them in the same direction to loosen and remove the bit. Once it was out, I swapped it for a different one. After inserting the new bit, I tightened it by turning the wrenches in opposite directions to make sure it was secure.
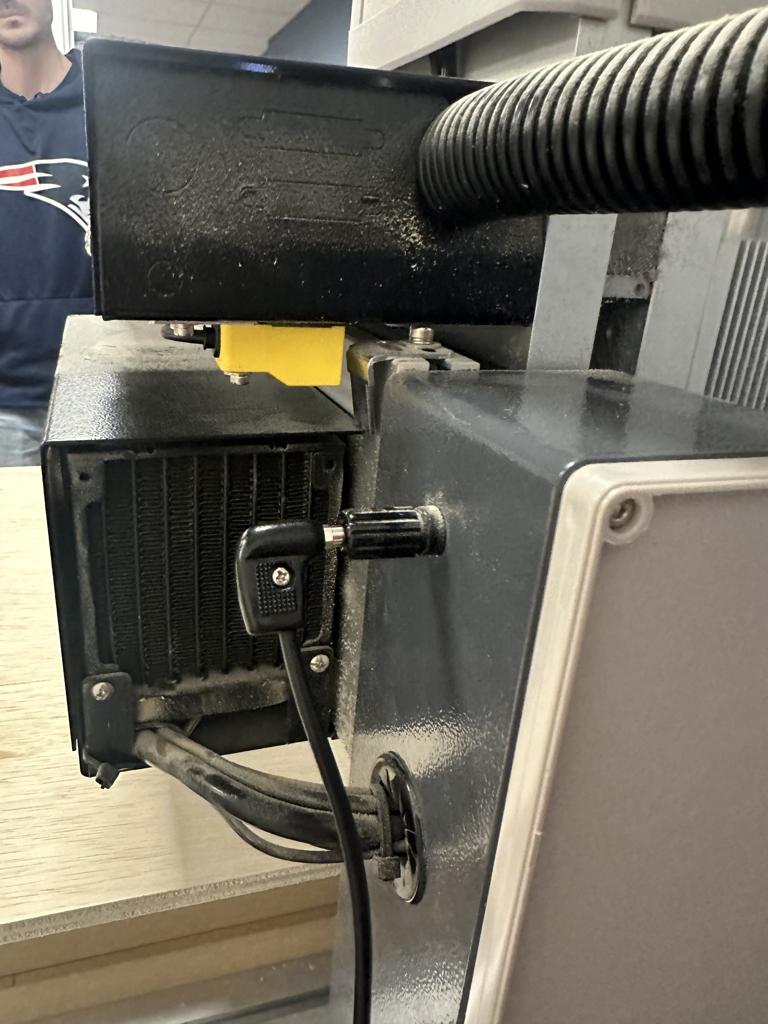
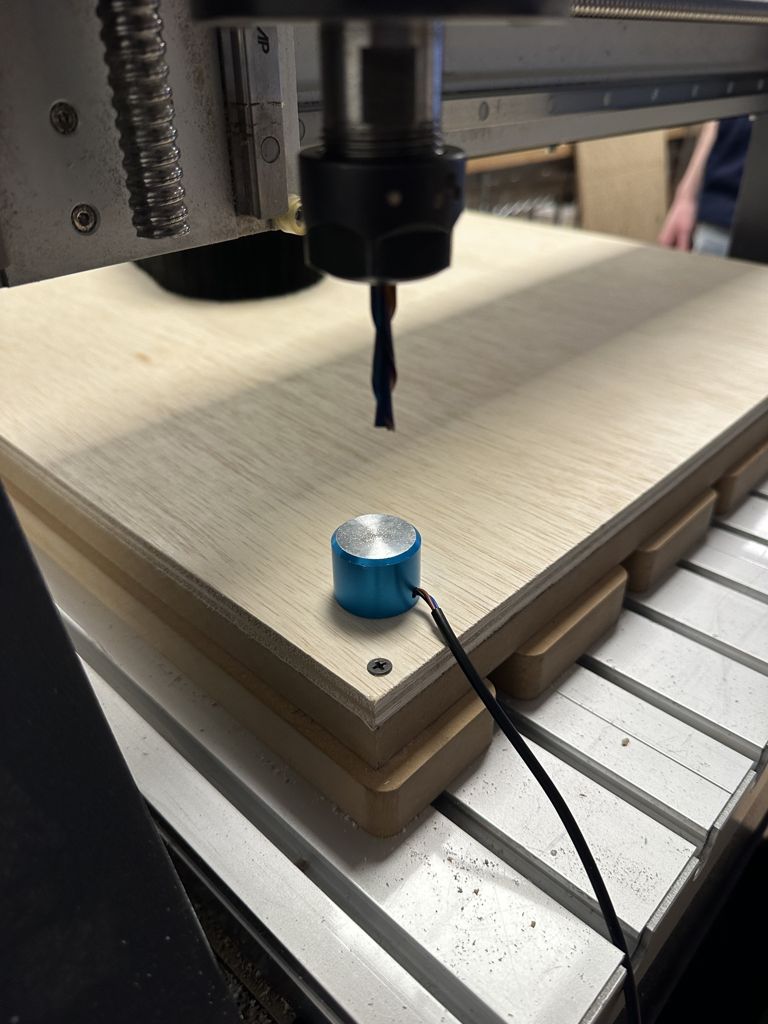
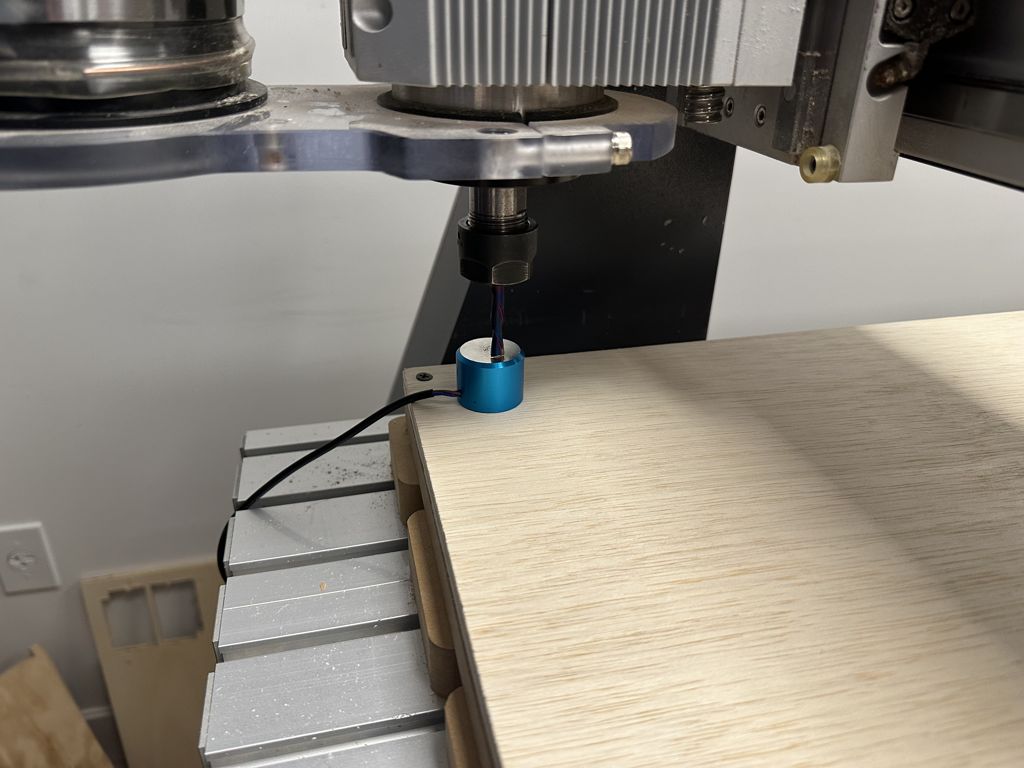
Step 4. Zero Machine
Before beginning the cut, I needed to zero the machine. If this step is skipped, the machine won’t know where its origin is and could start cutting from the wrong position, which might ruin both the material and the machine. To avoid this, I set the origin by plugging a metal puck into the back of the machine and making sure it was properly connected. Then, using the control panel, I adjusted the X, Y, and finally the Z position of the drill bit. I lowered the bit until it touched the metal puck—once contact was made, an electrical signal was sent through the machine, letting it know the correct Z-axis height. This ensured the machine would cut at the proper depth for my design.
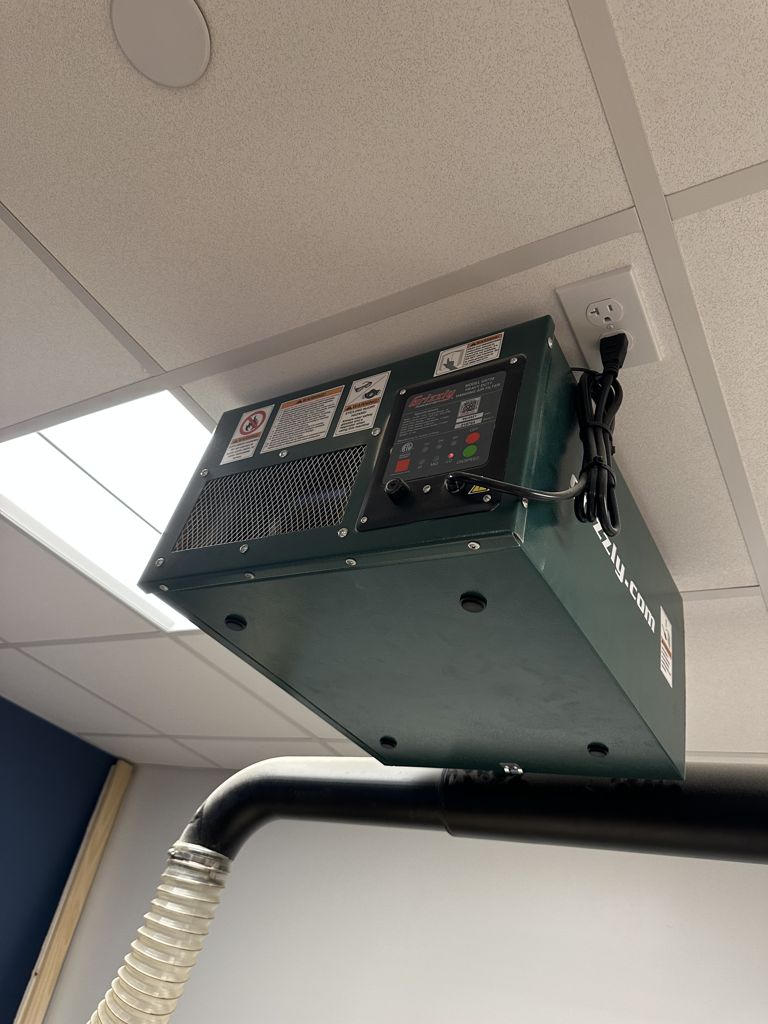
Step 5. Replace Dustcover and Turn on Sawdust Collectors
Next, I returned the brush dust cover and snapped it back into place using its magnetic attachment. I also turned on the large bag-style and ceiling dust collector to make sure the studio didn’t get overwhelmed with sawdust. It’s really important to remember to put the dust cover back on—it creates a sort of vacuum seal between the cutting area and the dust collection system. This helps direct the sawdust straight into the collector and minimizes how much escapes into the air.

Step 6. Wait for Machine to Finish Cut
This was the most relaxing part of this process by far. I sat back and tried to relax as the large hum (blare!) of the CNC machine was going on. I timed it, and my cut took about 15 minutes. I think it took a long time because of the small notches in my design, which the machine had to go over multiple times.
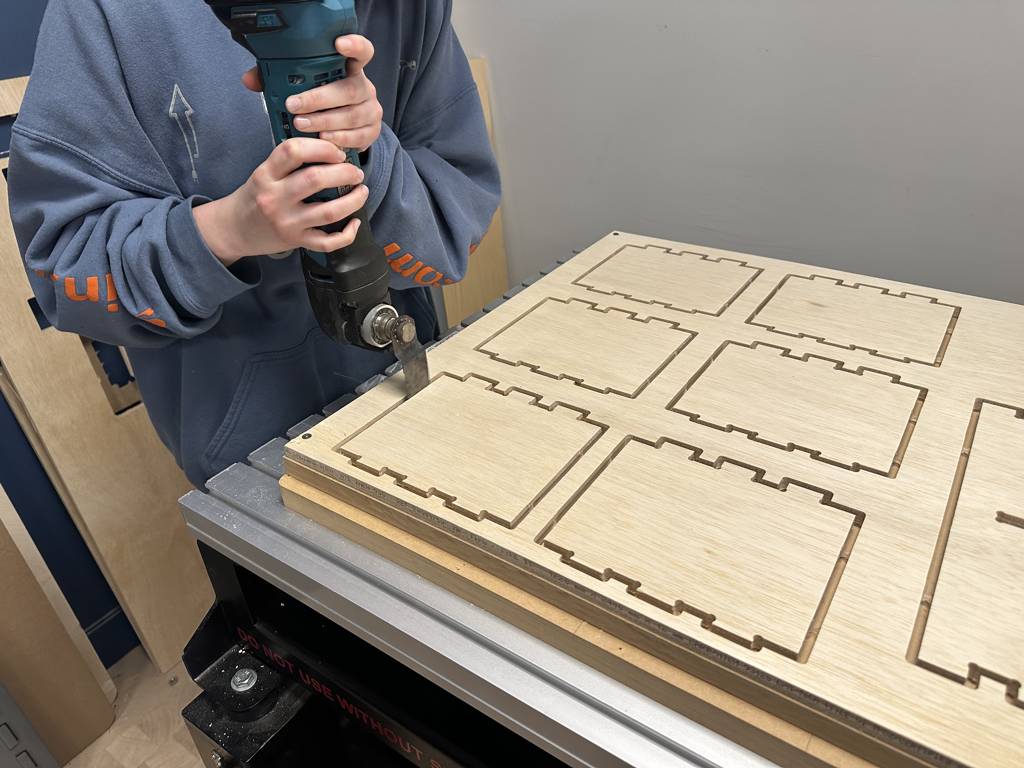
Step 7. Cut Tabs and Remove Design from Board
Once the machine was done cutting, the drill bit returned to its origin position. It was then safe for me to remove my goggles and ear protection and approach the machine. I used an oscillating saw to cut the pieces free from the plywood, focusing especially on the areas where the tabs were. I made sure to position the jagged cutting edge of the saw as close as possible to the material to get a smoother finish. After that, I was able to remove all my pieces and begin the assembly process.
Assembly
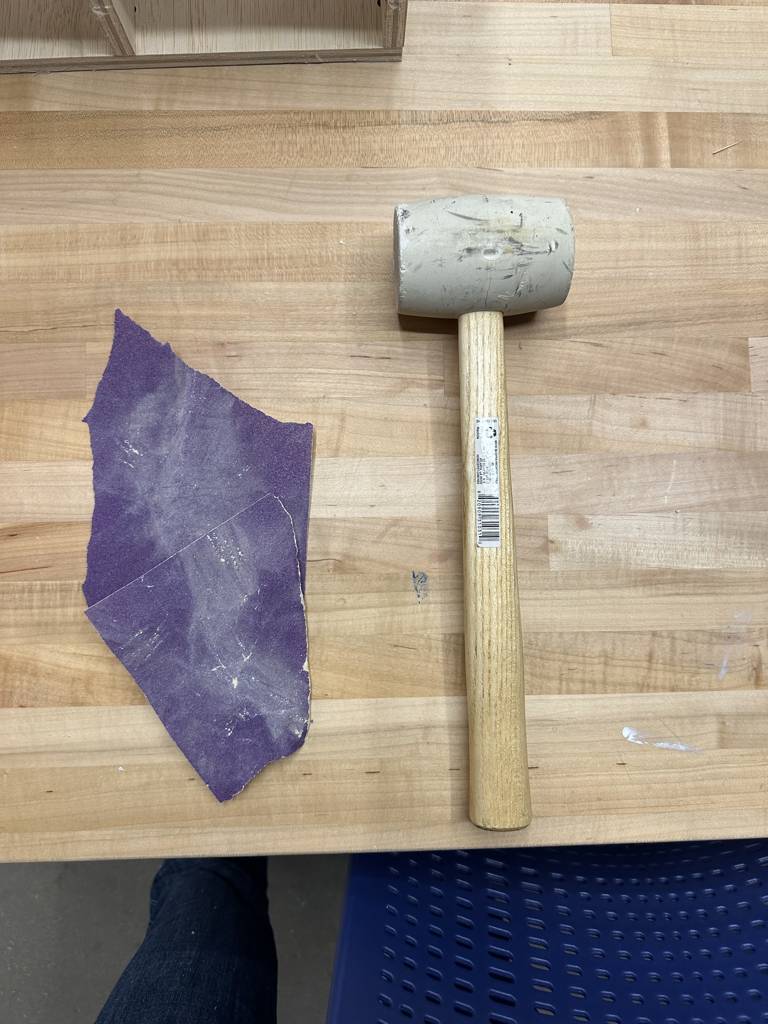
Wow! This was definitely the most fun and the most challenging part of the whole process. My pieces were rough and dusty, so I started by going in with high grit sandpaper to smooth out all the edges. I spent a lot of time cleaning up the spots where the tabs had connected the shelf to the board. Once those were smooth, I sanded the flat surfaces of each piece, but I really focused on the finger joints to make sure they were clean and would fit together well.
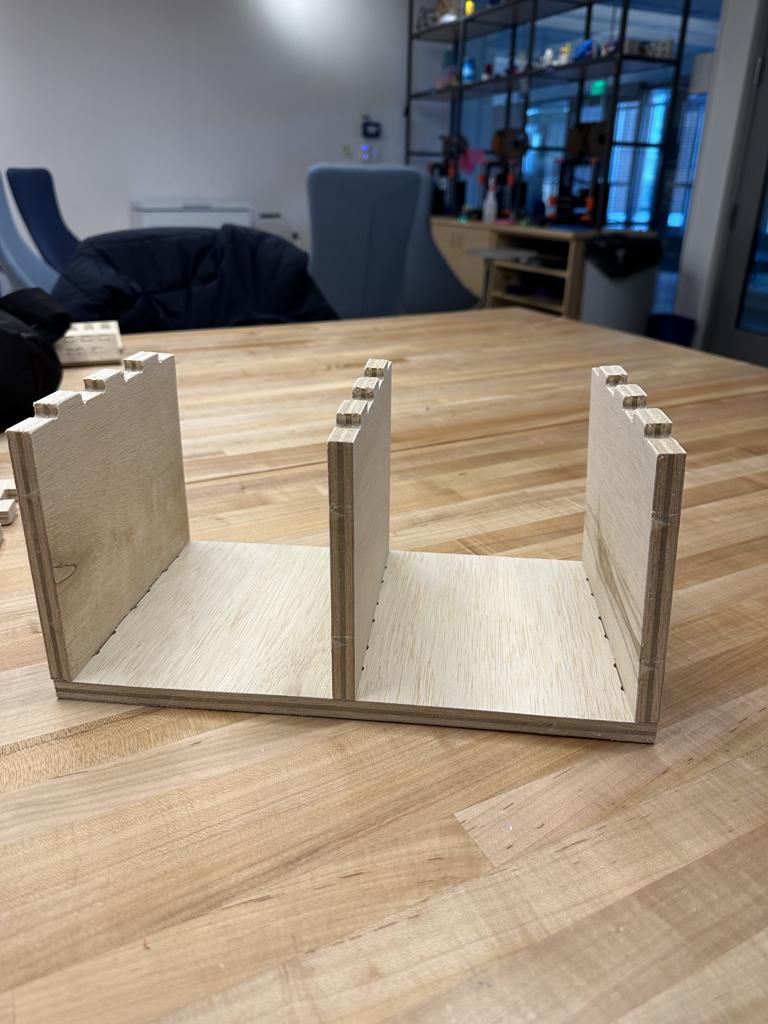
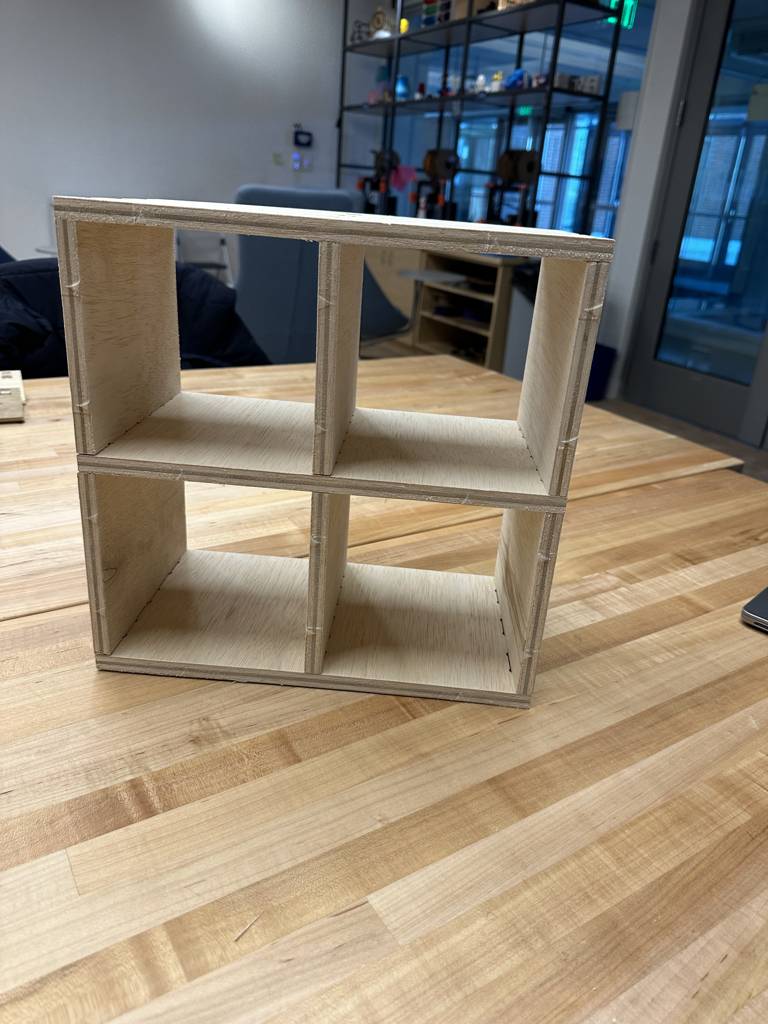
Then came assembly. I started with one of the lower shelf pieces, which would act as the base of the shelf, and slotted in three vertical dividers. Once those felt secure, I added the middle shelf piece—it fit perfectly. Then I slid in the top two dividers, plus the center one. The hardest part was getting on the top horizontal piece that would serve as the top of the shelf. I had to use a rubber mallet to get it to sit just right and make sure it was snug.
Once it was all assembled, I did a bit more sanding, dusted everything off, and brought it home. Voila! Now it’s sitting in my room.
Final Project
Download .DXF
Improvement
If I were to redo this project I would have decreased the amount of space I added to make the box slots because I feel they are too big and don't serve the boxes so well. It seems less that the box was custom designed to fix the boxes, which is exactly the opposite of reality. It's ok. I can just adjust my parameters in Autodesk Fusion to redesign this and cut it again.