Week 14: Molding & Casting
Group Assignment
This week's group assignment was to review the data sheets for molding and casting materials and make some test casts. You can find my group's documentation here. I learned that it’s important to be safe whilst making molds and casts. Wearing gloves is an important and easy step to take. It’s also important to keep track of the working time of your mixture so you don't get your mixture in the mold before it starts to cure. I also learned that some materials can get hot when curing. The material we used for casting made the mold hot to the touch whilst curing.
Designing a Mold
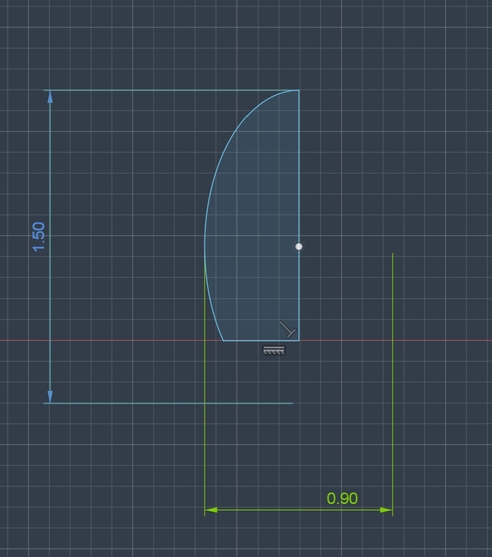
Sketch of the Cat's Body
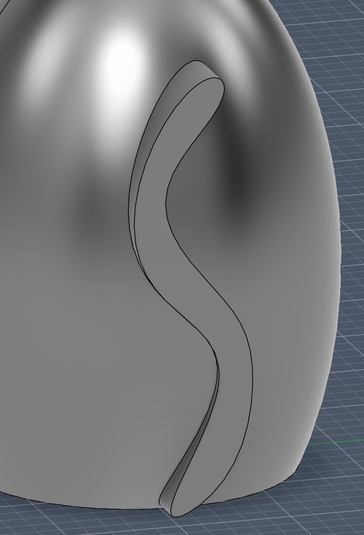
Model of the Cat's Tail
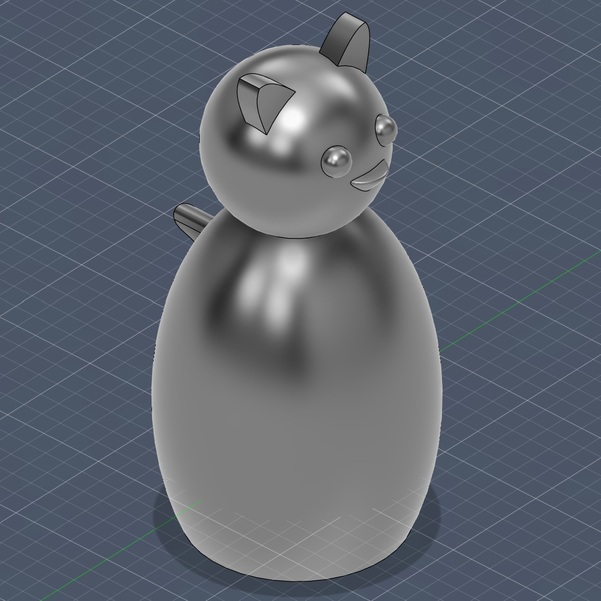
Cat Model
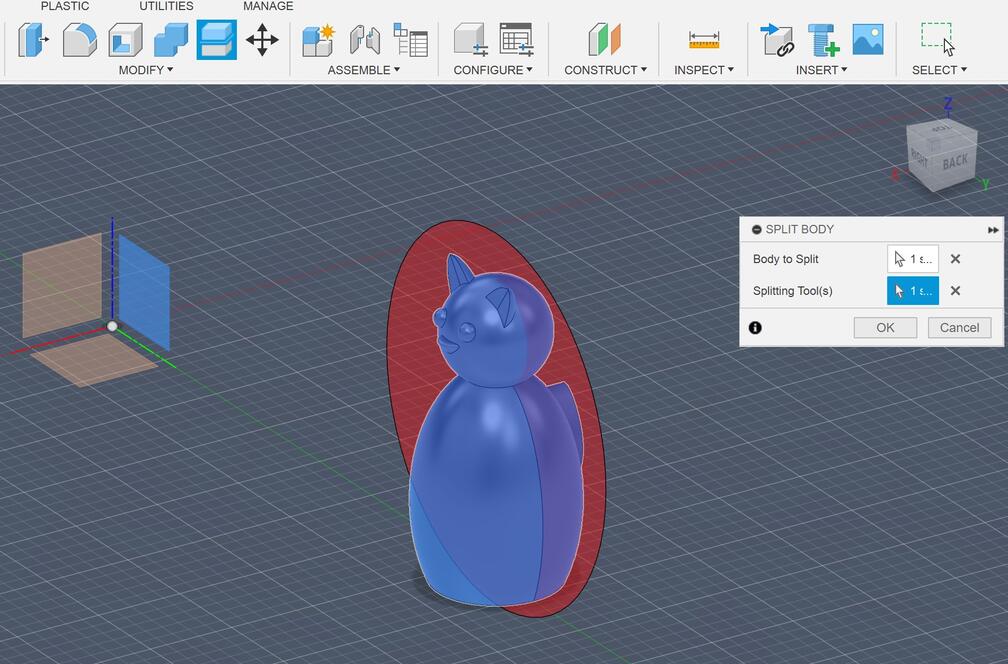
Split Body Tool
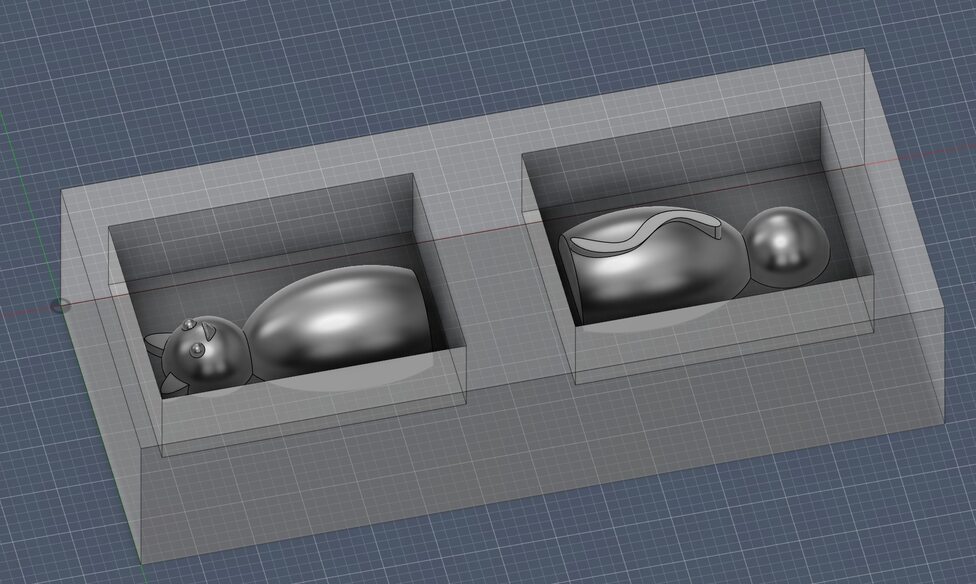
Model of Cat Mold
I created a positive of my a cat in Fusion. For most of the shapes I used the ellipse tool while sketching. I then used the line tool to cut it in half. I could then use the revolve tool to make a 3D oval using my sketch. The ears, which were made using the Conic Curve tool, finished it with a line, and then extruded the sketch. For the tail, I used the Fit Point Spline tool and extruded that shape. Once I had the complete model I used the Split Body tool to cut my cat model in half. I then made a rectangle that was the same size as the millable wax I knew I was going to use. I then made two rectangular pits in the wax block to place the halve of my cat. I then put one half of the cat in each rectangle hole to finish the model of my mold.
Making the Wax Mold
For milling the wax mold, I used a similar process to week 7 since I once again used the Axiom Precision CNC machine. I brought in the STL file into VCarve to create the cutting files. We did this in two passes, one rough cut to get most of the material out and a smoothing cut. There are options for both of these in the Toolpath Operations when setting a cut. I’m not going to go too far into the details since I covered most of it in week 7.
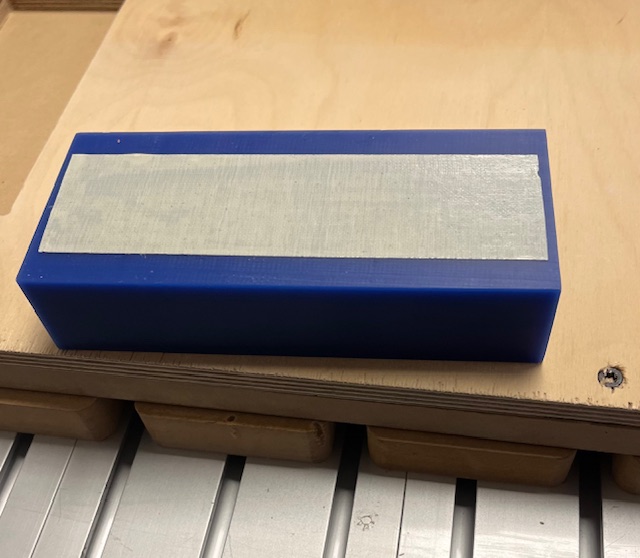
Double Sided Tape on Wax
Wax Secured on Machine
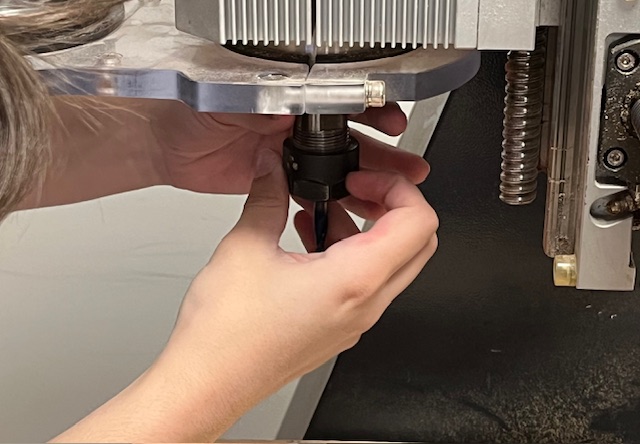
Unscrewing end mill
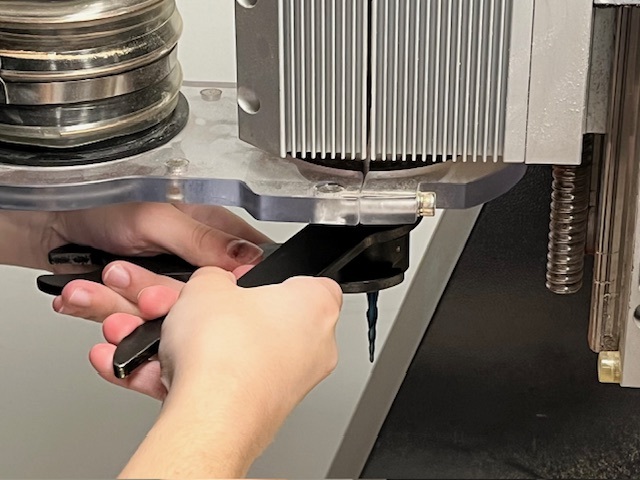
Tighening end mill
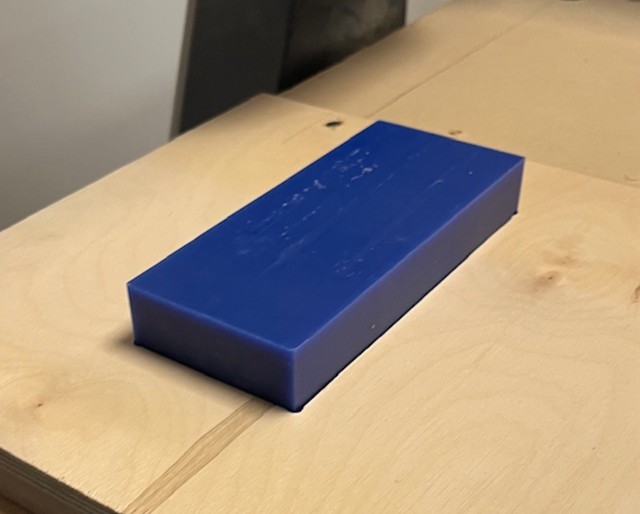
After Rough Cut
Once we had the cutting file, we set up the machine. To attach the machinable wax, our instructor had a piece of wood with a wax-sized hole to keep it in place. We used double sided tape to secure the wax onto the cutting table. We used an upcut bit for both parts. After aligning the cutting head, attaching the brush, and turning on the vacuum we were ready to go. Wax is a lot quieter than wood, so ear protection isn’t necessary, but eye protection is still needed.
Milling the Smoothing Path
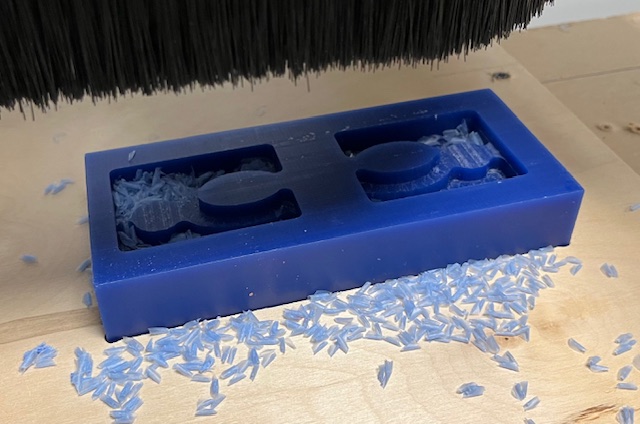
Cut Mold
Smoothed Mold
After the rough cut, I vacuumed out the wax shavings and switched to a smaller mill. The smoothing cut took longer and looked like it was bouncing due to the rounded shapes. Once the cut was complete, we used a screwdriver to pry the wax block out of the wooden holder. I then used the hot air gun on the soldering machine to melt some of the imperfections and to reduce toolpath visibility. I should’ve smoothed the mold a bit more when doing this but I didn’t find that out until later.
Making the Silicone Mold
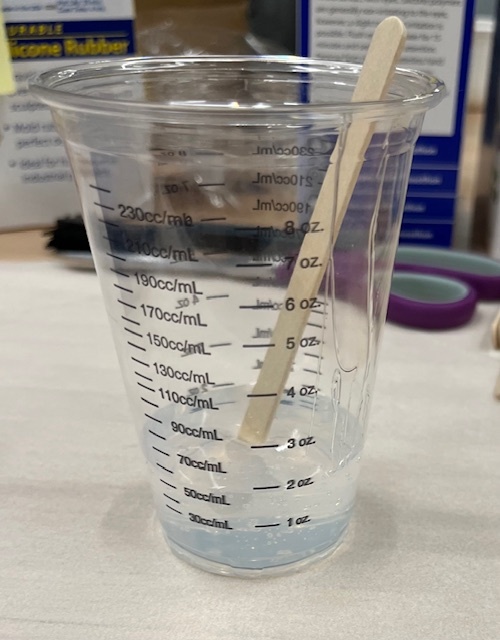
Mix Parts A and B
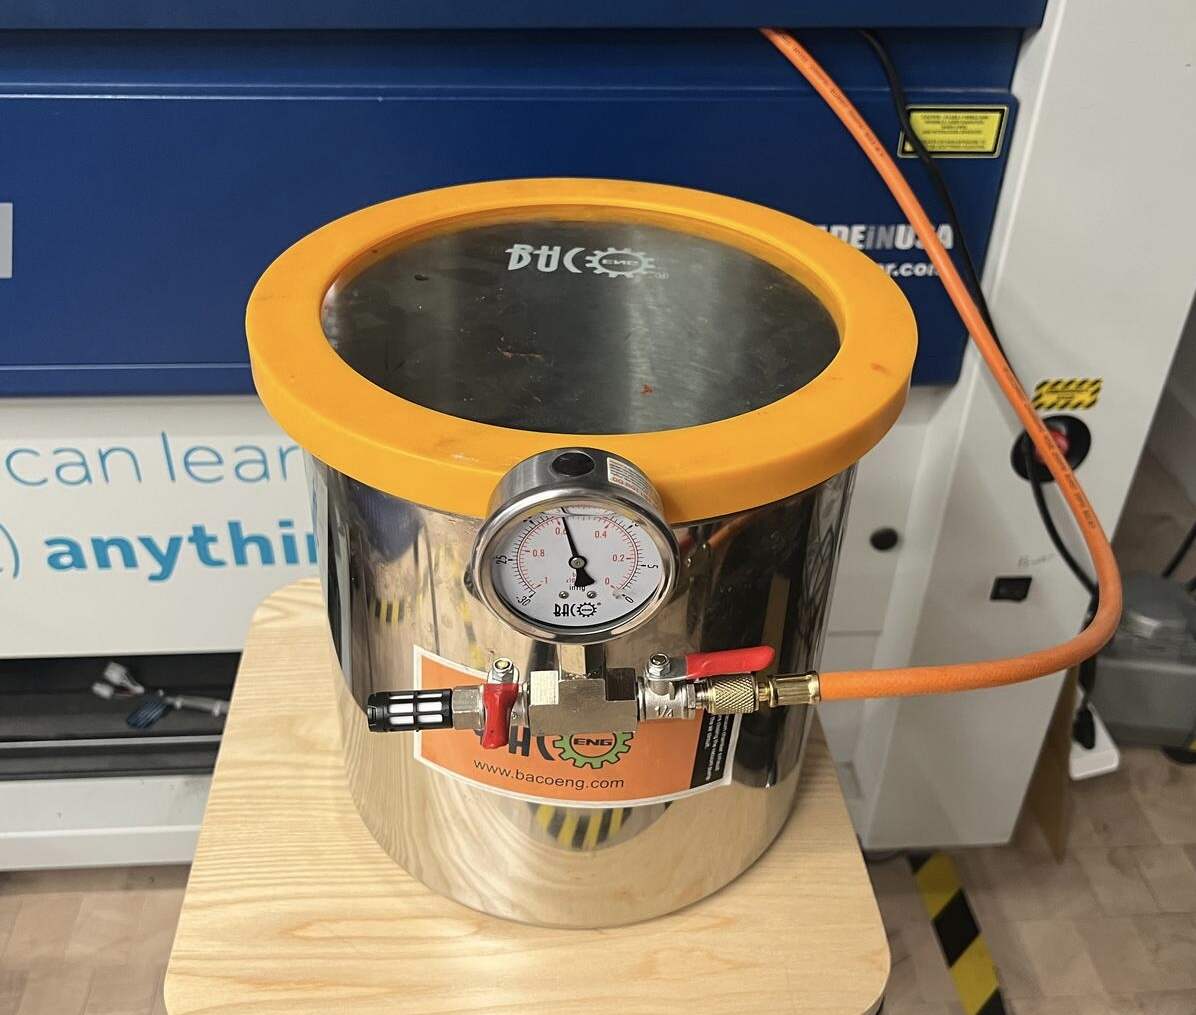
Vacuum Chamber
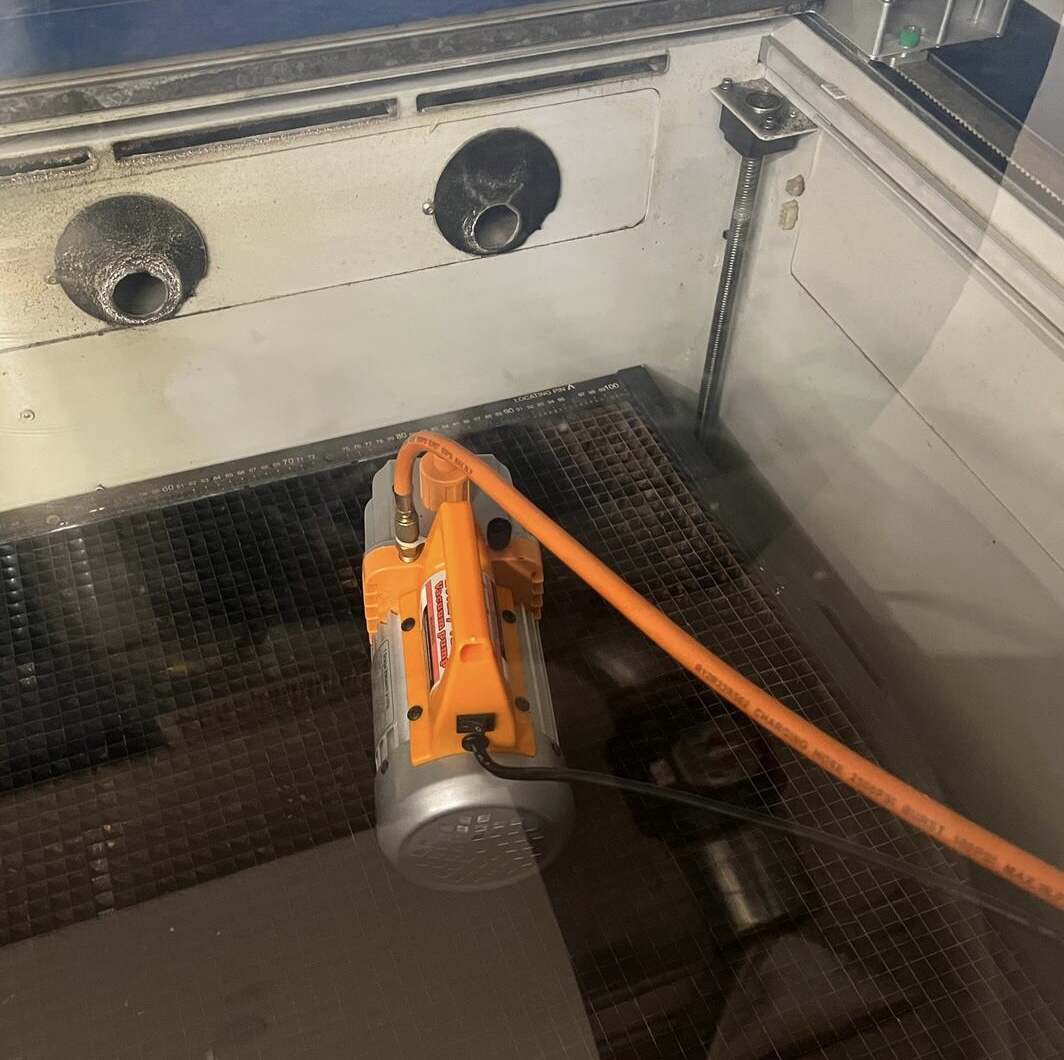
High-tech Venting System For Vacuum Chamber's Motor
Silicone in Vacuum Chamber
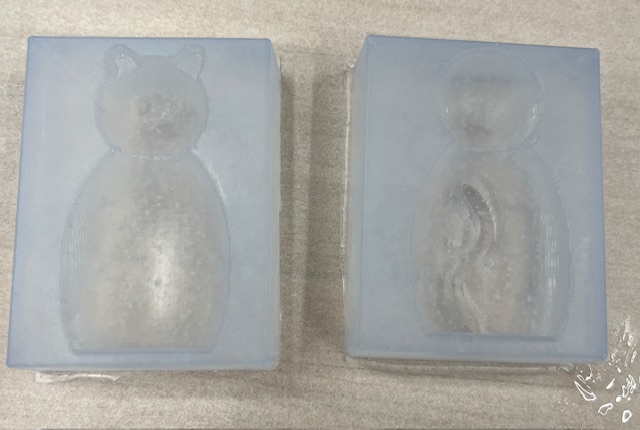
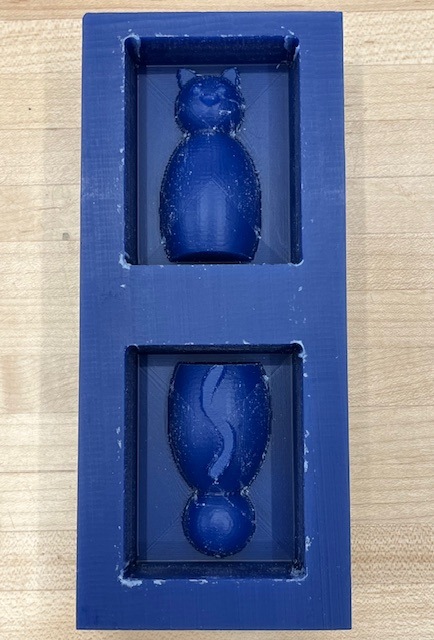
Silicone Molds
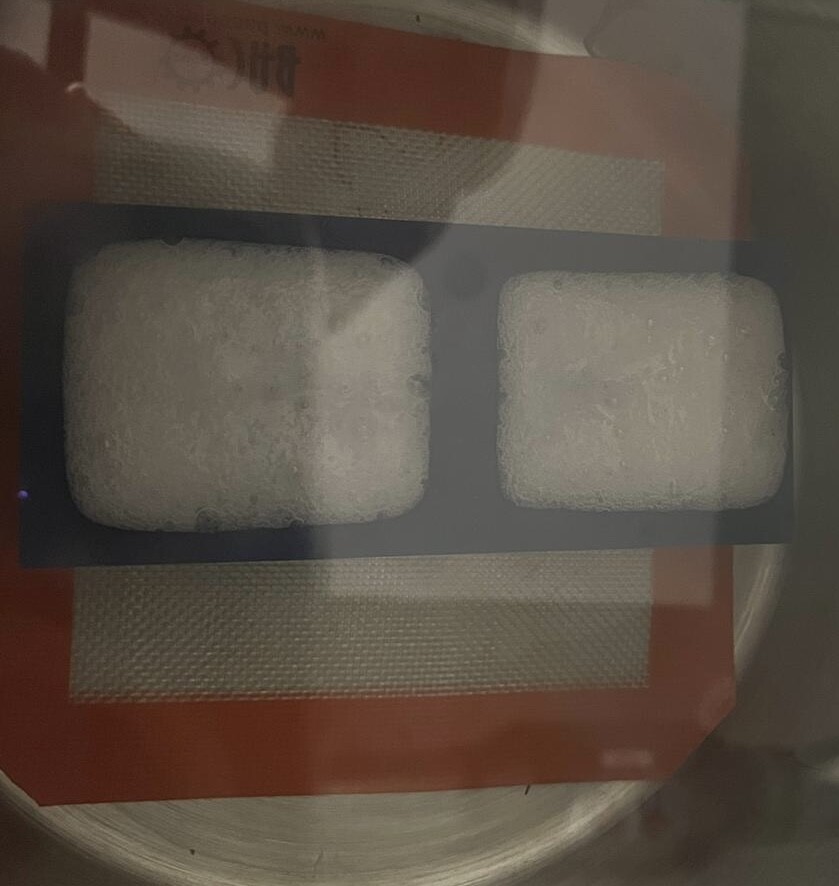
Since I wanted to make a chocolate cast, I needed to make a food safe mold. Before starting, make sure to put on gloves! The food safe silicone we used was equal parts by volume, so I used 2 oz of each. Both parts were very thick so I measured out part A and then poured part B into the same cup until it was double the volume. This prevented the liquids from getting stuck in their individual cups. After combining them, I mixed the two parts for about 3 minutes. Since the mixture was so thick, we used a vacuum chamber to pull out some of the air bubbles. I poured enough silicone into the mold to cover the cat and then put it into the vacuum chamber. We left it in the chamber for a few minutes until it nearly overflowed due to all of the bubbles. I then poured the rest of the silicone on top. It’s fine if this part has bubbles because that part isn’t touched when casting. It took 4 hours to cure, so I ended up just leaving it to cure overnight. In the morning, it was easy to pull out the completed silicone molds.
Casting in Chocolate
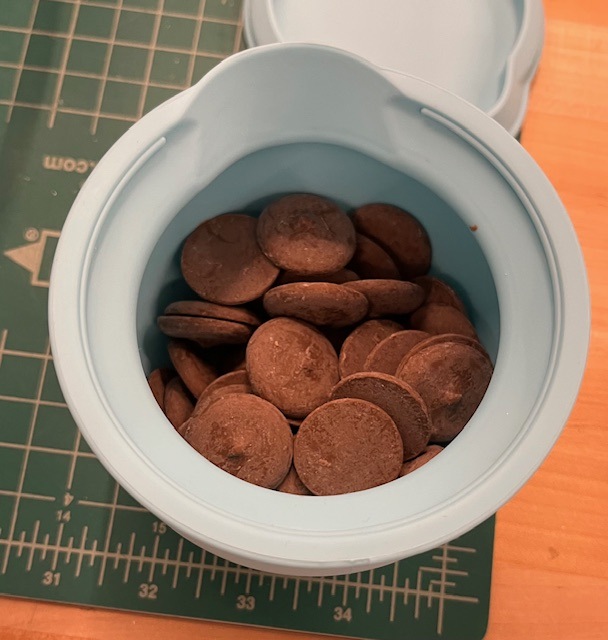
Chocolate Candy Wafers
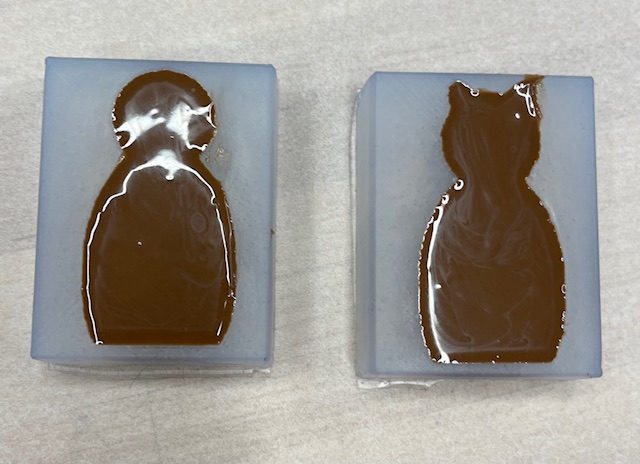
Melted Chocolate in Mold
The final step was to use my silicone mold to make a chocolate cast. I made sure to wash my silicone mold and my hands before starting. You can wear gloves, but I was planning on eating it so I didn’t care as much. I used milk chocolate melting wafers. My lab had a special silicone container for melting chocolate. I filled it about halfway full and put it in the microwave for 15 second intervals while stirring in between. Once fully melted, I filled up the silicone molds with the melted “chocolate” and placed them in the fridge.
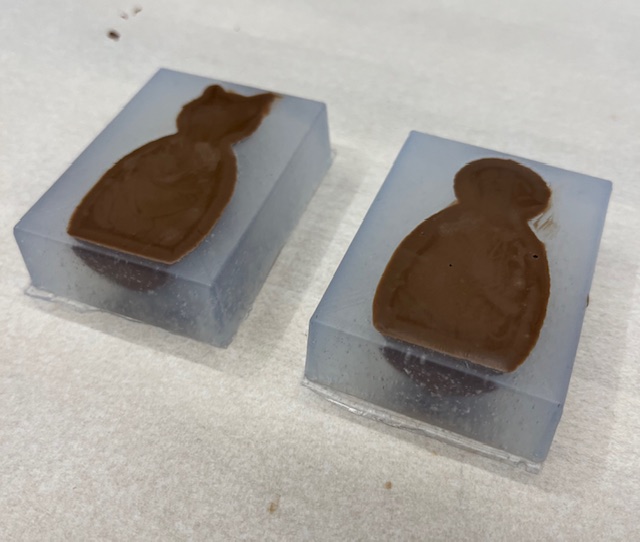
Hardened Chocolate in Molds
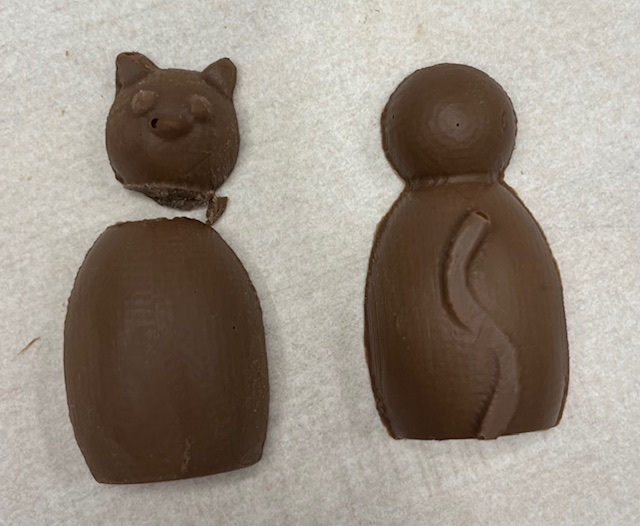
Two Halves of a Chocolate Cat
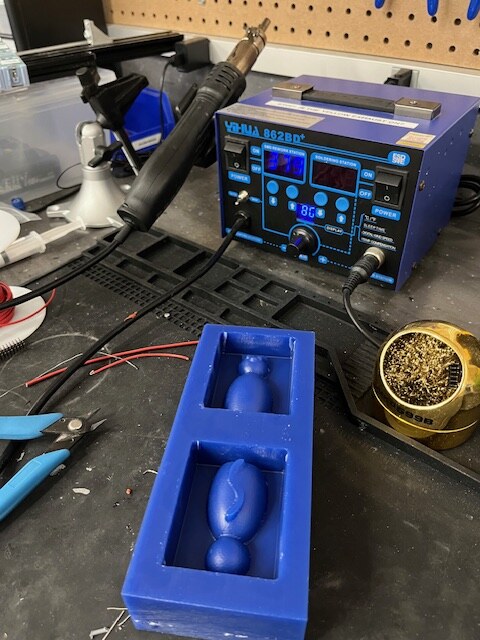
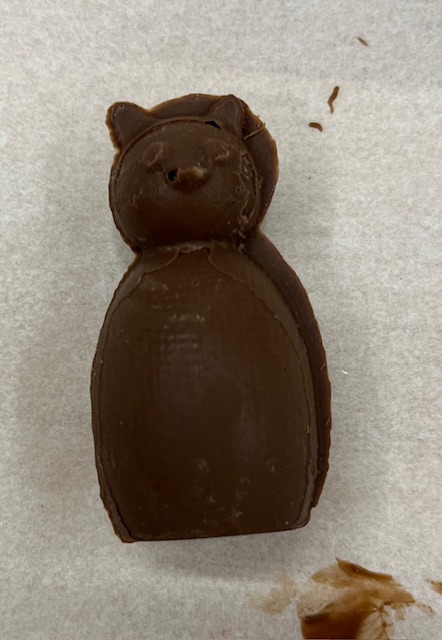
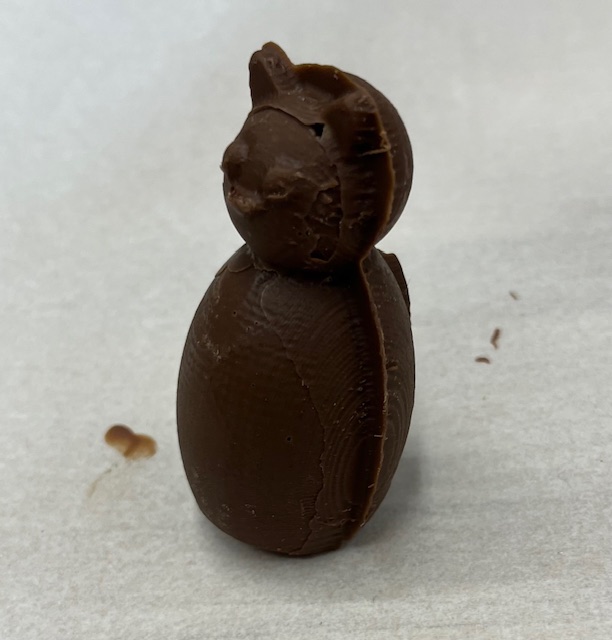
After waiting 10 to 15 minutes, I took the molds out of the fridge. I removed the chocolate from the molds and unfortunately the head on the front facing part broke off. I then realized I shouldn’t have even taken them out in the first place because I had to stick them together. So, I put each part back into its respective mold. After putting down some parchment paper, I used the hot air gun at the soldering station to melt the head back onto the body. I then melted the exposed parts of each side and stuck them together. I did my best to line them up evenly and then place them in the freezer, still stuck together. After another 10ish minutes, I demolded the chocolate. I had not lined up the sides evenly and there were a few holes in the chocolate but it tasted just fine, and that’s what really matters for chocolate.
Top View of Final Cat
Front View of Final Cat

Back View of of Final Cat