Week 10: Output Devices
Group Assingment
You can find my group’s documentation here. I learned that when a motor is stalled or held in place, it will use more power to try and continue running. I thought that it just used the same amount of power, so this is good to know.
Redstone (The Circuit)
For this week, I used a passive buzzer to make what is functionally a note block from Minecraft. A Minecraft note block loops through 24 notes and plays a different one each time you click on it. My project loops through 24 notes each time you press the button on my circuit board.
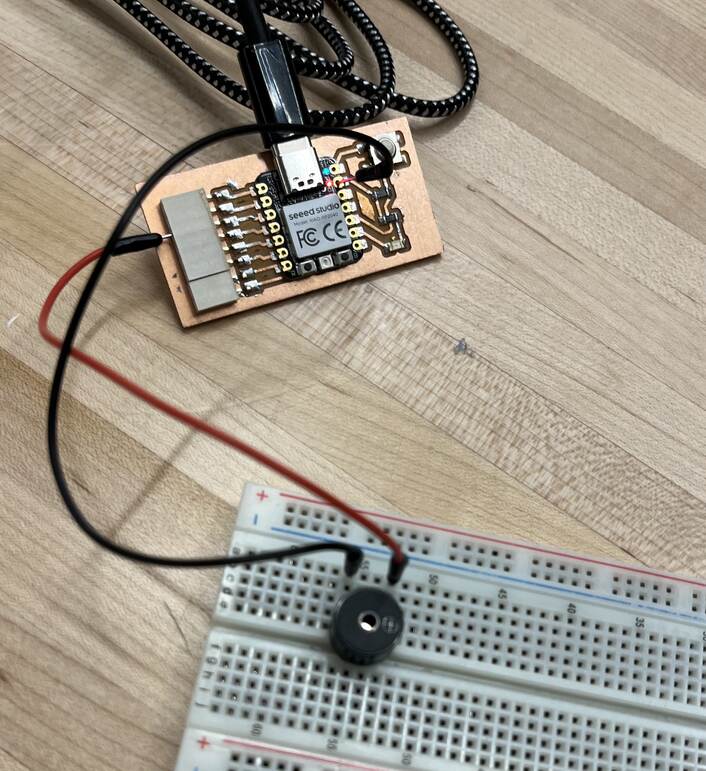
I am once again using my circuit board from week 8 for this project. It was fairly simple, with the buzzer’s power wire connected to pin D2 and the ground wire connected to the microchip’s ground. I used a breadboard so the buzzer would stay in place, though this is not necessary.
Command Block (The Code)
I started by seeing how the passive buzzer worked using this example code from Elgoo’s Arduino Uno Starter Kit. This code included a library called “pitches.h” that for whatever reason I could not find on the Arduino IDE. I found the git repository for it and found that the .h file was just a bunch of defines. I copied that into the top of the code and it worked! I likely could have just included that file but hindsight is 20/20. I then needed a way to play a note every time the button was pressed. I used this example from the Arduino Documentation.
I combined what I learned from the example code I found. Everytime the button’s state changes, it checks if the button was pressed an even number of times. If so, this means that a noise should be played. Using the Minecraft Wiki, I created an array of notes for it to loop through just like the note block in game. I then had the LED light up everytime a note was played as well as have the serial monitor print the location in the array for ease of debugging. With that, I had completed my code and had a functioning “note block”!