5. 3d scanning and printing
Goals for the week:5

For the 3d scanning part of my individual assignment I used the apple app MagiScann.

When beginning scanning in MagiScan it gave me two options, one was 360 degree wheel and semisphere (beta). The 360 degree wheel mode made me move around the object to fully scan. The semisphere mode is when you focus the camera on the object it makes a sphere around the object to make it easier to scan.

I decided to scan a booble head to scan for 3d printation. I scanned it by placing it on the middle of a stool and walked around it using the scanner till it was fully scanned.
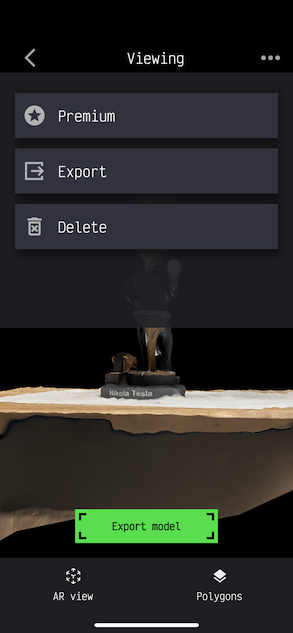
After the booble head been scanned I export the image by clicking the three dots on the right hand side of the screen.
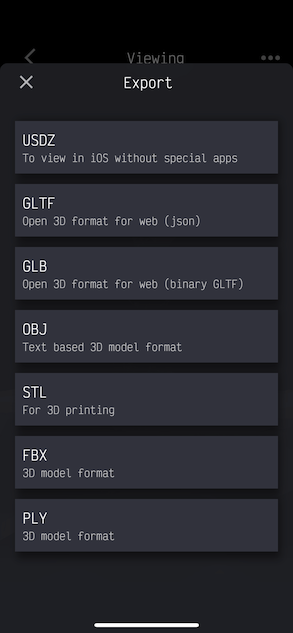
When I exported the image I chose it to be a STL because STL is made for the image to be transfered to websites like PuraSlicer and Fusion 360.
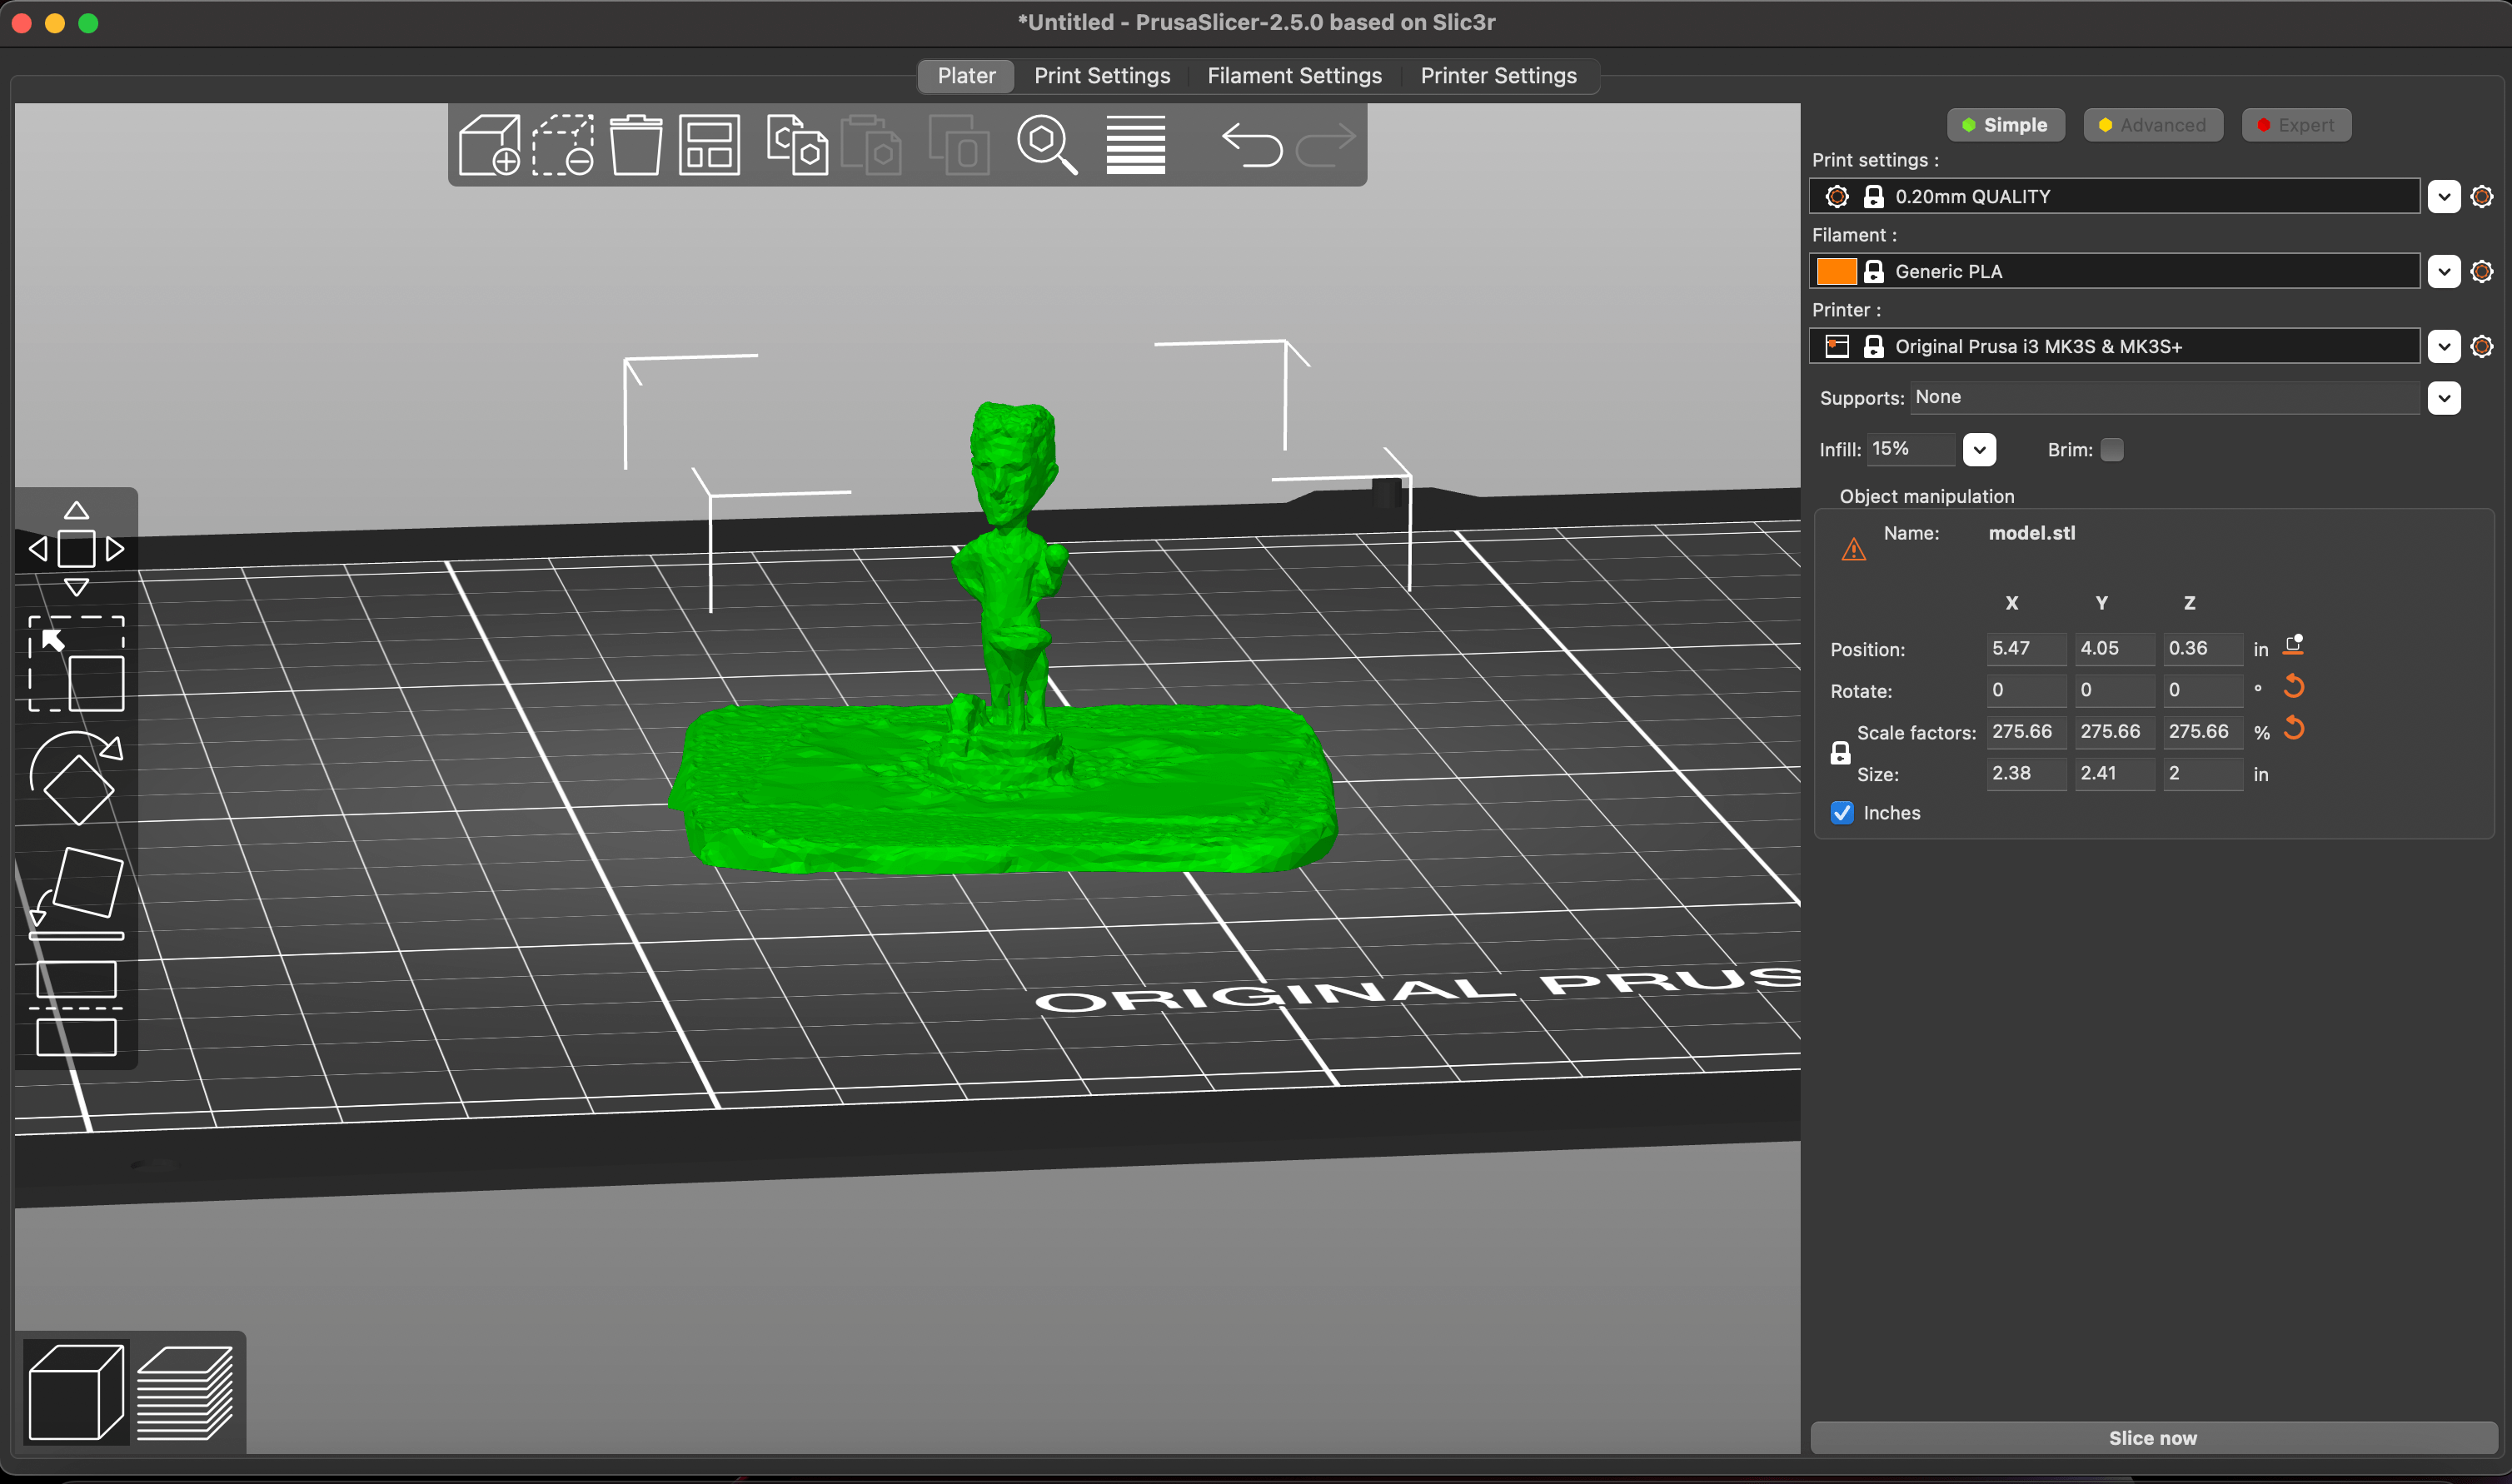
As the image was exported I transfered it to website PuraSlicer. PuraSlicer helped me by adjusting the image by it's angles. I also wanted to see if.
3D Printing Model Pyramid

For a 3D design I decided to make a pyramid with a hallowed inside. When making this shape I set up parameters for the size of the pyramid.To help show the inside of the shape being hallow I made a door like hole.I designed the pyramid through Fusion 360. I did this by starting a sketch using the line tool into a triangle shape. I then used the extrude tool to pull up the design to have more contrast. Then I used the scissor tool to cut out the door shape hole in the pyramid.

After extruding the shape and cutting out the door I selected the whole pyramid by right clicking body 1.I then saved the shape as a mesh all together.

After I exported the design through right clicking the sketch icon and save it as a DXF.

Later when the model was saved as a DXF I opened PuraSlicer to make sure the proportions were correct and see where I pause the printing to a object in it to show it had a hallow inside.

As I set up the 3d printer I put the settings to 215 degrees for the printer to be heated. I also set the printing to pause at a certain time to put something into the pyramid.

In the picture above you can see the printing is already taking shape for the base of the model

The model as you can see isn't fully constructed because I had to pause the project to put a marble inside to show how the inside is hollowed out.
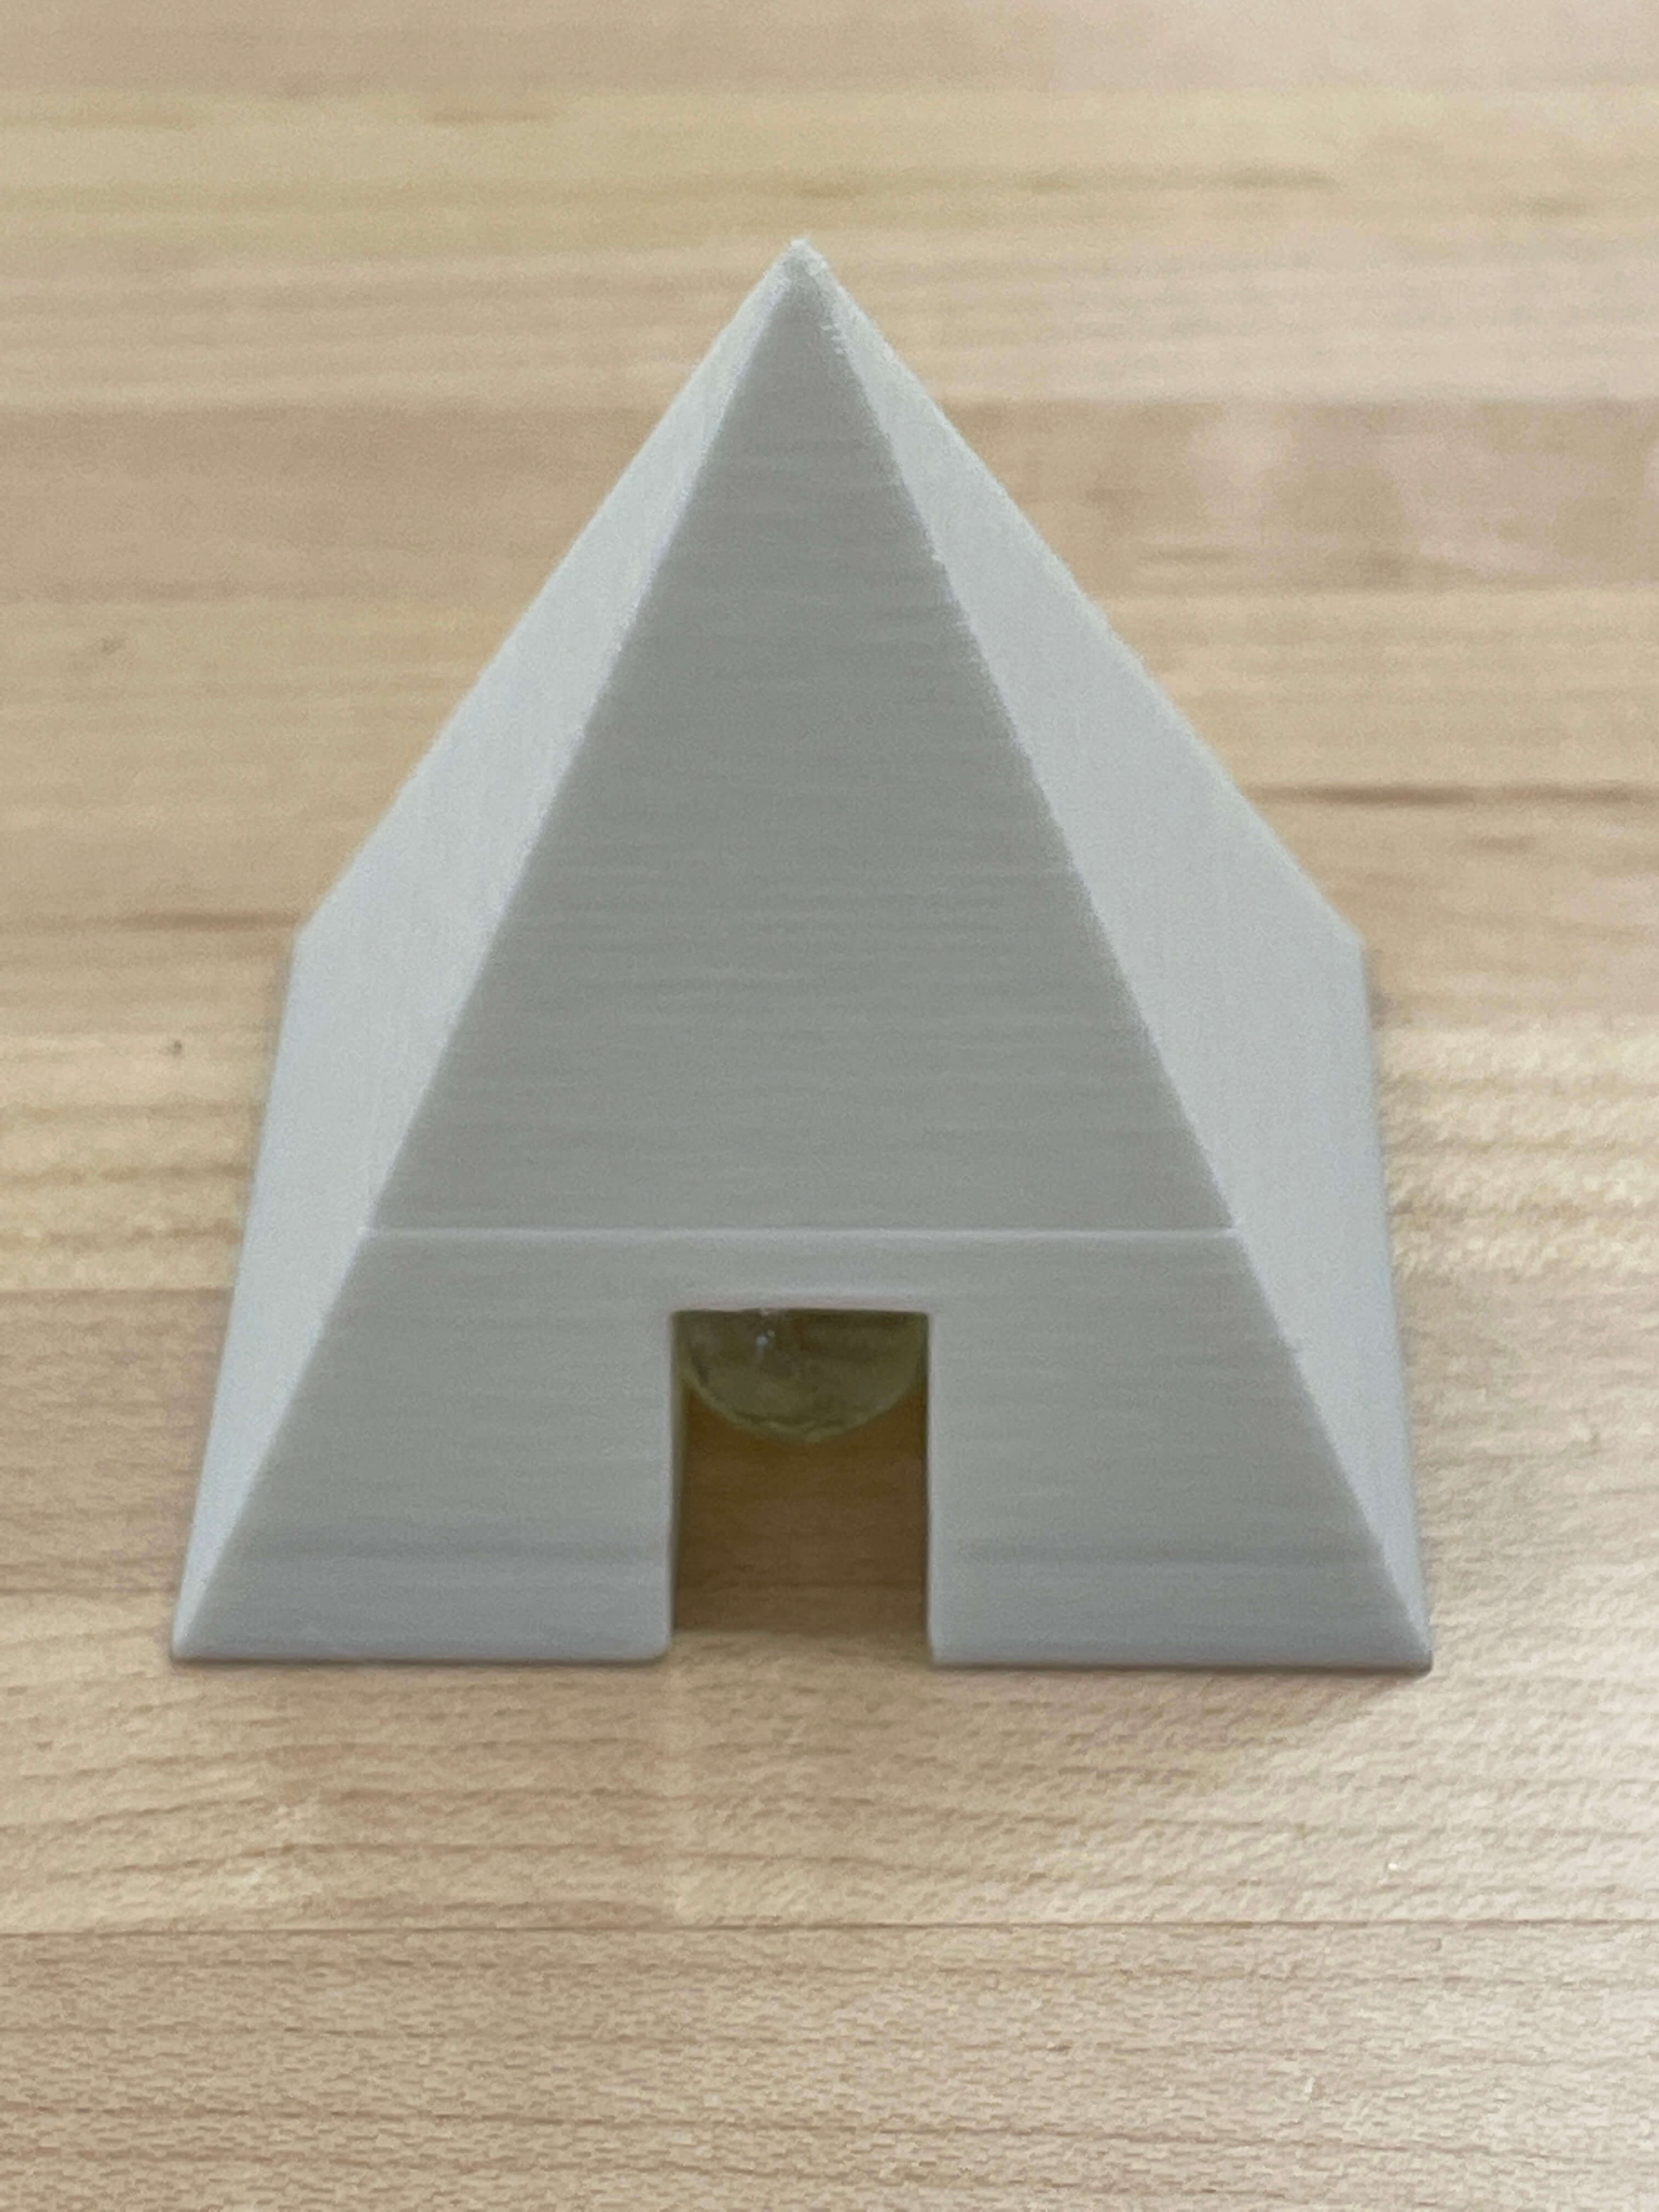
As you can see above the design was finsihed after all of other the steps. It also shows the marble inside the design explaining how the design had an hollowed inside.