Week_05: 3D Scanning and Printing
3D printing is a technology that has been around since the 80s, when it was patented but used only on industrial applications. Nowadays it's one of the most versatile means of digital fabrication, with smaller and more efficient desktop printers for a huge variety of materials, like flexible resins or tough plastics. There exist several types of 3D printing or Additive Manufacturing:
- Stereolitography: This process uses resins cured with UV light, projected through a screen, or laser, on a puddle of this resin, and becomes solid on the specific parts that are cured, this is repeated on each layer. There are different kinds of resins, like flexibles, castables for lost-wax processes and toughs that can be used for mold design and plastic injection.
- Fused Deposition Modeling: This is probably the most used method as the materials and machines are the cheapest and easiest to work with, it consist on a hot extruder that deposes the melted polymer layer by layer, until we have a 3D object.
- Selective Laser Sintering: This method is more advanced as one can use different polymers and even metal. It consist in tiny layers of dust particles that get fused together, or sintered, by a focused laser, the process is repeated layer by layer.
Characterization process
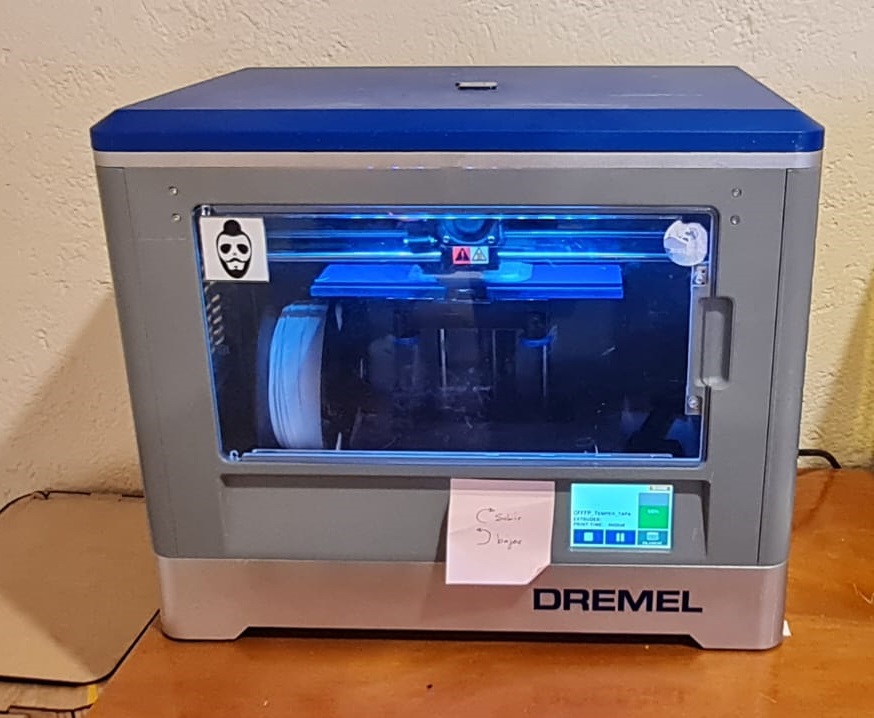
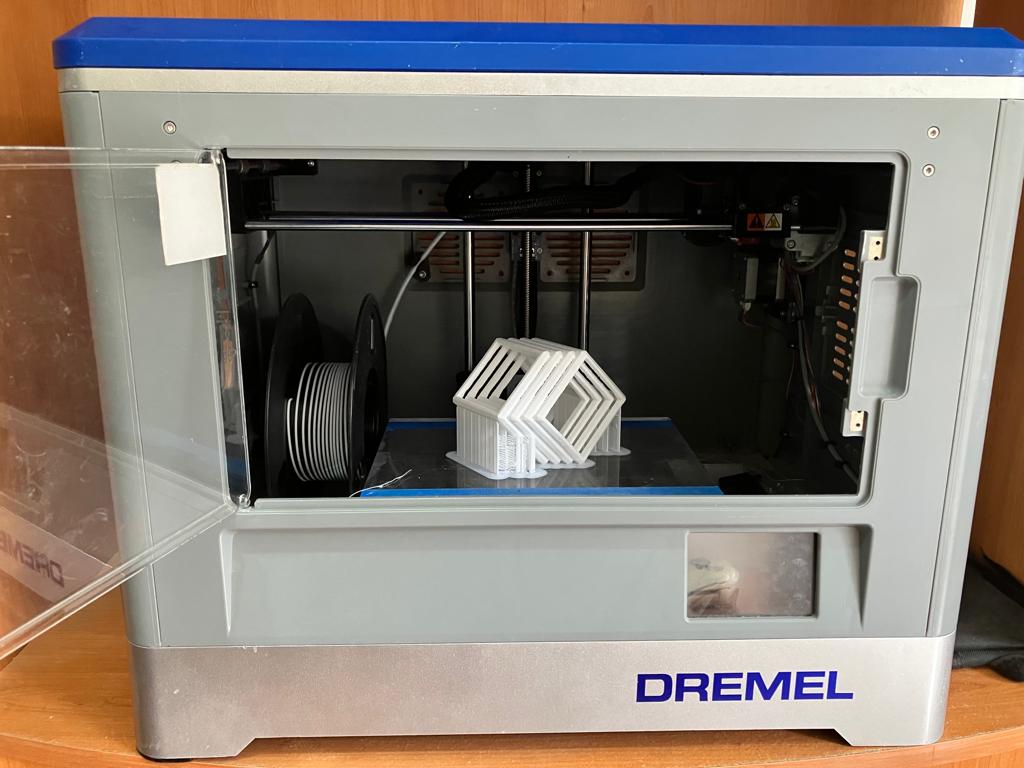
The 3D printers I have access to are:- Dremel 3D20 for FDM (filament)
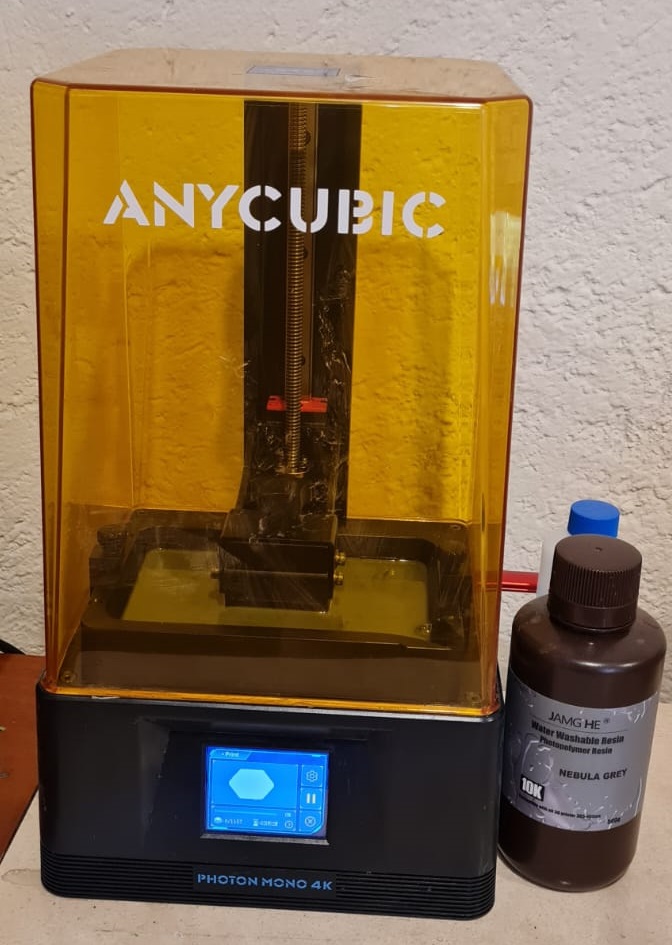
- Anycubic proton for SLA (resin)
This two machines work on different principles as stated before, and we can check a comparison of both advantajes and disadvantajes:
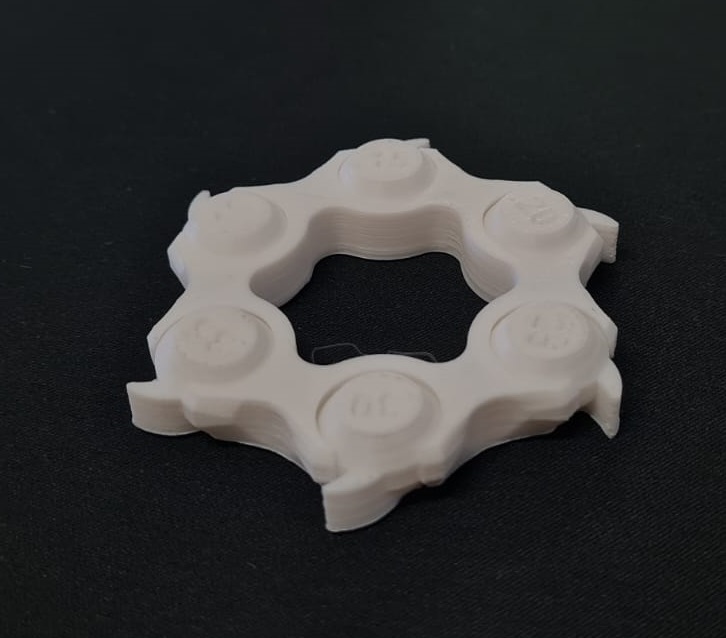
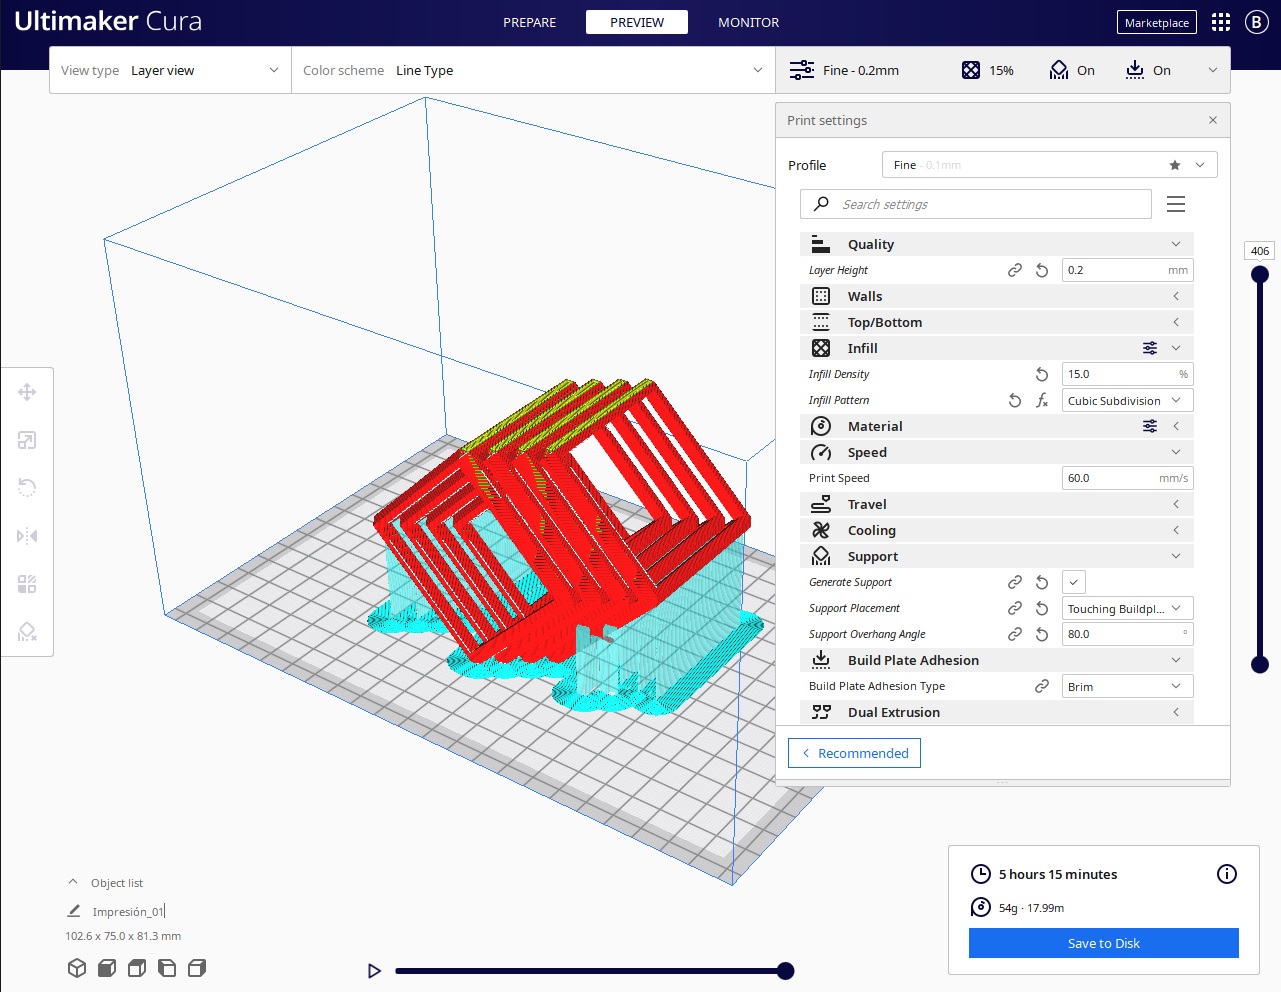
- FDM (Dremel 3D20 Filament printier): It is versatile as it has a direct extruder and can print with different materials, like flexible or tough ones, also it's highest temperature can reach the 250°C. Unfortunately it doesn't have a heated printer bed, so most of the time the material can warp and detach during the print. The maximum speed of this printer, without any errors is around 80 mm/s, which nowadays is very slow in comparison to the newest machines. The software from Dremel is very similar to Ultimaker Cura so it wasn't very difficult to "design" a propper profile for Cura and print precisely. From the tests one can determine that the maximum overhang angle to print without any supports is 45°, and the longest bridge without any supports is about 20mm. Also with the turning pieces i found that the difference between the piece and the socket must be larger than .1mm as it got stuck and couldn't take it appart for it to move, all of the others (.15mm, .20mm, .25mm, .30mm and .35mm difference) could move freely and without much friction.
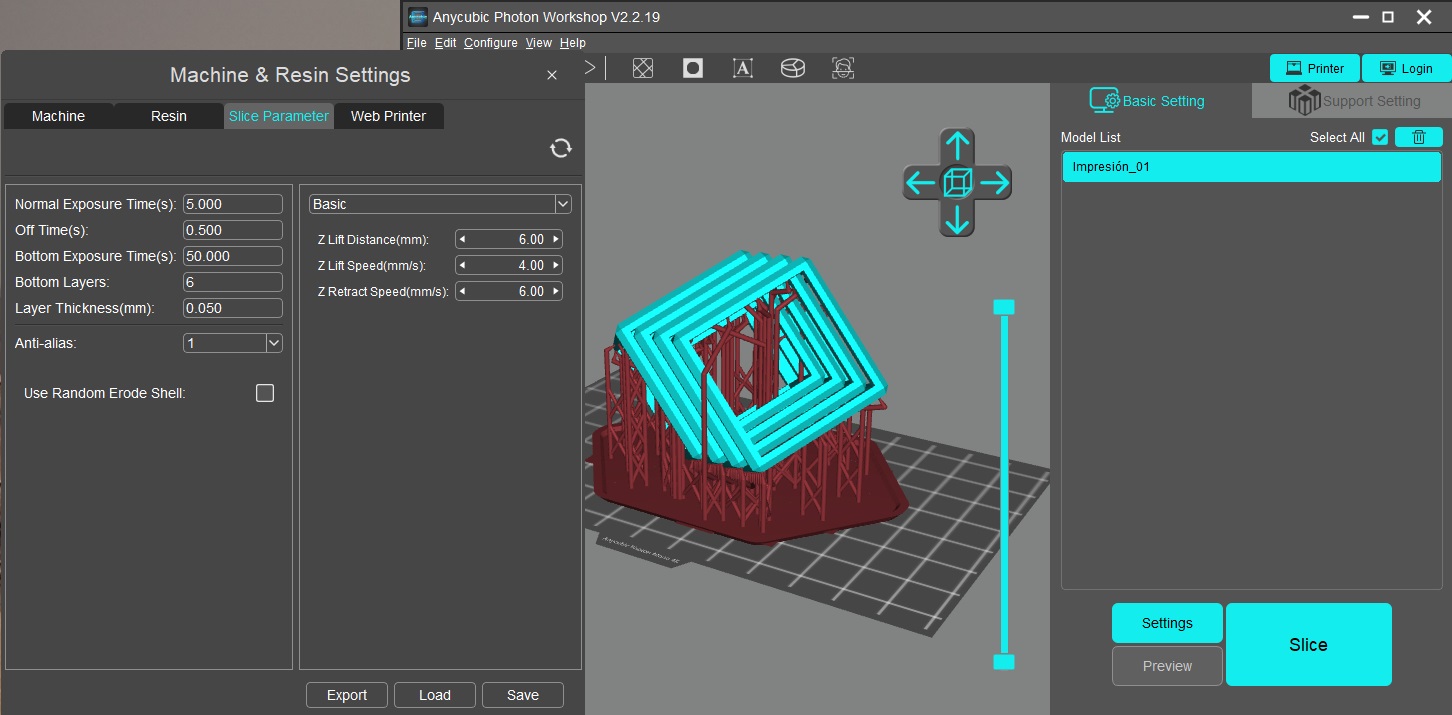
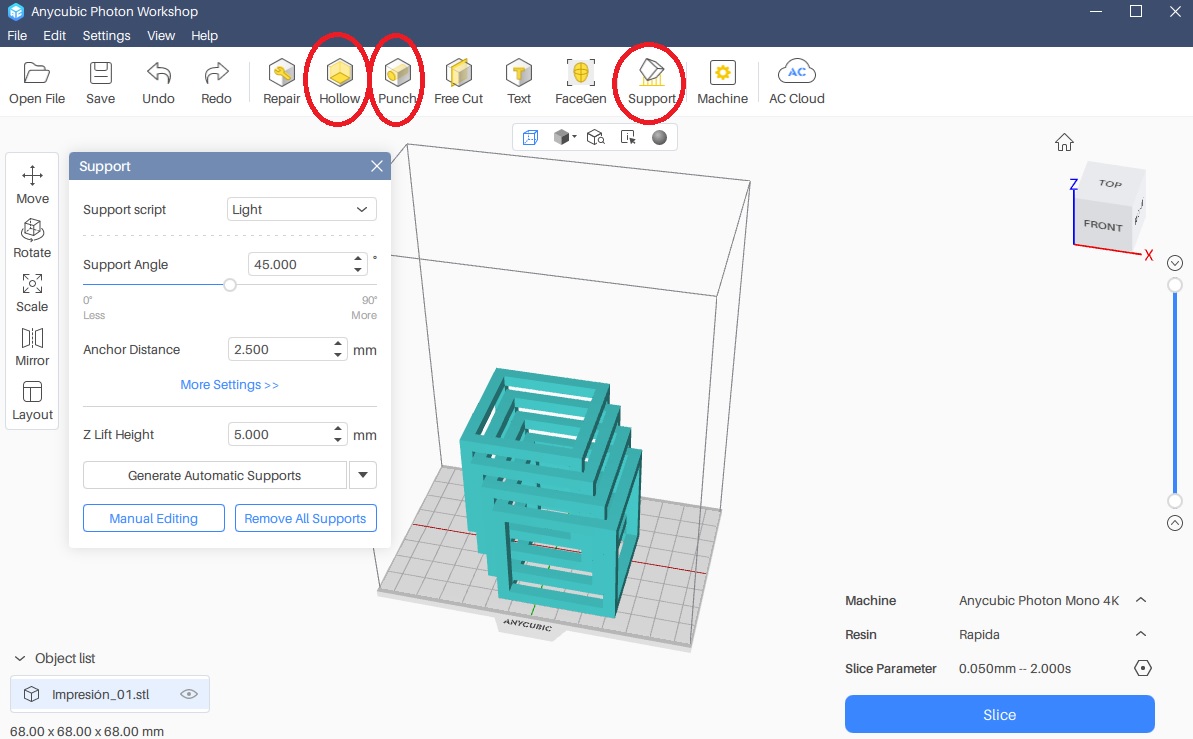
- STL (Anycubic Photon resin printer): This is one of the most advanced technique in additive manufacturing, as it uses a LCD display to catalyze the resin on specific points. It has very high resolution but one of the limitations is the very small printing bed. For starters this is a very powerful machine, but for a more professional workspace perhaps is not the best option. The slicer software is called Anycubic Photon Workshop and it recently had a major update, which made it very user-friendly, very powerful and fast. Beforehand it took the software around 10 minutes to slice a detailed piece, but with the update it takes it around 2 minutes for the same piece. From the test we can deduce that the minimum exposition time for the base layers is around ~50 seconds, but it depends entirely on the resin, for example I recently got a high-speed resin which has a 1 second exposure time for the base layers. The higher the time on exposes the resin, the thicker it will become, so it's important to know the minimums and maximums for every resin so it doesn't become a problem. Also the dimensional tolerances are minimum, since the model is very precise and the piece itself has the same measurements.
- The resin I used is Jamg He Water Washable Resin with resolution of 385-405nm but let's keep in mind that these kind of resins are very toxic, and not safe to be handled without gloves and even a respiratory protection mask, because the smell is very strong and almost unbearable. It is not recommended to be around when printing, and the printer must be on a well ventilated area. On this link is the datasheet for this particular resin and the manufacturers website.
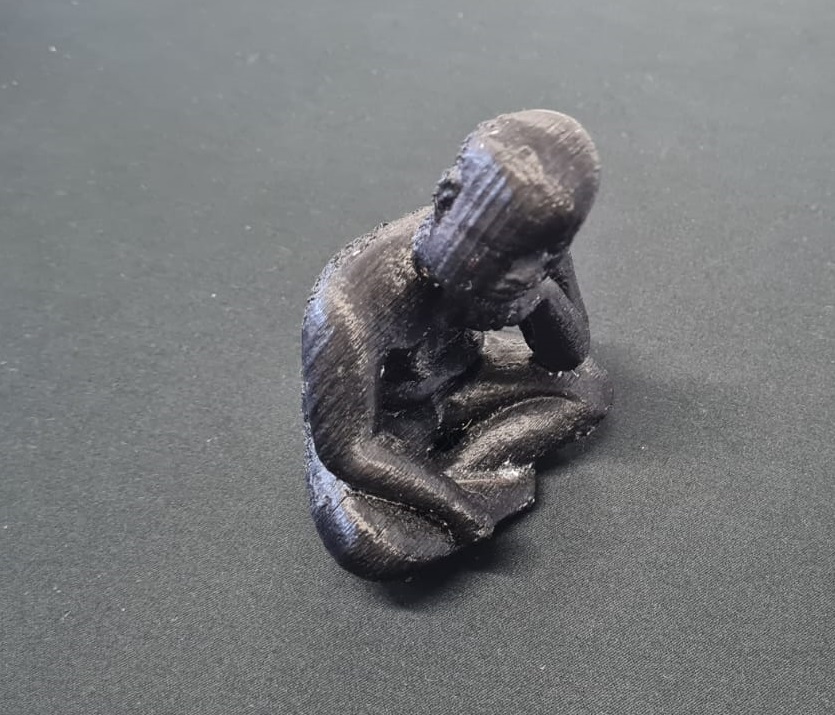
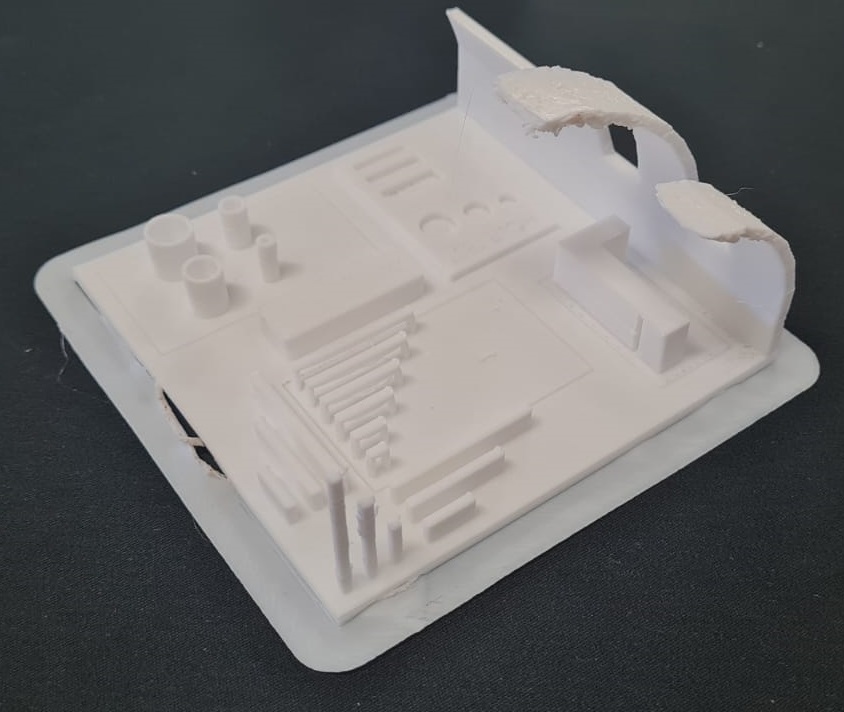
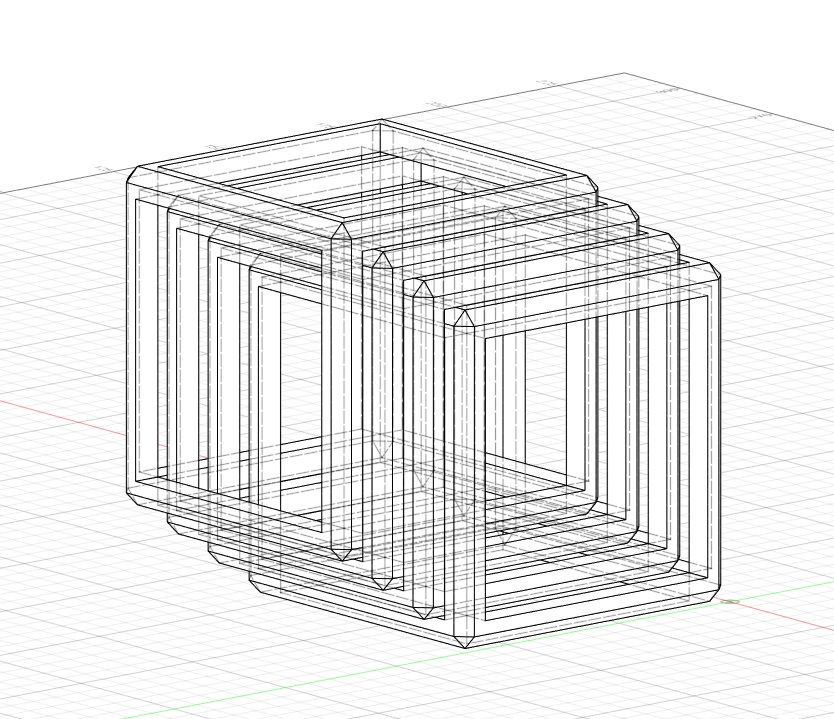
I then designed and printed this part that can only be produced with additive manufacturing. The parameters I used are described below: And finally ended up with gorgeous sculptures.
The Dremel 3D20 has been a very powerful (but slow) tool as I have used it for more than 5 years and I have yet to encounter issues with printing quality. It is a bit outdated since it doesn't have a hotbed, but still I have printed several materials like PETG, PLA, ABS with it.
The AnycubicPhoton Workshop slicer interface is very intuitive as most of the important information can be found on the start screen, such as the support generation, the hollowing of the piece and drainage hole.
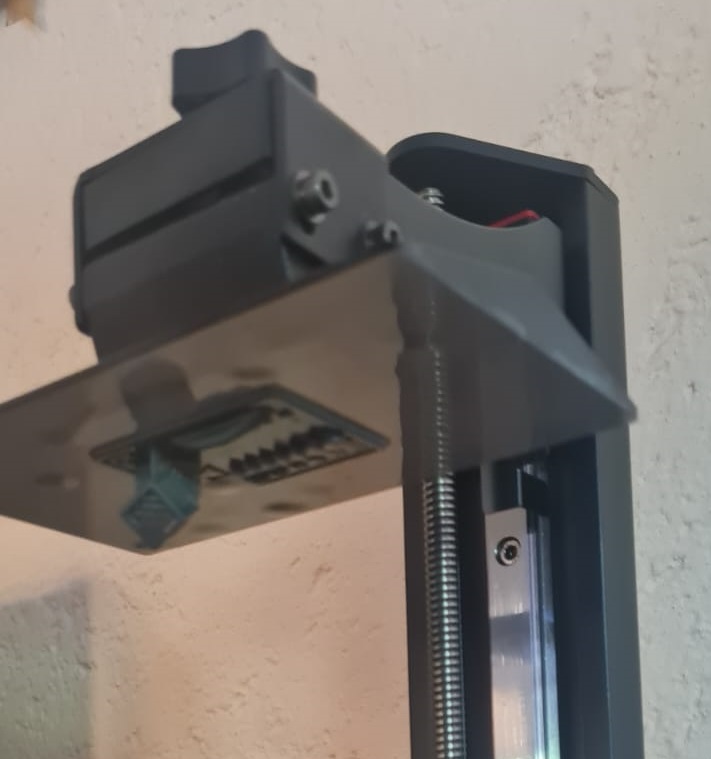
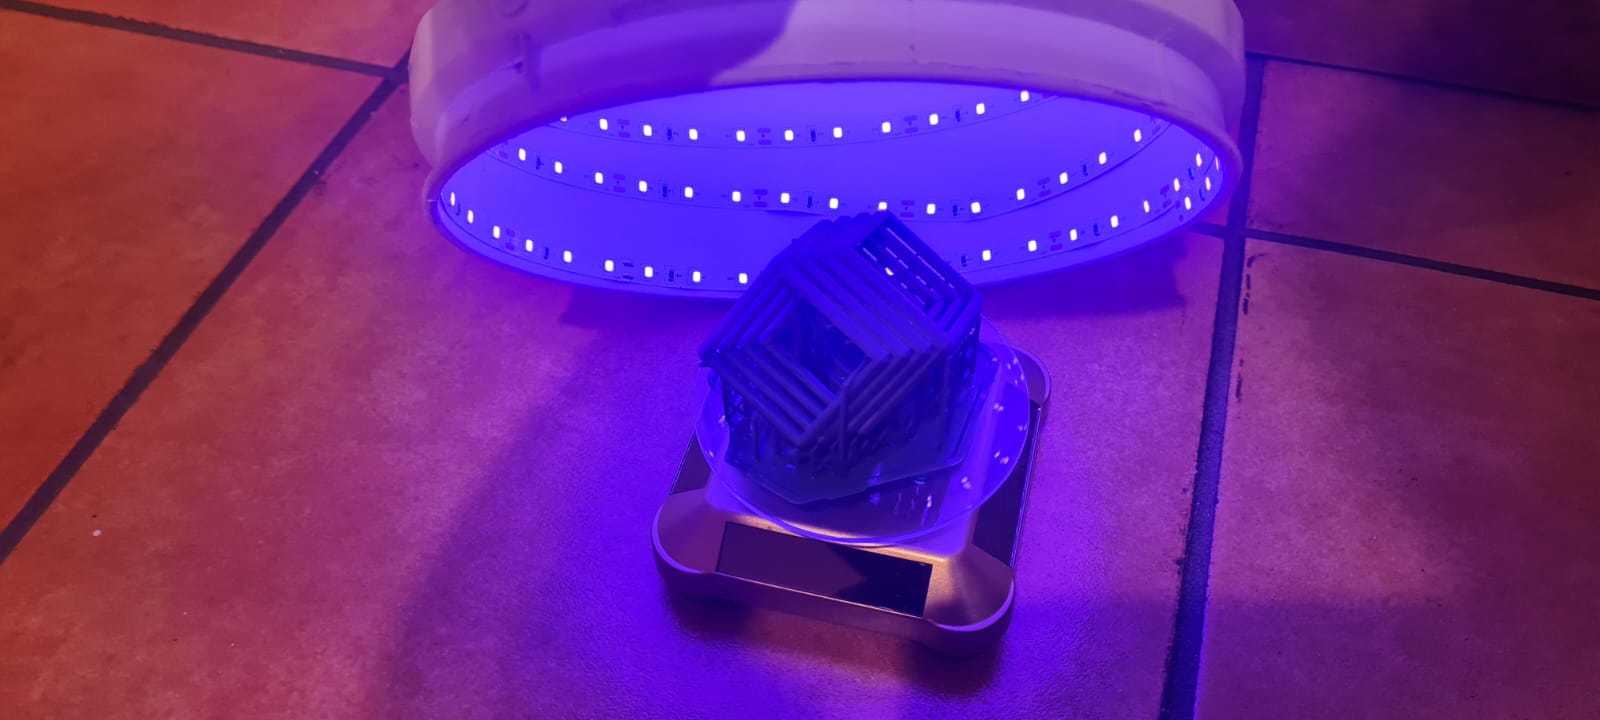
Also for the post-curing process of the resin print, i had to improvise a curing station with a bucket, a solar powered turntable and a UV LED strip.
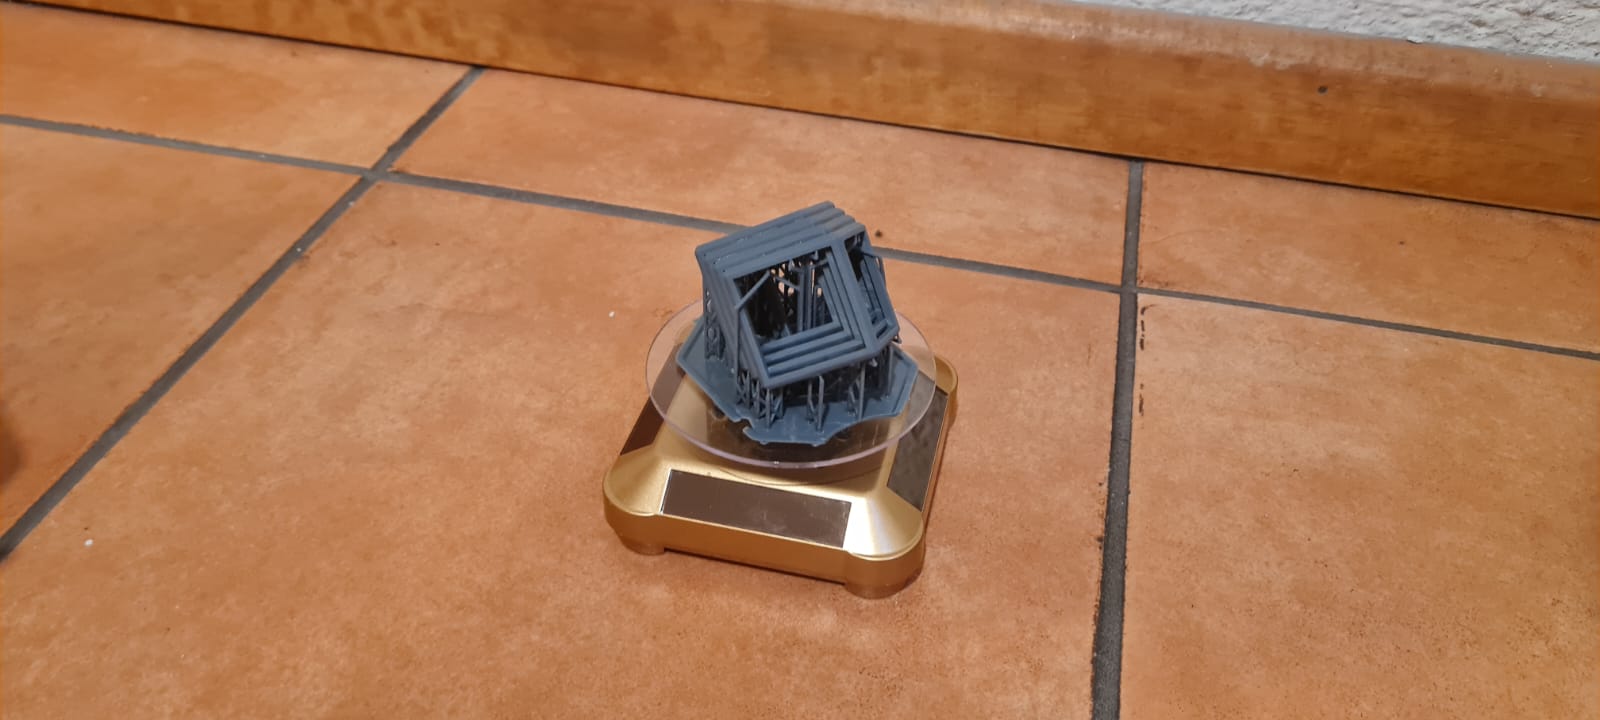
This method of fabrication is very versatile, because this kind of pieces can't be created using sustractive methods, meaning, that building something from zero using additive methods can give us a lot of opportunities for creating new objects. For example, the linked cubes sculpture would be very hard, if not impossible to cut using CNC machines as the pieces have intrincate geometry and are very close between each other.
The final print of the Dremel 3D20 didn't go as well as I had planned, because the supports were very difficult to remove. However I have found some information about the support geometry in which one can make it as minimal as possible, I will try it again soon.
3D Scanning
3D Scanning has also evolved to become almost public access, as some Iphones have Lidar technology, which can be used as a very precise 3D Scanner (1-2% according to the manufacturer). There are several kinds of 3D scanners like:- Photogrametry: This kind of software uses photos taken with any camera (the better the sensor, the better the 3D model) in various perspectives and compiles them to create a 3D Model with it's texture maps. For example Autodesk ReCap, or Reality Capture.
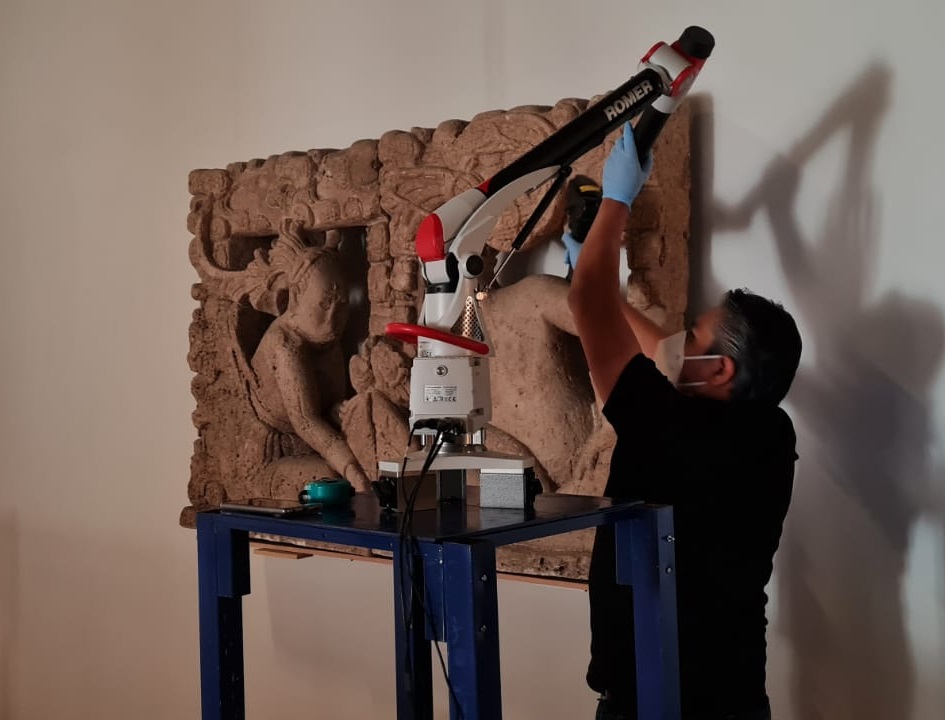
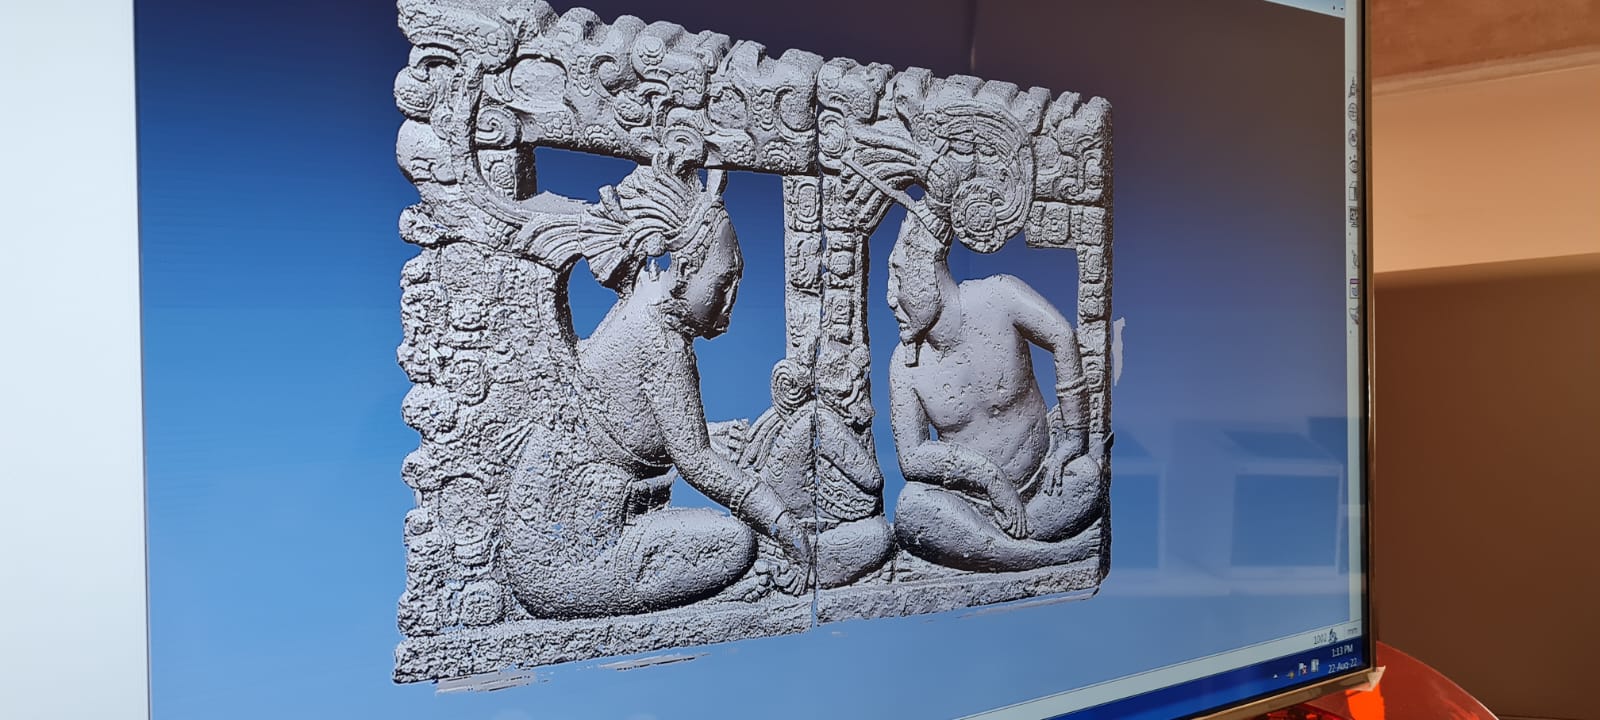
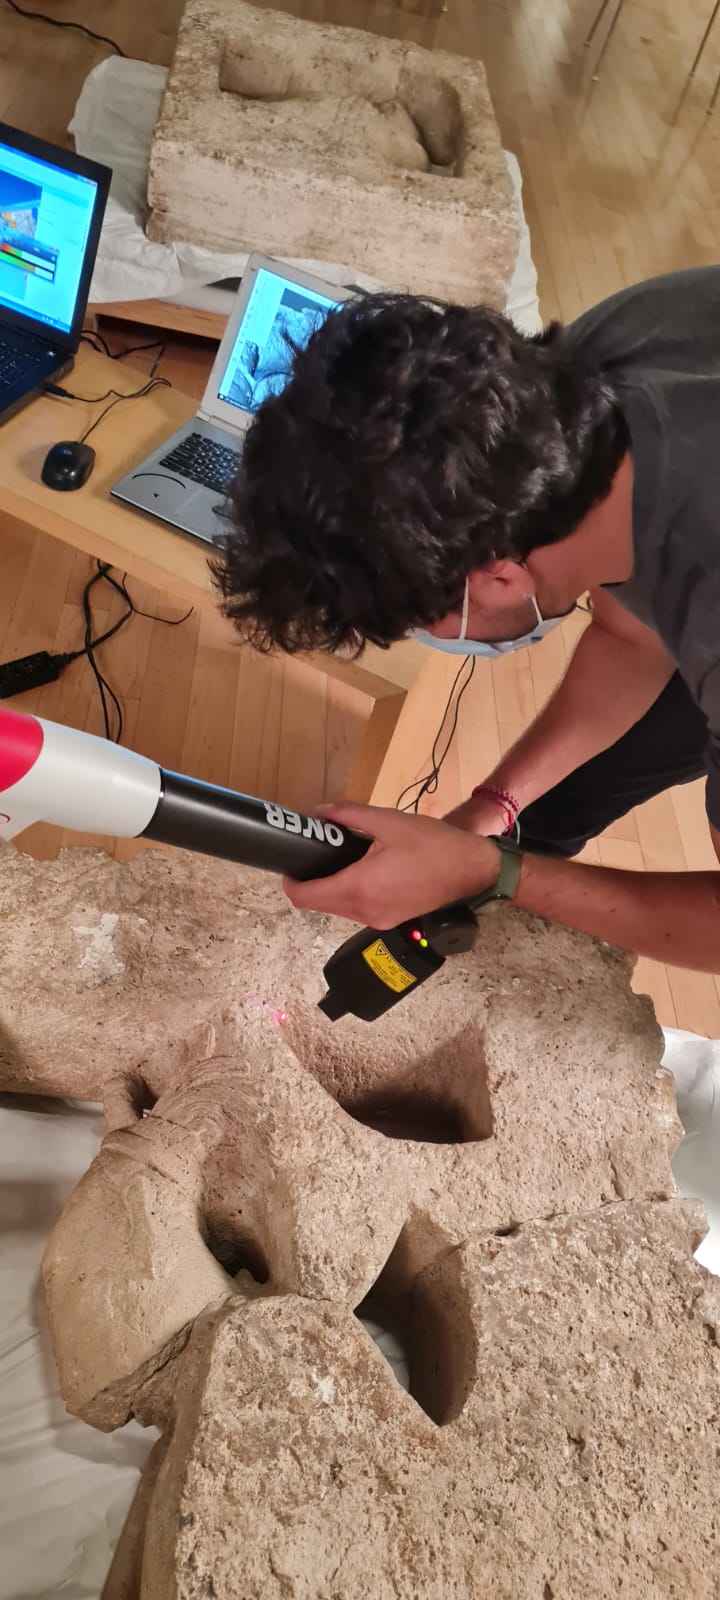
- Laser Scanners: It uses a scattering laser to determine the (X, Y, Z) position of every point and then generates a poin-cloud, which then can be converted to a mesh or solid for reproduction, analysis or modification. For example Romer Absolute Arm
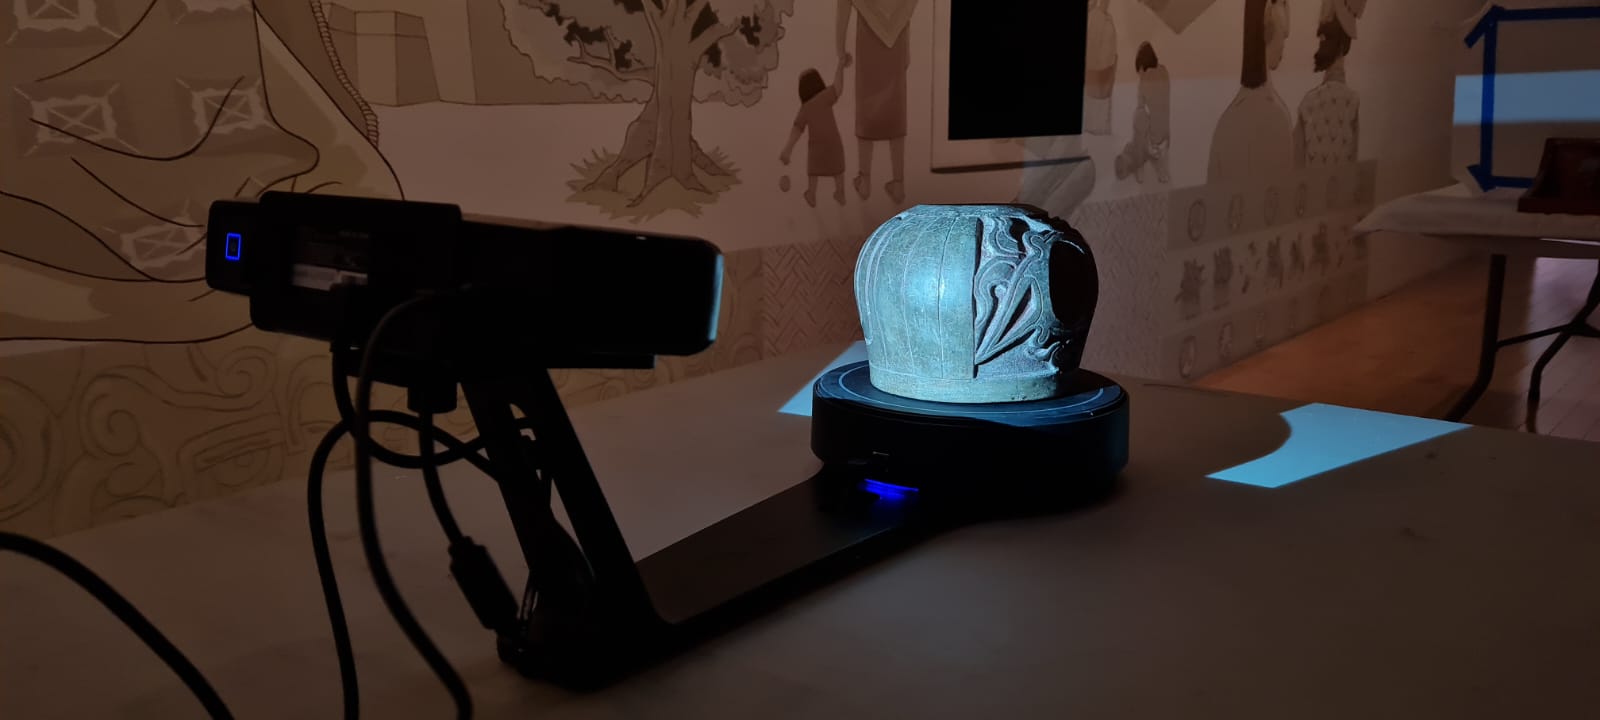
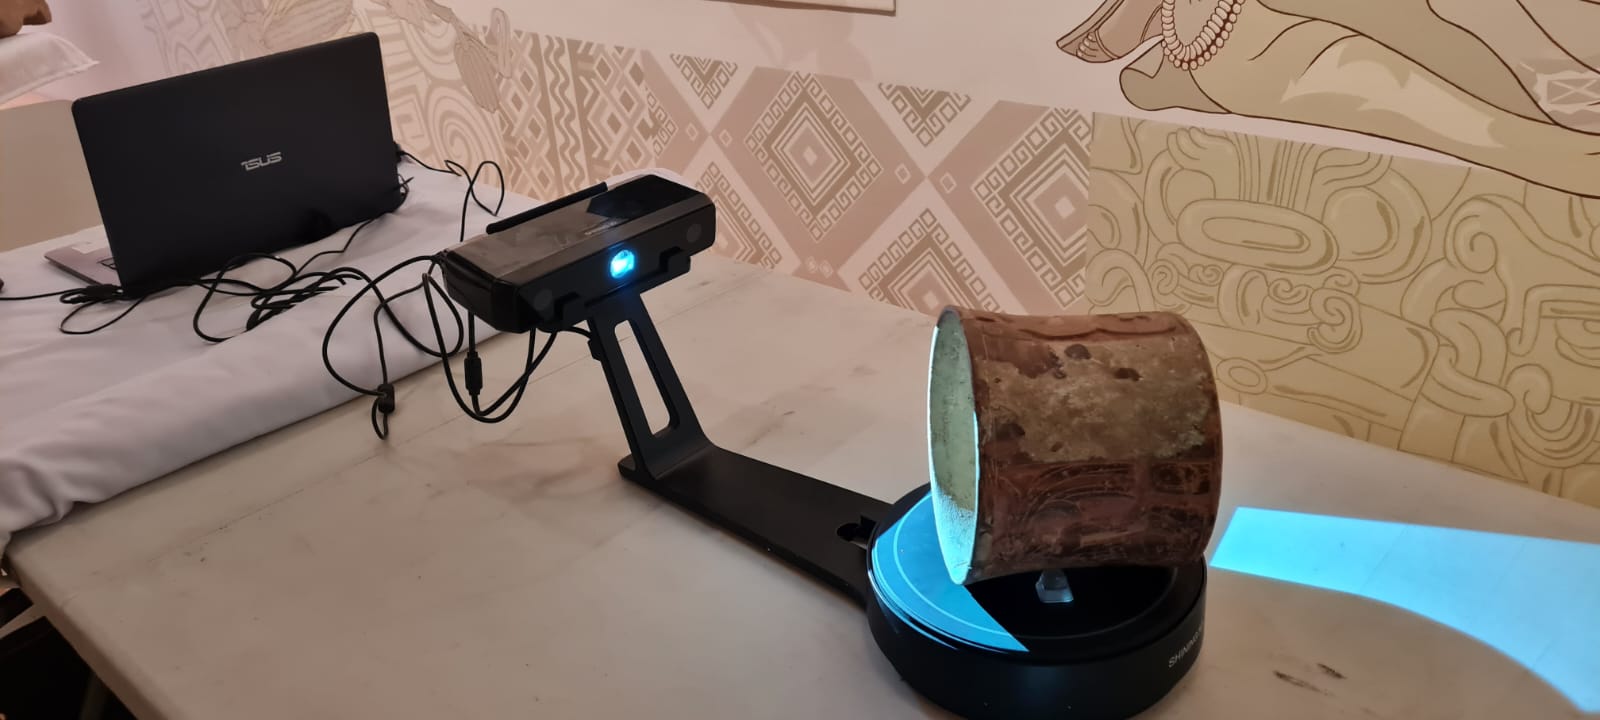
- Structured Light Scanners: This kind of scanners use laser projectors and cameras to determine the surface, shapes, and dimensions of the scanned object, which then can be translated to meshes for post-production, reproduction, modification or analysis. For example the EinScan-SEdesktop scanner
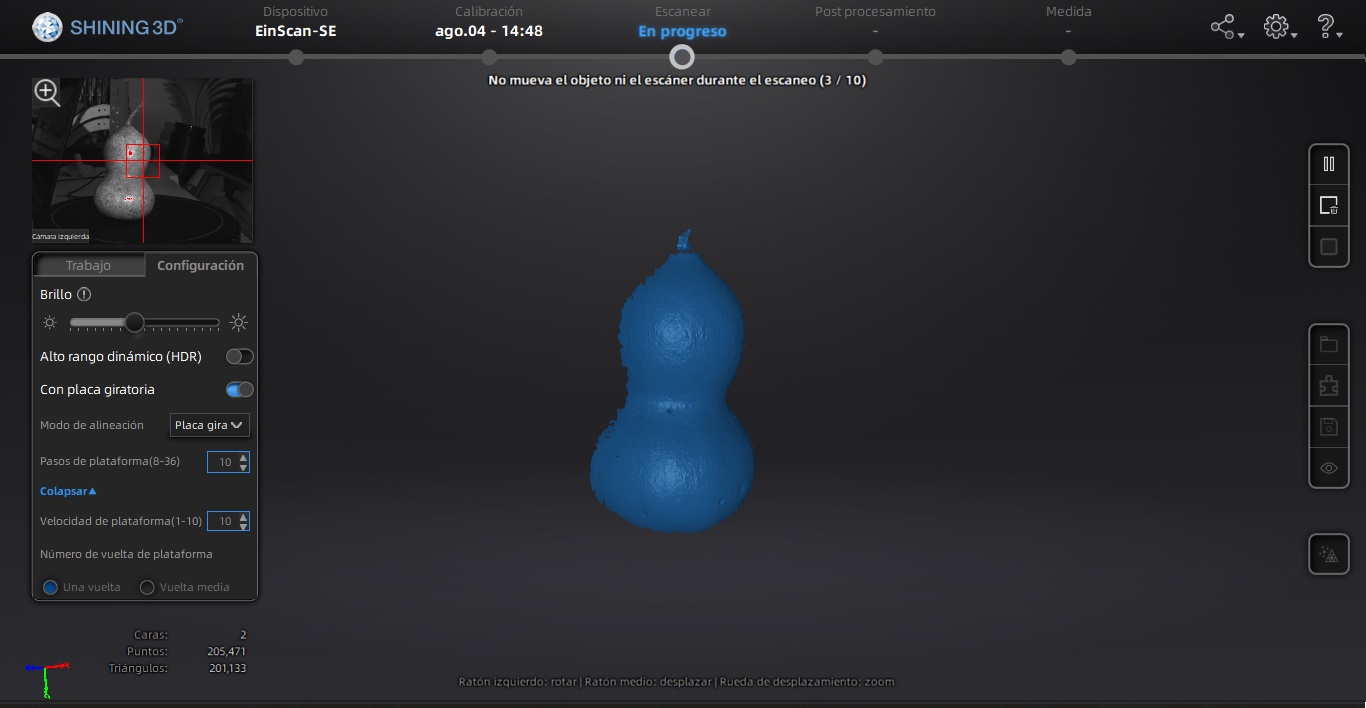
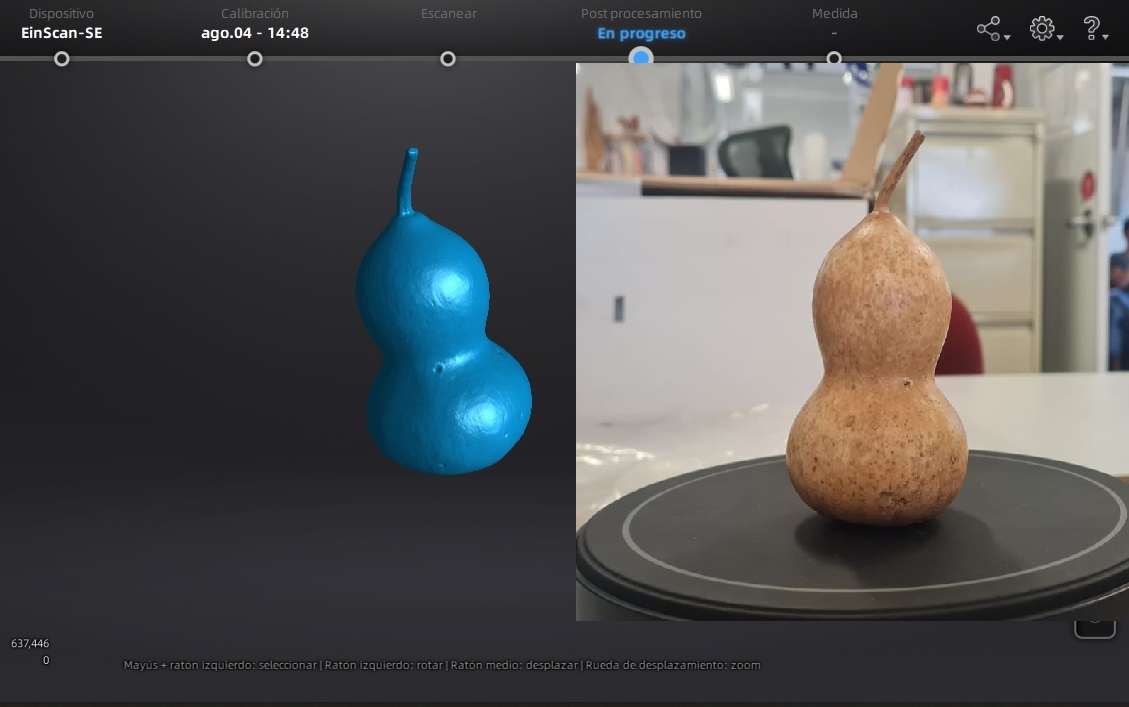
EinScan-SE
The software is very user-friendly as much of the process is done by the machine itself, one has to program the correct parameters for the scan to be precise. I included the parameters used for this particular model.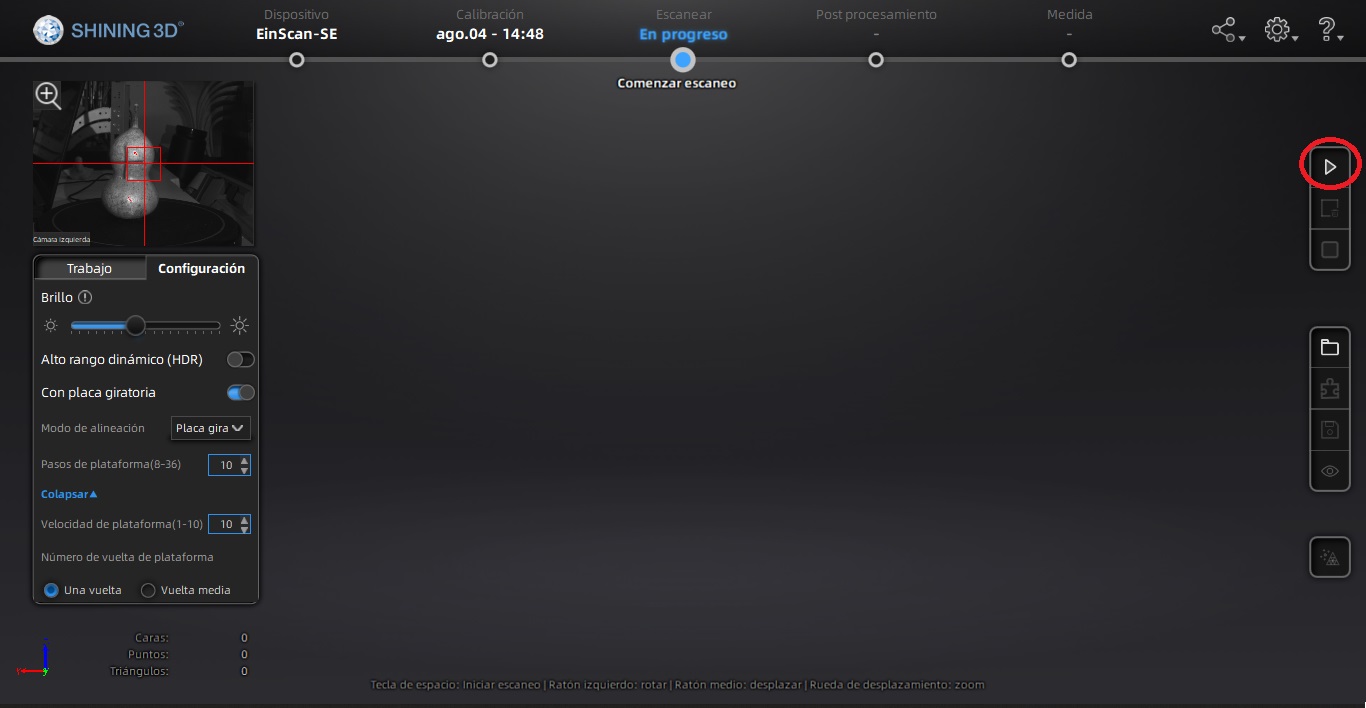
Extras
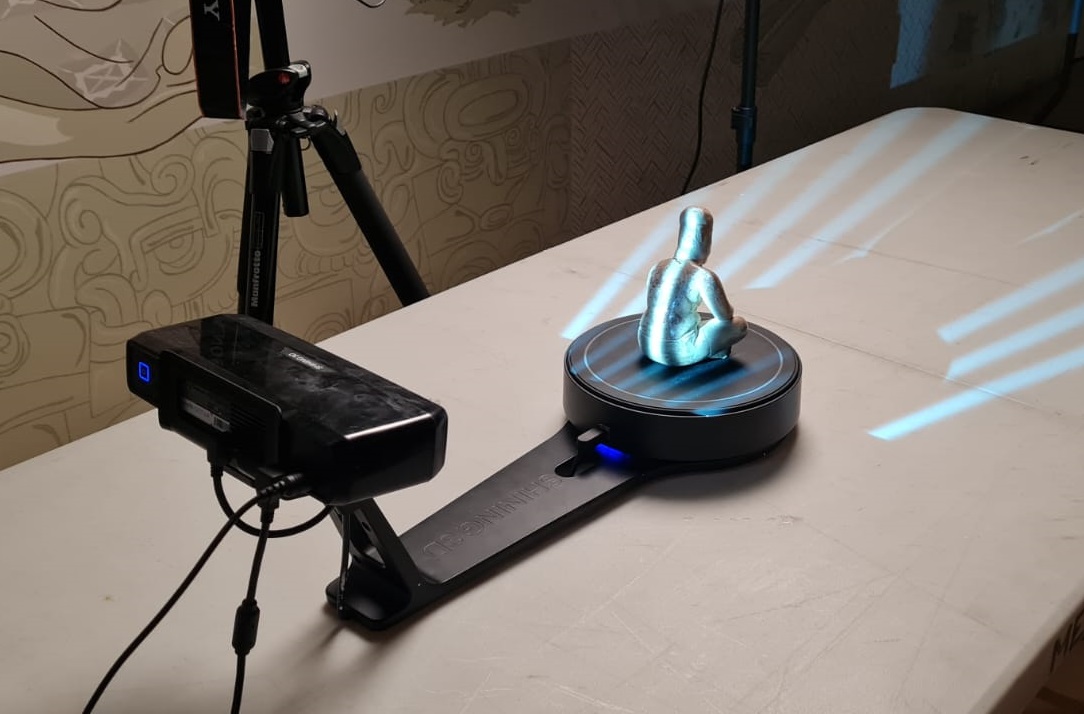
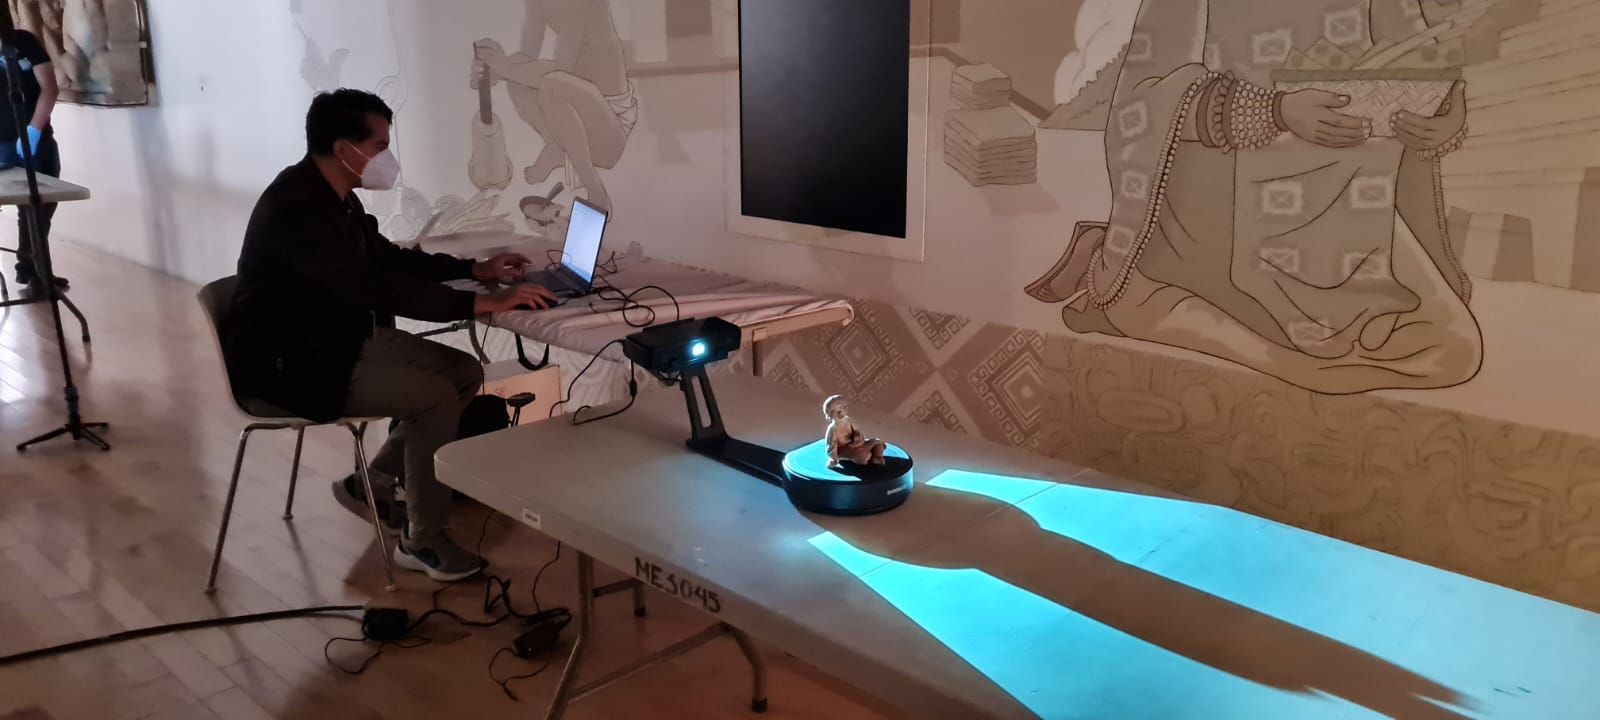
Here at the FabLab we had the chance to work together with Museo Amparo, a regional museum in Puebla City, in which we scanned 5 prehispanic clay sculptures with the EinScan-SE Scanner, and a full-size mayan throne with the Romer Laser Scanner, to have 3D printed reproductions and digital twins of the original pieces. It is meant to produce an exhibition for vision-impaired people, as the pieces can be touched by visitors. Special thanks to Aristarco Cortés, Franco Robredo, Ramiro Gutiérrez, Sergio "Search", Zeus Torres and all of the Museo Amparo team that made this project possible.