CHECK LIST
Group assignment
- Test the design rules for your printer(s)
DESIGN PRINCIPLES
Ismael found this interesting link with the design principles. Very important
to understand and keep in mind.
 See the image .
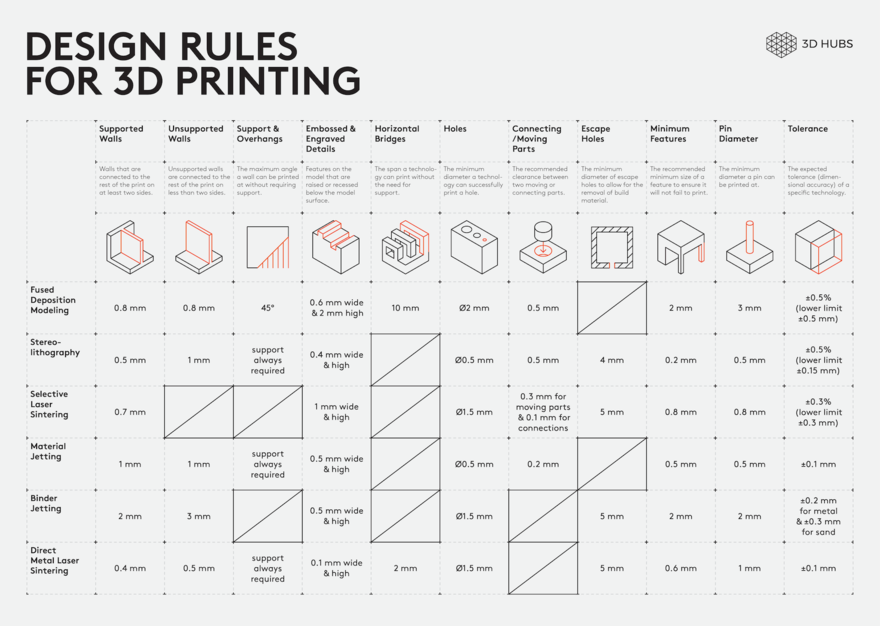
This table summarizes the different design rules for each additive technology as long explained on this page. This image was taken from Robin Brockotter blog.
PRUSA AND ULTIMAKER IN THE LAB
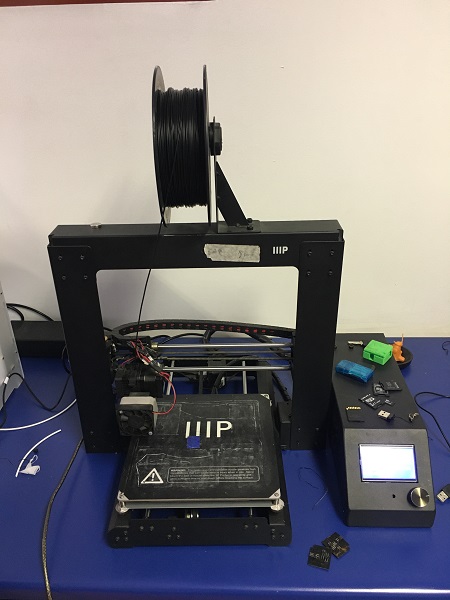
Prusa
- Bed dimensions (25 x 21 x 21 cm or 9,84 x 8,3 x 8,3 in) (X×Y×Z)
- 0.4mm nozzle
- Layer height from 0.05 mm
- Manual bed leveling
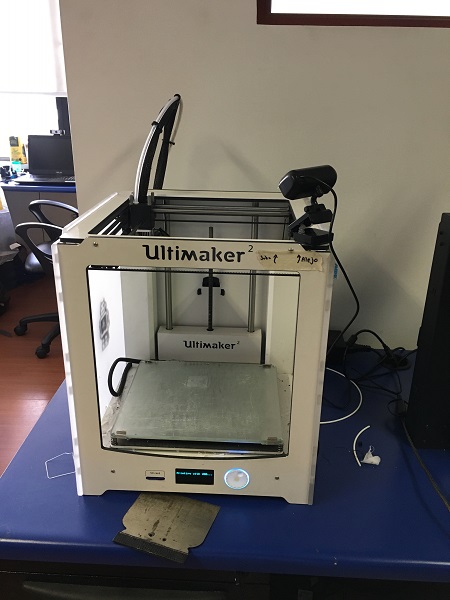
Ultimaker 2
- Max printing dimensions 230 x 205 x 225mm
- 0.4mm nozzle
- Layer height 20µm
- Printing speed 300mm/s
3D Printing basic workflow
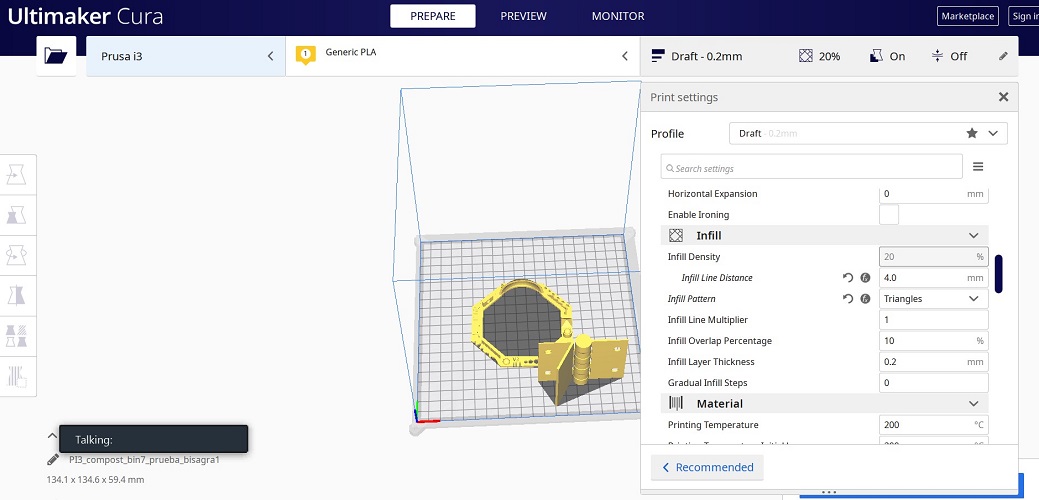
- Prepare your 3D model, you should consider the design principles as well as your printers capabilities and limitations.
- Use a slicer program (it prepares your object as layers for your pinter), be sure to use your printers model and proper settings depending on the material and printer.
- Set if you need supports, Note: the placement of the piece and orientation while printing can change the physical properties of your model.
- If your printer require, use some glue to ensure bed adherence.
- Make sure your printer has the right material loaded and is ready to print.
- Send the file generated by the slicer, usually G-code.
- Check you print start without any problem (first layers).
- Enjoy your print!
Remote 3D Printing workflow
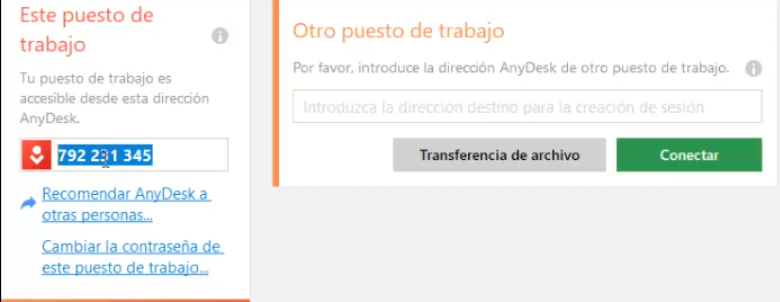
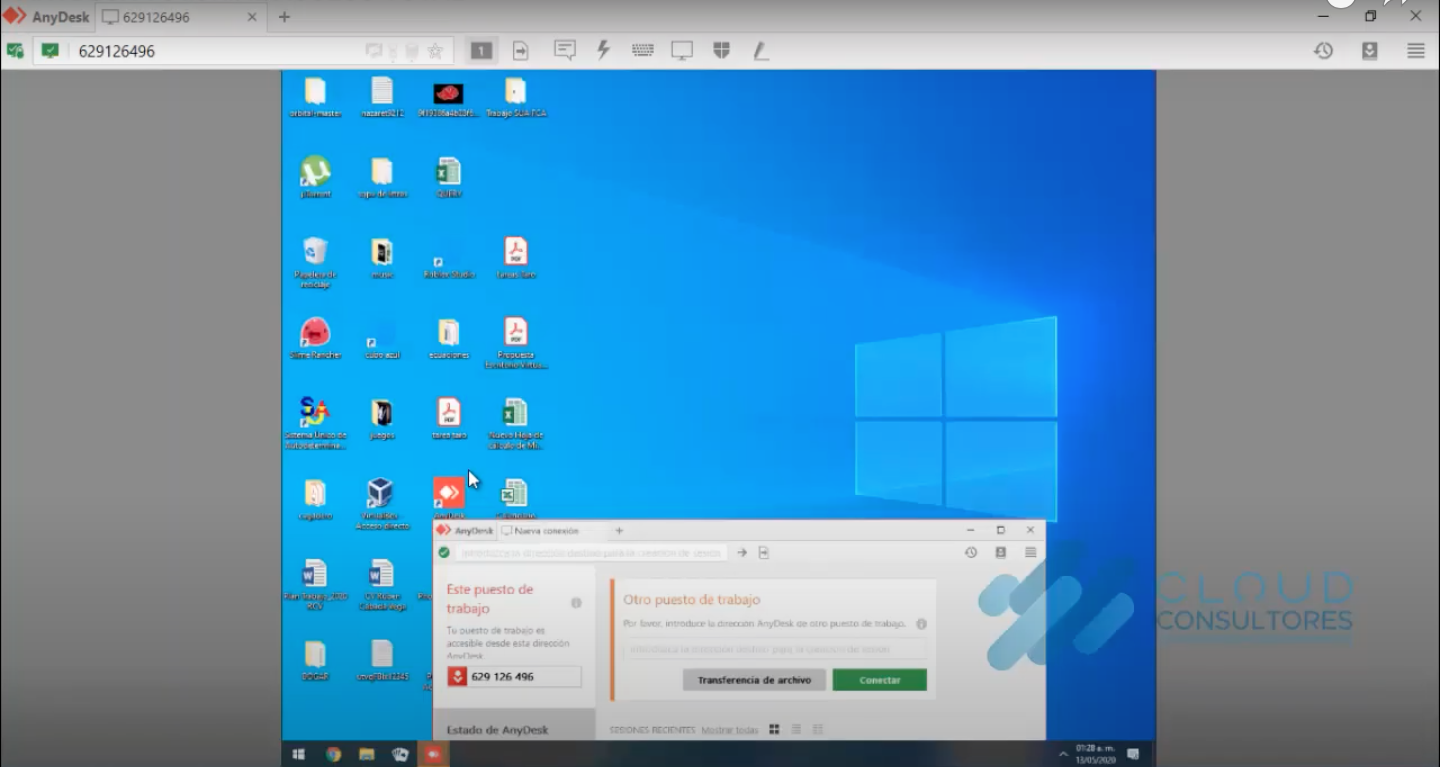
In Fab LAb ZOI the computers have AnyDesk installed. With this Software is very easy to have remote access to any machine and it's copatible with Windows, Linux, macOS and more operating systems.
- Someone in the lab have to know you will use the computer and 3D printing machine remotely there are some possible actions we can't perform remotely as cleanig the bed and prepare the machine, check if material is enough for printing.
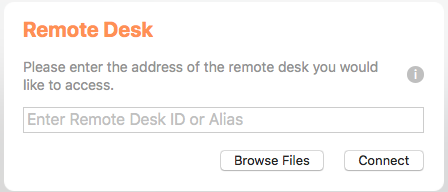
- Once AnyDesk is open you enter the adress assigned for the computer you want to access
- Then you have the complete control in the other computer, in this case the one which is connected to Prusa i3 or Ultimaker 2
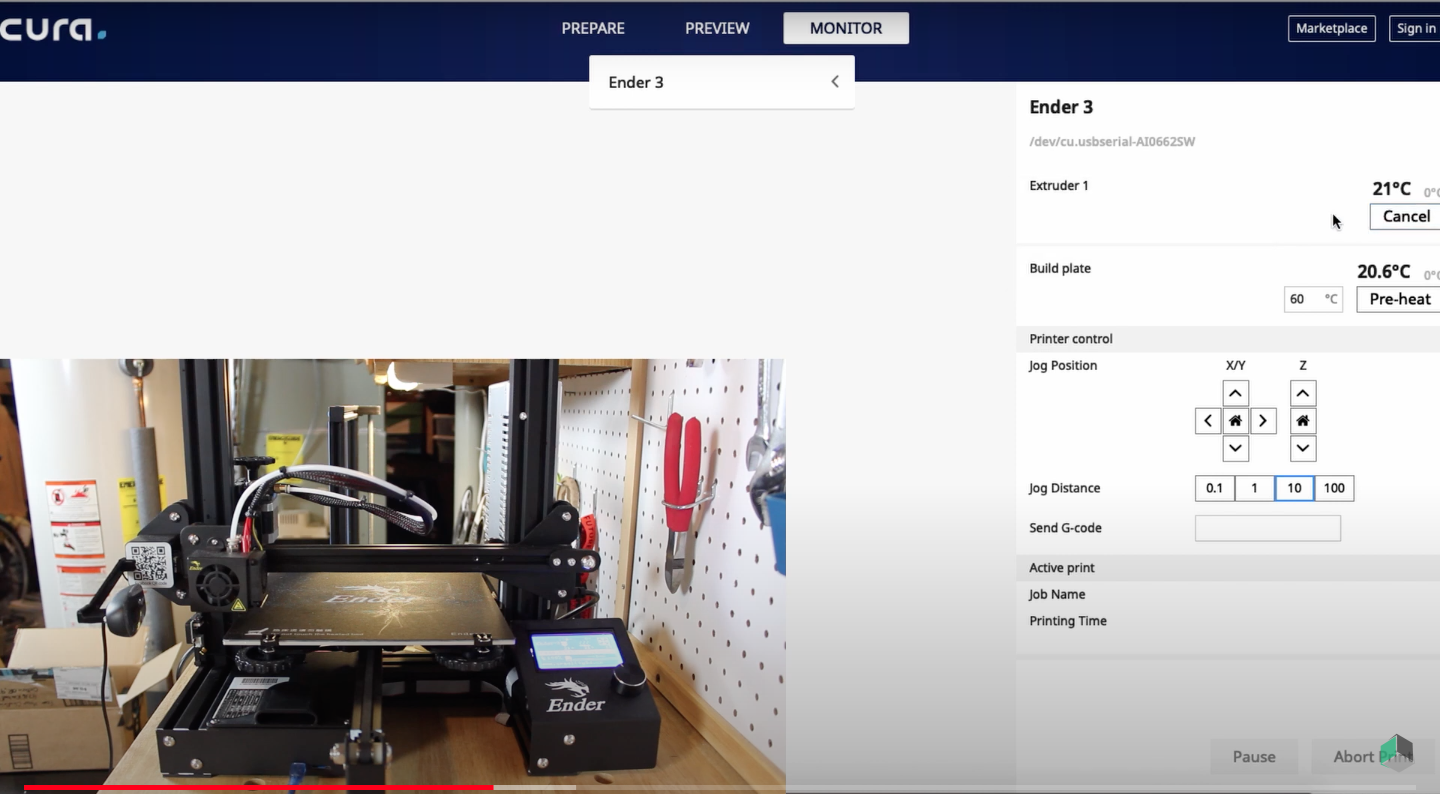
- This computer have a webcam installed so you can see the machine bed it's empty and ready.
- Open Ultimaker Cura and print using USB conexion
- We didn't took screen shots so the image above it's from a video tutorial of how to print using USB with Ultimaker Cura. You can find it here!
- Enjoy your print
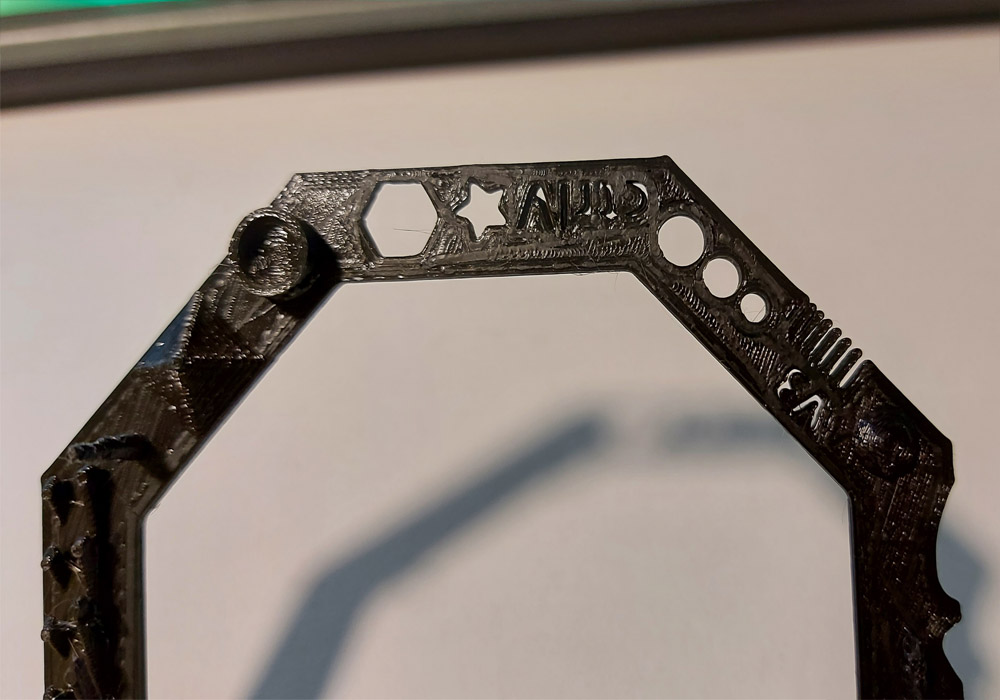
Stress test a 3D printer!
I found a useful print that will test some parameters and enable us to test the design rules that we should follow to print on each machine.
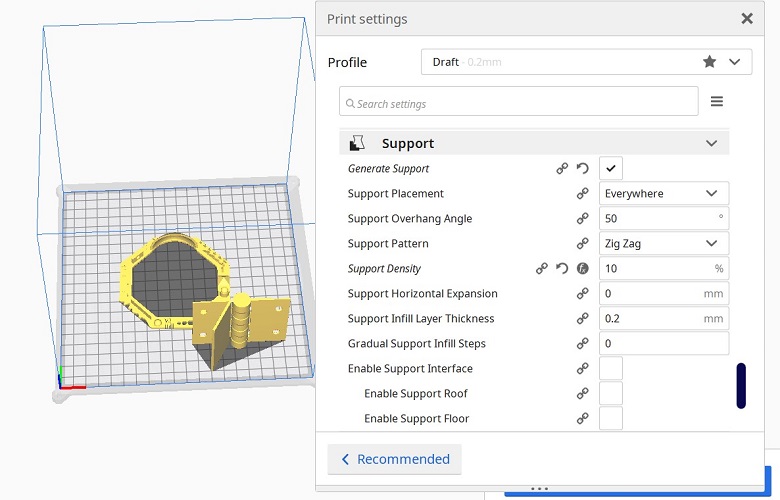
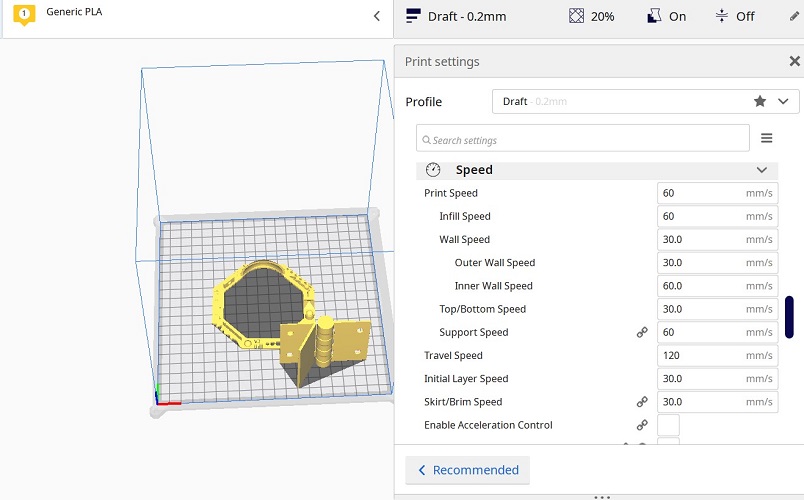
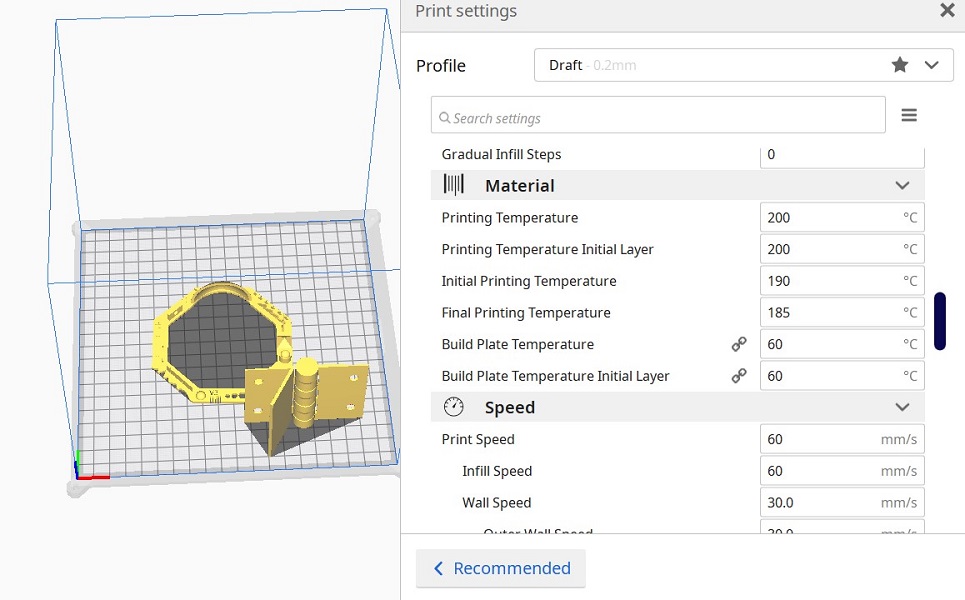
See it on thingiverse!PARAMETERS USED
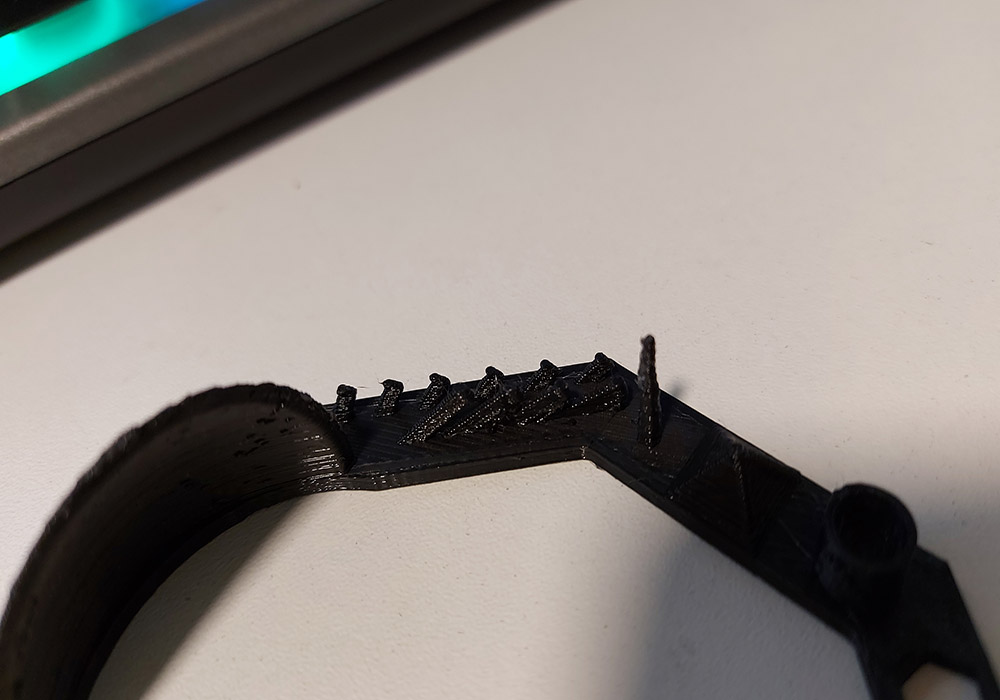
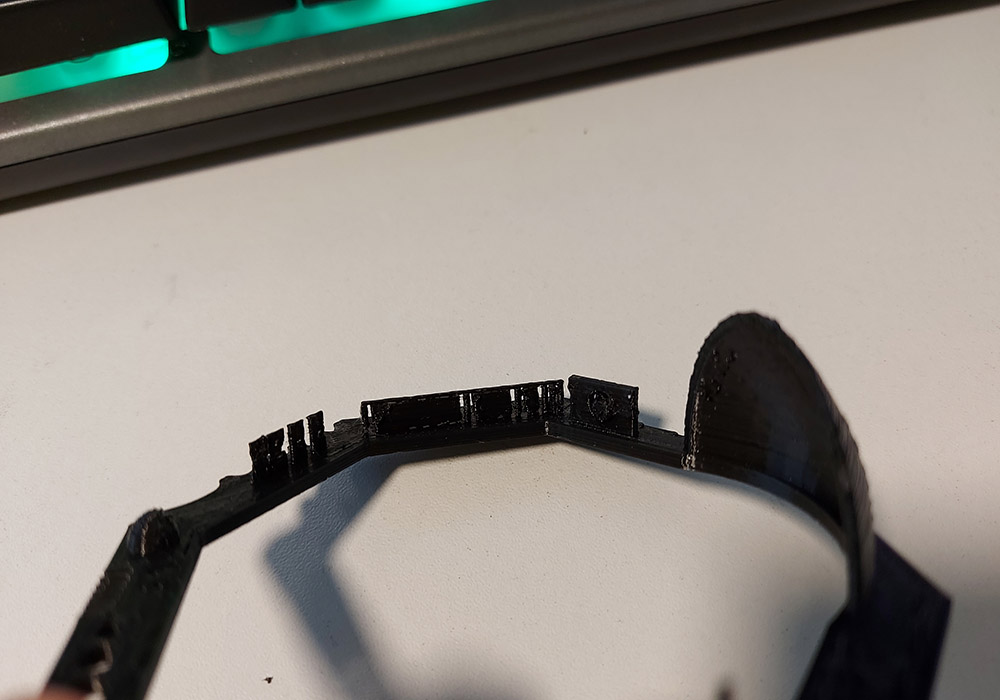
FINAL RESULT
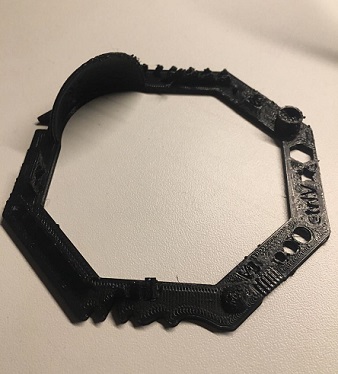
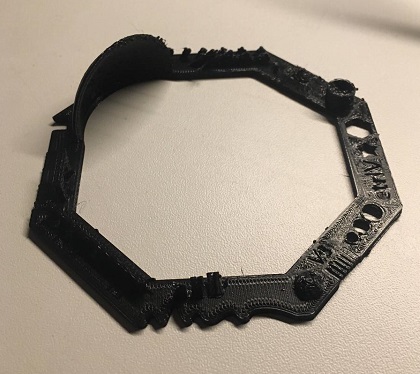
Analisis
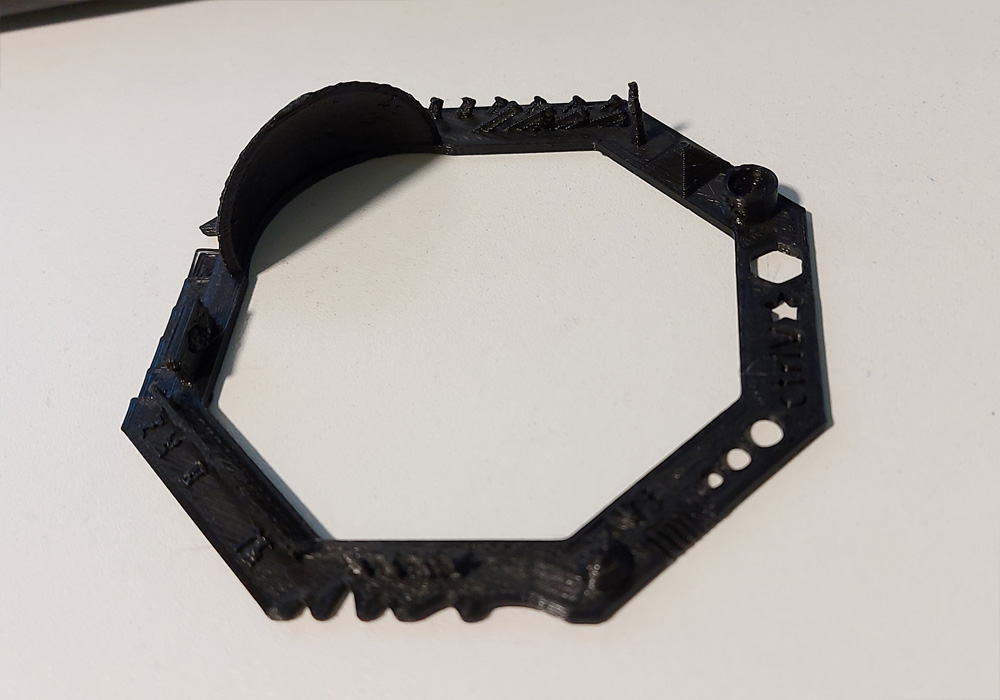
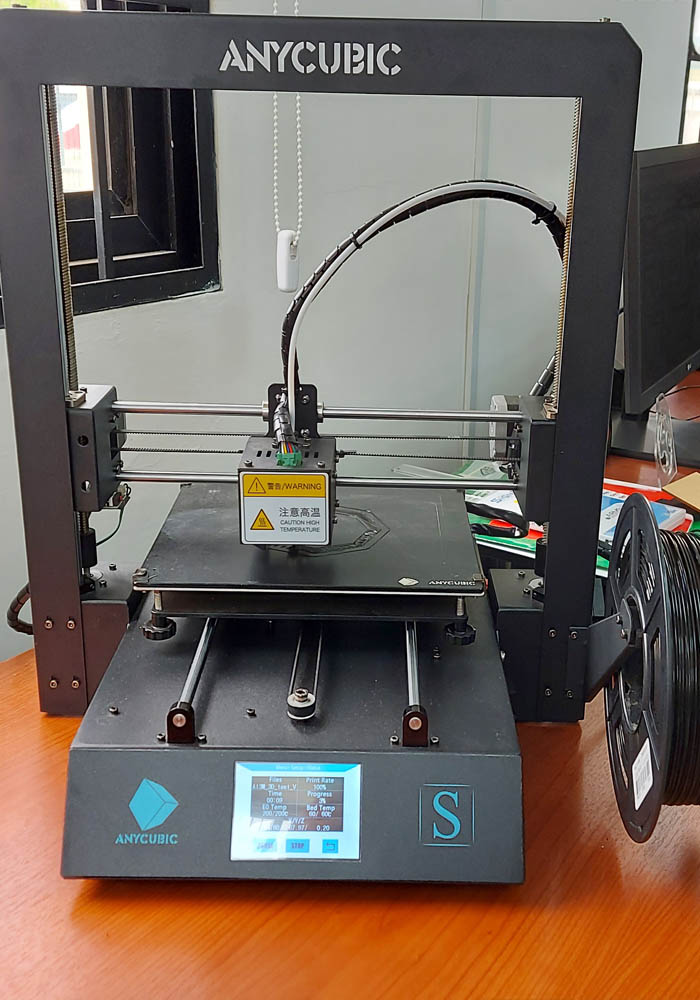 A second printing test was carried out with the same parameters using the Anycubic mega S printer, we can see the results in the following images
you can see a better resolution in 3d printing
A second printing test was carried out with the same parameters using the Anycubic mega S printer, we can see the results in the following images
you can see a better resolution in 3d printing
 |
 |
 |
 |
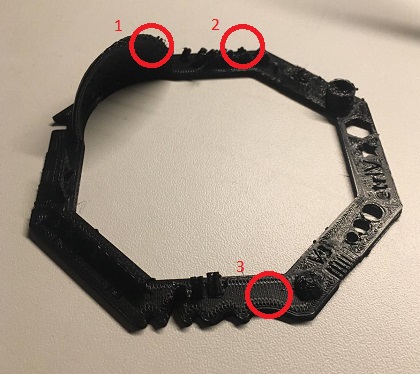
| Item | Problem | Description | Cause | Solution |
|---|---|---|---|---|
| 1 | Stringing | Unwanted strands of plastic span across the print | When you have retraction enabled the printer will "suck" the filament back a short distance before moving the print head over an open space. By sucking the filament in a bit it helps prevent plastic from dripping from the nozzle during the travel move. |
|
| 2 | Ugly over hangs | The lower surface of overhangs come out ugly | New layers are not properly supported by the preceding layer. Rather than fully resting and being anchored in place by the previous layer the new layers are partially printed into mid air and tend to sag down slightly or curl up. |
|
| 3 | Ringing | Waves/shadows appear in the print | This happens when the print head makes a sudden direction change and the inertia of the head causes vibrations that show up in the print. |
|
*This information was taken from: 3D Verkstan and analisis made by us.
3D Scanning
Is the process of capturing the geometry and sometimes texture of real-world objects and create a digital representation of it, the resulting model can be edited and used as needed.
Scanning workflow
- Connect the Kinect to the computer and be sure that the program recognizes it.
- Prepare the area and set the scanning volume on the program to be sure the only object inside is the target to avoid noises.
- Press the record button and slowly spin the target, while moving the kinect up and down trying to always frame the target on the center. This will help the software fill any holes.
- Turn the target for two revolutions to ensure that the software has enough data and can fill any blank spaces, you can visualize that in the viewport while scanning.
- Stop the recording and wait while it processes the data, you can verify if the scan was successful and also clean up some of the noise objects that can be around the model.
- And finally you can export it as .OBJ or share it.
Conclusions
When making 3D prints we can run into certain problems when making your parts, so it is advisable to follow the advice mentioned below before starting a 3D printing to prevent possible errors and failures during it.
- Review the file. STL.
- Printing parameters.
- Check quantity of filament.
- Base condition.
- Leveling the base.
- Filament purge.
The kinect sensor of the Xbox 360 console turns out to be a very low-cost tool, and it delivers interesting results if you know how to do it with patience.