WILDCARD WEEK
This week I used several digital design processes and learned how to do metal casting.
This week I had a choice in what fabrication method I used. I decided to try out metal casting which is not something I've previously covered in FabAcademy. As for the design, I came up with some ideas for things that would be cool made out of metal. I decided on making a large coin-like medallion with my face on it.
Designing the Model
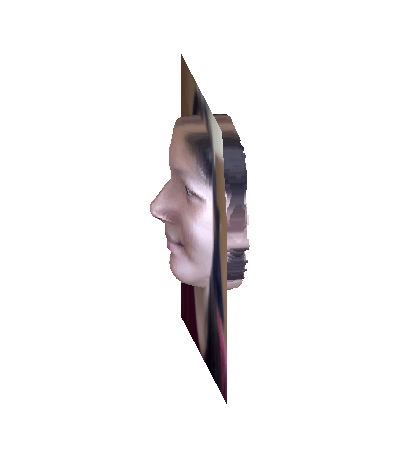
Part of my plan was to create a 3D model of face. However, my lab's equipment was not very suitable for scanning body parts. This lead me to search for apps and online programs that did photogrammetry. I came across this website that constructs a 3D face model from a single photo. Here's a look at how the program interpreted my face!


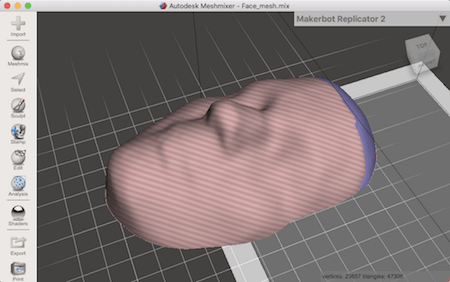
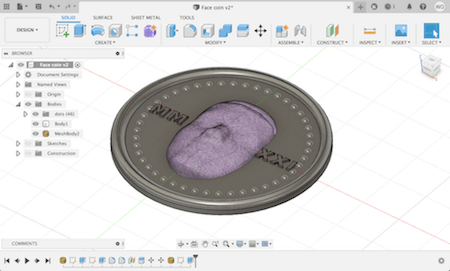
I downloaded the OBJ file of my face from this site, then I opened it up in Meshmixer, where I cleaned up the model surface so that it was smoother. I also filled in some gaps and leveled off the back of the head so that it would sit on a surface.
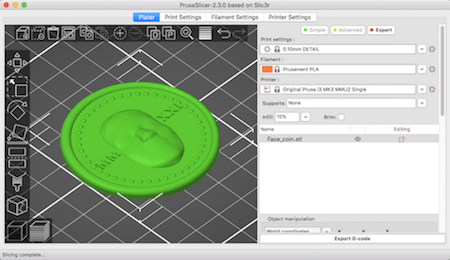
From Meshmixer, I saved it as an STL file. My next task was to create a disk to put my head on. I used Fusion 360 to design the coin and its details. As part of the design, I wanted to flatten my face, but I had trouble manipulating the mesh in Fusion. I worked around this issue by changing the model scale in PrusaSlicer then resaving the STL and loading it back into Fusion.
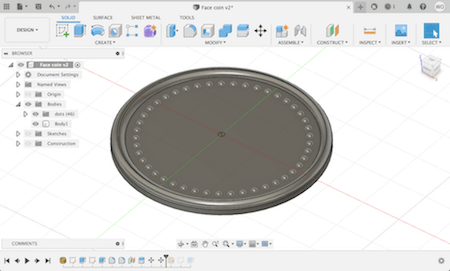
I 3D printed this coin at thinner layer resolution, .10 mm, to give a bit more detail to the curved surfaces.
Mold Making
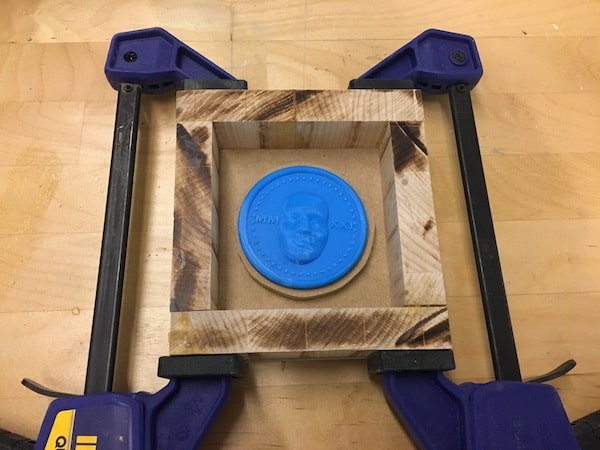
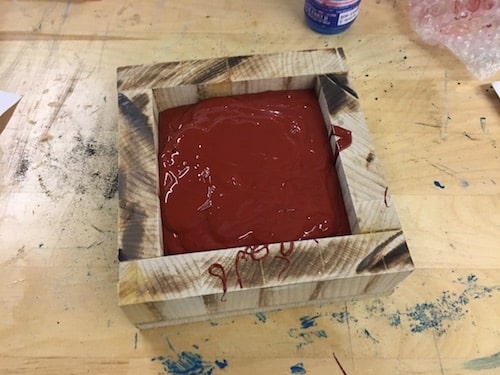
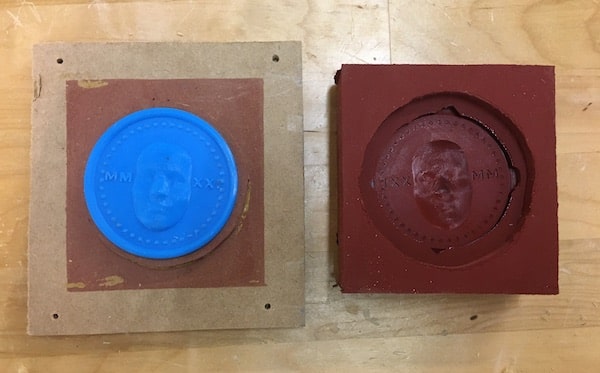
After printing the coin, I used that as a component of my mother mold. Here, you can see I built up a wooden frame around my 3D print. This was helpful to have a breakaway frame for demolding later on.
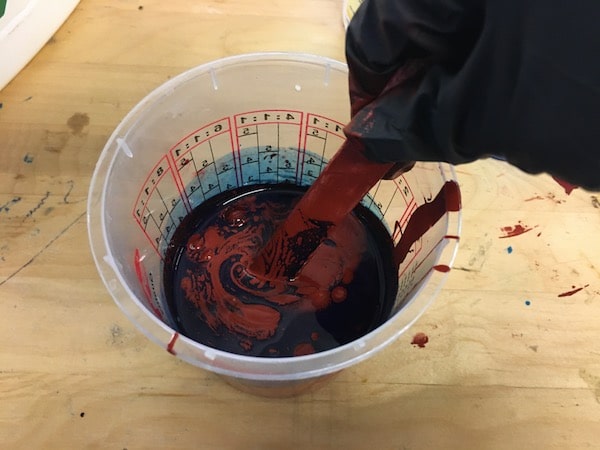
For the mold making material I used Smooth-On's Mold Max™ 60 which is specifically designed for metal casting due to its high heat resistant properties. This silicone rubber comes in two parts and has a mix ratio of 100A:3B by weight. Given this, I measured out 300g of Part A and 9g of Part B.

For three minutes, I thoroughly mixed these components together. The pot life was 40 minutes which seems like a long time, but the mixture was so thick it got pretty difficult to mix after a while.
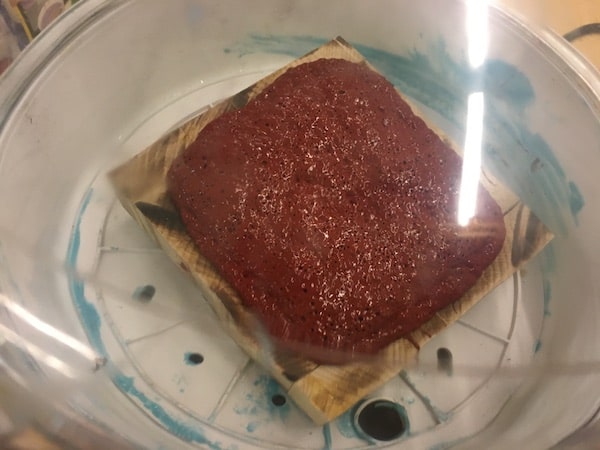
Then, I poured the mix into the mother mold and used the vacuum degasser to pull out the trapped air.
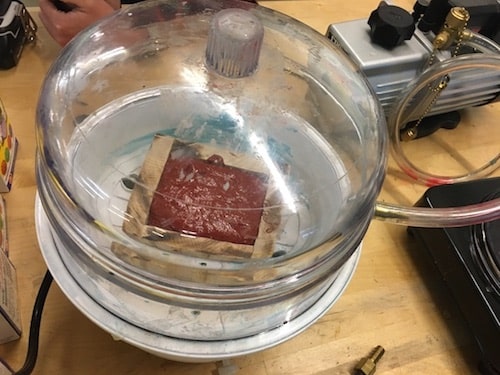
After doing this, I realized an easier way would have been to do the vacuum degassing while the silicone was still in the mixing container. That way it would have had room to expand, whereas the mother mold was shallow and I had to keep stopping to make sure that it didn't overflow.
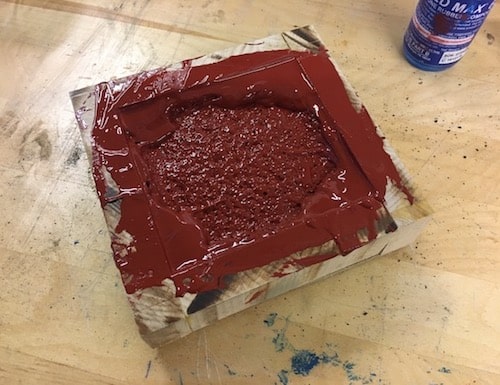
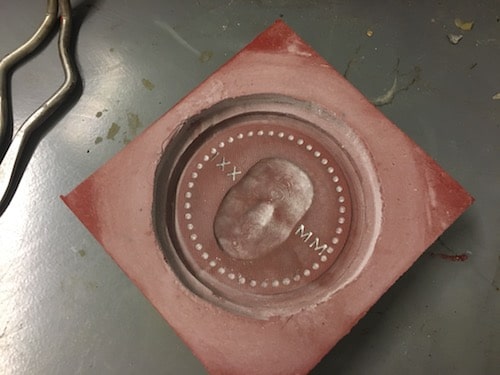
The cure time was 24 hours. Here are some pictures of before and after de-molding.
Casting Pewter
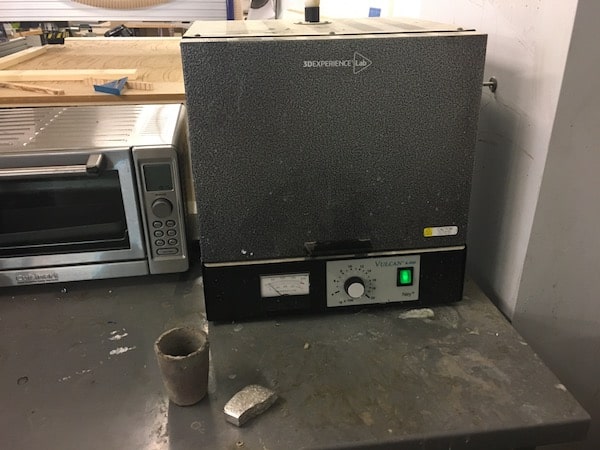
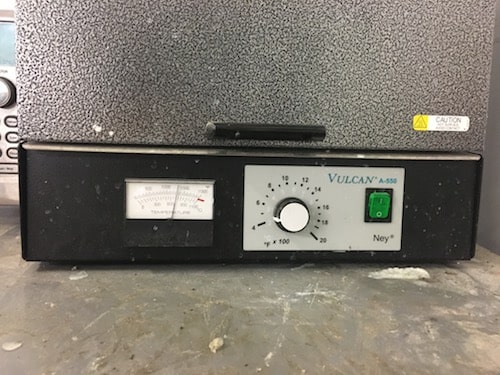
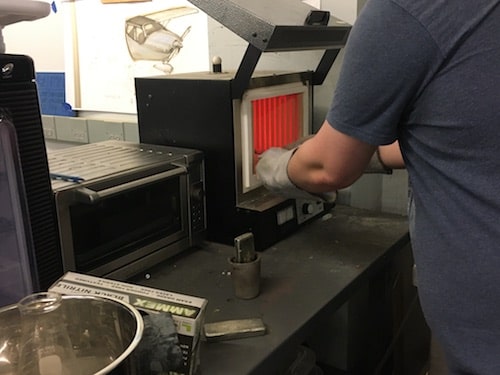
For the metal casting the material I had available was pewter. This was the Neytech Vulcan furnace where we melted the material.
I collaborated with another student, for the melting and casting part of this project. Our first attempt almost failed spectacularly. We hadn't realized that we set the furnace temperature much too high for pewter, which has a melting point of 440°F. When the pewter came in contact to the first mold it caught fire.
After, very carefully putting out the fire, we could see that bits of the silicone were floating in the pewter.
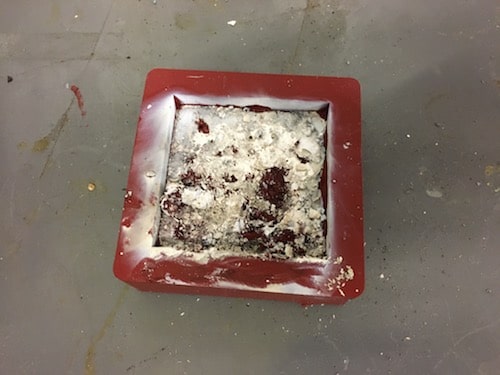
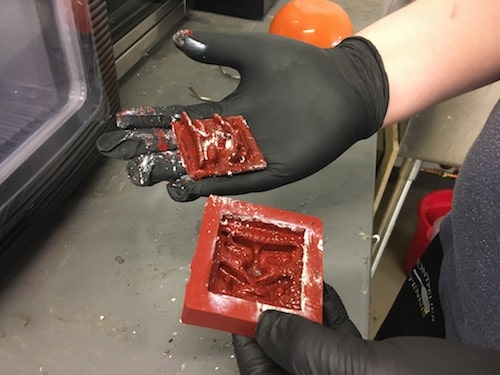
We thought that the entire inside of the mold had melted off, but once it all cooled down and we took out the metal, we could still see much of the design.
Attempt #2
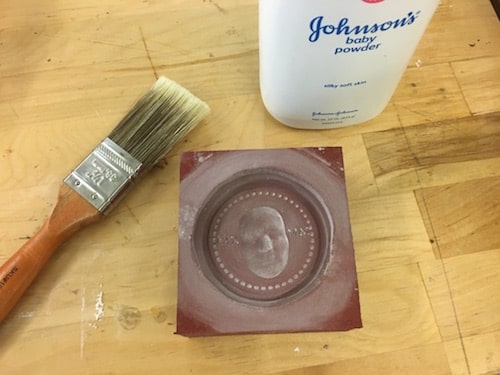
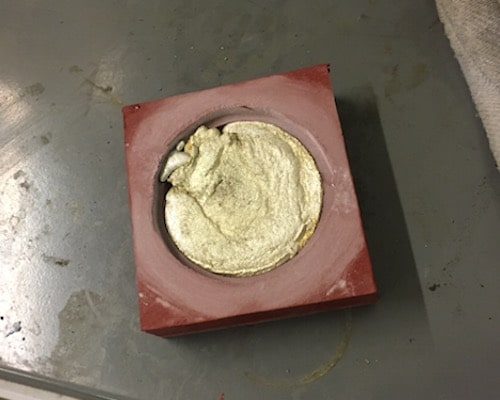
There were a few things we fixed before I casted my face coin. First, I spread some talcum powder, or baby powder, over the inside of my mold. This will help the metal flow easier over the surface.
We also reduced the temperature of the furnace to about 440°F, however, when we noticed that this wasn't melting the pewter after 30 or 40 minutes, we turned the temperature up to 400°C.
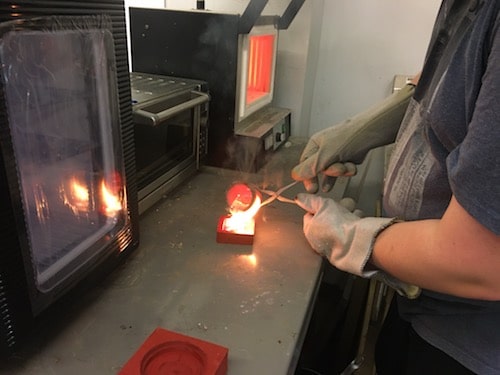
Finally, we took the crucible out of the furnace and poured the pewter into the mold.
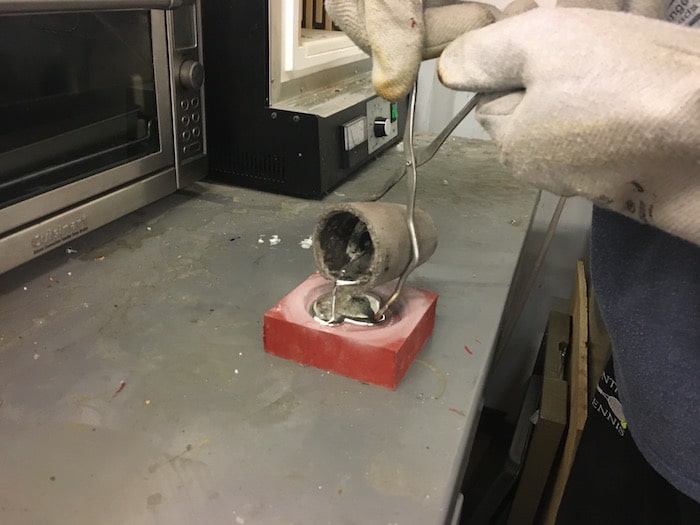
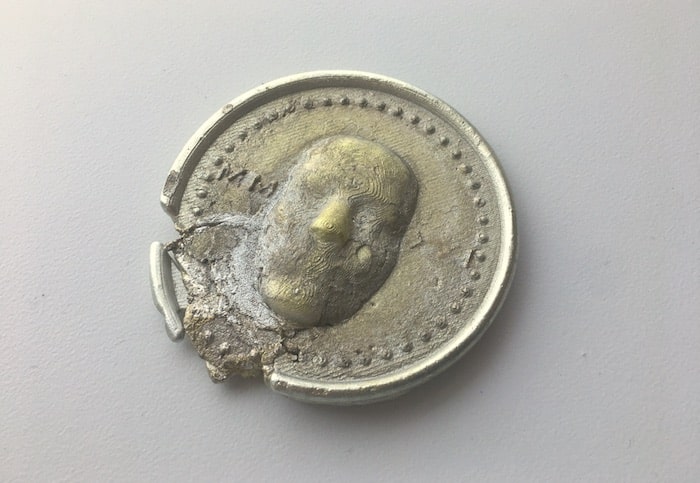
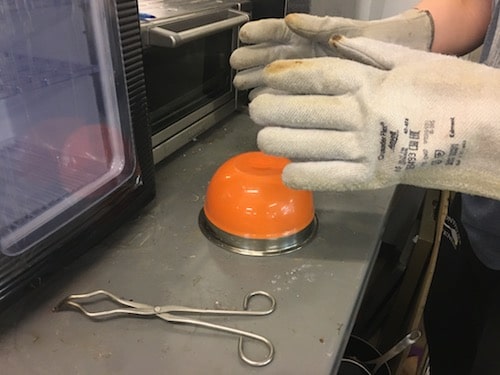
We didn't quite have enough melted pewter and it seemed to solidify pretty quickly, so toward the end of the pouring it came out a little bit lumpy. However, when it cooled down and I took the mold off it still looked awesome!
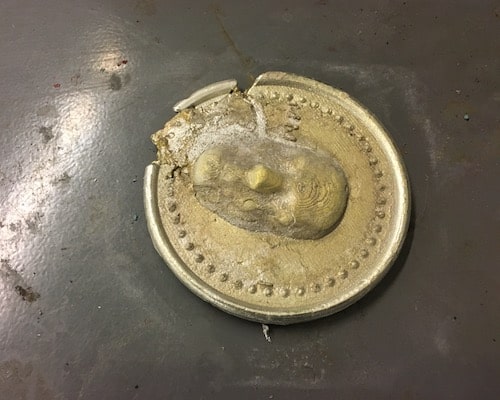
After casting, the silicone rubber mold was unchanged and is able to be reused.
Resources
- 3D Face Reconstruction from a Single Image
- Smooth-On: Mold Max™ 60 | Technical Bulletin | Pewter Casting
- Neytech Vulcan Furnace
Design Files
Updated: June 30, 2021