Jacob Libby
Week 5
3D Scanning and Printing
A week dedicated to learning about 3D Scanning, Printing, and delving deeper into additive manufacturing
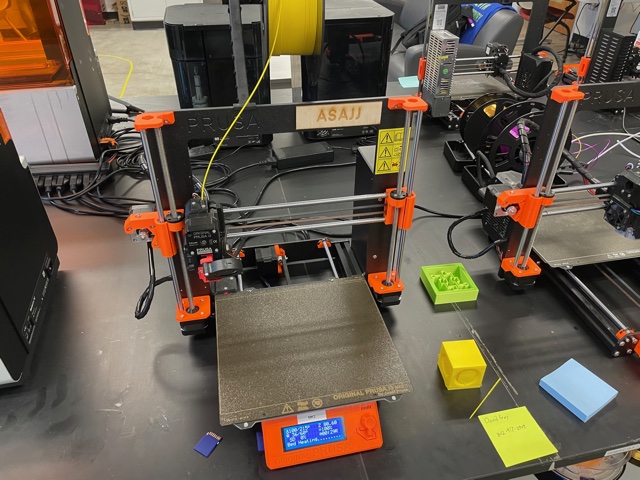
We began this week by testing out our 3D Printers in order to get a better grasp of how they print and their level of details and constraints, similar to how we did with the Roland SRM-20. The build volume of our printer is the maximum volume of printable area of the printer, and through research, we found that it was 25 cm x 21 cm x 21 cm, giving it 11,025 cm^3 of printable volume. The printable layer height ranges from a minimum of 0.05mm to a maximum of 0.35mm. The max travel speed of the printer is 200+ mm/s and the supported filament diameter is 1.75mm. To get a better understanding of the print quality and constraints of builds, we downloaded two different files in order to test two different printers and different specifications.

The first design that we printed out was a micro version of an all-in-one print tester made by Marián Trpkoš. This print illustrated the printer's ability to properly print:
- Wall thickness and tolerance
- Angles
- Overhand without supports
- Bridging
- Dimensions
- Sharp corners
- Stringing

The first print of this design ended up not working and resulting in a failed print after completing the bottom of the design.
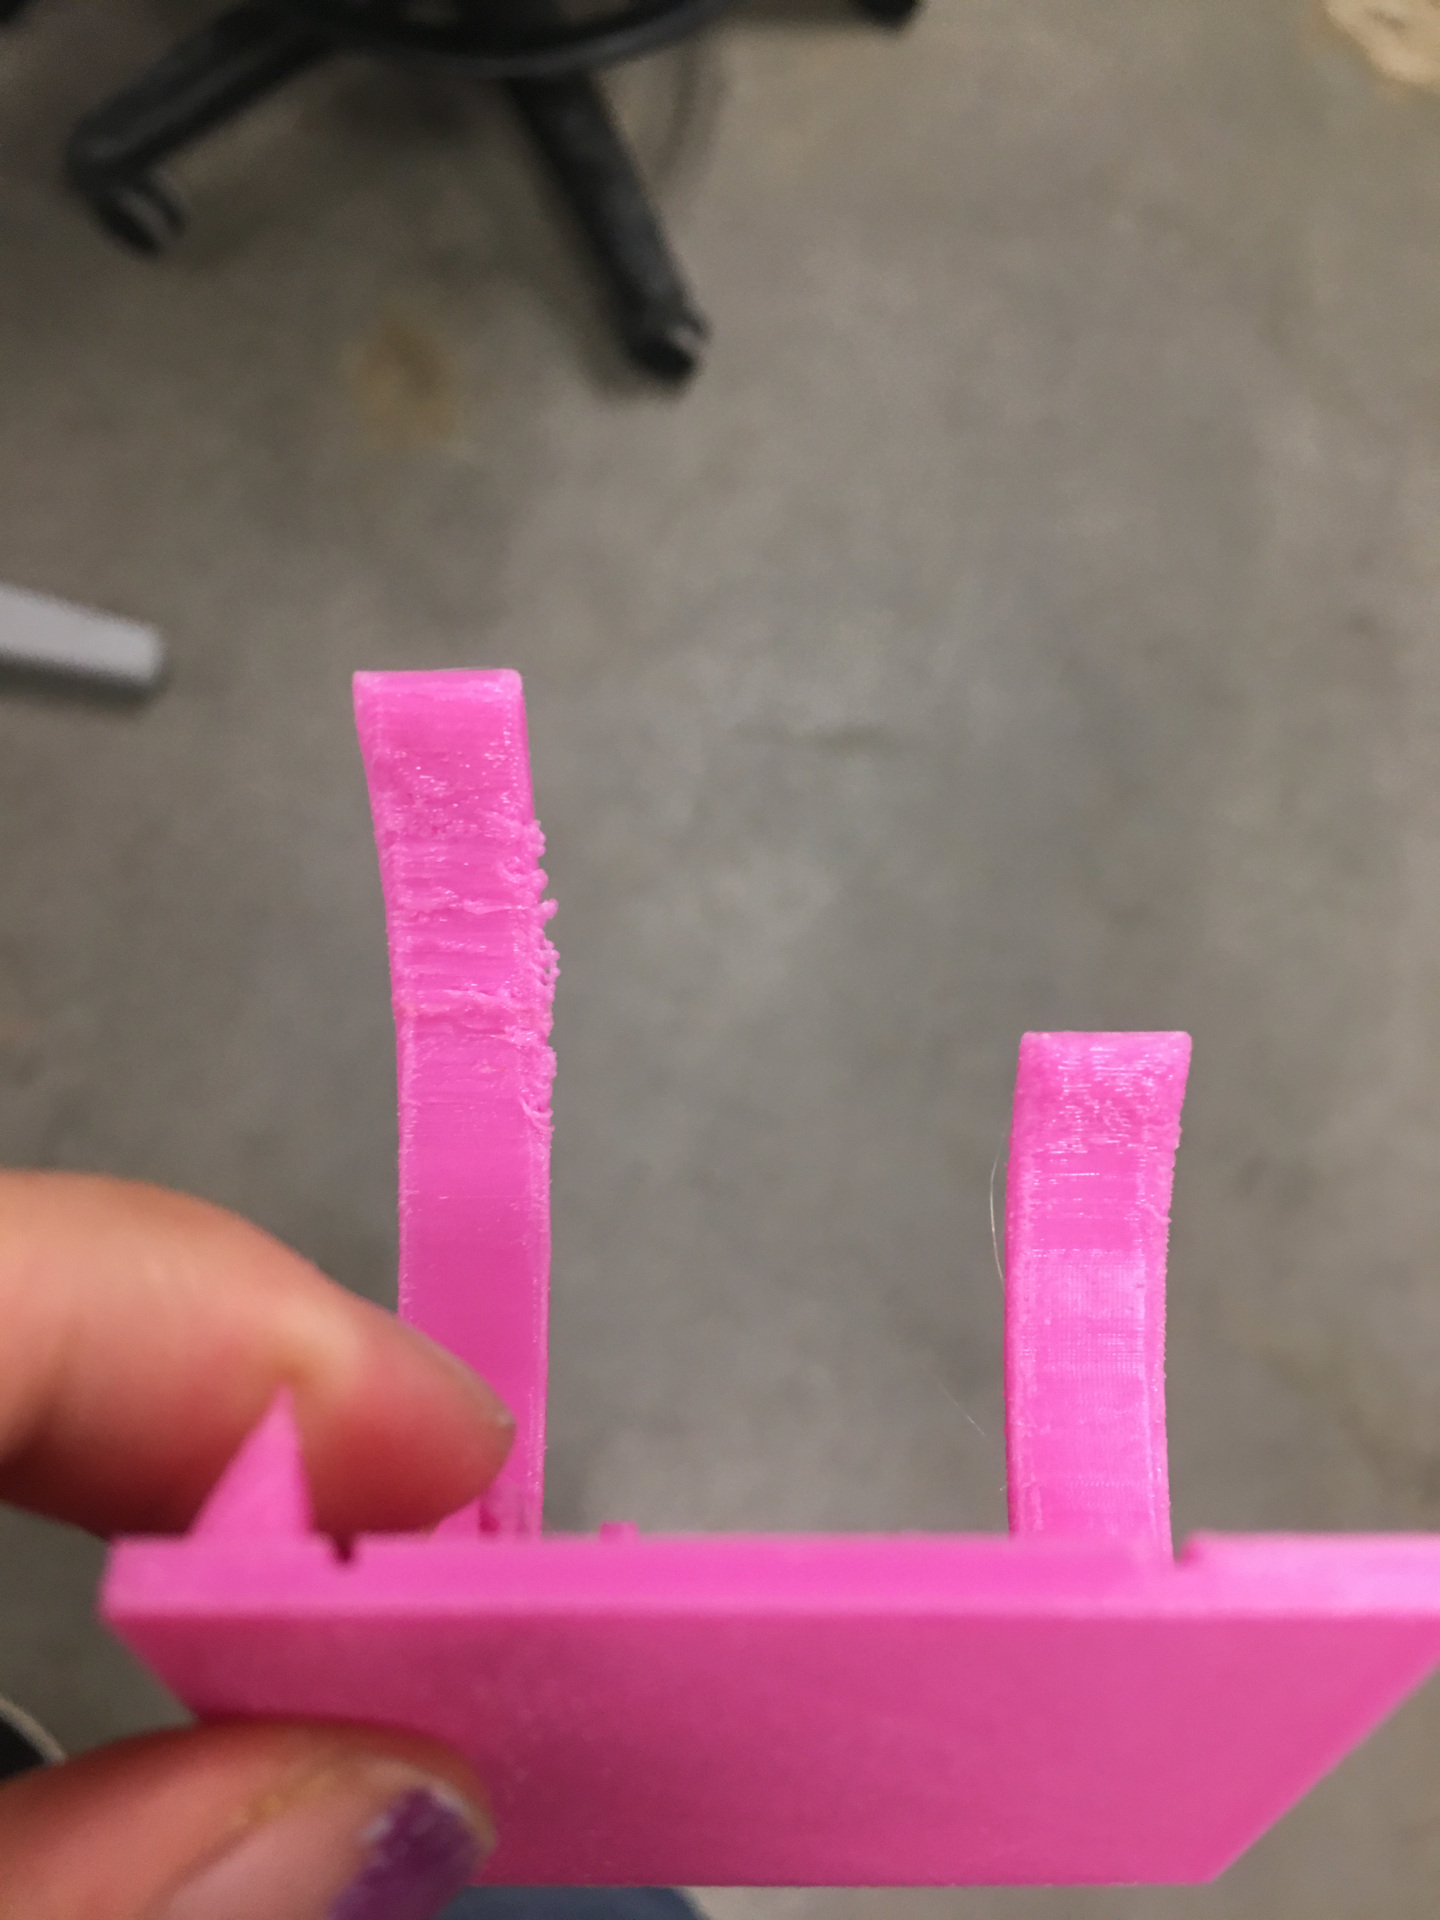
After starting the print over again on another MK3, the print completed and came out great. There was minimal stringing and the overhangs were handled well by the printer. However the quality deteriorated around the 50 degree angle for the overhang and 20mm stretches for the bridging. When printing angles that are going to be more horizontal than 50 degrees, we will be sure to use supports.
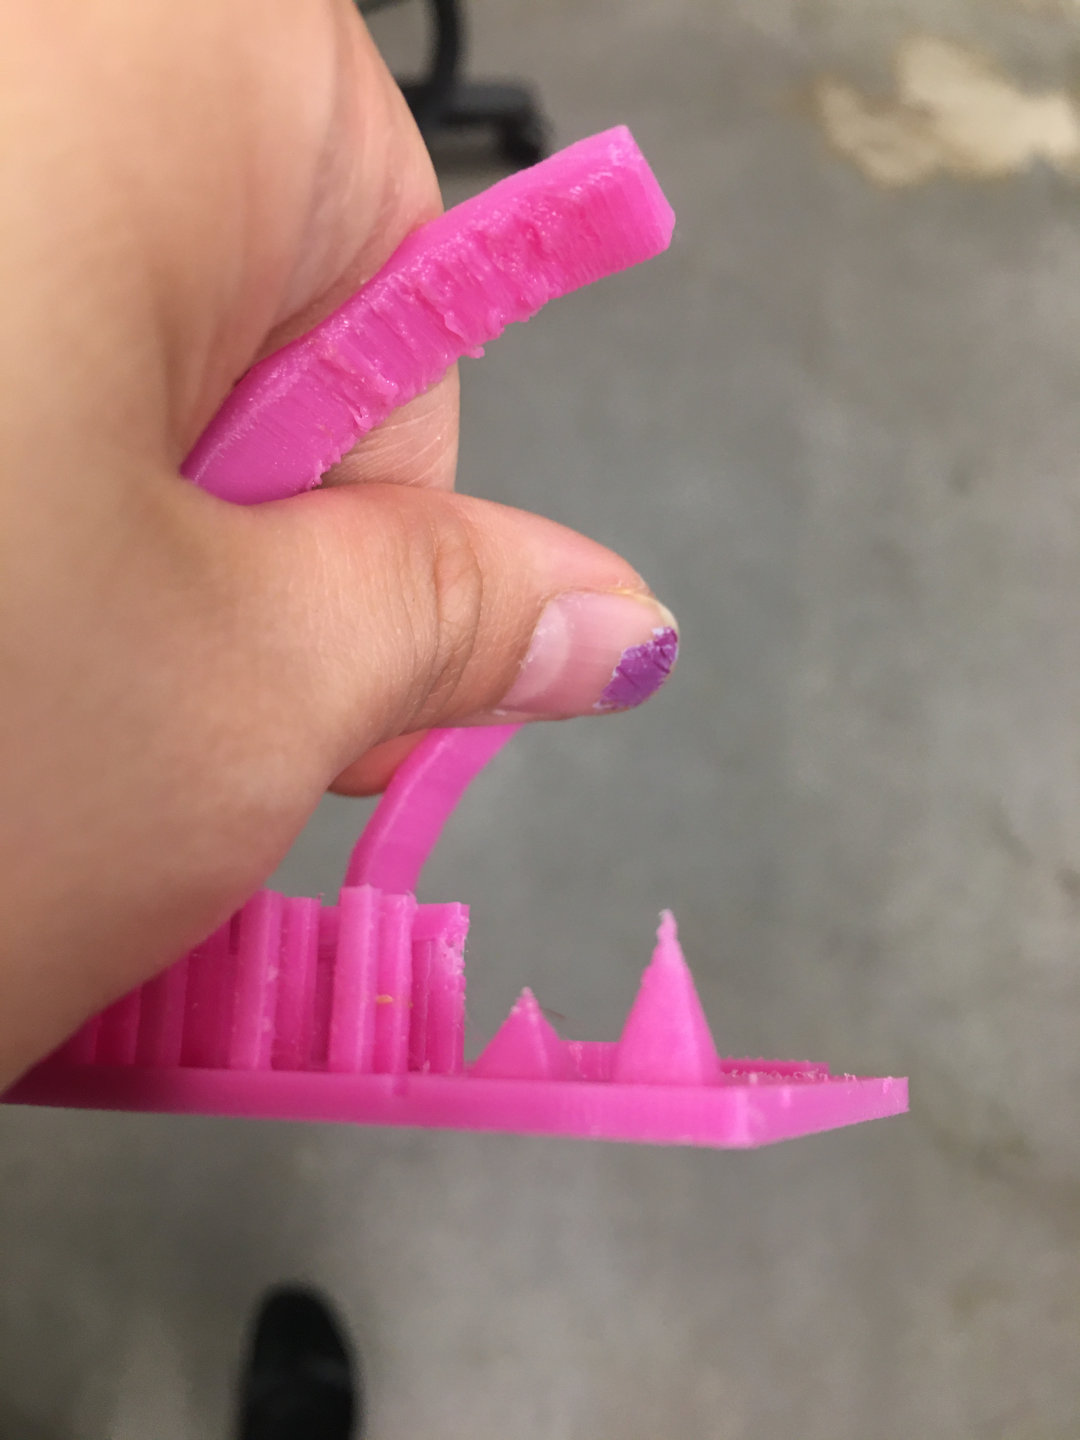
Also, the printer wasn't able to do very very fine detail, as seen with the sharp pyramid test and tolerance line tests. The walls were able to get up to .1mm close together, but it wasn't able to print any walls .4mm or smaller (which makes sense since we were using a .4mm nozzle).
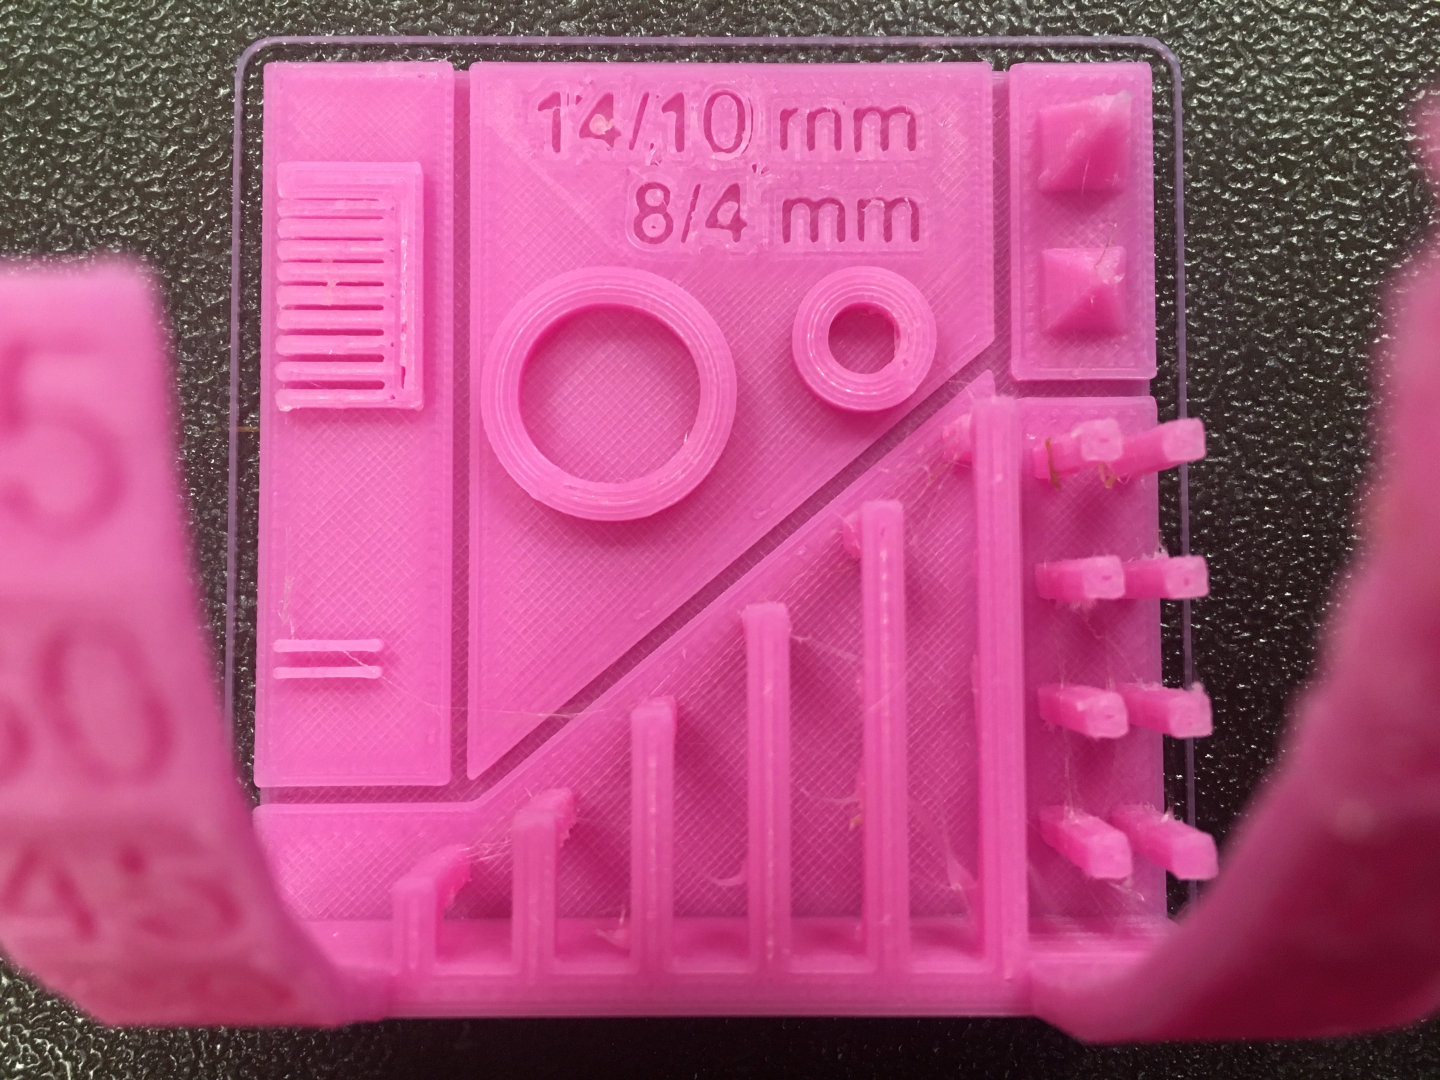
The circles were marked with their exterior and interior measurements (14/10mm for the large circle, 8/4mm for the small one) but this was off by a very small degree. When measured with a caliper it ended up being 13.89/9.94mm for the large circle and 7.85/3.95mm for the small circle.
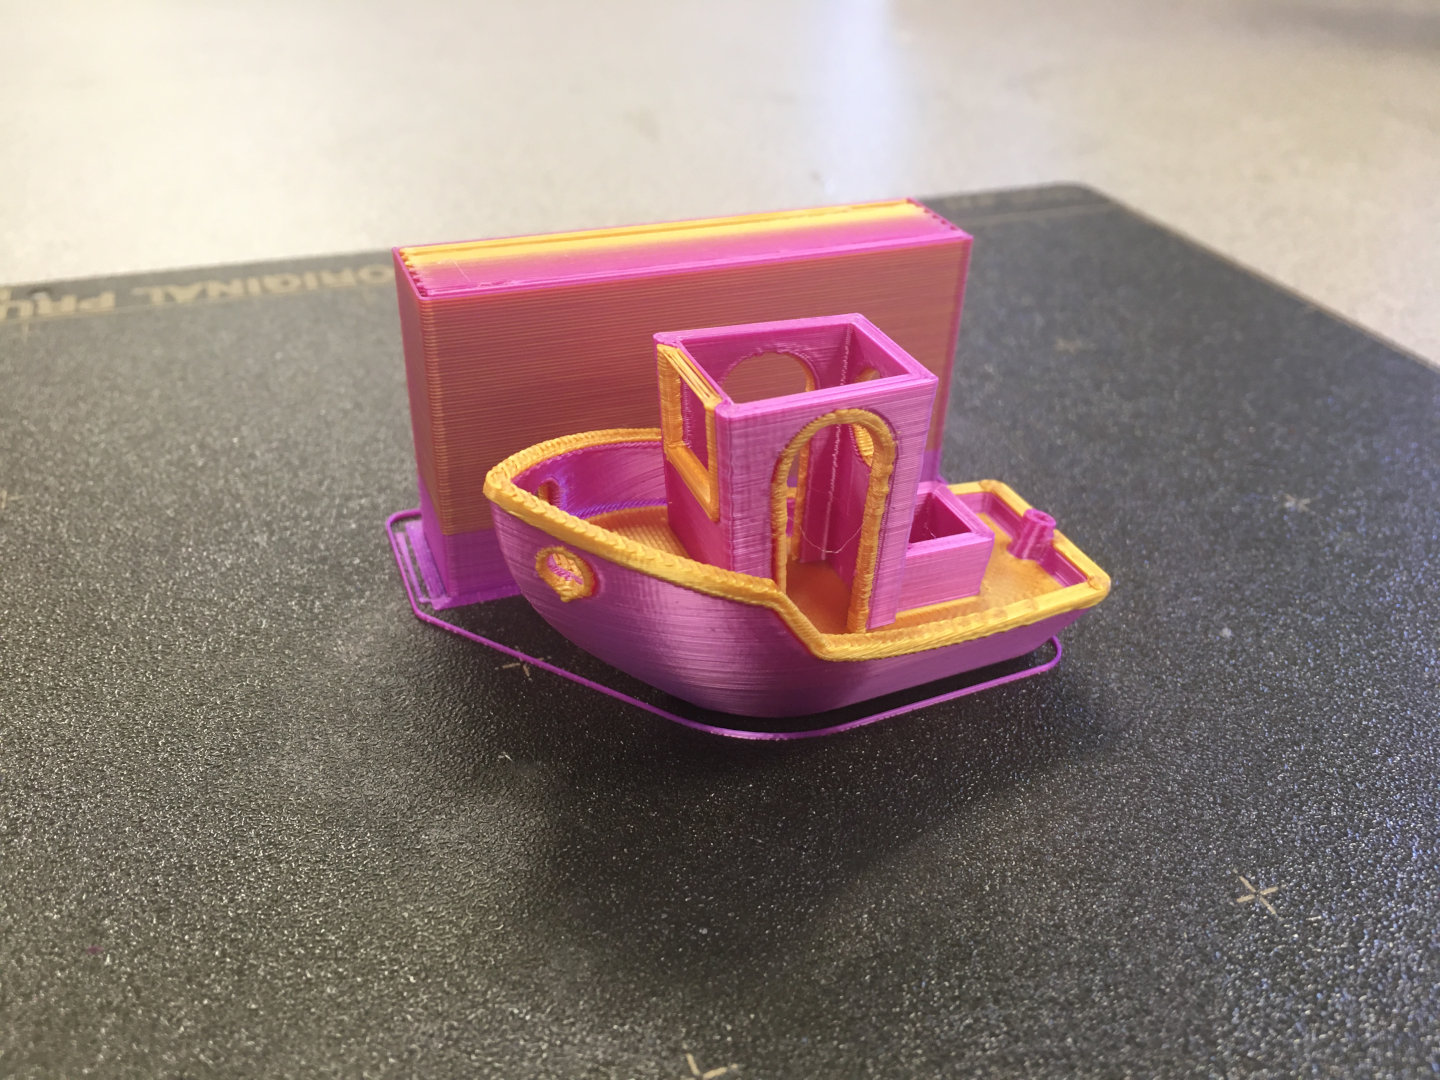
The second test print we did was to print a Benchy with the MMU2 to test out the printer’s ability to print a design with multiple filaments, as well as stringing, overhang, and many other tests similar to the All in One test above. The print came out great, however the benchy ended up printing without the top roof, which did not allow us to properly see how the printer handles overhang with multiple filaments.
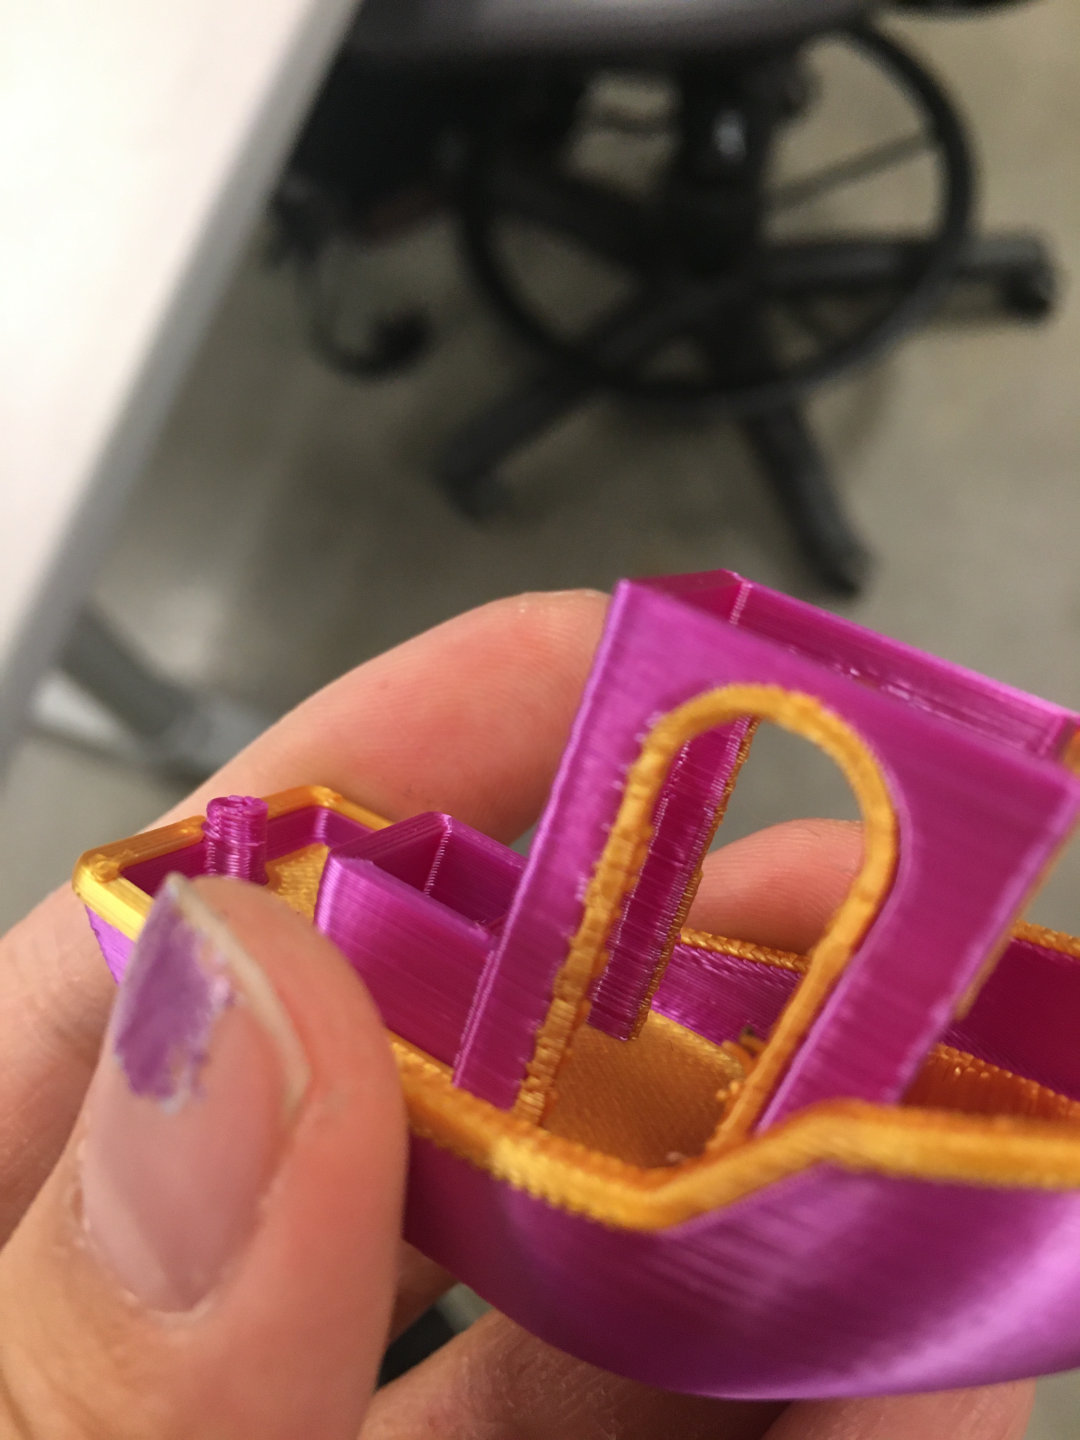
The stringing was minimal and, although there were some visual impurities with the interior of the design, the print came out well.
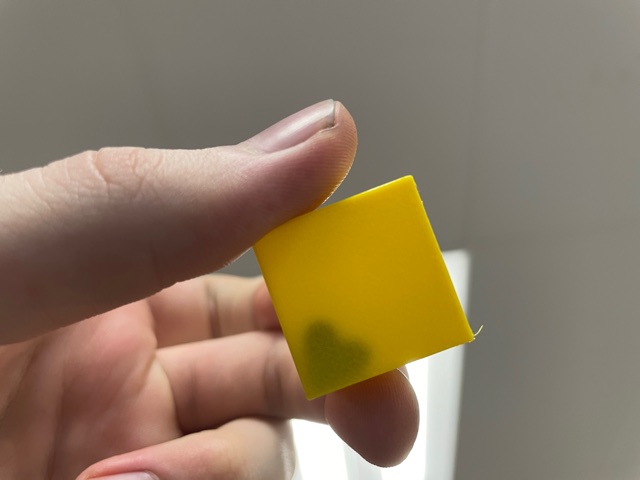
My first design for the individual project this week was to make a swiss-cheese-esque design with a smaller design inside. To design this, I used parametric design similar to past weeks and created a square and then extruded it into the third dimension before positioning circles of parameterized diameter and using those to cut holes in the design. One of my ideas was to add a (3D printed) mouse inside the design, however I was worried that this design (with its holes) could be remade with subtractive manufacturing.
For my next iteration, I wanted to create a design that would definitely not be able to be made with subtractive manufacturing. The first step of the process would be to create a outer housing (see what I did there?) for an entity to be placed inside. For this, I created a small house! I modeled it roughly off of the houses in Monopoly by creating a sketch of a square in fusion and extruding it into the third dimension, and then chamfering two of the top edges in order to create the pitched roof.
For the innards of the house, I decided to cute-ly design a heart. I made sure to design the heart with the parameters of the house in mind, so that it would be small enough to fit inside, but also big enough to be printed in good quality and be visually identified as a heart.
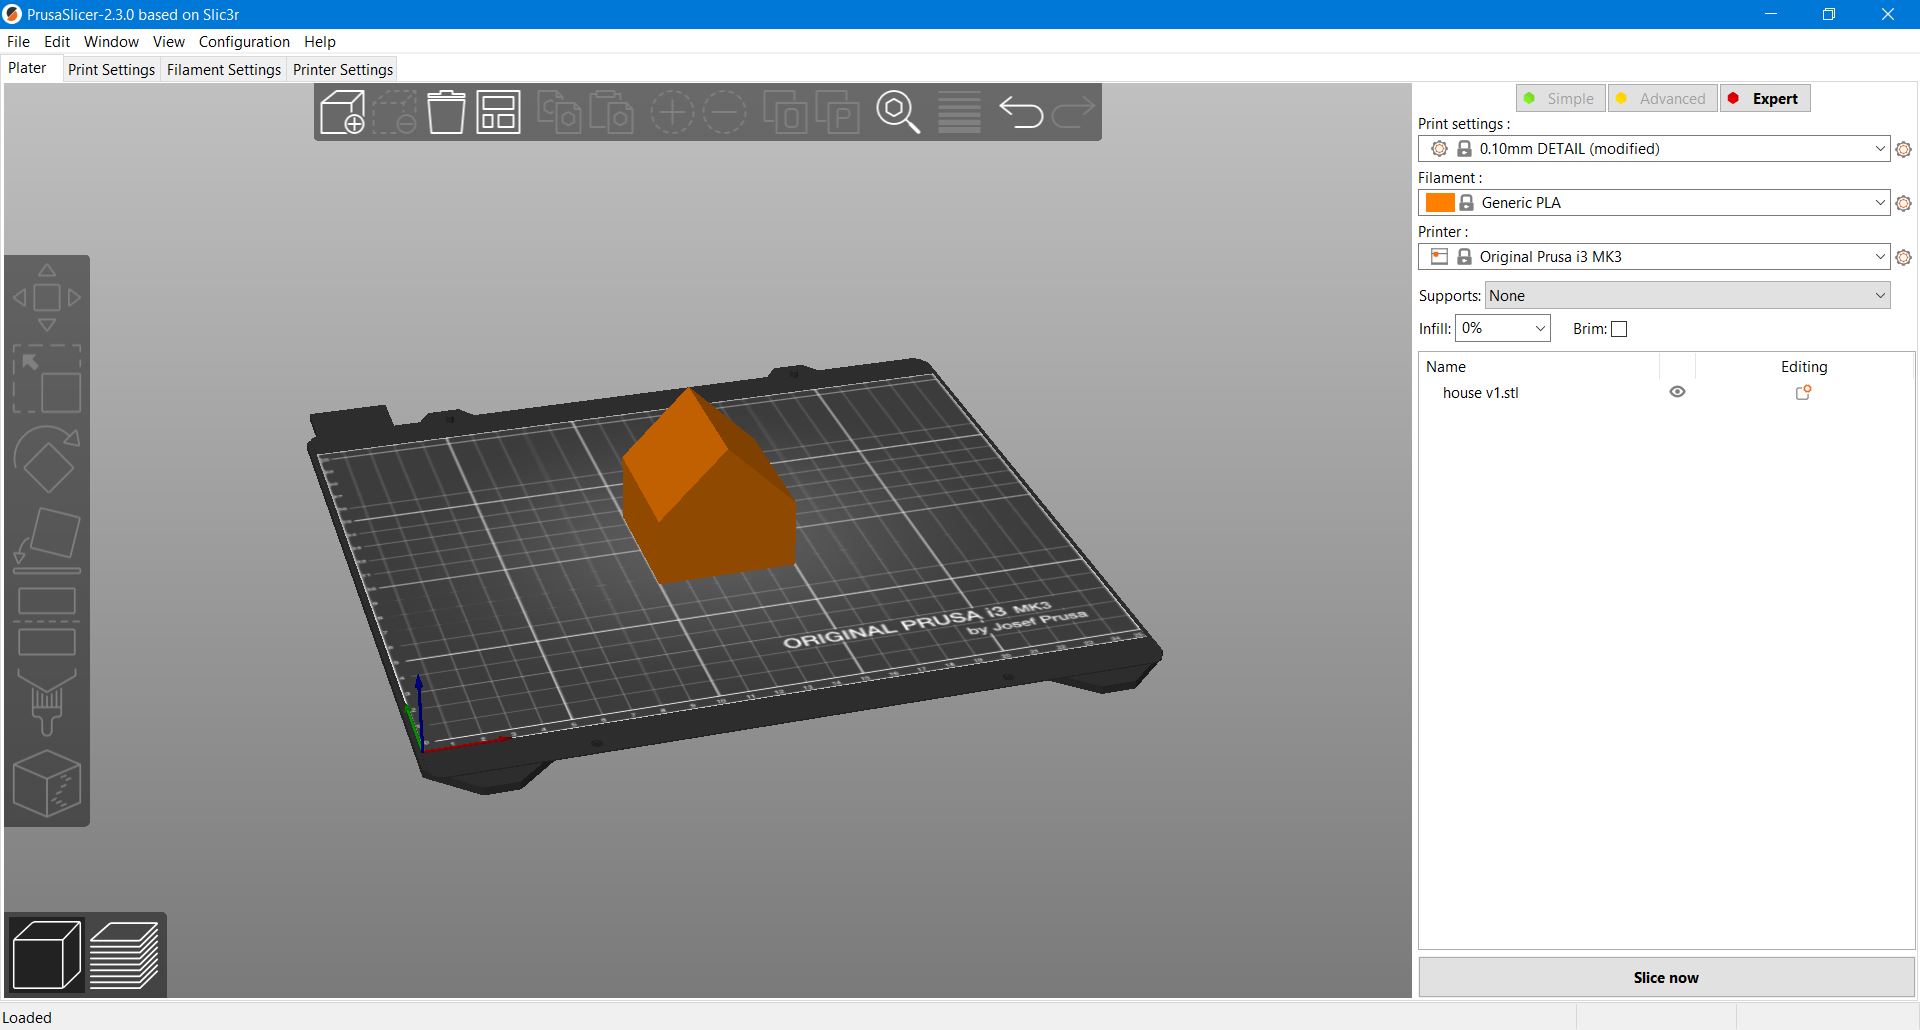
While thinking about the project, I became discouraged at the problem of keeping the heart visible, but also keeping the design subtractively impossible. To solve this, I decided to print the house with a setting called "spiral vase mode". In this mode, instead of 3D printing an inner and outer wall and filling the gap with infill, the printer uses one continuous stream of filament and creates a spiral one layer thick to create the walls of the design. Doing this would create a more flimsy final product that would also be more translucent since the walls would only be one layer thick (rather than 2 layers and a percentage of infill).
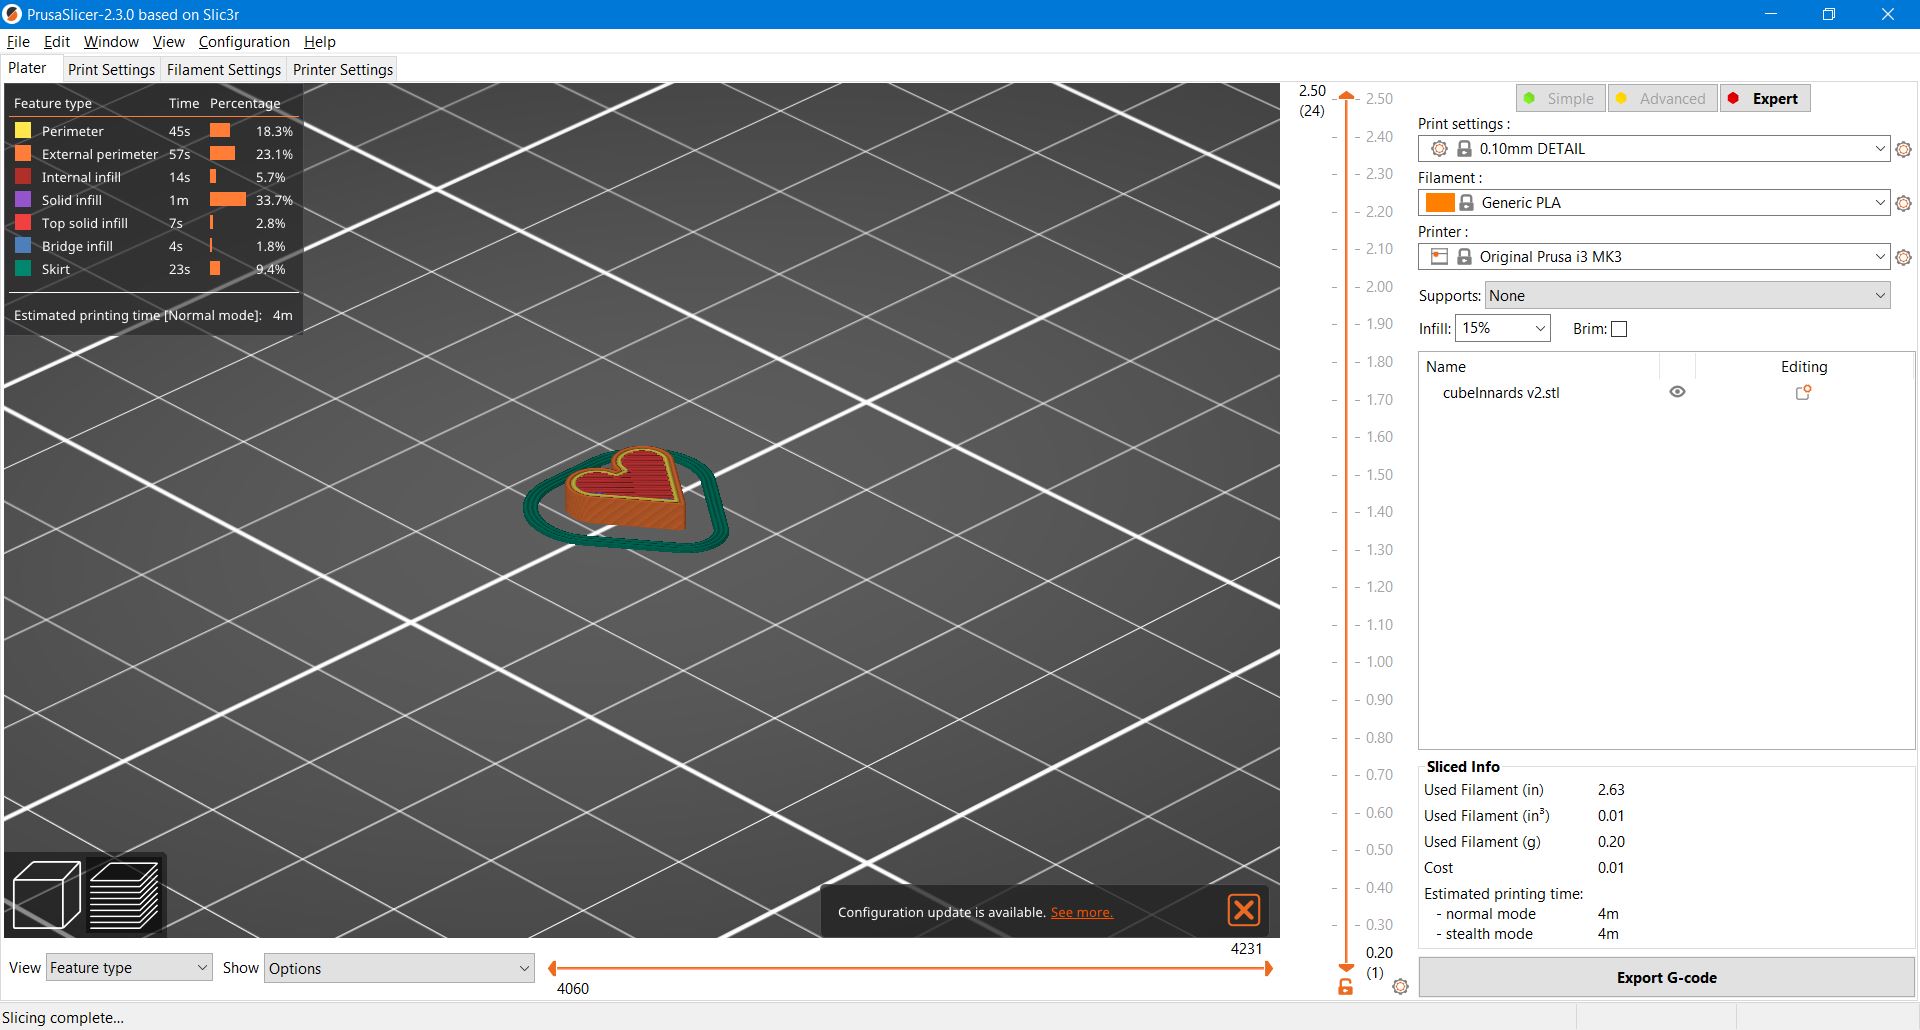
Setting up the heart in PrusaSlicer, I selected the "normal" printing settings I would normally use and began printing. Side note: it was kind of funny to see a 4 minute print time.
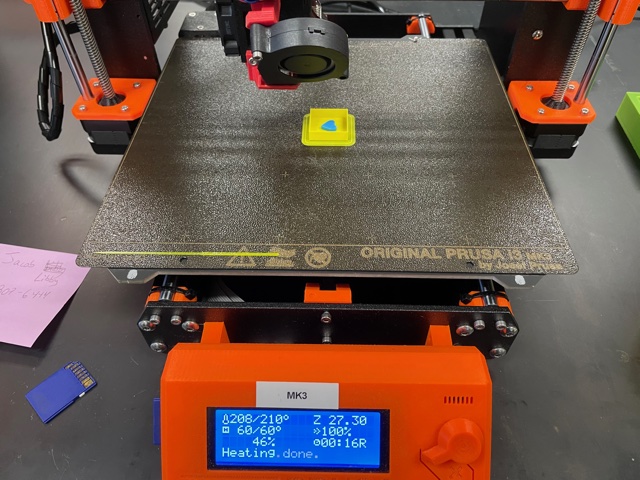
I began printing both designs and during the printing of the house, I paused the print and grabbed the finished heart. I carefully placed the heart inside of the house and resumed the print.

I was really worried that this would mess up the print, especially it being in spiral vase mode and all areas of the print being visible, however there were no impurities that came from pausing/resuming the print, which was fantastic.
After the print finished, I was incredibly happy with the final product. The heart is definitely visible when the print is held to a light, which I was extremely pleased with. By using the spiral vase mode to print it, the design is much less opaque, which makes the heart that much more visible.


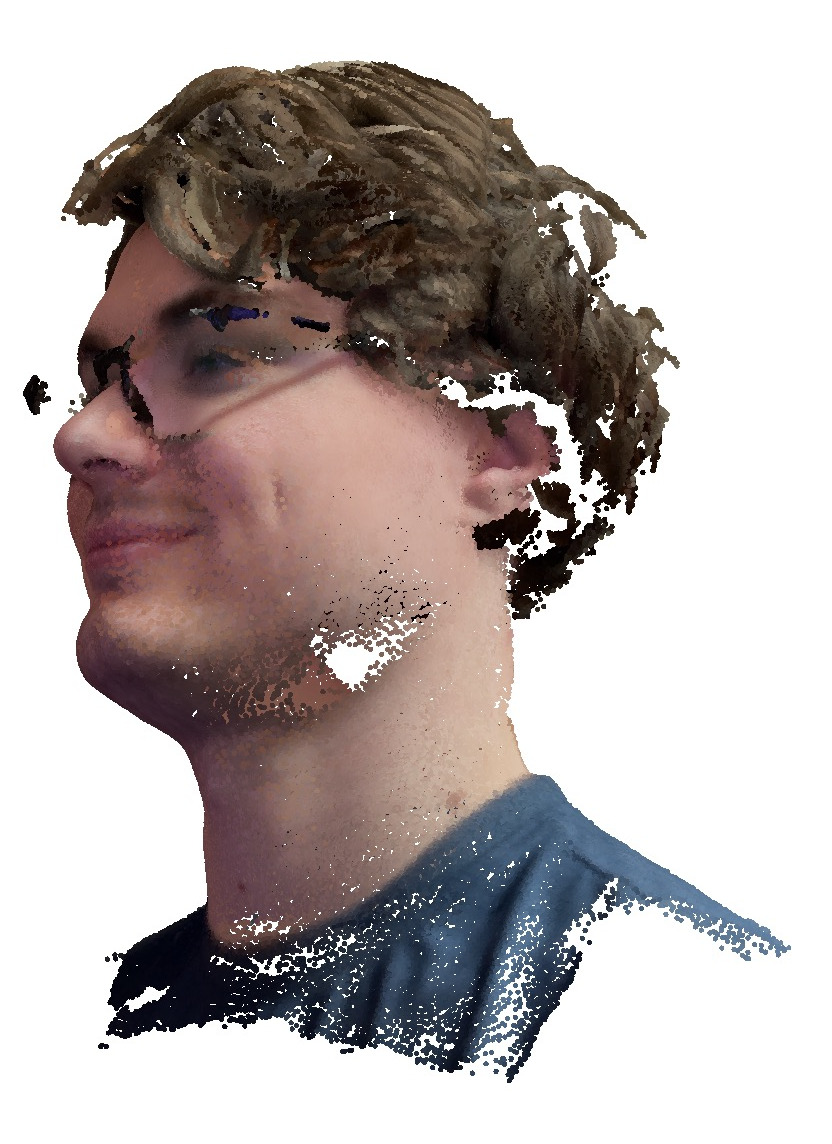
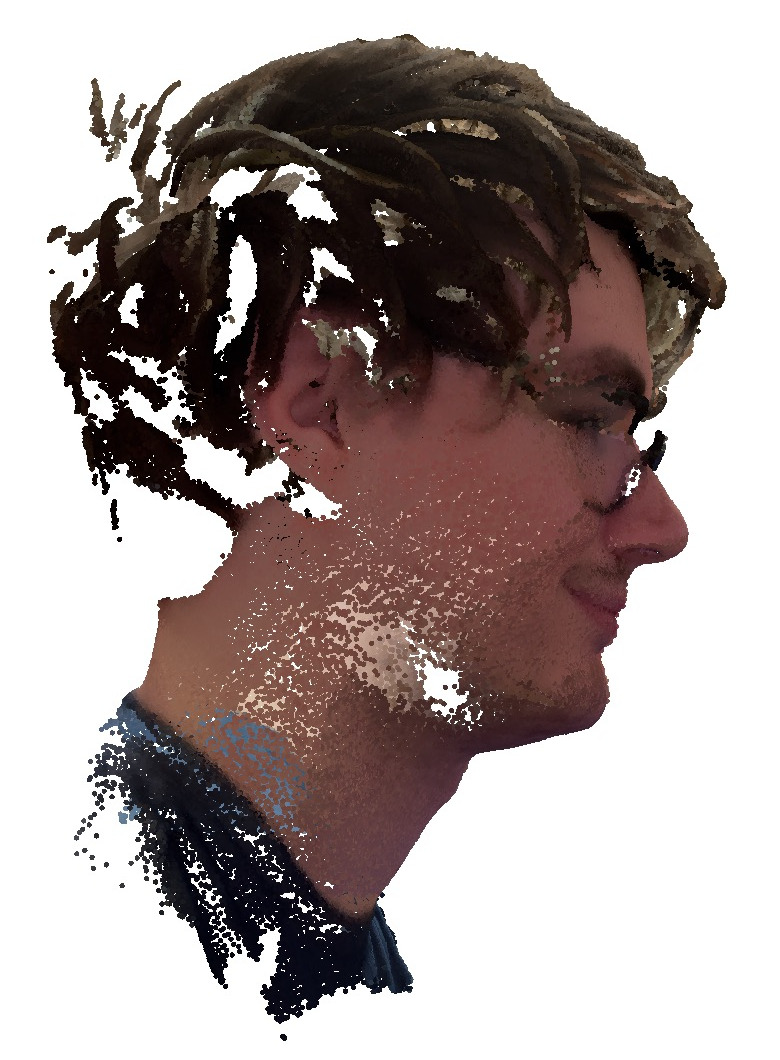
In order to do the 3D scaning section of the week, I decided to take a large amount of 3D scans with my phone. I downloaded several apps, and ended up weeding most of them out due to them only supporting iPad devices or requiring payment before scanning. These first scans are from Bellus3D and I was very impressed by the quality of the scans. I instantly realized that it would be too difficult and complex to print any 3D scans of myself, but I was extremely pleased with how smooth and professional the final product came out. I was especially impressed by how it handled my bed head, as it is definitely not a particularly elementary geometric shape, and it definitely captured the shape and details far better than I was expecting. Sadly, for this app, exporting the 3D file is a paid feature, so please enjoy these still photos of my digital face from different angles.

The second app that I used was called Capture: 3D Scan Anything. I was intrigued at first by how this app captured objects into three dimensions.
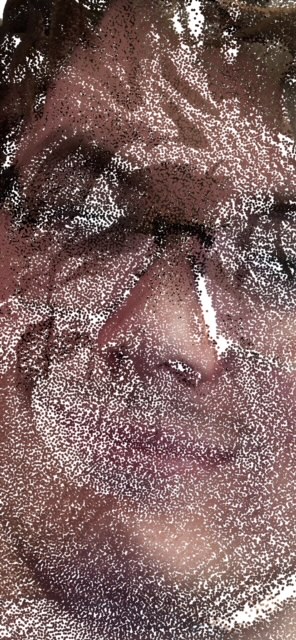
As you can (hopefully) tell from my zooming in, the app records each point in space with a literal point, which is very visible when zooming in on areas of the scan. When zoomed out, these points visually melt together into a smooth 3D model. Possibly for this reason, this app was much more finicky with scanning, and took a large amount of attempts to get the quality above. I at first took the scans myself, as I did with the first app, but those were absolute nightmare fuel. I then asked my girlfriend to take the scan for me and silently rotated in place during the scan. The best option turned out to include me sitting in a chair and my girlfriend orbiting around me with her tongue out. This was a super fun experiment, and I will definitely be doing this more often, and hopefully implementing such entities into future Unity game projects.