Jacob Libby
Week 3
Computer Controlled Cutting
A week dedicated to learning parametric design, vinyl cutting, and delving deeper into CAD
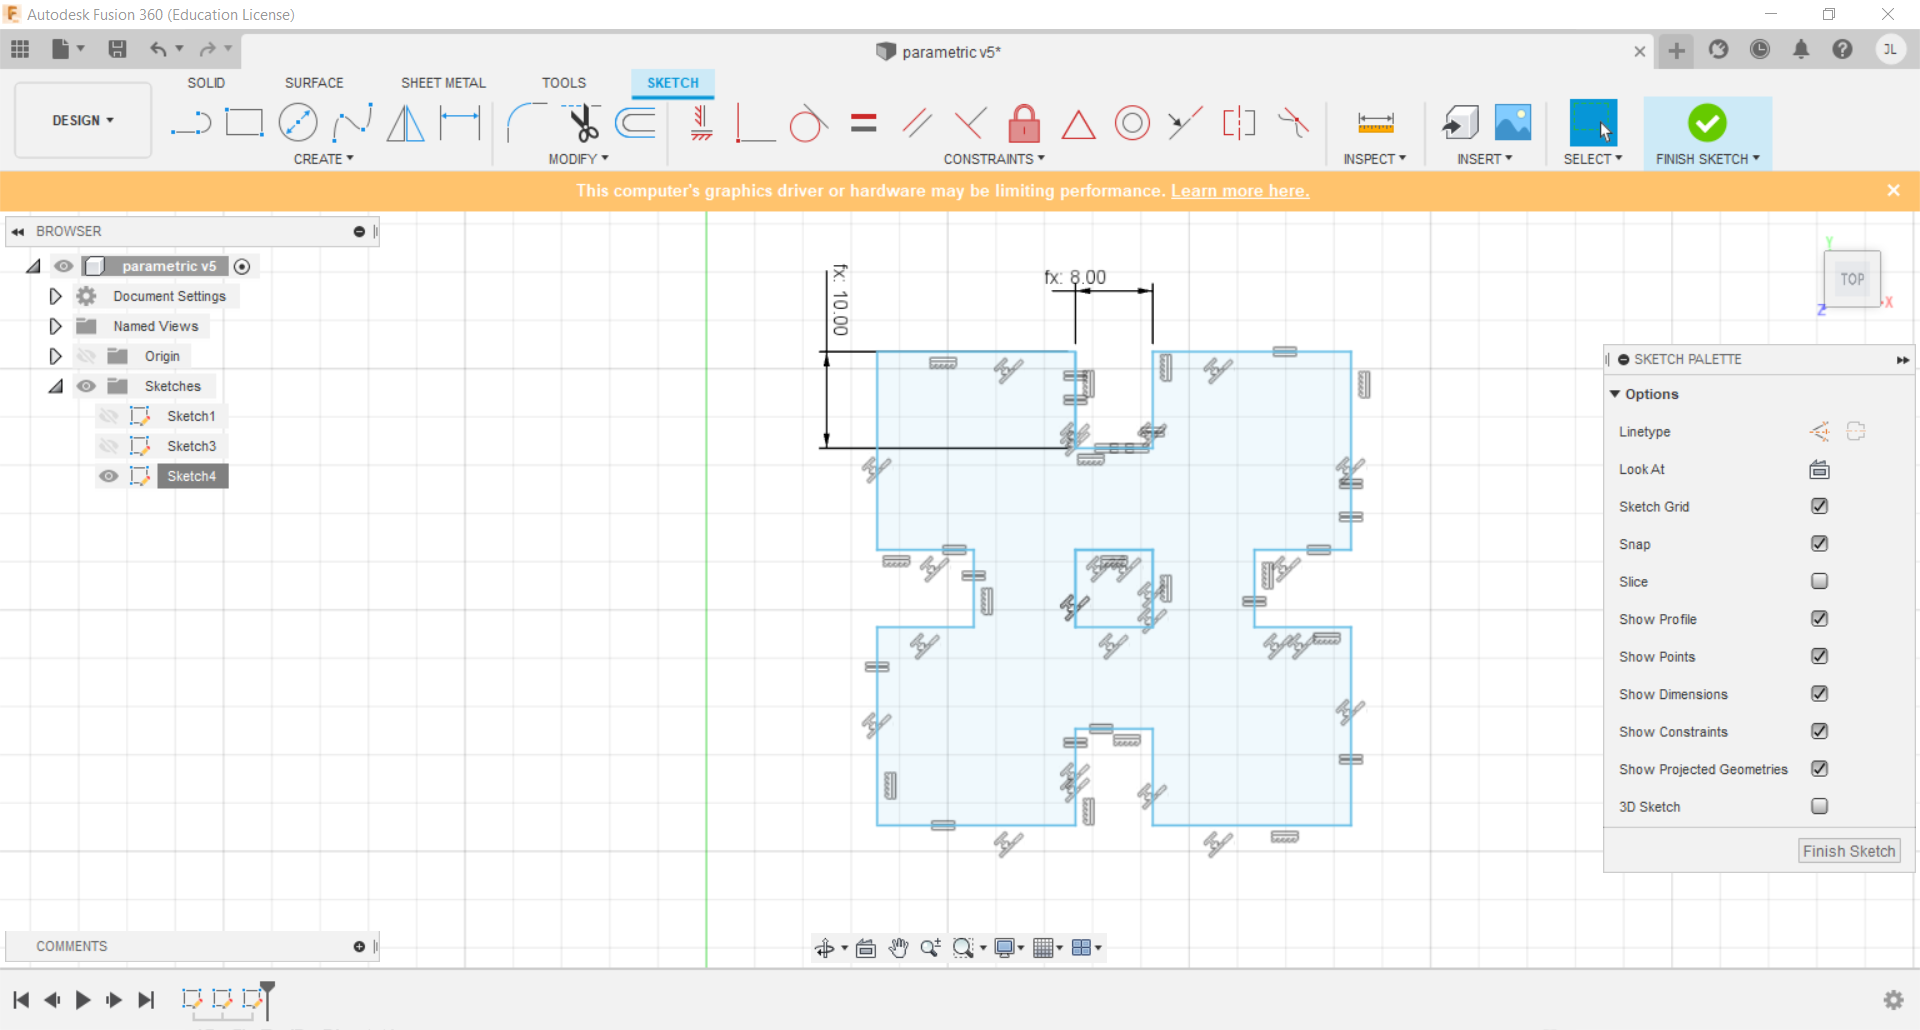
Our journey into the world of parametric design started in Neil's lecture when he showed us how parametric design allows for a more easily manipulatable design. Our lab at Wheaton showed us how to implement parametric design within Fusion360 with the defining Parameters within our designs, which allowed us to create variables that are easier to adjust than readjusting each aspect of our design seperately. Coming from a computer science background, I really appreciated the newfound ability to create variables to better structure and manipulate designs.
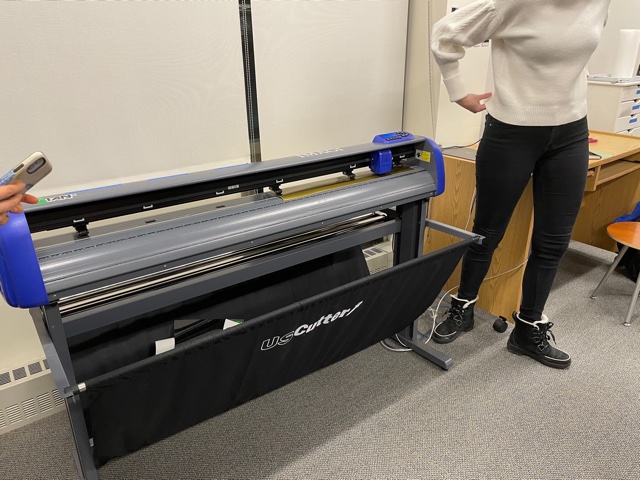
During our lab on thursday, my team and I started by taking a trip to the FiberLab on campus. Madison led us through how to use the vinyl cutter to create designs that can be applied to a plethora of materials from clothing to mugs to walls depending on the type of vinyl we used. We then broke off into groups and began designing a team logo to cut out on the cutter.
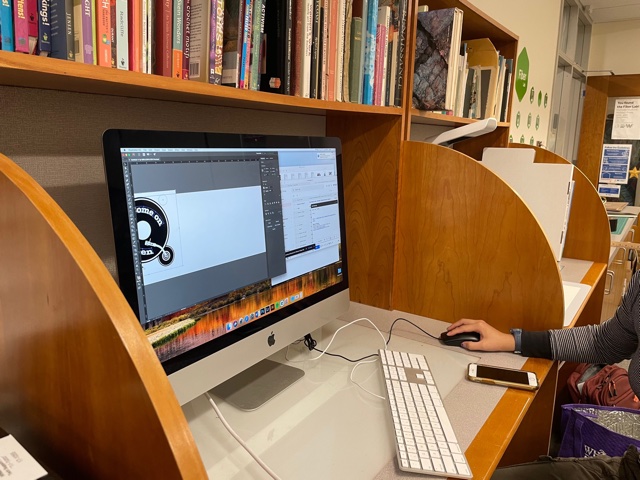
Our group is named "Come On Eileen" after we filled out a survey of our favorite song to dance to, which happened to be the same song for both Whitney and me. Thus, we decided to create a design that looked like a record with the arm of a record player and the words "Come On Eileen" curved to fit on the disc. We decided it would be best to use Adobe Illustrator for the desiging stage since we all felt most comfortable on the software and its tools and workflow.

We sent the file to the computer with the SureCutsAlot installed and set up the vinyl cutter for cutting. We positioned the rollers so that there were as many rollers as possible in contact with the vinyl and loaded the vinyl onto the rollers. We set up the design in the software, double checked the speed and depth of the cut, and set the cut.
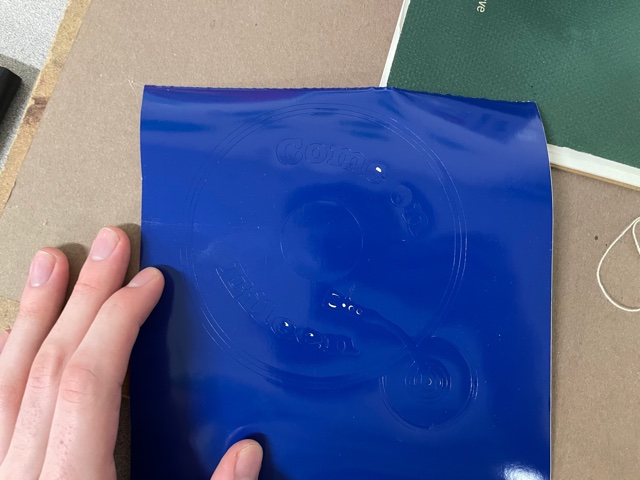
When the cut was finished, I began to realize how tedious the weeding process was going to be. I grabbed an exacto blade and began to weed the design.....
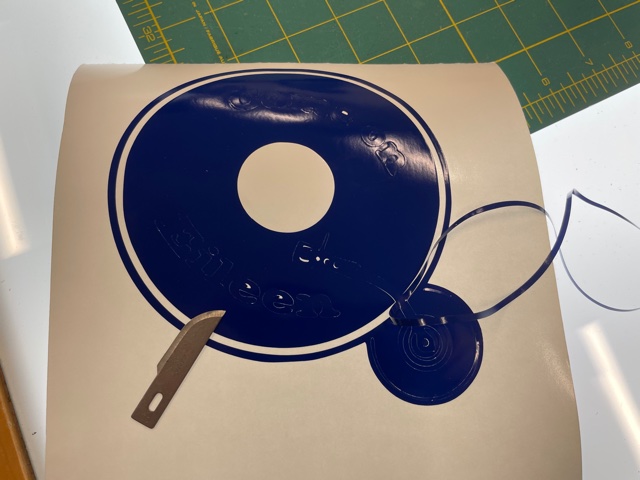
... and I weeded ...
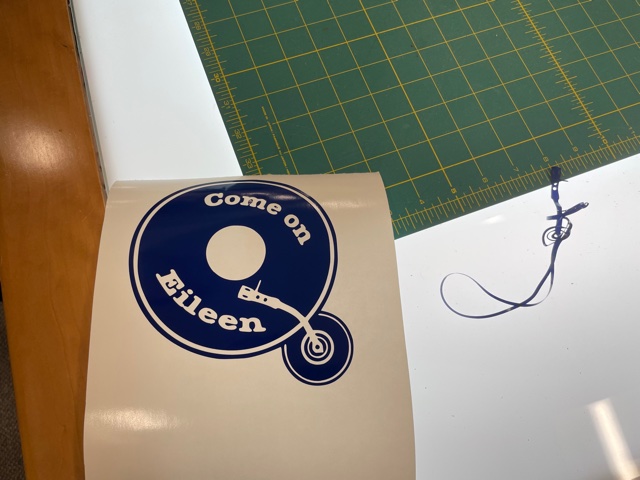
... and we weeded ... until it finally started to take shape. I then applied the transfer adhesive to the vinyl and attached it to my notebook. This was the first time since Highschool that I had used a vinyl cutter, and it was a great learning experience. I had used one a few times in the past for various signage and window decals, but nothing of this amount of detail.
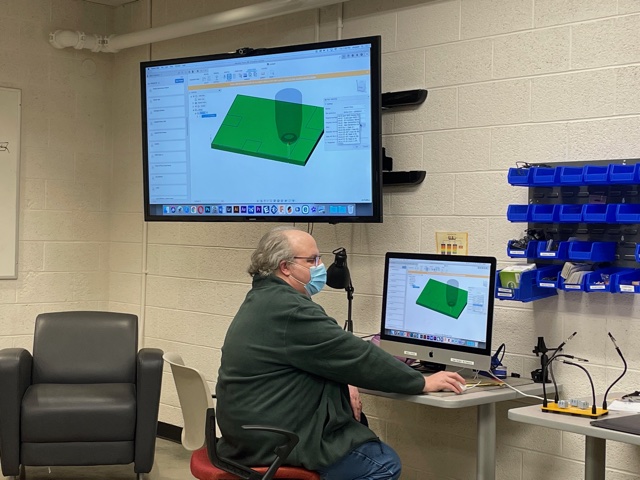
After working with the vinyl cutter, we ventured back to the FabLab to learn about how to transfer our designs for this week into laser cuttings. Professor Goodman led us through how Fusion360's tools allow multiple approaches to this problem and had us all find out the kerf of our school's Epilog laser (the amount of material the laser itself cuts as a margin when cutting).
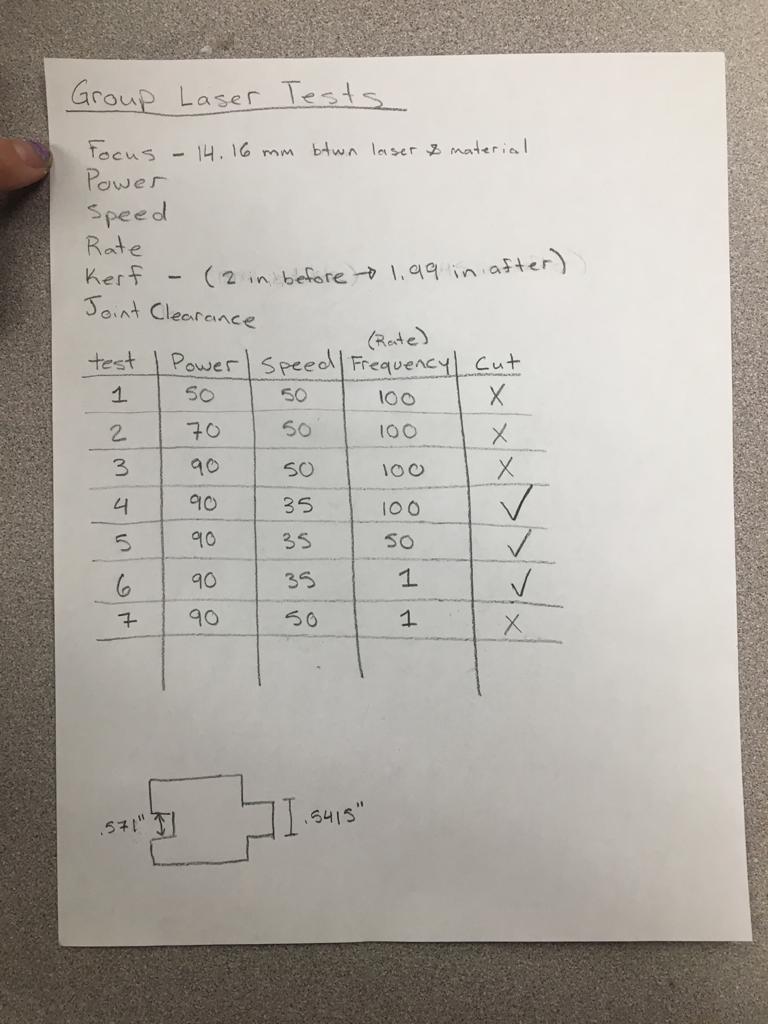
After designing a simple tile-able puzzle piece in Inkscape, we lasercut the design in order to learn about the laser's kerf. We found that the kerf of our laser was around .01 inches, which was difficult to measure with a caliper and cardboard. We then continued to experiment with different settings on the laser and detailed the power, speed, and frequency of the cut, and if the laser actually cut all the way through the material. This was a great exercise to feel more comfortable with the laser, which was very helpful with this week's project of parametric design.
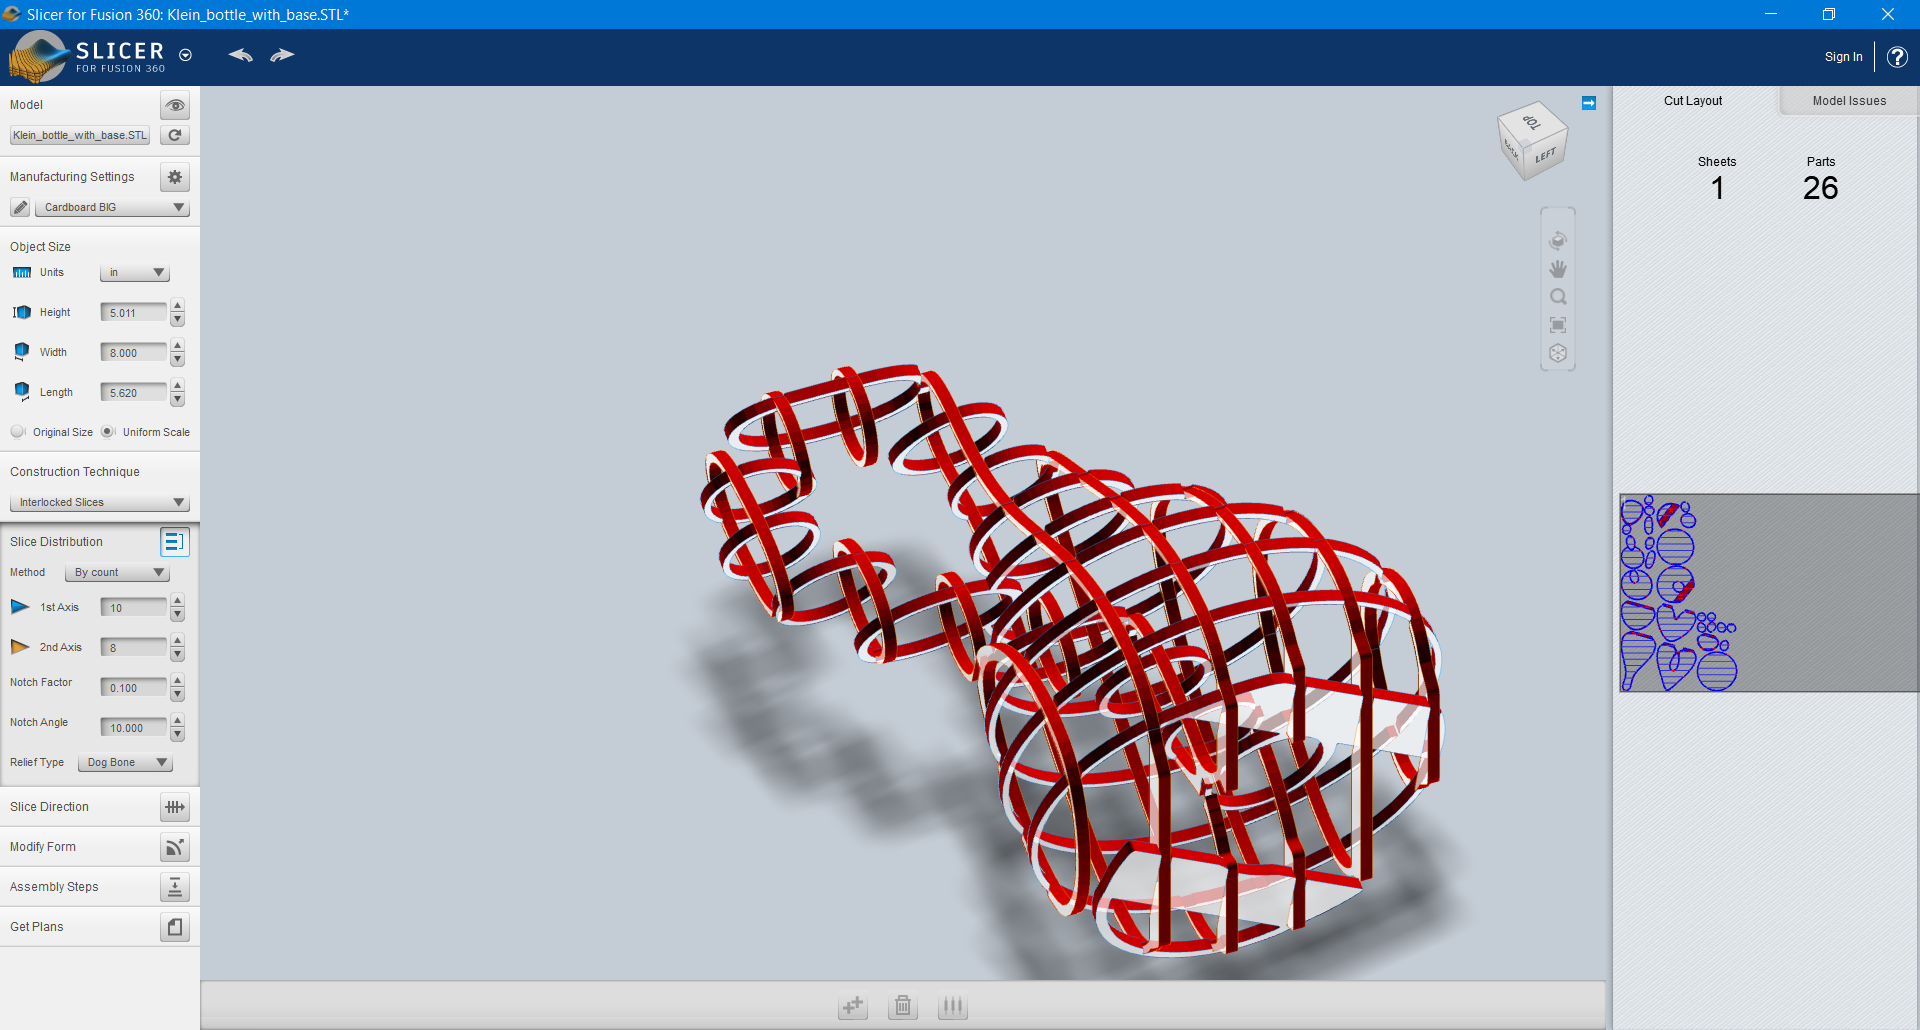
When I first started thinking about projects for this week, I began tinkering around with Slicer for Fusion360. This software allows users to slice 3D models into 2D slices, which is a great tool to transfer what is usually done on a 3D printer, to a laser cutter. I took a 3D model of a Klein Bottle and tried to get this to work in Slicer for Fusion360, however the shape was of course too complicated for my needs and I started to look into different avenues before consulting the assignment (and professor) again.
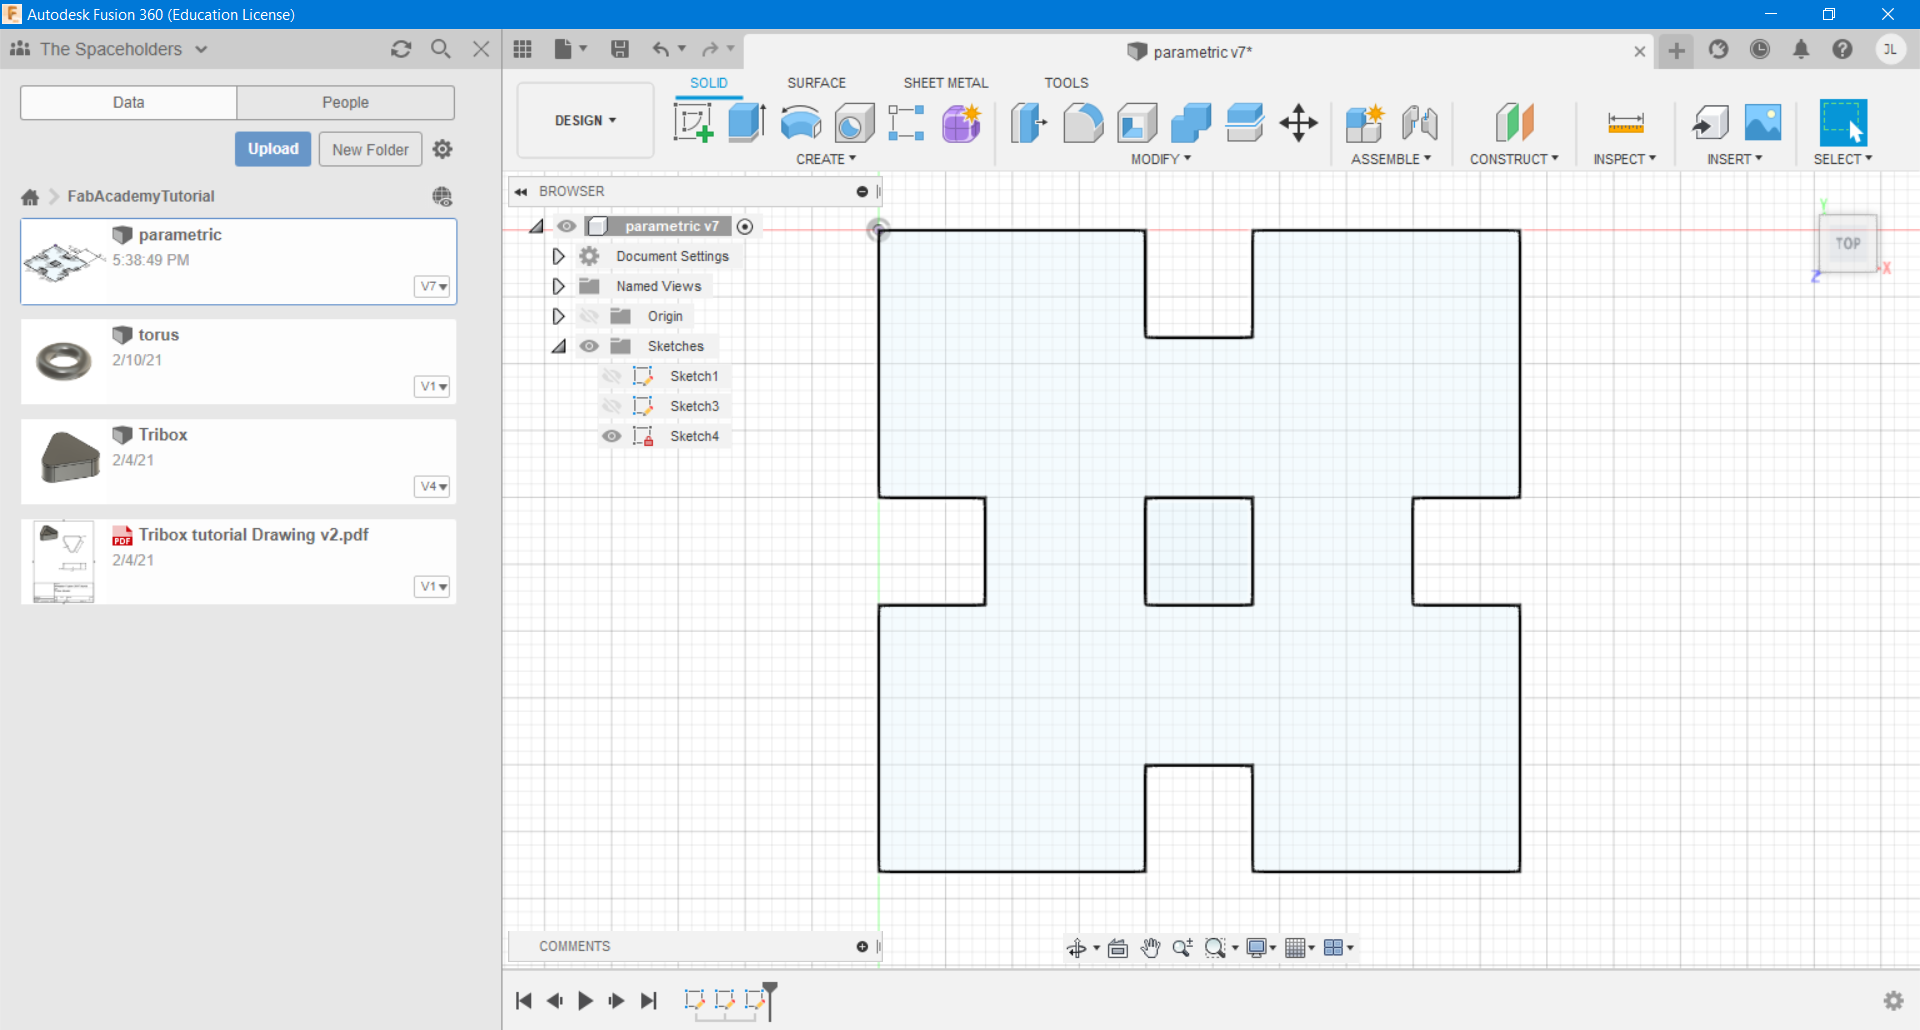
I felt that I could better attack the problem through creating my own design and leaning into the idea of a Lego or Lincoln Log set, which required more creativity to play with, rather than a step-by-step kit, which would feel more like an instruction manual to build rather than something to enjoy tinkering with. I started creating a sketch of a square that would interlock with other squares using finger joints.
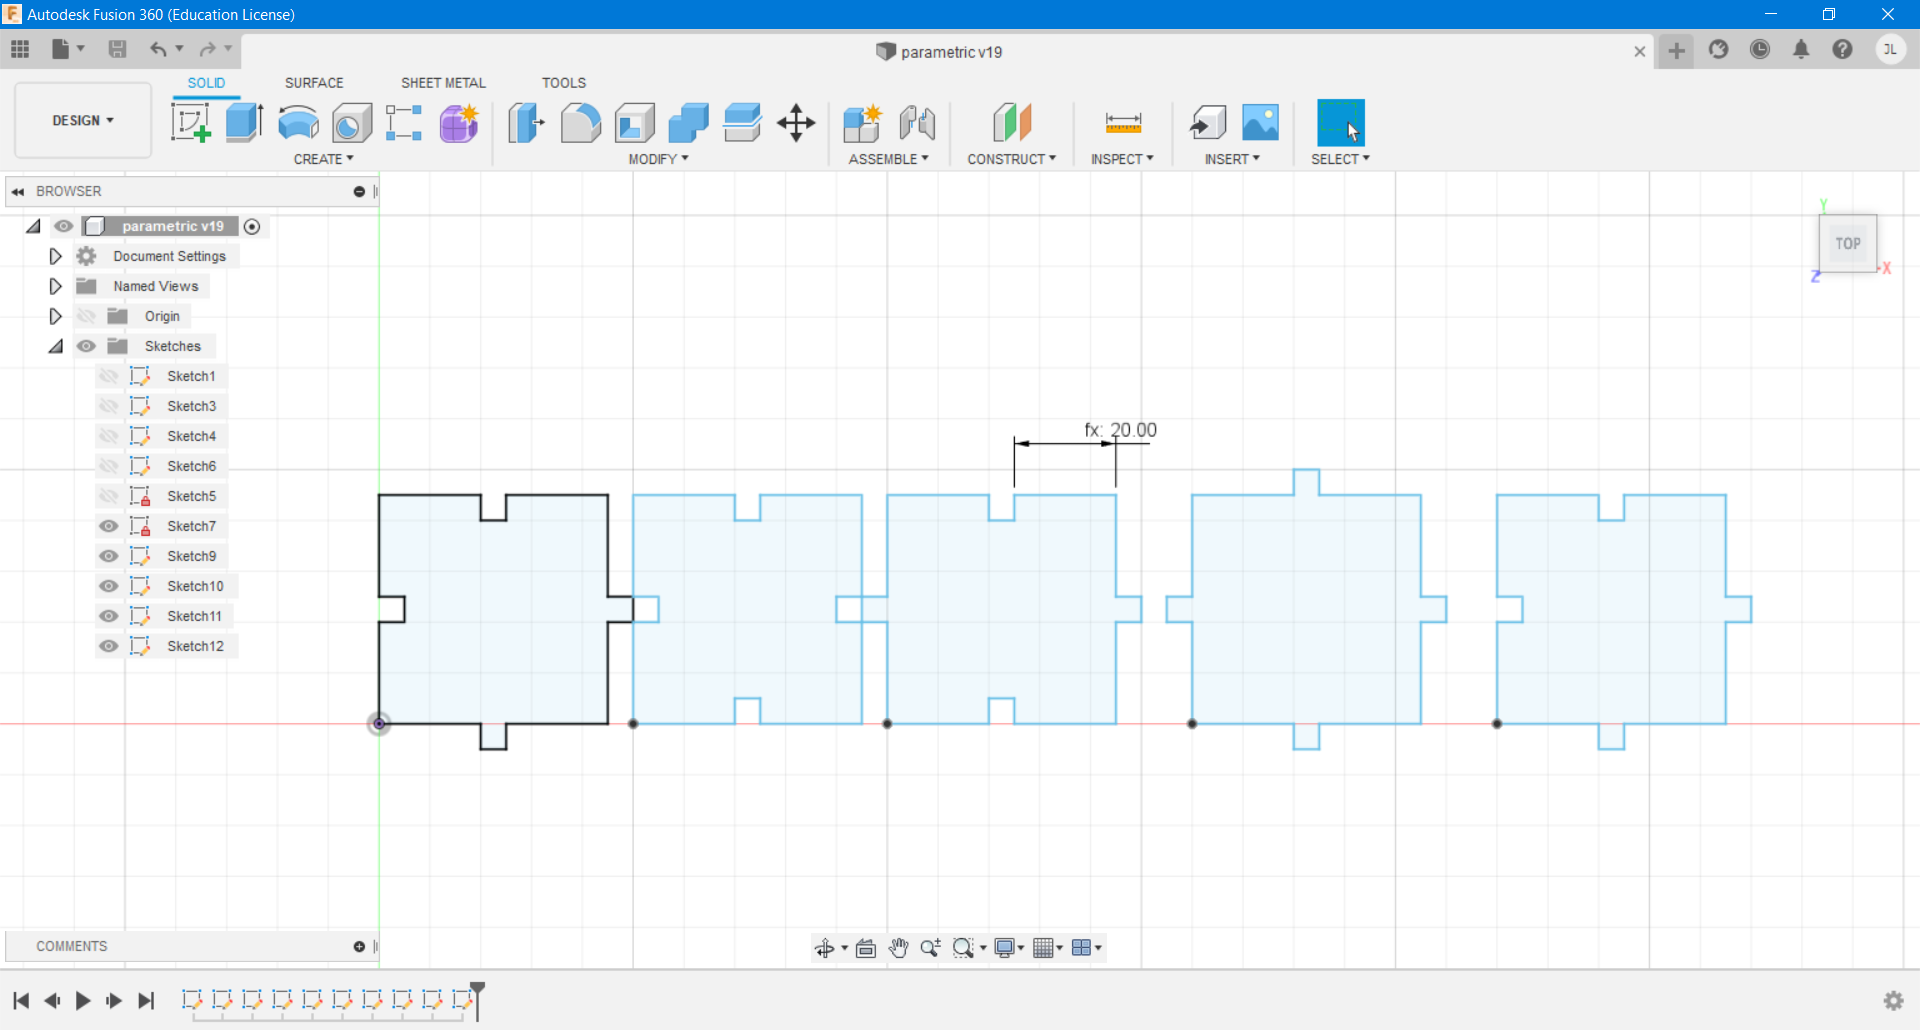
After troubleshooting with constraints, and finally getting a design I was happy with, I began to think more about how the end product was going to function. I was very proud of the parametric-ness of the design, however the joints did not seem to be as innovative as I was hoping. The idea of loose finger joints made me sad, and I began to go back to the sketching-board.
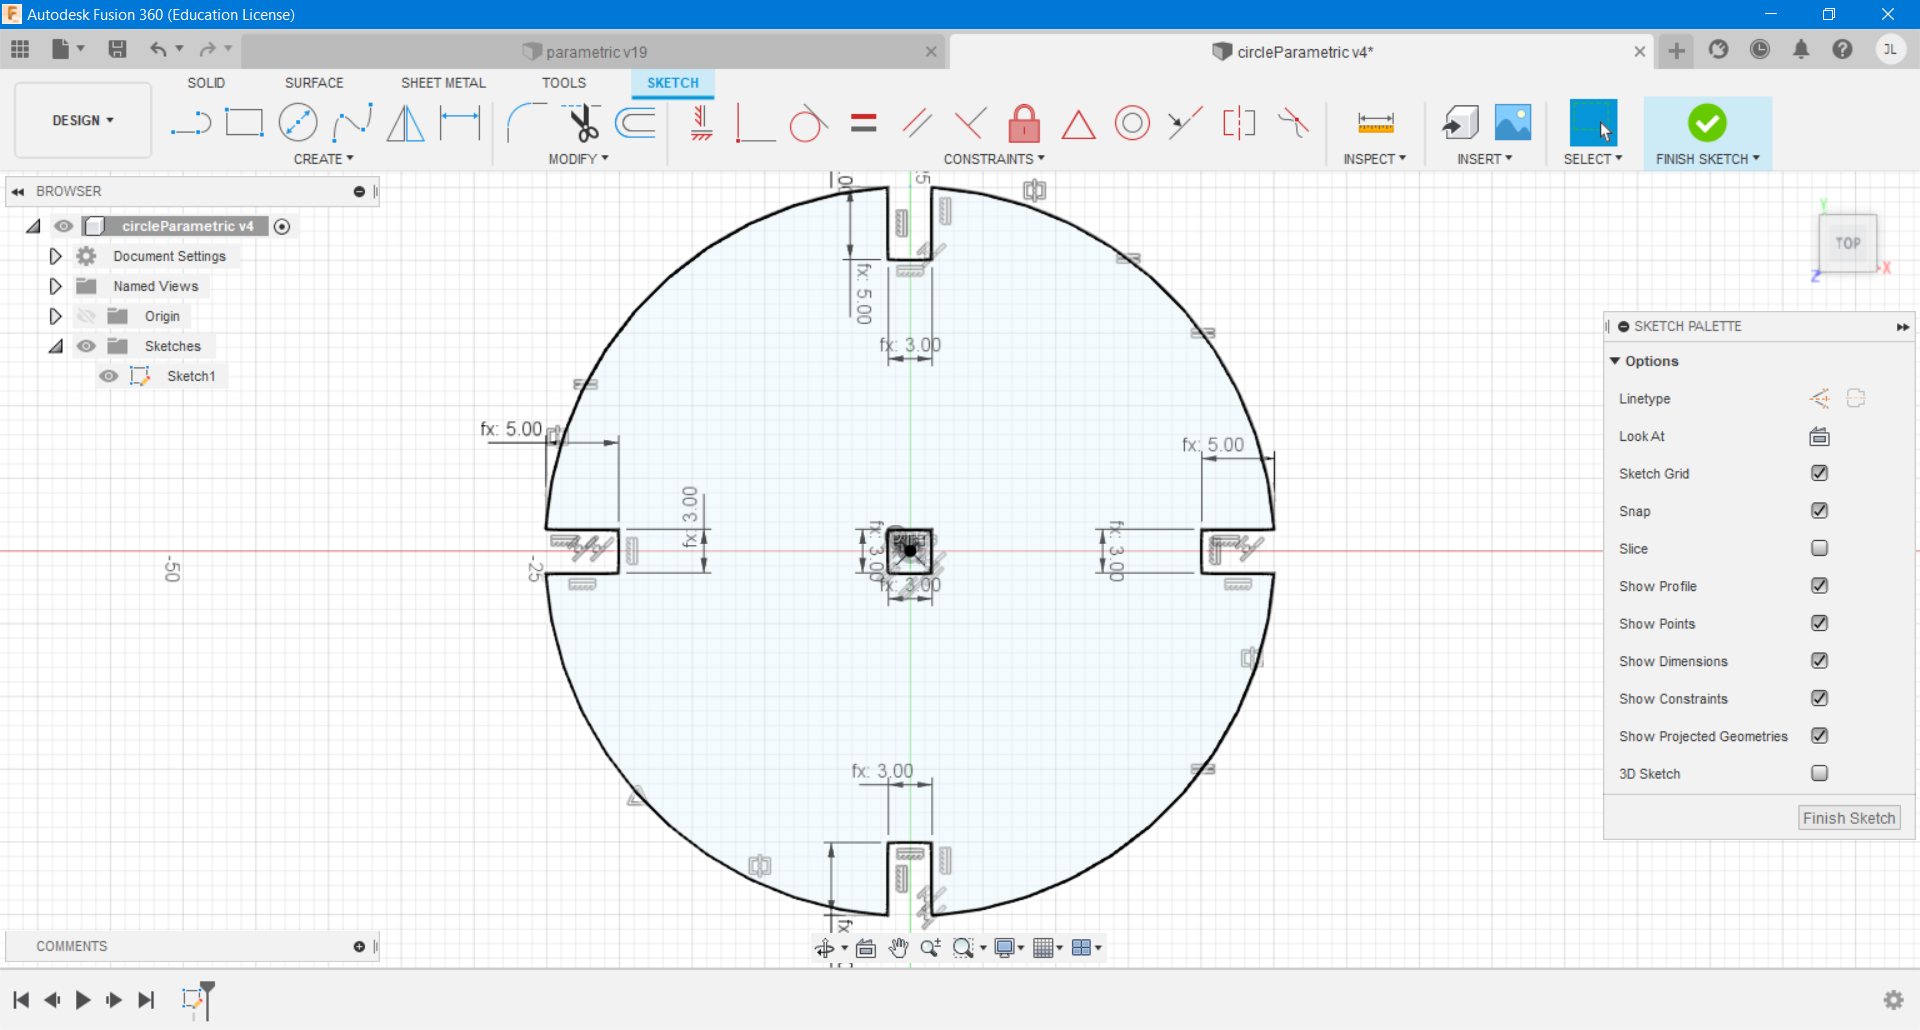
I then designed a circular model of a parametric construction kit, that would utilize more of a tongue and groove approach over the finger joint. This was an idea I was thinking about implementing in the square design, but felt that having squares with this joint would not lend much to creativity and create very similar outcomes no matter how you arranged the shapes.
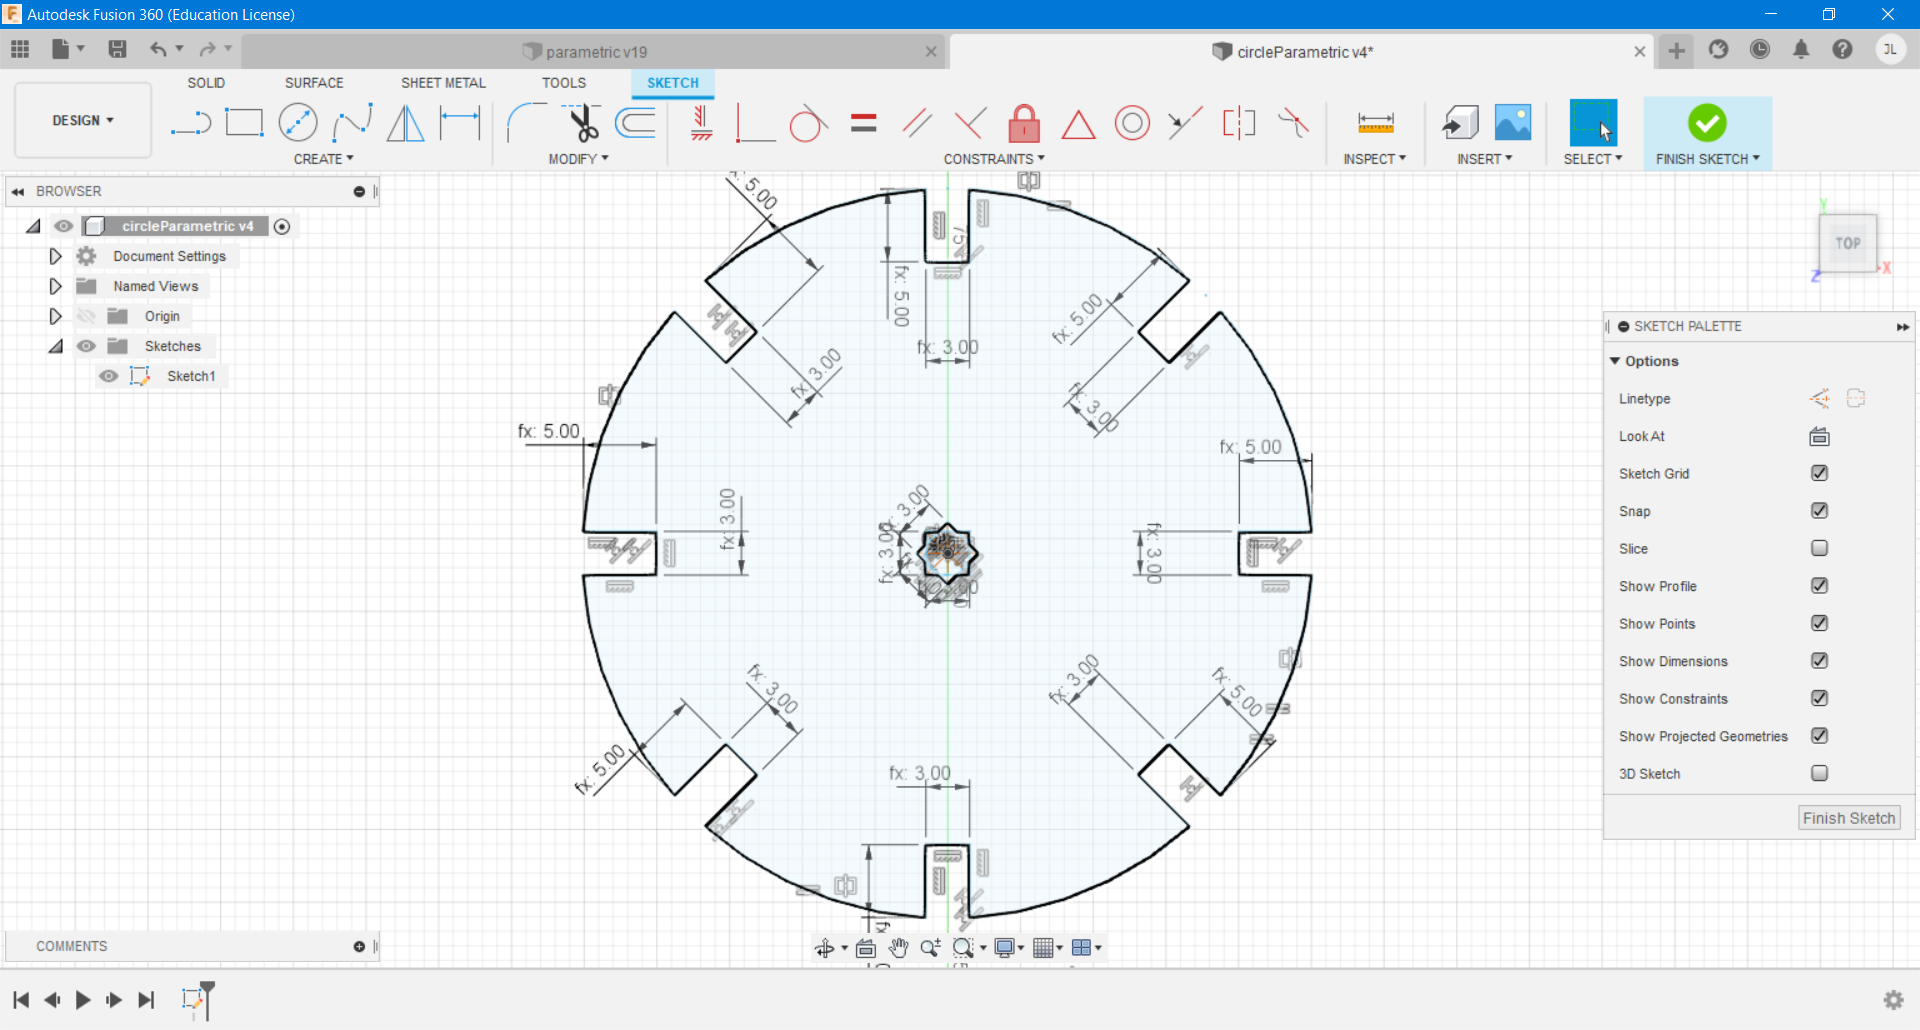
I decided to add more slots for even more customizability when building, and began to transfer the design to a manufacturing tool path. For this, I followed a guide from a professor at Wheaton (I did not link as I do not yet have permission to do so). I went to the manufacturing dropdown and began to create the tool path. I added the laser kerfing so that the pieces would be a tight fit, and fired up the laser cutter.
After printing the first set of circles, I felt accomplished. I wanted to practice the spiral design process, and planned to have these two as a practice run before I went a little crazy. I wanted to add kerfing/bending to my design (oooh). I looked up some inspiration and got to it.
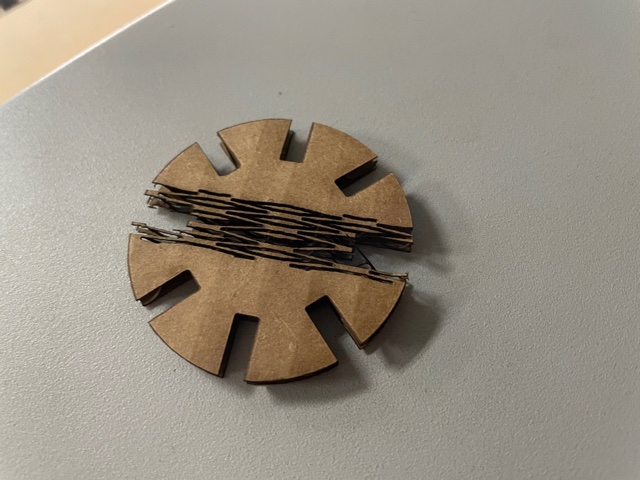
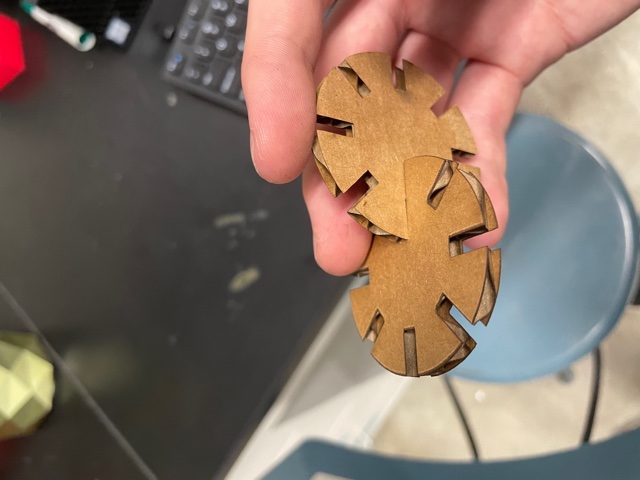
My first attempt at a diamond-esque kerfing design did not work as intended. I did not allow for the kerfing's additional cutting in the shape, and also realized that removing the slots that the kerfing would intersect with might make a more elegant final product. Back to the drawing board I went......
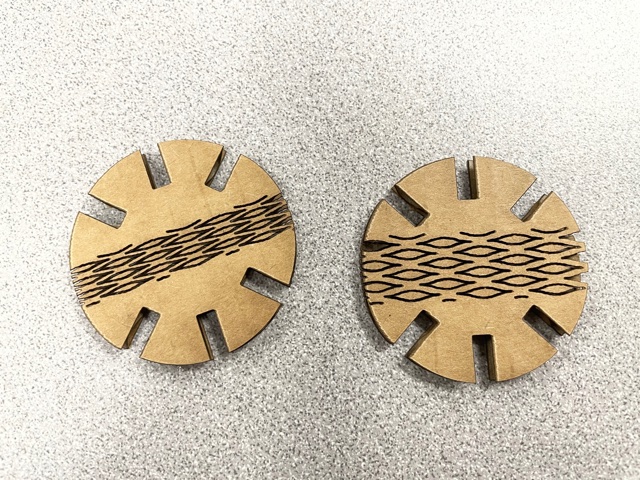
I then removed the aforementioned two slots and created two new designs: one with a slightly wider kerfing, and one with an even wider kerfing. I felt that widening the kerfing would increase the structural integrity of the design and having two different versions/amount of flexibility would be an interesting variable to keep in the final product.
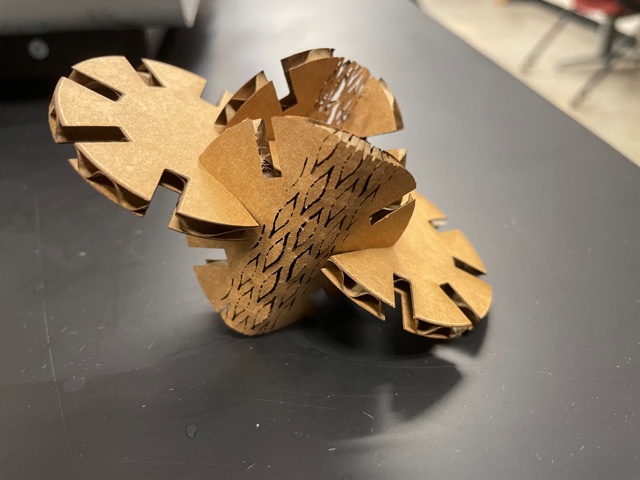
Adding the variable of the curved pieces made the construction kit that more fun to play with and build with. This increased the possiblities of what one could build, and made it feel that there was no ceiling of fun that one could reach.
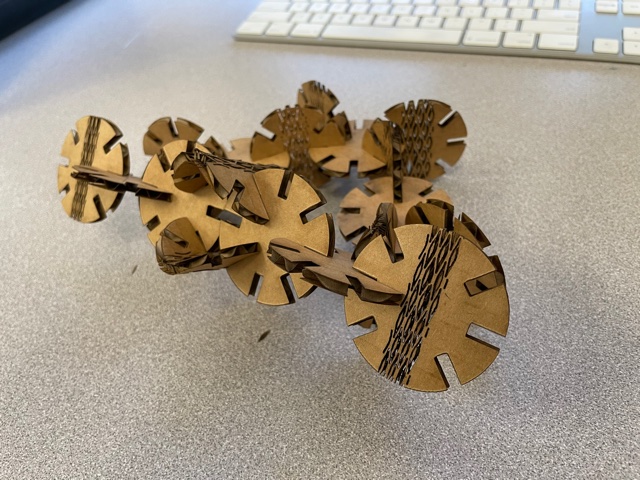
After printing more of these pieces, I began to play around with building with them and was very glad that I added the kerfing to the design. This allowed the design to more easily change angles and directions and create more interesting designs. I tinkered for a while until I got an interesting design.
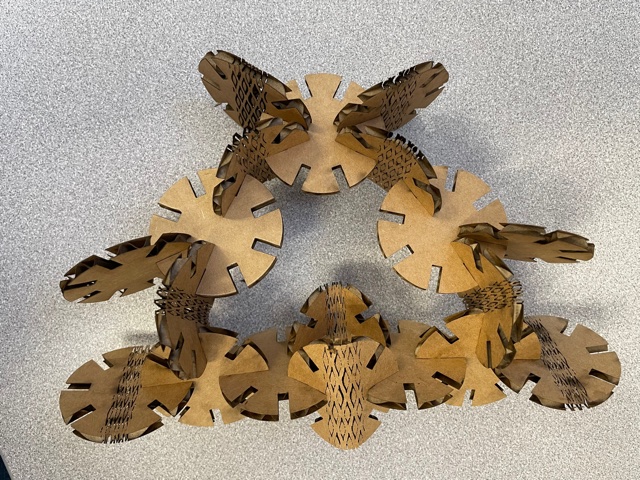
This design utilized parametric design in order to create a final product that could be changed by manipulating variables defining its size and dimensions. This turned out better than I was anticipating, and was fun to build with, especially knowing the amount of possible designs.
Files:
parametricCut.ai
parametricCutAI.svg
squareParametric.svg