Final Project
Fabrication Process

A catalog of the long grueling process behind my final project
Overview
I will be creating a tomato design that will include an OLED display, a joystick for menu navigation and Neopixels around the design. I will fabricate two tomatoes, that will be able to communicate and set up a synchronous timer for group work.
My plan is to make the inside of the design by 3D printing to house the microcontroller and other brains. I would then surround the 3D print in Neopixels and make a mold to create a translucent silicon shell for the design so that the Neopixels will shine through. The neopixels will be green when the timers start and will slowly turn red as time develops and you reach closer to a study/work break.
When I started making this project, I made it with my girlfriend in mind. I wanted a way for us to both stay motivated while working, and thus designed the box in a way that meshed with her interests and motivations. Thus, I changed the design from a tomato-shape to a plant-pot holder since she loves plants and the environment. I also added other features to the design that I will discuss later that follows this trend.
What will it do?
It will set up timers for focused work time, and allow multiple people to create a shared timer
Who's done what beforehand?
There have been implementation of other Pomodoro timers, but none that I have found that include both hardware and creates a shared timer
What will you design?
A small tomato shape that will include microprocessors, LEDs, and a display
What materials and components will be used?
Electronics, soldering, CNC Milling, 3D printing, casting/mold-making
Where will come from?
I will be ordering parts off of amazon and digikey
How much will they cost?
Spreadsheet is attached here
What parts and systems will be made?
The outer body, the decals, the code, and the circuit boards will all be made by me.
What processes will be used?
I will be using 3D printing as an additive manufacturing method, desktop milling and vinyl cutting as methods of subtractive manufacturing, soldering, RFM69HCW chips for networking, and mold-making/casting for a diffuser for the Neopixel LED ring.
What questions need to be answered?
- Are ATiny3216s able to communicate via RFM69HCW radio signals?
How will it be evaluated?
It will be tested for functionality with individual timer usability, and if the radio communication between devices work
Additive Manufacturing
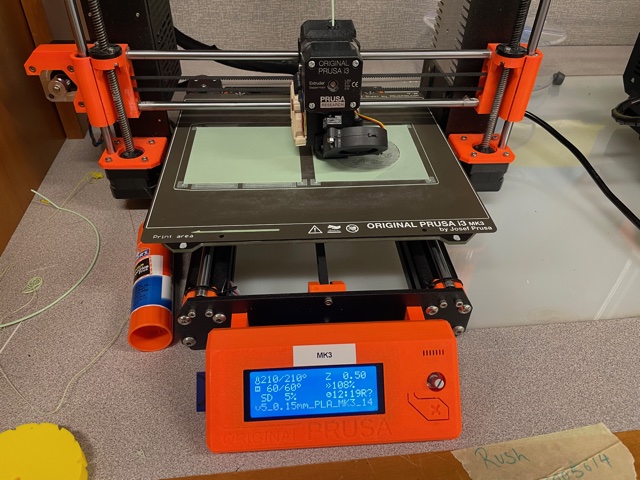
For Additive Manufacturing, I designed a 3D printed plant-pot holder which would house the electronics of the project. This design boasted an indent on the top where the plant pot would be placed and had a hole so that a UV light strip could be a gooseneck stand for a microphone to encourage plant growth.

The 3D design was created using Fusion and sliced using PrusaSlicer. In Fusion, I started by creating sketches for the general shapes and parts of the design. This included a sketch of the OLED, Joystick, Neopixel ring, plant holder, and other features. In my original design, I encorporated an indent inside of the box where the circuit board could fit snuggly, however with the unreliable performance of our desktop mill, I had to use a student's personal mill, and was unsure if I would be able to properly cut out the design for the outter cut for the circuit board.
Subtractive Manufacturing
For subtractive manufacturing, I was planning on both creating a circuit board and using our school's Epilog Laser Cutter to design some wooden decals for the side of the plant-box. However, our Epilog Laser Cutter had to be moved to another building and there was a problem with the air compressor, resulting in a broken lense. Since we did not have any back-ups, I was unable to use the machine, so I decided to use the vinyl cutter instead.
As I described earlier, this product was made with my girlfriend in mind, and thus I decided to use two seperate designs for the vinyl cutting. The first would be for the Pomo-Pal I would use and included a vinyl anvil, while my girlfriend's had a vinyl bird. I found a design on the internet for the anvil and the bird, and added them to illustrator, removing their background with the image trace tool. I then set up the vinyl cutter and Sure Cuts Alot, the software we use for vinyl cutting.
Soldering
This project involved an extensive amount of soldering, since I was milling my own boards and making two separate modules. I used both hot air gun soldering and the soldering iron. This process took surprisingly long, and was quite convoluded, since I had so many components that used a ton of pins on the ATTinys. Since I used an RFM69HCW
Networking
It took me a while to decide how I wanted the networking of my design to be performed. To me, there were three main options which I will detail below:
- Mesh Network with XBee/ZigBee:
- SPEED: .01 mbit/s
- DISTANCE: 10-100 meters
- ATTINY FRIENDLY: Yes
- CURRENTLY IN STOCK AT LAB: No
--> This option would allow a more populated area of users to communicate via hopping the signal through nearby users rather than via sattelite, internet, etc. This would be super fun to work with, but may be unrealistic in areas with little user density and over very long distances - Radio Communication with an RFM69/95 transceiver:
- SPEED: .05 mbit/s
- DISTANCE: .1 - 2 km
- ATTINY FRIENDLY: Yes
- CURRENTLY IN STOCK AT LAB: Yes
--> This option would allow for more reliable connection over longer distances, while also not needing users to be acting as intermediate antennae. This will most likely make development easier, and will also have many benefits in implementation. - Internet Connection with Flask Front-end and SQLite Backend
- SPEED: 54 mbit/s
- DISTANCE: Global
- ATTINY FRIENDLY: Sorta (need more powerful procesor)
- CURRENTLY IN STOCK AT LAB: No (ESP8266)
--> This option has incredibly better speed and distance, although I am far more interested in distance than speed with this project, since there will only be a small amount of data sent between devices and a delay of seconds to minutes would not affect usability. This option would require far more work, creating a server for messages and using a more powerful processor and ordering ESP32's.
Given these, I felt that it would make the most sense for my application to either implement Radio communication. Although I would love to tinker around with Mesh Network, and feel like it would be super cool, its need for high user density to have a reasonable connection distance. And in the case of the internet connection, creating a SQL backend, and an API for the devices to communicate through would involve an extensive amount of software development, which would force me to focus more on coding than fabrication, which is not my goal with this course. I have created a similar project before with an SQL backend and Flask front-end, and feel that although this is in my skillset and abilities, it would not properly exhibit what I have learned in this course.
Moldmaking and Casting?

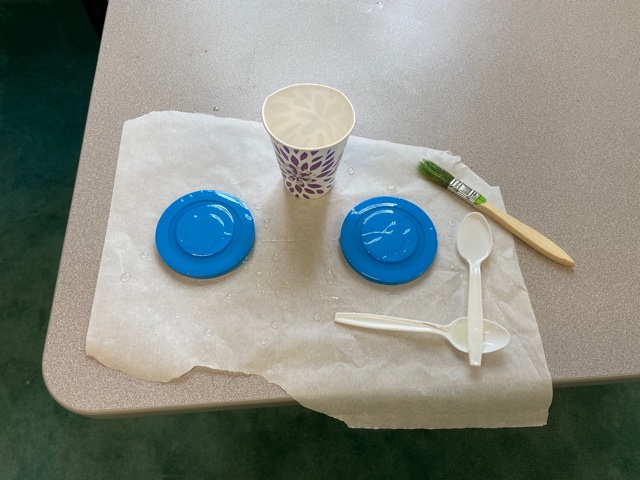
I decided to create resin rings to use for the Neopixel LED ring in my design. I spent some time creating a 3D model in Fusion of the top of the box, and slightly adjusted the proportions in order to make sure that the resin would fit perfectly and I would be able to 3D print the design and use it as a cast. I then collected the 3D print and after applying a coat of spray to decrease adhesion to the print, jI filled the design with resin.

Unfortunately, I was still unable to separate the resin from the cast, and thus ended up having to scrap this part of the design. With more time, I would have been able to make a proper silicone cast, and casted the resin into that, however I was experiencing an intense time crunch, and thus was hoping that this shortcut would work (it did not).
Links/References
Here is a list of references I haved used and will continue to use for inspiration or for guidance.
- Pomodoro Technique:
- Description of technique
- Similar Projects:
- Homebrew Love Note with front-end and back-end
- Learning Resources:
- Flask and Python Development
- Flask App API Design
- STL Files:
- Plant Pot
- Plant Pot Top
- Resin Mold Design
- GCODE Files:
- Plant Pot
- Plant Pot Top
- Resin Mold Design