Computer Aided Design
This week I learned both 2D and 3D design.
3D Design
For 3D design this week, I used Fusion 360 and TinkerKad, which I have used once before, and Adobe Illustrator, which is completely new to me.
Fusion 360
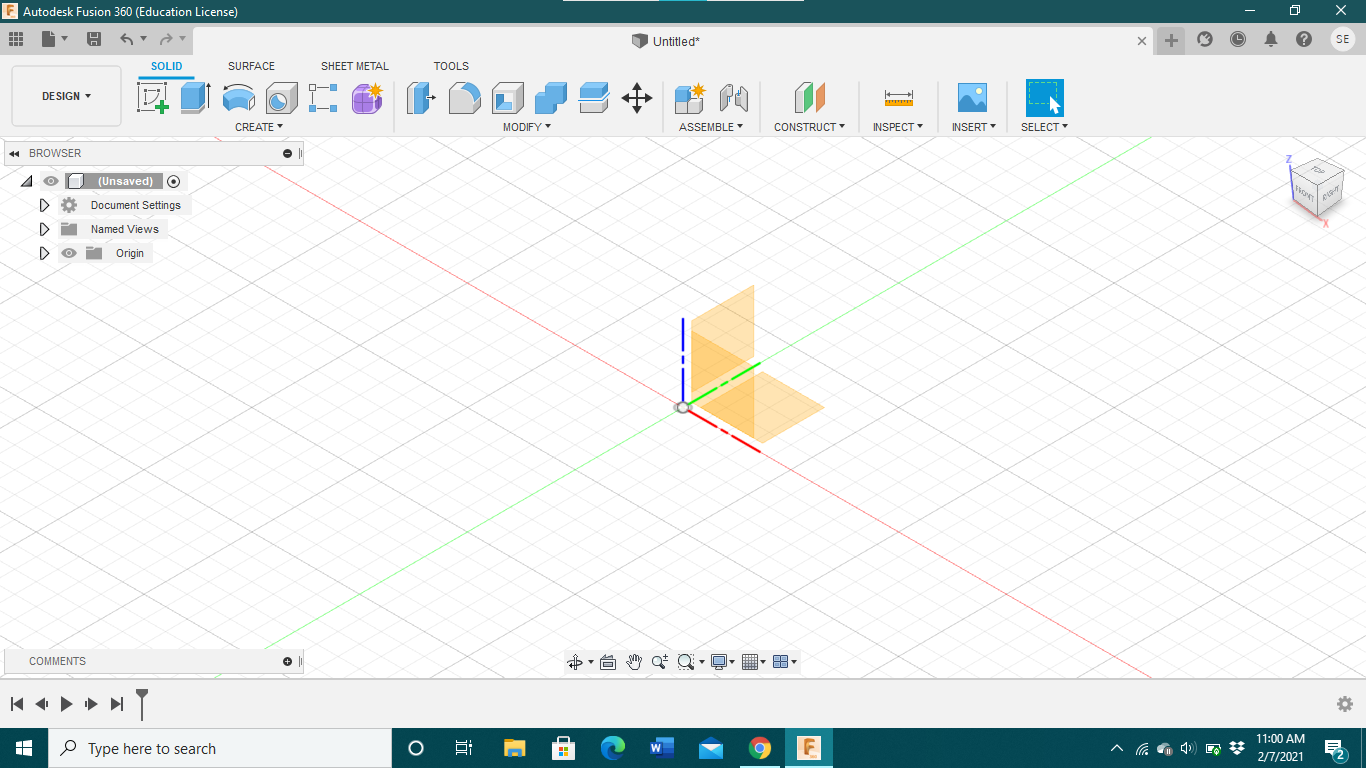
Fusion 360 is cloud-based and generally used for product development. I've followed a very basic Fusion 360 tutorial once before, so I used this week to explore more of its functions and features. I really liked how everything was so numerically based, and was very up-front with units, ratios, and constrictions. I am not a very visual person, so having to input measurements for each step made the process much easier for me. I started off by making a rough model of my Final Project idea, a Smart Diffuser.
My diffuser will have three main parts: the exterior shell, a water chamber, and a shell to hold electronics. I began by making the electronics shell. Fusion 360 starts off by asking what plane you would like to build on. I chose the X plane to begin.
I clicked on the Create Sketch button, selected Center Point Circle, then drew and extruded my circle 5 mm. I don't know the exact dimensions of my final project yet, so I estimated.
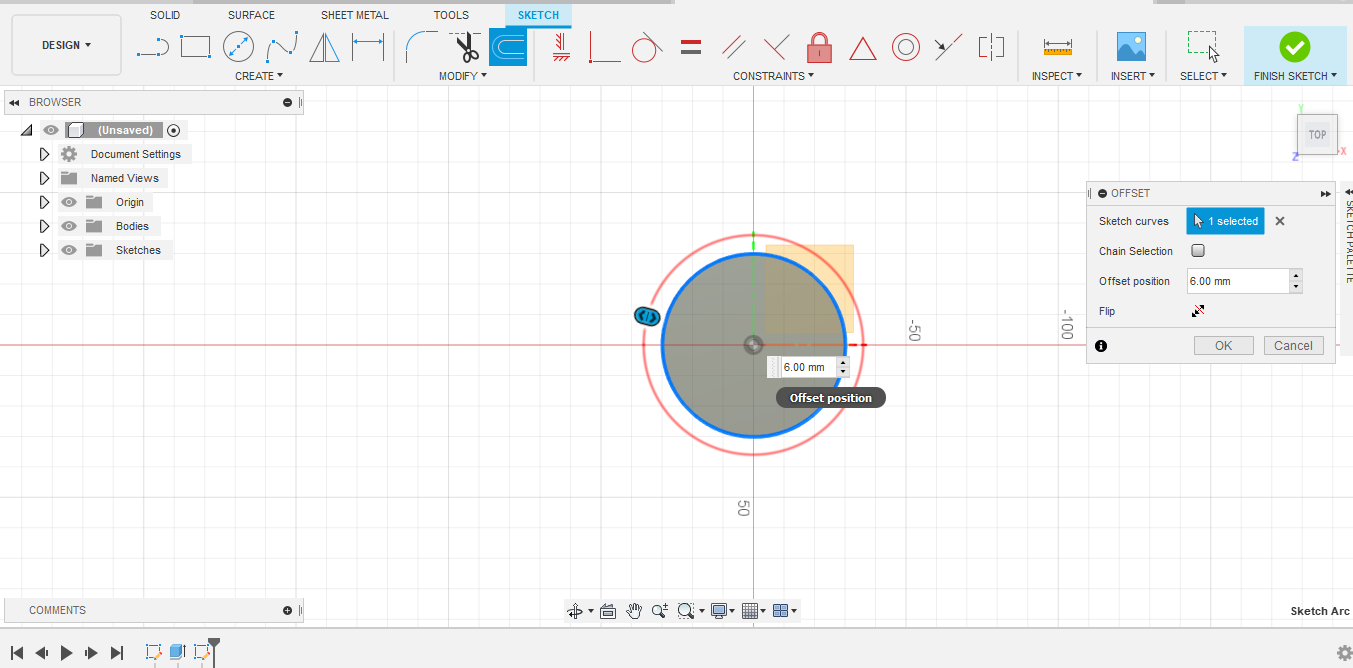
Then I created an offset circle, and extruded that upwards.

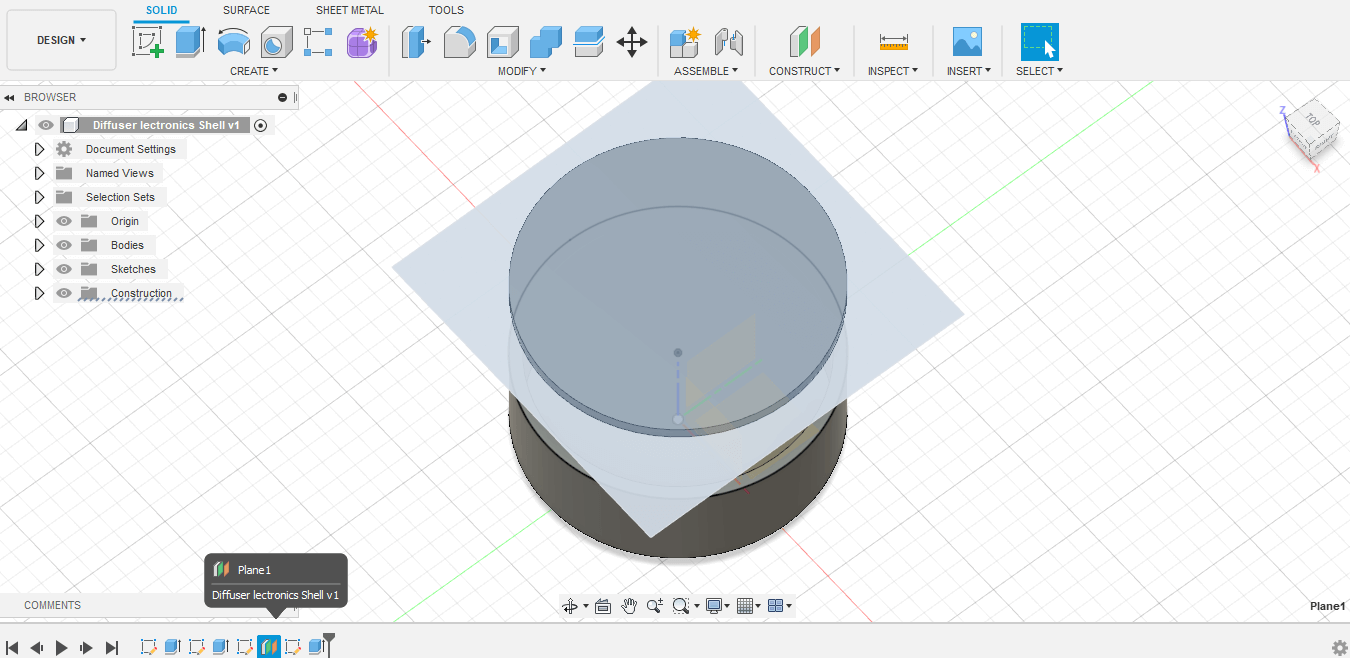
I decided to made a lid to encase the electronics, so I created an offset plane, made another Center Point Circle, and extruded that 5 mm as well.
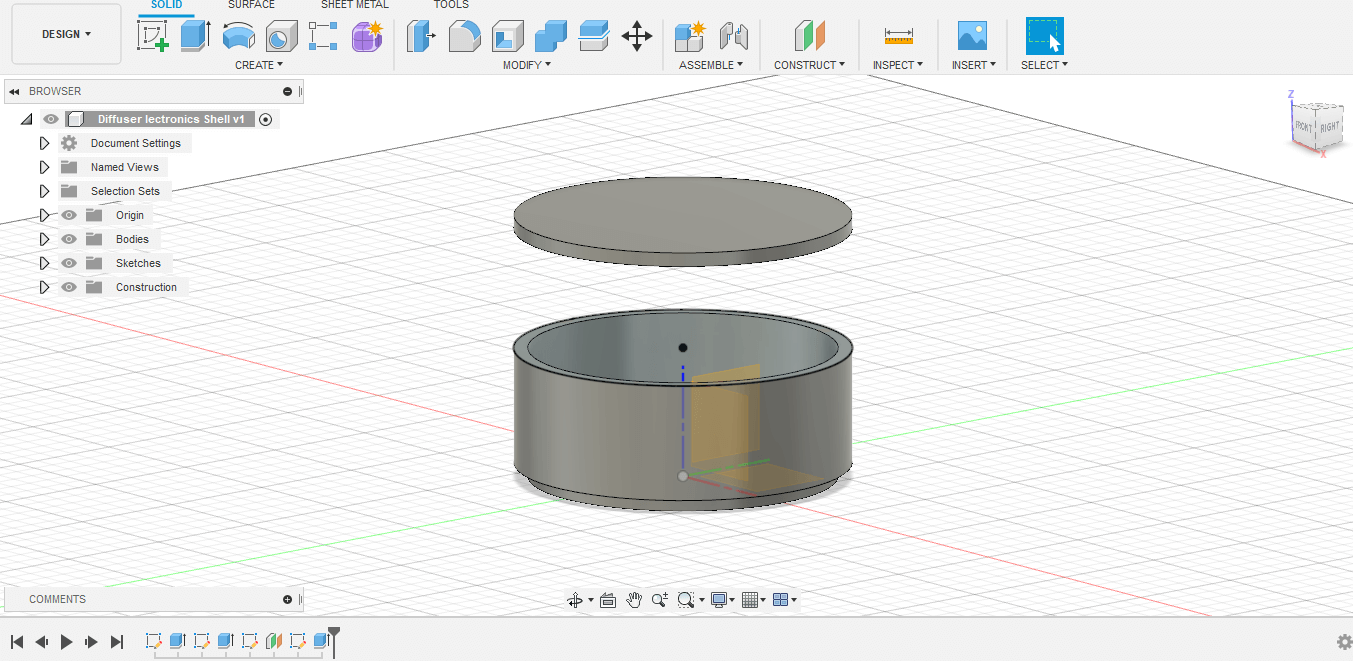
Then I created the water chamber. This was the same process as the electronics shell, so building it didn't take long at all.
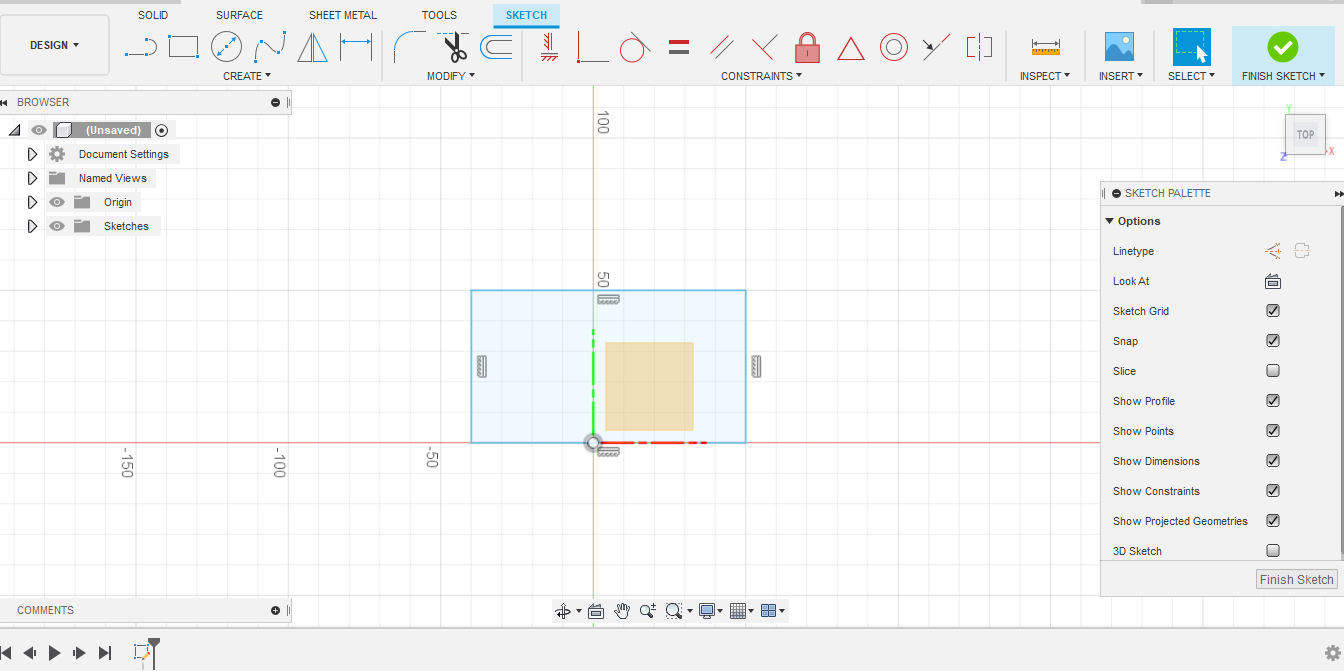
After that, I got started on the most daunting part of the diffuser: the exterior shell. At this point I was only familiar with extruding, so I wasn't sure how create a circular shape. It took a while of playing with tools (the result of which I will show right after this), but I finally figured out that there is a tool that will rotate your sketch around a chosen axis. To make the 2D sketch, I made a rectangle.
Then I created an arc connecting two points of the rectangle. I also added a line down the center to use as a vertex to rotate around.
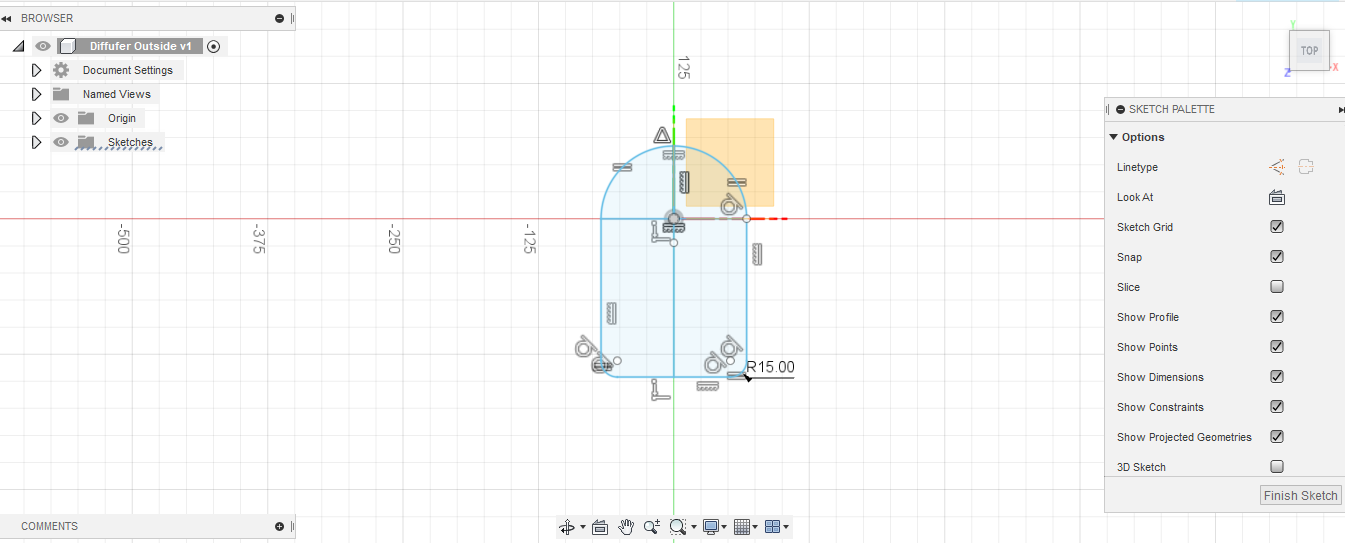
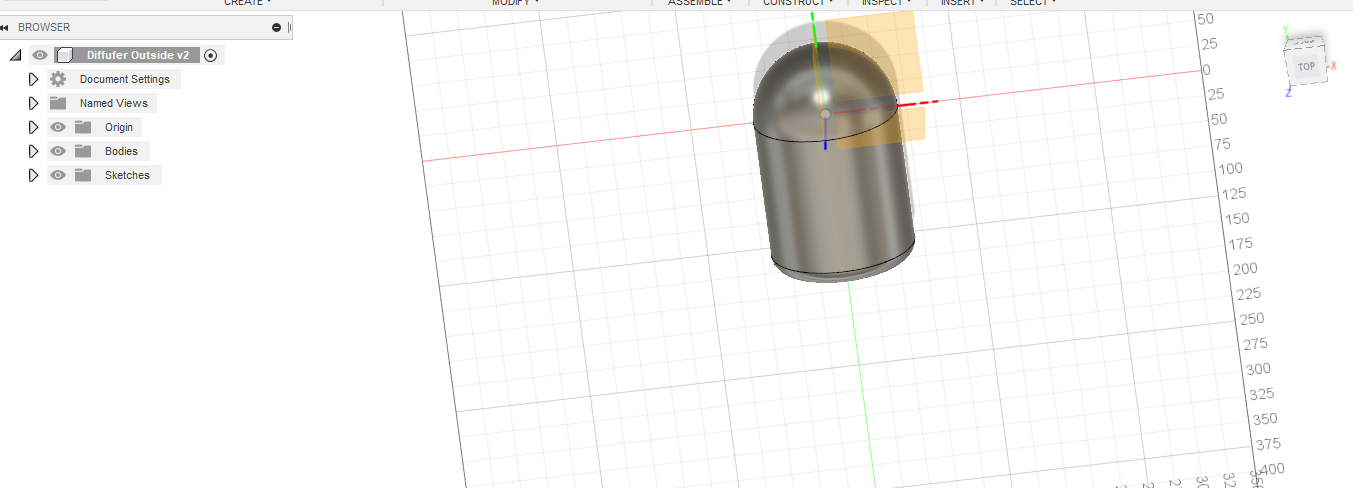
Once that was finished, I was ready to rotate it.
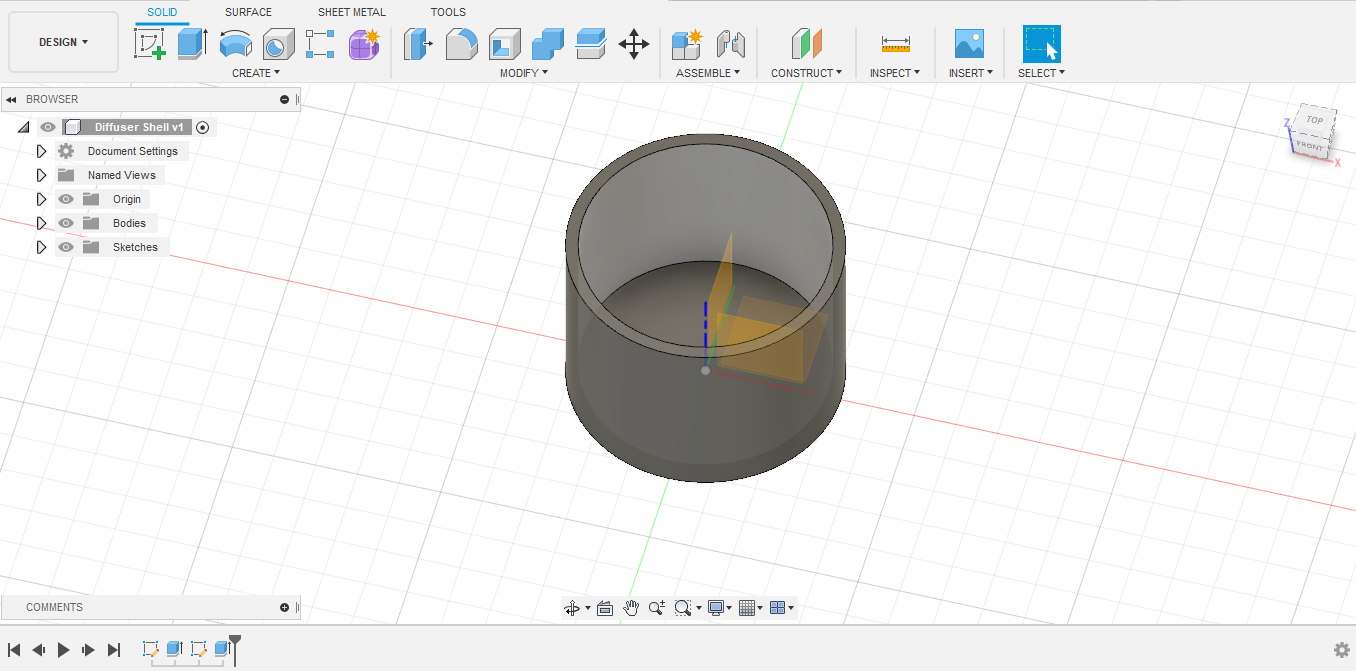
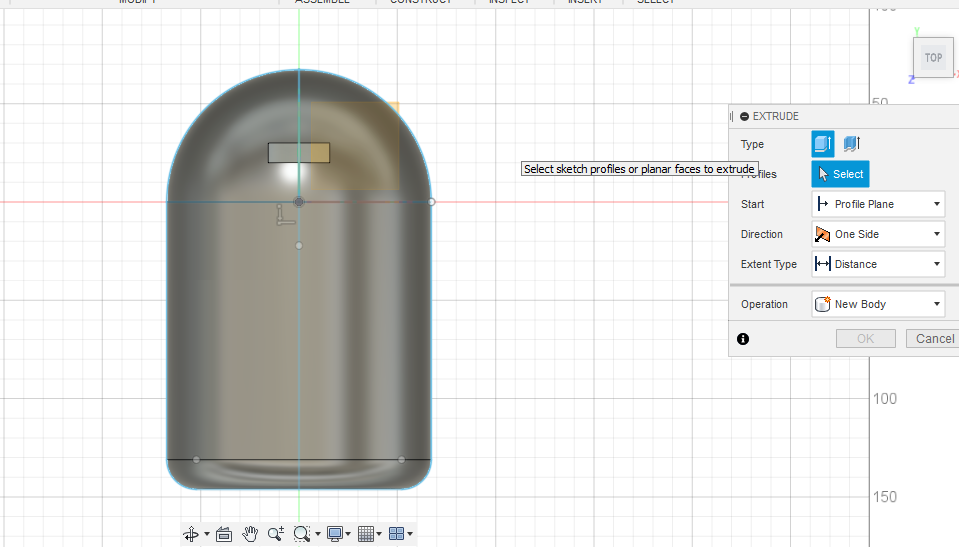
My diffuser needs to be hollow and need a spot for the water vapor to come out, so created an offset circle on the flat part of the diffuser and negatively extruded it, thus hollowing the shell out. Then I went back to the original shetch, created a Center Point Rectangle where I needed the water vapor to escape, returned to the 3D model, and extruded that as well.
For my final Fusion 360 experiment, I played around with making a scene. I started by making a chair to practice extruding and explore all of the tools. I made the four legs of the chair from rectangles, then used the Equal constraint to ensure consistancy.

Then I made a sketch on top and added a seat.
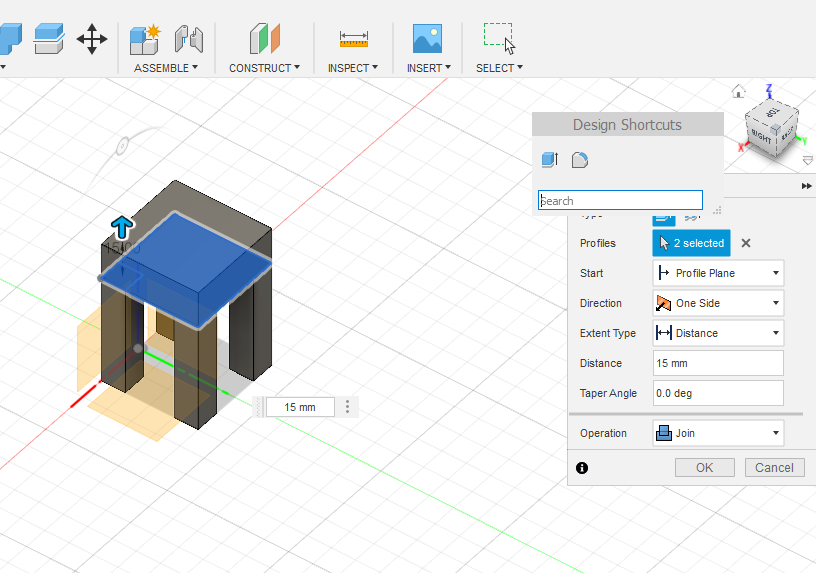
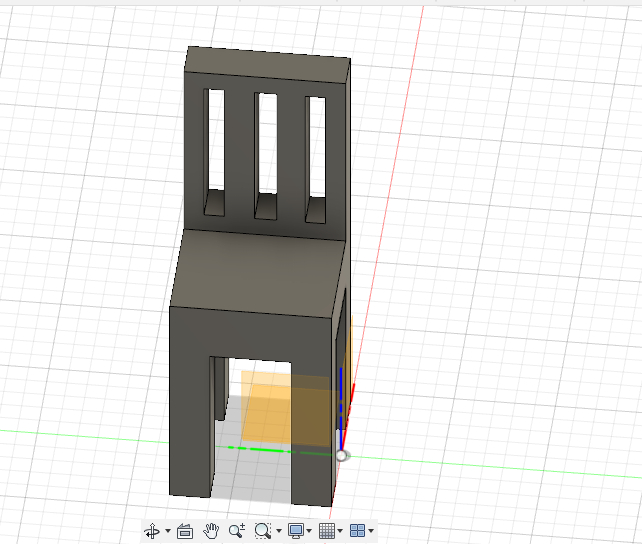
After that I added the backrest. I decided I wanted some empty spaces with the back, so I explored different ways to measure to make sure each empty space was equidistant. Then I extruded them. This was the point where I discovered it's possible to select multiple faces to extrude at the same time, which would have made the process much easier on my earlier projects.
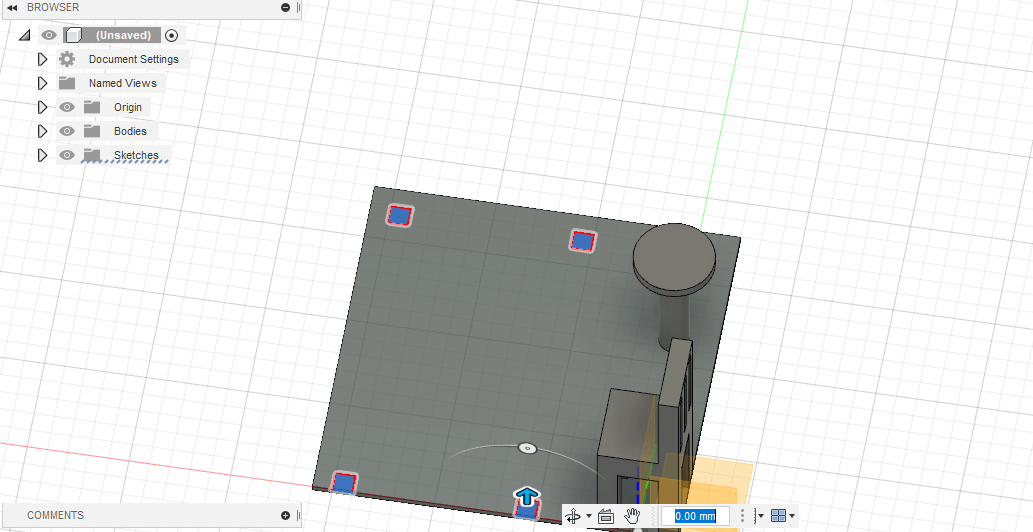
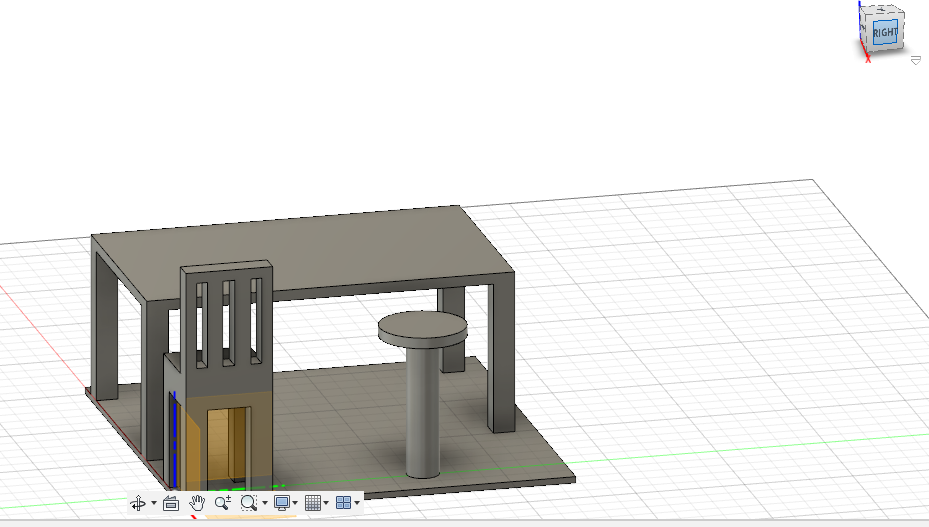
The chair looked a bit bare alone, so I flipped it upsidedown and sketched a floor on the bottom of its legs.I added another chair, this time made out of cylinders.
Then I added a table, which was pretty much the same process as making the chair.
Overall, I really enjoyed Fusion 360. It was pretty straight-forward and easy to navigate, although there are so many features that it will take me a bit of time to familiarize myself with them all. I will definitely continue to use Fusion 360 for CAD in the future.
TinkerCAD
TinkerCAD is another 3D modeling program. It is fairly simplistic and does not have nearly as many tools as Fusion 360. The main purpose of TinkerCAD is to introduce users to the basics of 3D modeling. TinkerCAD has a a simple, limited selection of predetermined shapes. Working in TinkerCAD was very reminiscent of playing with blocks as a child, so my designs were modeled after that.
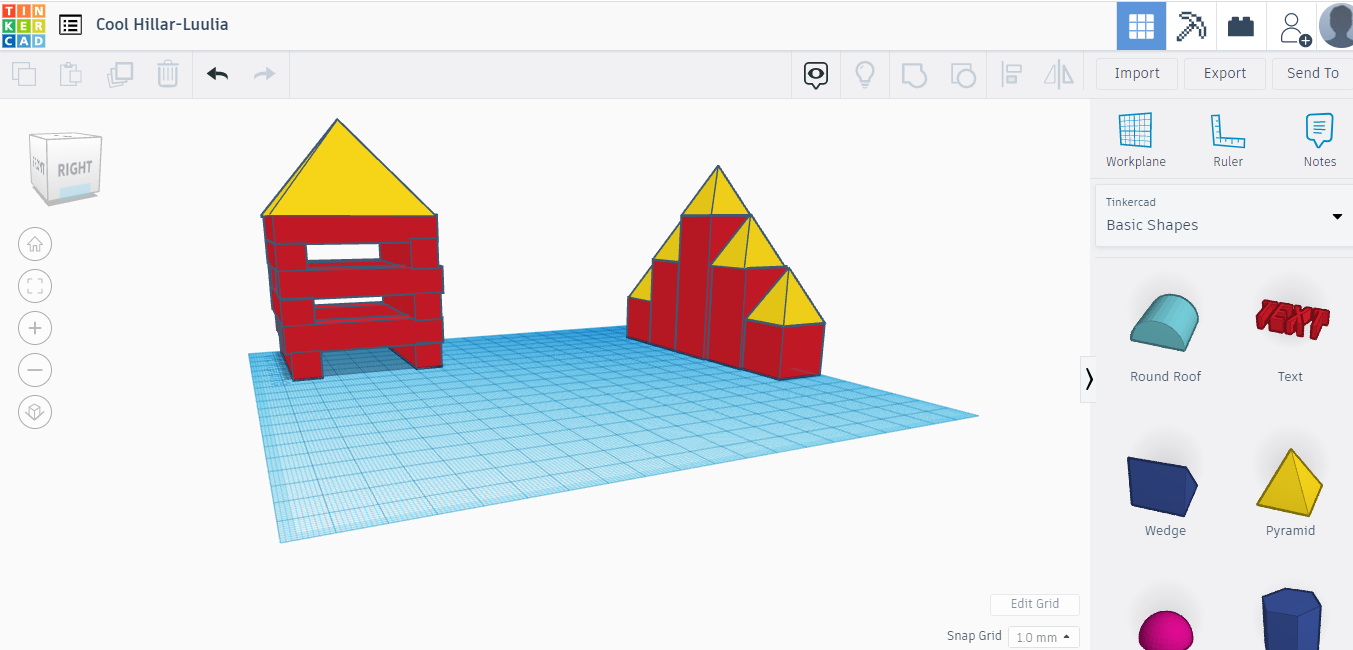
I started off working with the square shape, learning how to change its dimensions. Than I grouped them all together and gave them roofs.
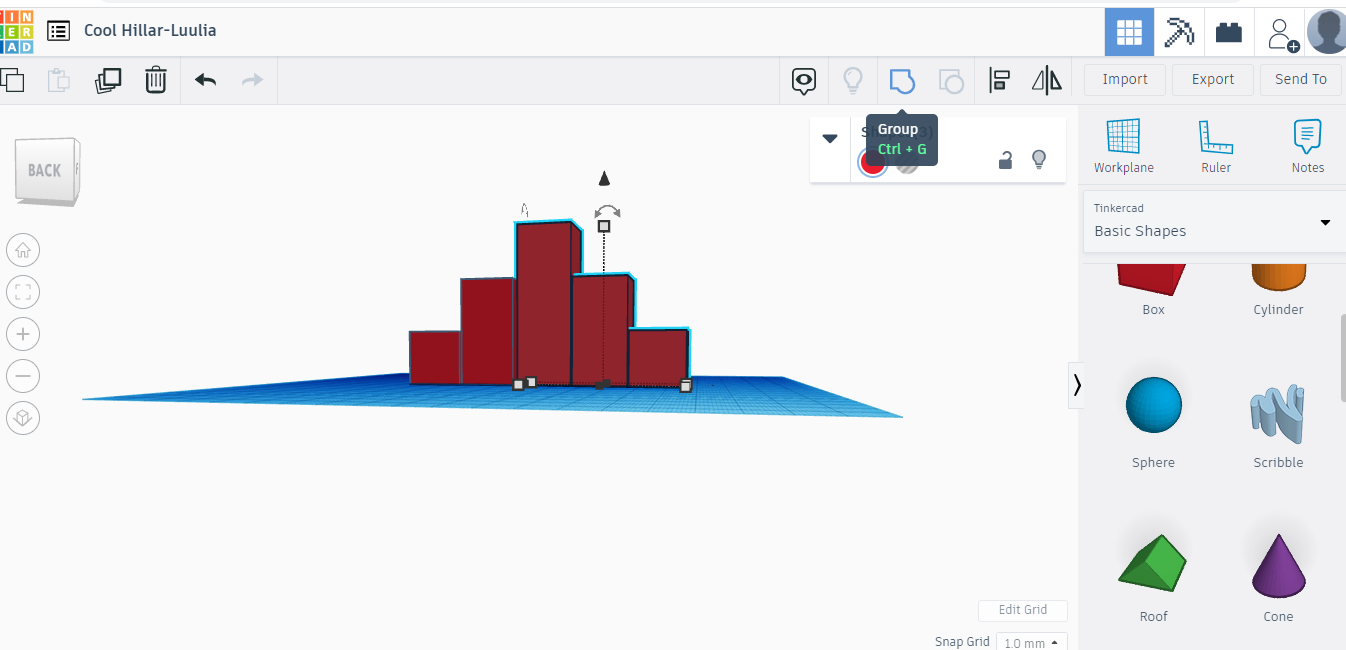
When I was younger, I used to stack Lincoln Logs up to see how high of a tower I could make. I decided to recreate this in TinkerCAD. This served as further practice in grouping and moving along the z axis.
Overall, TinkerCAD is a good learning tool, but not practicle for much after the basics are mastered. I would use this if I were teaching someone else the basics of CAD, but it felt very juvenile, and I can't imagine using it for much else than highly simplistic shapes and designs.
2D Design
Adobe Illustrator
Adobe Illustrator is a vector graphics editor. Vector editors are made up of paths, as opposed to raster, which is composed of pixels. In general, vectors are easier to manipulate than rastors. I decided to use Adobe Illustrator to prepare an image to be lasor cut, so that I could make a stamp.
I chose a black and white image off of Google Images, formatted it, and scaled it to fit the page.
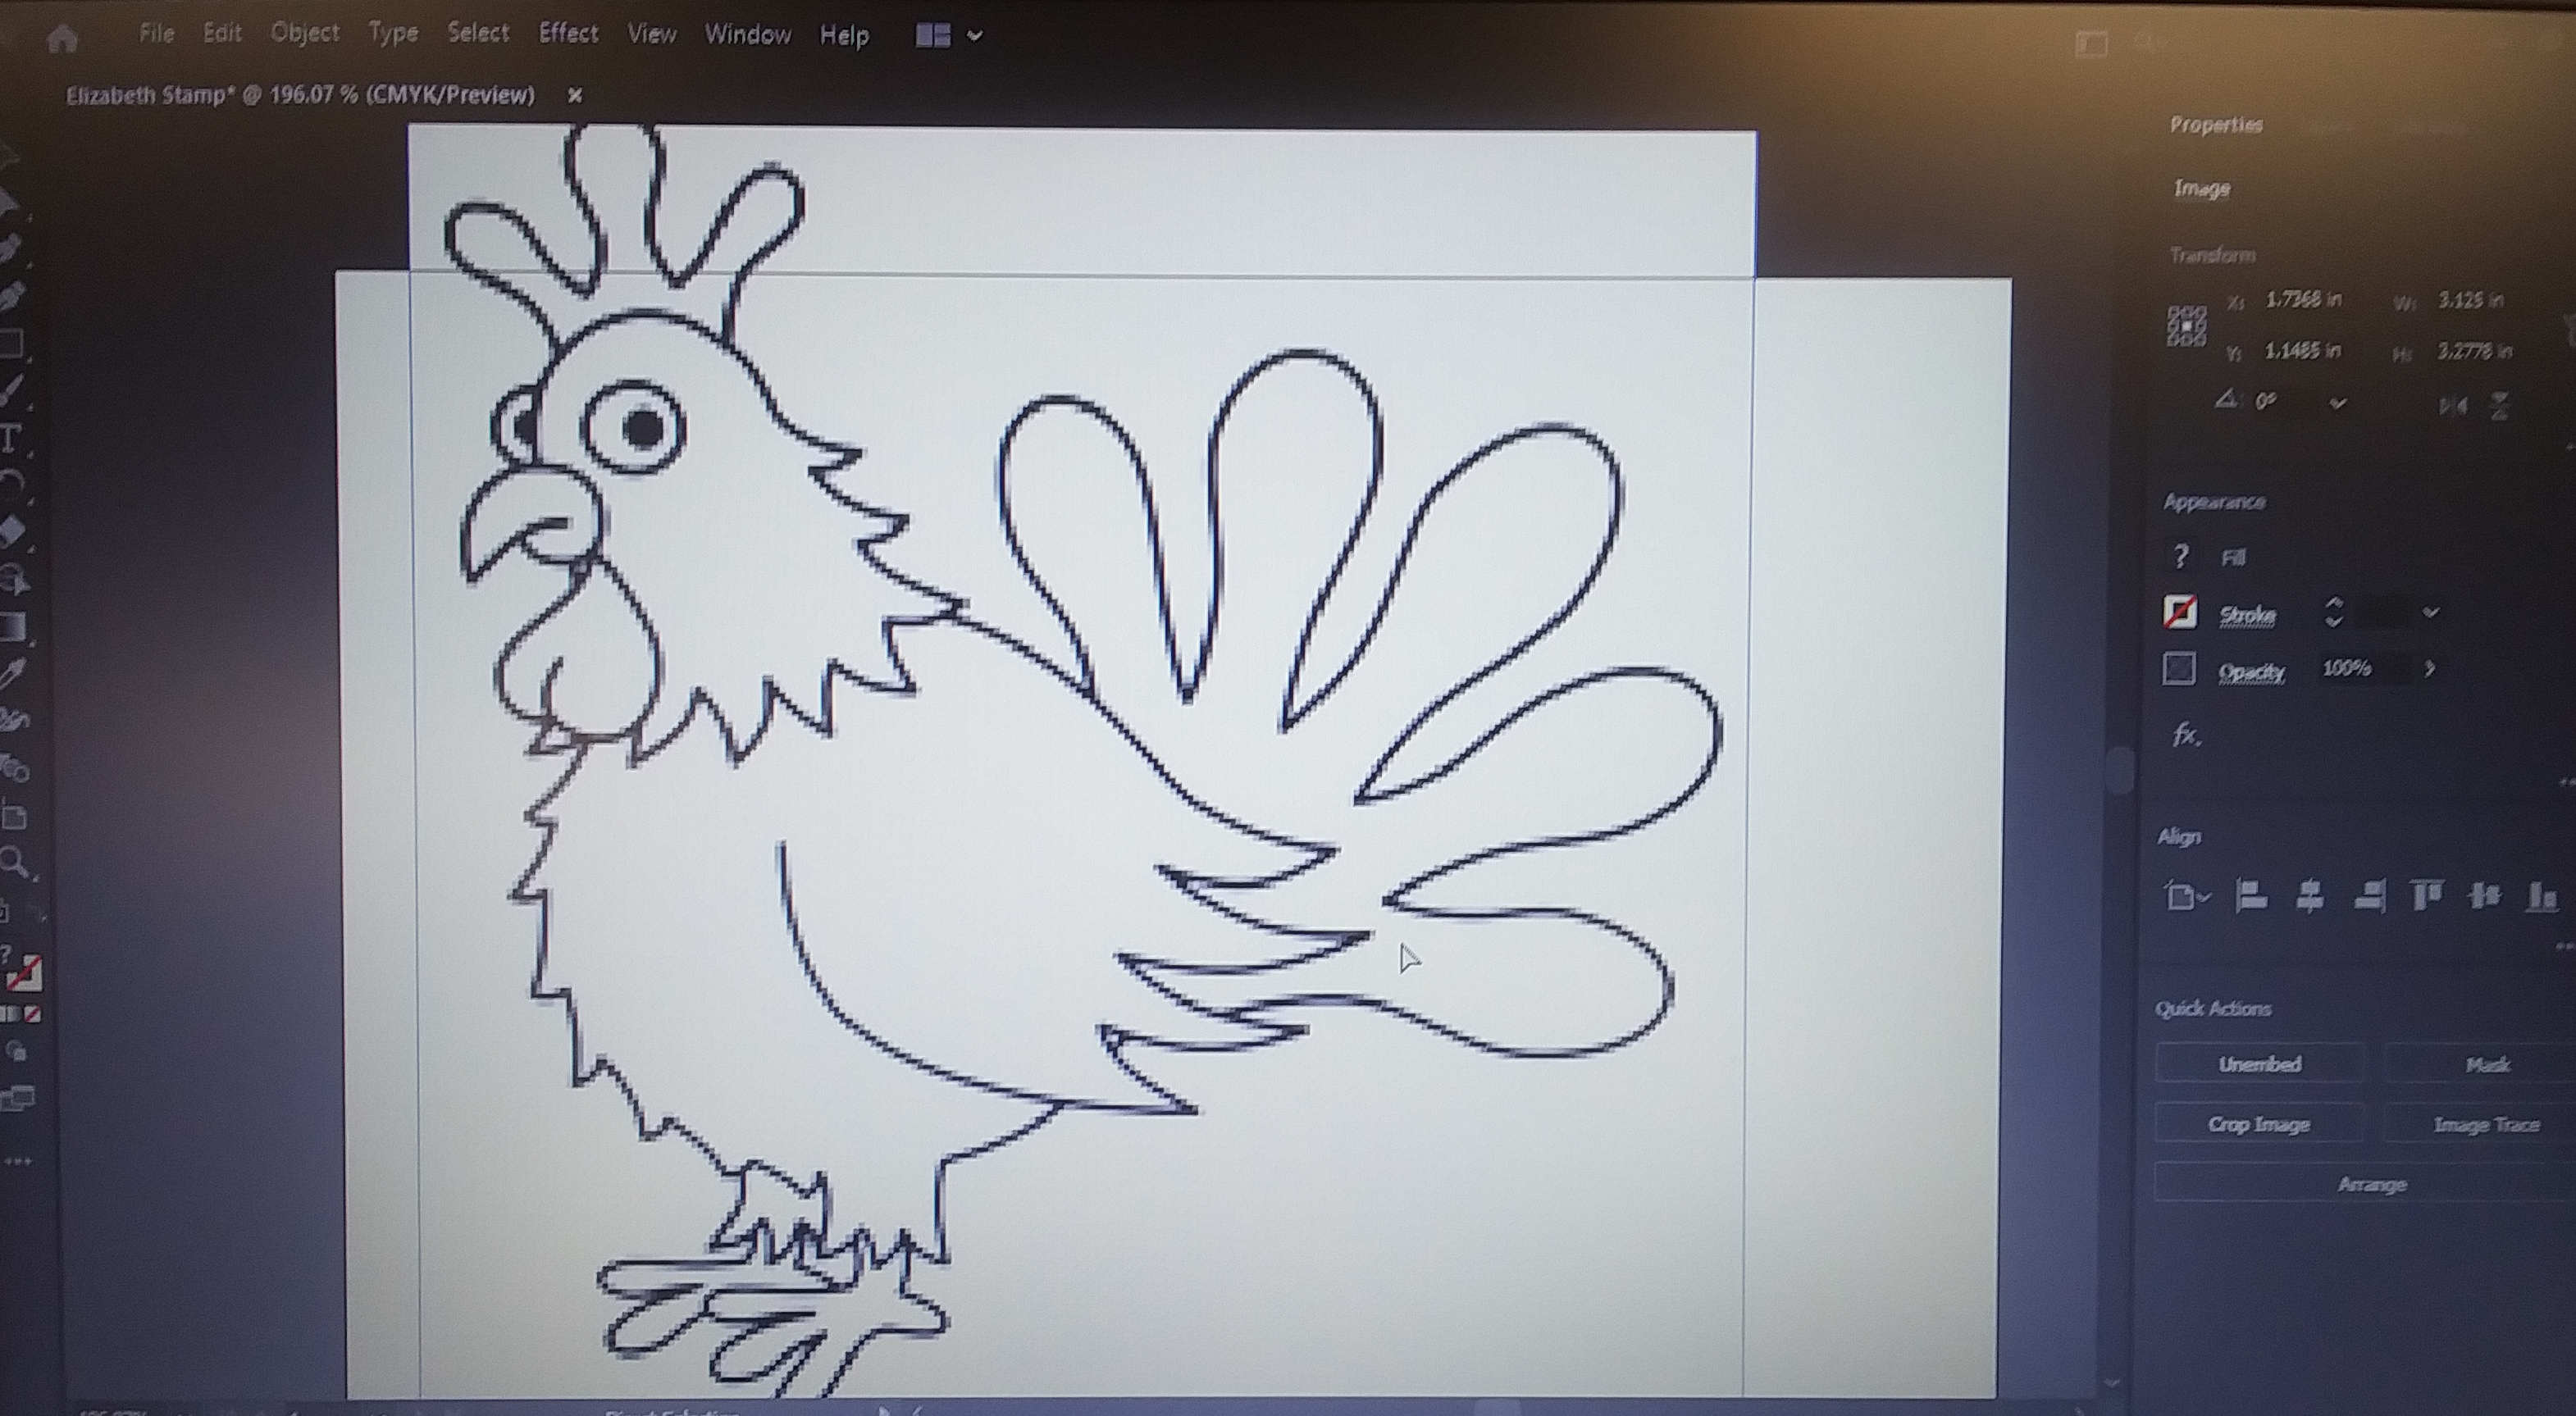
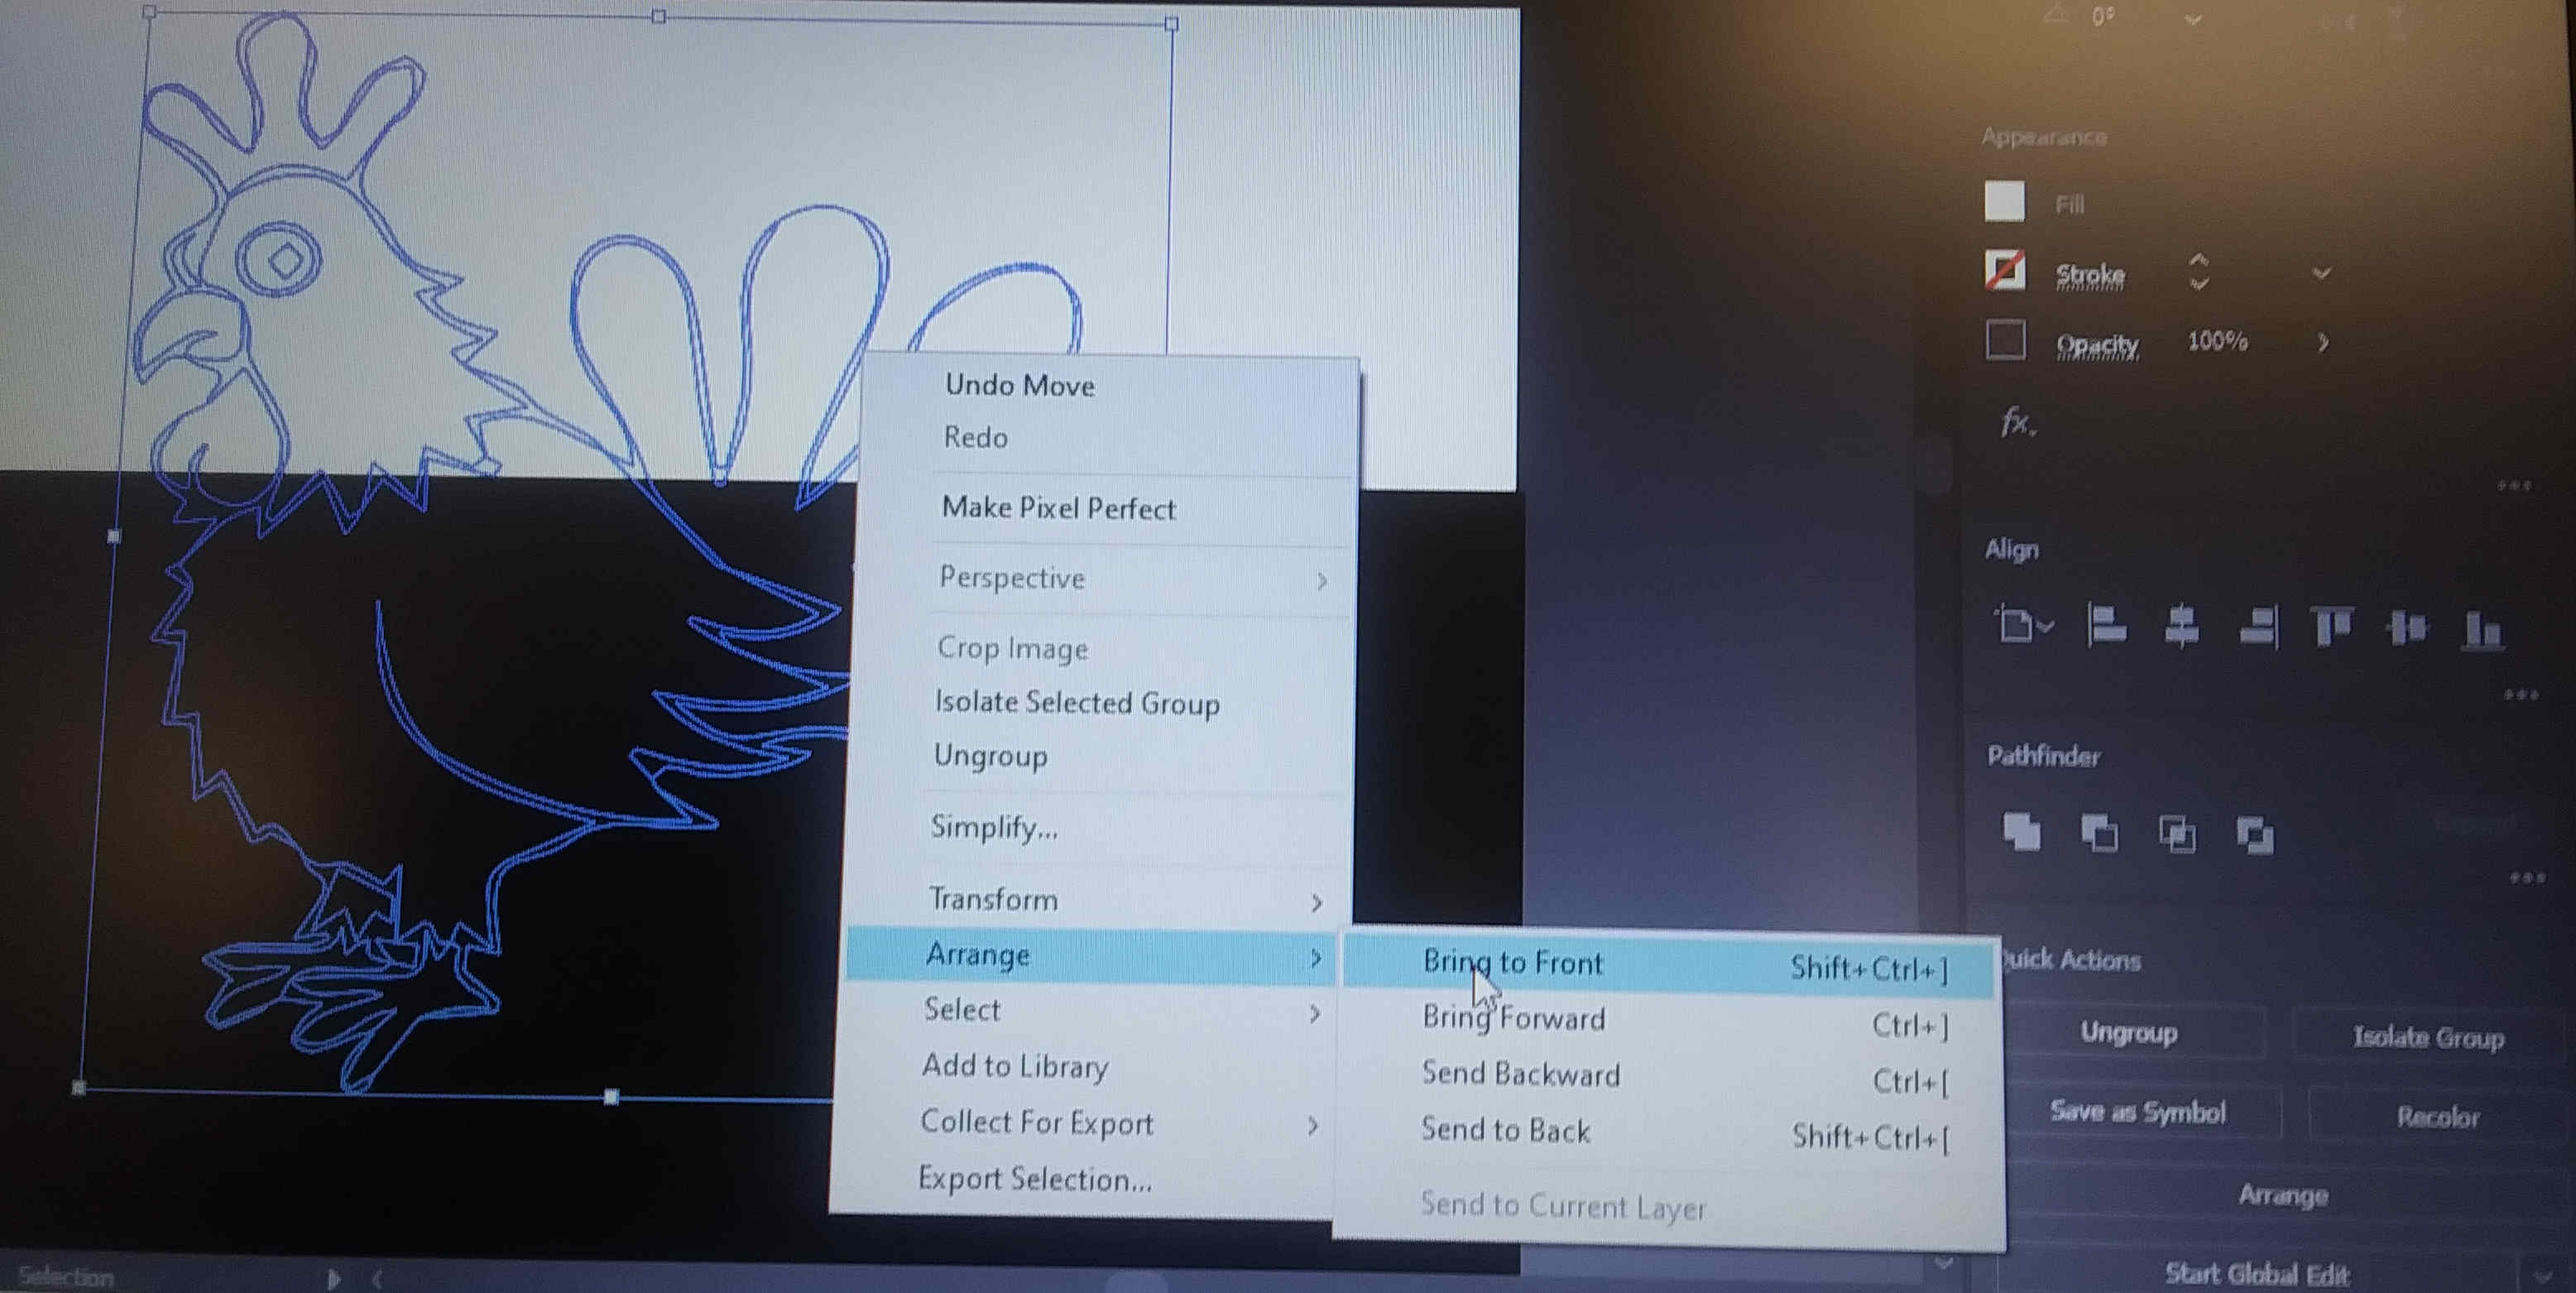
Because I was laser cutting the image, I needed to bring the lines in back to the front. This was done by clicking Arrange, then Bring to Front.
Then I filled in the parts I wanted in the background with black, and deleted the lines I didn't want.
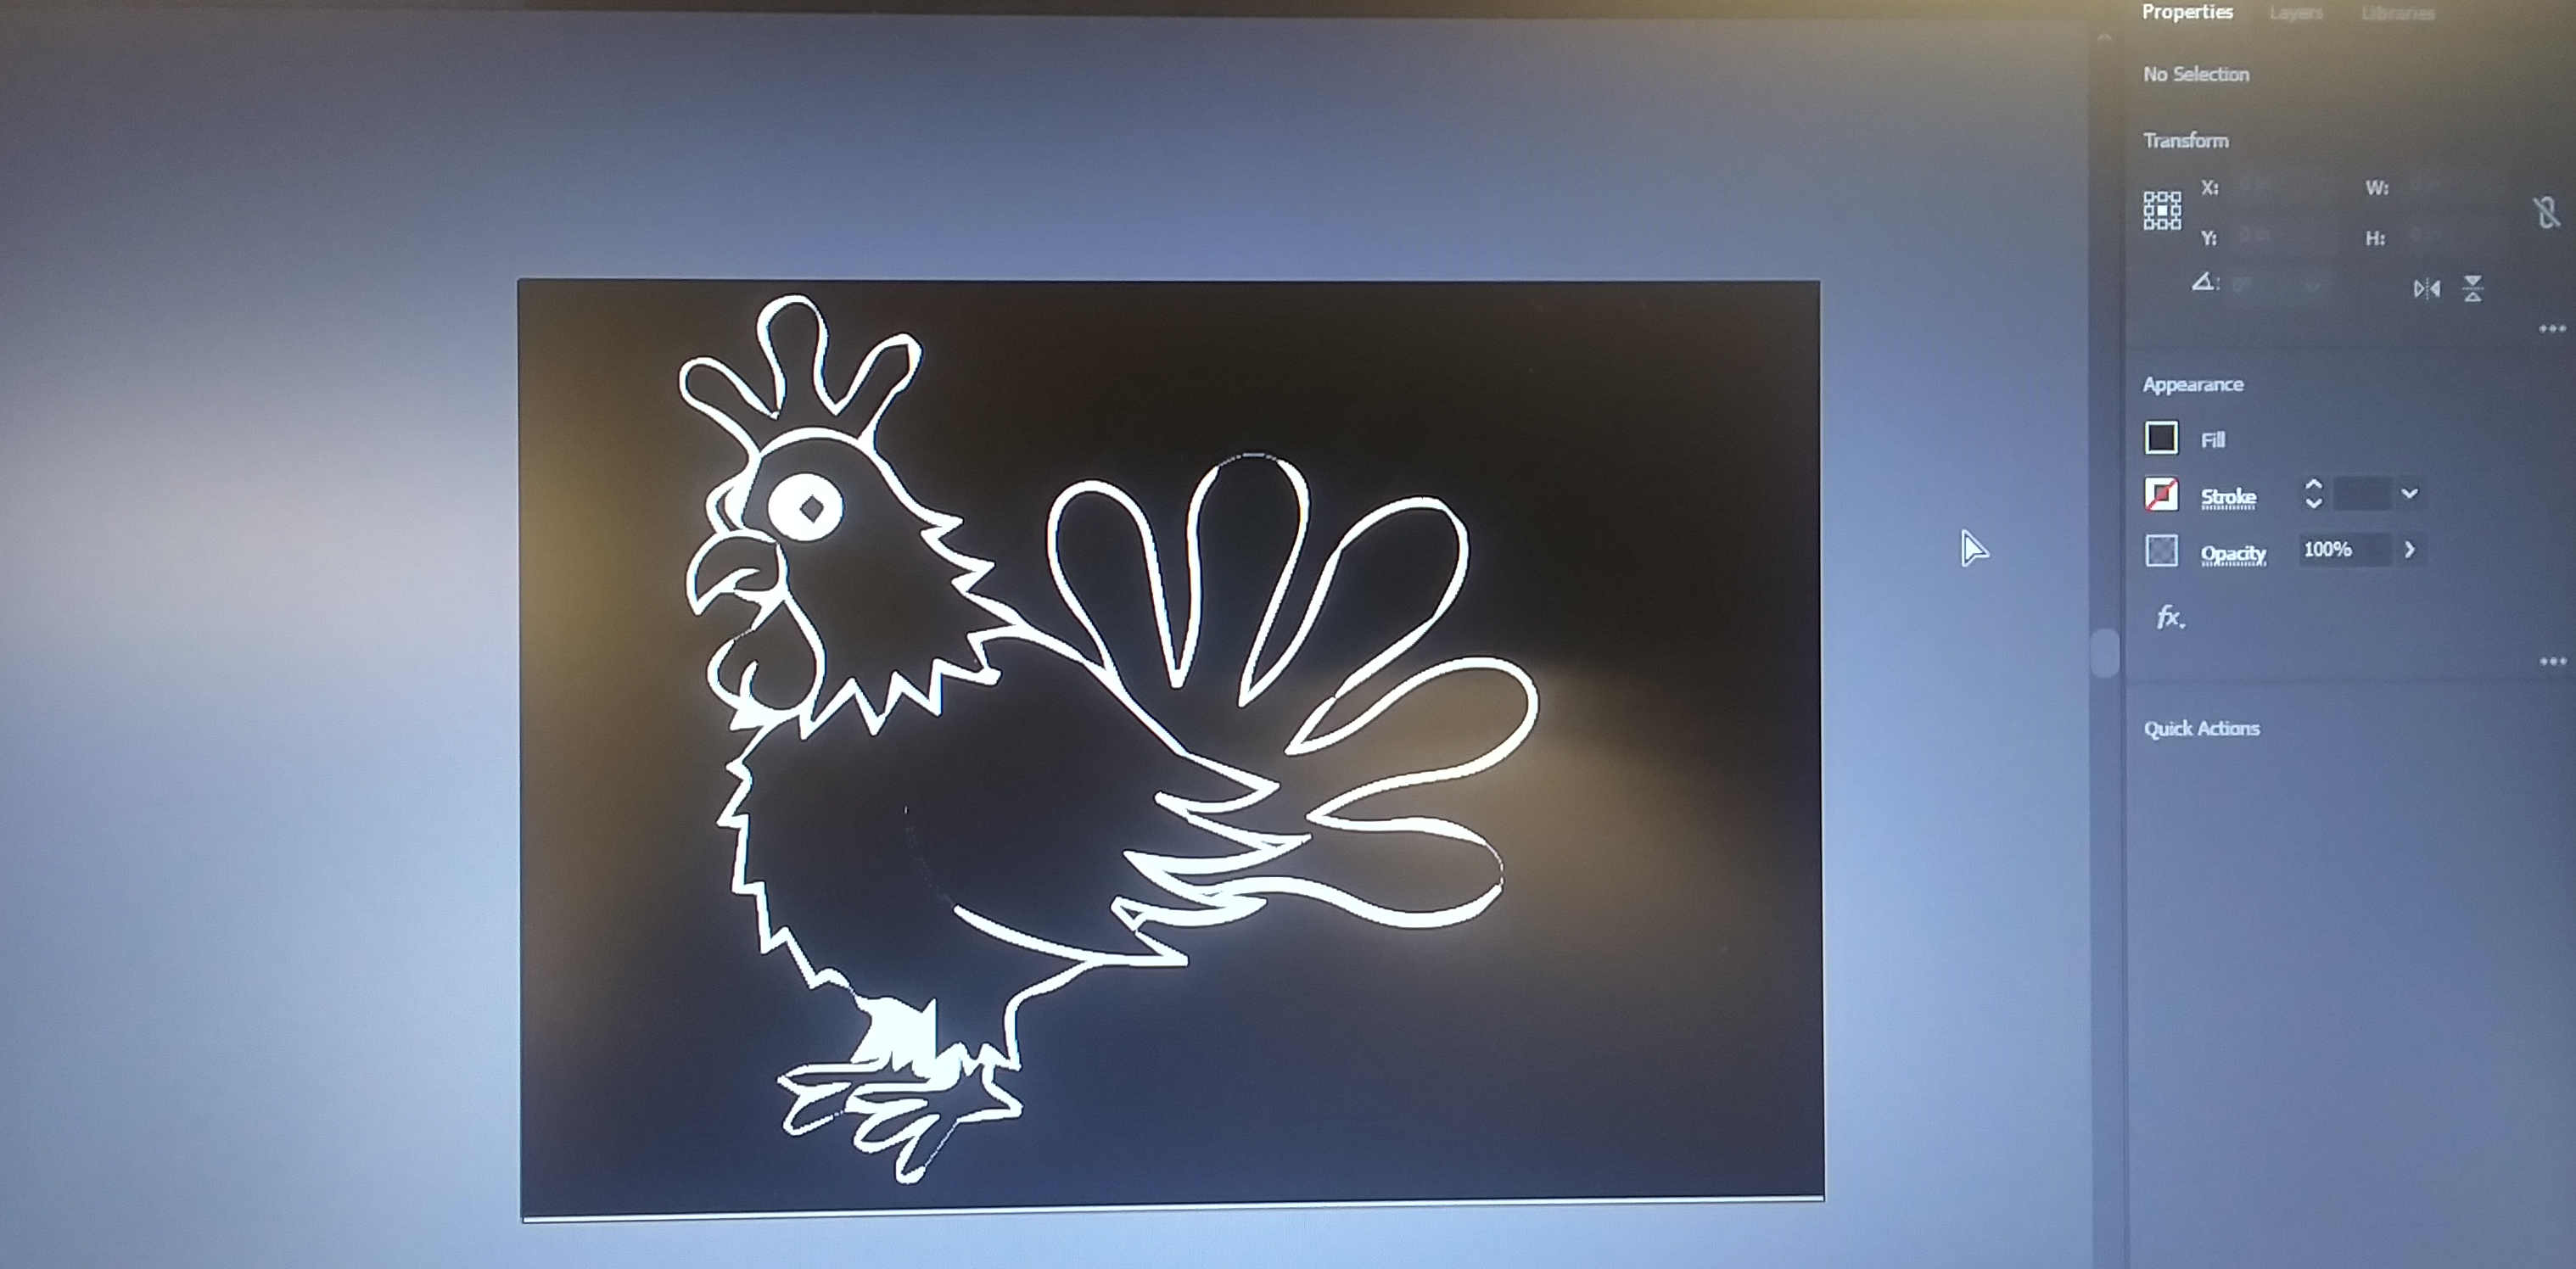
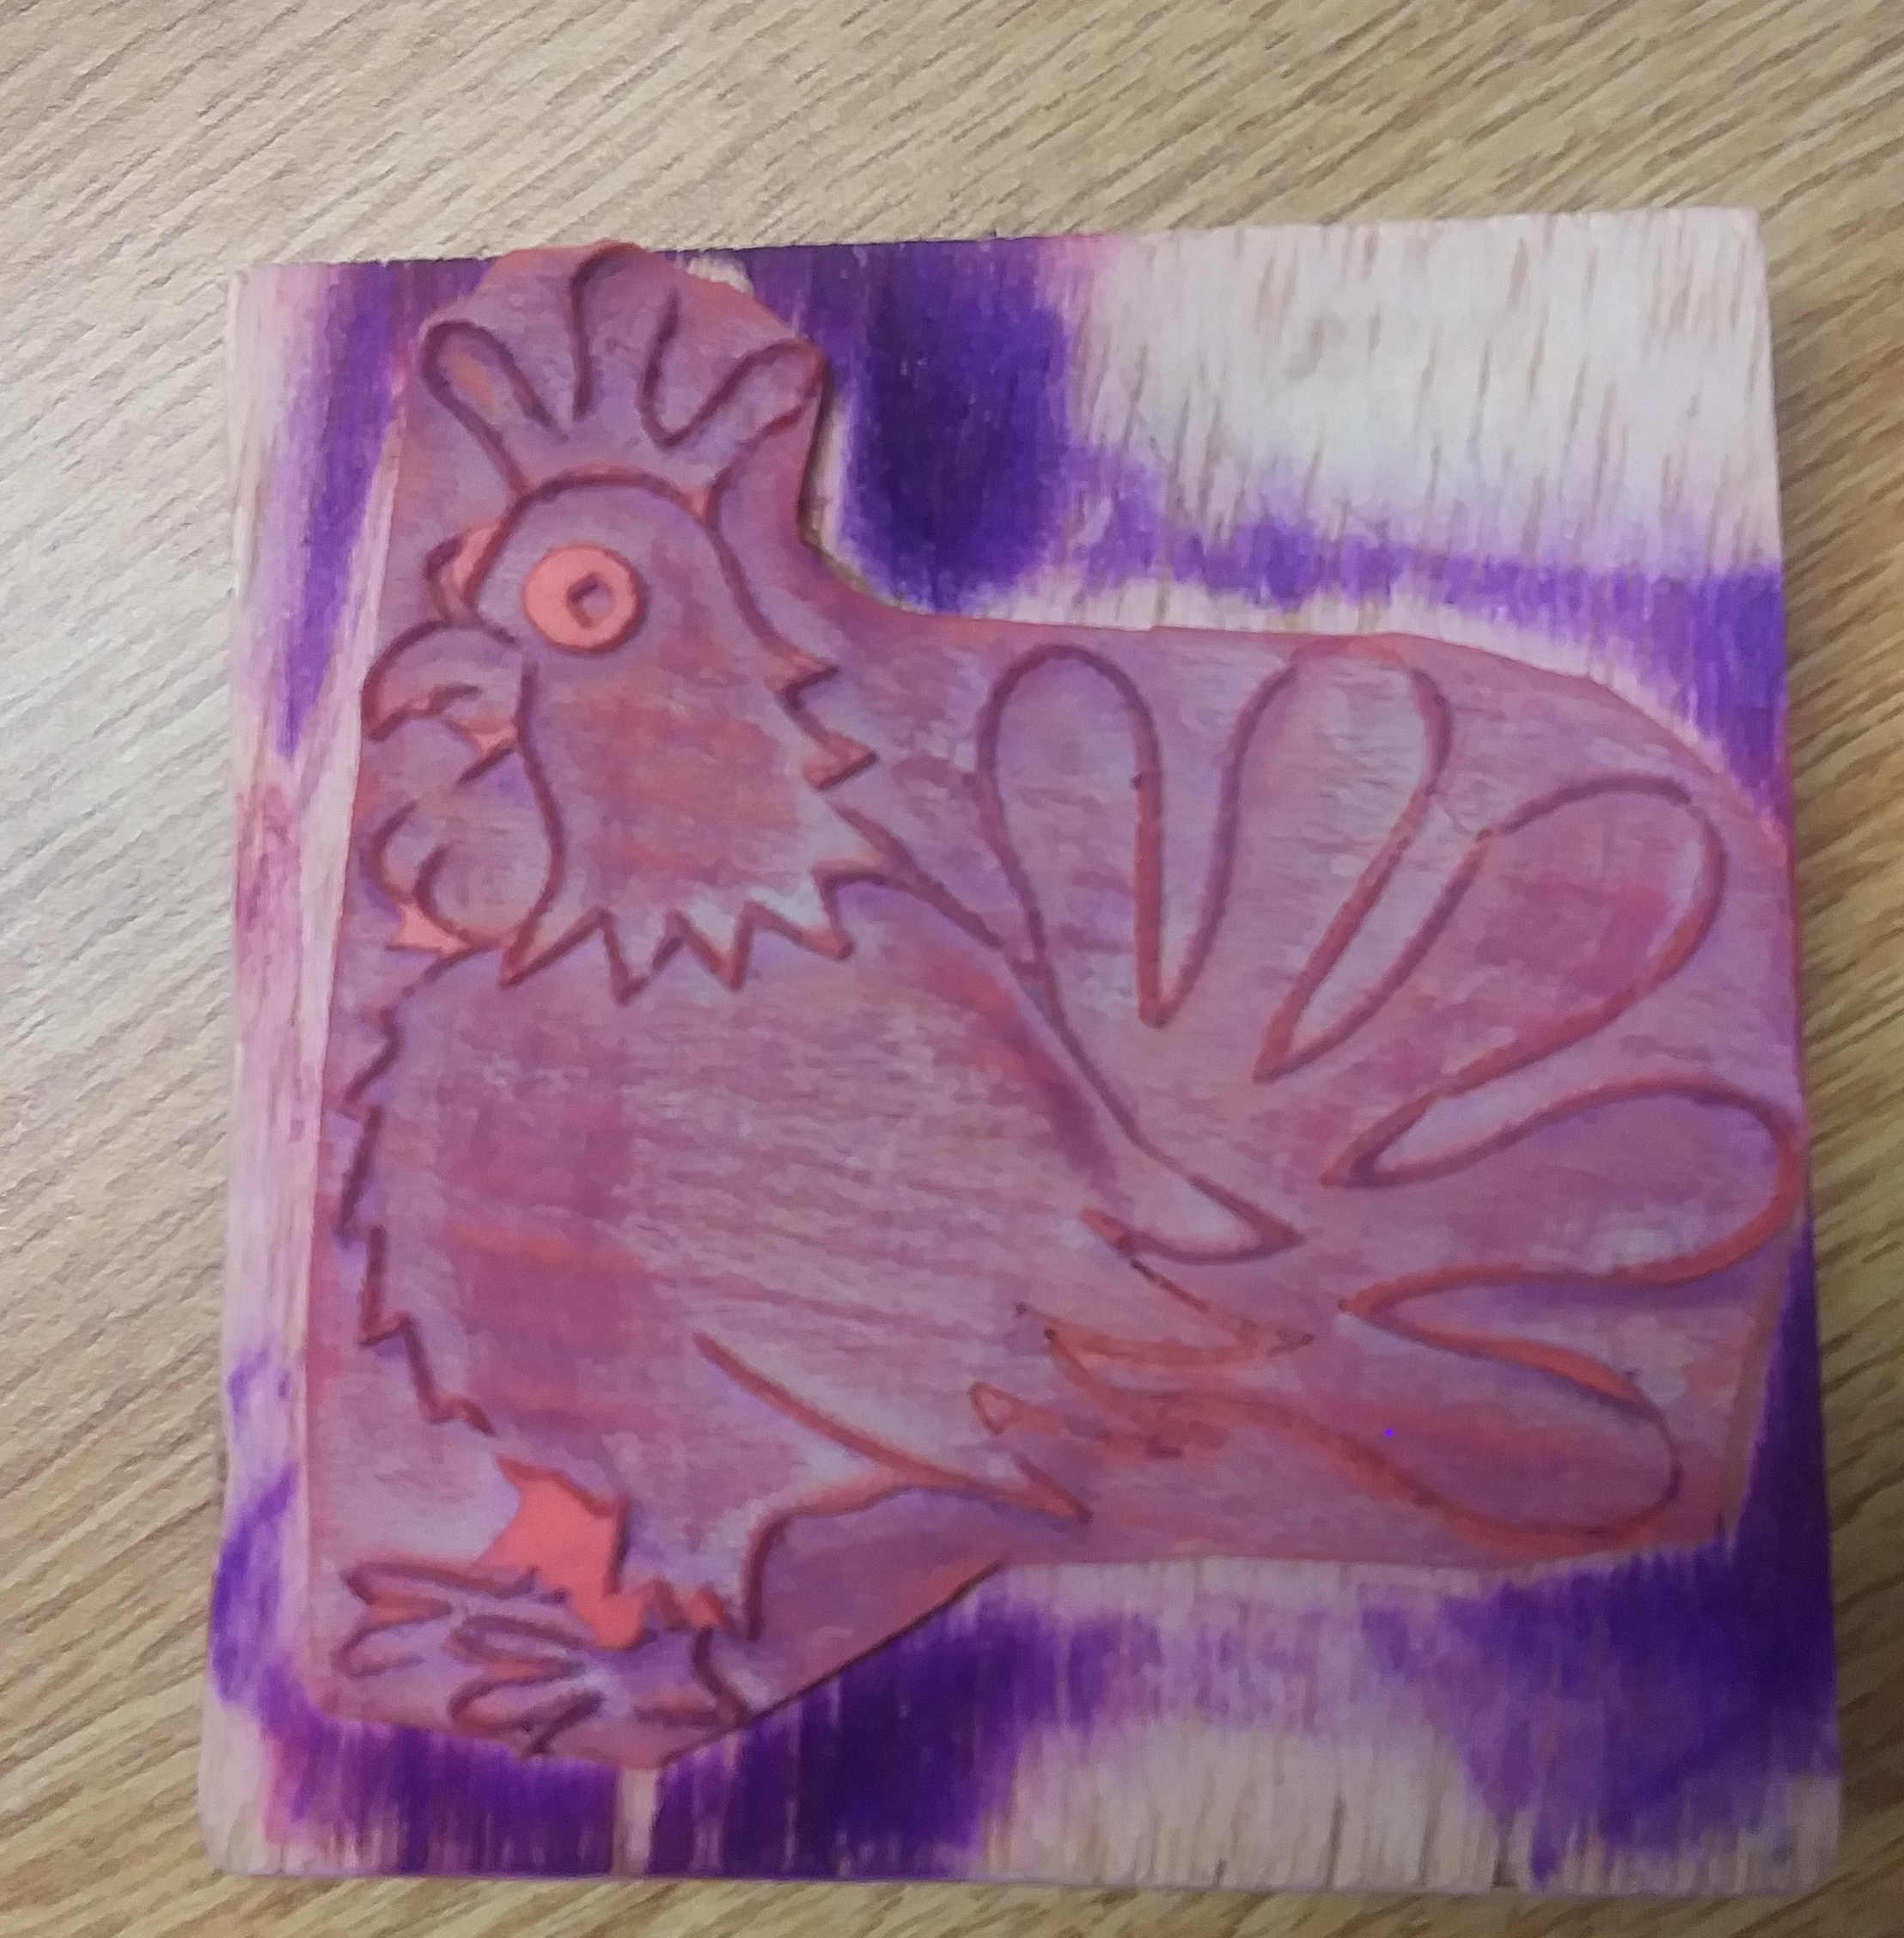
Then it was ready to laser cut and turn into a stamp!
I decided that it would be nice to learn a bit more about all of Adobe Illustrator's functions, so I found a video tutorial on Youtube to follow. Here is a link to the video:
Pixel and Bracket TutorialI wanted to explore the shape and color tools more, so I decided to follow the tutorial demonstrating how to make a picture of a potted plant.
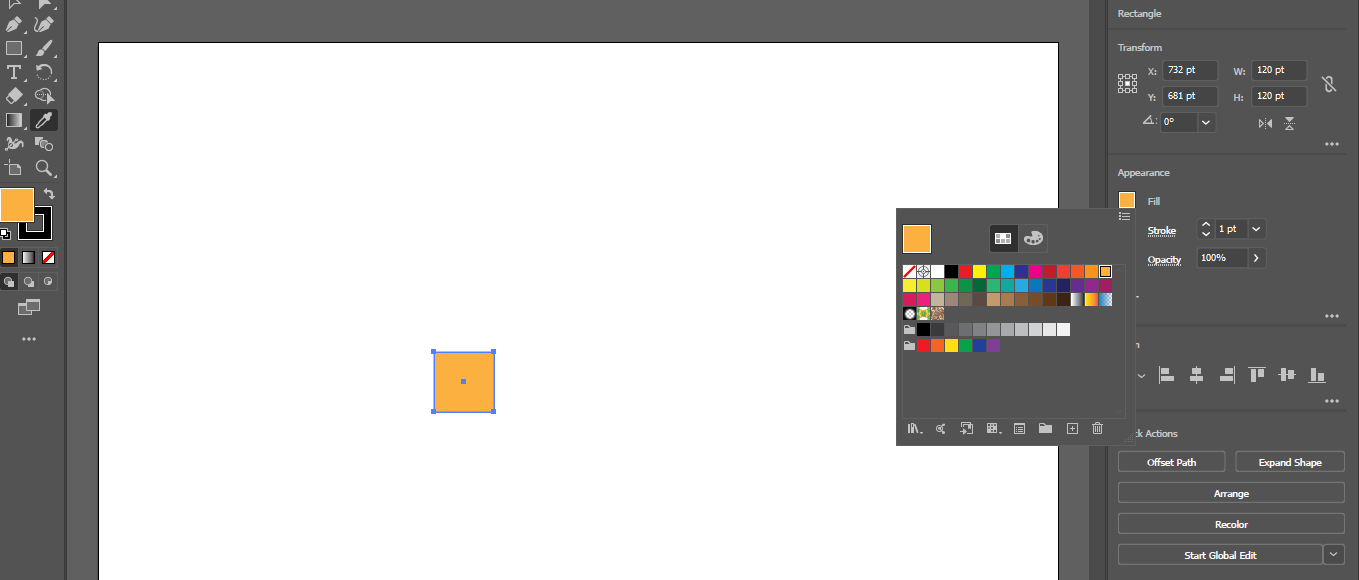
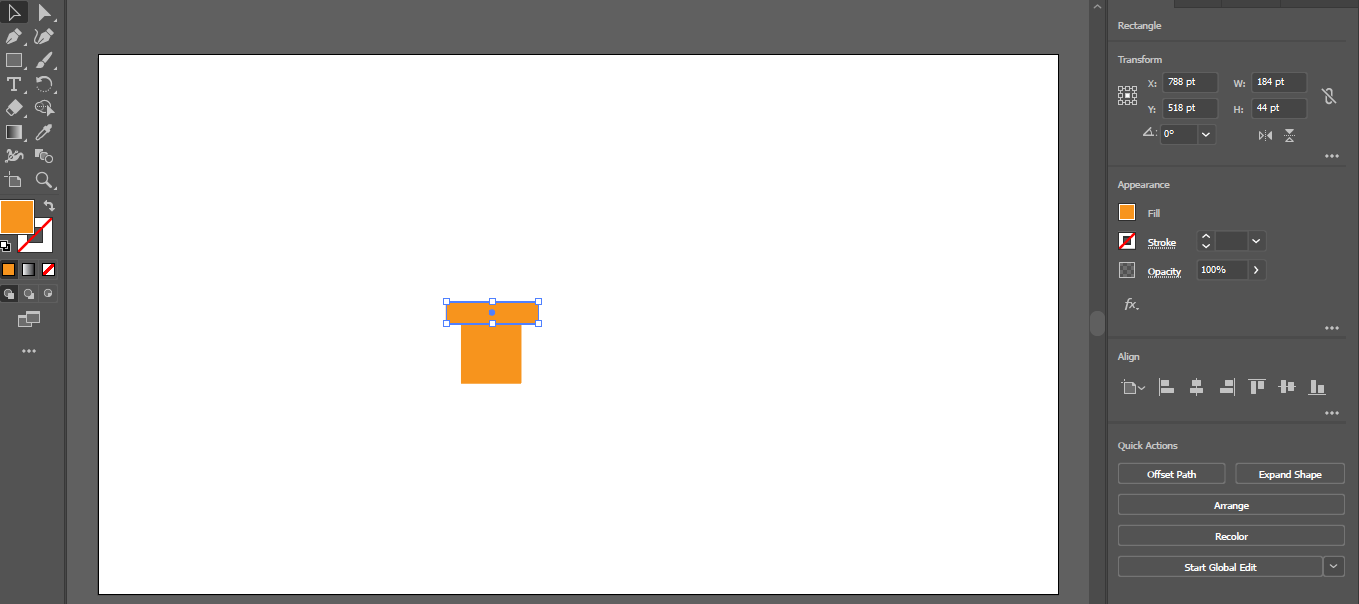
I began by making a pot. I selected the Rectangle Tool, made a rectangle, then went to Color Selection and chose a tan color.
Then I created a second rectangle for the top of the pot in the same color, placed it at the top of the first, and grouped them together.
To make the bottom rectangle have more of a pot-like shape, I moves the two bottom points inwards, creating a trapazoid. This was done by clicking the point, then pressing shift and the arrow key.

I also rounded the top edges by using the transform tool.
To make a shadow on the pot, I made a rectangle a couple shades darker than the original pot, placed it over half of the pot, used the Select Tool to select both the pot and the rectangle, then used the Shape Tool while holding alt to eliminate any part of the rectangle that was not over the pot. This left me with a decent-looking shadow.

Then it was time to make the leaves. I made two circles and placed them together, so that the spot where they intersected was shaped like a leaf.
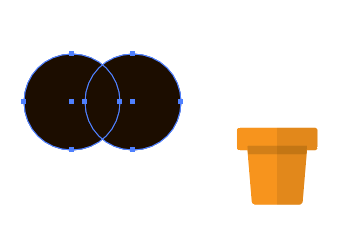
Then I deleted everything that was not the intersection and turned it green.

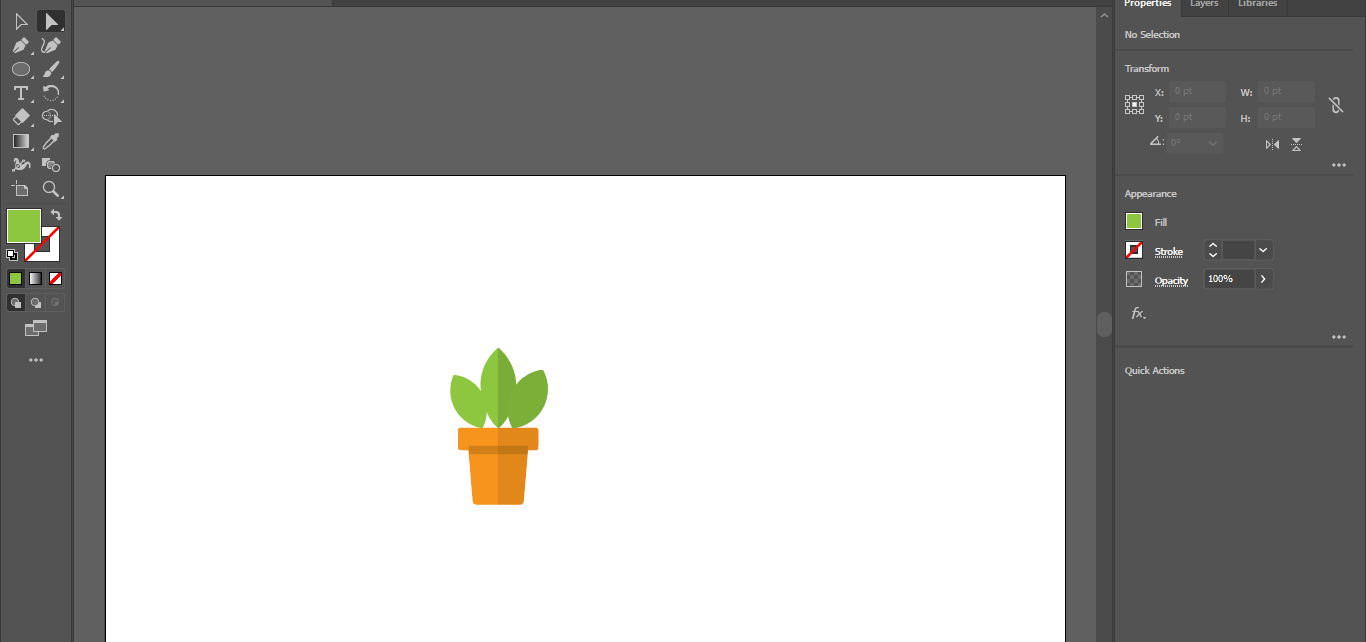
Following the same method I used for the pot, I gave the leaf a shadow as well.

I added a couple more leaves, and my flower pot and plant were complete!
Links
TinkerCAD FileFusion 360 Water Chamber
Adobe Illustrator Chicken Stamp
Fusion 360 Electronics Shell
Fusion 360 Diffuser Shell
Fusion 360 Table and Chairs
Adobe Illustrator Flower Pot