Interface and Applications Programming
This week's assignment was to write a graphical user interface that connects to one of my boards.
My week has been quite chaotic, since I'm still finishing up some final exams for my college courses. Luckily for me, this is the first week of the course that I have some prior knowledge about. I've never made a graphical user interface (GUI) before, but Python, which I already know, has a number of GUI frameworks. It was quite nice to be able to program in the language I am most comfortable in, although I do plan on continuine to learn more C/C++ in the future. To make my GUI I used Tkinter, which is cross-platform. This is good for me, because my Windows computer refuses to acknowledge the existence of FTDI cables (my laptop is quite old), so I usually borrow a computer to program the microcontroller from either a friend or the Fab Lab, both of whom use Mac.
The chicken board I made during Electronics Design Week still works, so I decided to reprogram that. Here is a link to the designing and milling process:
Electronics Design WeekBecause the PCB was already made and functioning, the entirety of work I did this week was coding. For me, coding is very much not a linear process. I always try to do things sequentually, but end up adding lines in the middle, moving functions around, and switching lines around. Consequently, I will try to explain my program in the order in which I wrote everything, but please bear with me if it seems to jump around a lot.
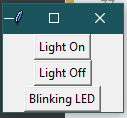
The board I was working with had an LED. My initial goal was to make three buttons: one to turn the button on, another to turn it off, and a third to have the led blink a number of times predetermined by the user.
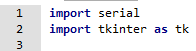
I began by importing the serial and Tkinter libraries. As I mentioned before, the fact that Tkinter can be used across multiple platforms made it the most appealing to me.
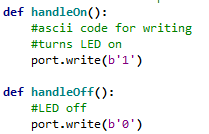
After that I wrote two functions to correspond to the On and Off Buttons. It basically is the command to send either a 1 (for on) or a 0 (for off) to the port. This is done in ascii code, rather than unicode, so as to keep things simple and not confuse the AtTiny (or me, for that matter)
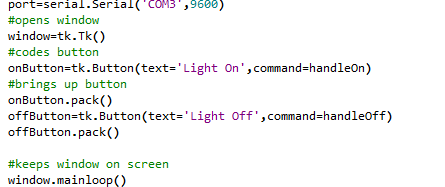
From there I wrote the body of the code. There are comments on each line, so the code is relatively self explainatory. First, I defined the port on my computer which I would use. None of my ports work, so I used a placeholder which I can change based on what computer I am using. Then I opened the window on which the buttons would appear. After that, I made a variable for each button, which told the button what text to display on it, in addition to what function to refer to for its command. Then I used variable.pack() to bring up the button. Finally, I put the window into a loop so it does not disappear off the screen in a split second.
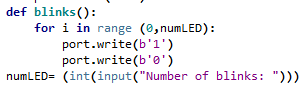
After that, I added the Blink function. This asks the user to input the number of times they would like the LED to blink whenever the Blink Button is pressed. After prompting the user for an input, I used a for loop to turn the LED on and off. I realized that I would need to create a delay, similar to Arduino, to tell the LED how long to wait between each switch from on to off and vice versa. A quick Google search suggested using the time library, which I promptly imported at the top of my code. This allowed me to use the sleep command, which is the Python equivalent of Arduino's delay.
Here is the menu that pops up when I run the Python code.
Then I borrowed a classmate's computer so I could program my board (thanks Tuna!). I took a code written by my professor and changed it so the LED pin would match up the one on my board. The code is a very simple example of serial communication that reads from the computer input from the button (either a '1' or '0' that I sent) and uses that to tell the LED to turn on or off.
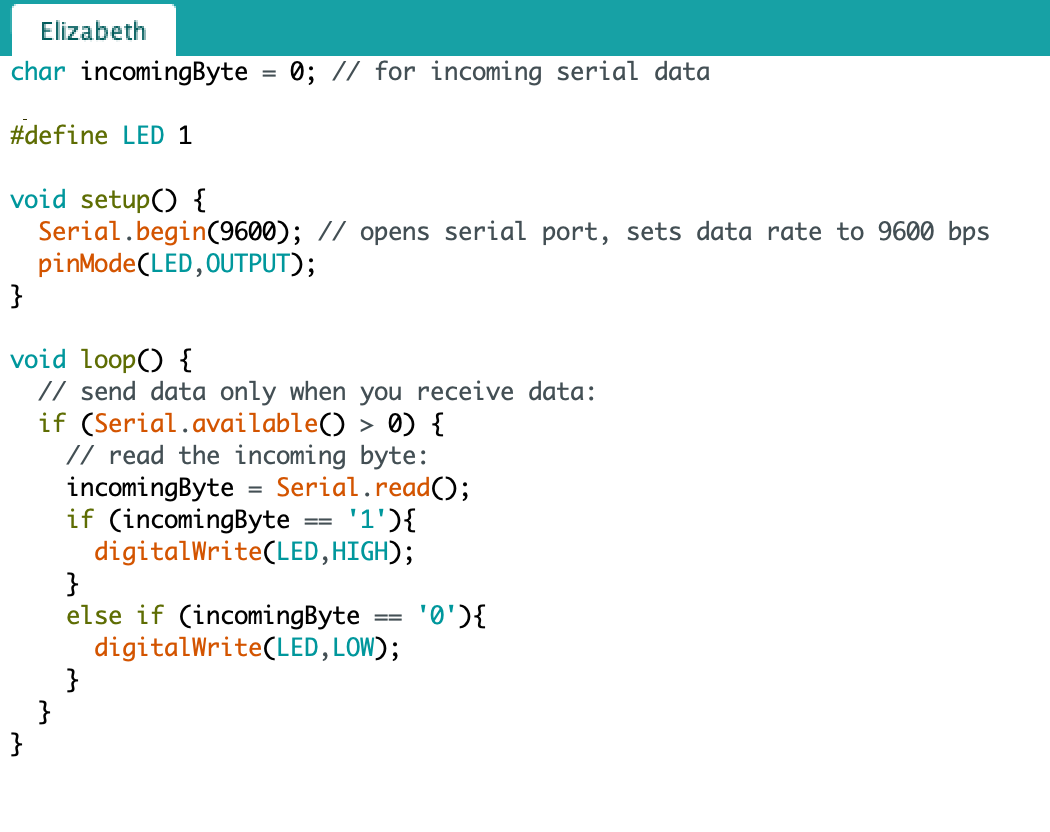
I compiled and uploaded the code, and it worked! (For some reason the menu looks a little different on Mac computers, but everything functions quite nicely)
Video of Completed BoardLinks
Python Code