3D Scanning and Printing
Group Project
This week, our group got together to test the design rules and explore the limits of our lab's Prusa 3D printer. To do this we used the All in One 3D Printer test form thingiverse.com (I put a link to this at the bottom of the page). The test features an overhang test, a support test, a bridging test, and a hole test.
We changed that file to an STL and began printing it.
Once the print was done, it was time to look at the final product. The test came out quite a bit sloppier than expected.
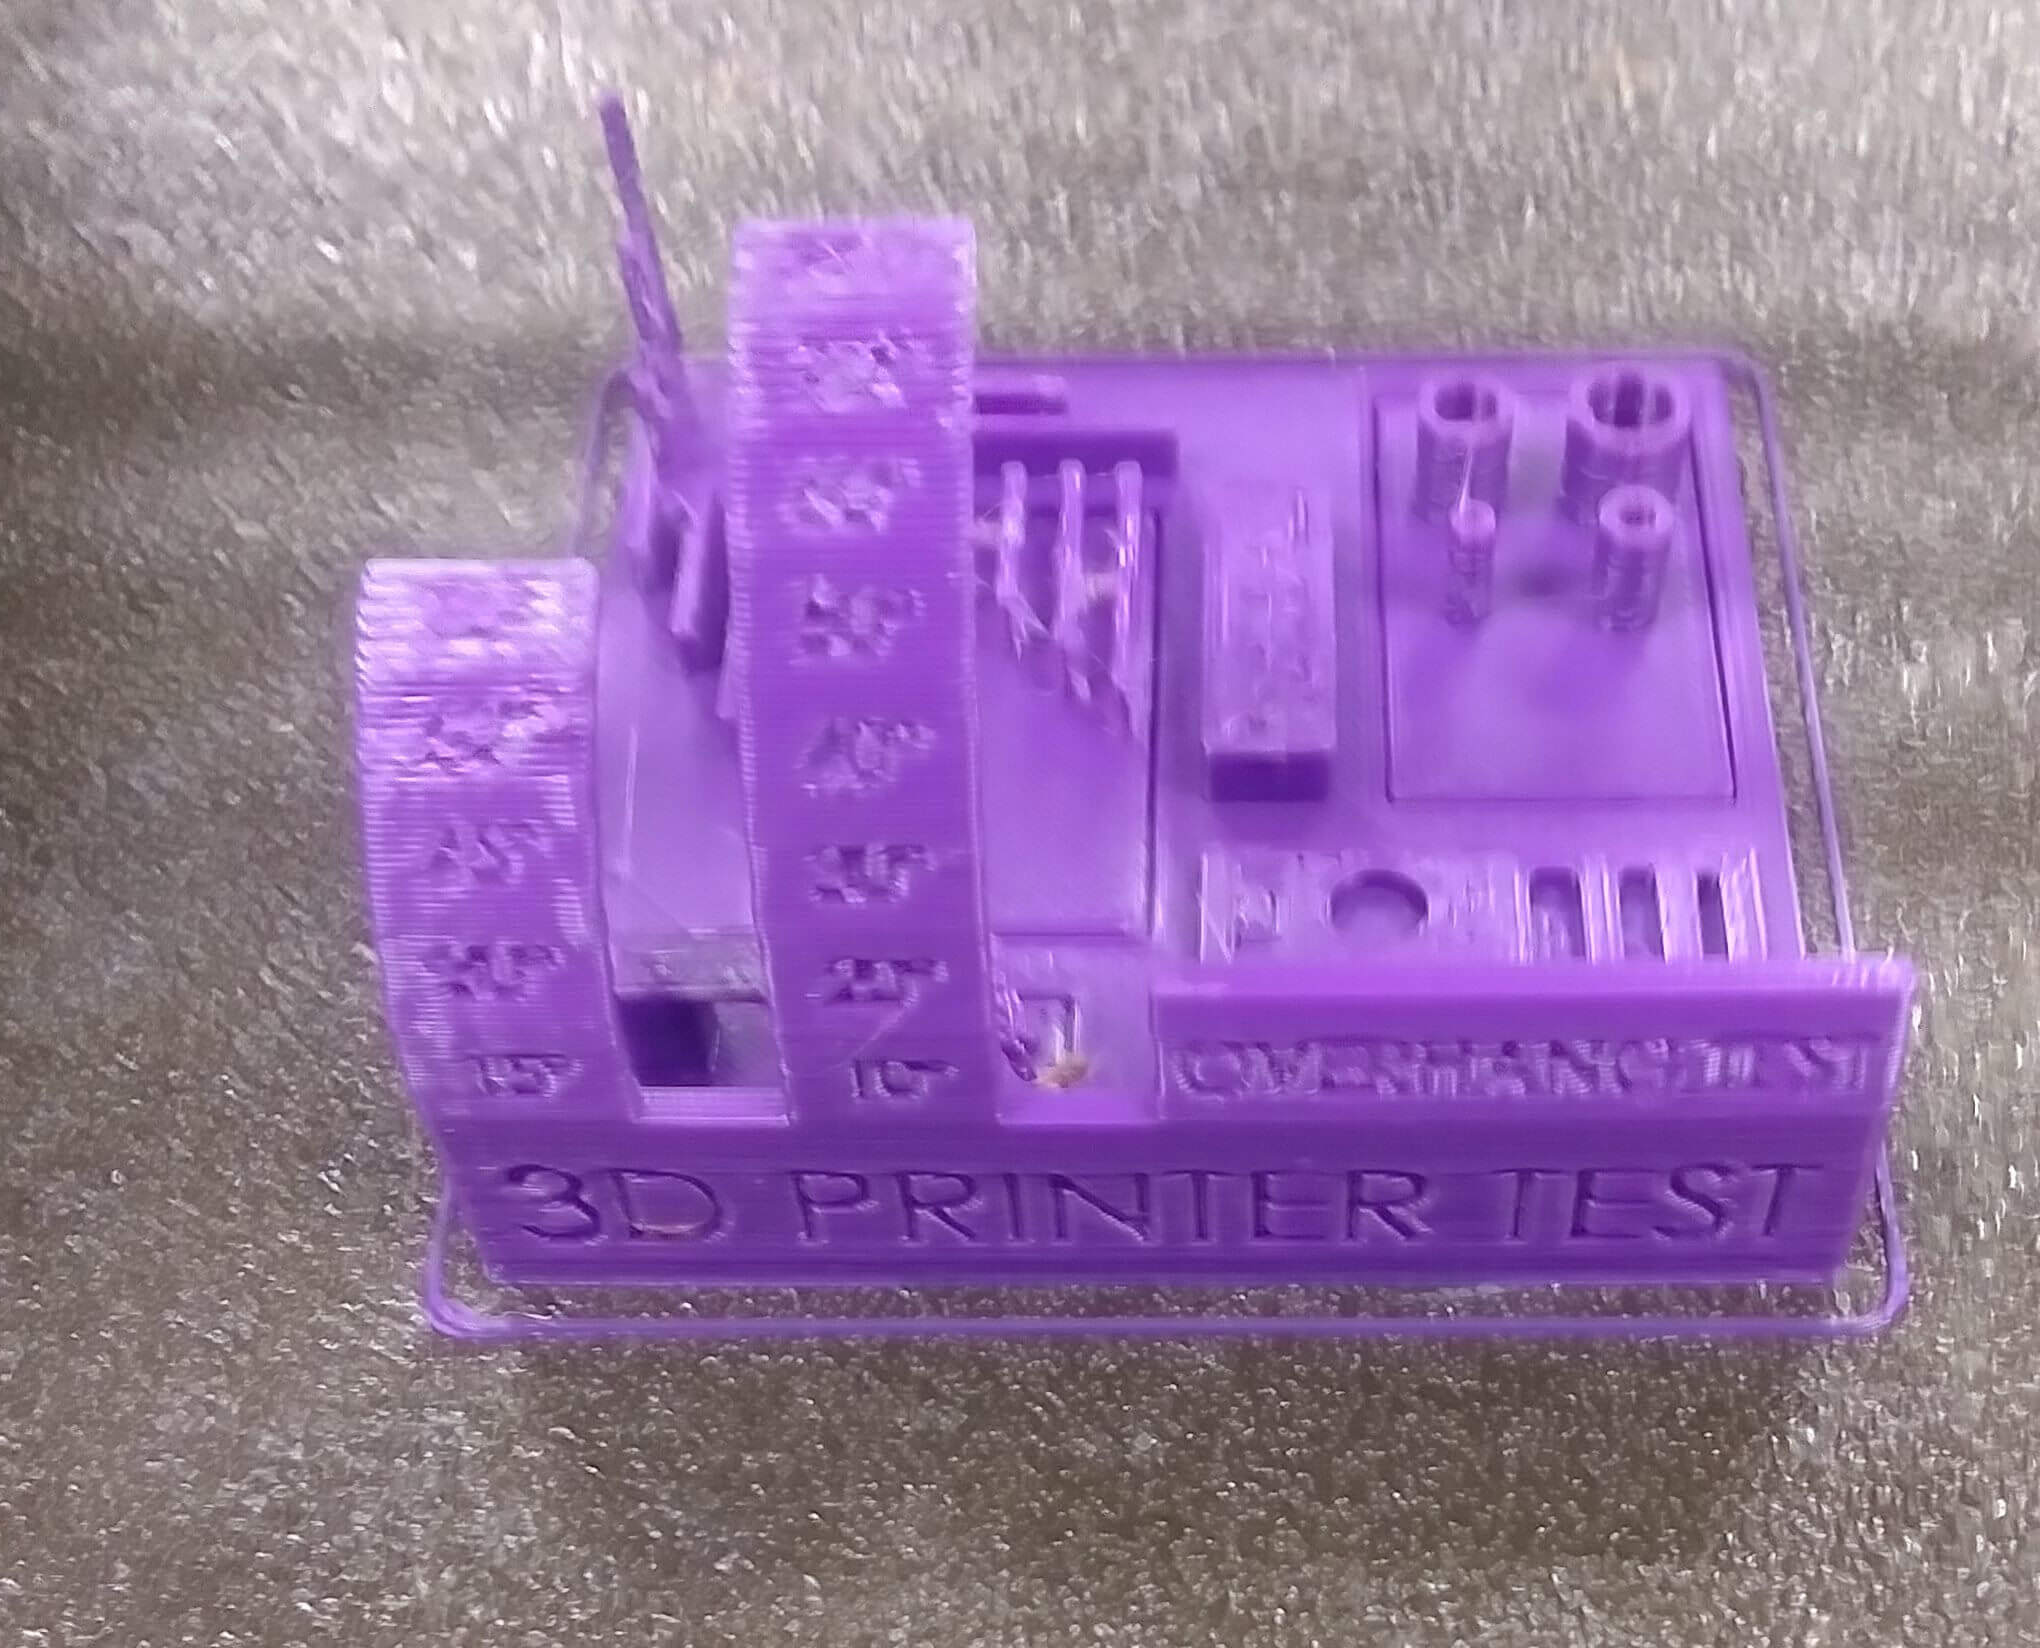

As you can probably tell, the print was quite stringy. Some parts of the print that were supposed to be completely solid were composed of a mishmash of filament strands. After reviewing our printing process, my group determined that this was either due to poor calibration of the printer or the filament not being properly loaded. Nevertheless, we were able to determine that the PRUSA can create an overhang up to about a 80 degree angle, although it began collapsing around 55 degrees. It also can make clean holes 2, 5, and 8 millimeters in diameter, in addition to lines 2, 3, and 4 millimeters in diameter. Details and cleanness on there were not great, but that is likely due to the calibration error. The bridging test did demonstrate our PRUSA's ability to create bridges of around 20 mm before having difficulty, although our bridges did have numerous additional strands and was not very cleanly printed. The supports test did not go as well, as most of the supports were affected by the poor calibration.
3D Scanning
In the 3D scanning portion of this week I used Scan Studio Pro on a Next Engine 3D Scanner. Initially, I wanted to scan a needle felted sheep, but after realizing that the excessive flyaway strands of wool would add extra points to the final product, making it incredibly difficult to clean up the image afterwards. Instead, I had to settle for the next best option: a pretzel.
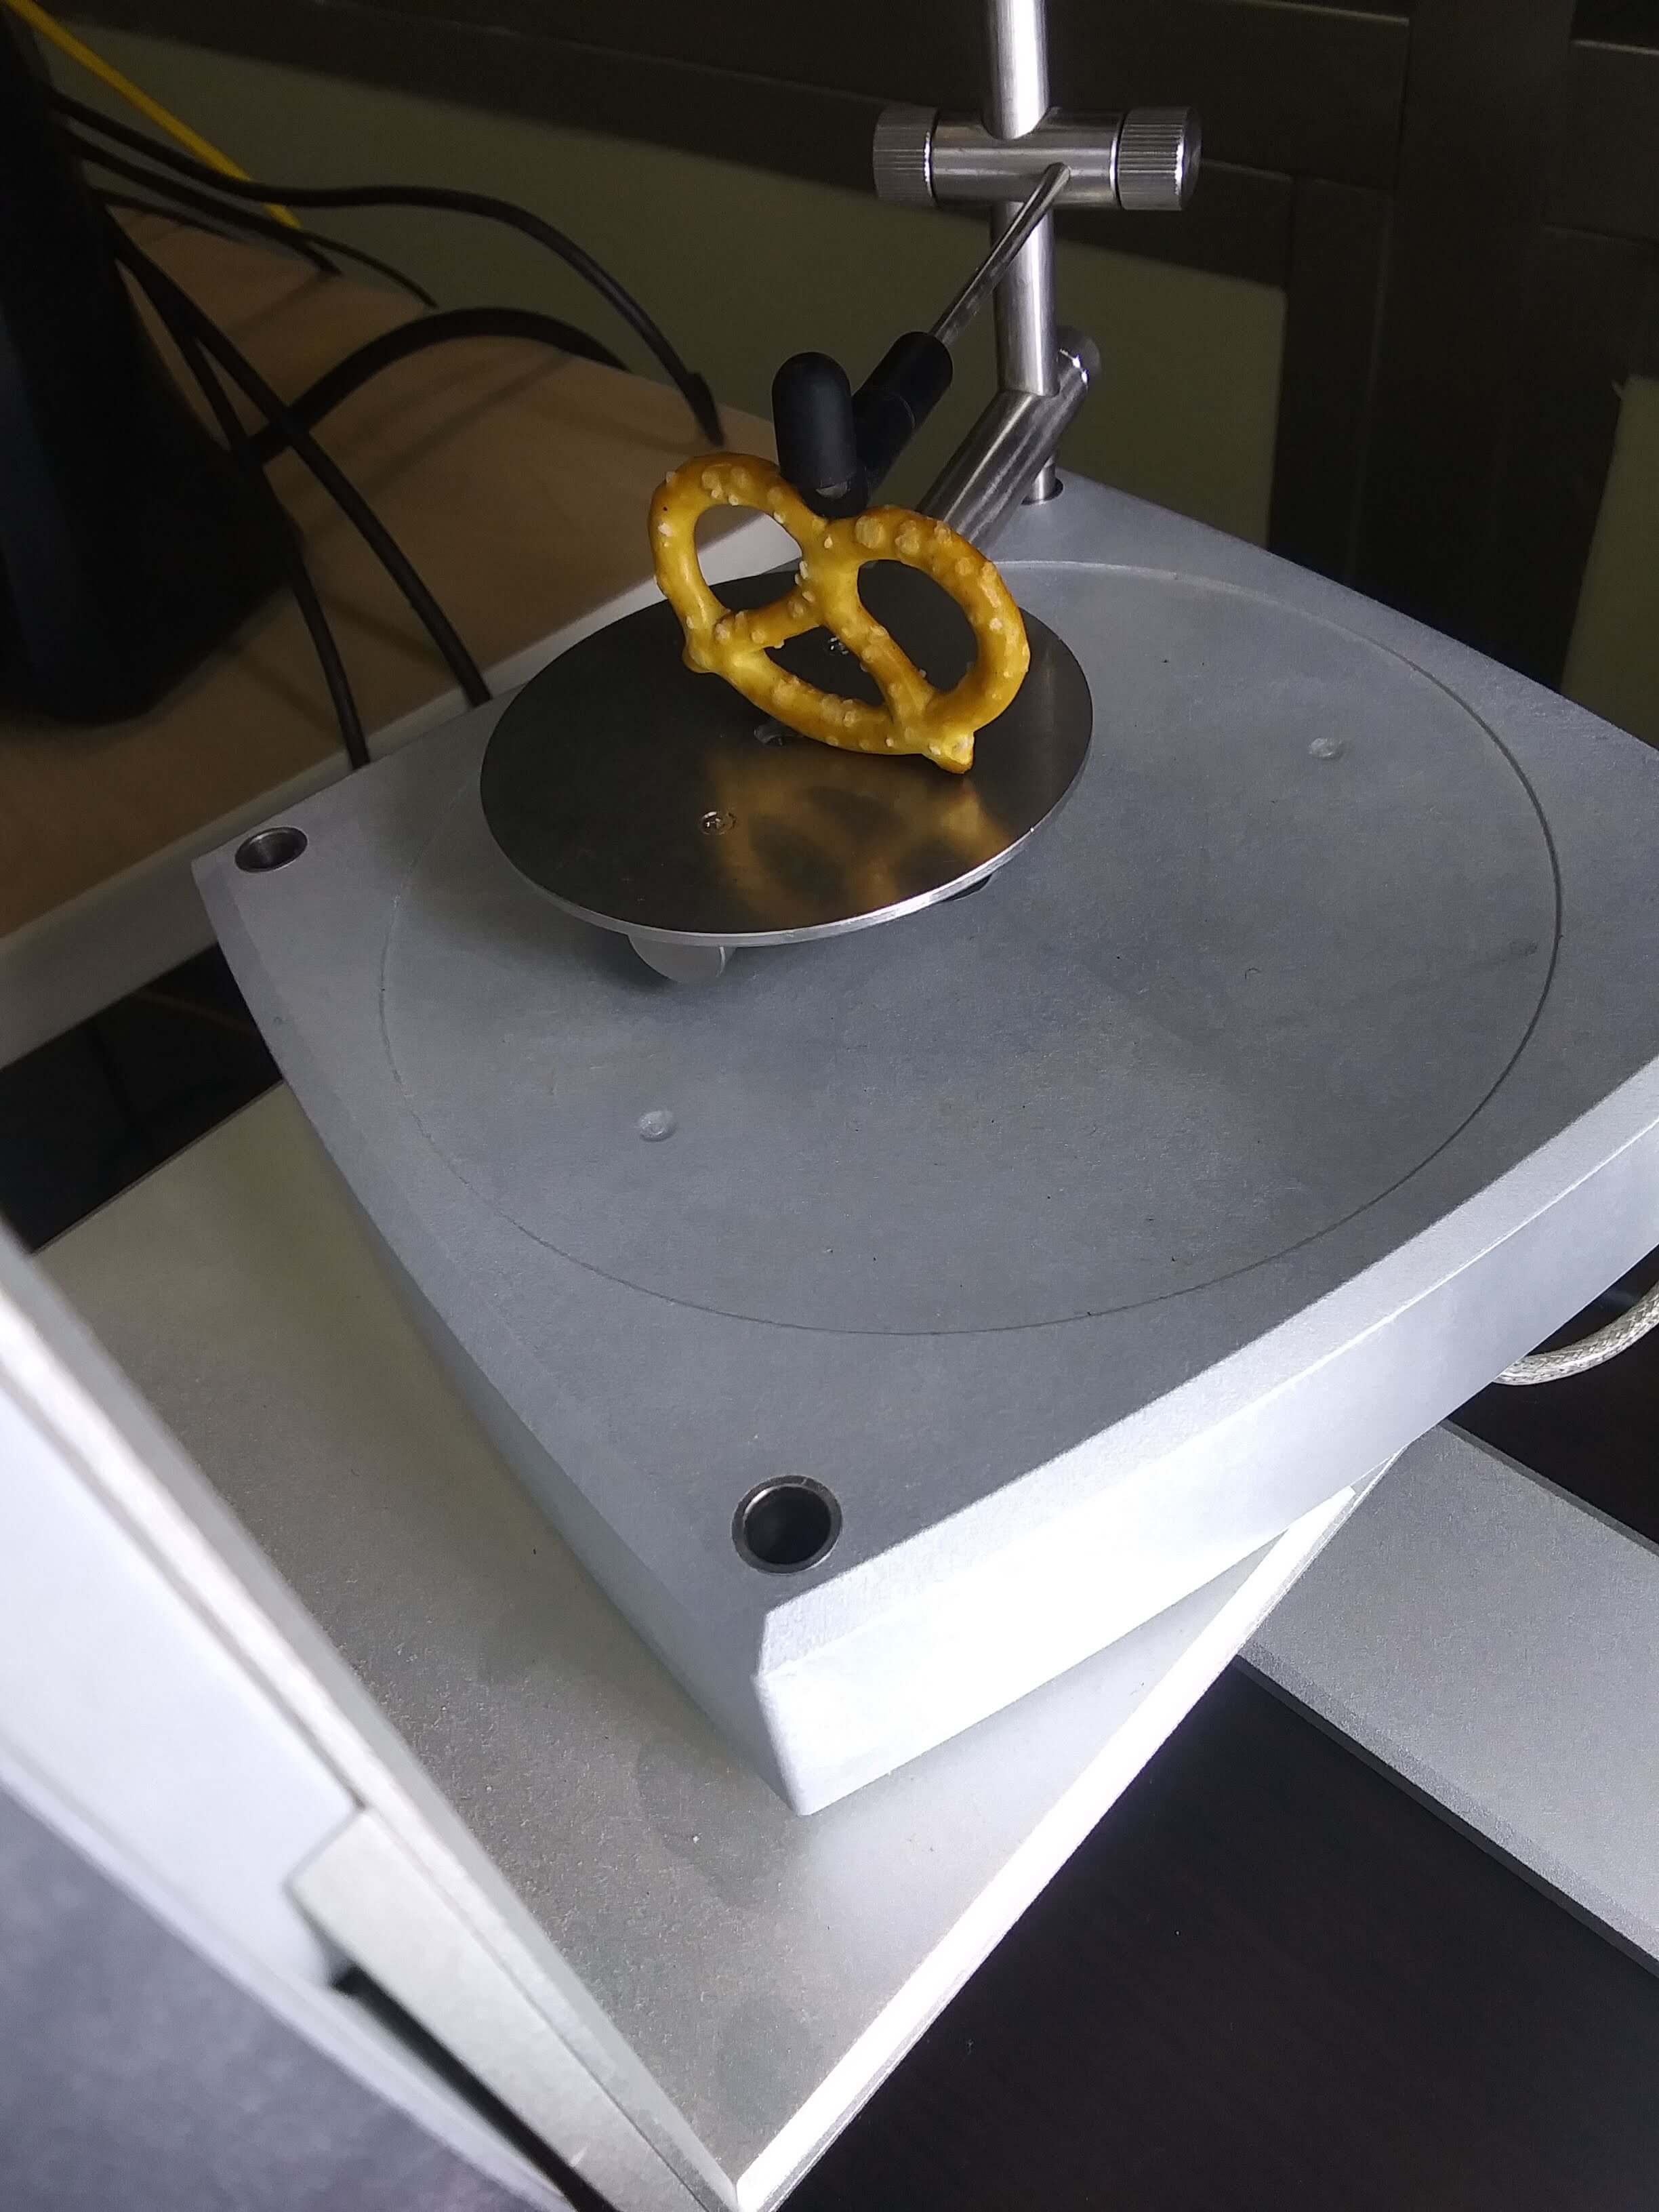
My initial concern with scanning a pretzel was that it needed to be securely fastened to the table but, as everyone knows, pretzels are a very delicate material. It did take a good 3 or 4 minutes to sufficiently secure the pretzel, but it managed to work!
Then I just hit the scan button and let the scanner do its thing
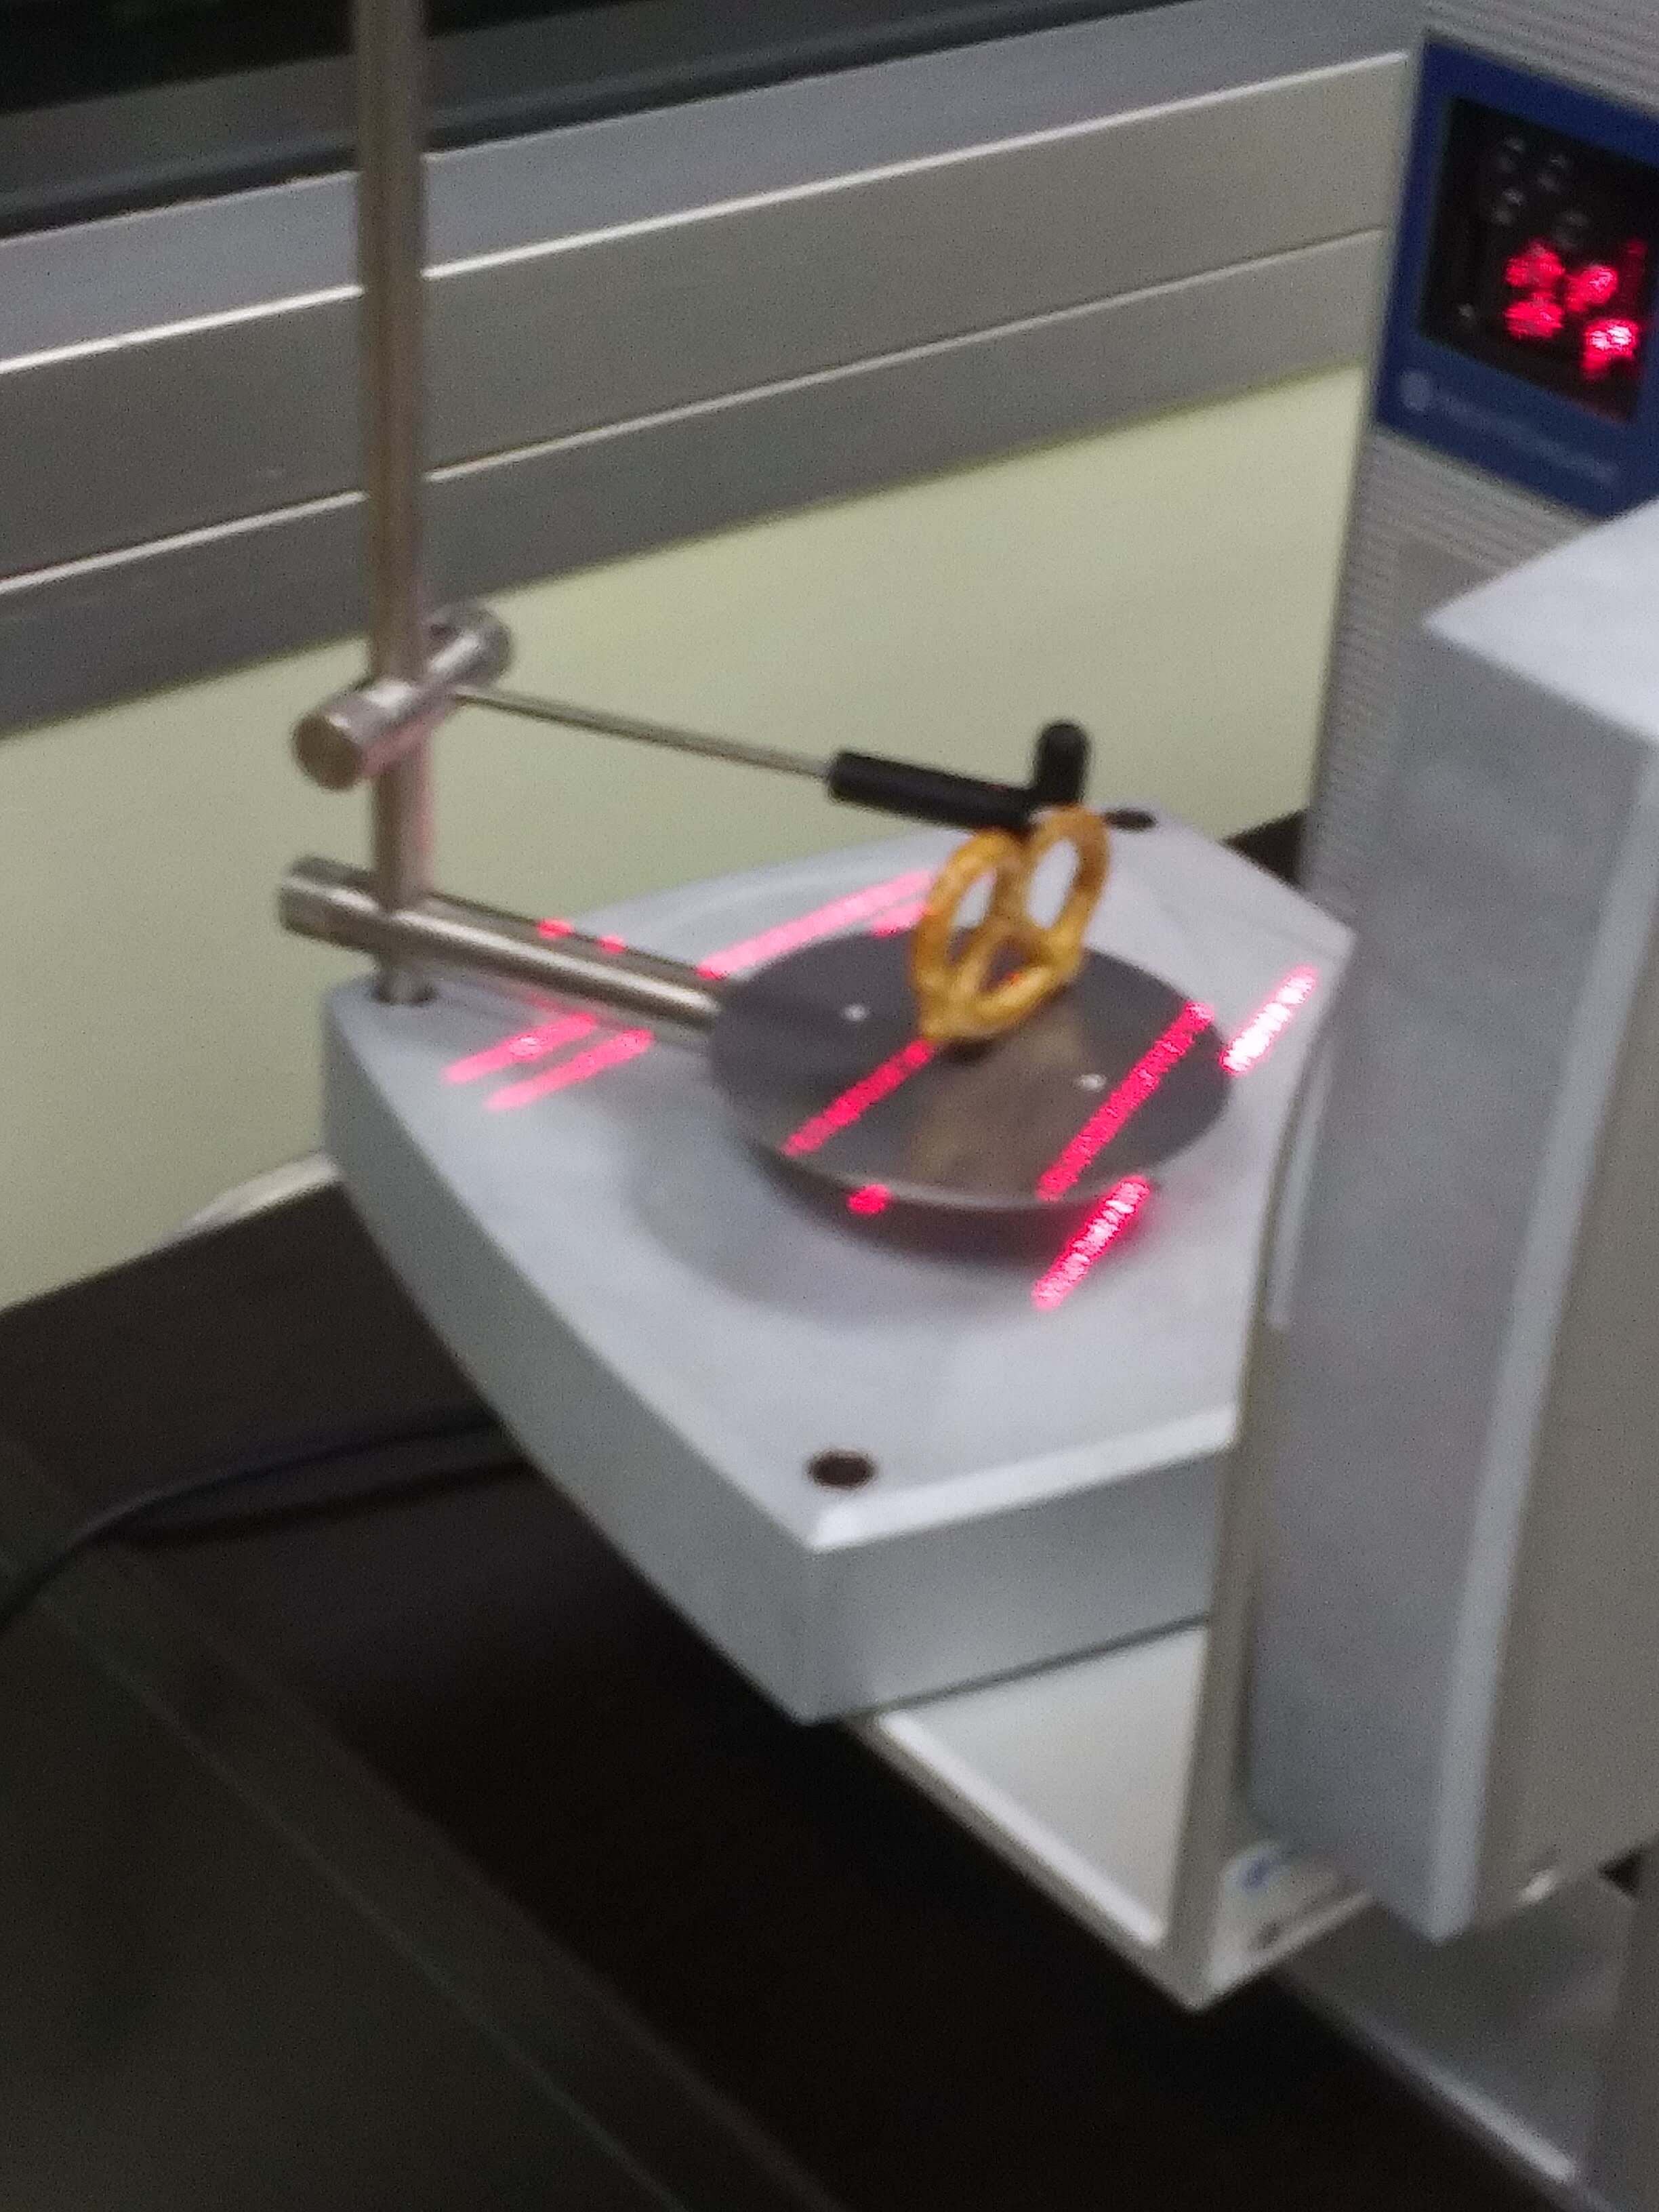
The scanner works by taking a series of pictures of the object from different angles and compiling them into one 3D image. For this scan, I took 8 pictures 360 degrees around the equator, 6 pictures facing 35 degrees downwards, and another 6 at 15 degrees upwards.
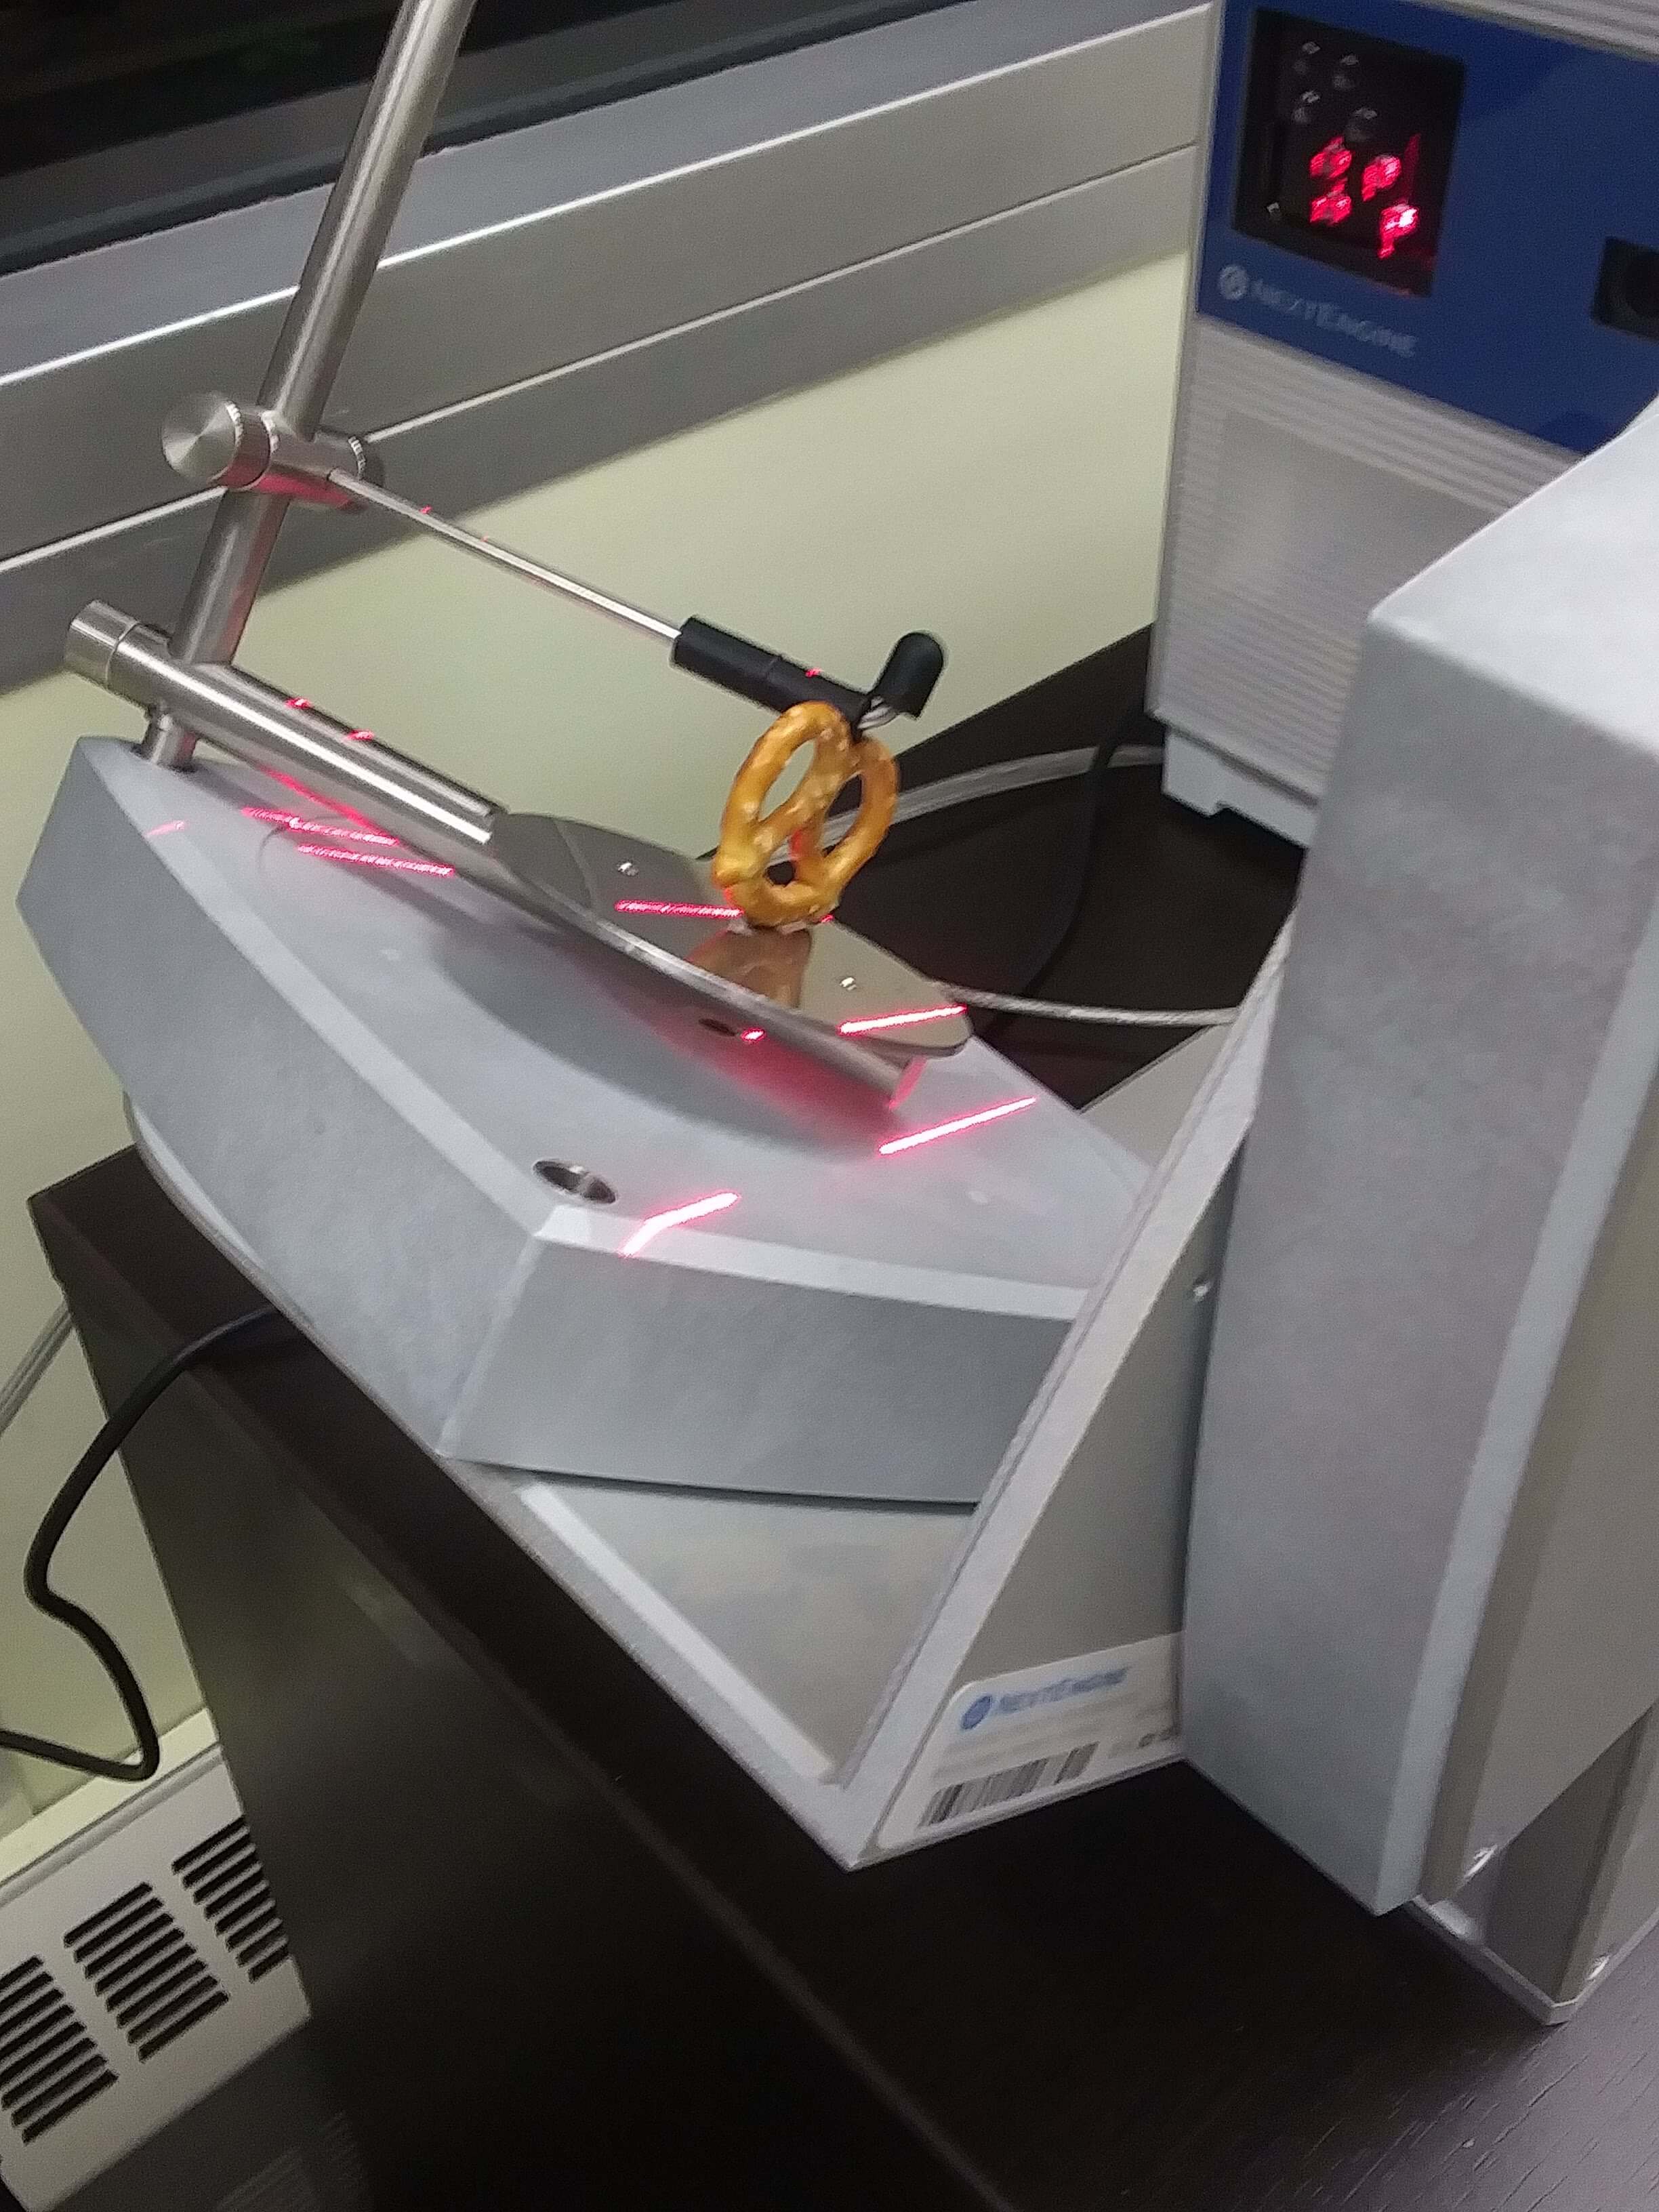
This entire process took around 1.25 hours. After all of the pictures were complete, they were compiled into one image.
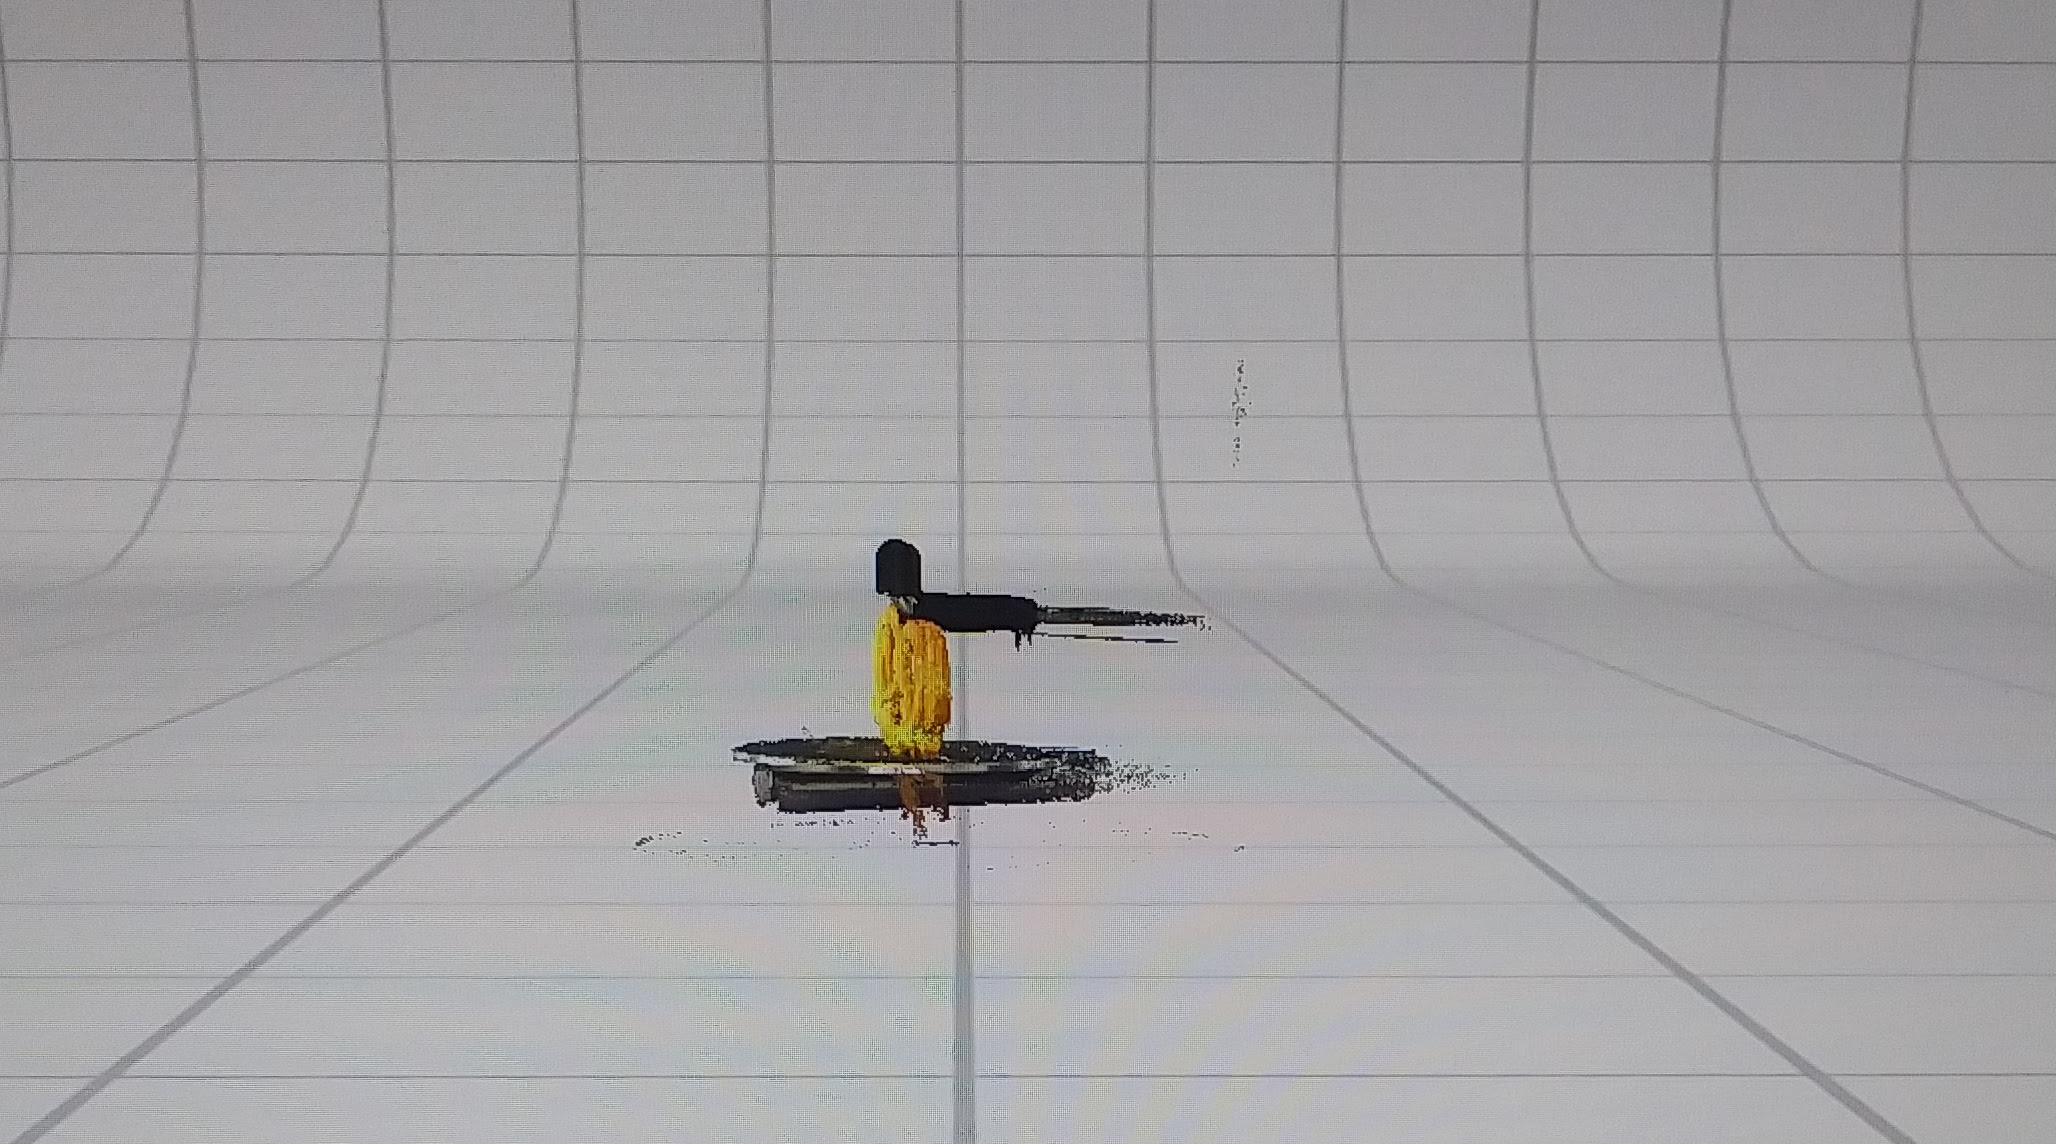
The bottom plate and the piece holding the pretzel in place were included in the picture, so I needed to remove them.
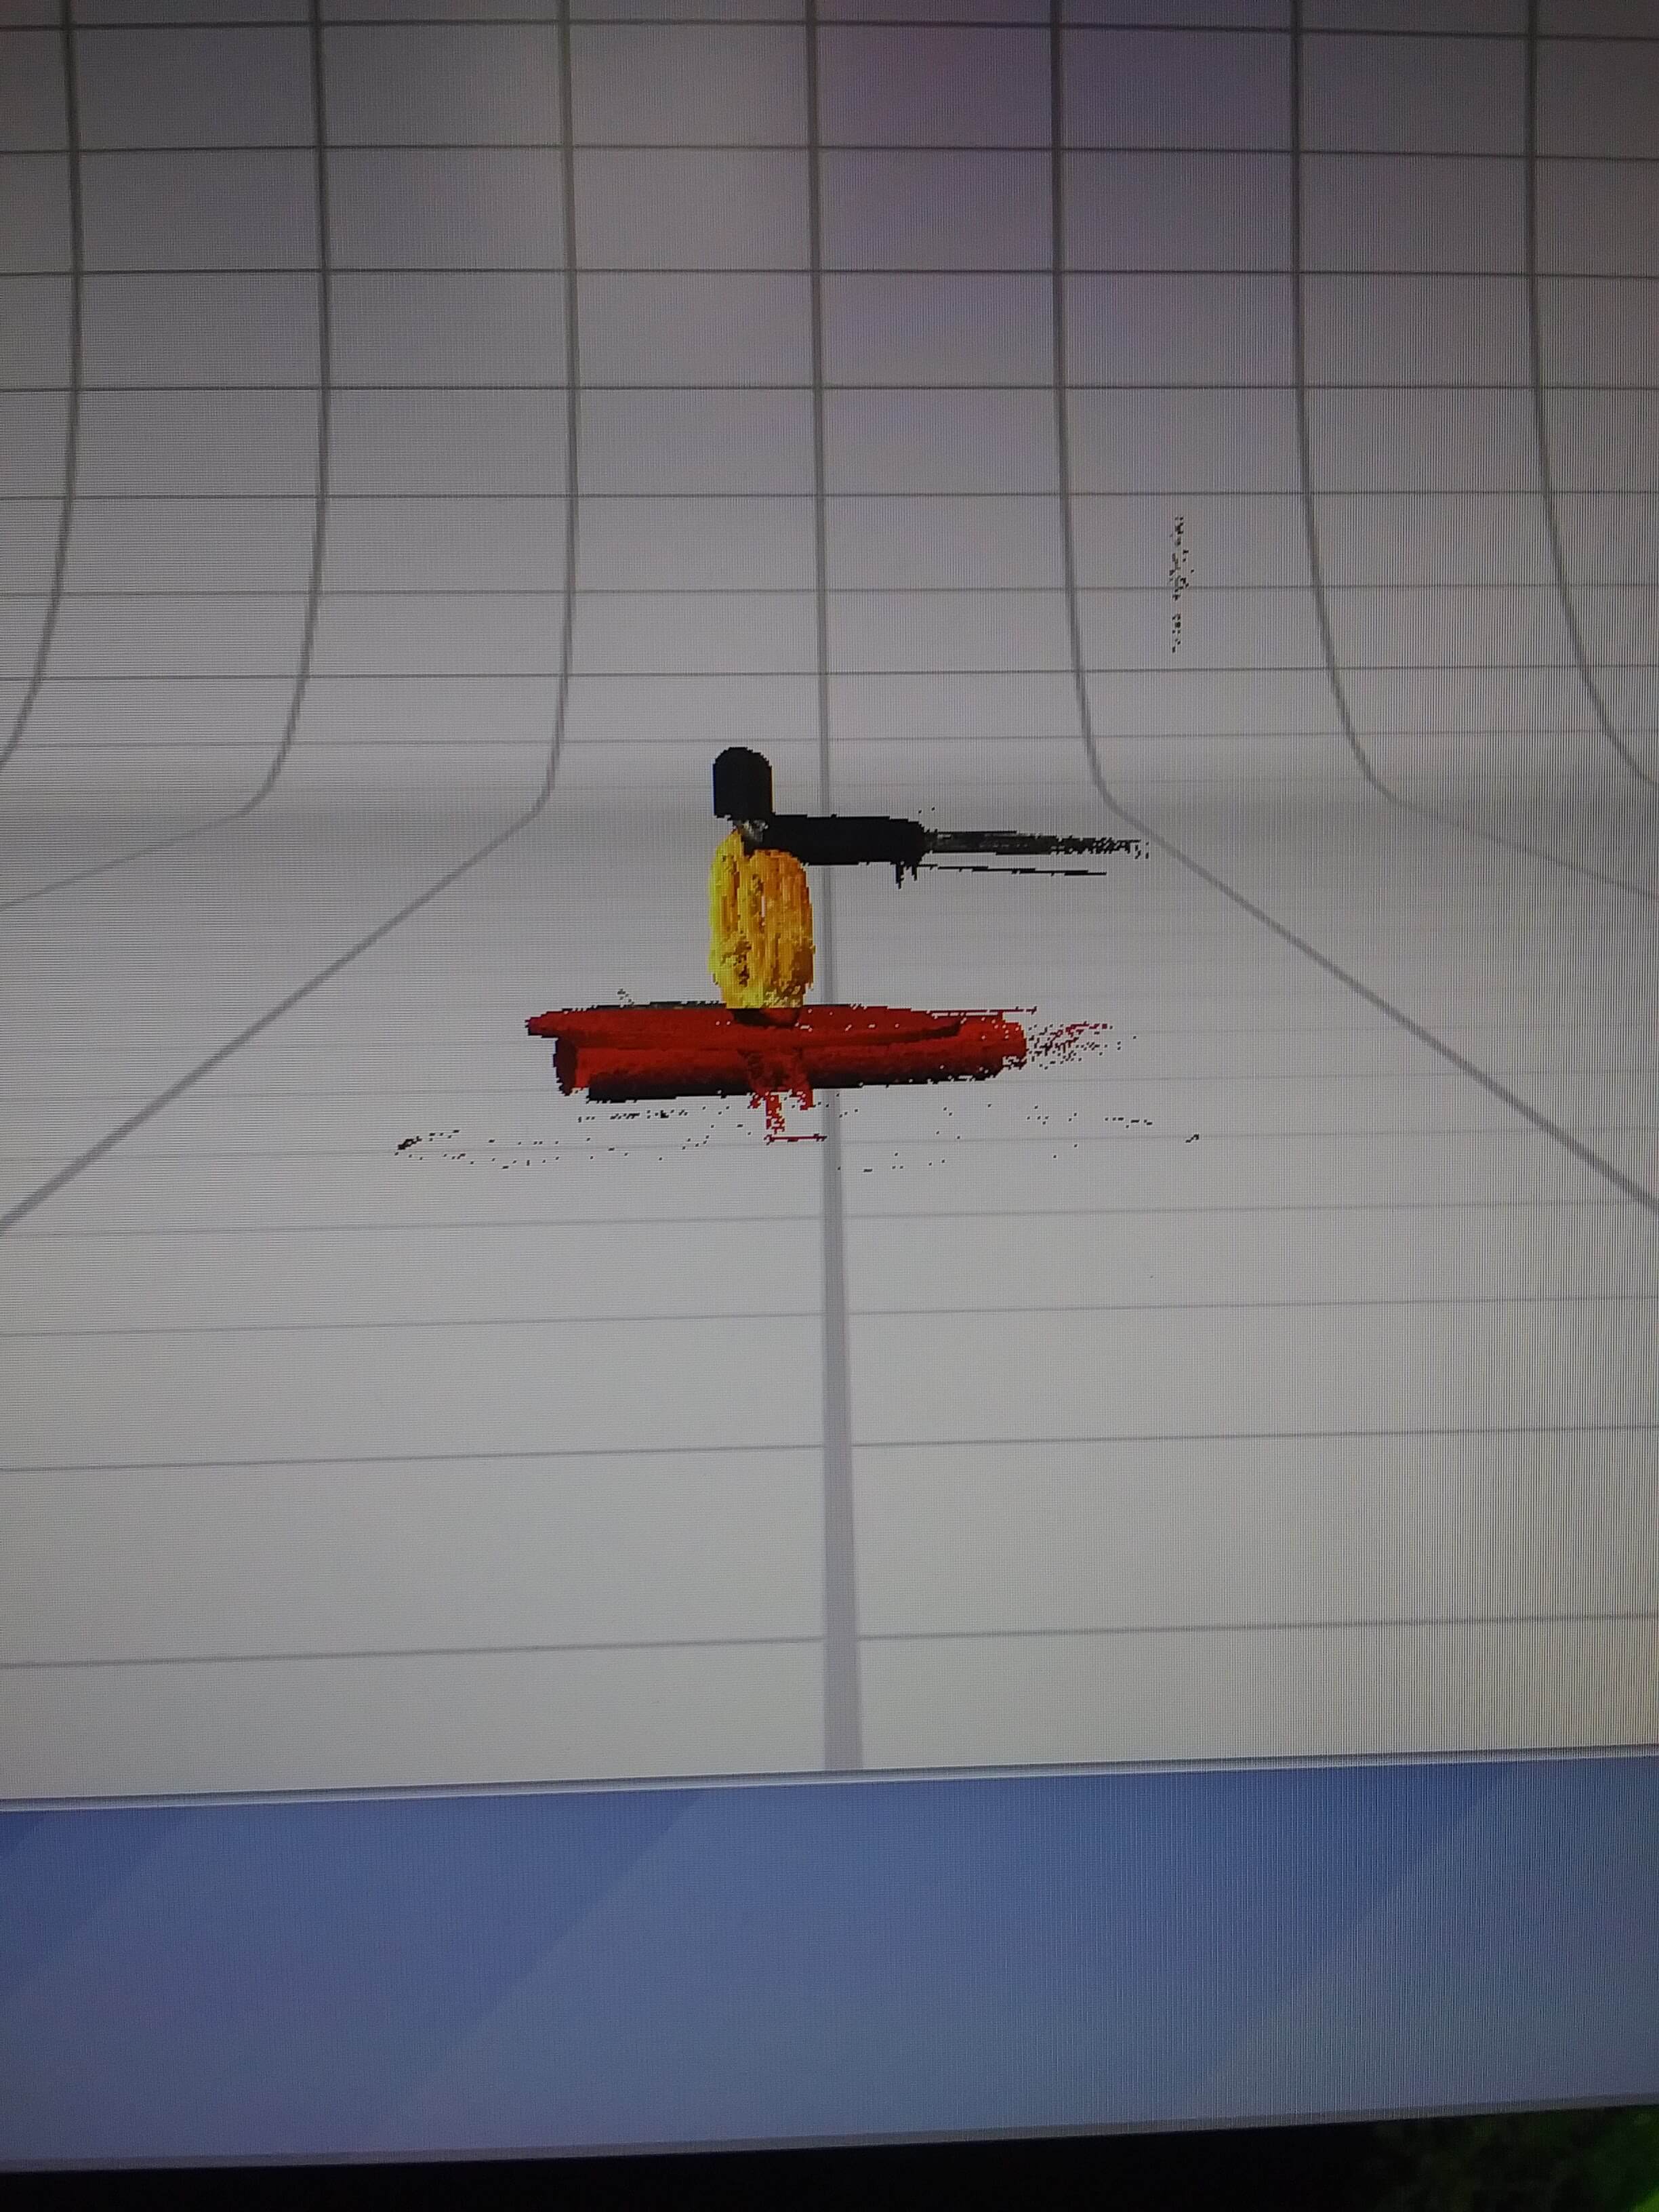
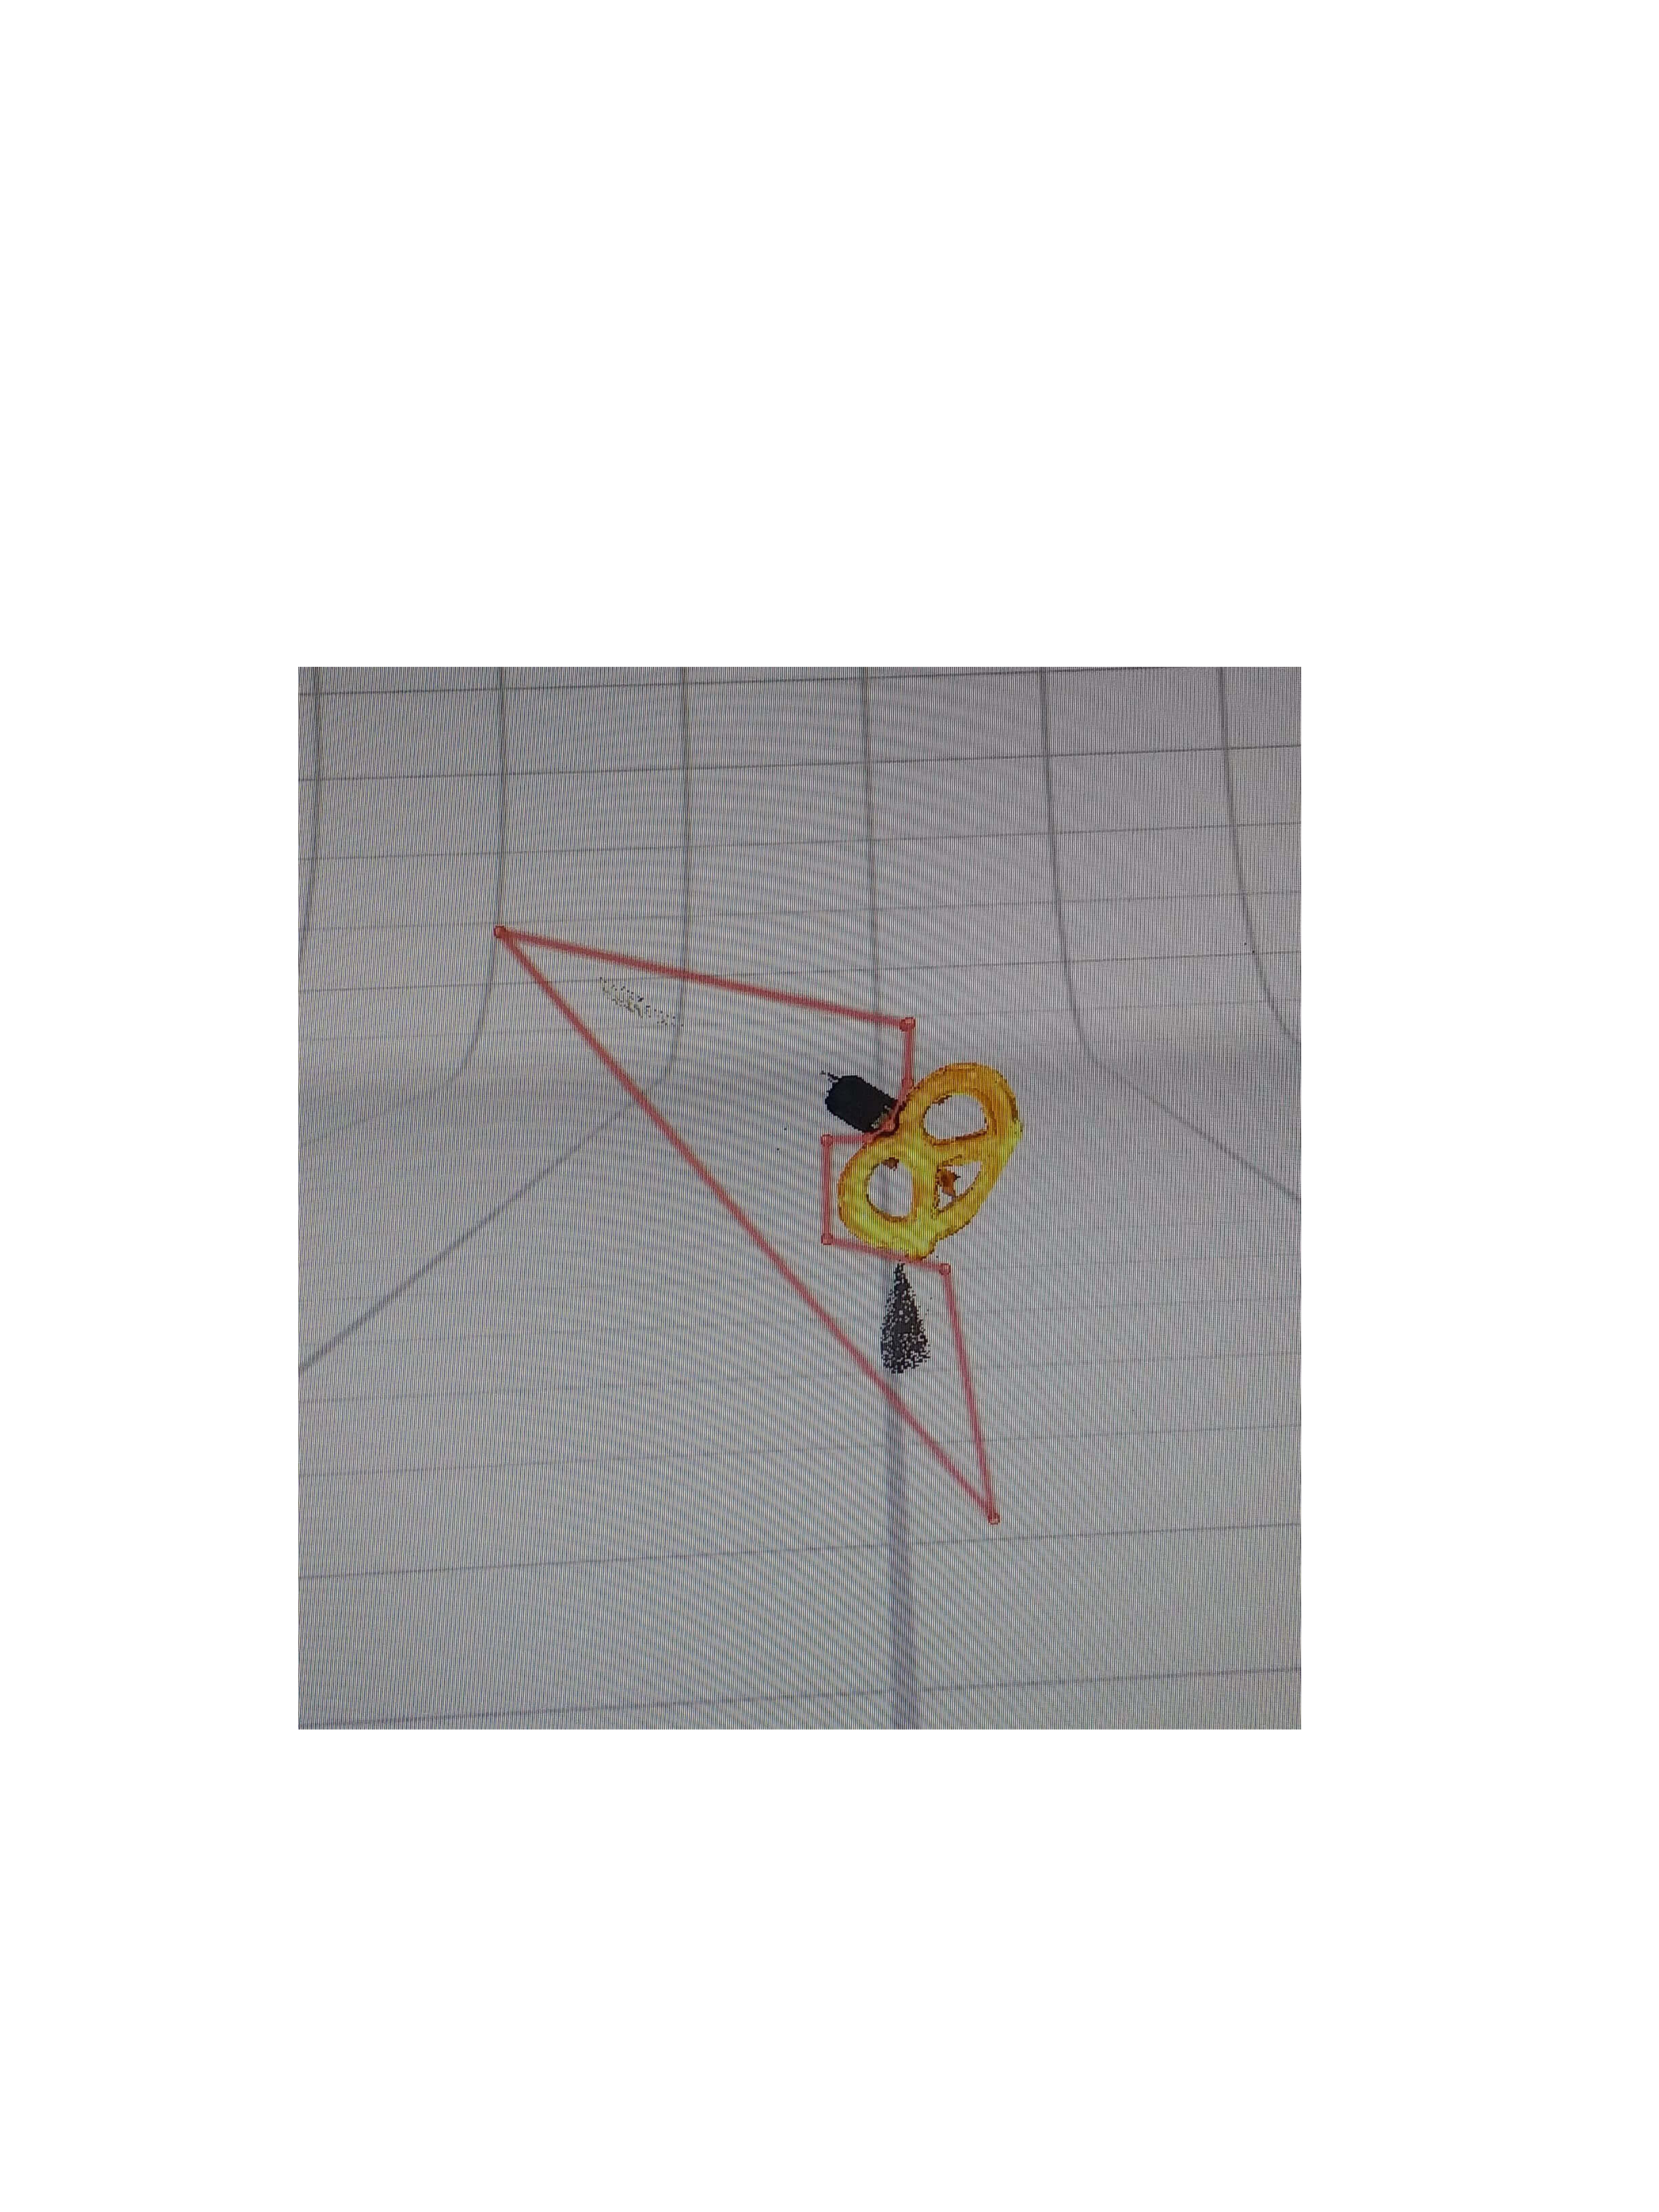
I selected the polygon tool to encompass the points that needed to be removed, then used the trim tool to remove them.
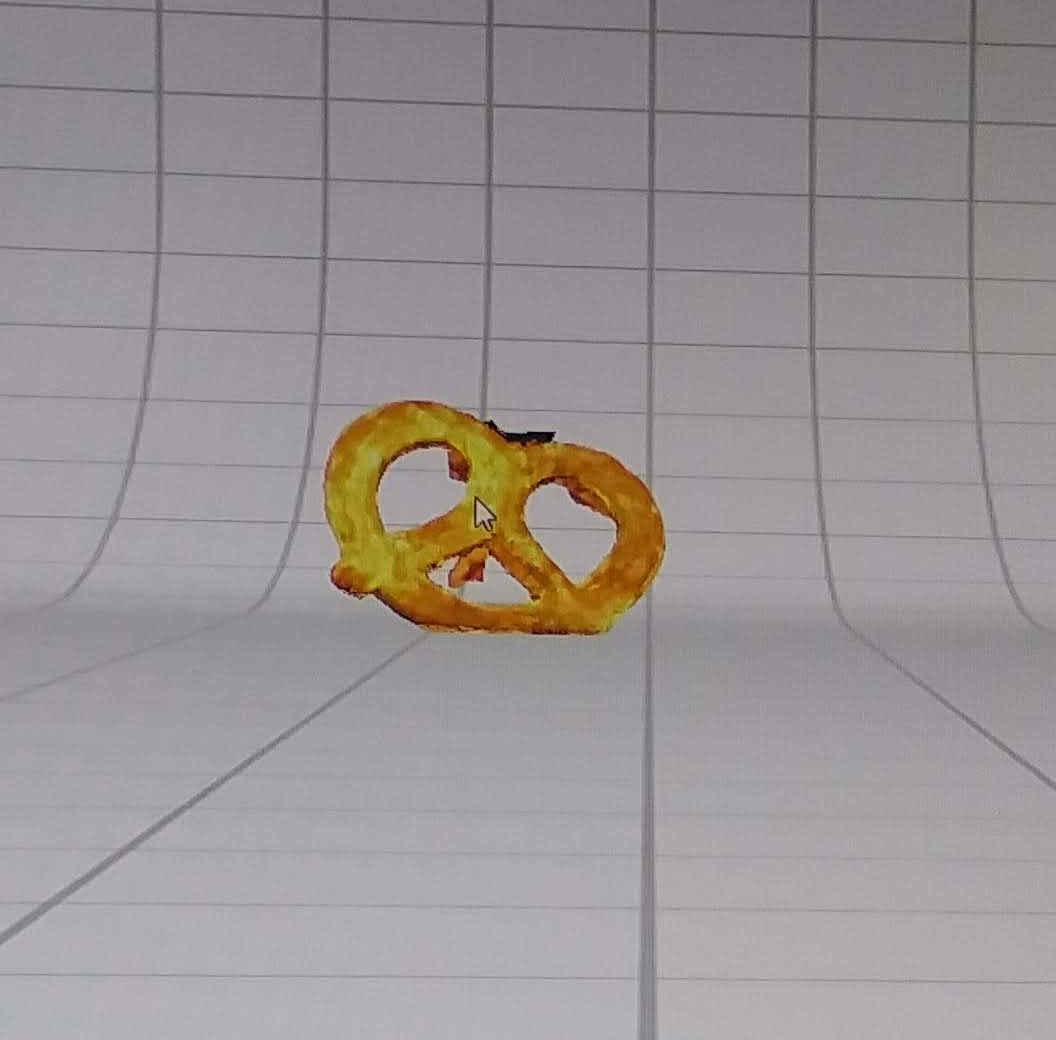
This left me with a beautiful 3 dimensional pretzel.
3D Printing
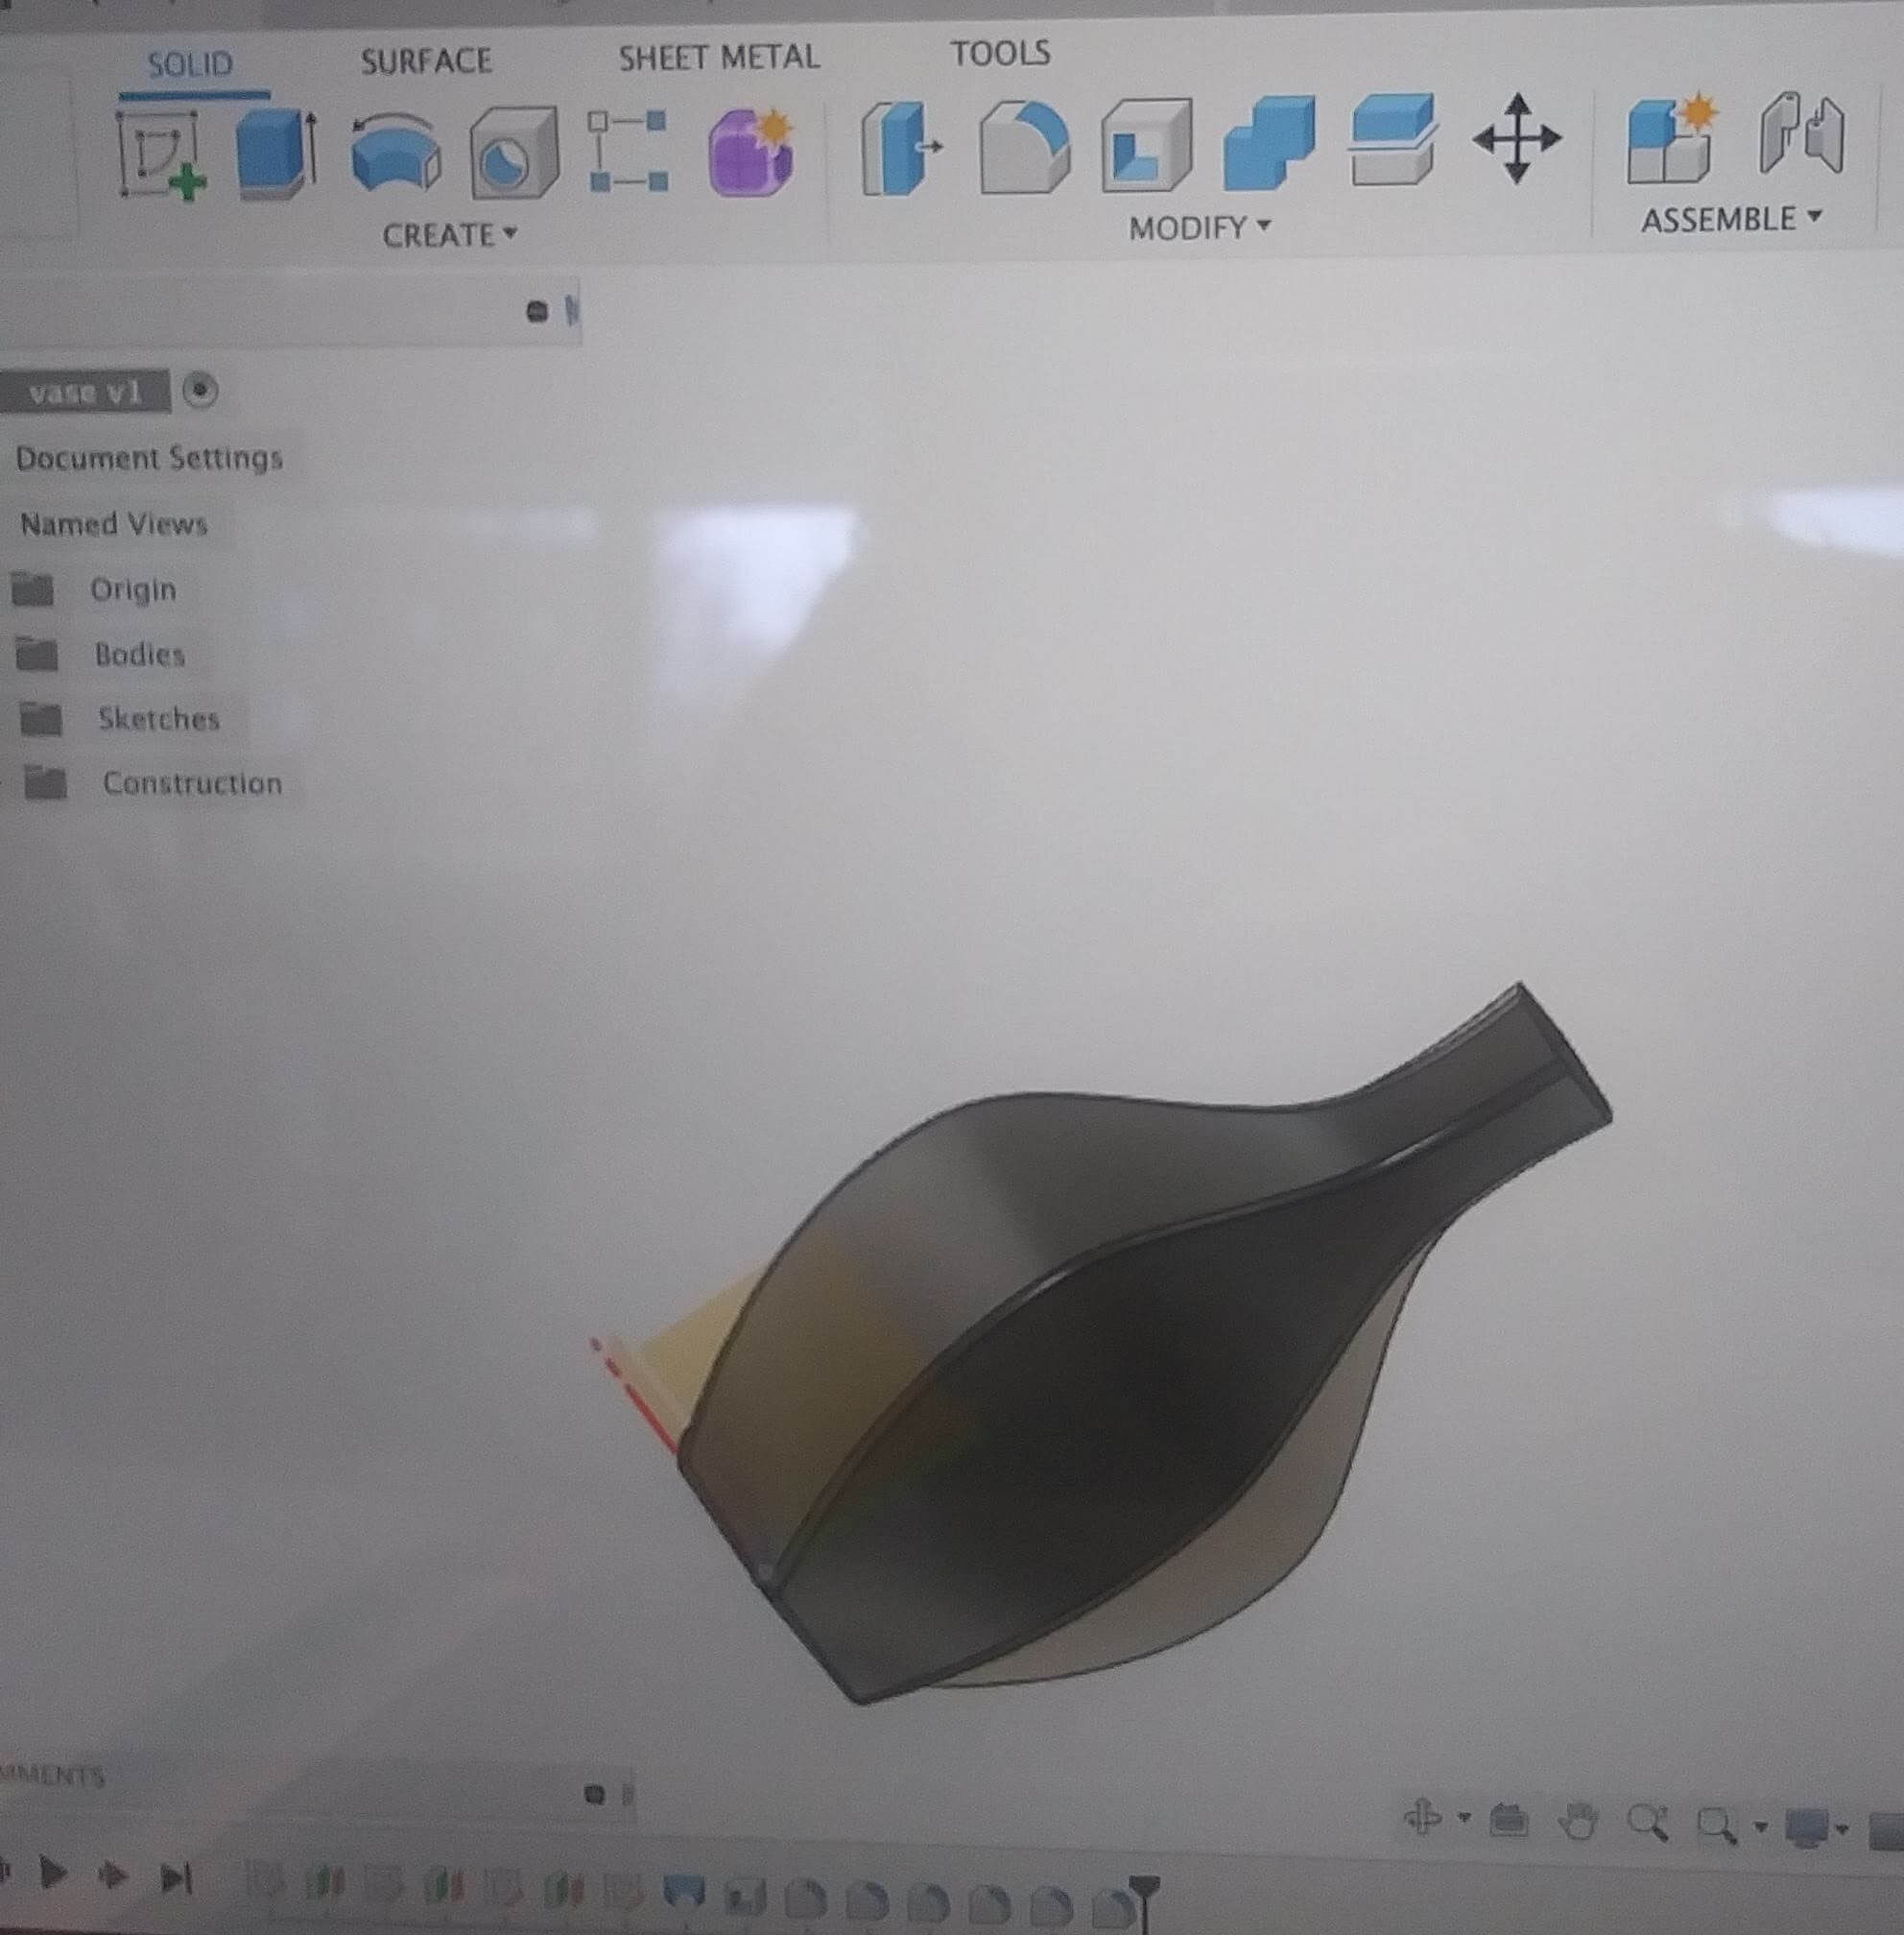
The final part of this week's assignments was to 3D print something that could not easily be replicated through subtractive manufacturing. I chose to make a vase with a small opening and a wide body. The opening of the vase is small emough that creating the wide sides would not be plausible. Because I am most familiar with Fusion 360 as a CAD software, I decided to use that.
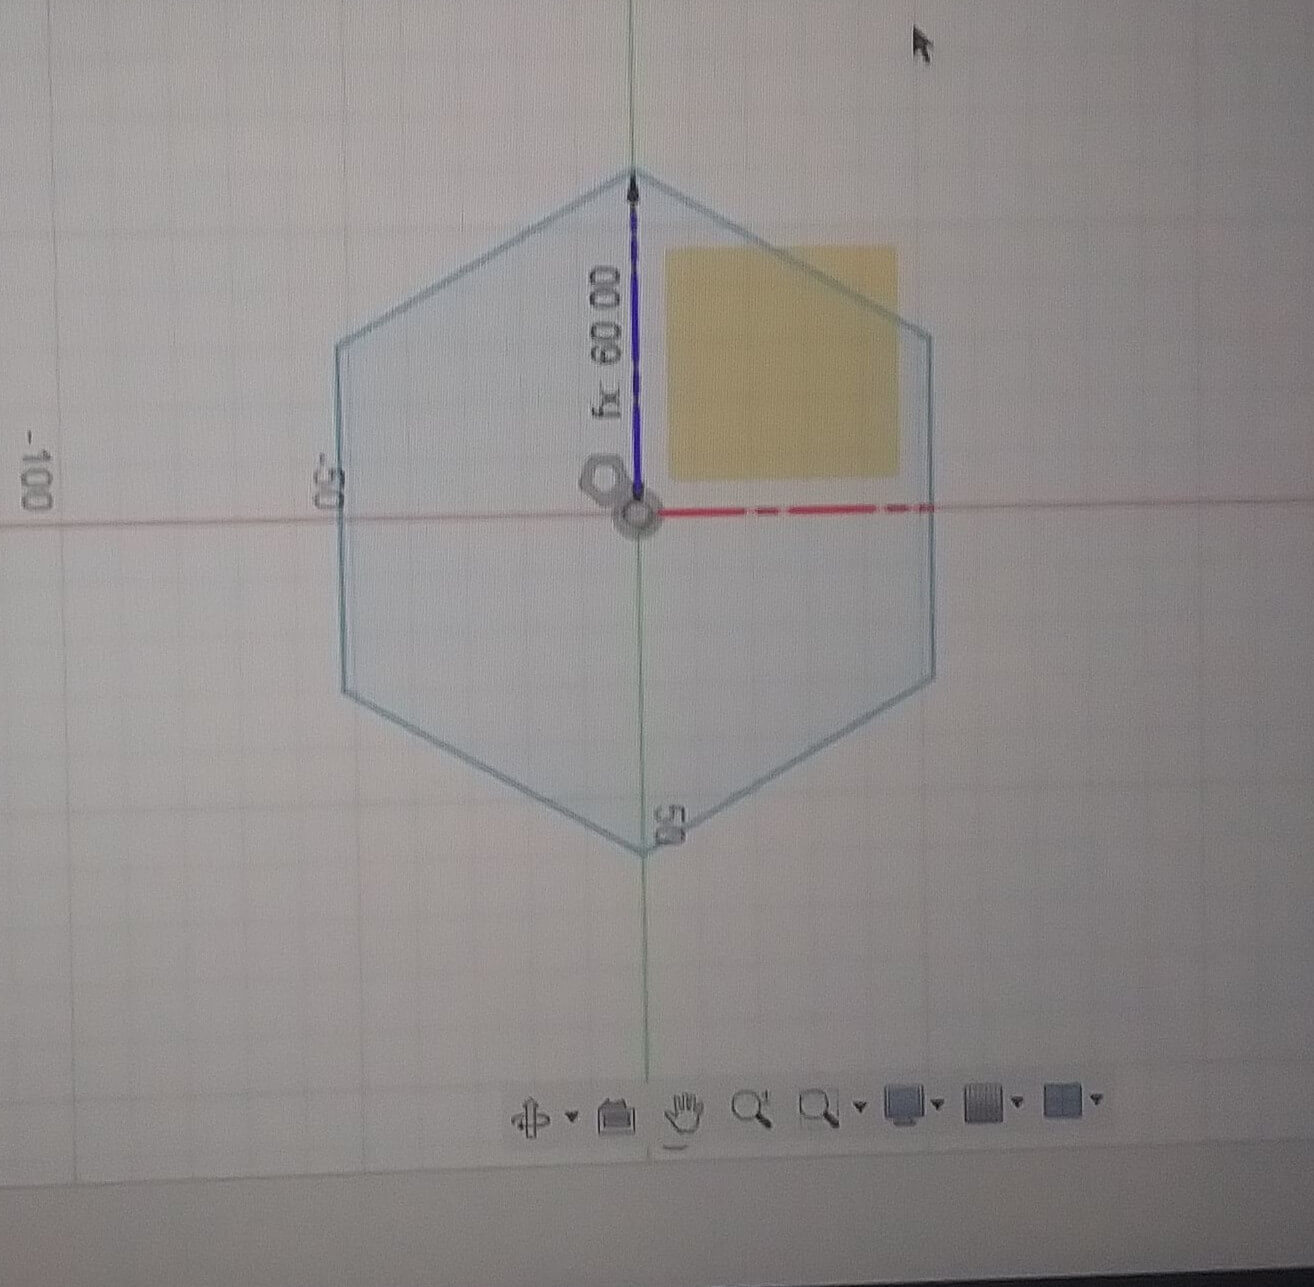
I started off with a simple hexagon to use as the floor of the vase.
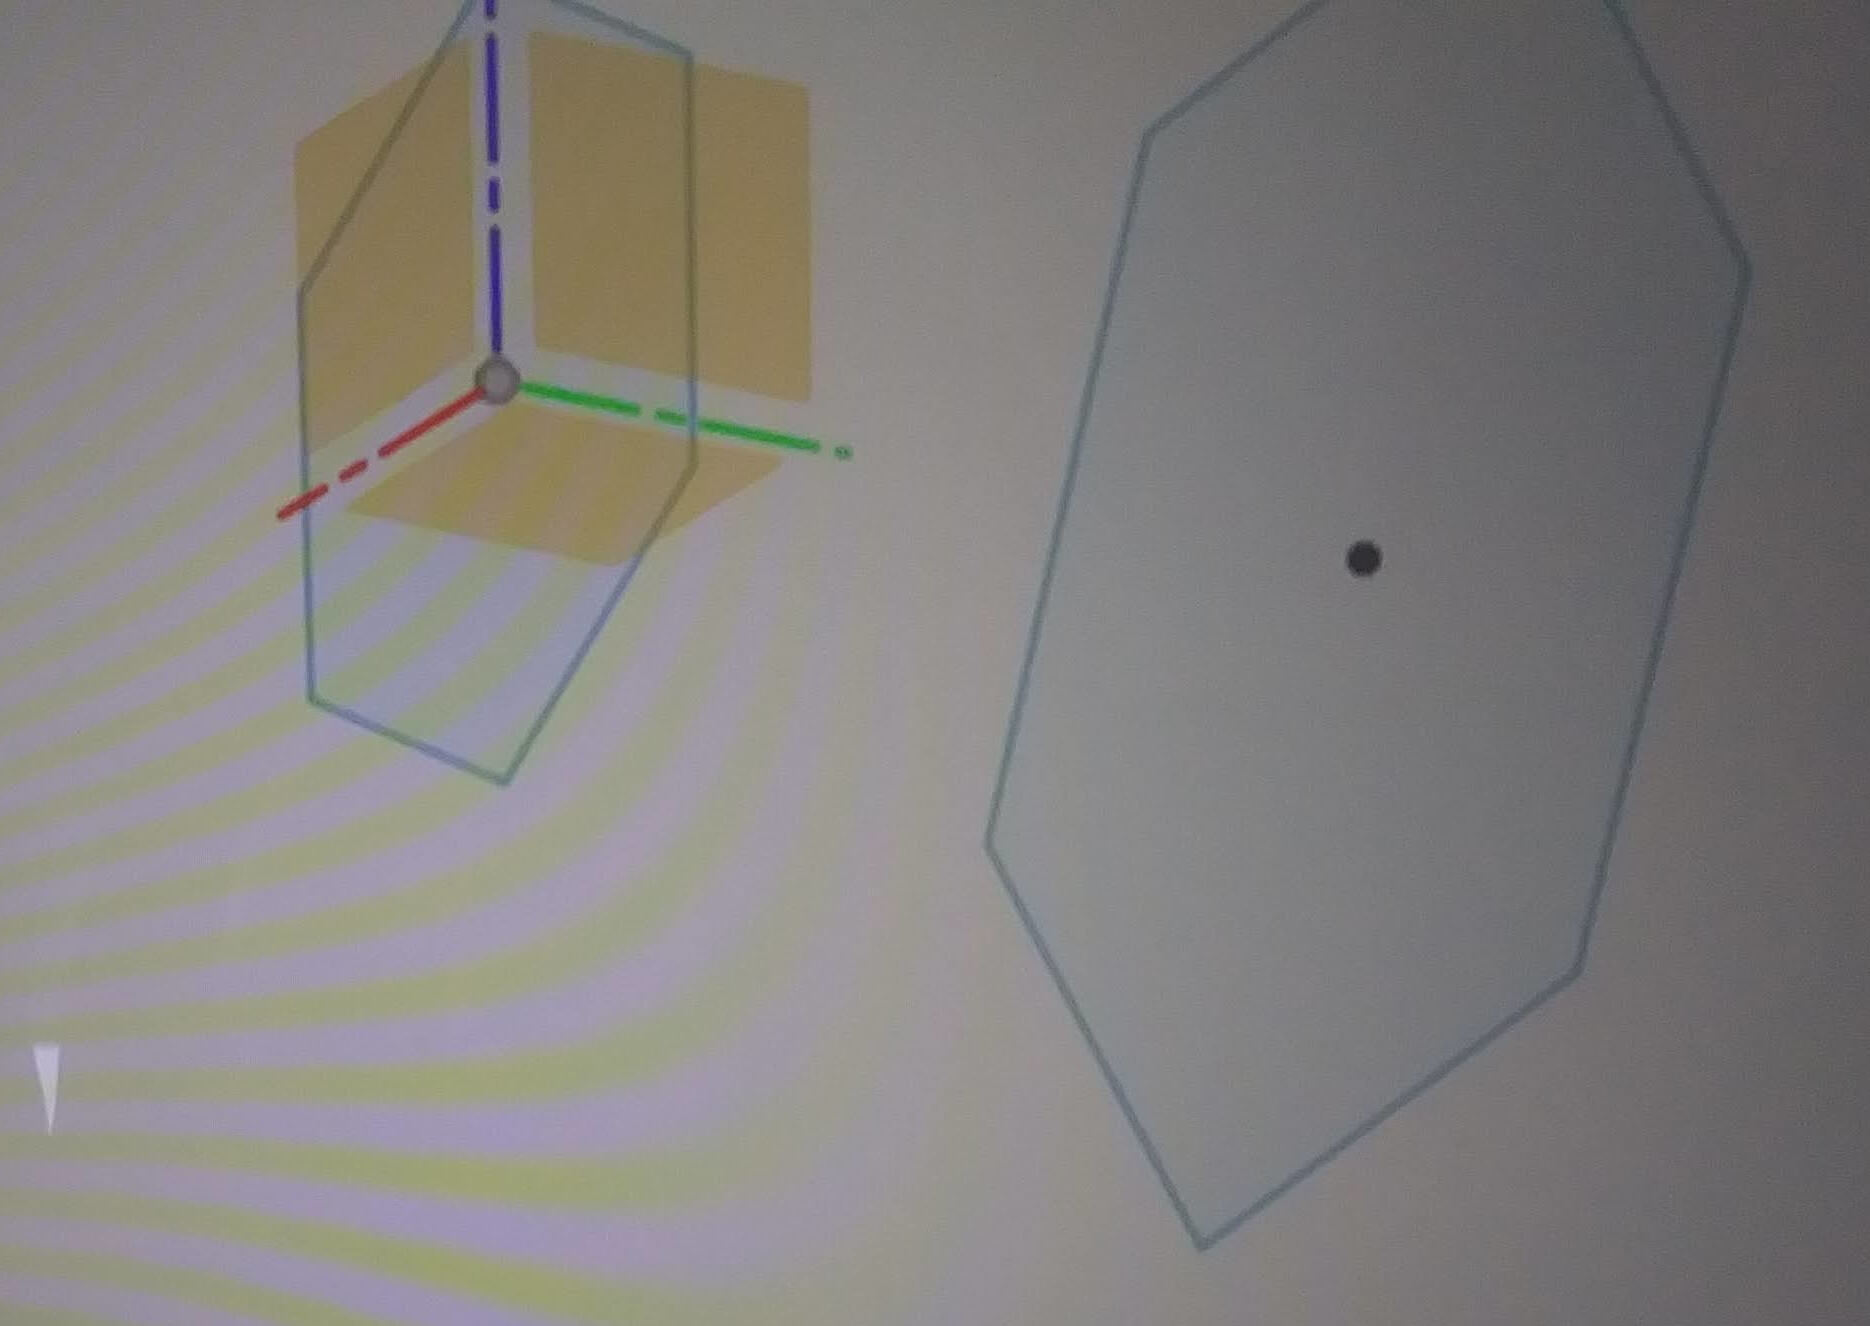
Then I created an offset plane and made another wider hexagon to use as the middle.
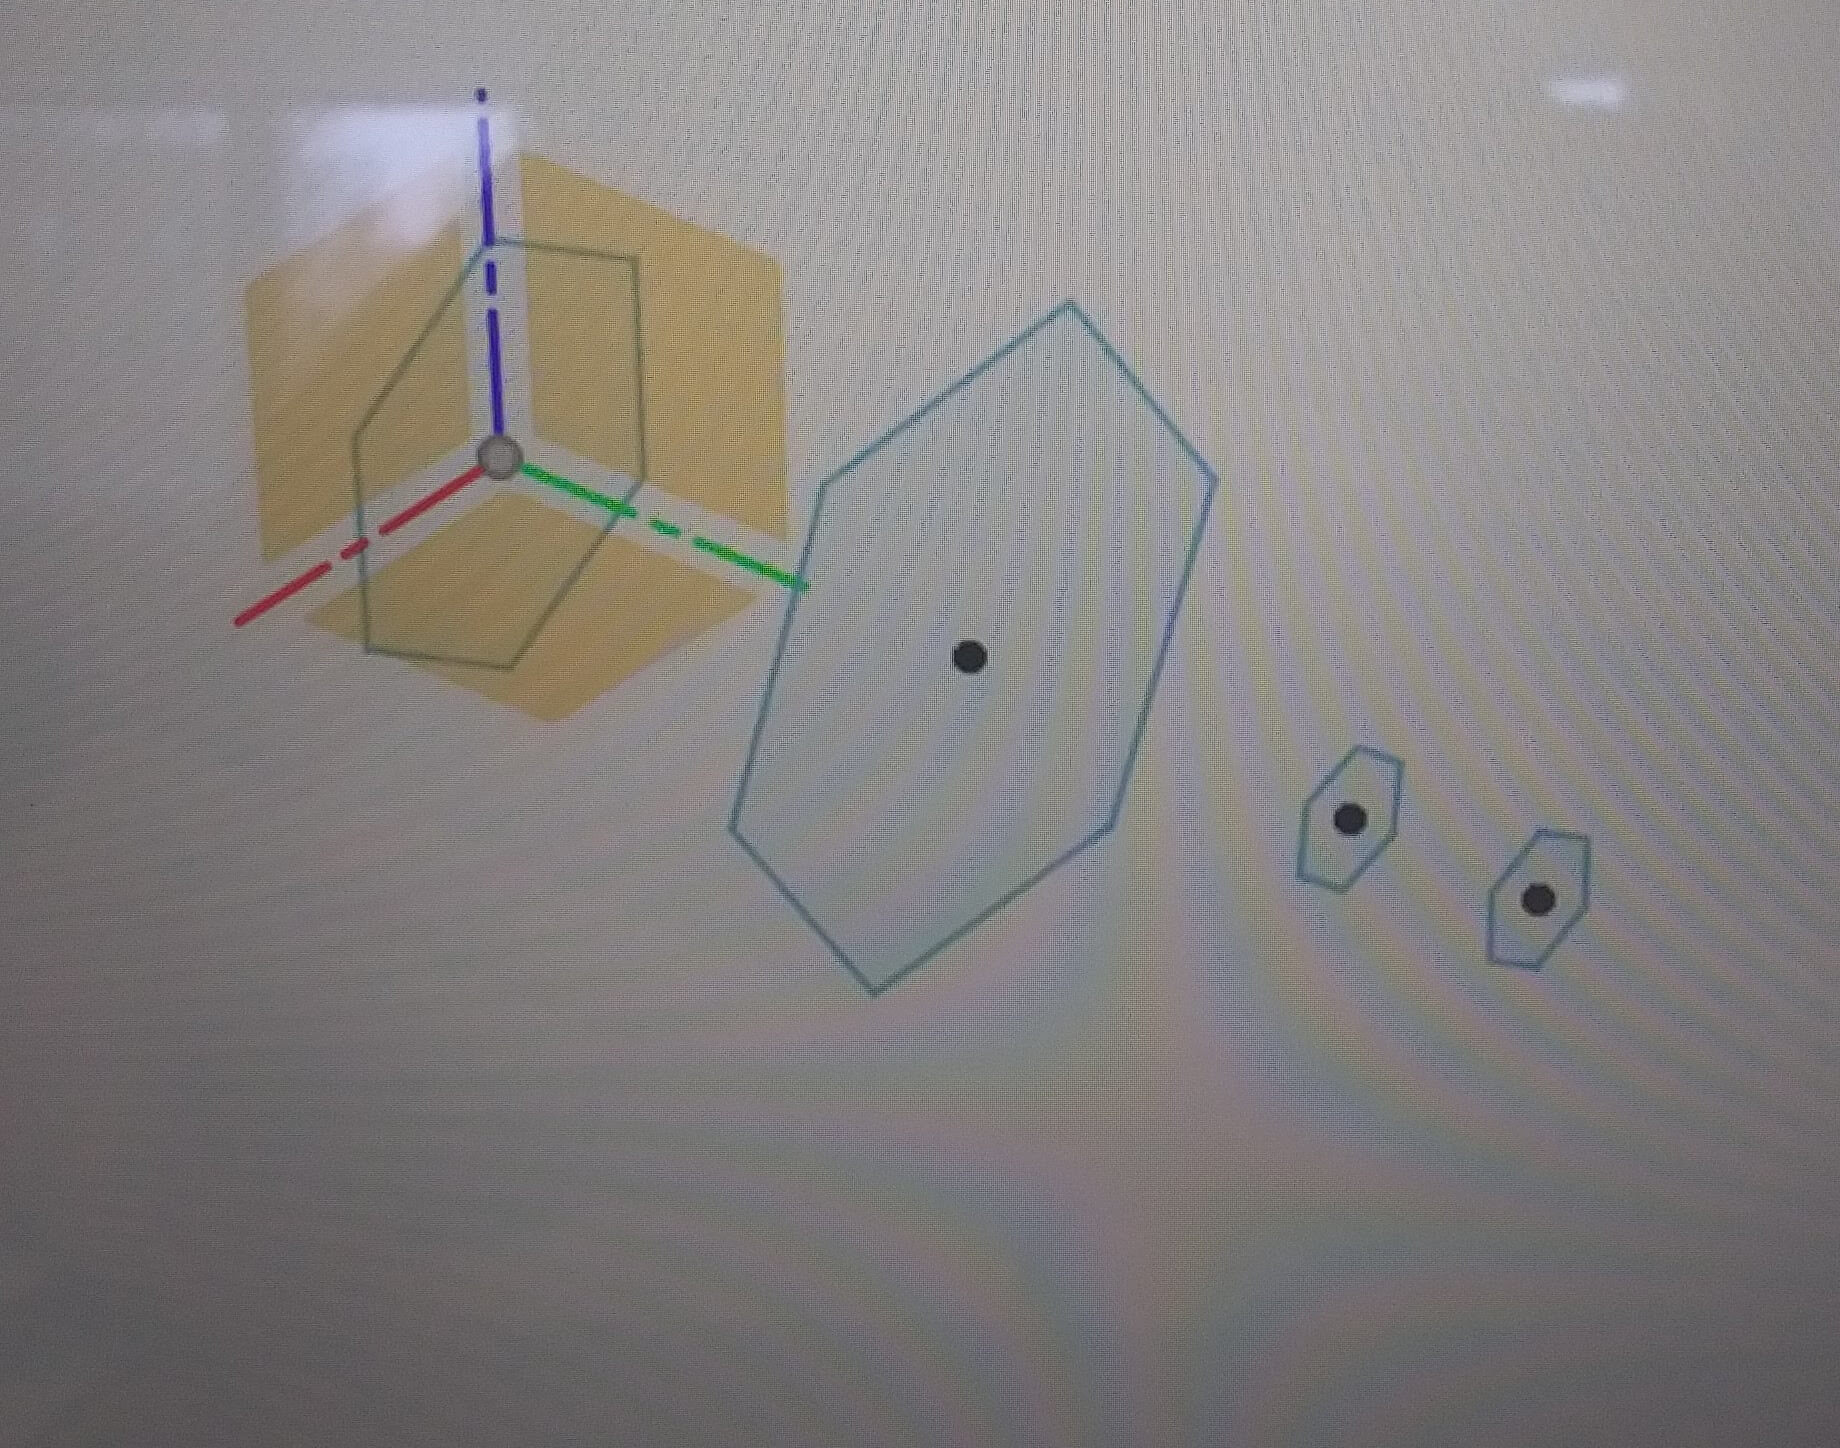
I repeated this process two more times to make the neck of the vase.
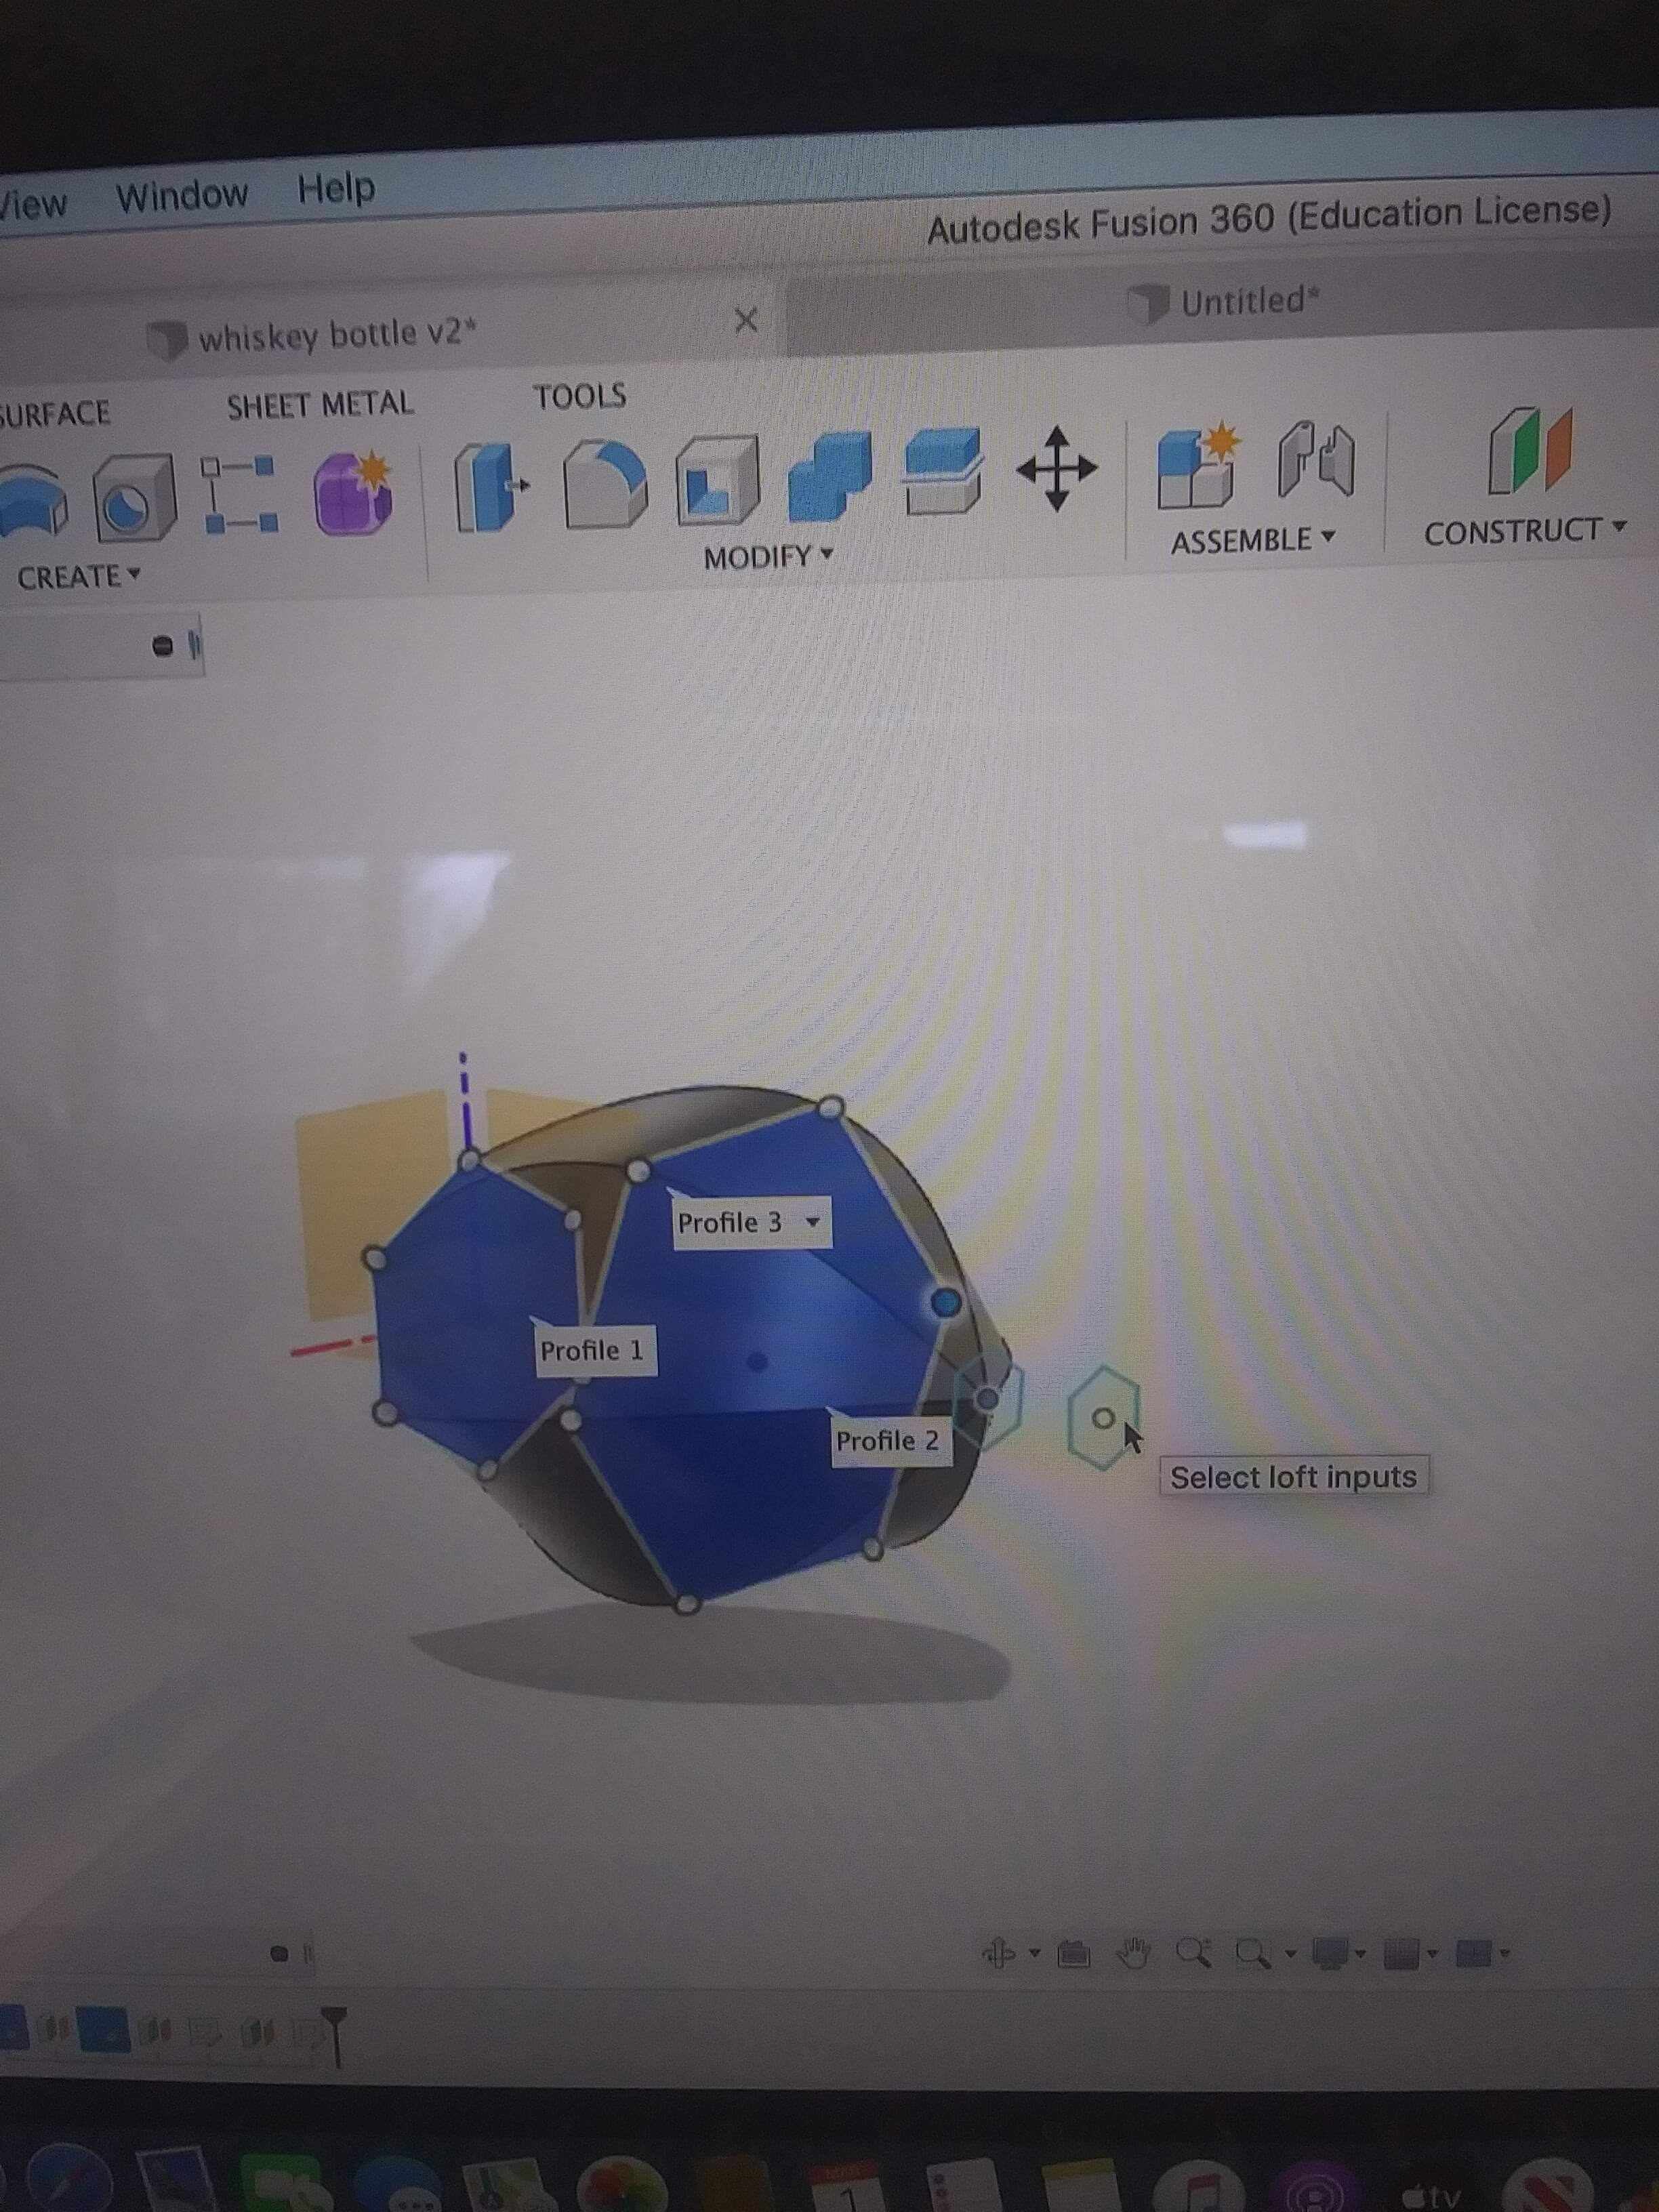
Then I used the loft feature to connect the four hexagons.
Then I hollowed it out by creating a shell.
Then I turned that into an STL file and added supports.

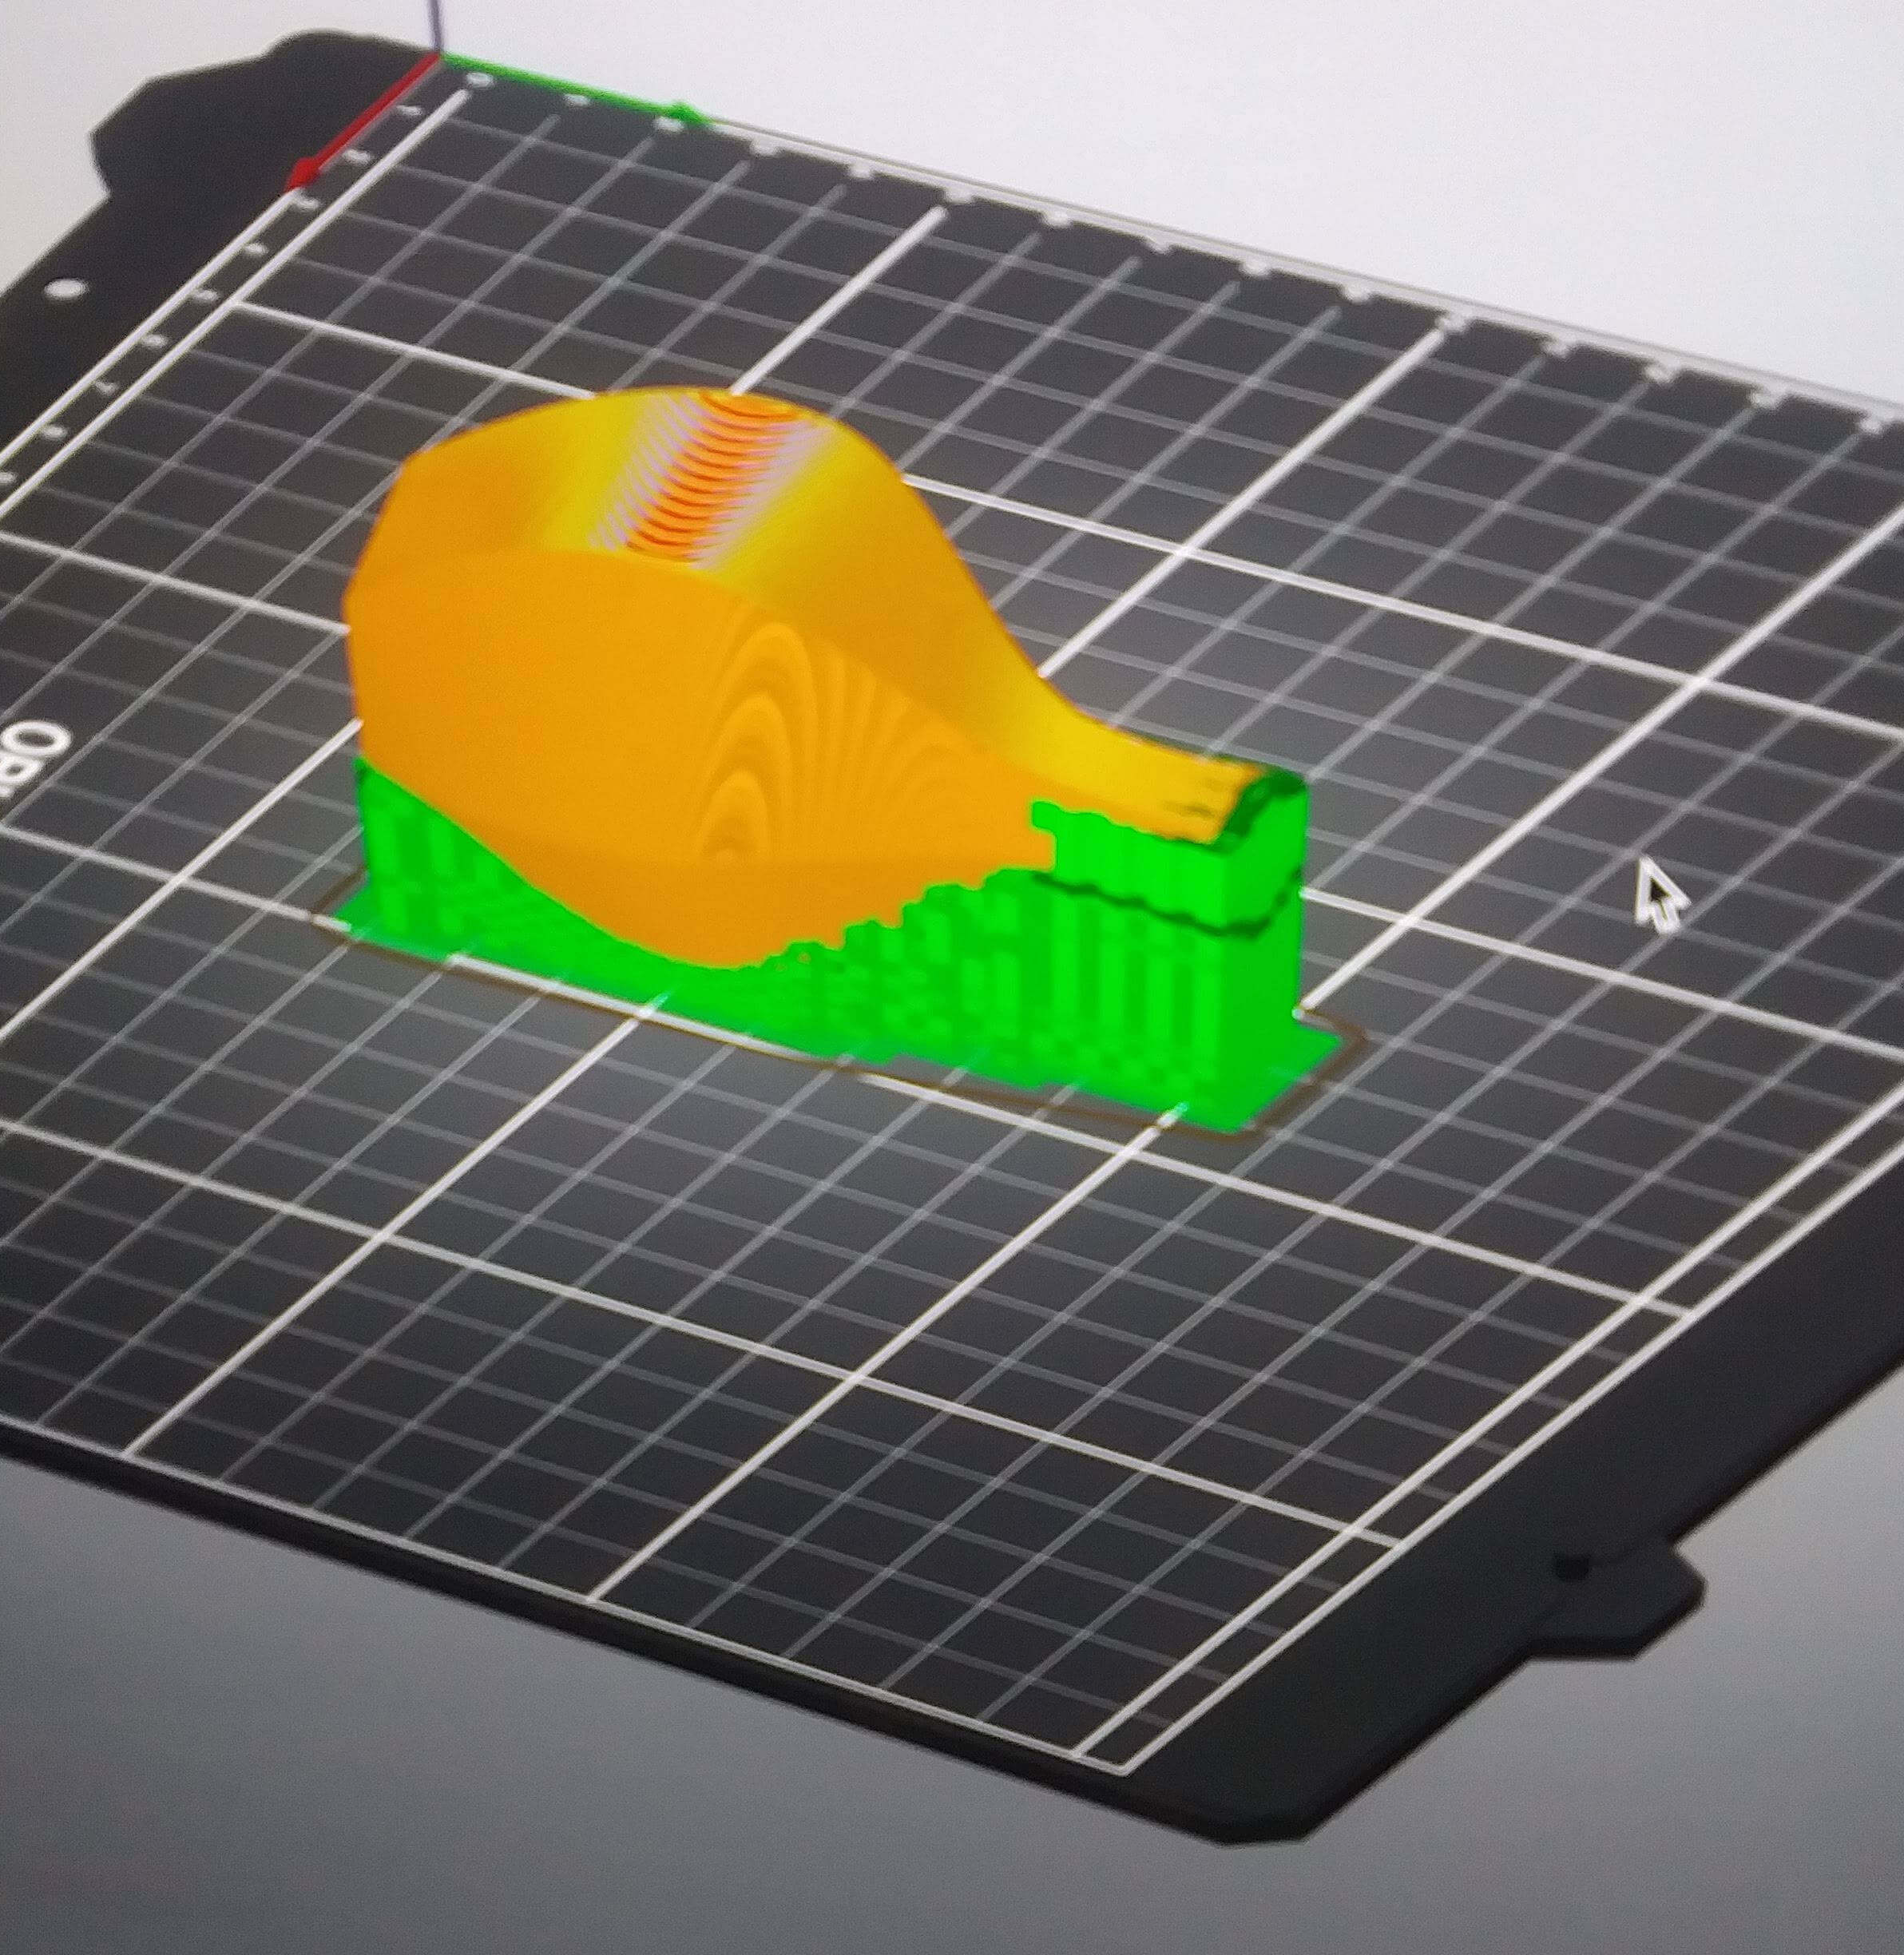
Then I exported the G Code and used that to transfer it to my PRUSA.
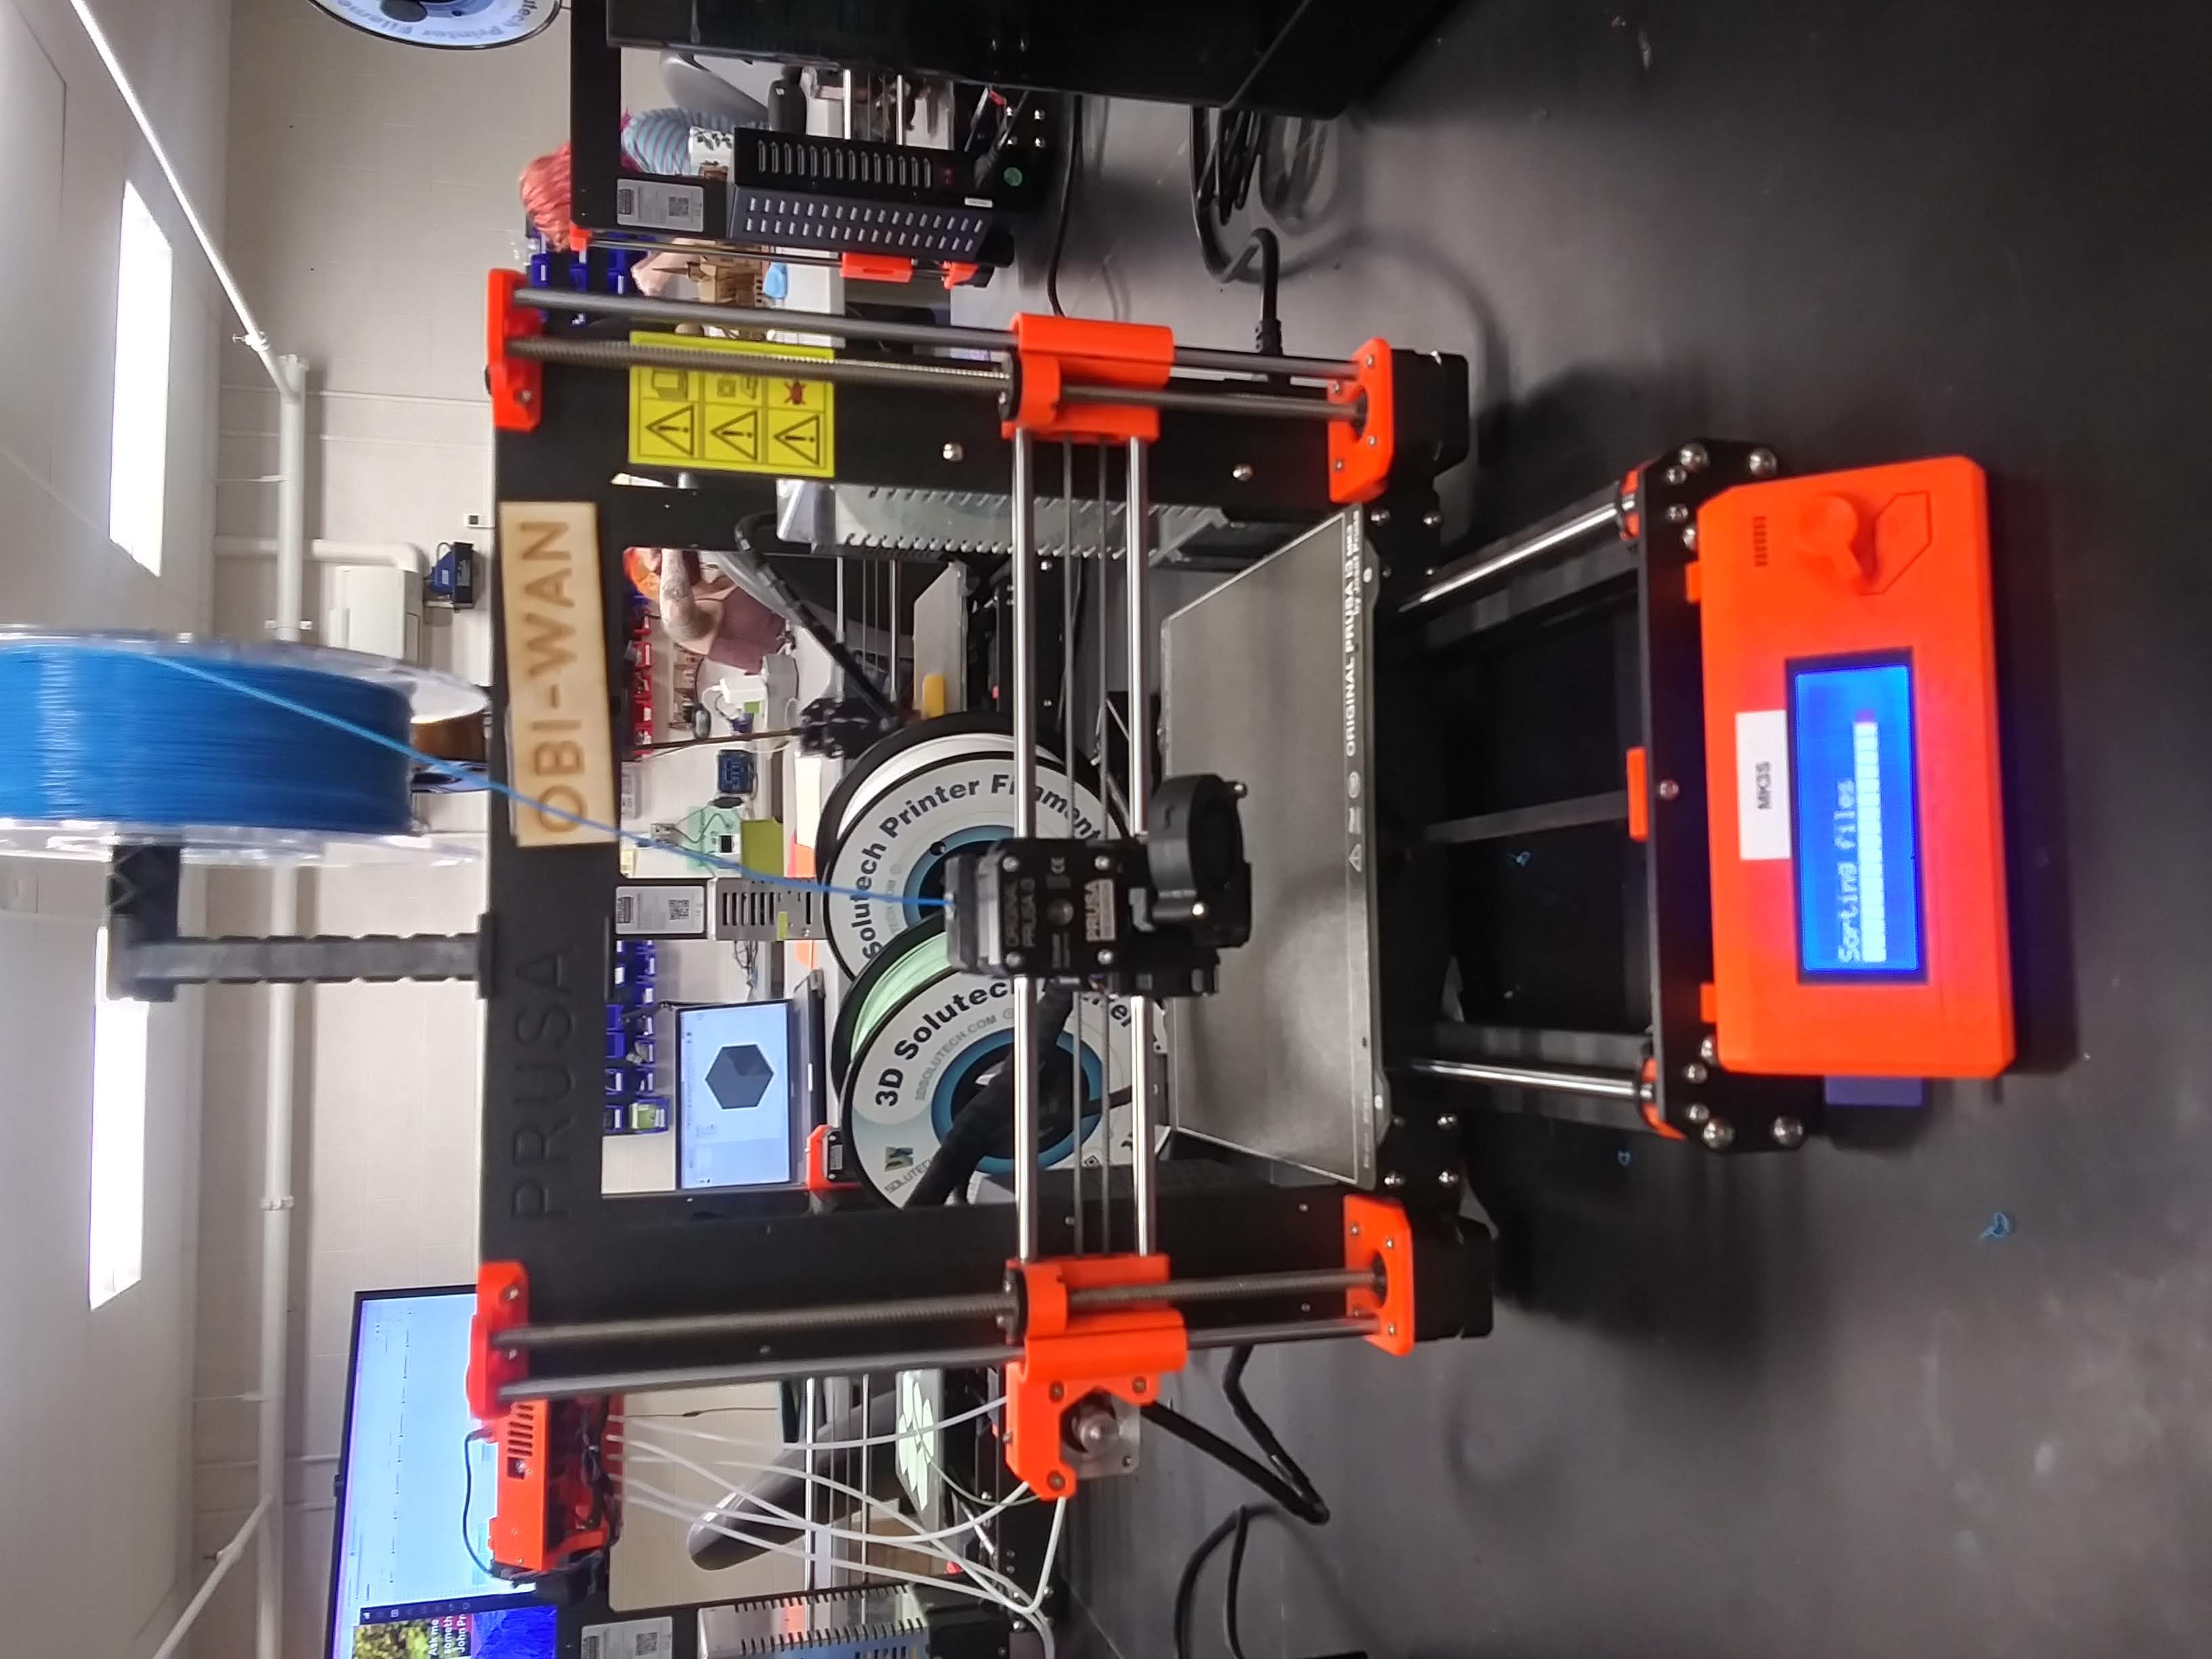
Than it began to print.
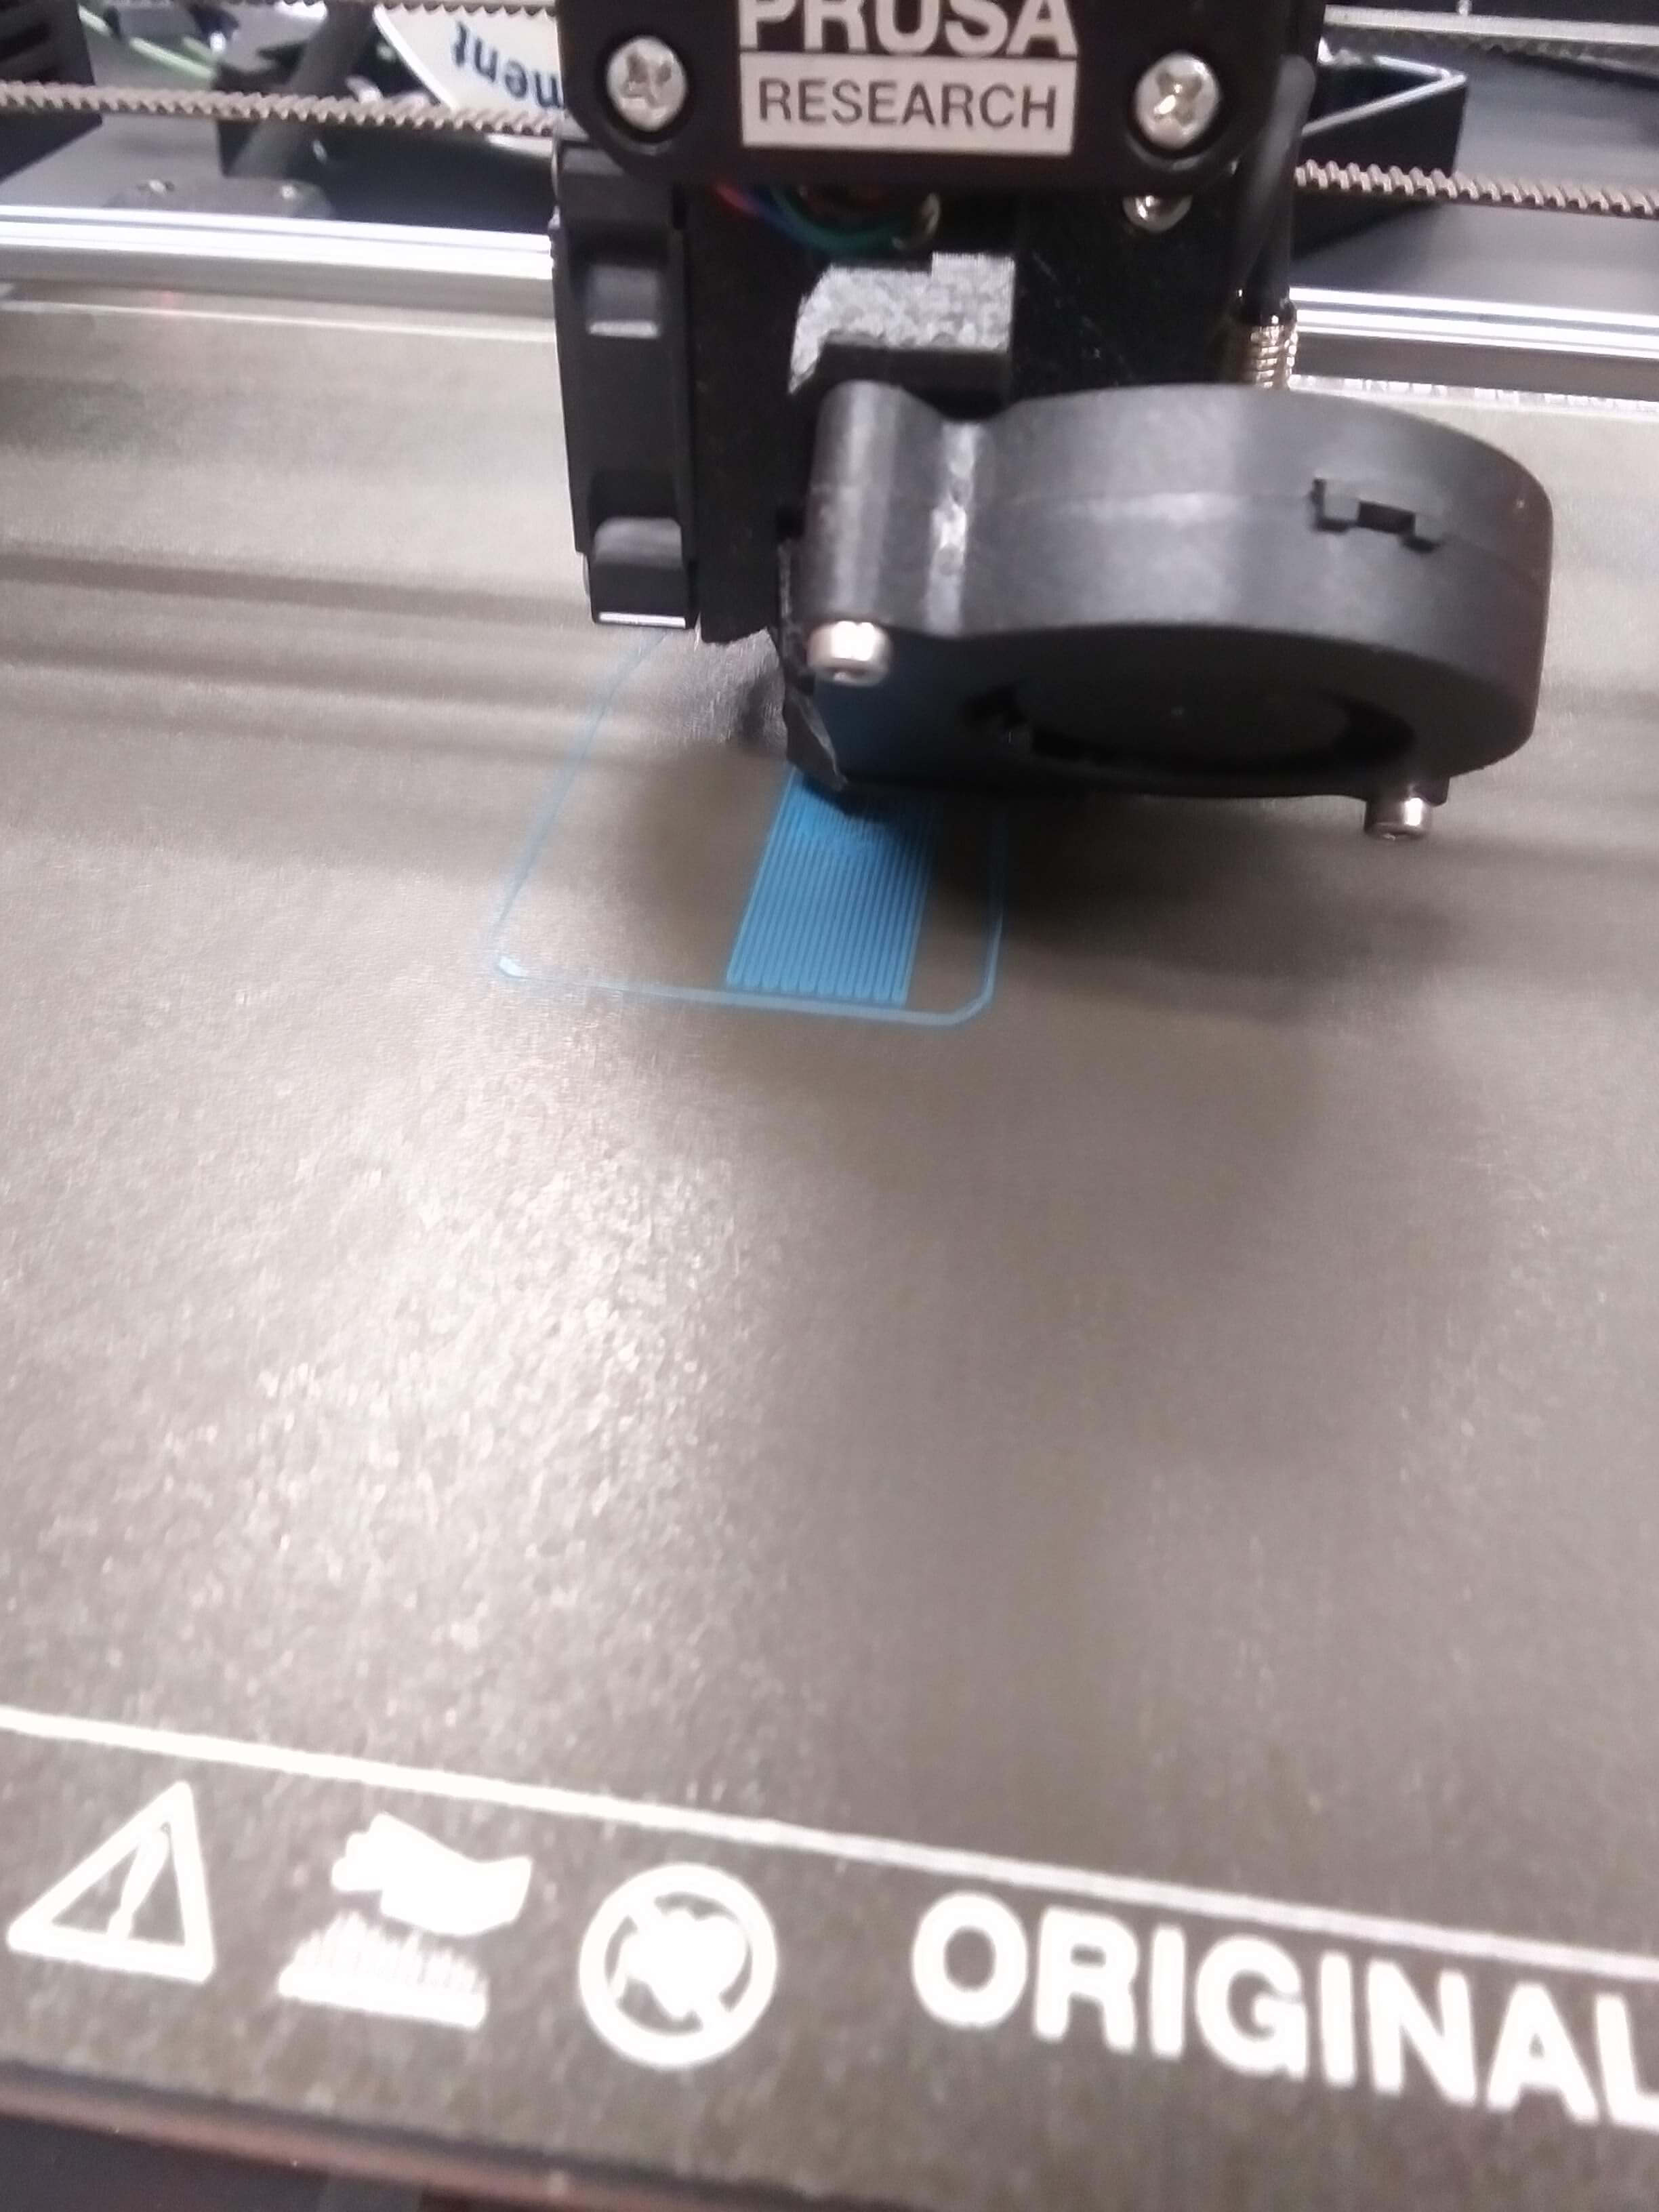
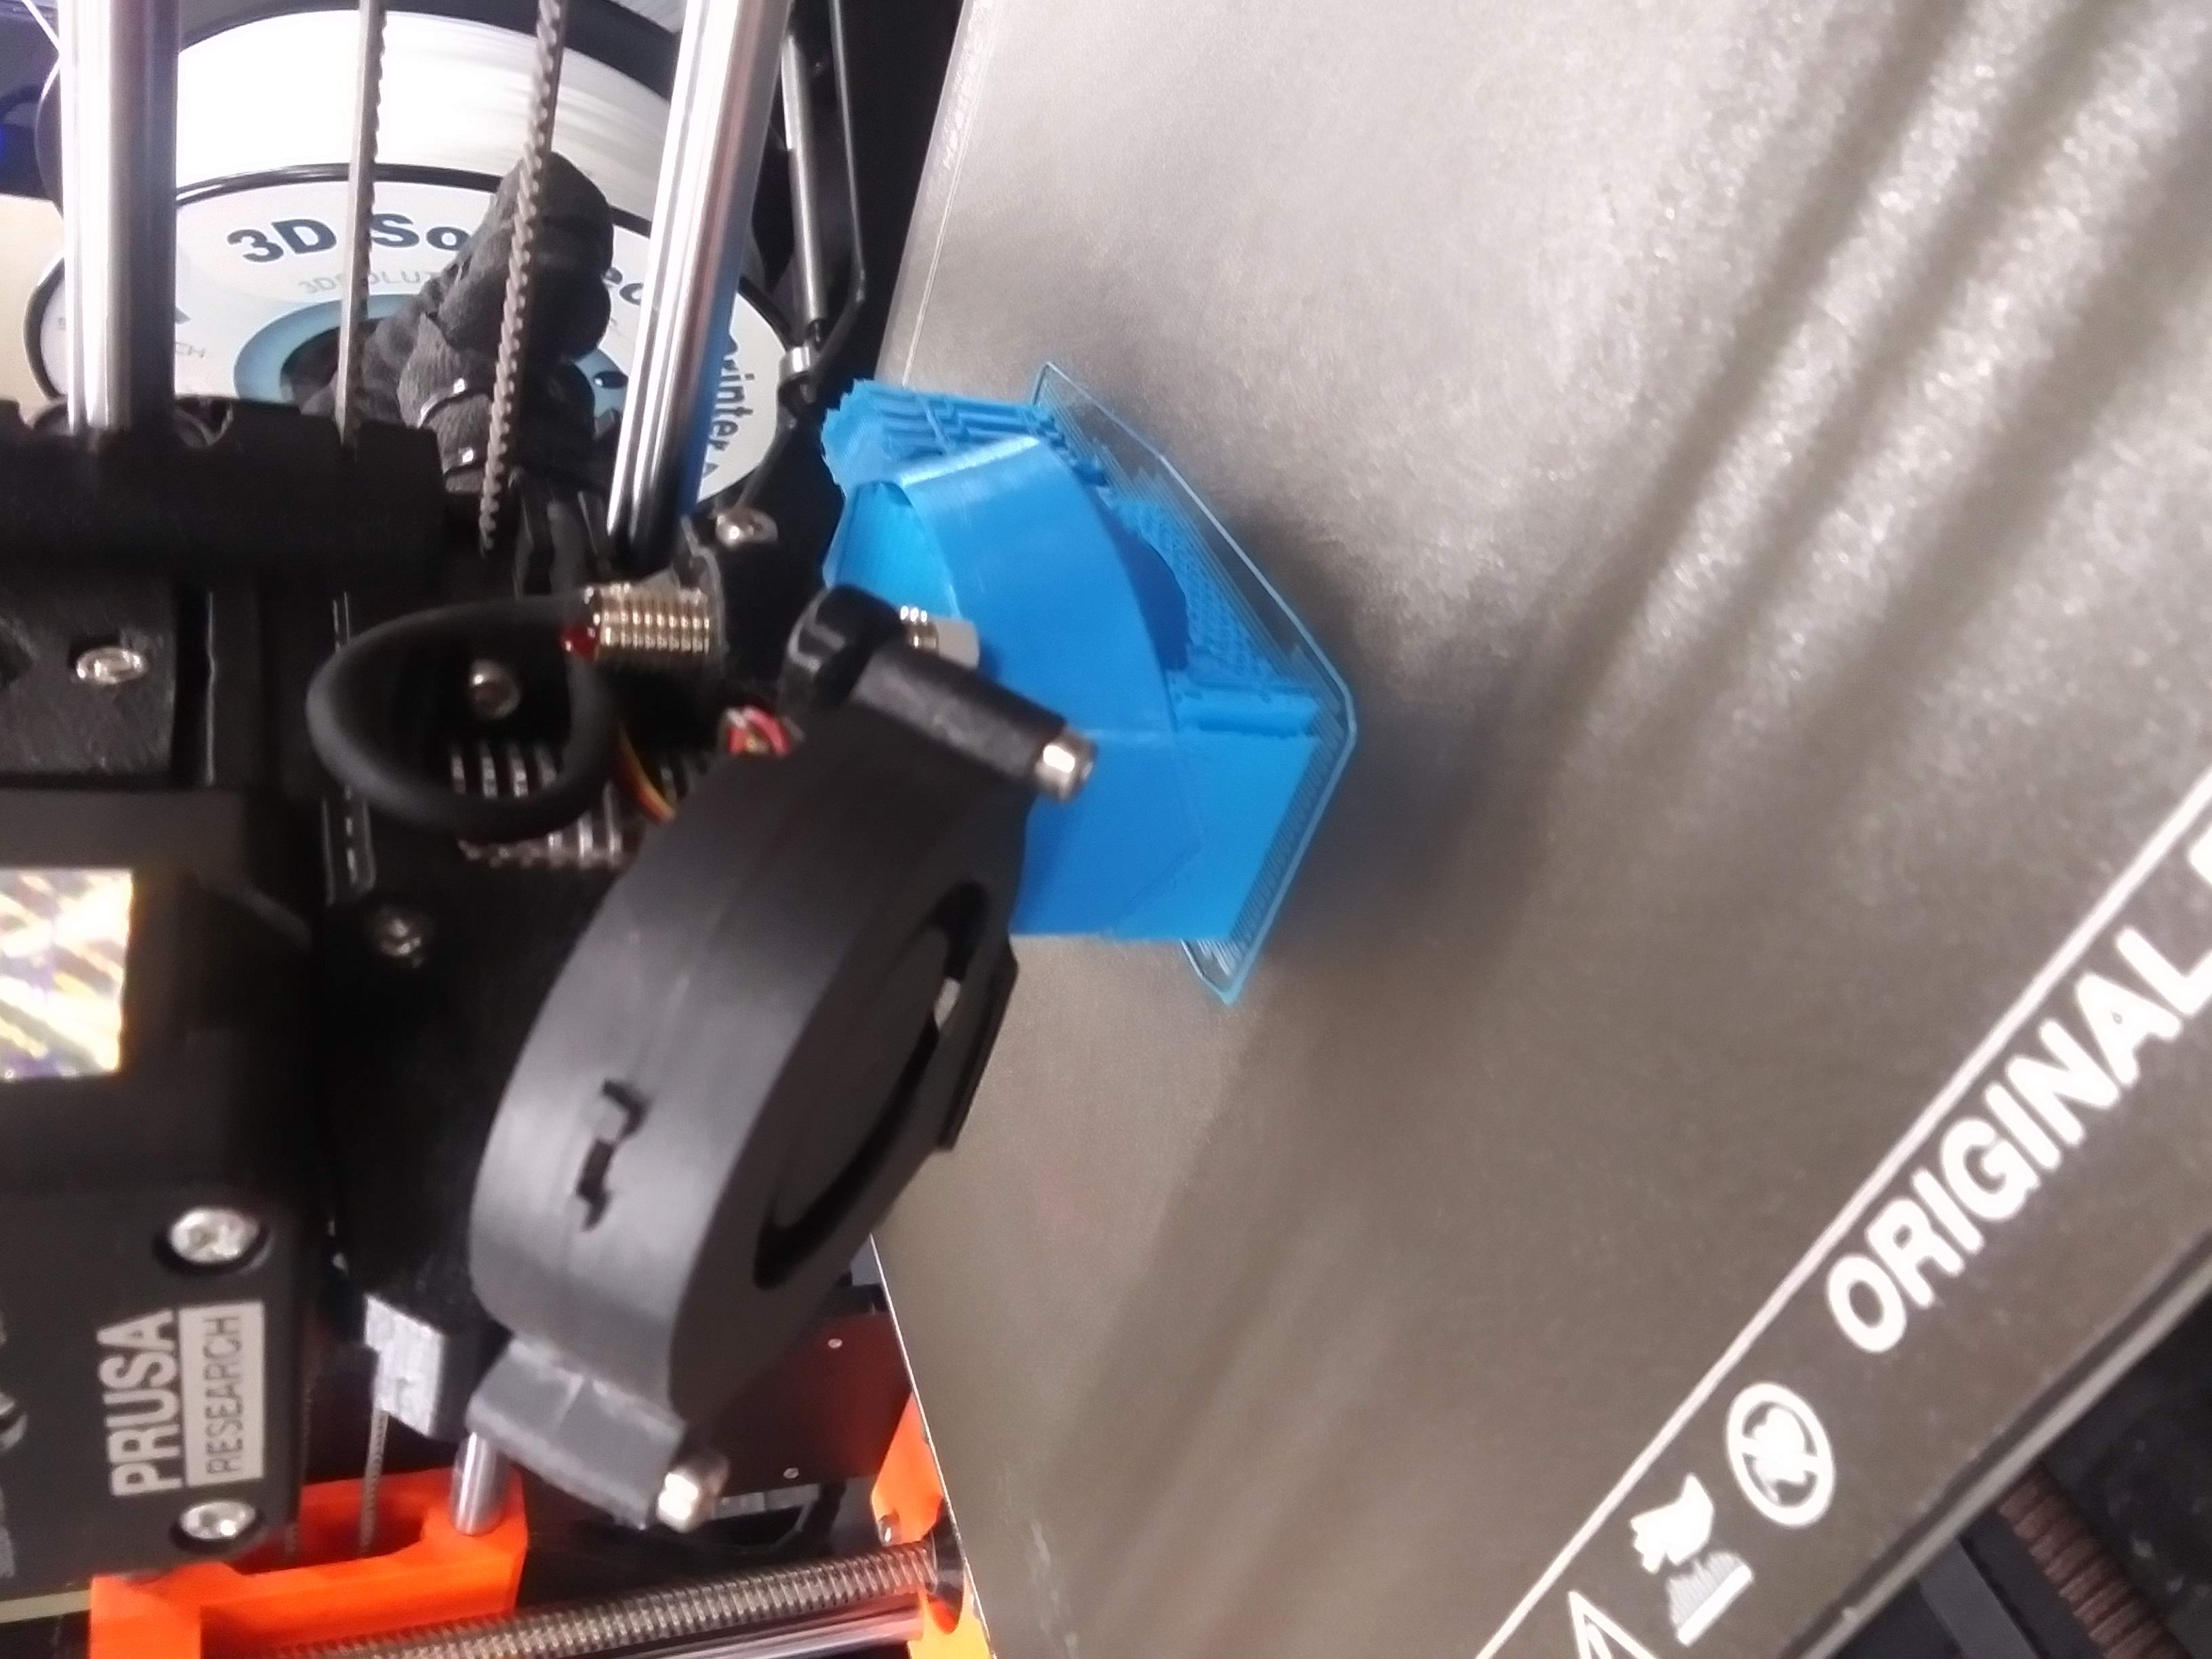
The entire process took a little over three hours.
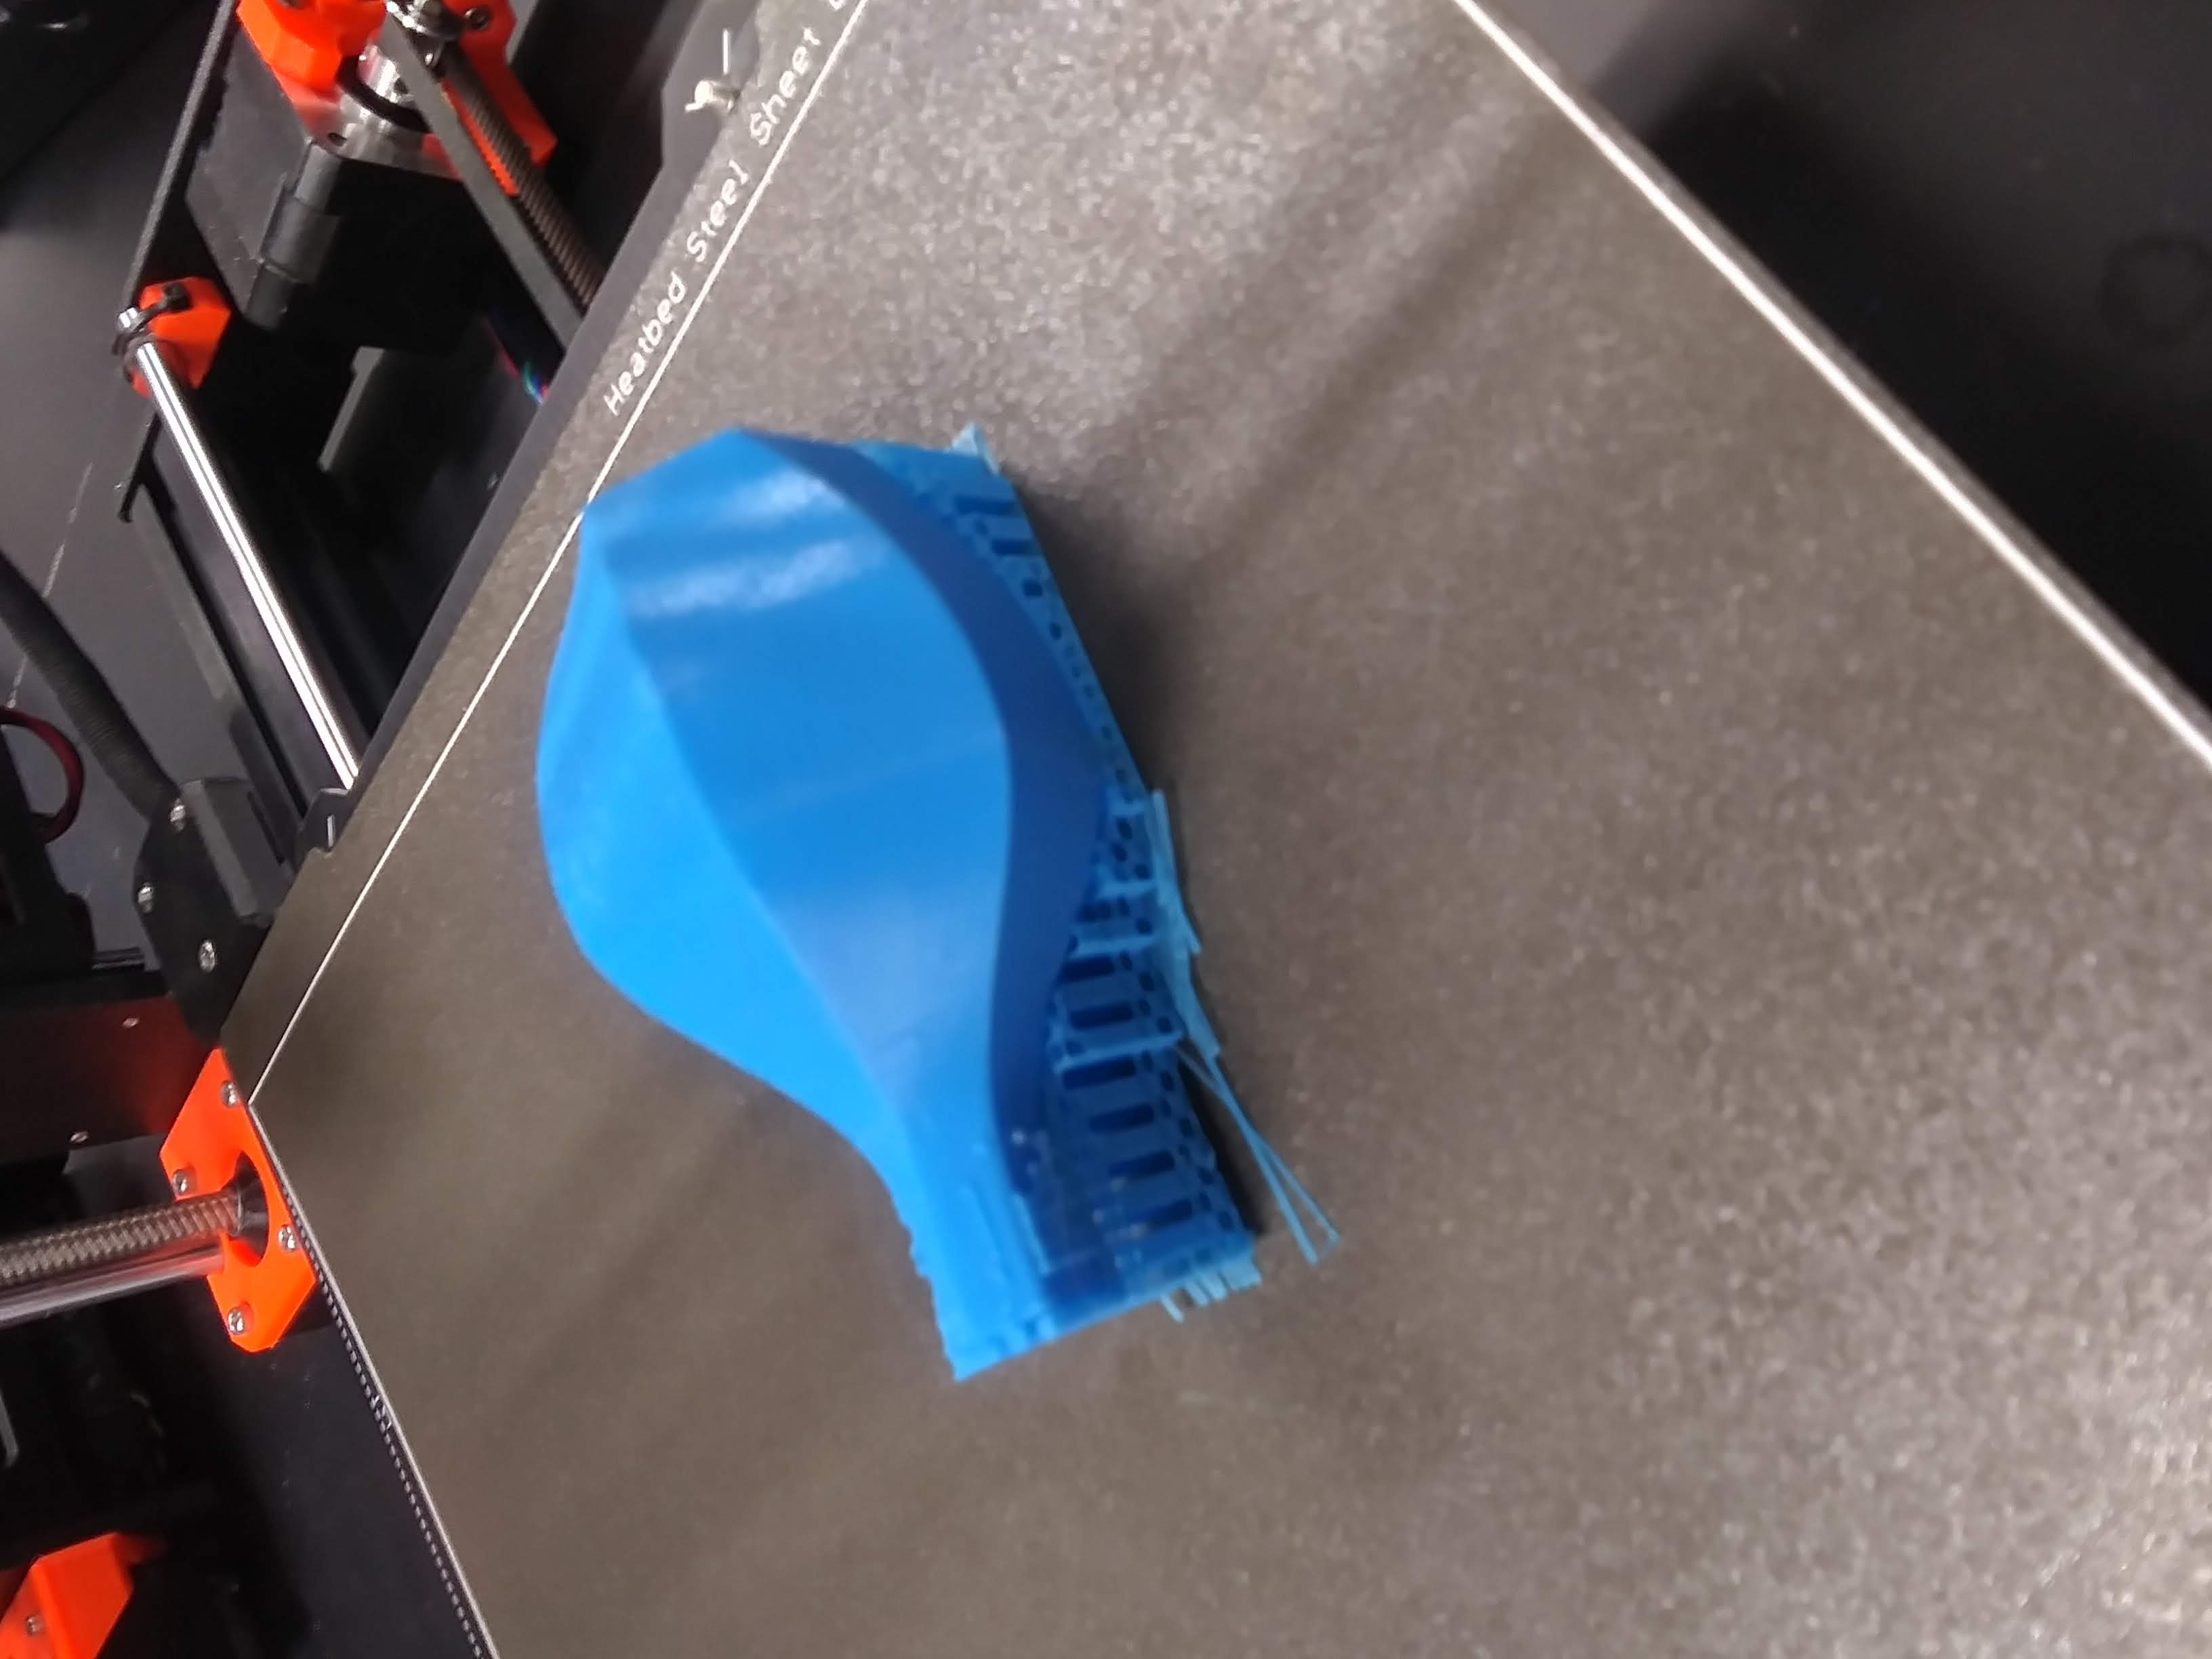
The final vase came out with a disgusting amount of supports I needed to remove.
The final product came out relatively well.
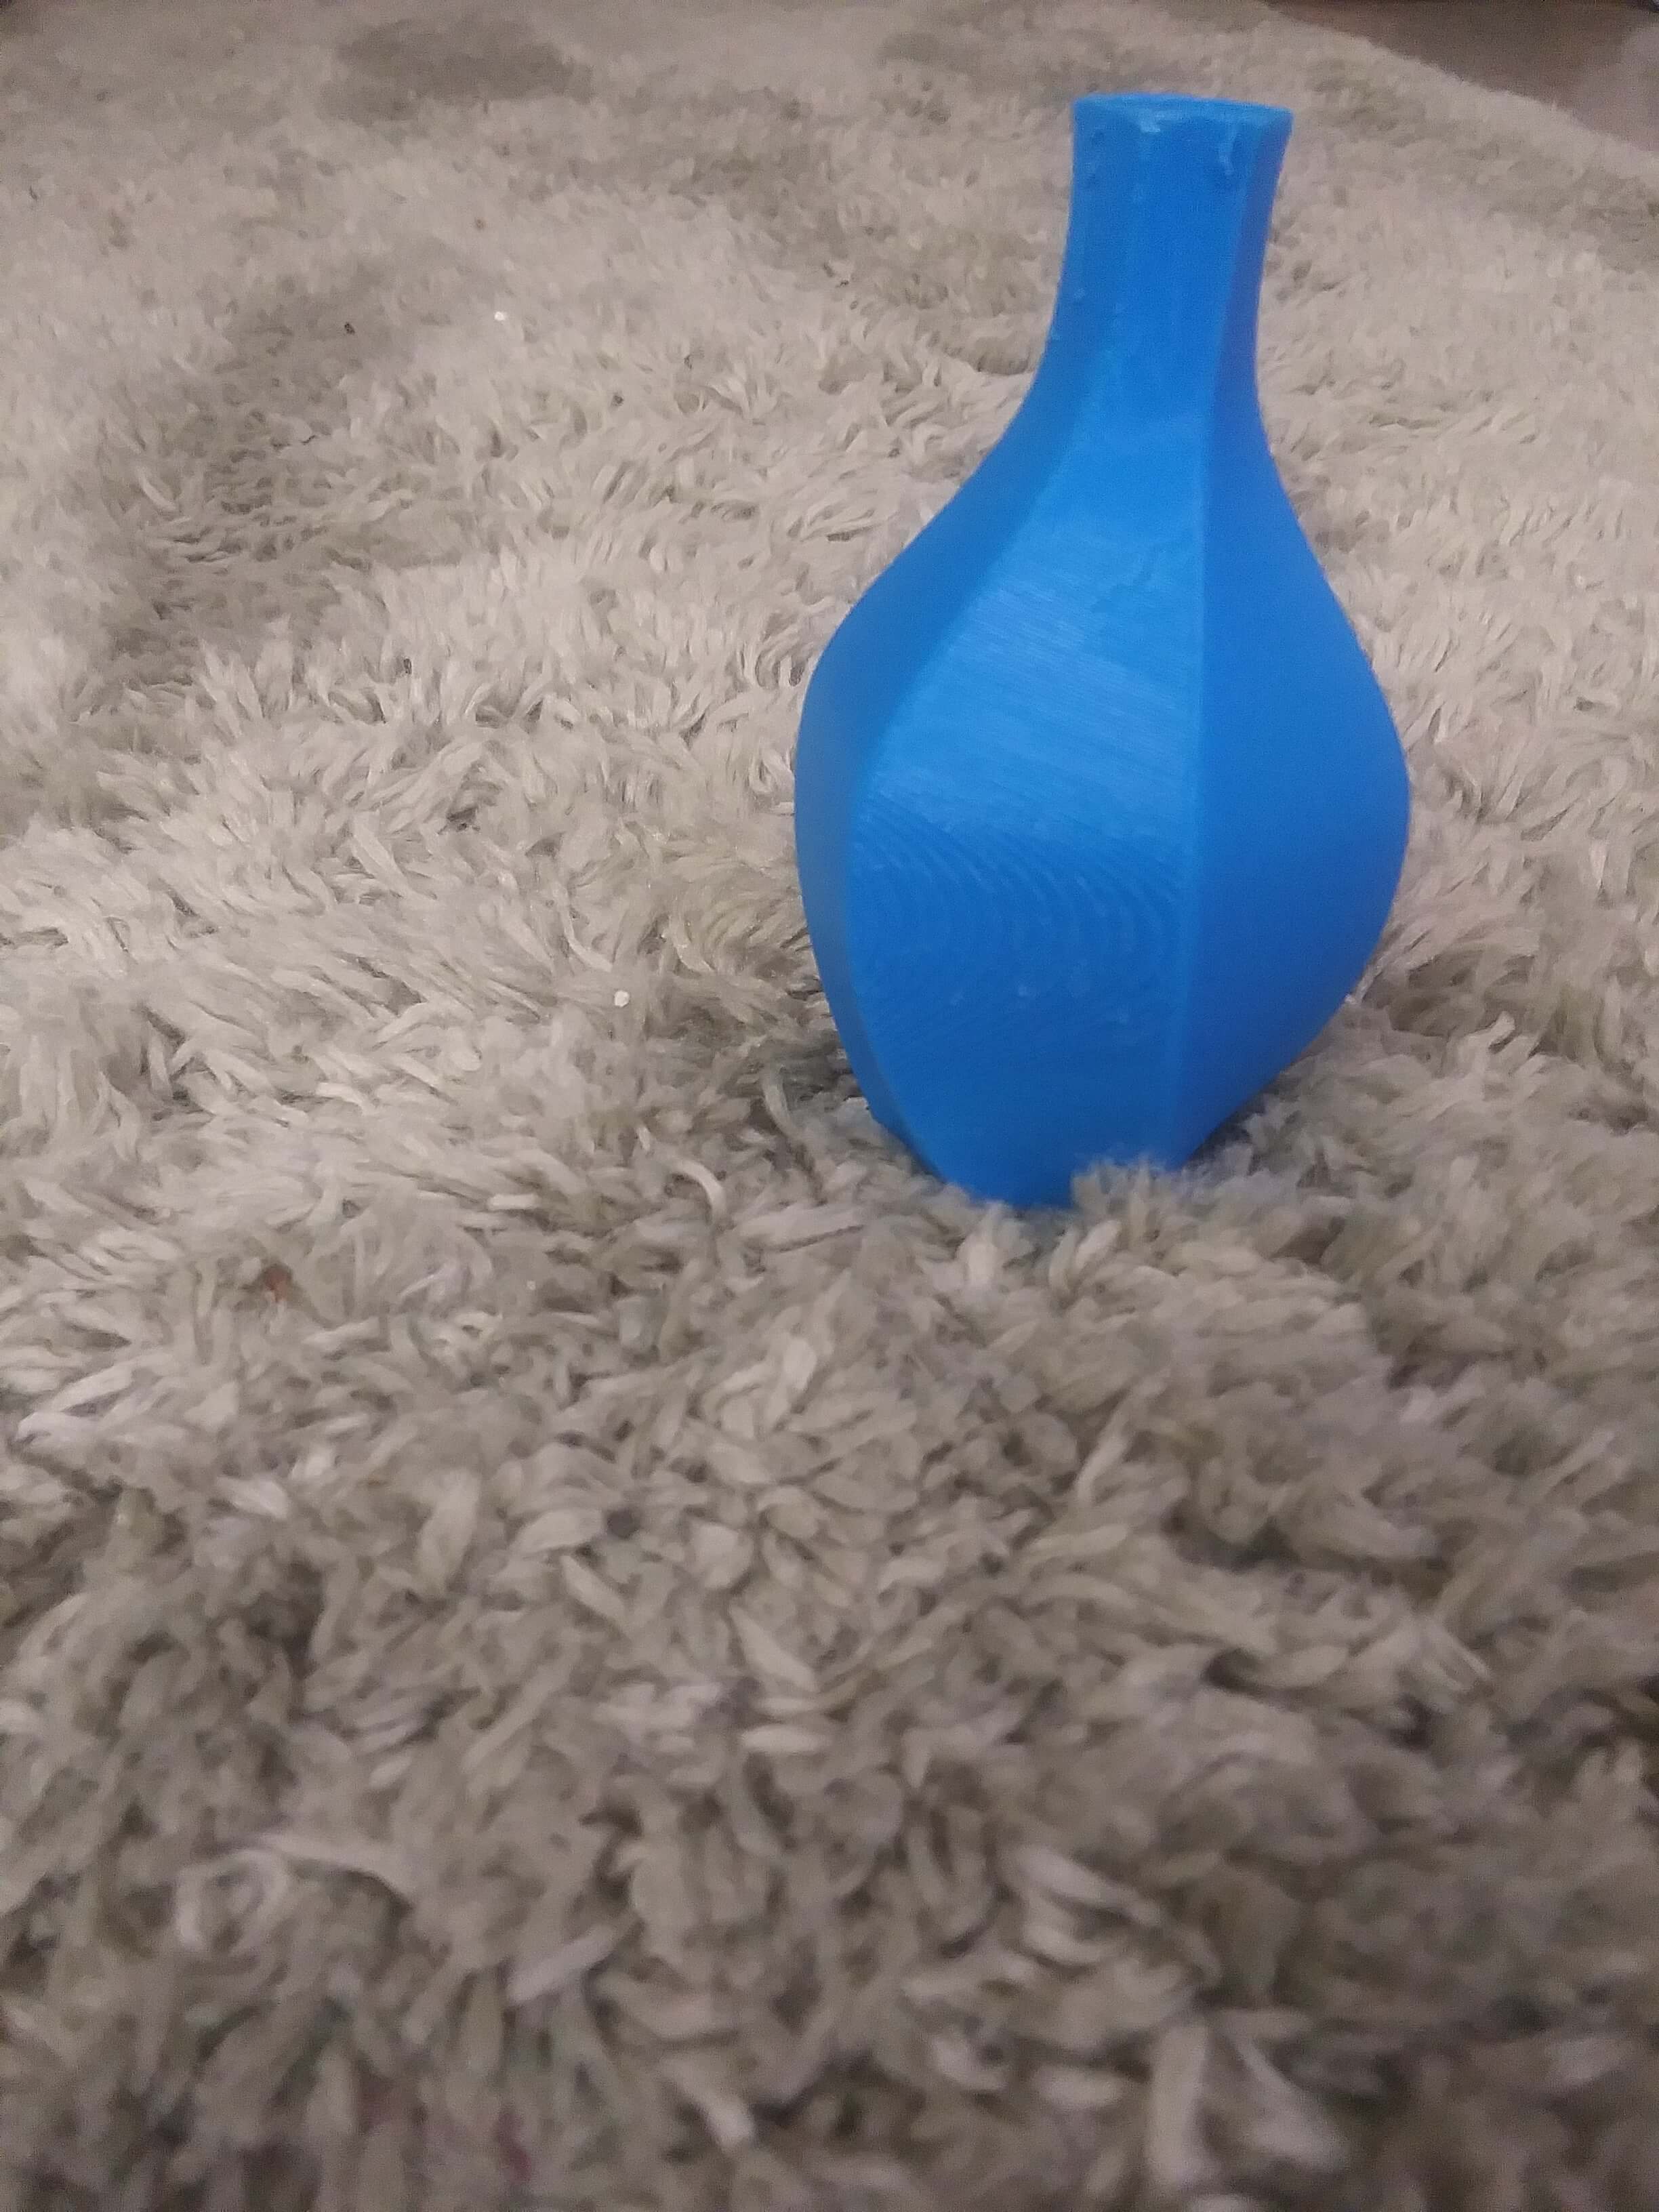
The interior does still have a lot of supports in it that are hard to reach, so I am working on figuring out the most efficient way to remove those, but overall I am pretty pleased with how the vase came out.
Links
3D Scanned Pretzel3D Printing Test
3D Printed Vase