Wildcard Week: Digital Embroidery
This week was Wildcard Week, which meant I could choose any machine in the Fab Lab to learn more about. I decided to try the digital embroidery machine, which I have been interested in exploring, but never gotten the opportunity to look into. I have a copious amount of solid color grey shirts, so I decided to spice up my wardrobe and embroider a design onto one of them. I began by scouring the internet for a design. This process took way longer than necessary, but I finally settled upon a dinosaur.
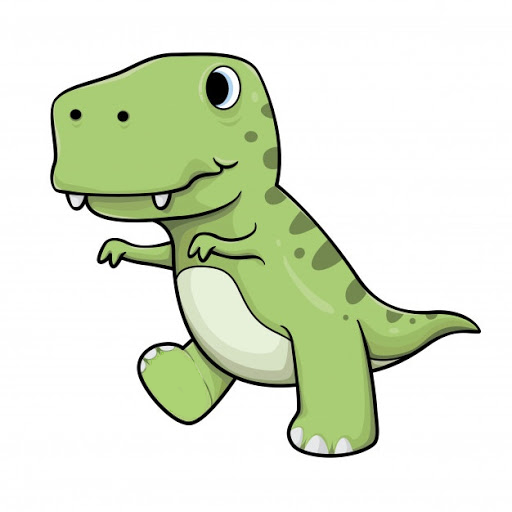
It's not the most sophisticated design, I'm aware, but then again I'm not claiming to be excessively mature. I still appreciate the usage of dinosaur imagery in the fashion industry.
To start off, I used a program called Premier Plus 2. This takes images and turns them into vp3s to be read by the digital embroidery machine.
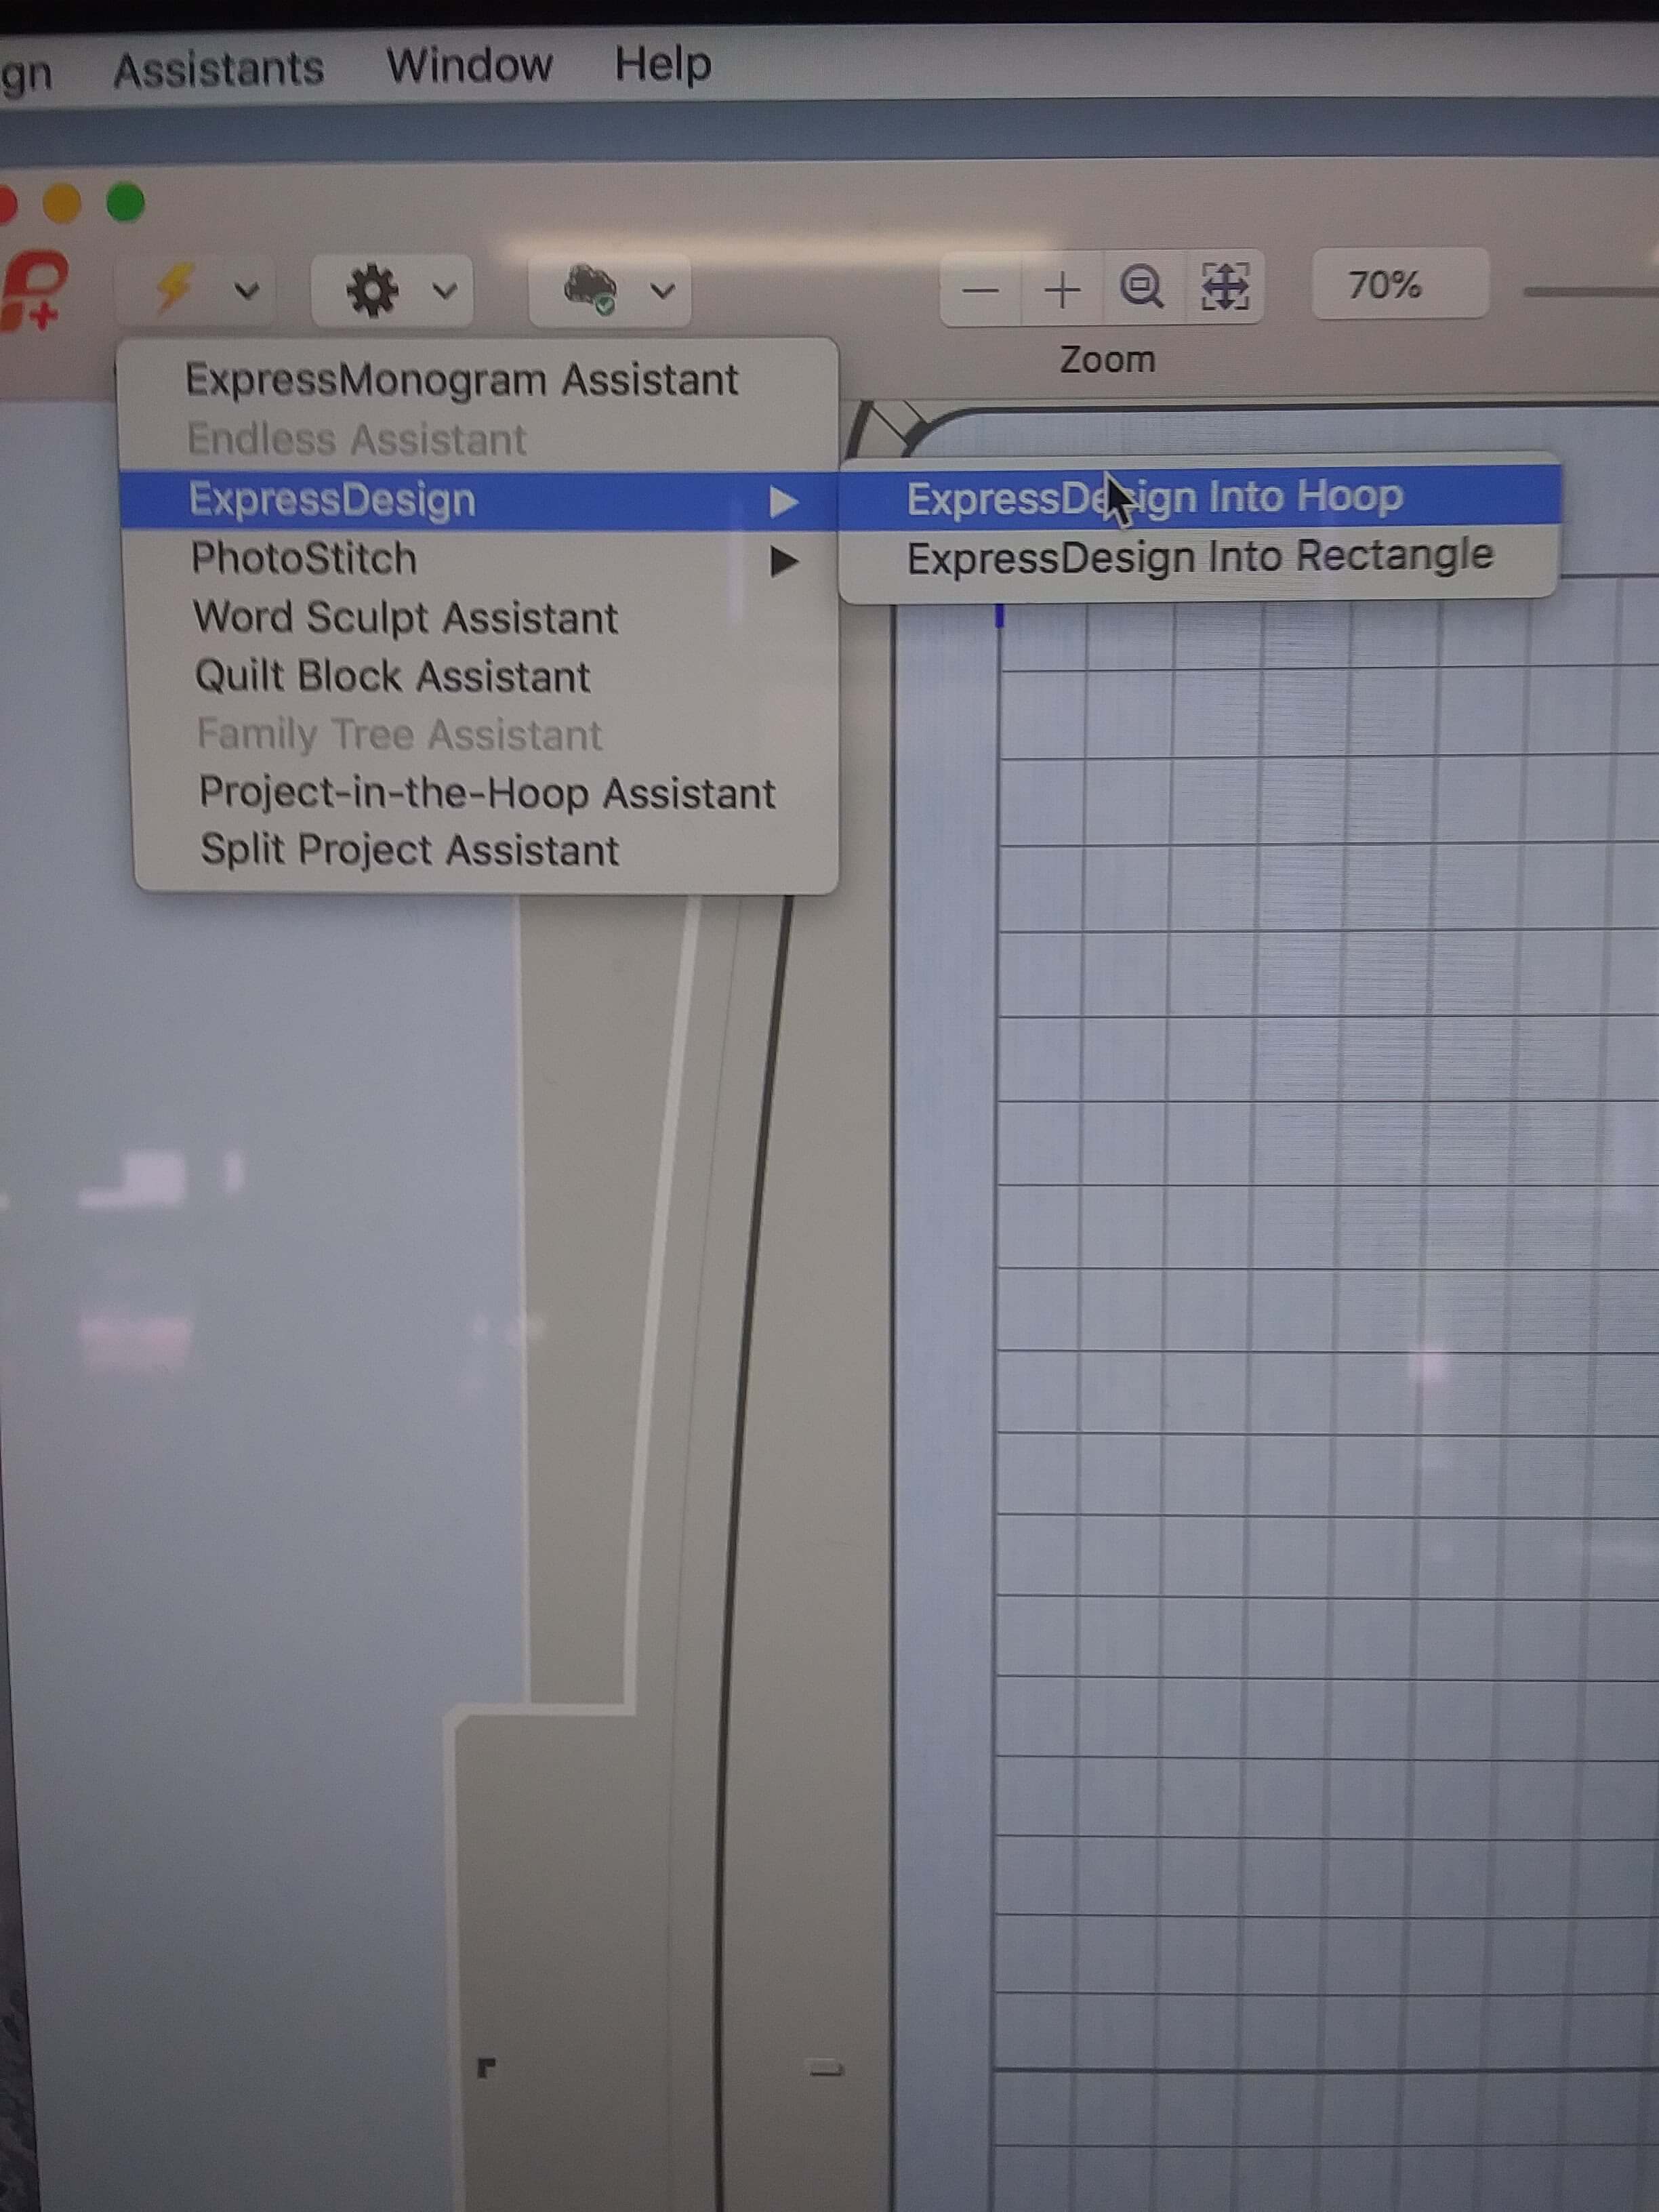
Because I was using a hoop to secure my t-shirt fabric, I need to select the hoop option. This was done by going to the Assistant button, hovering my curser over the Express Design option, and selecting Express Design into Hoop.
From there, I needed to select Create Express Embroidery.
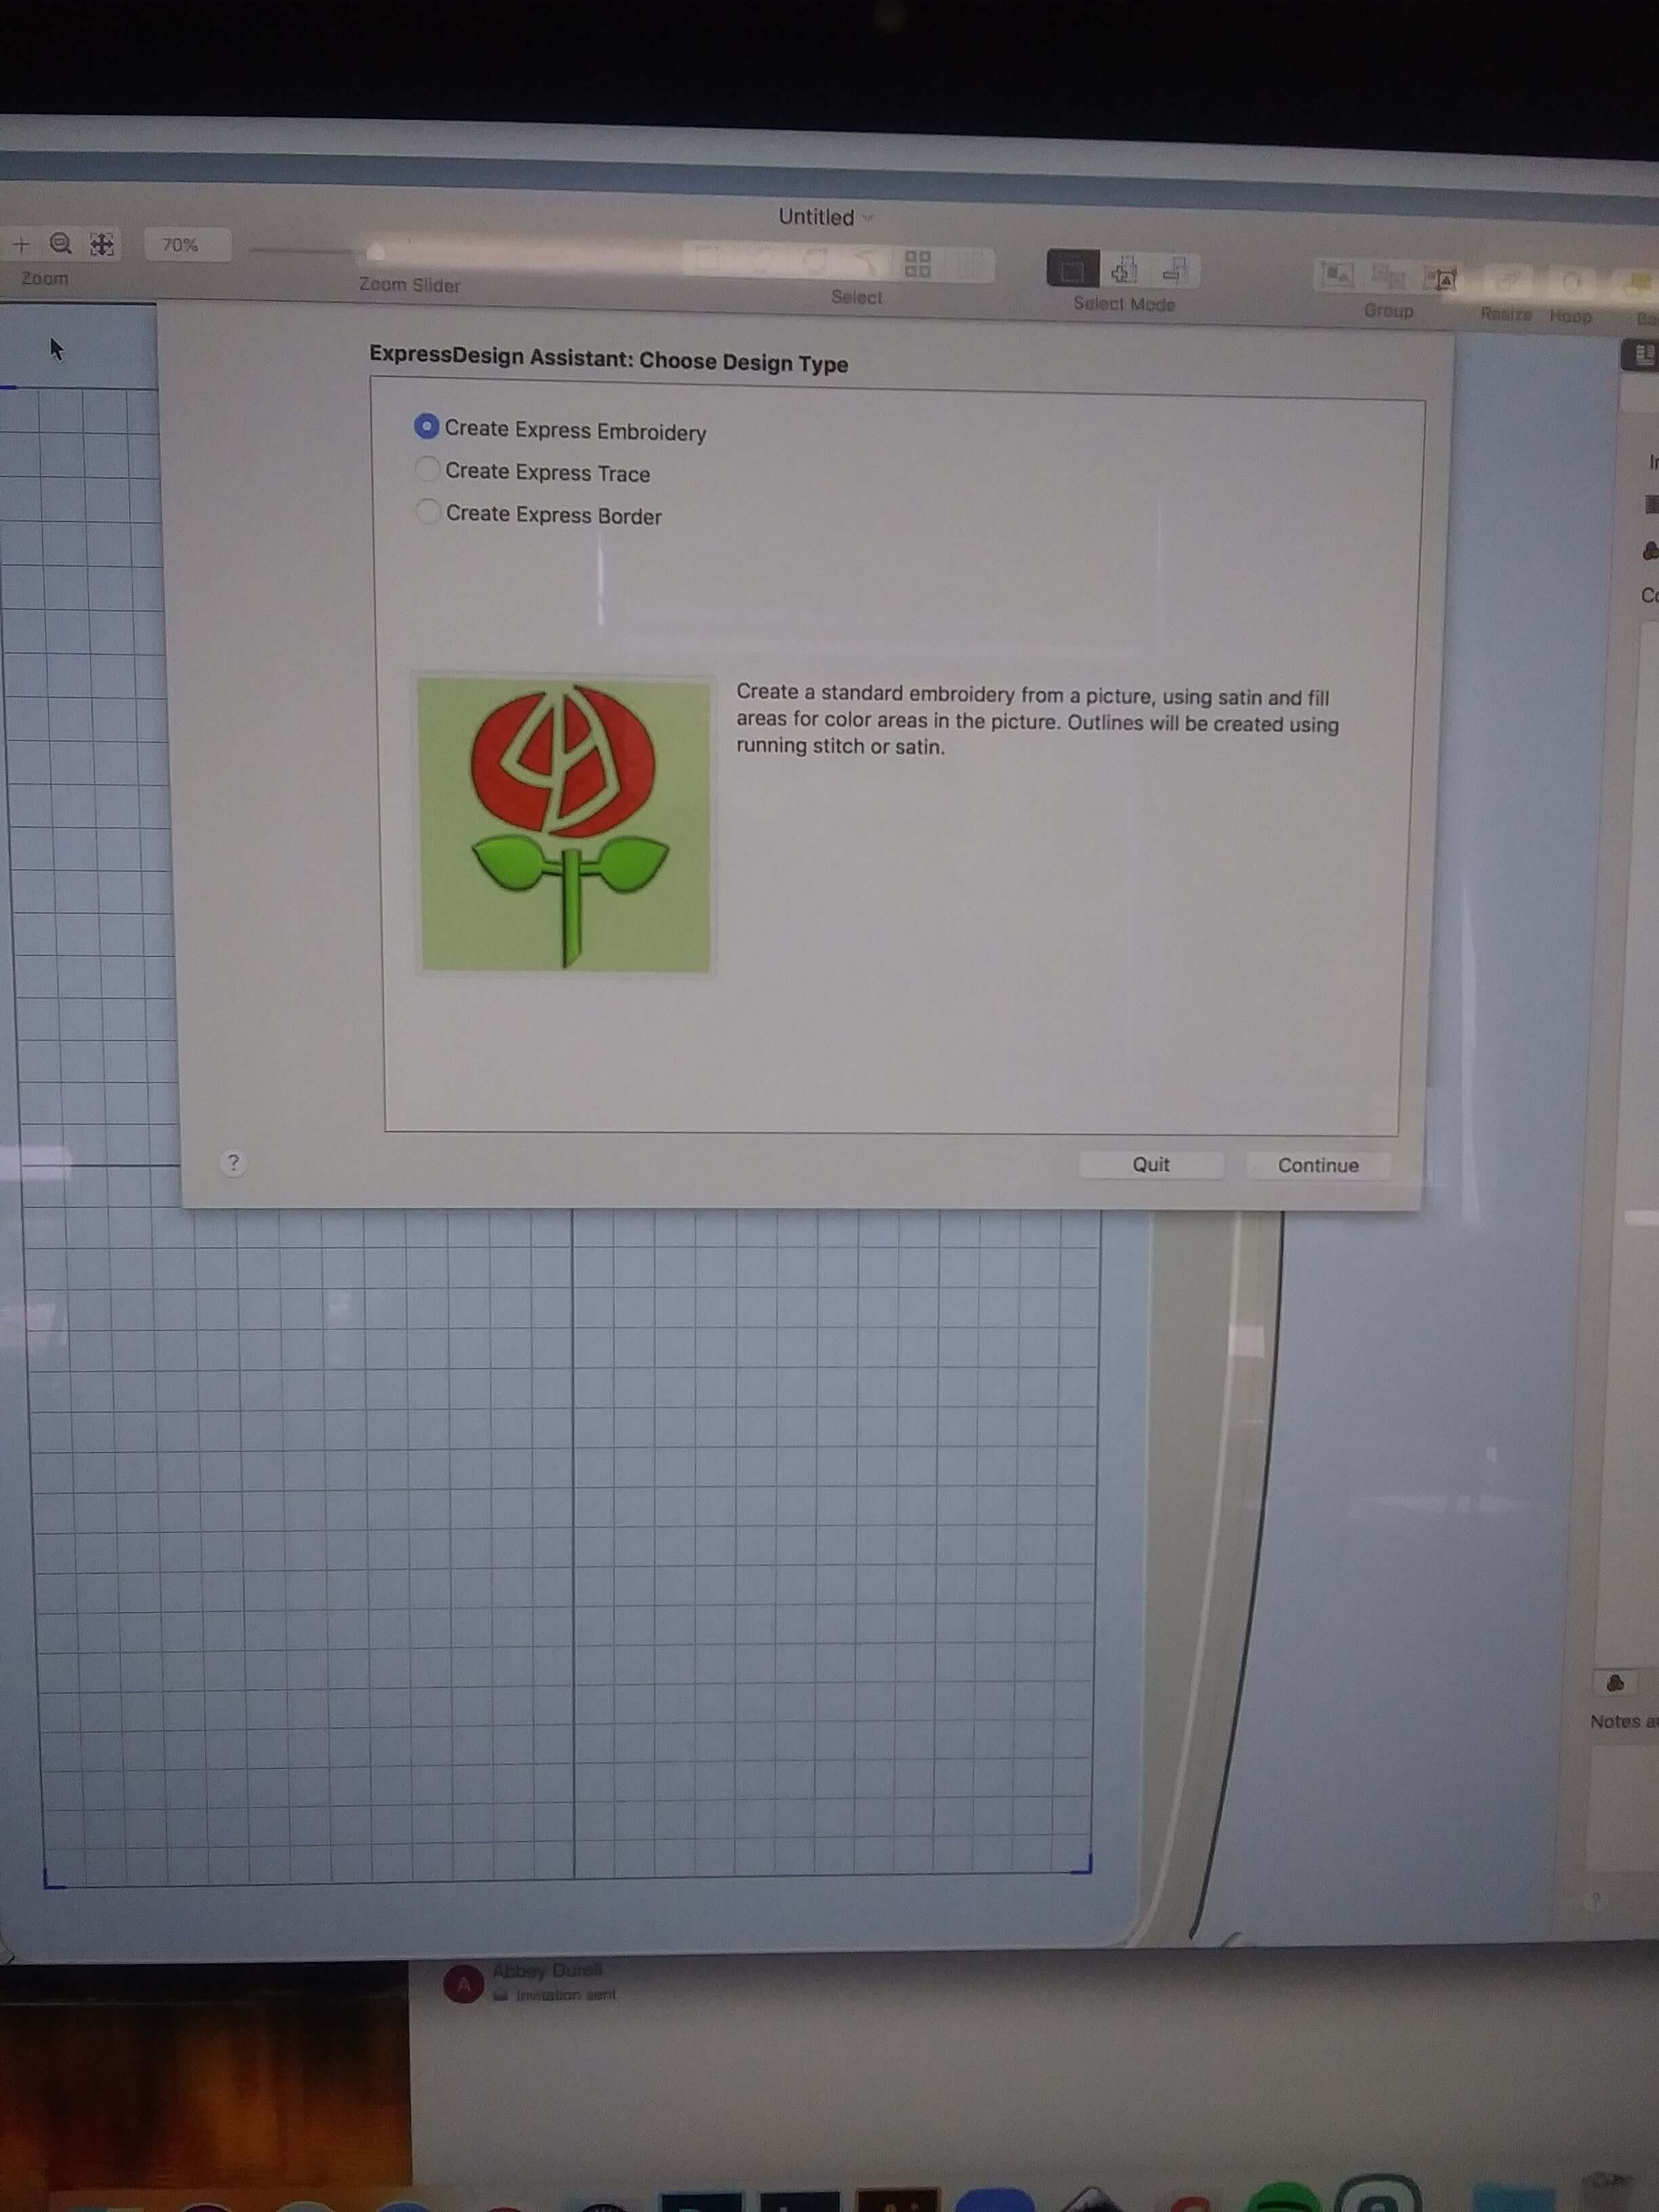
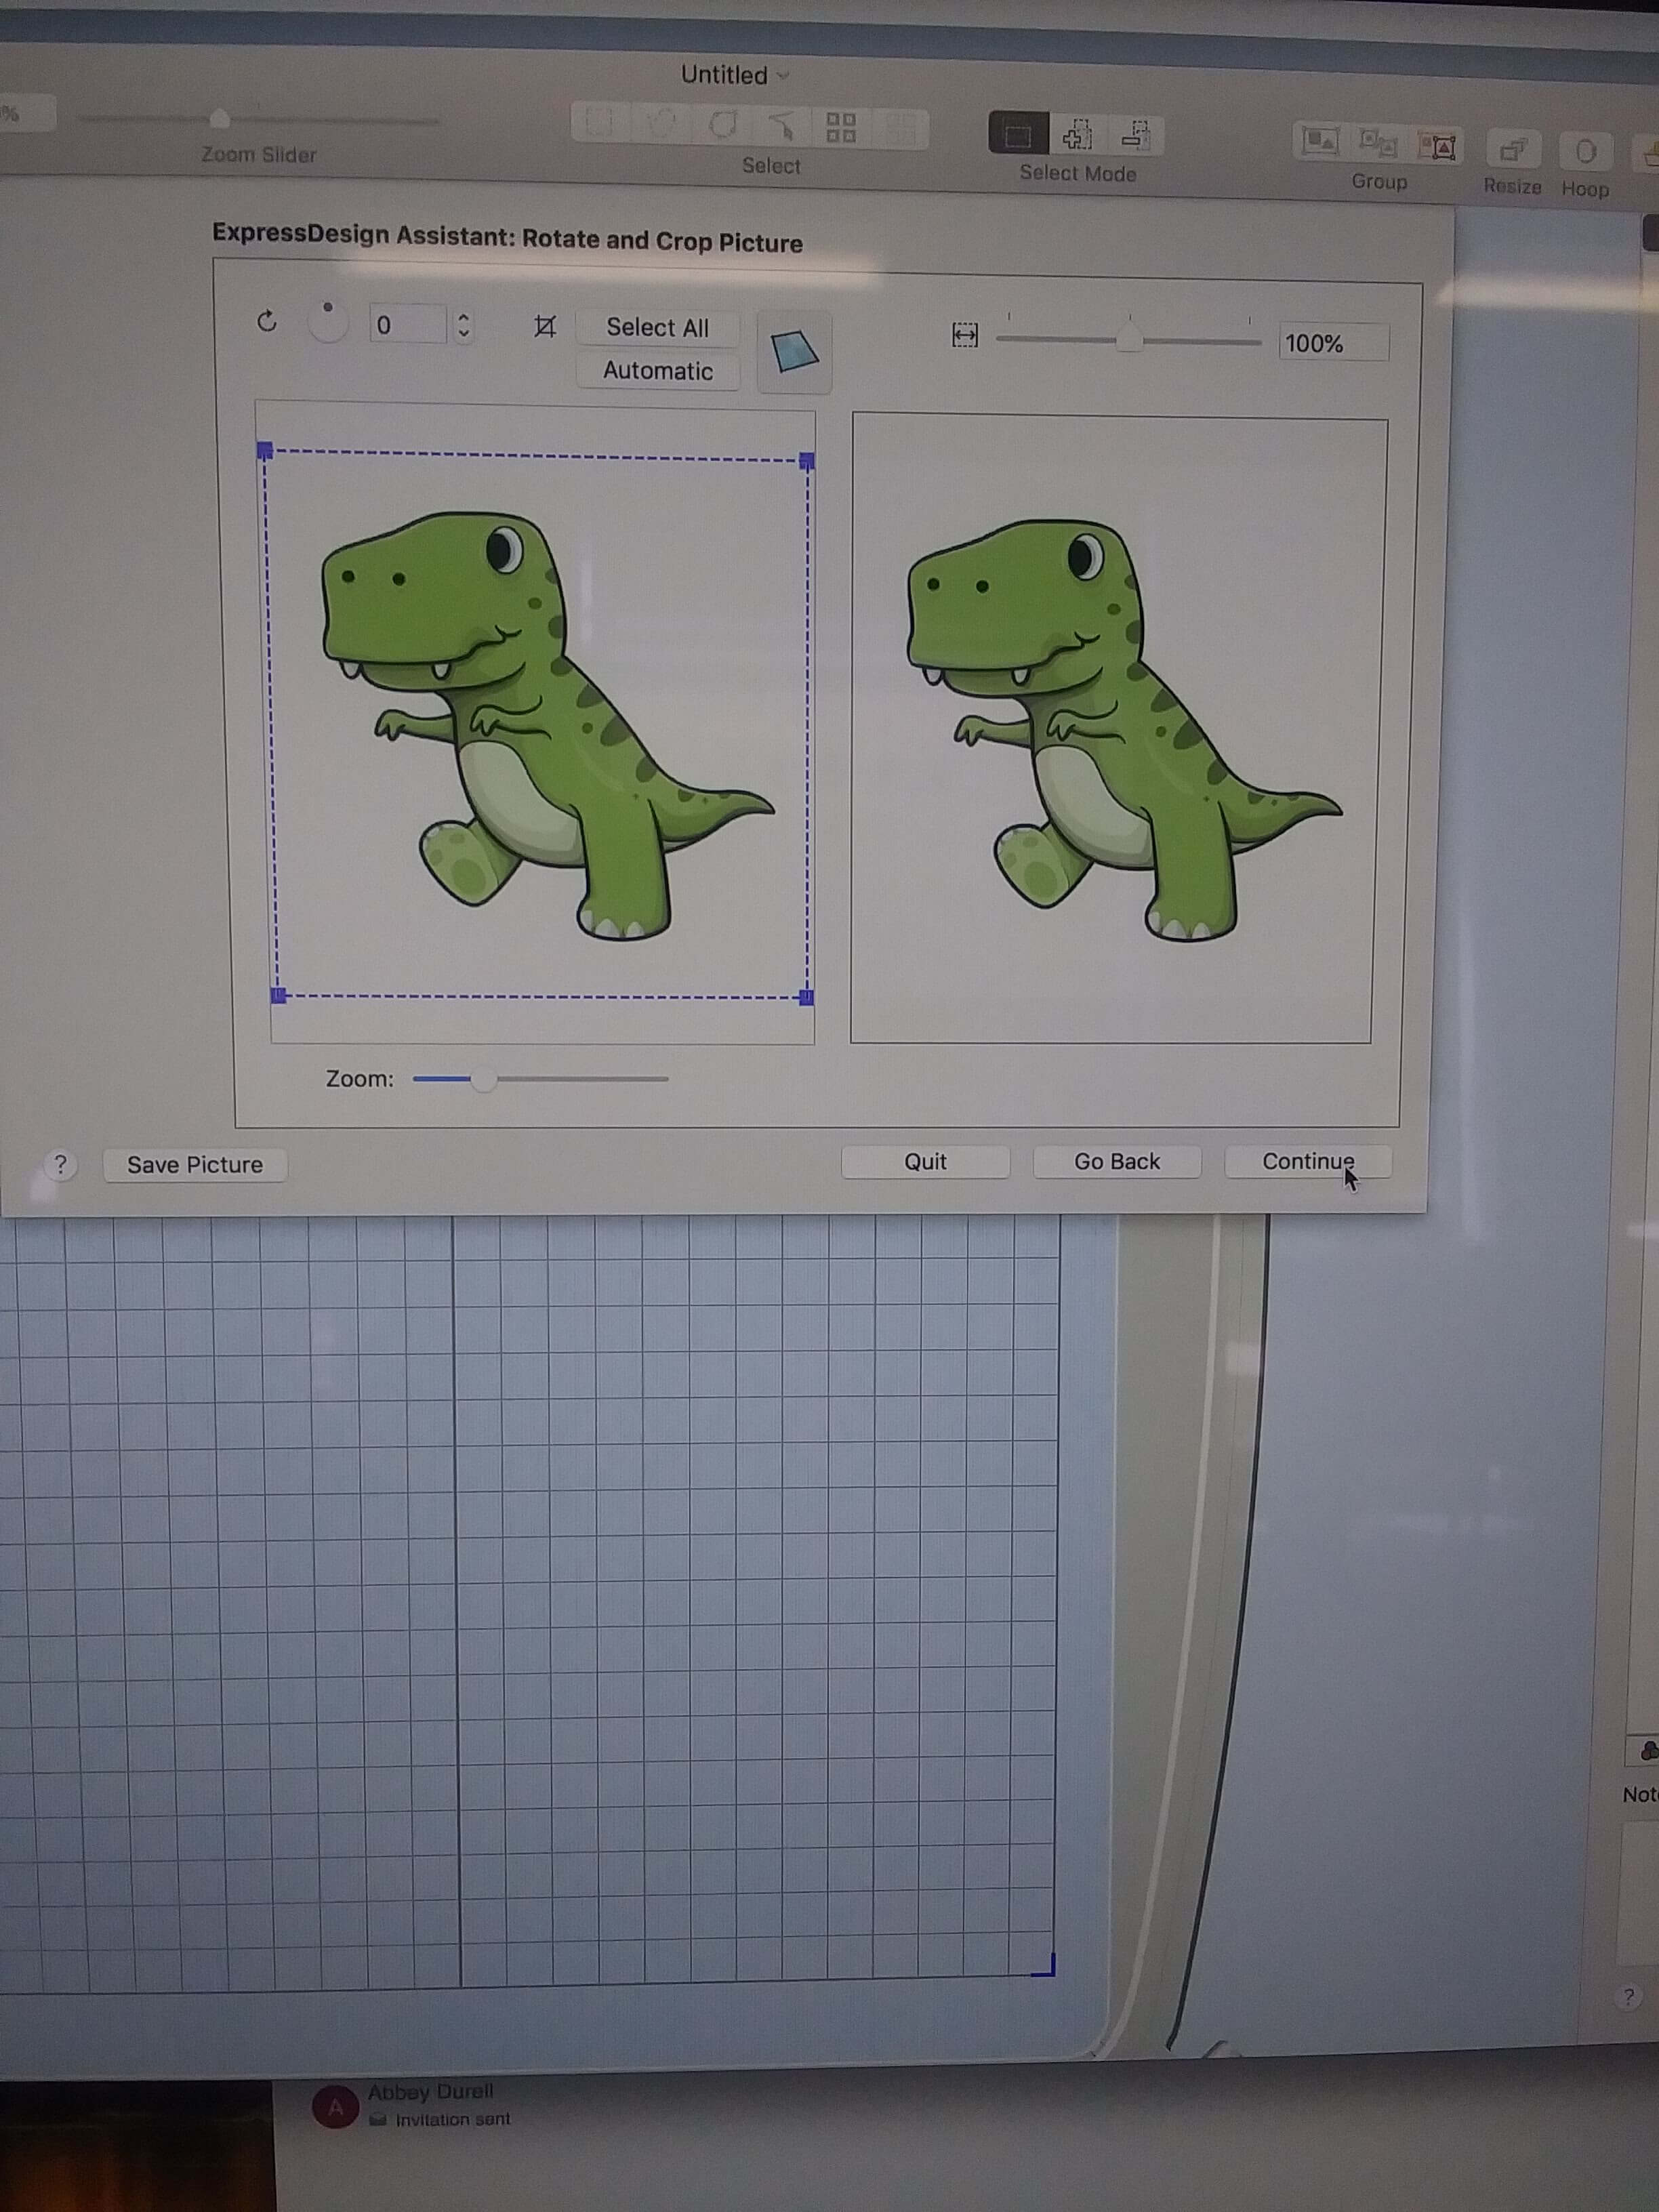
Then I imported the PNG file.
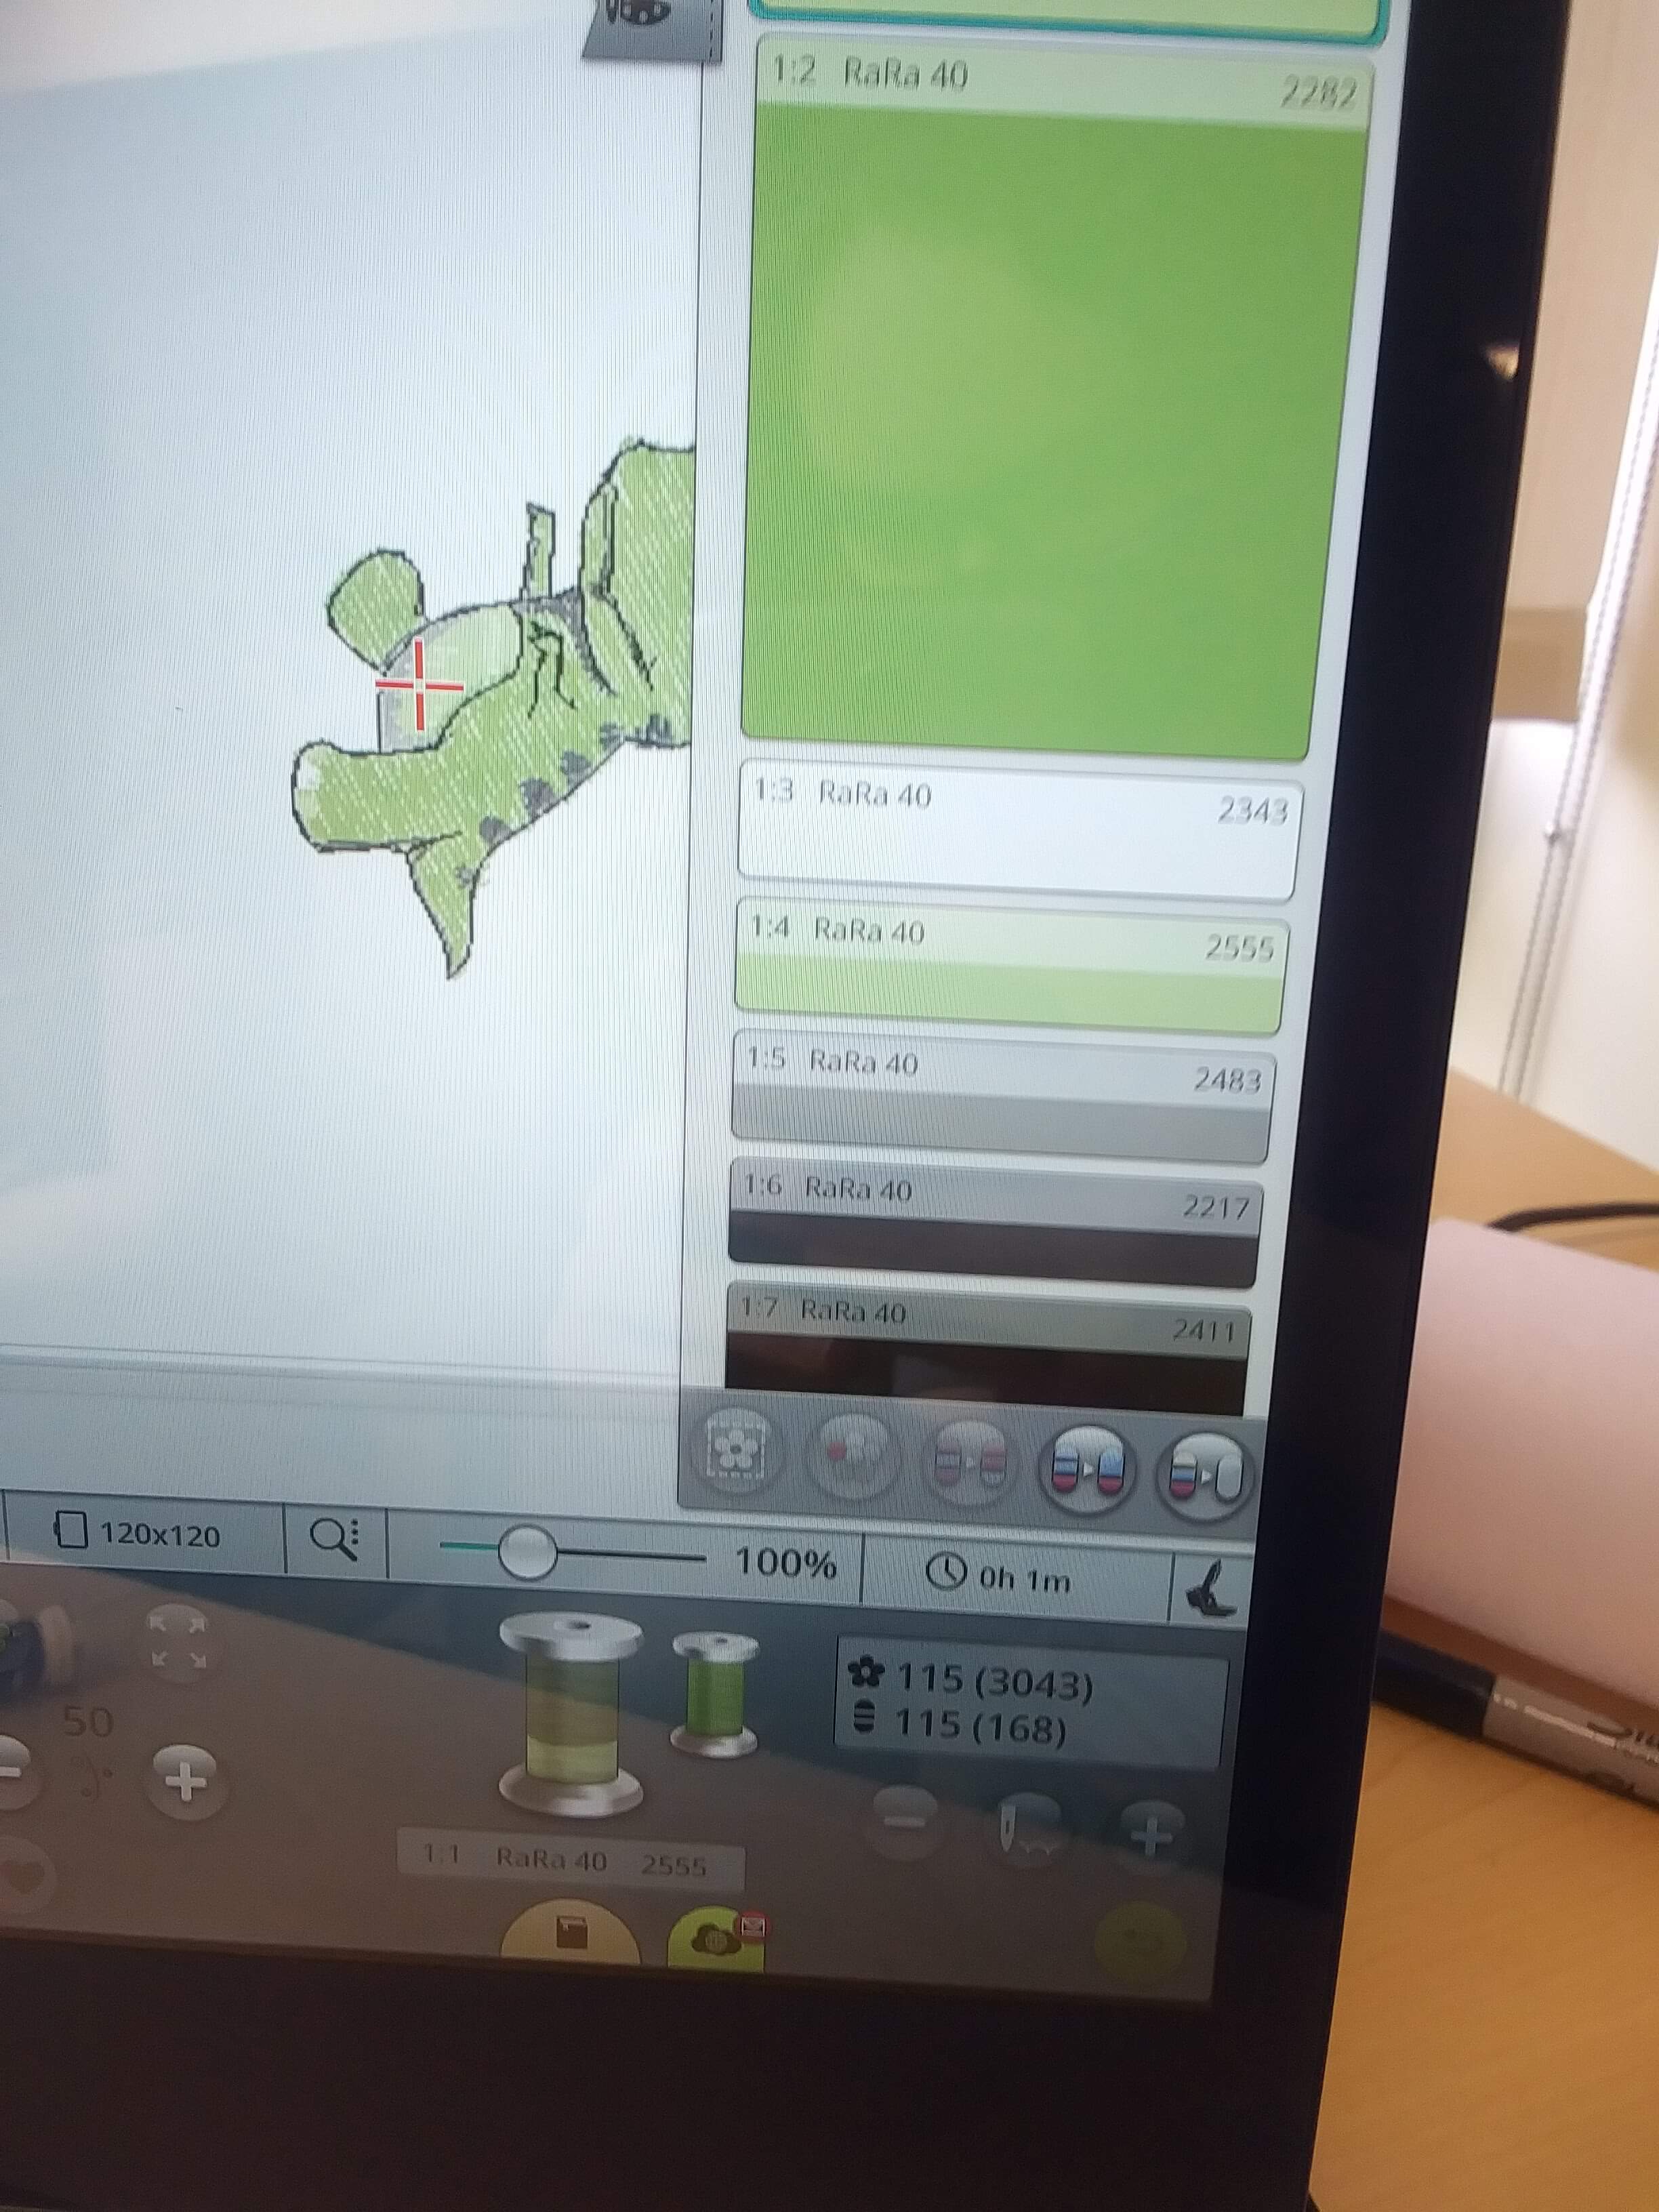
The software then looked at my PNG and gave ten thread colors that I would need to make my design.

This was quite a lot of threads and, frankly, I don't have that many different shades of green and black available, so I needed to eliminate some colors. I was able to deselect similar colors using the minus symbol.
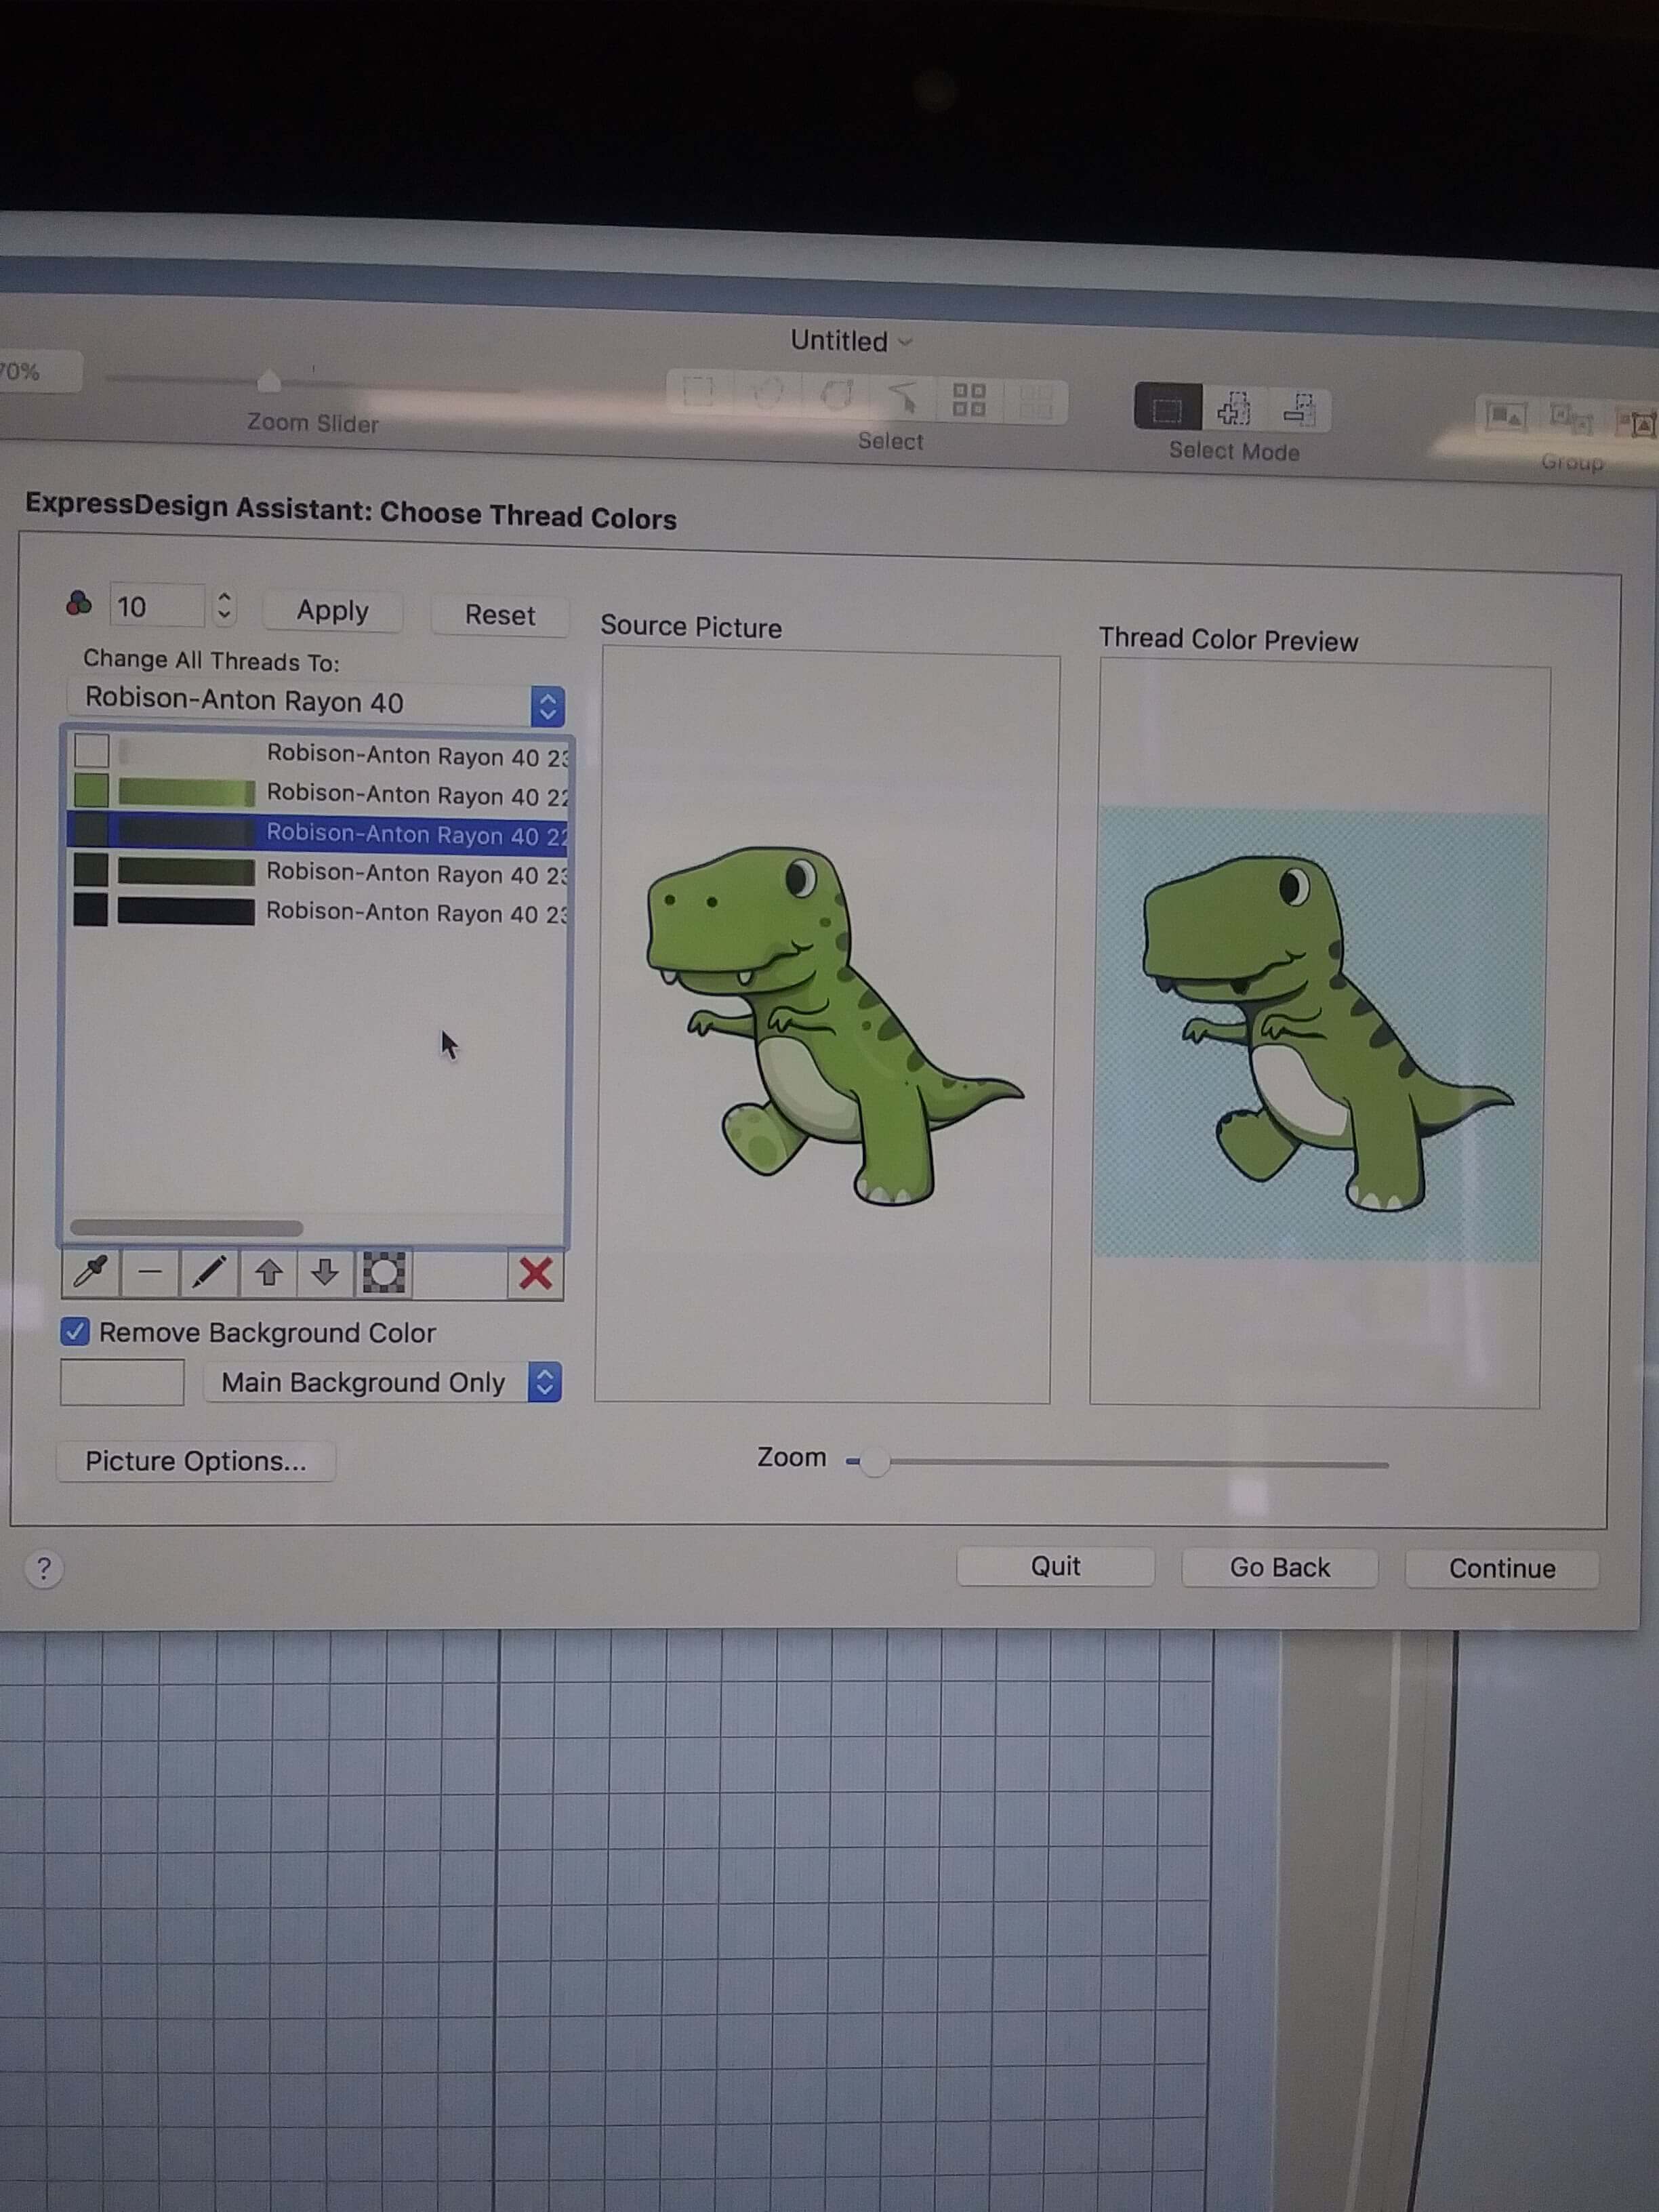
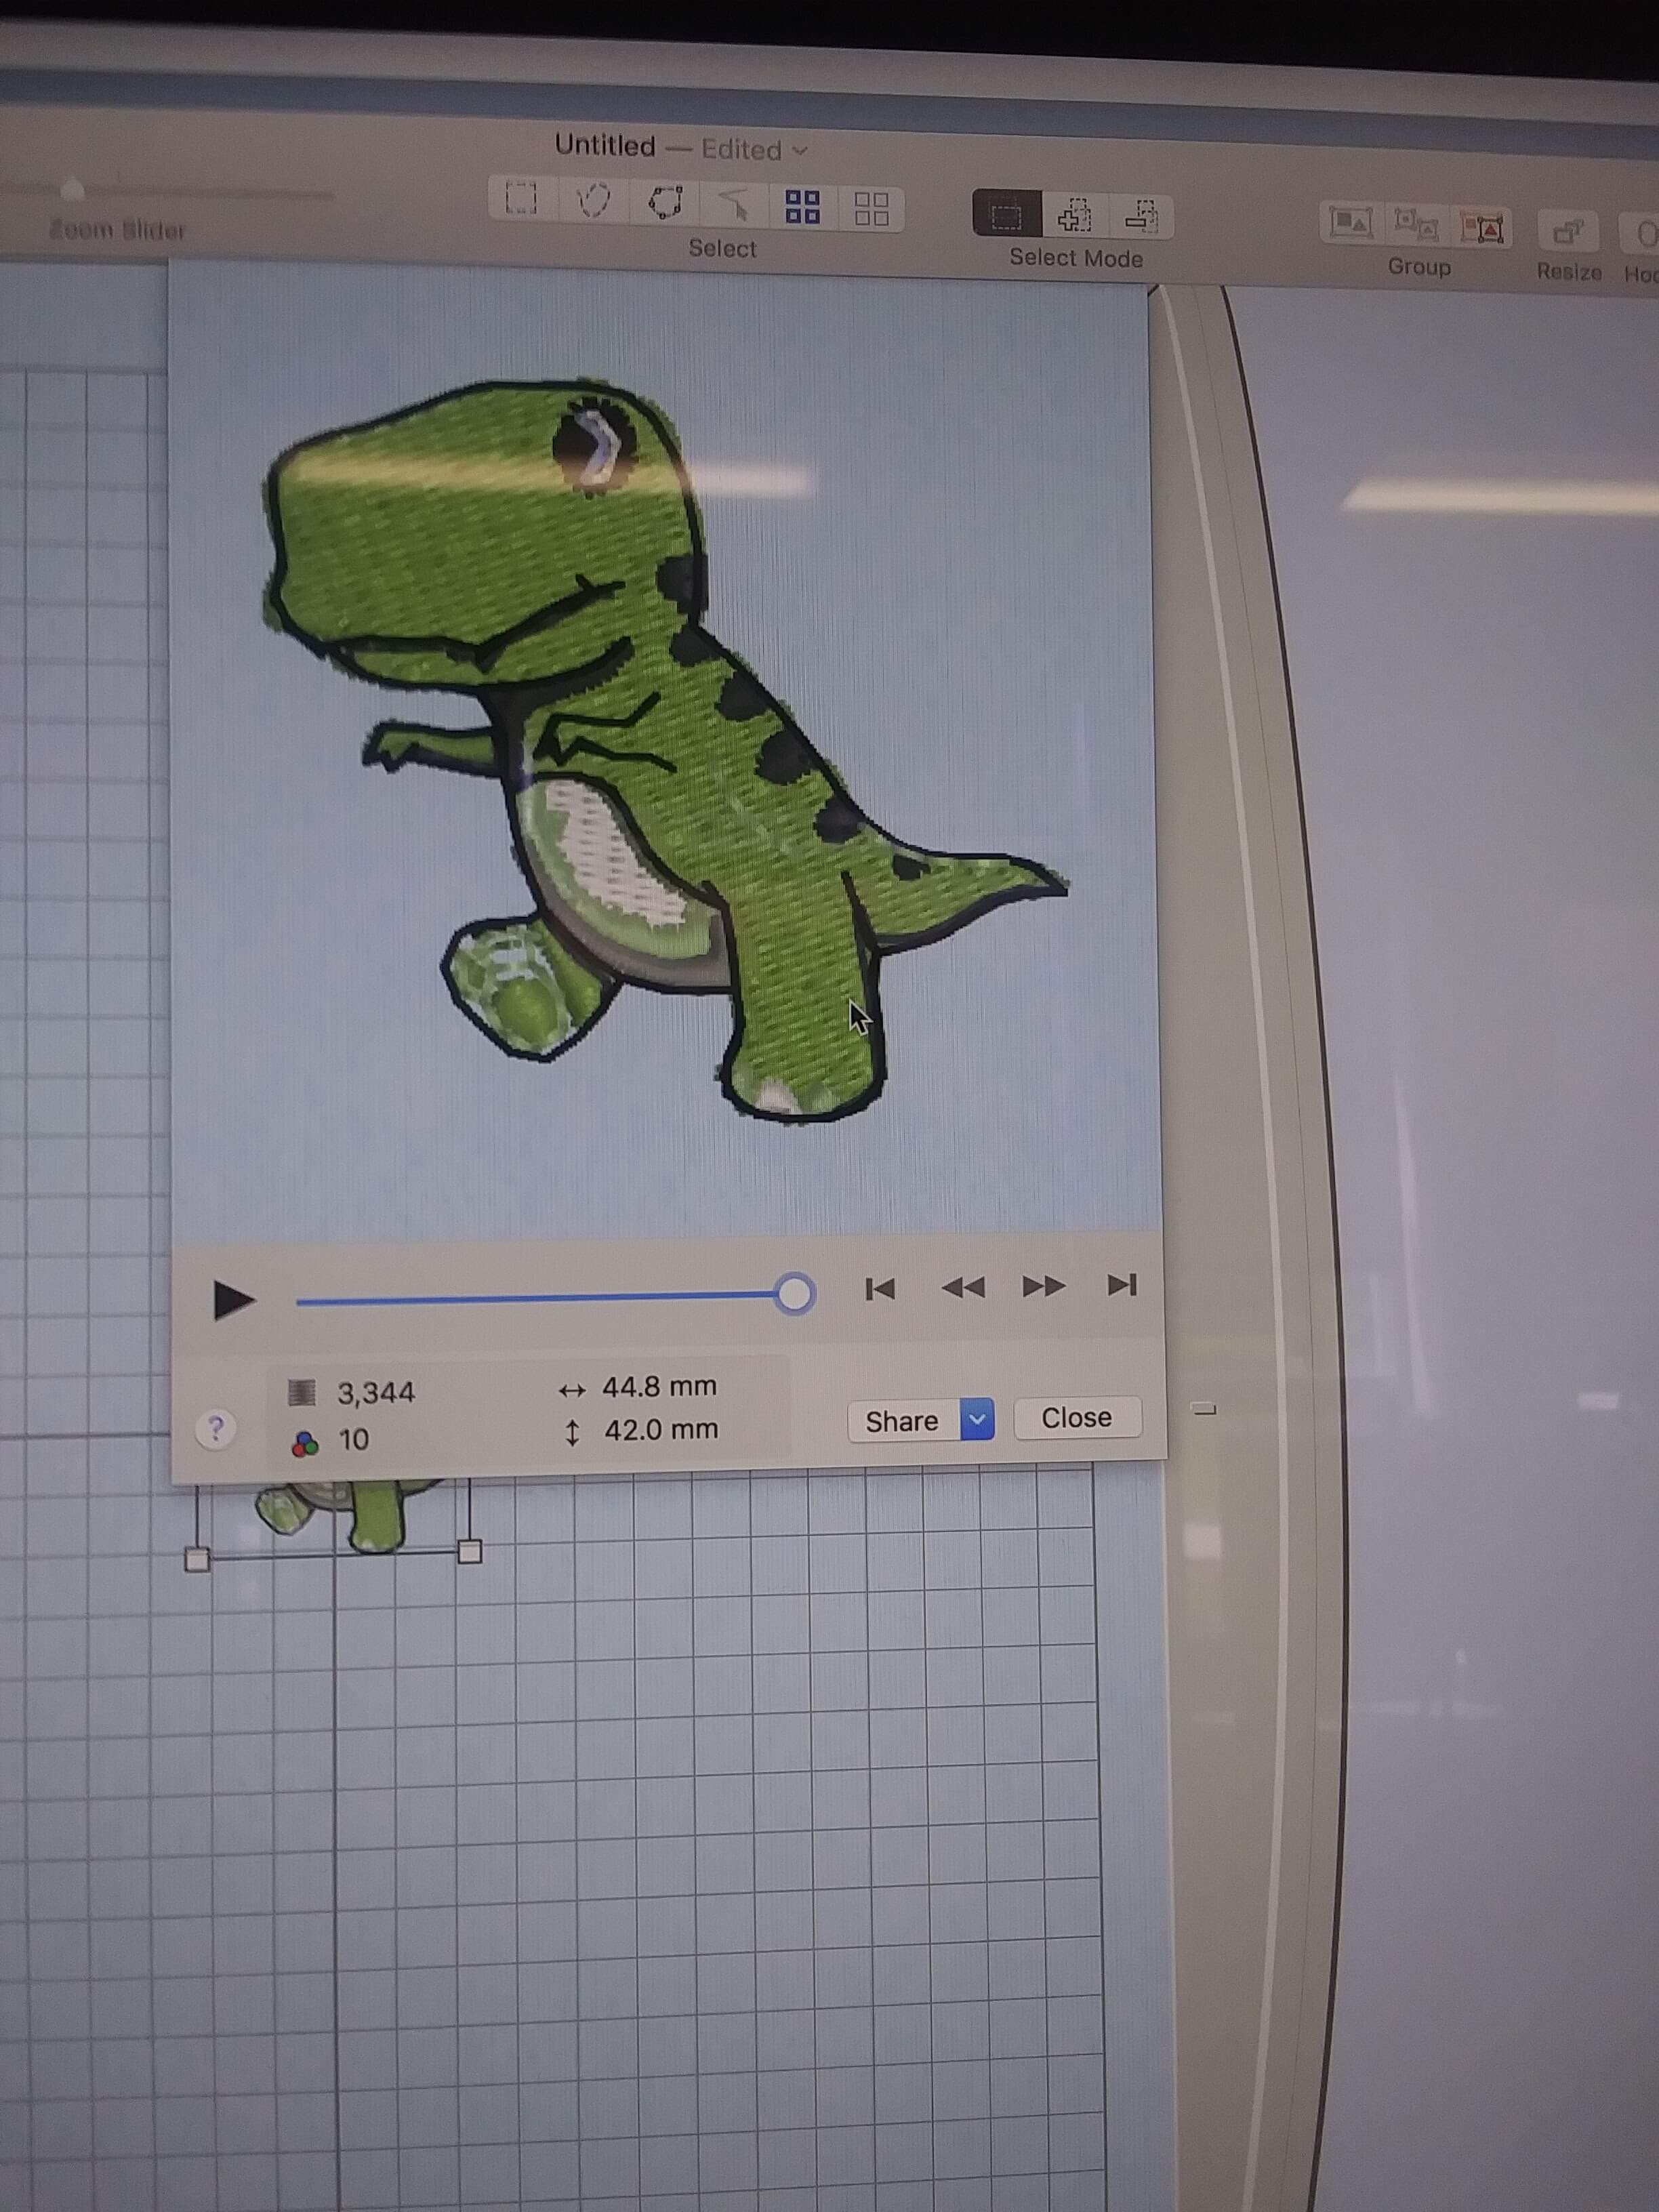
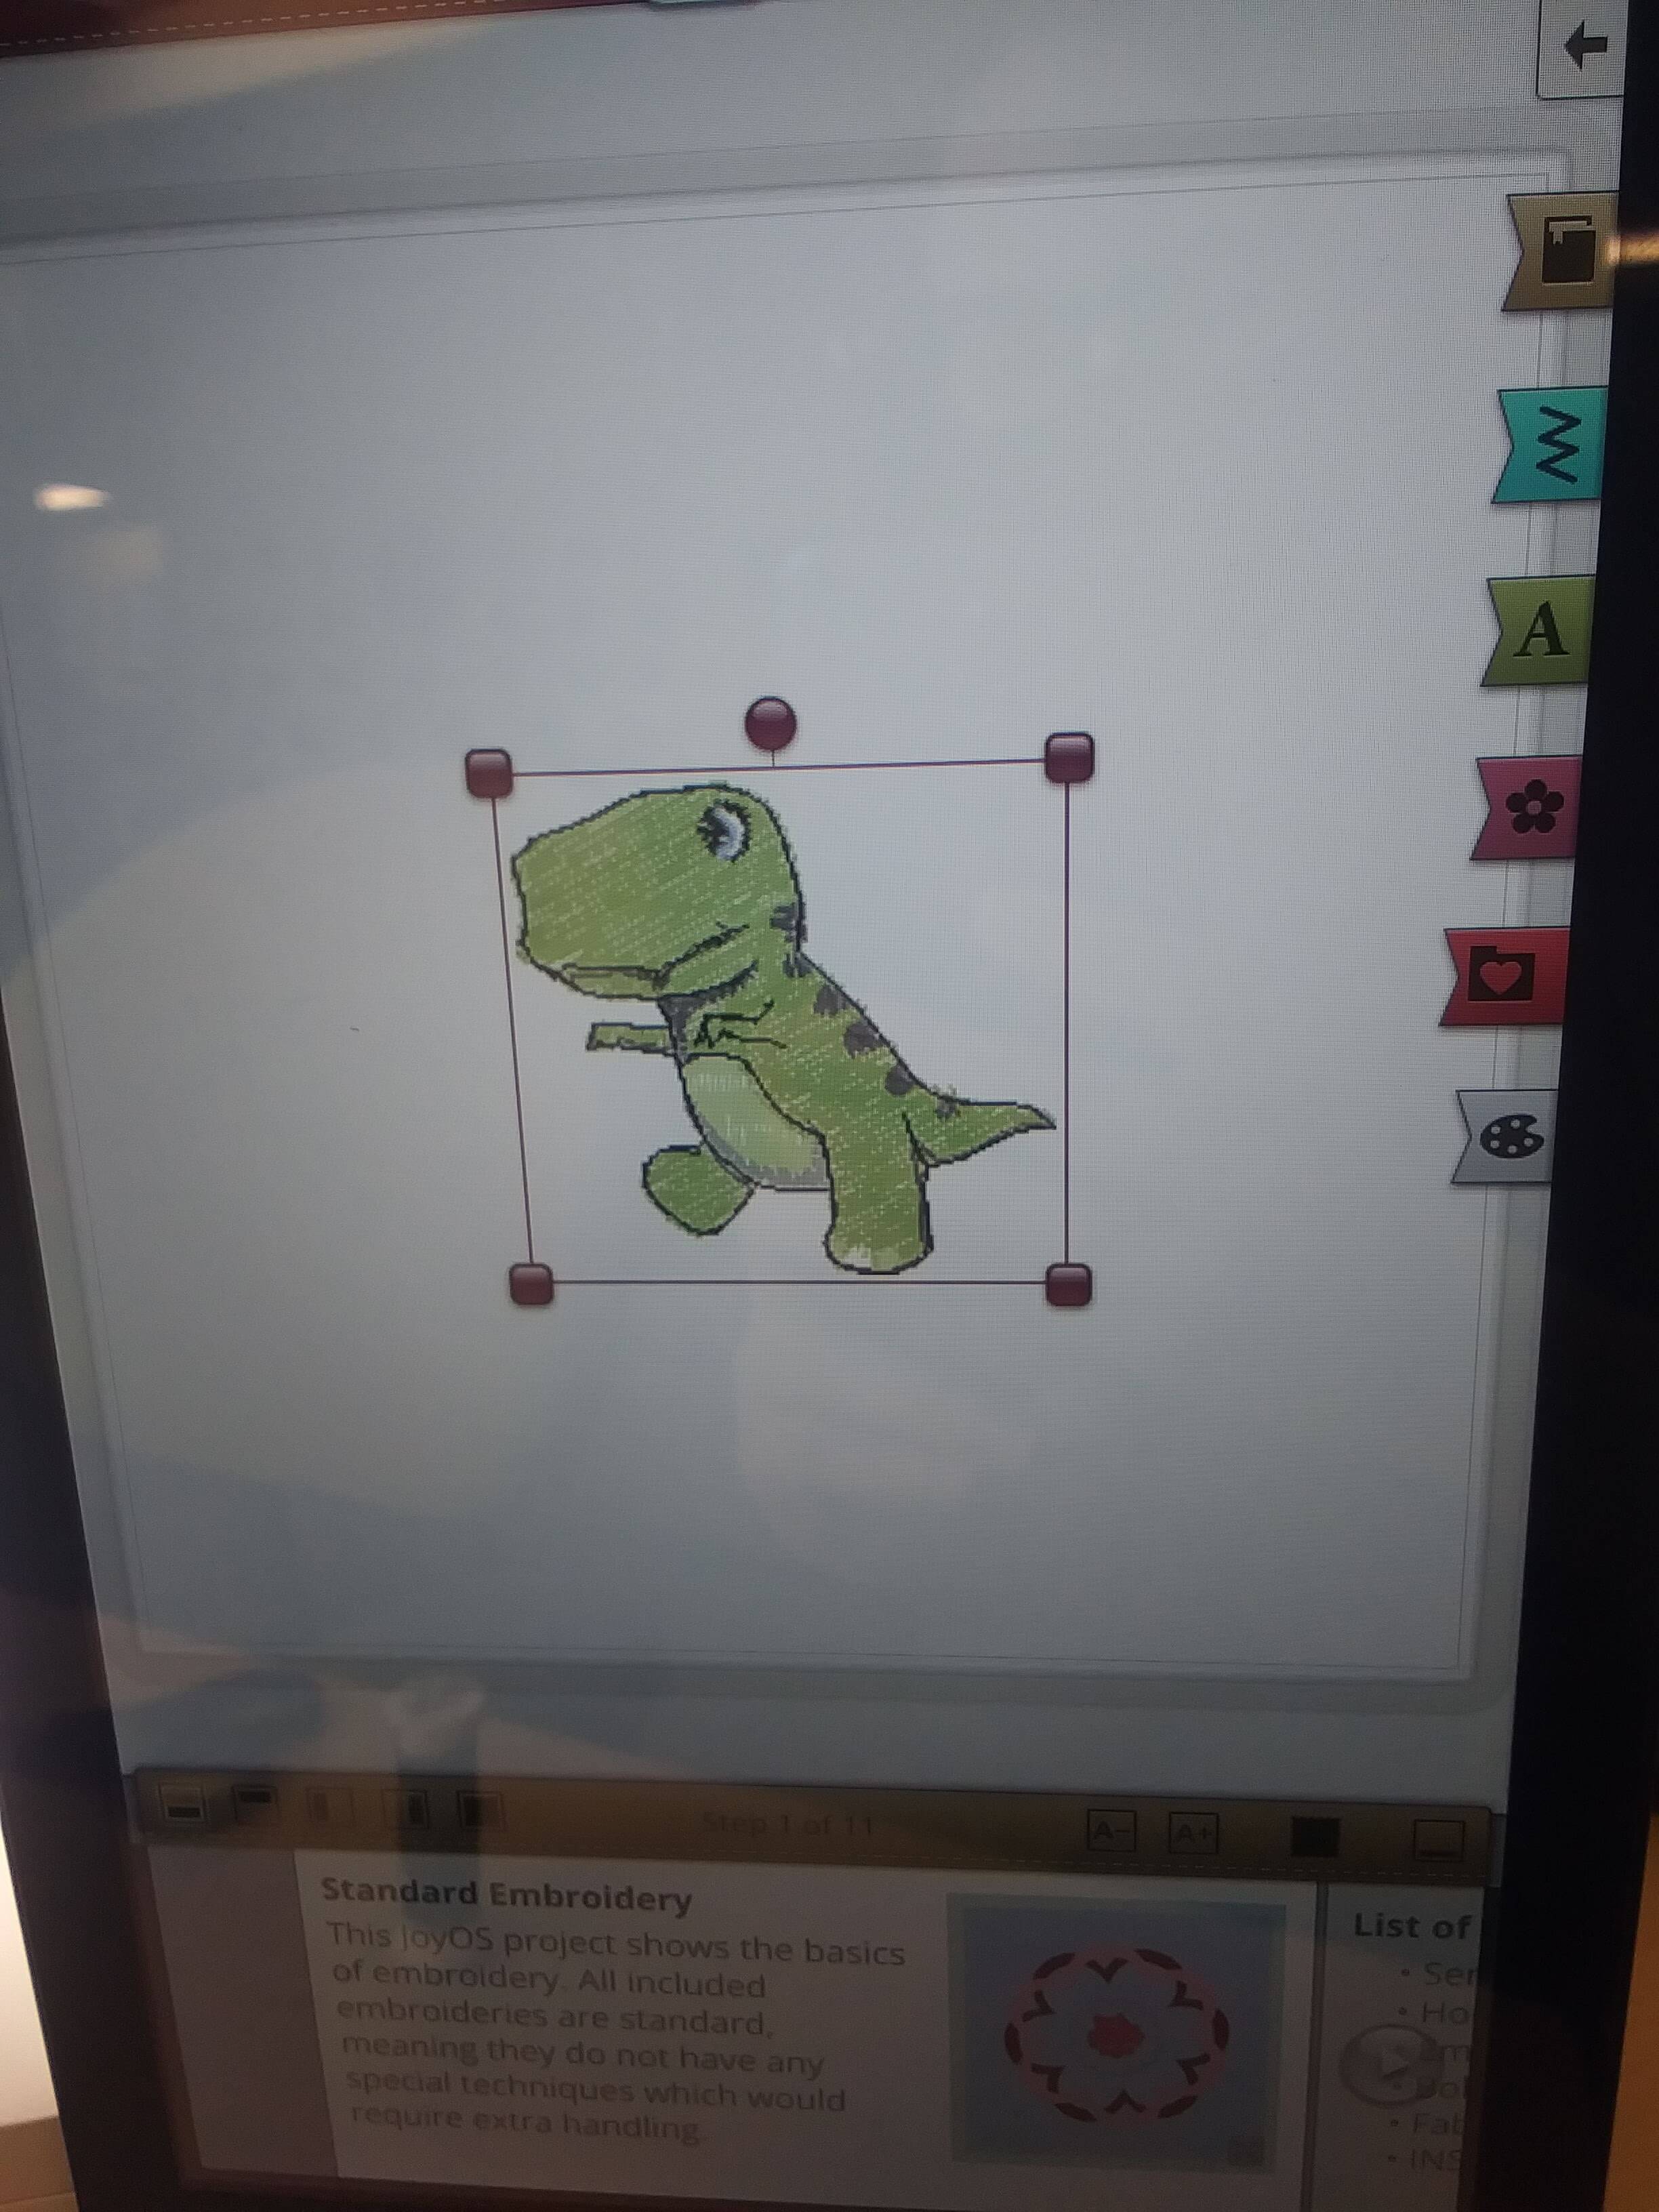
One of the aspects of Premier Plus 2 that I really liked was the fact that I could see how the picture would change ad I add or omit various colors of thread. After I was satisfied with the thread color combination, I clicked continue. This left me with a final image of what the dinosaur would look like after embroidered.
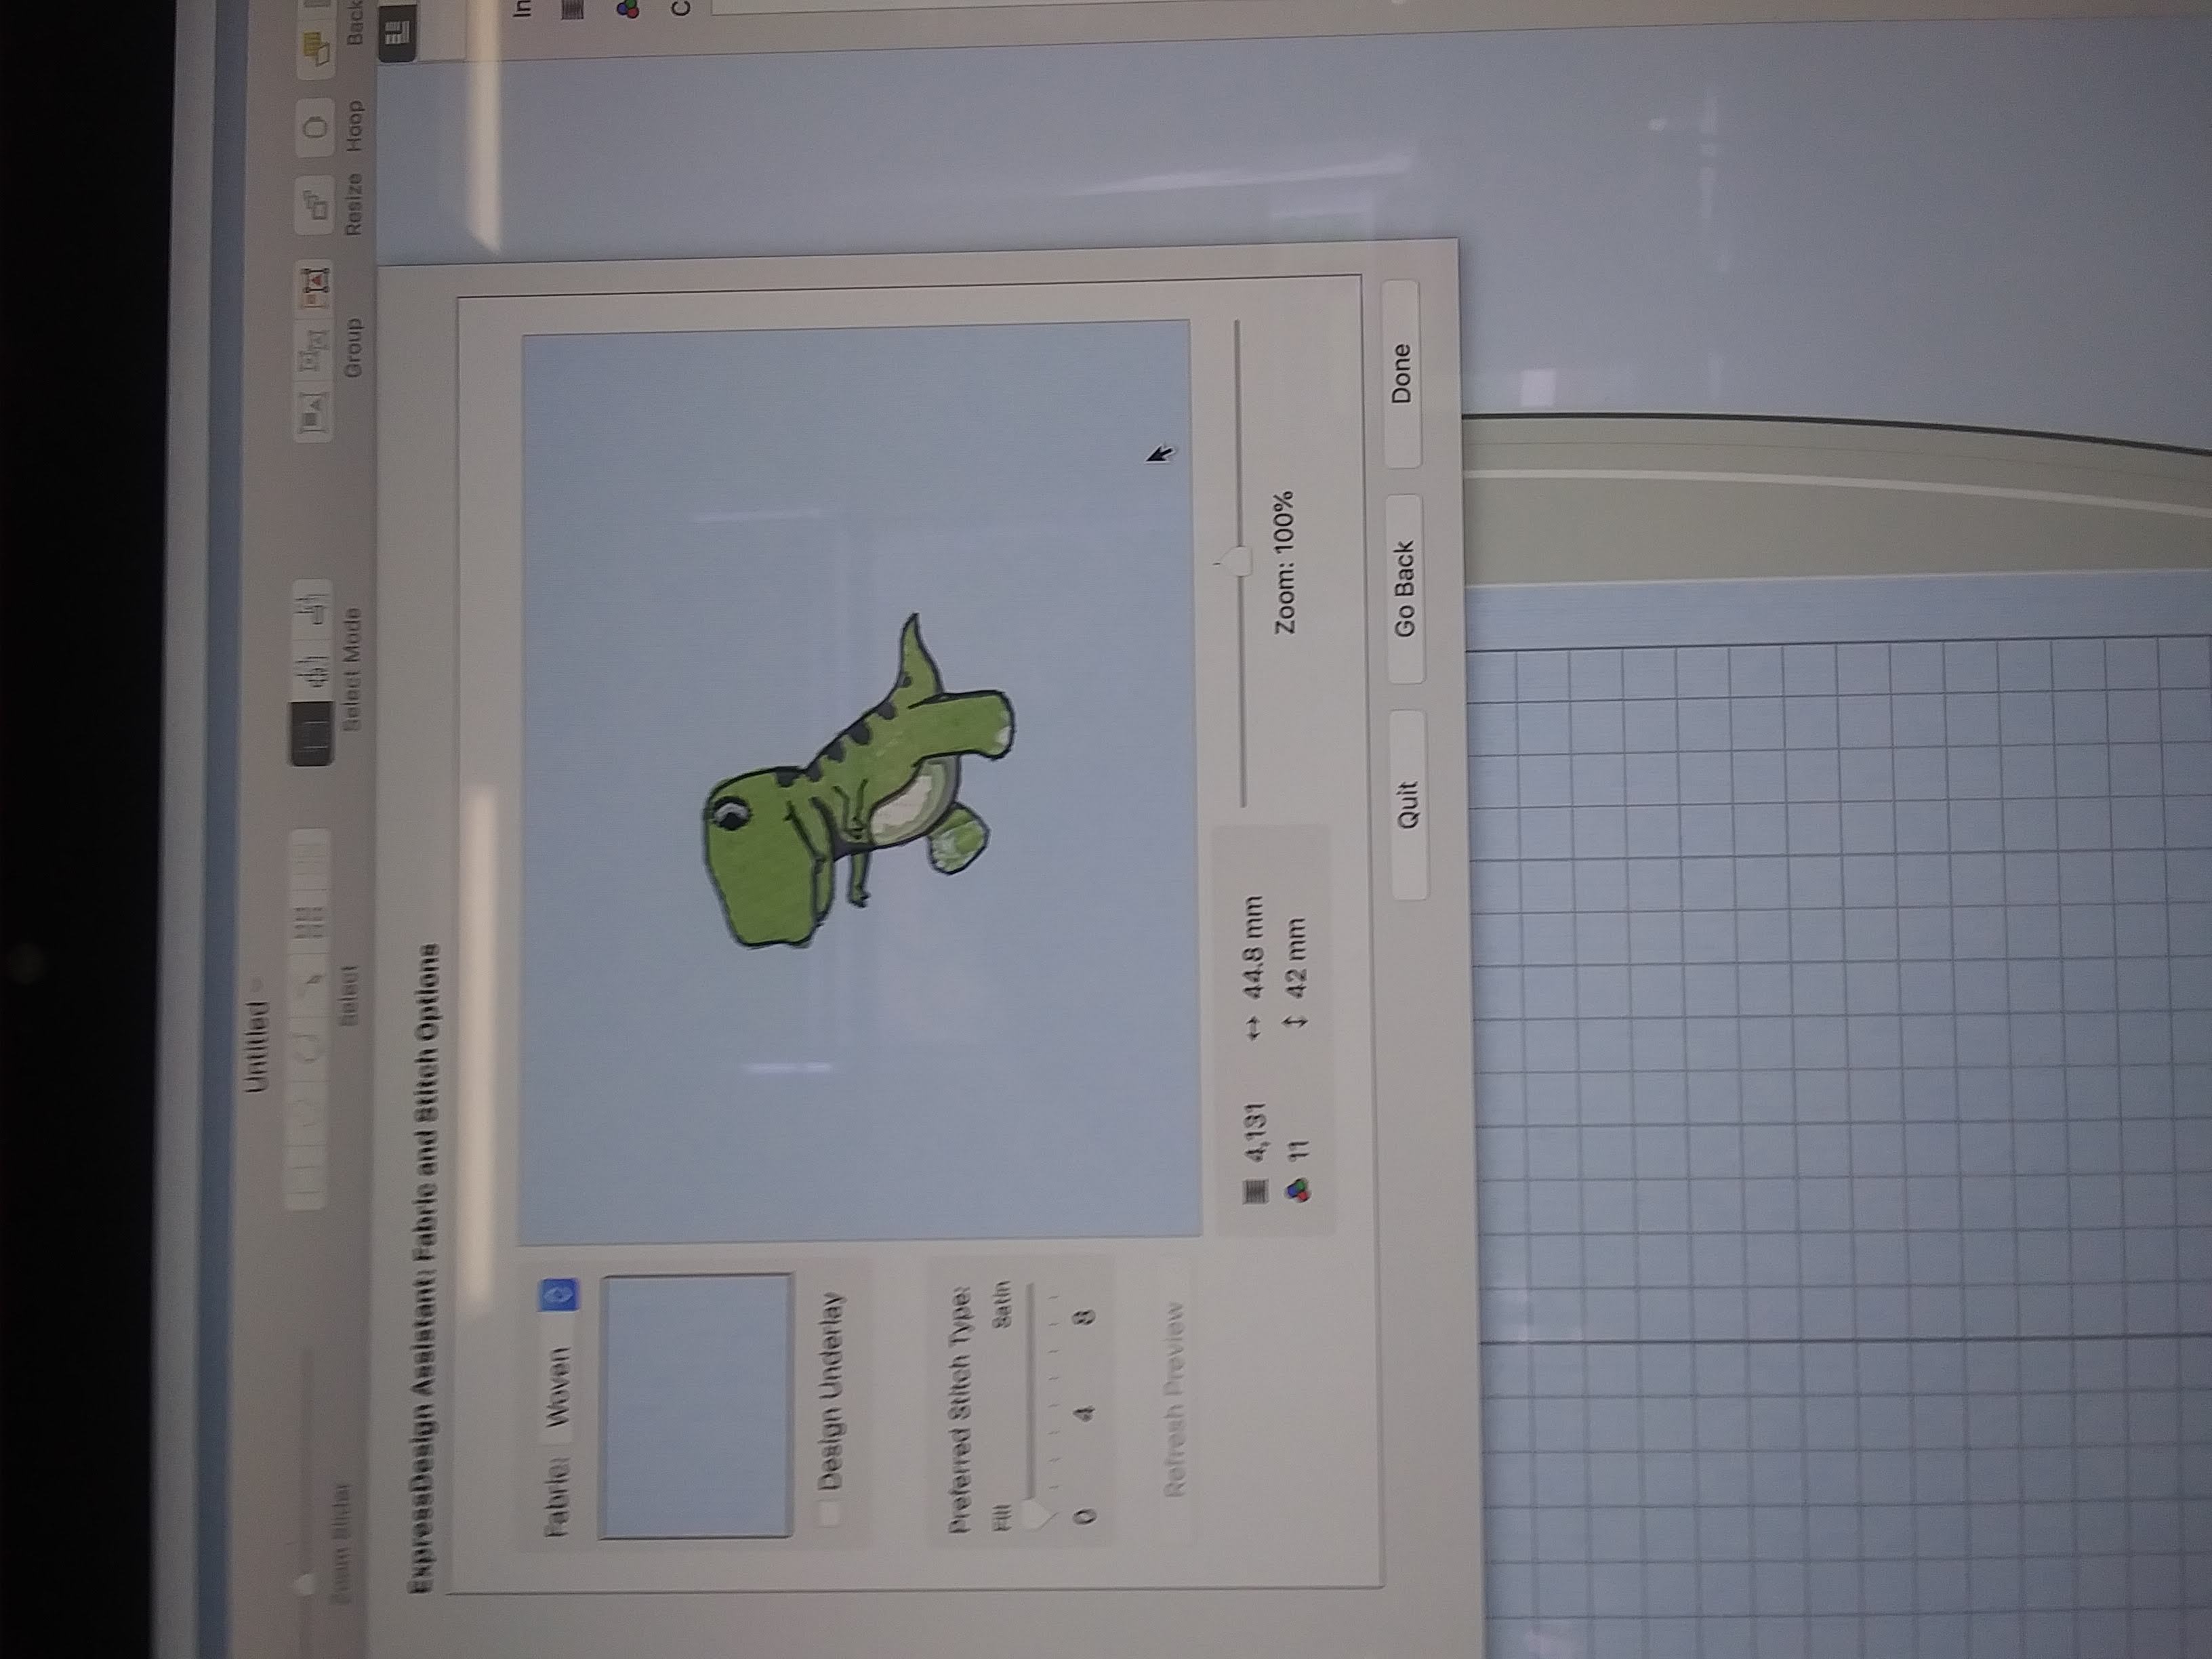
I was also able to see the order the machine would take to stitch the design together.
Then I hit Send To mySewnet
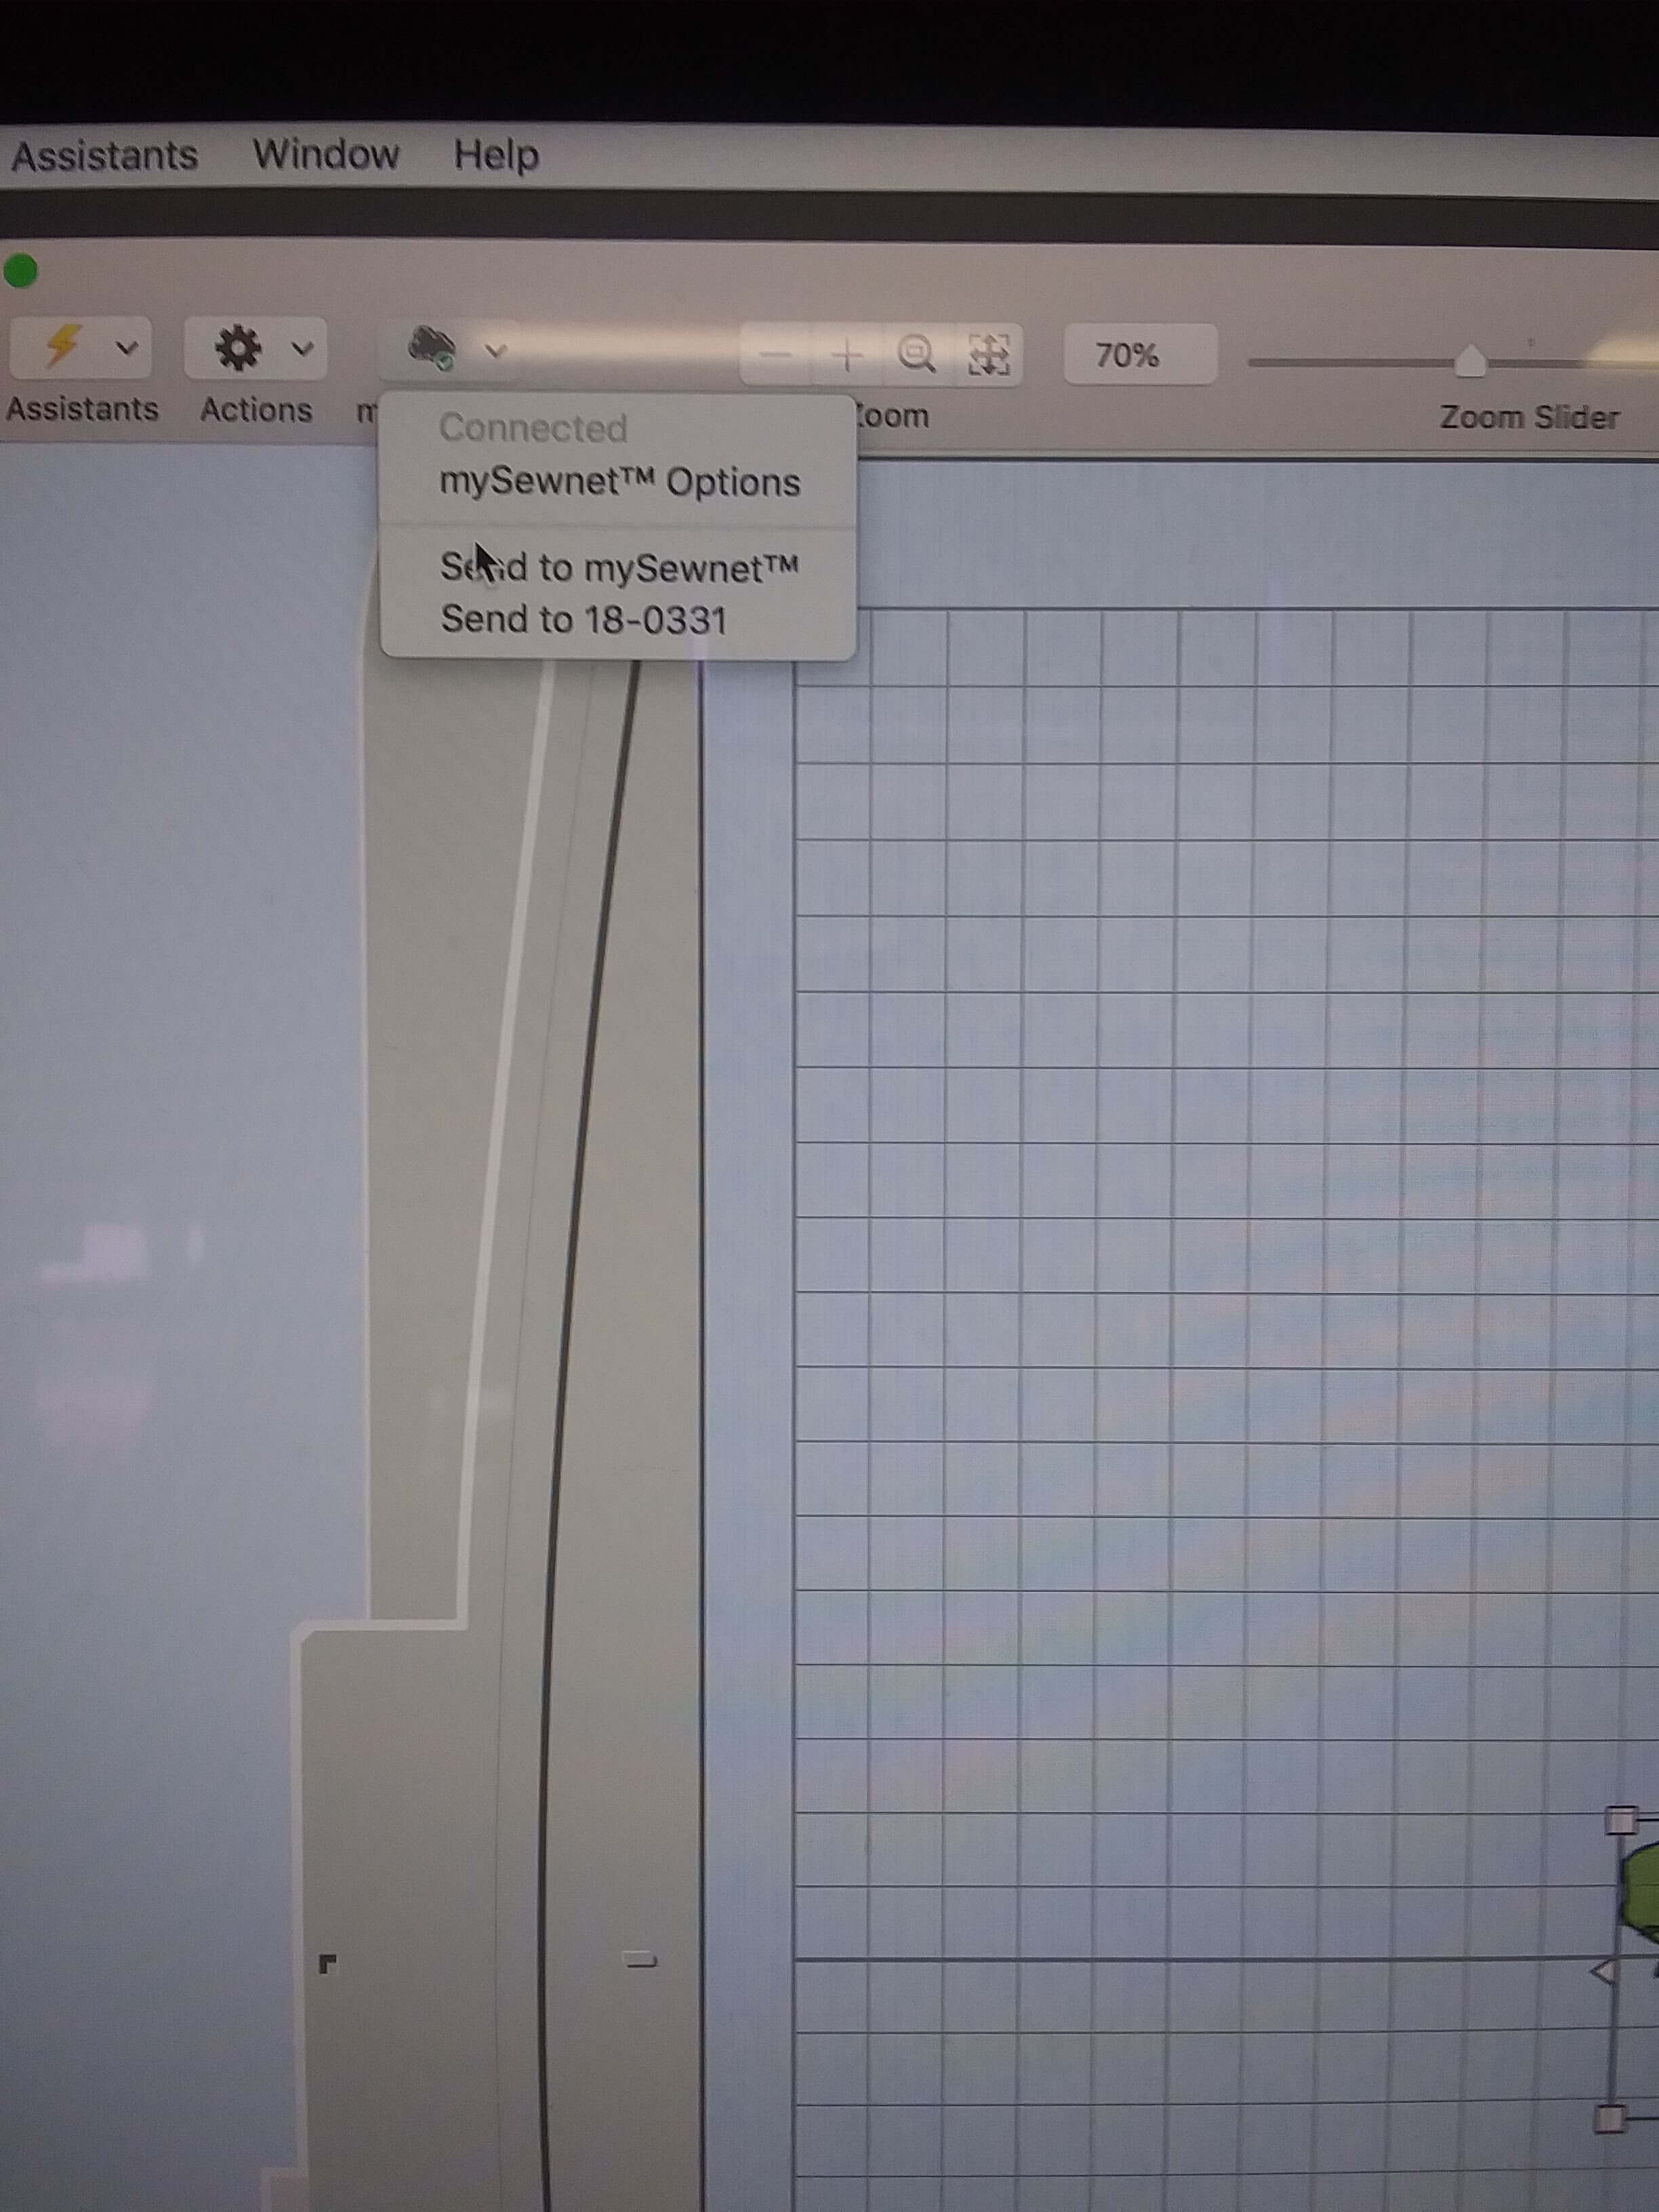
Which sent the file as a vp3 to the embroidery machine! (my file is named dinosaur.vp3, as I'm sure you could have guessed)
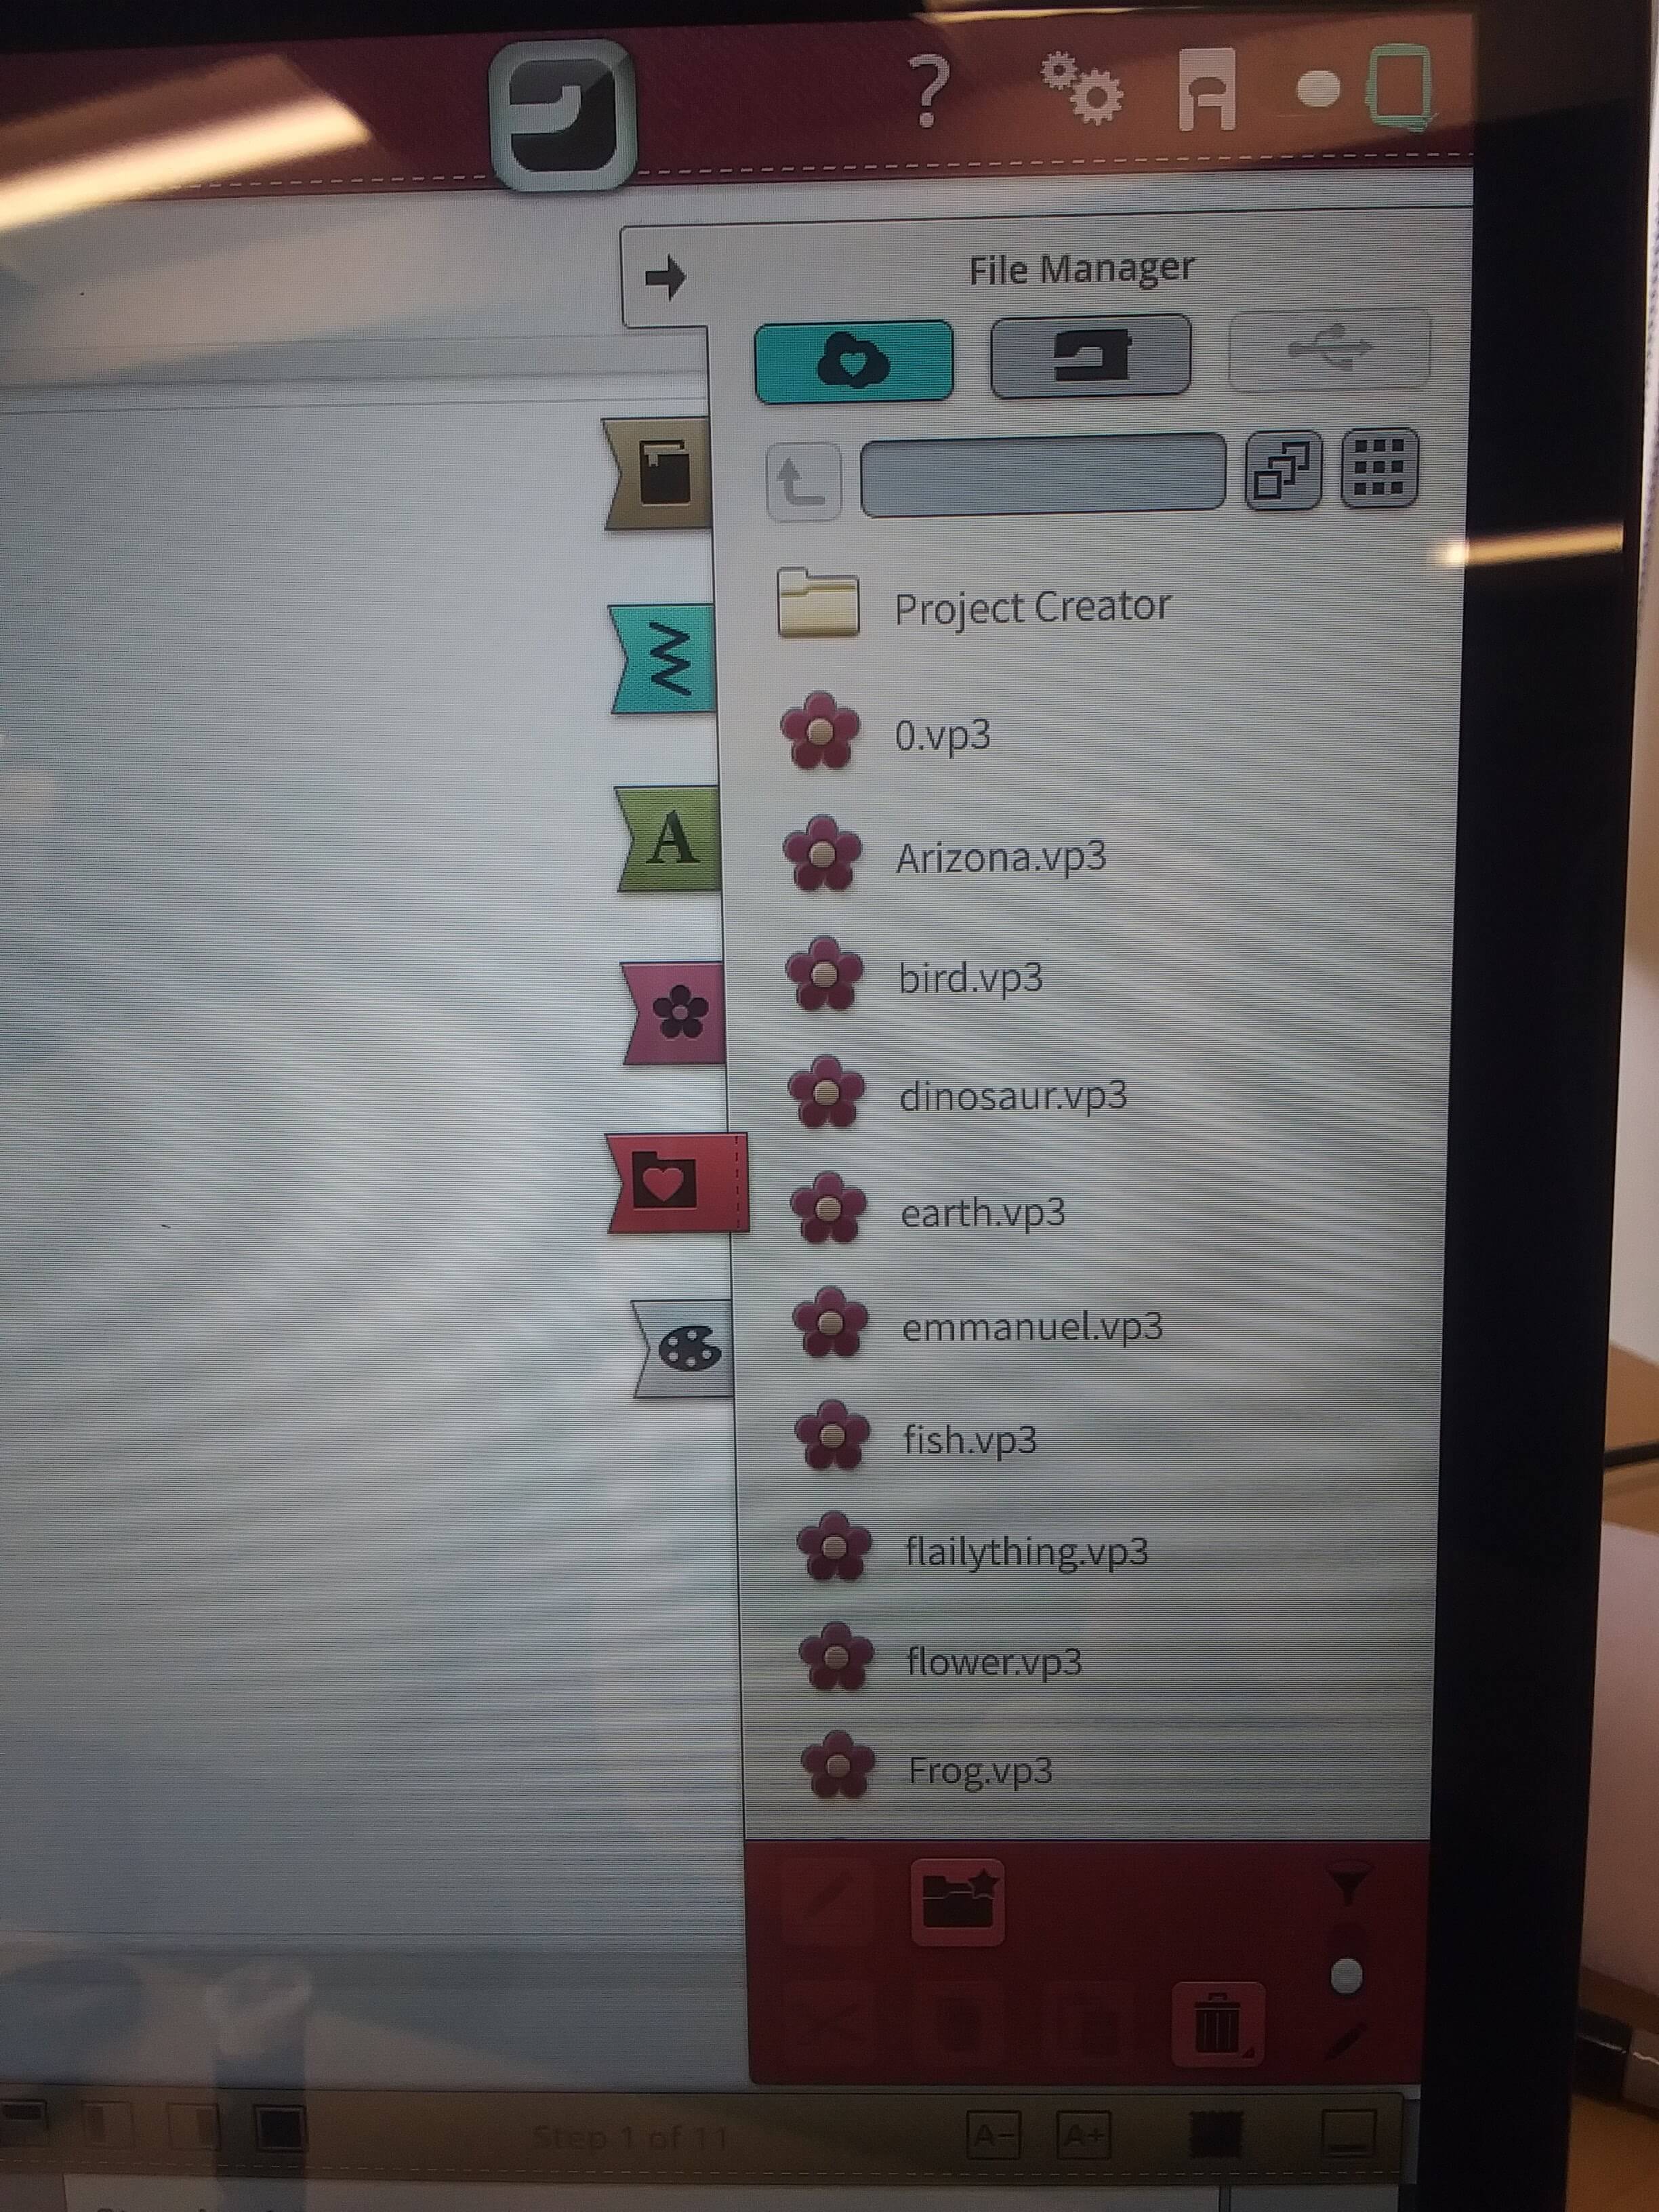
I selected my file to embroider.
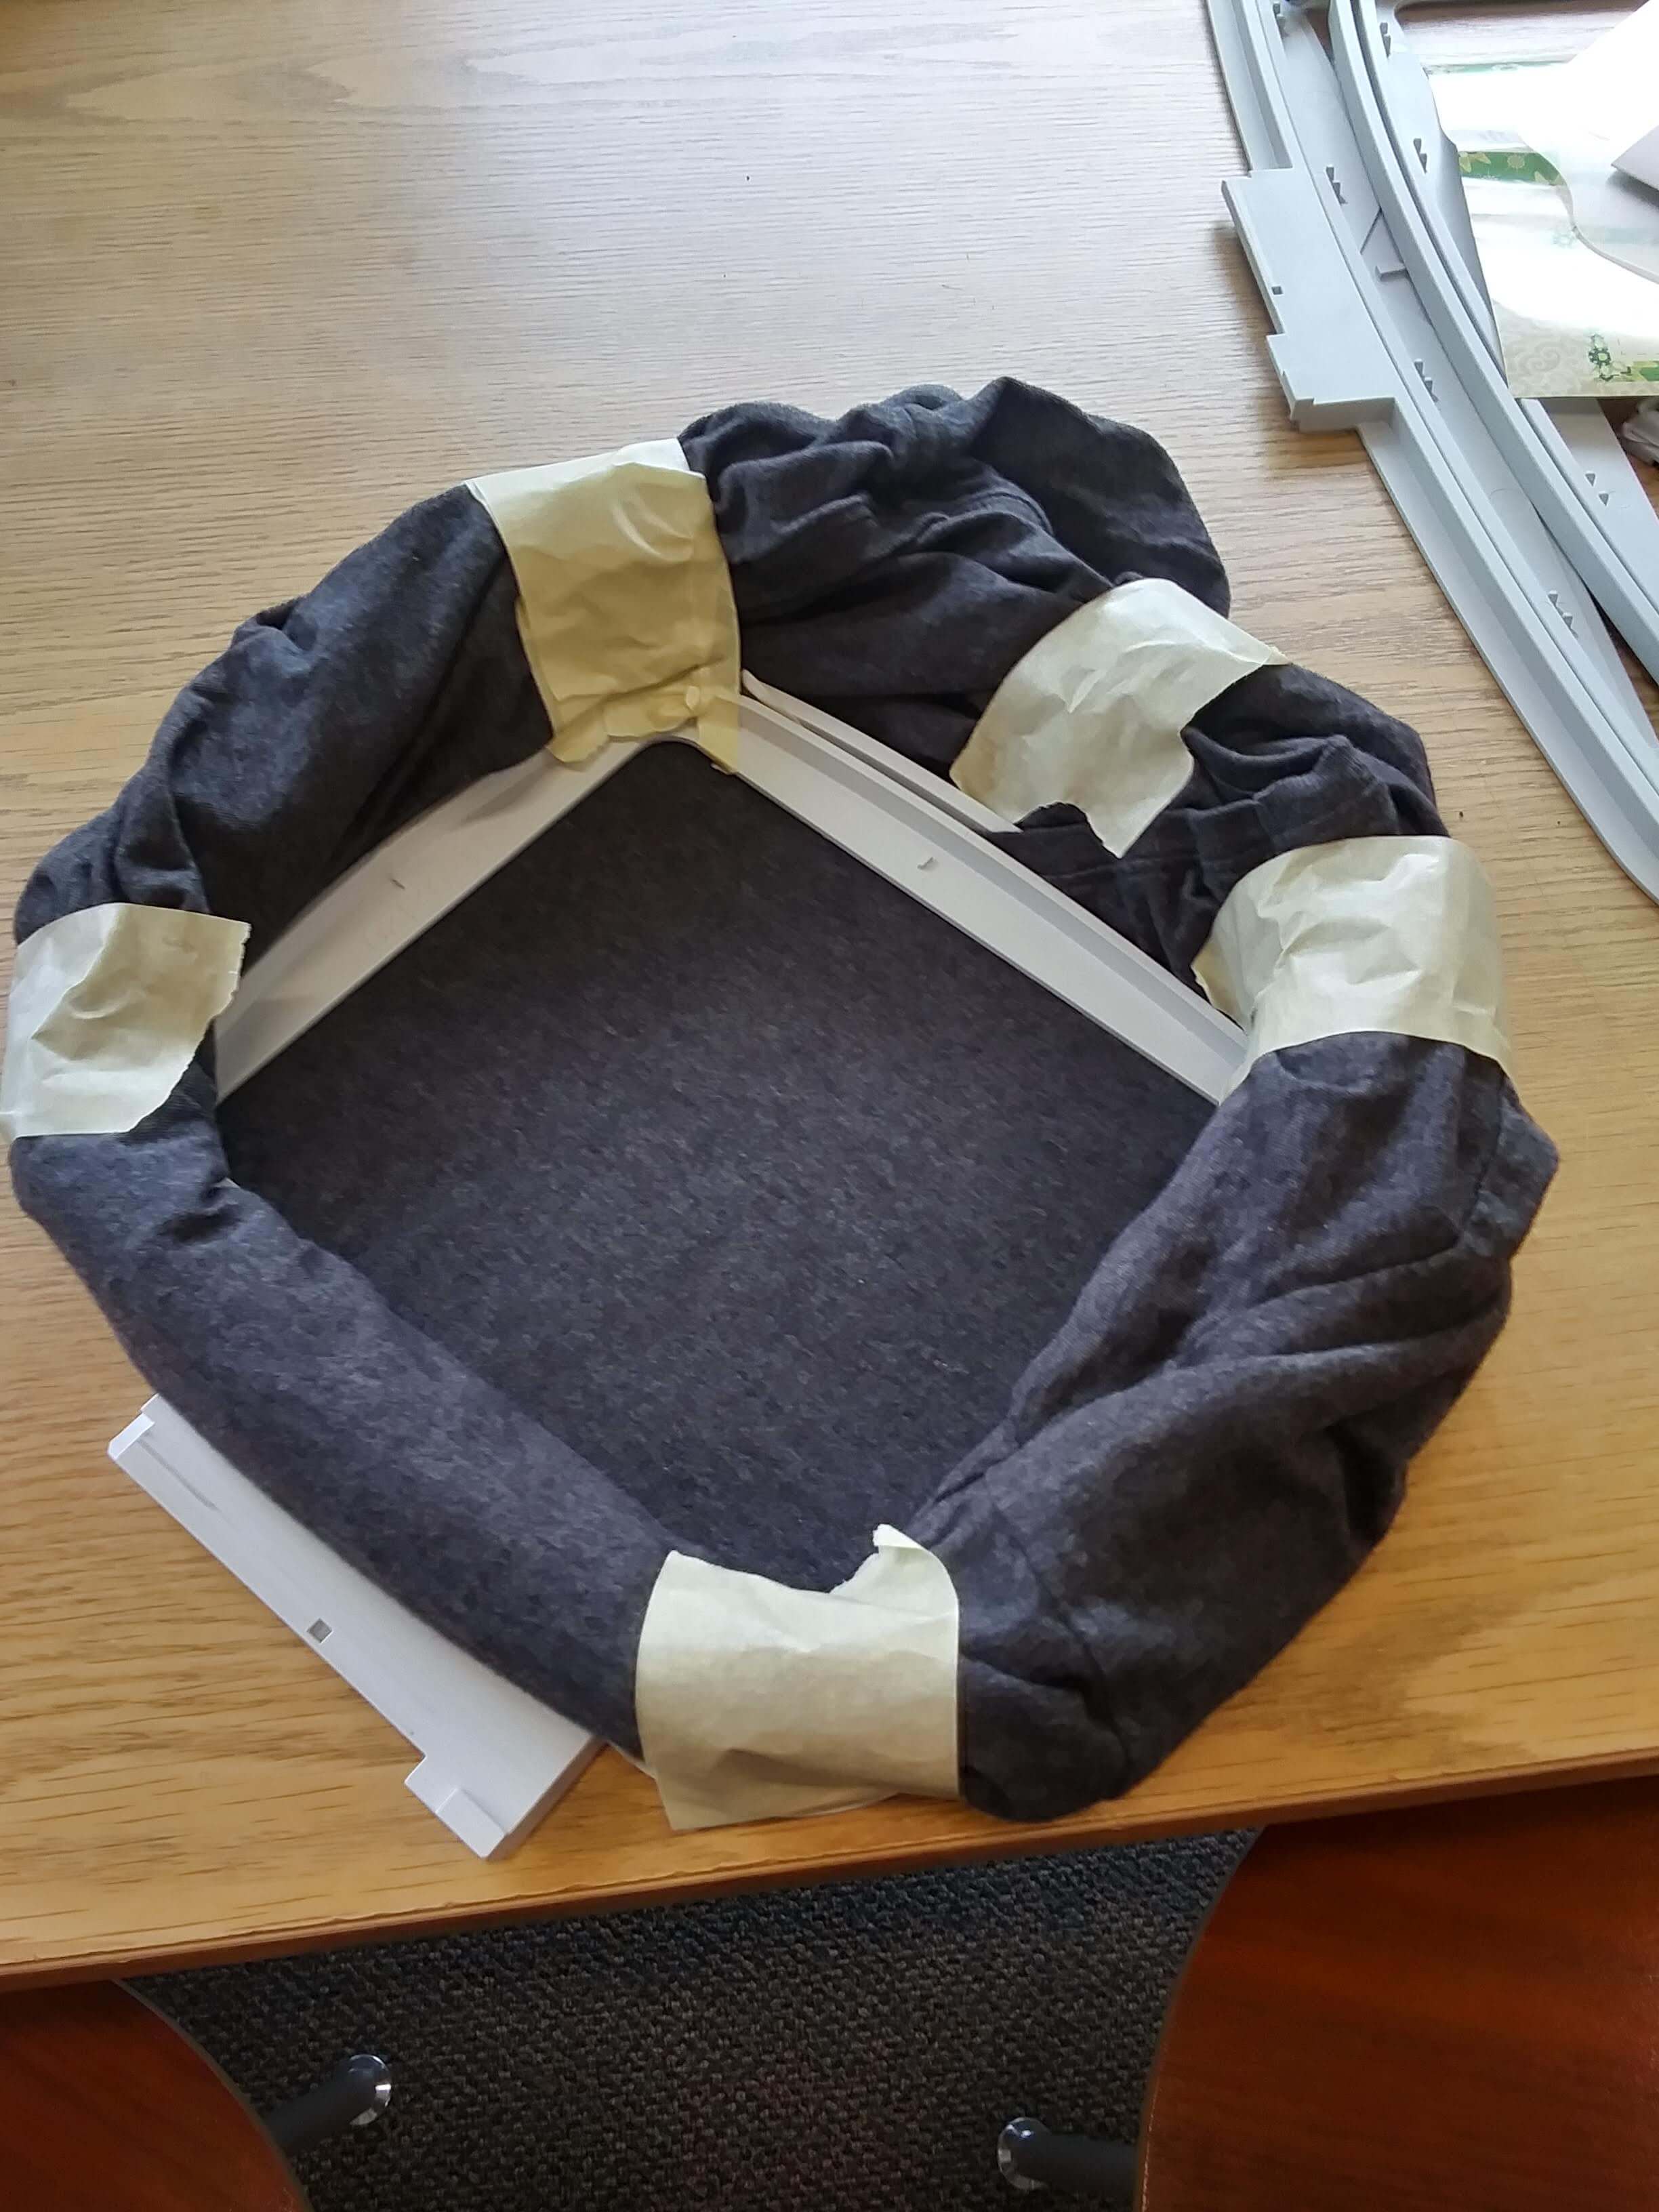
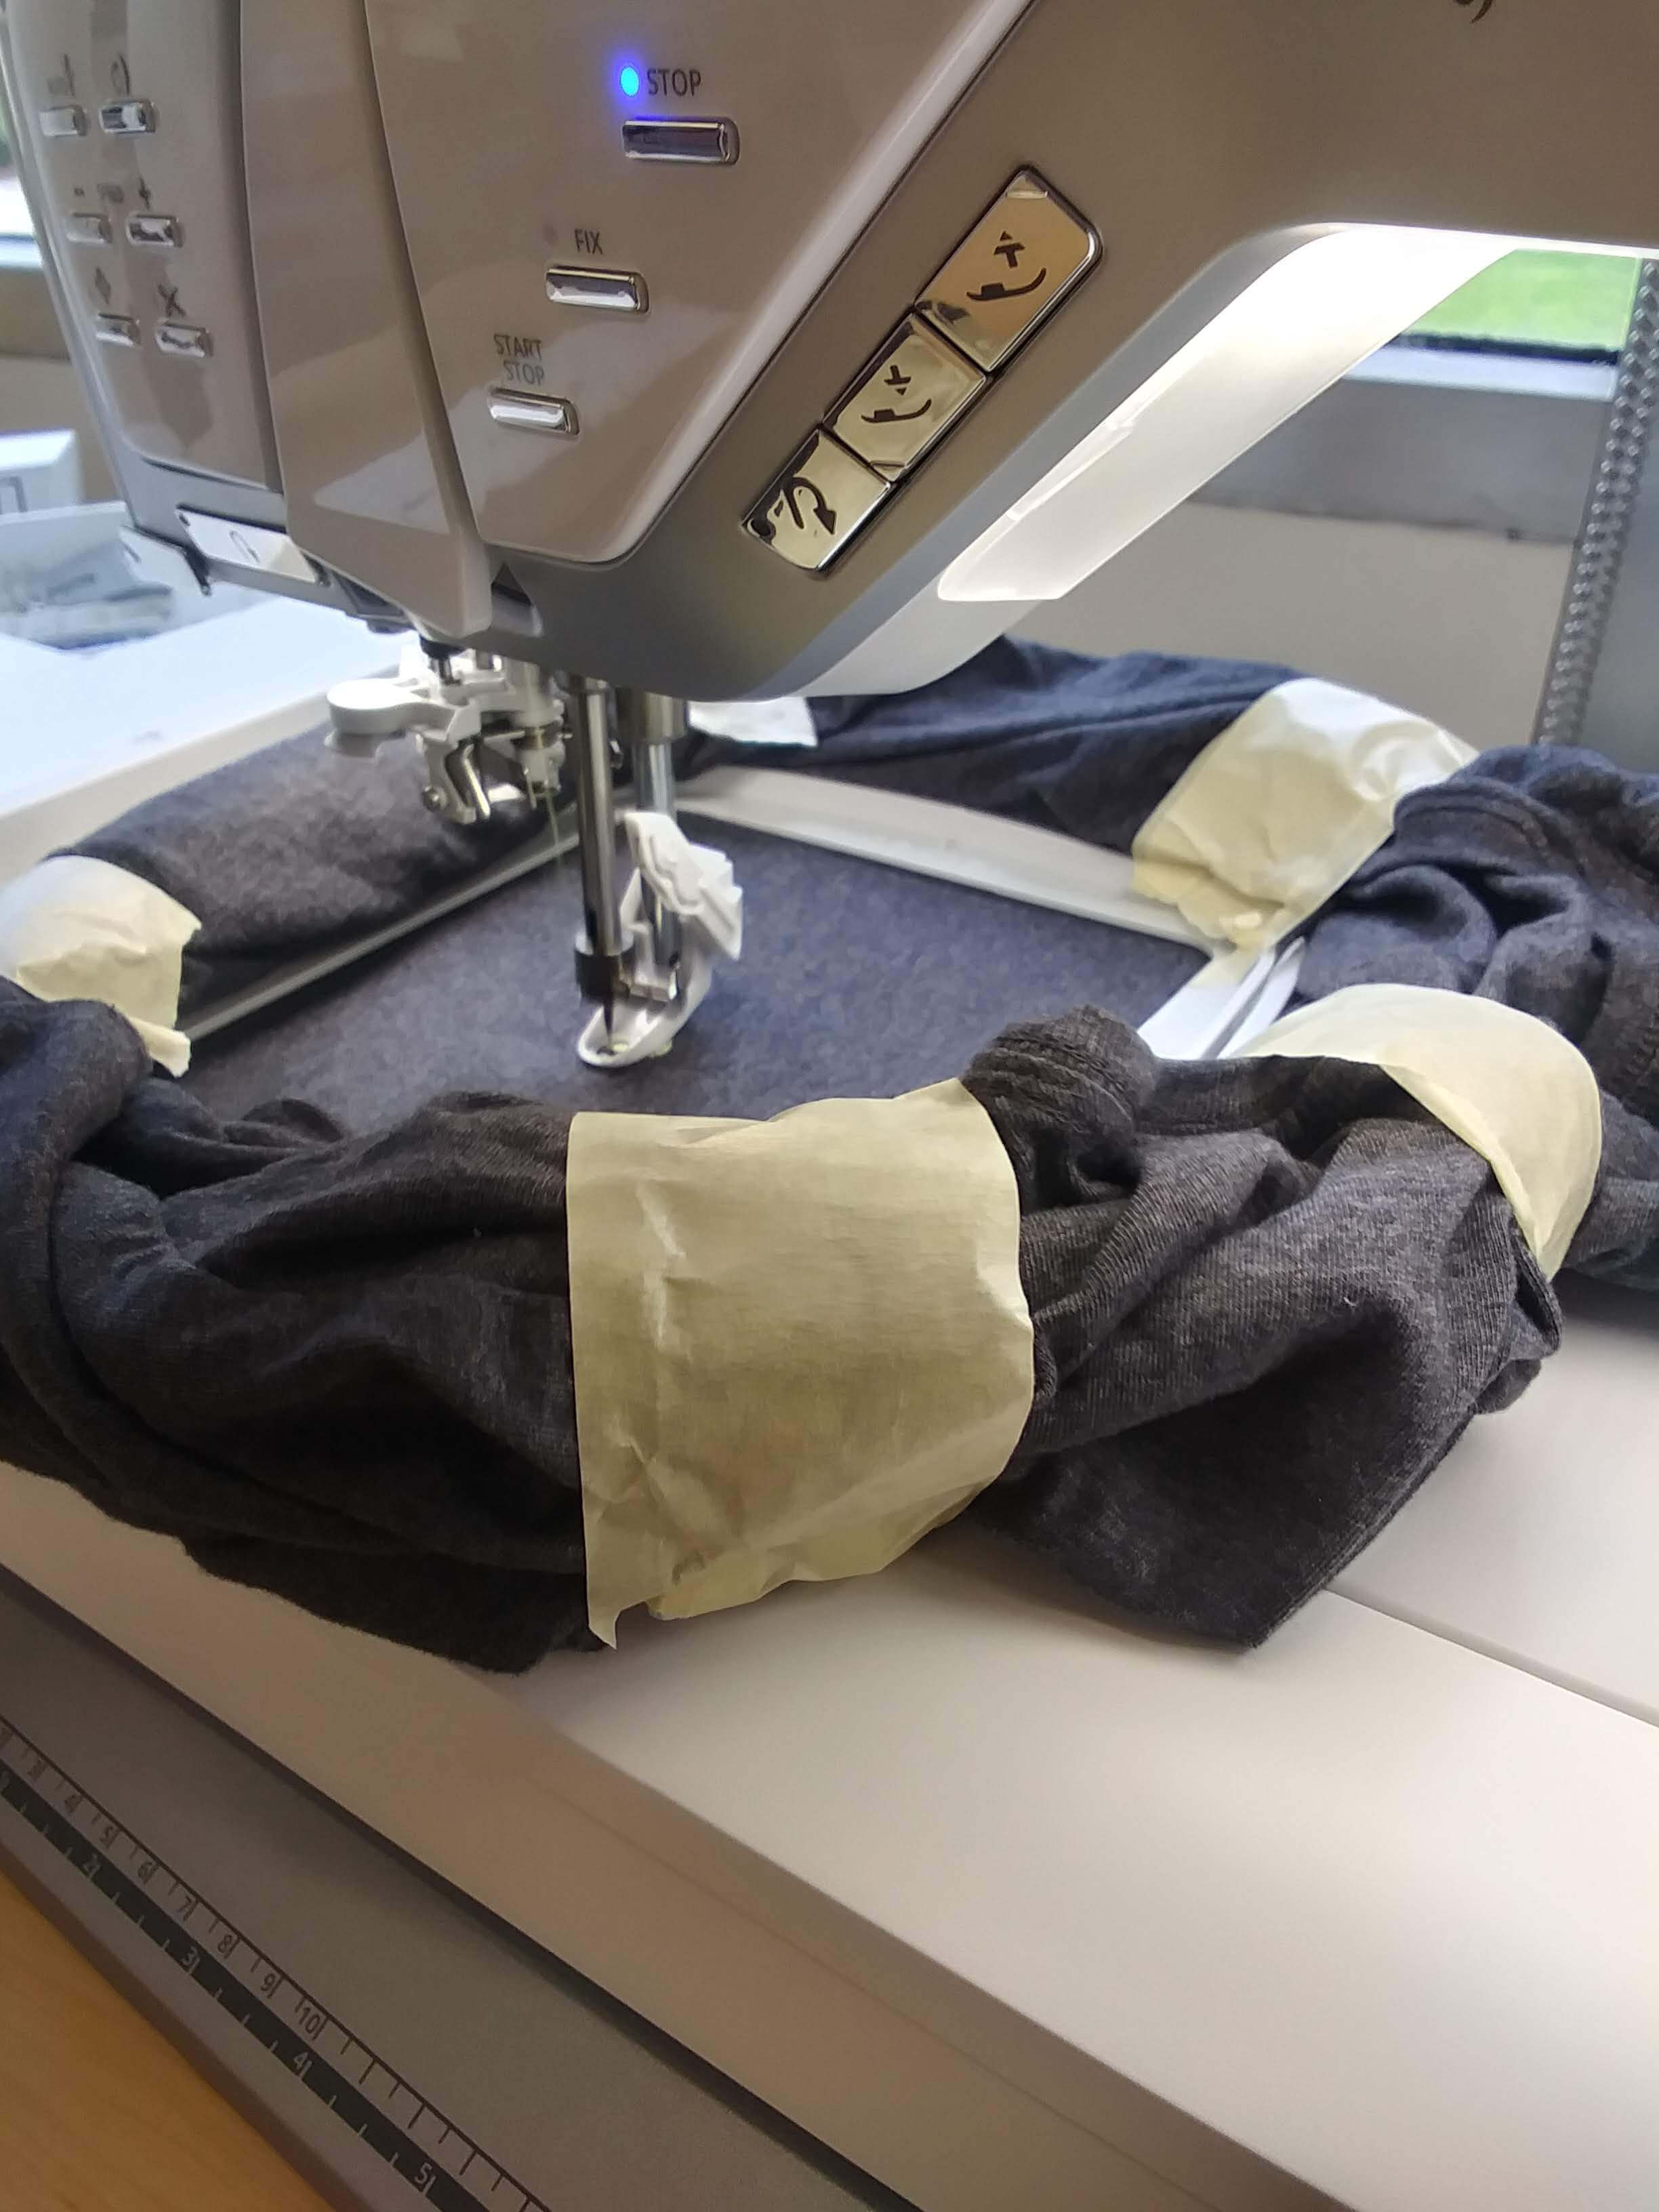
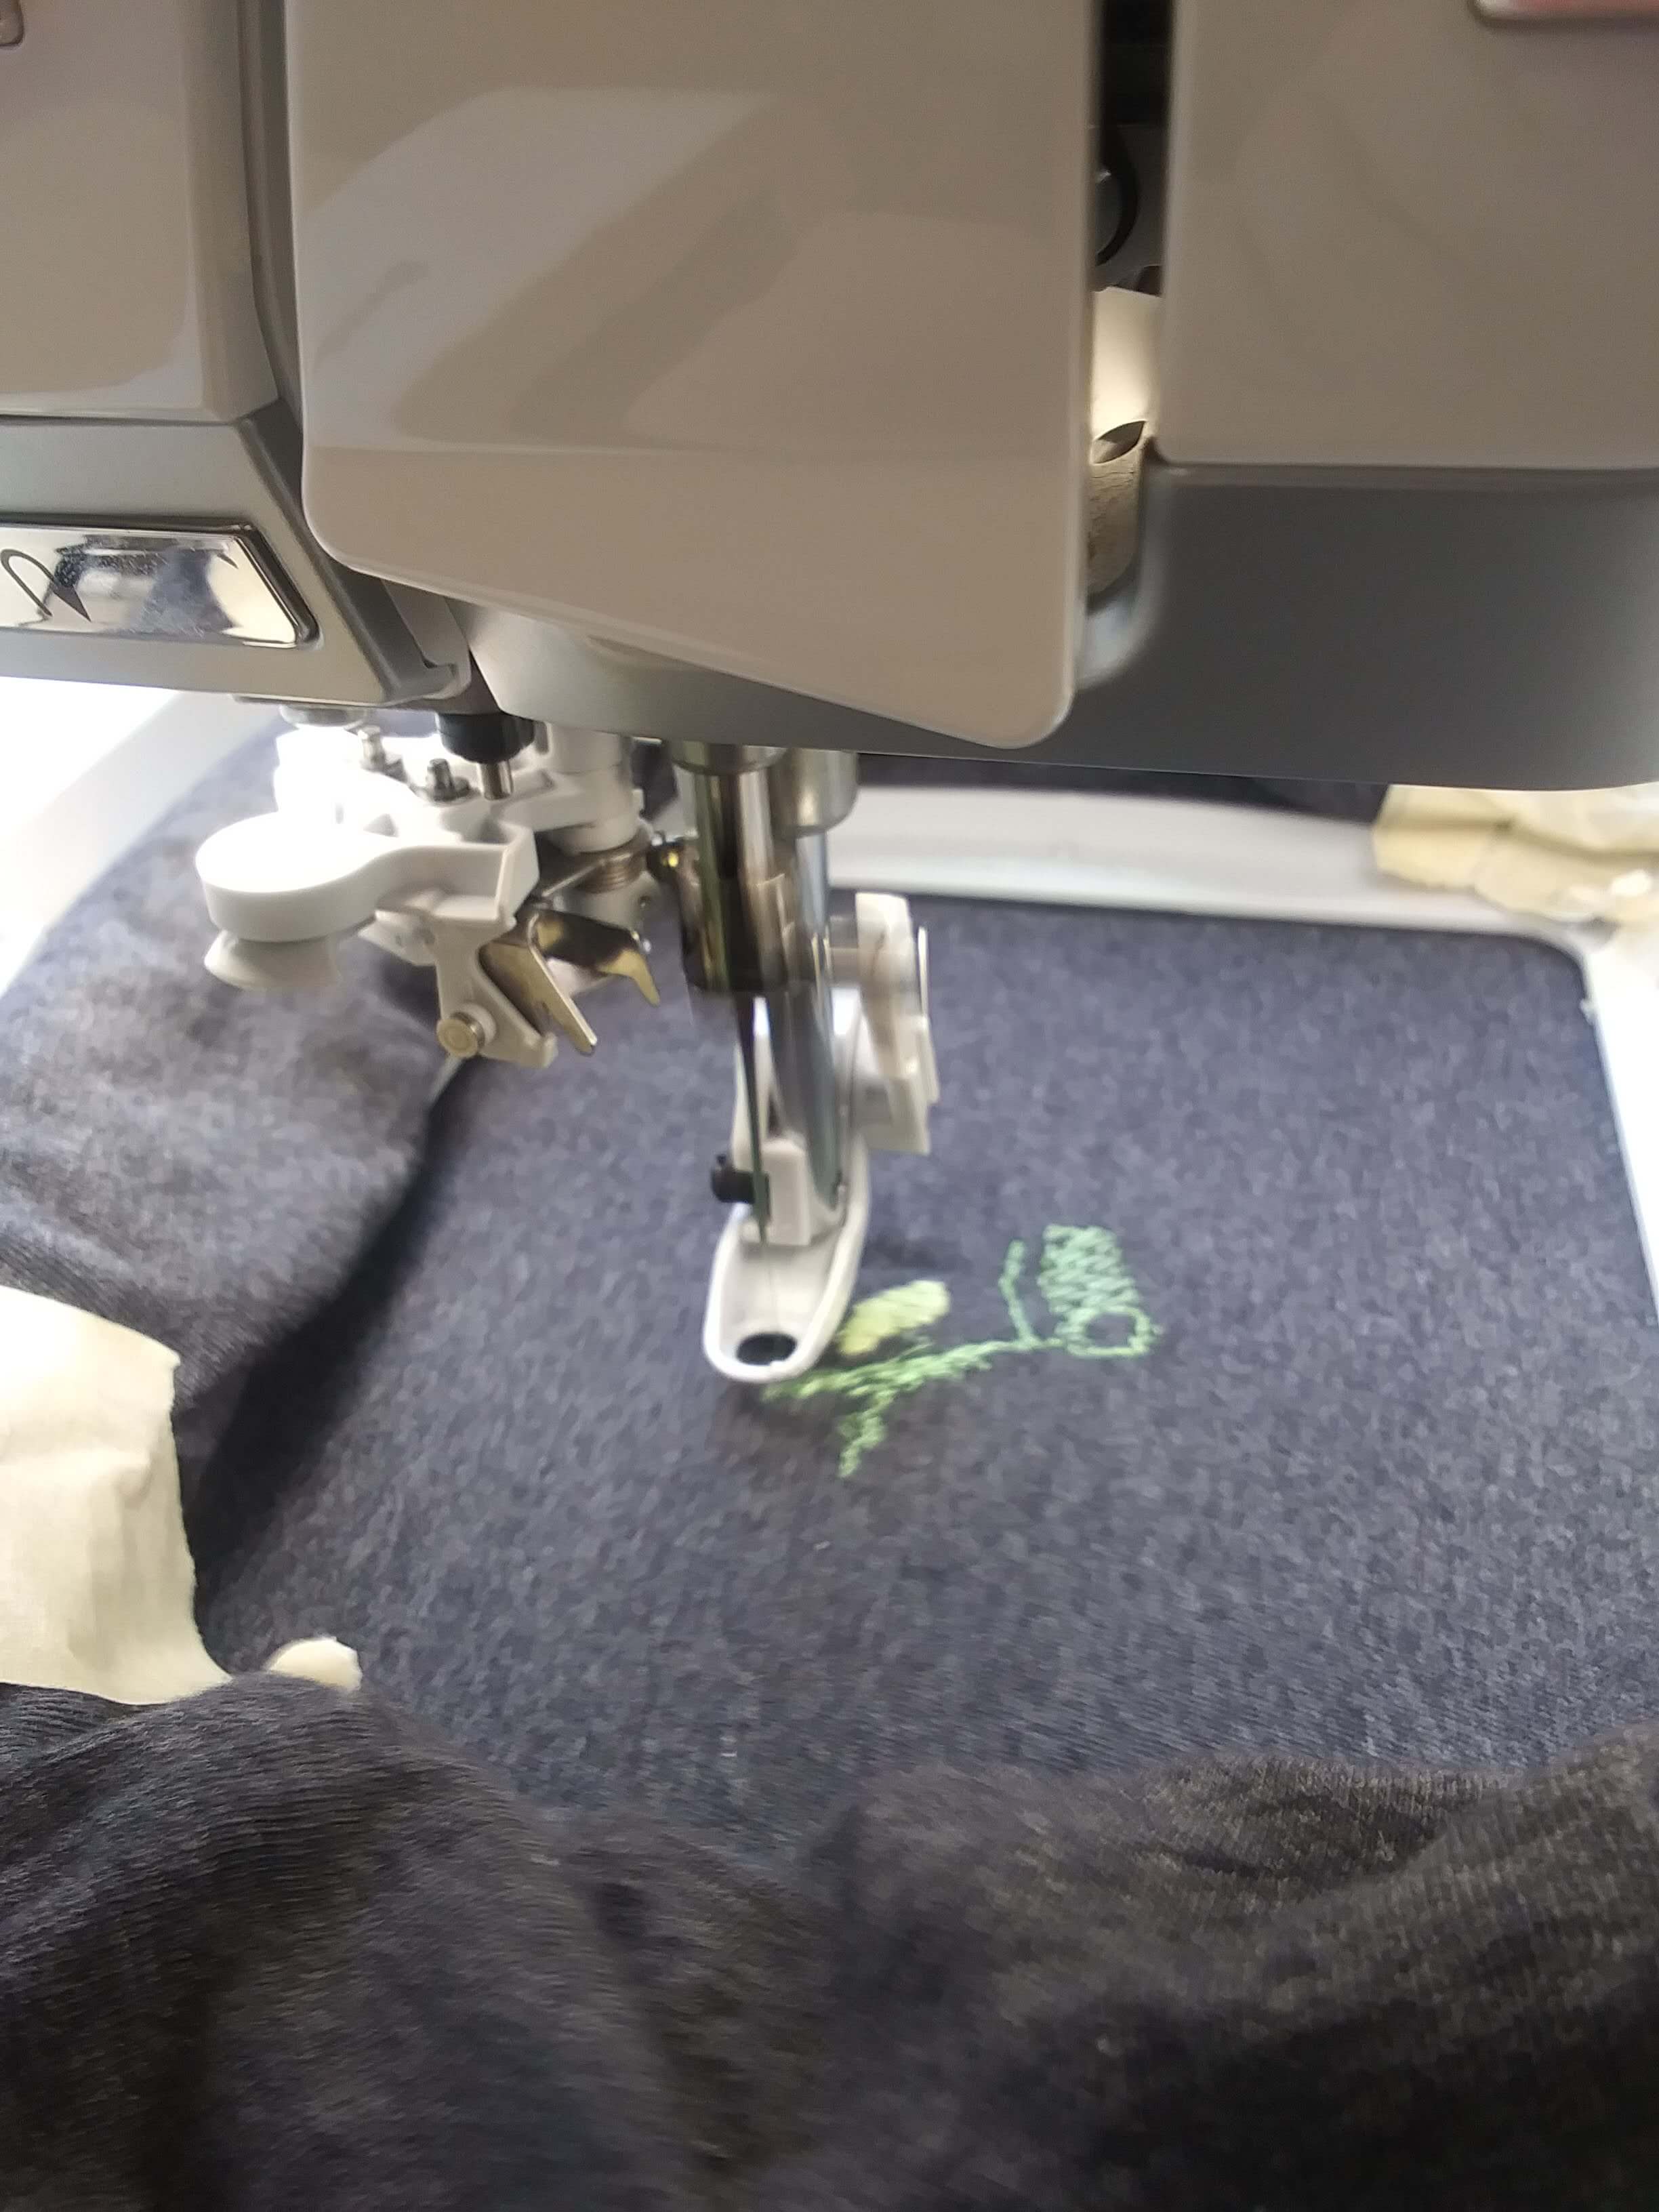
After that I needed to prepare my t-shirt. I secured it into the 120x120 hoop, fastening the sides and bottom with tape to ensure only the first layer of fabric was available to be stitched.
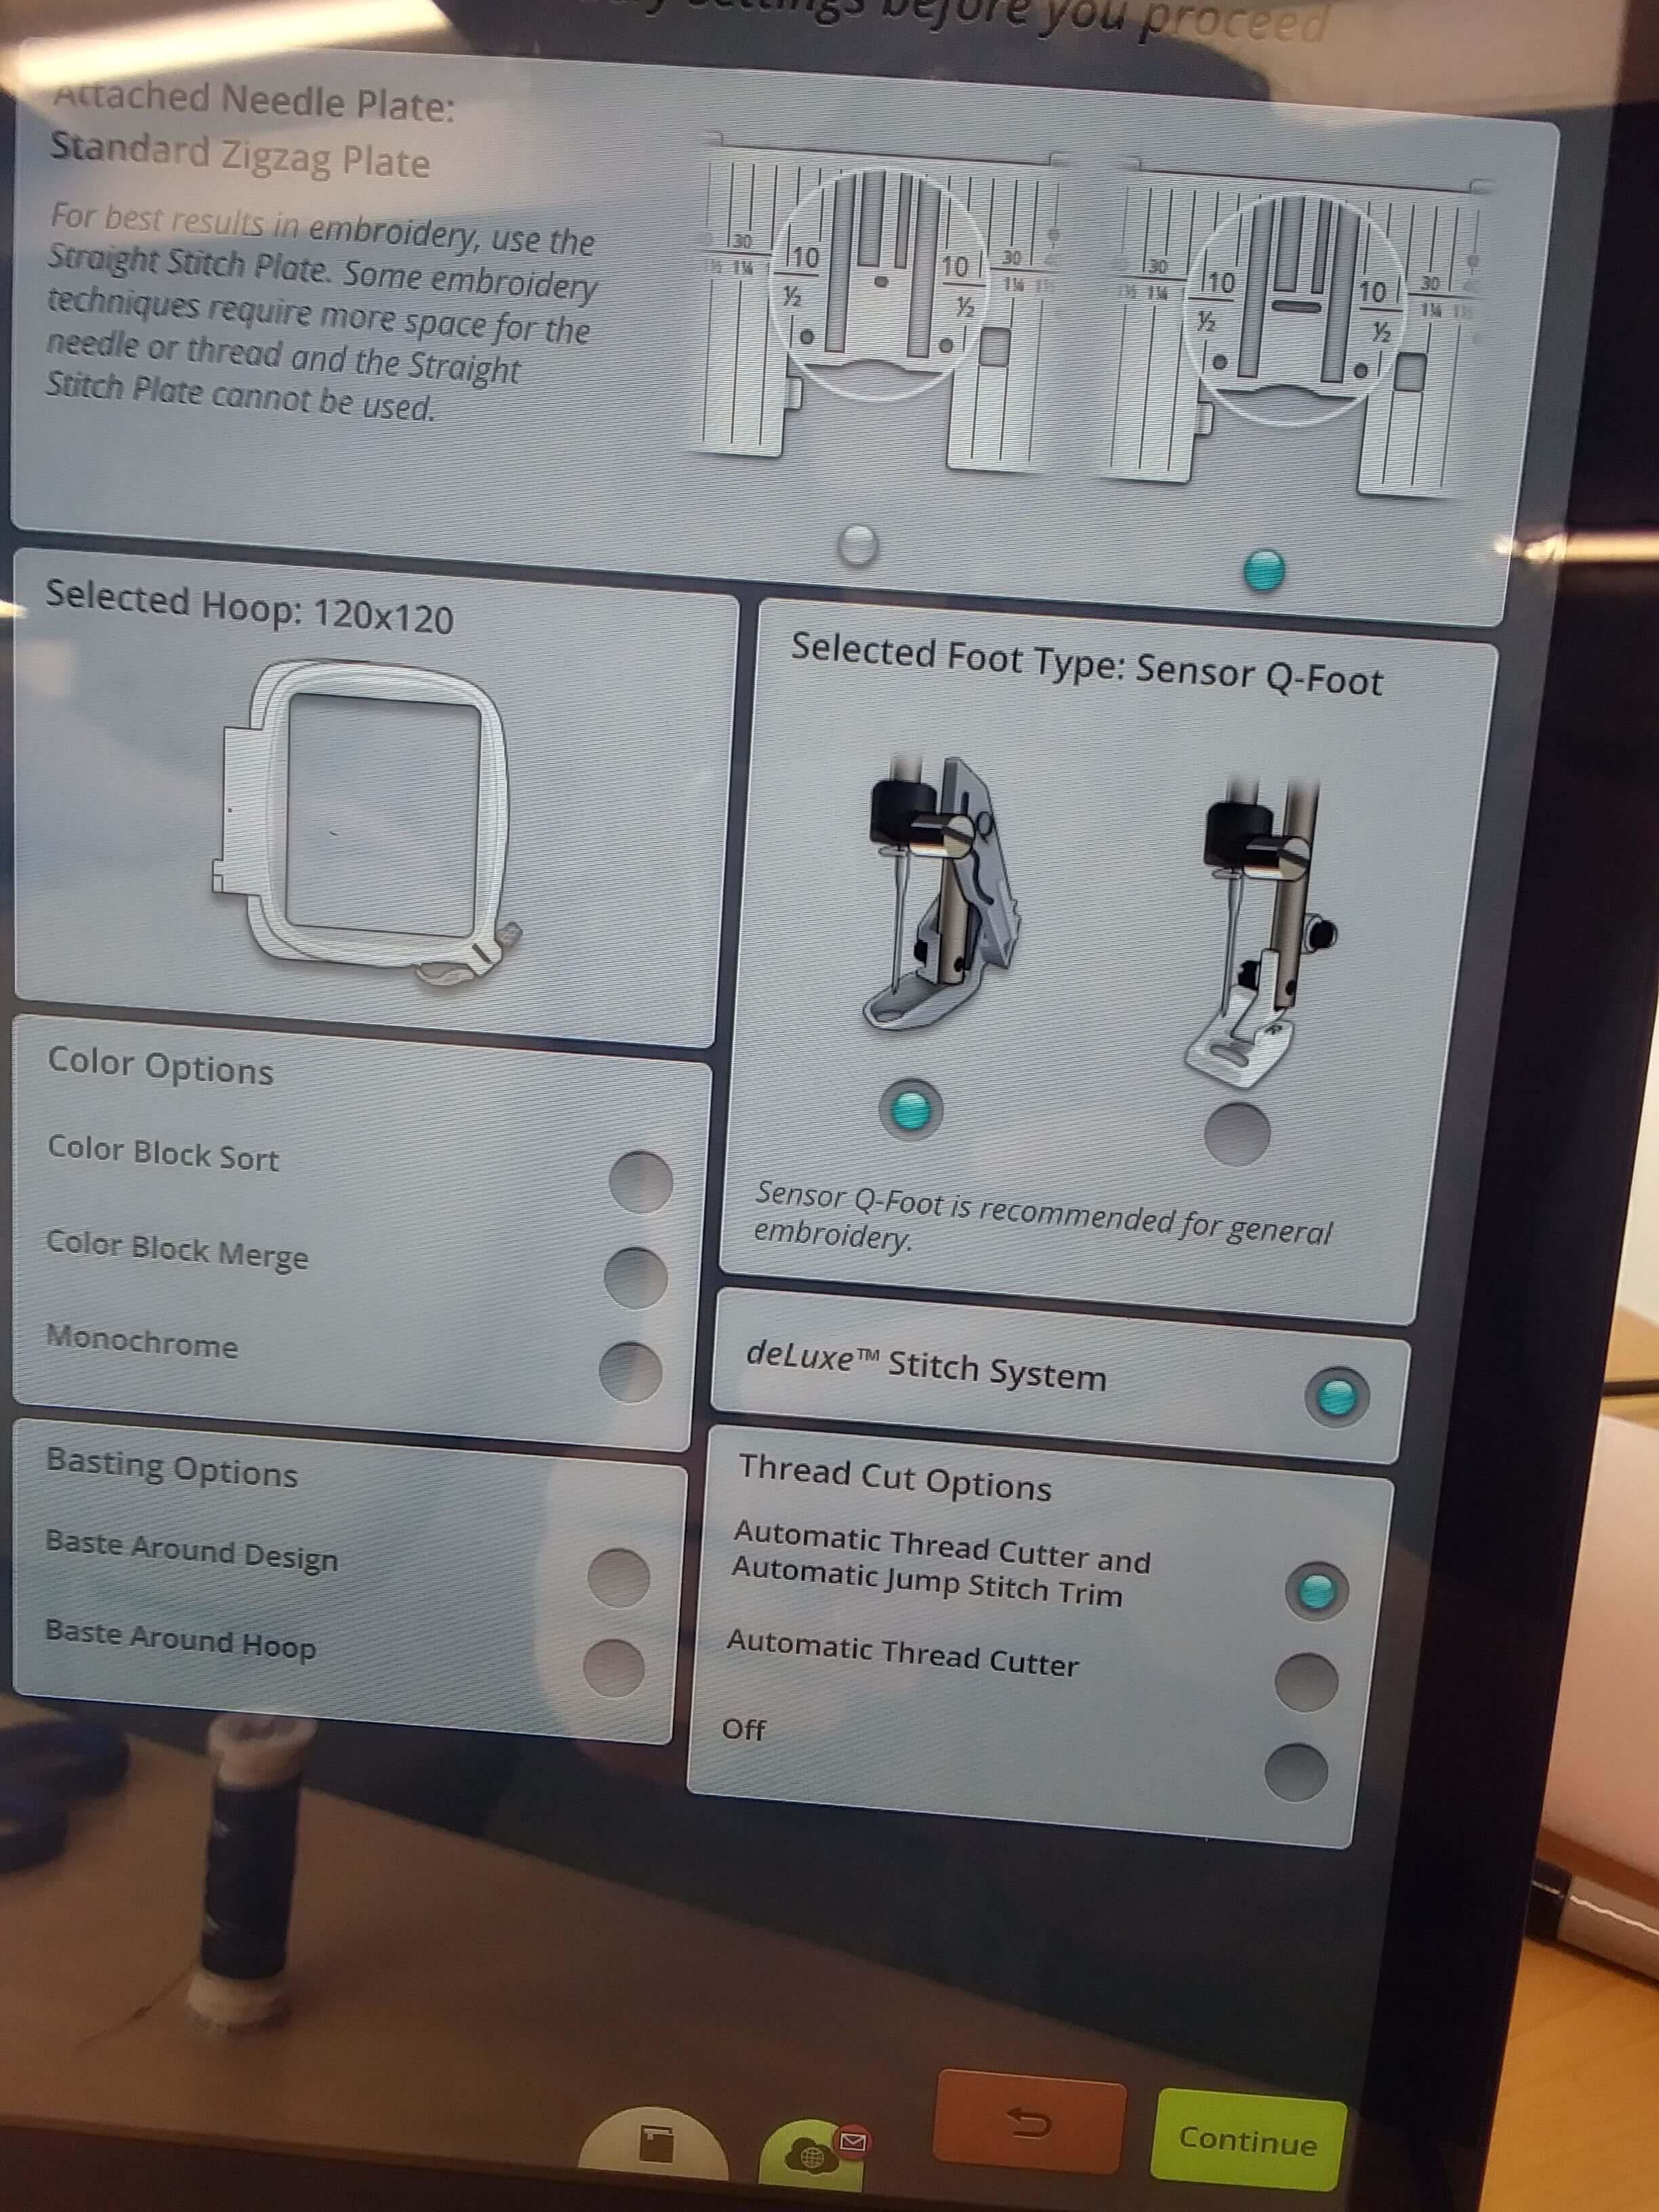
I made sure all of the specs were correct.
Then I threaded the bobbin.
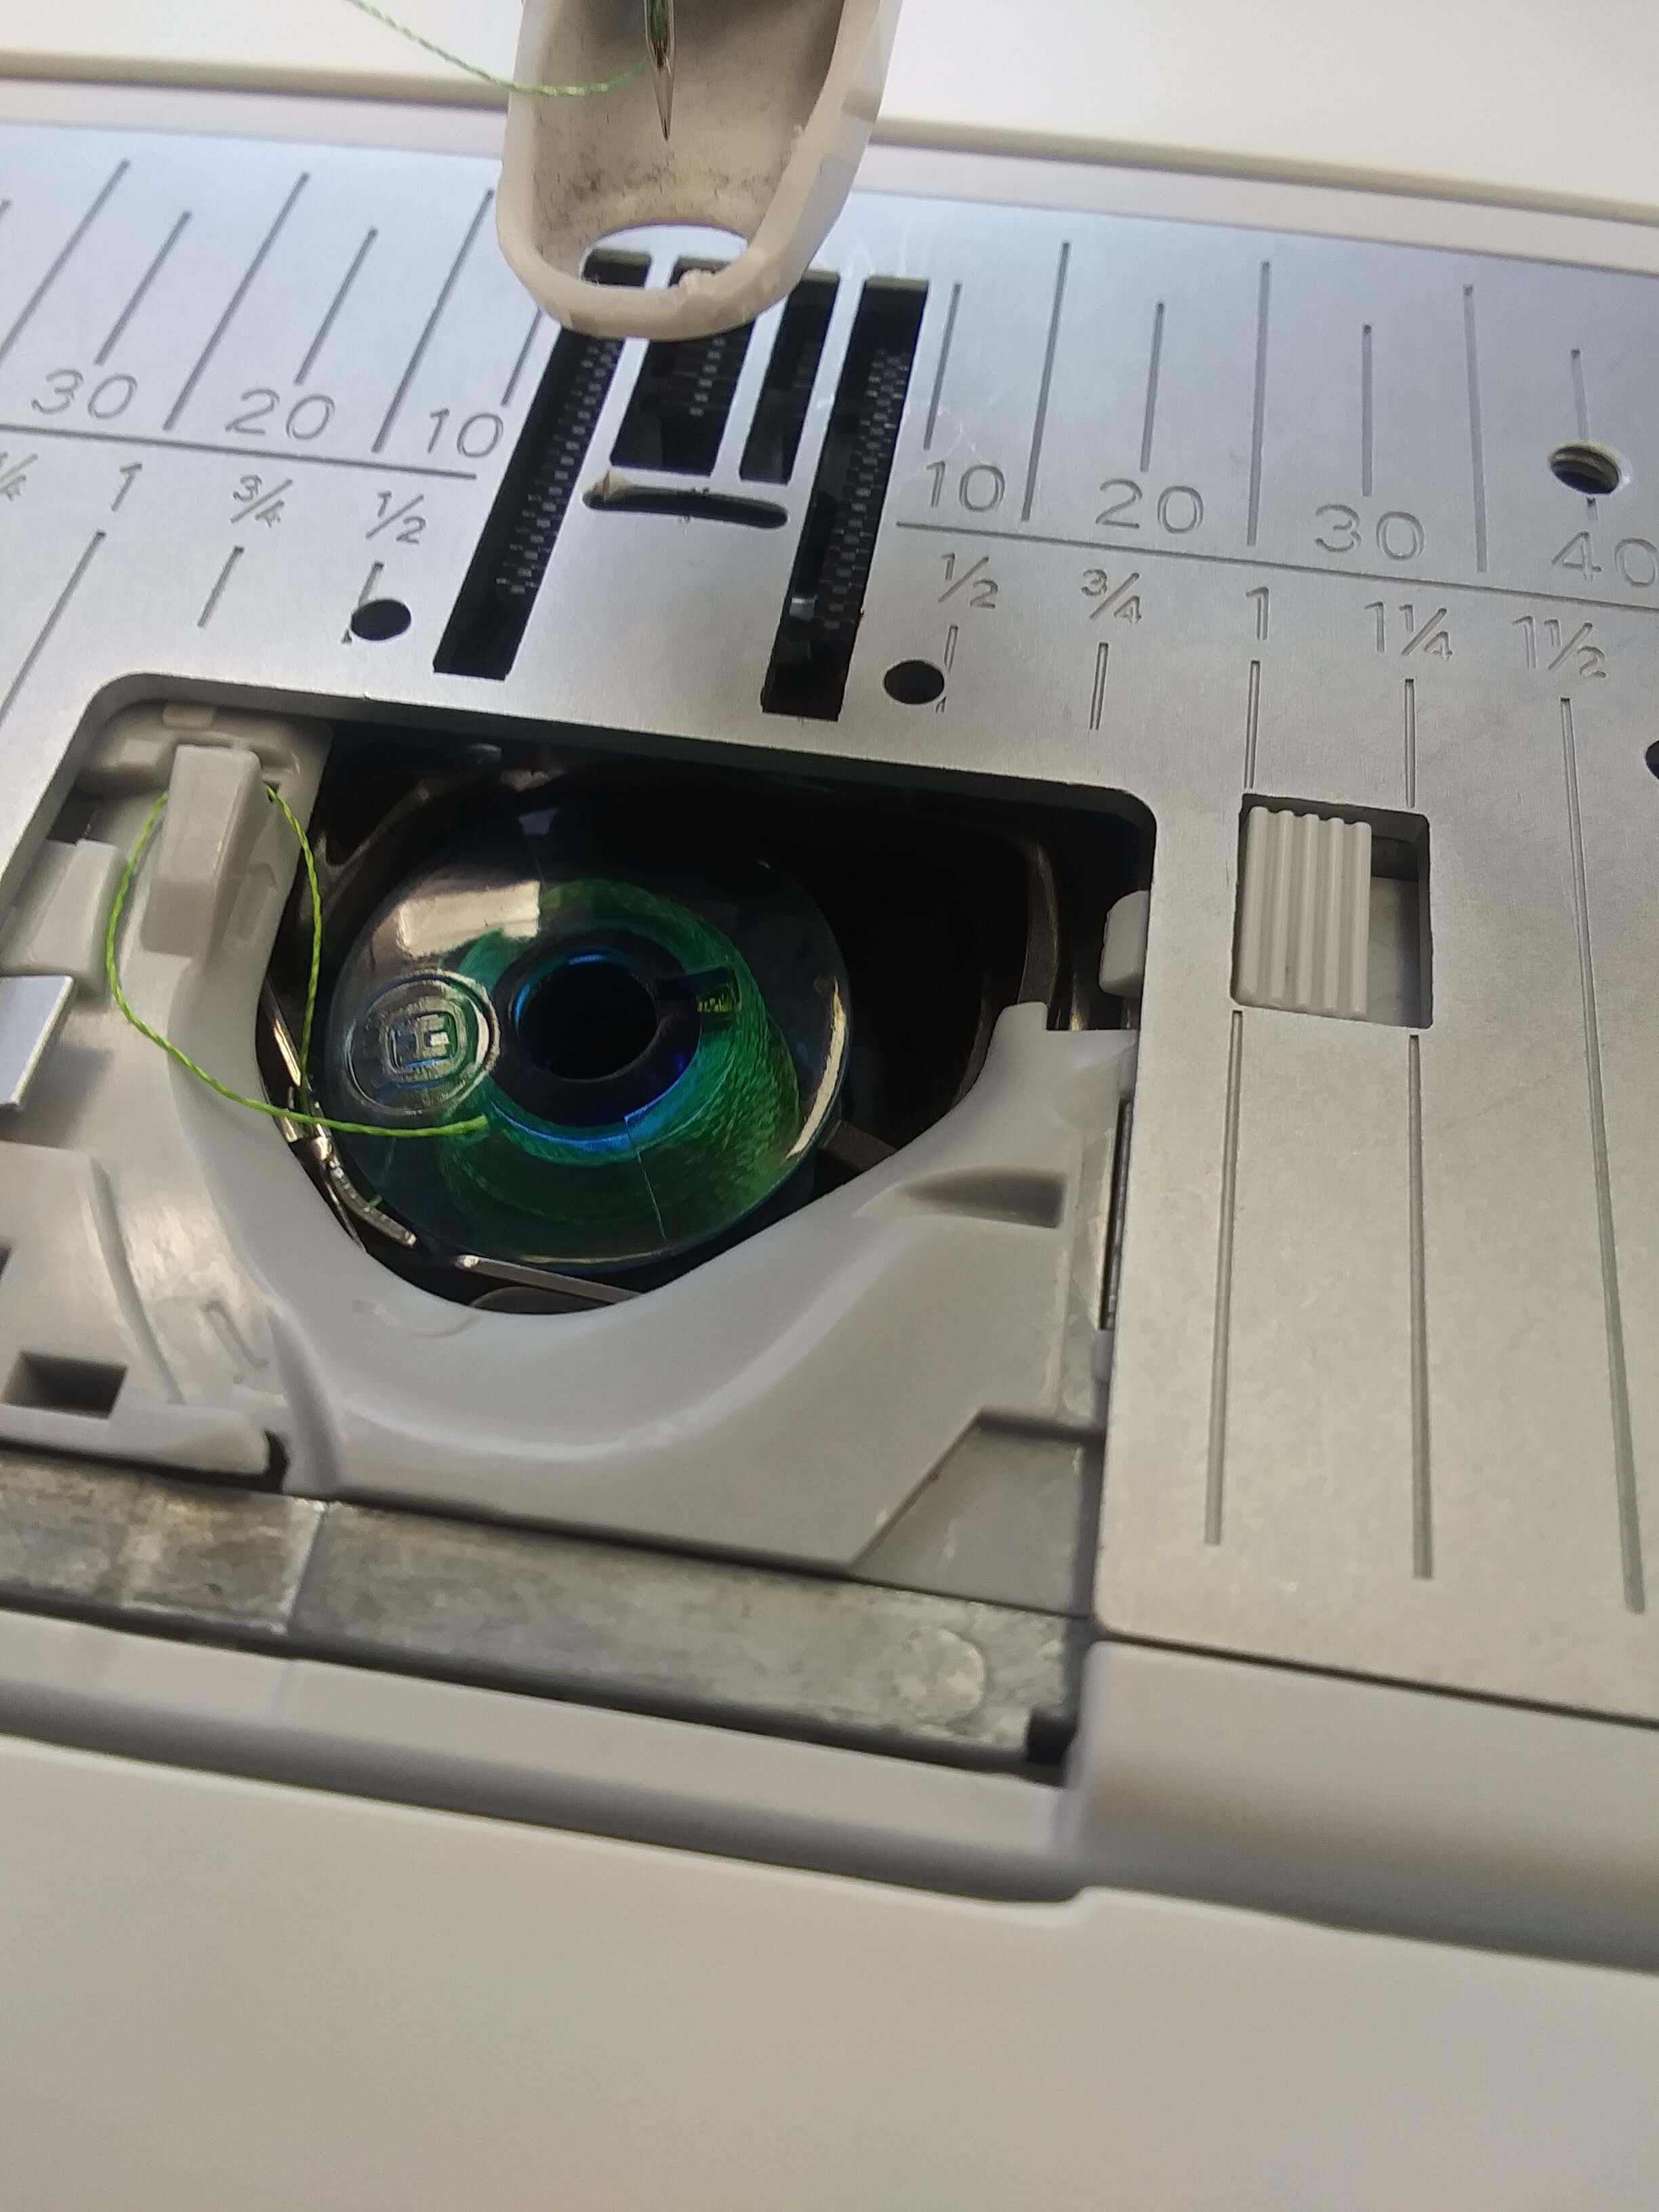
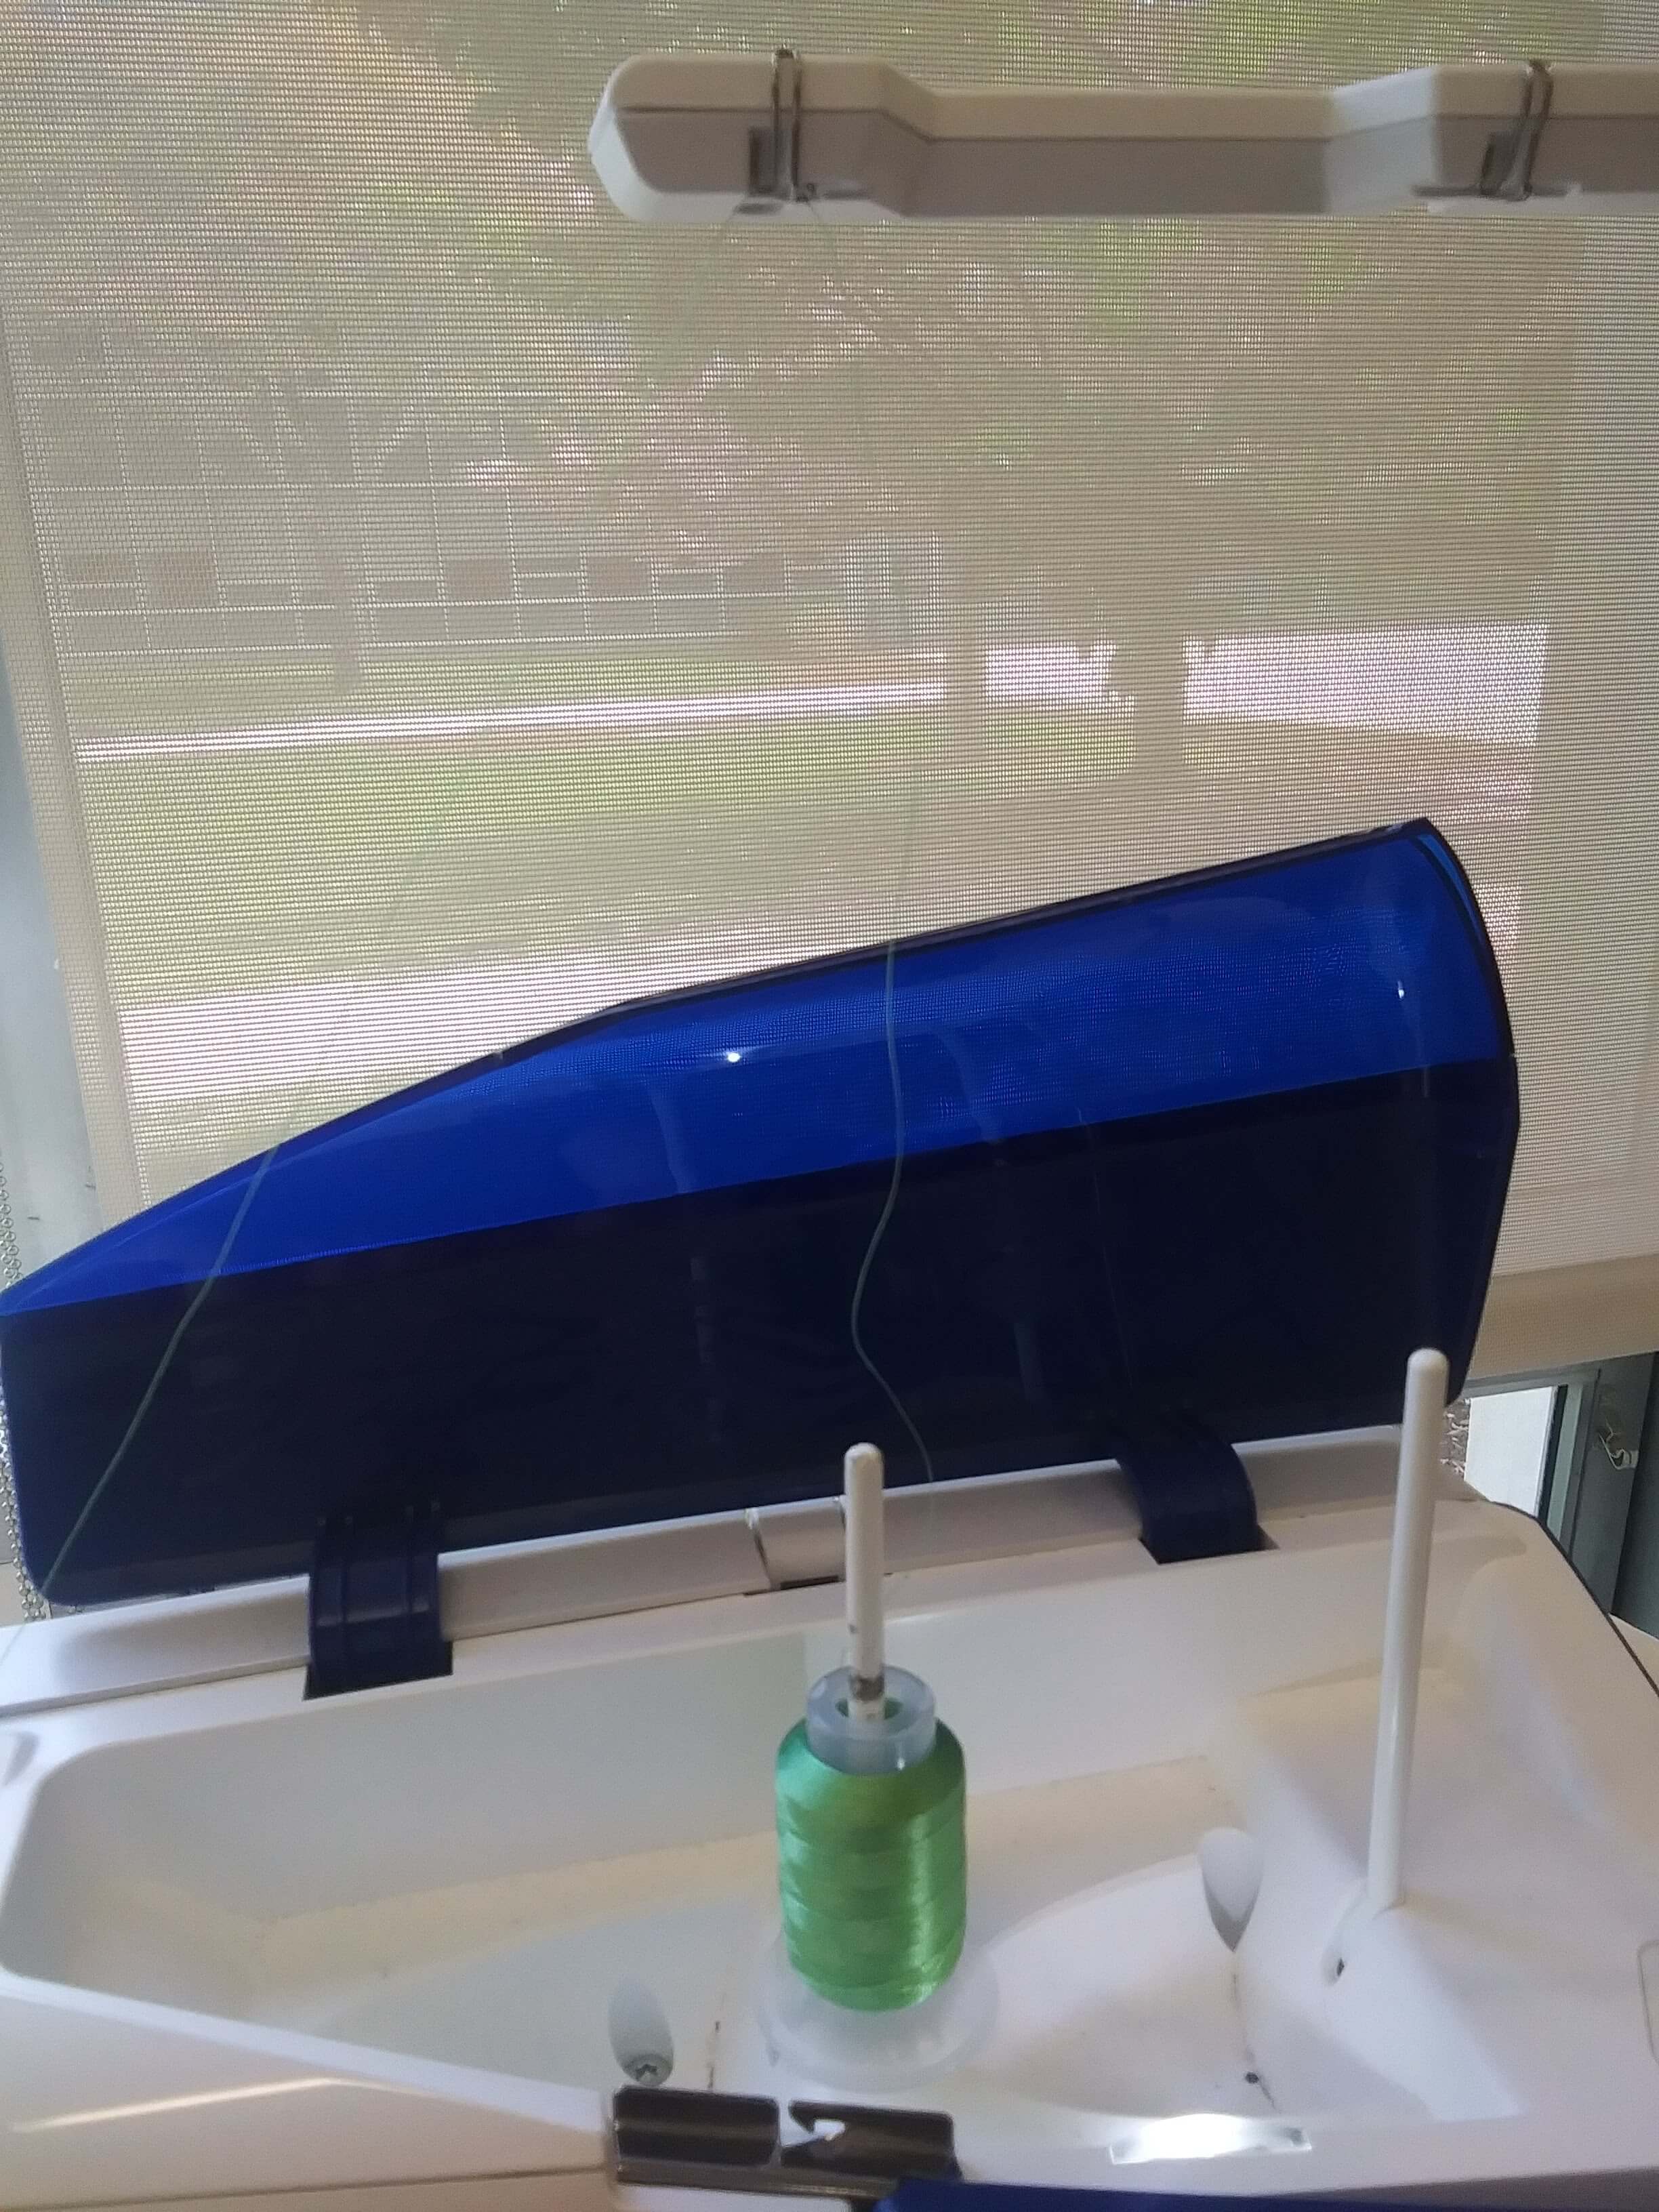
Did the same with the thread
Then autothreaded the thread through the needle (which is remarkibly more efficient than trying to thread a needle by hand).

After that, all I needed to do was slide the hoop in and press start.
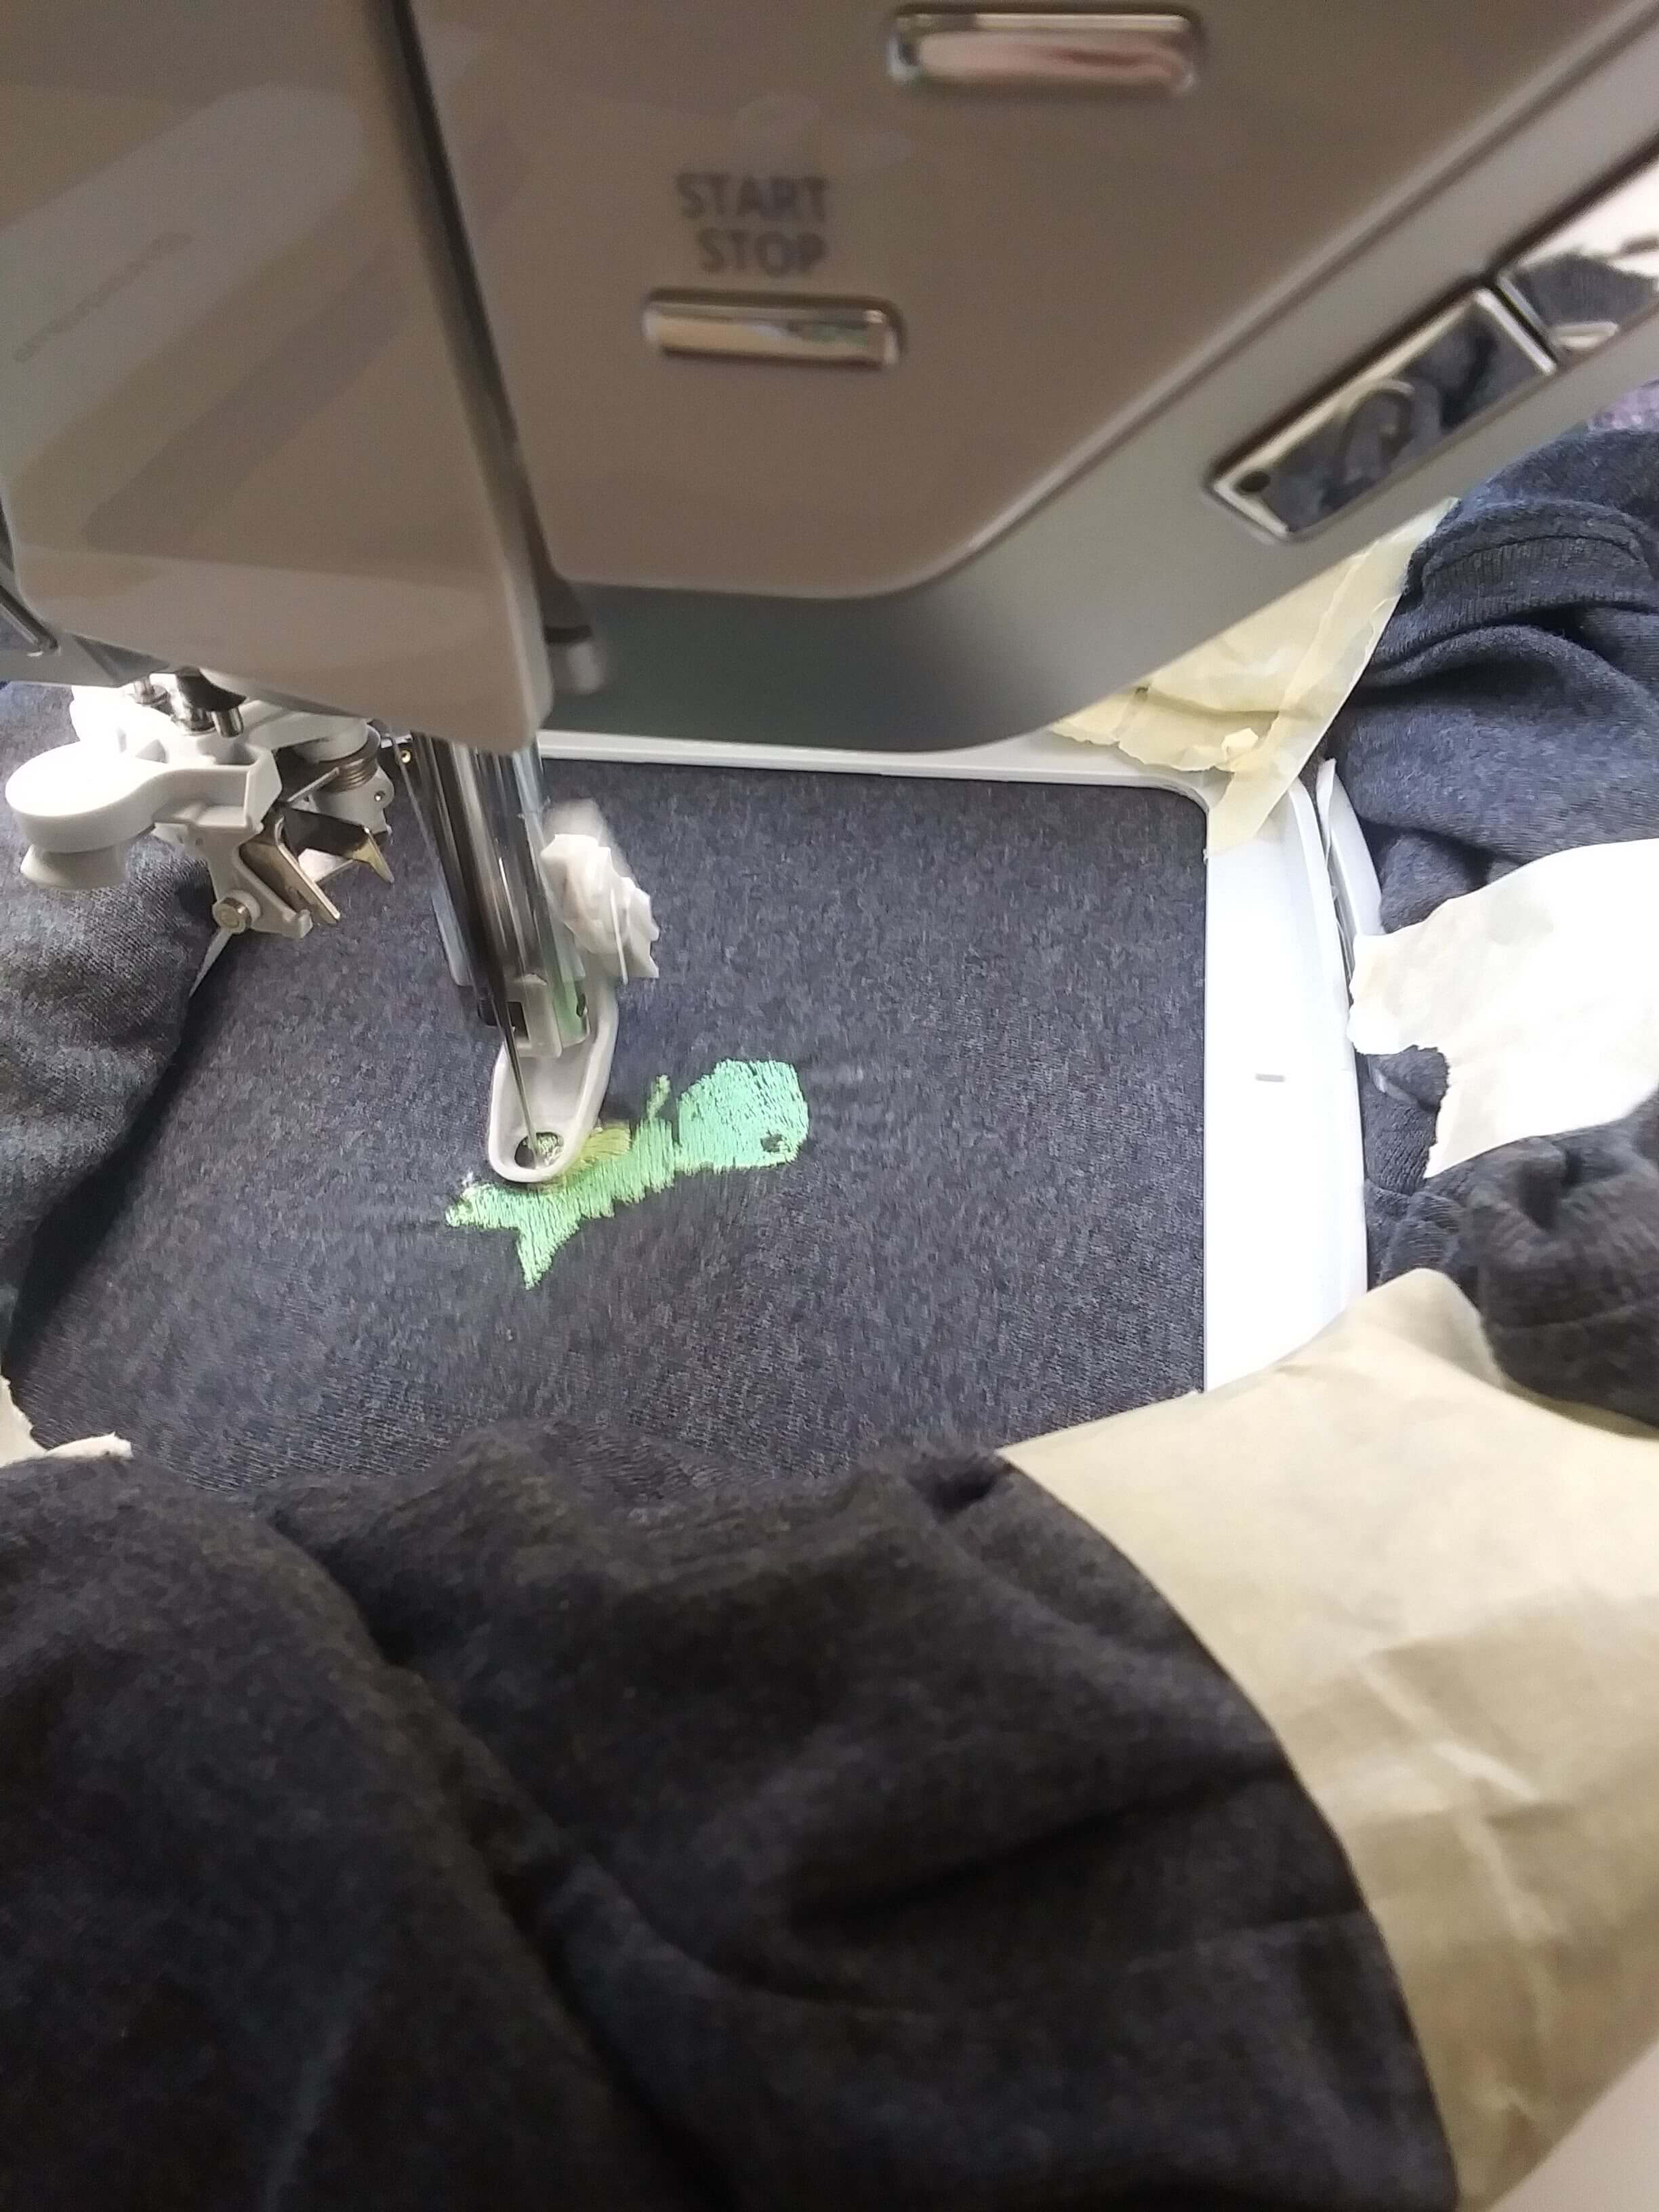
I repeated this threading process for each color as the machine finished.
Admittedly, at first I was a bit worried that the design would come out a bit odd looking.
But as more colors were added, it began looking more like a proper dinosaur!
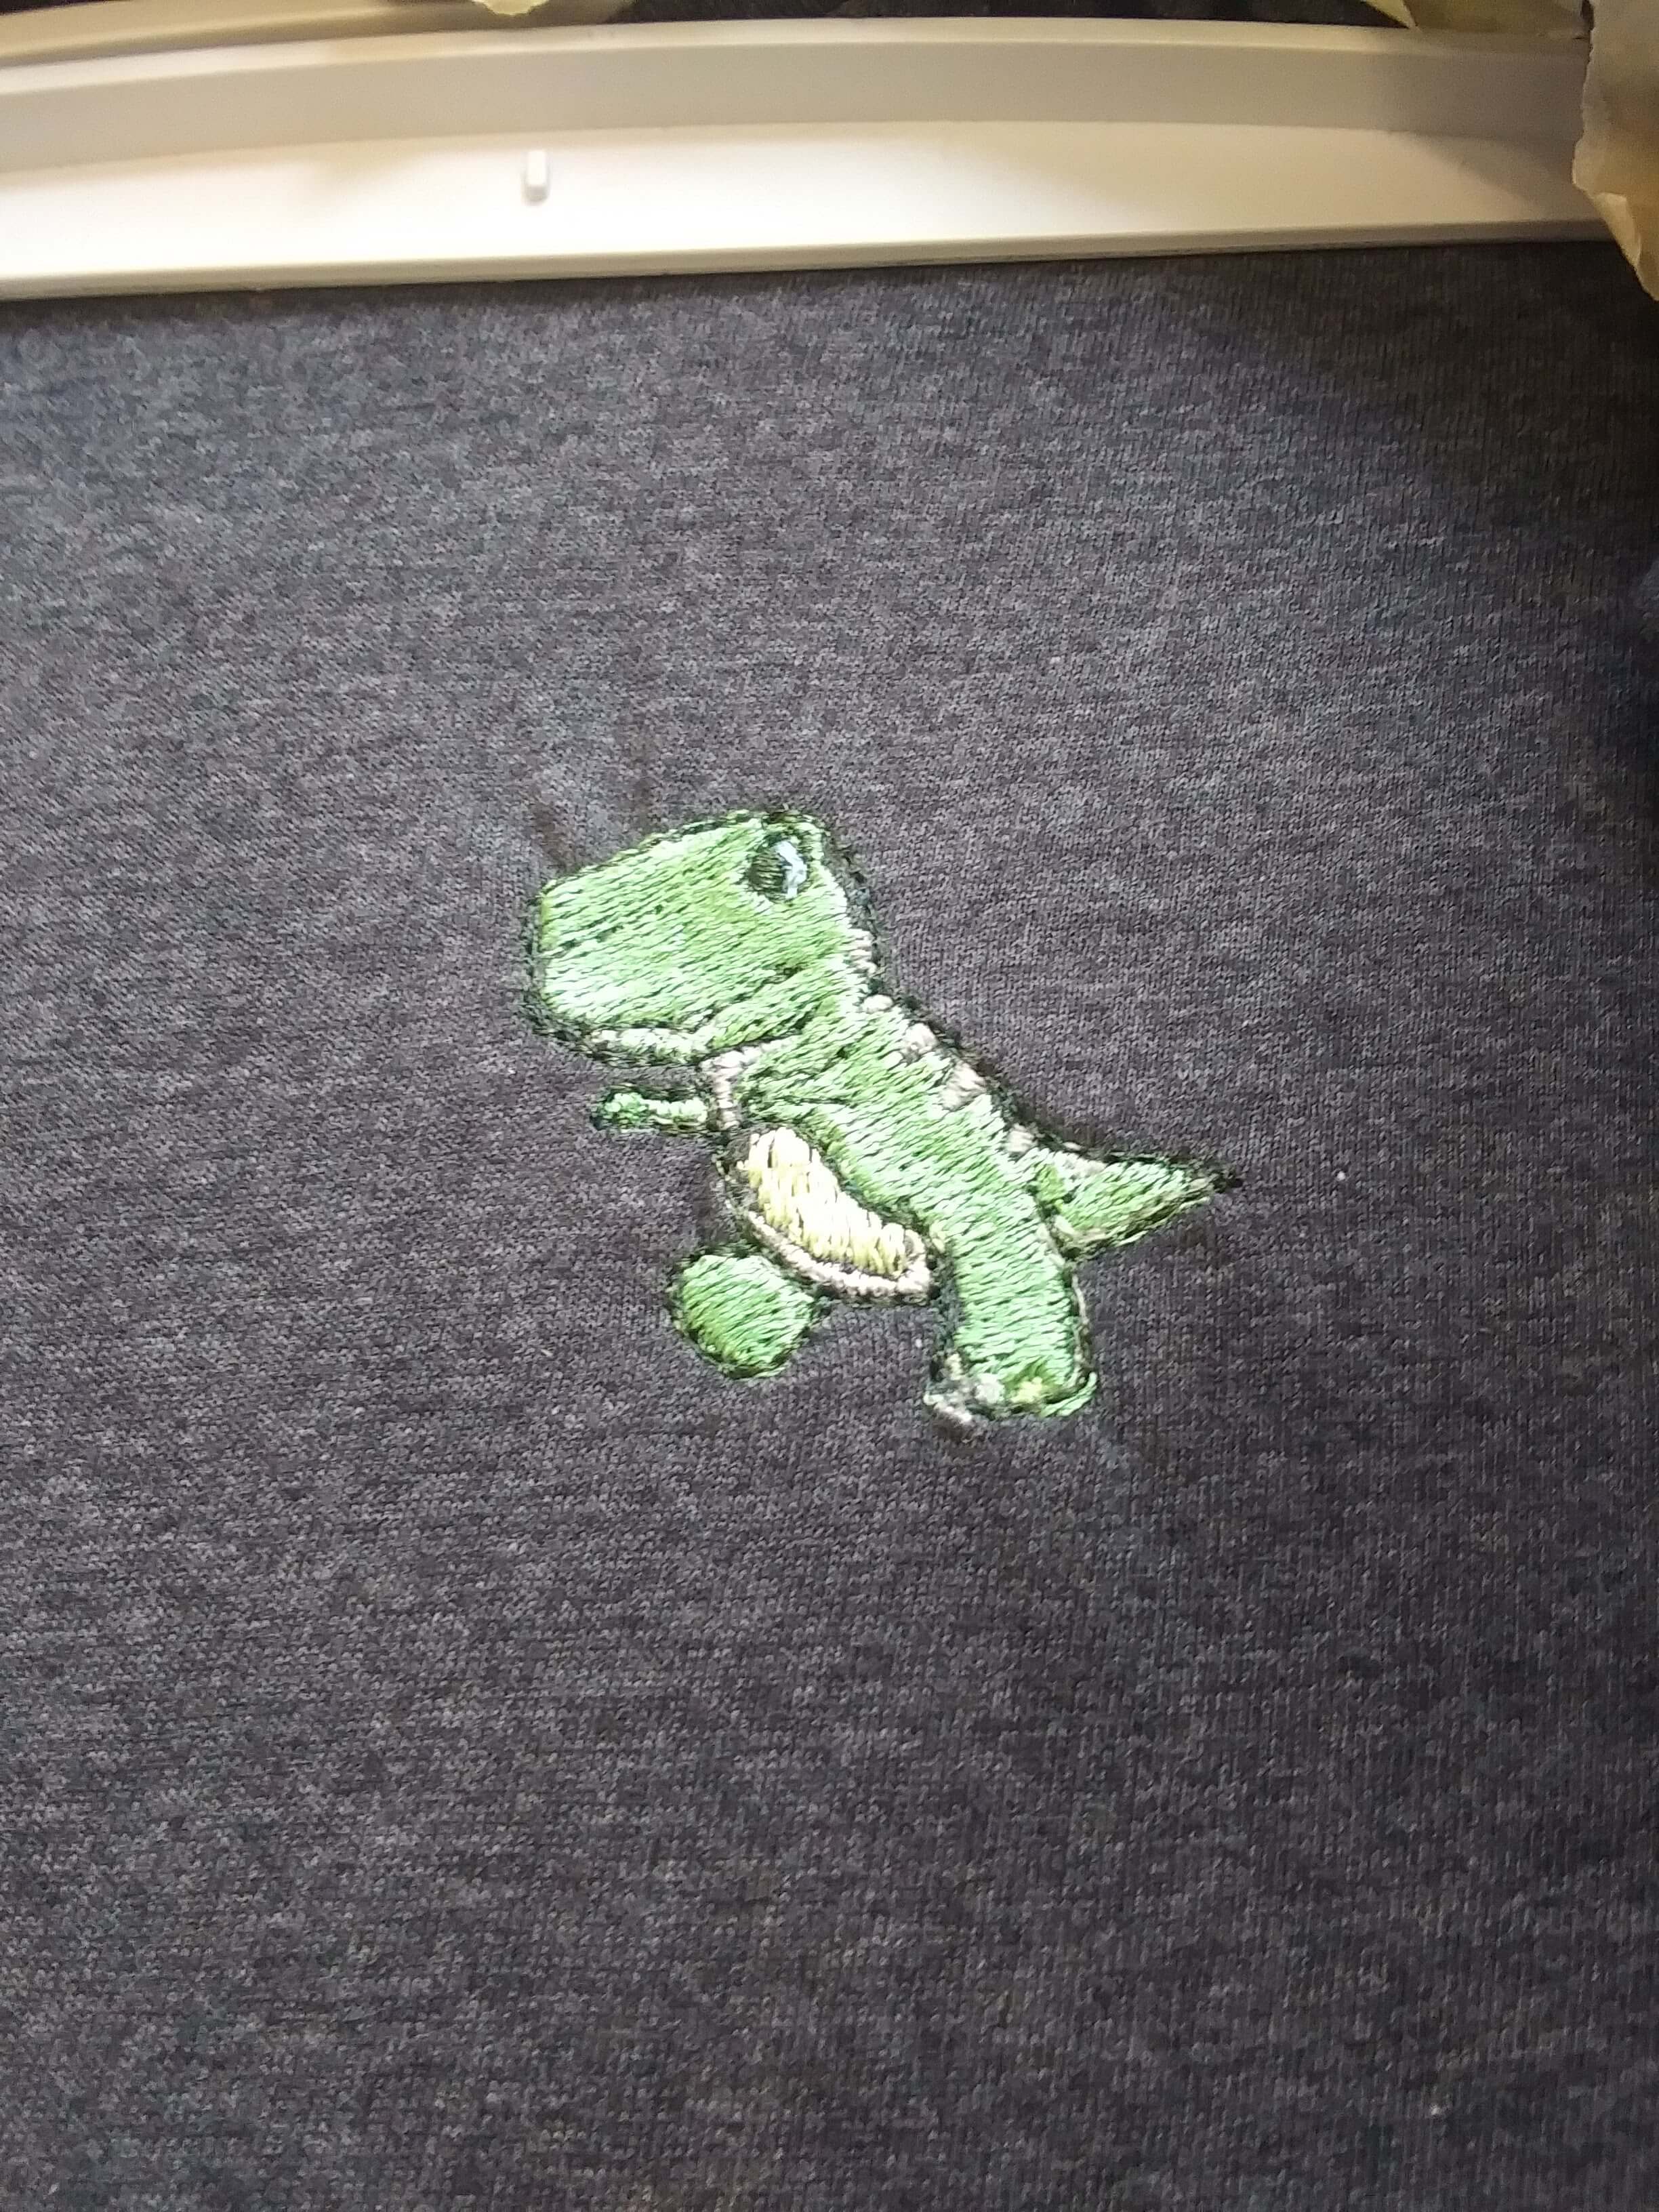
Finally, after a few more rounds of switching thread colors, the dinosaur shirt was complete!
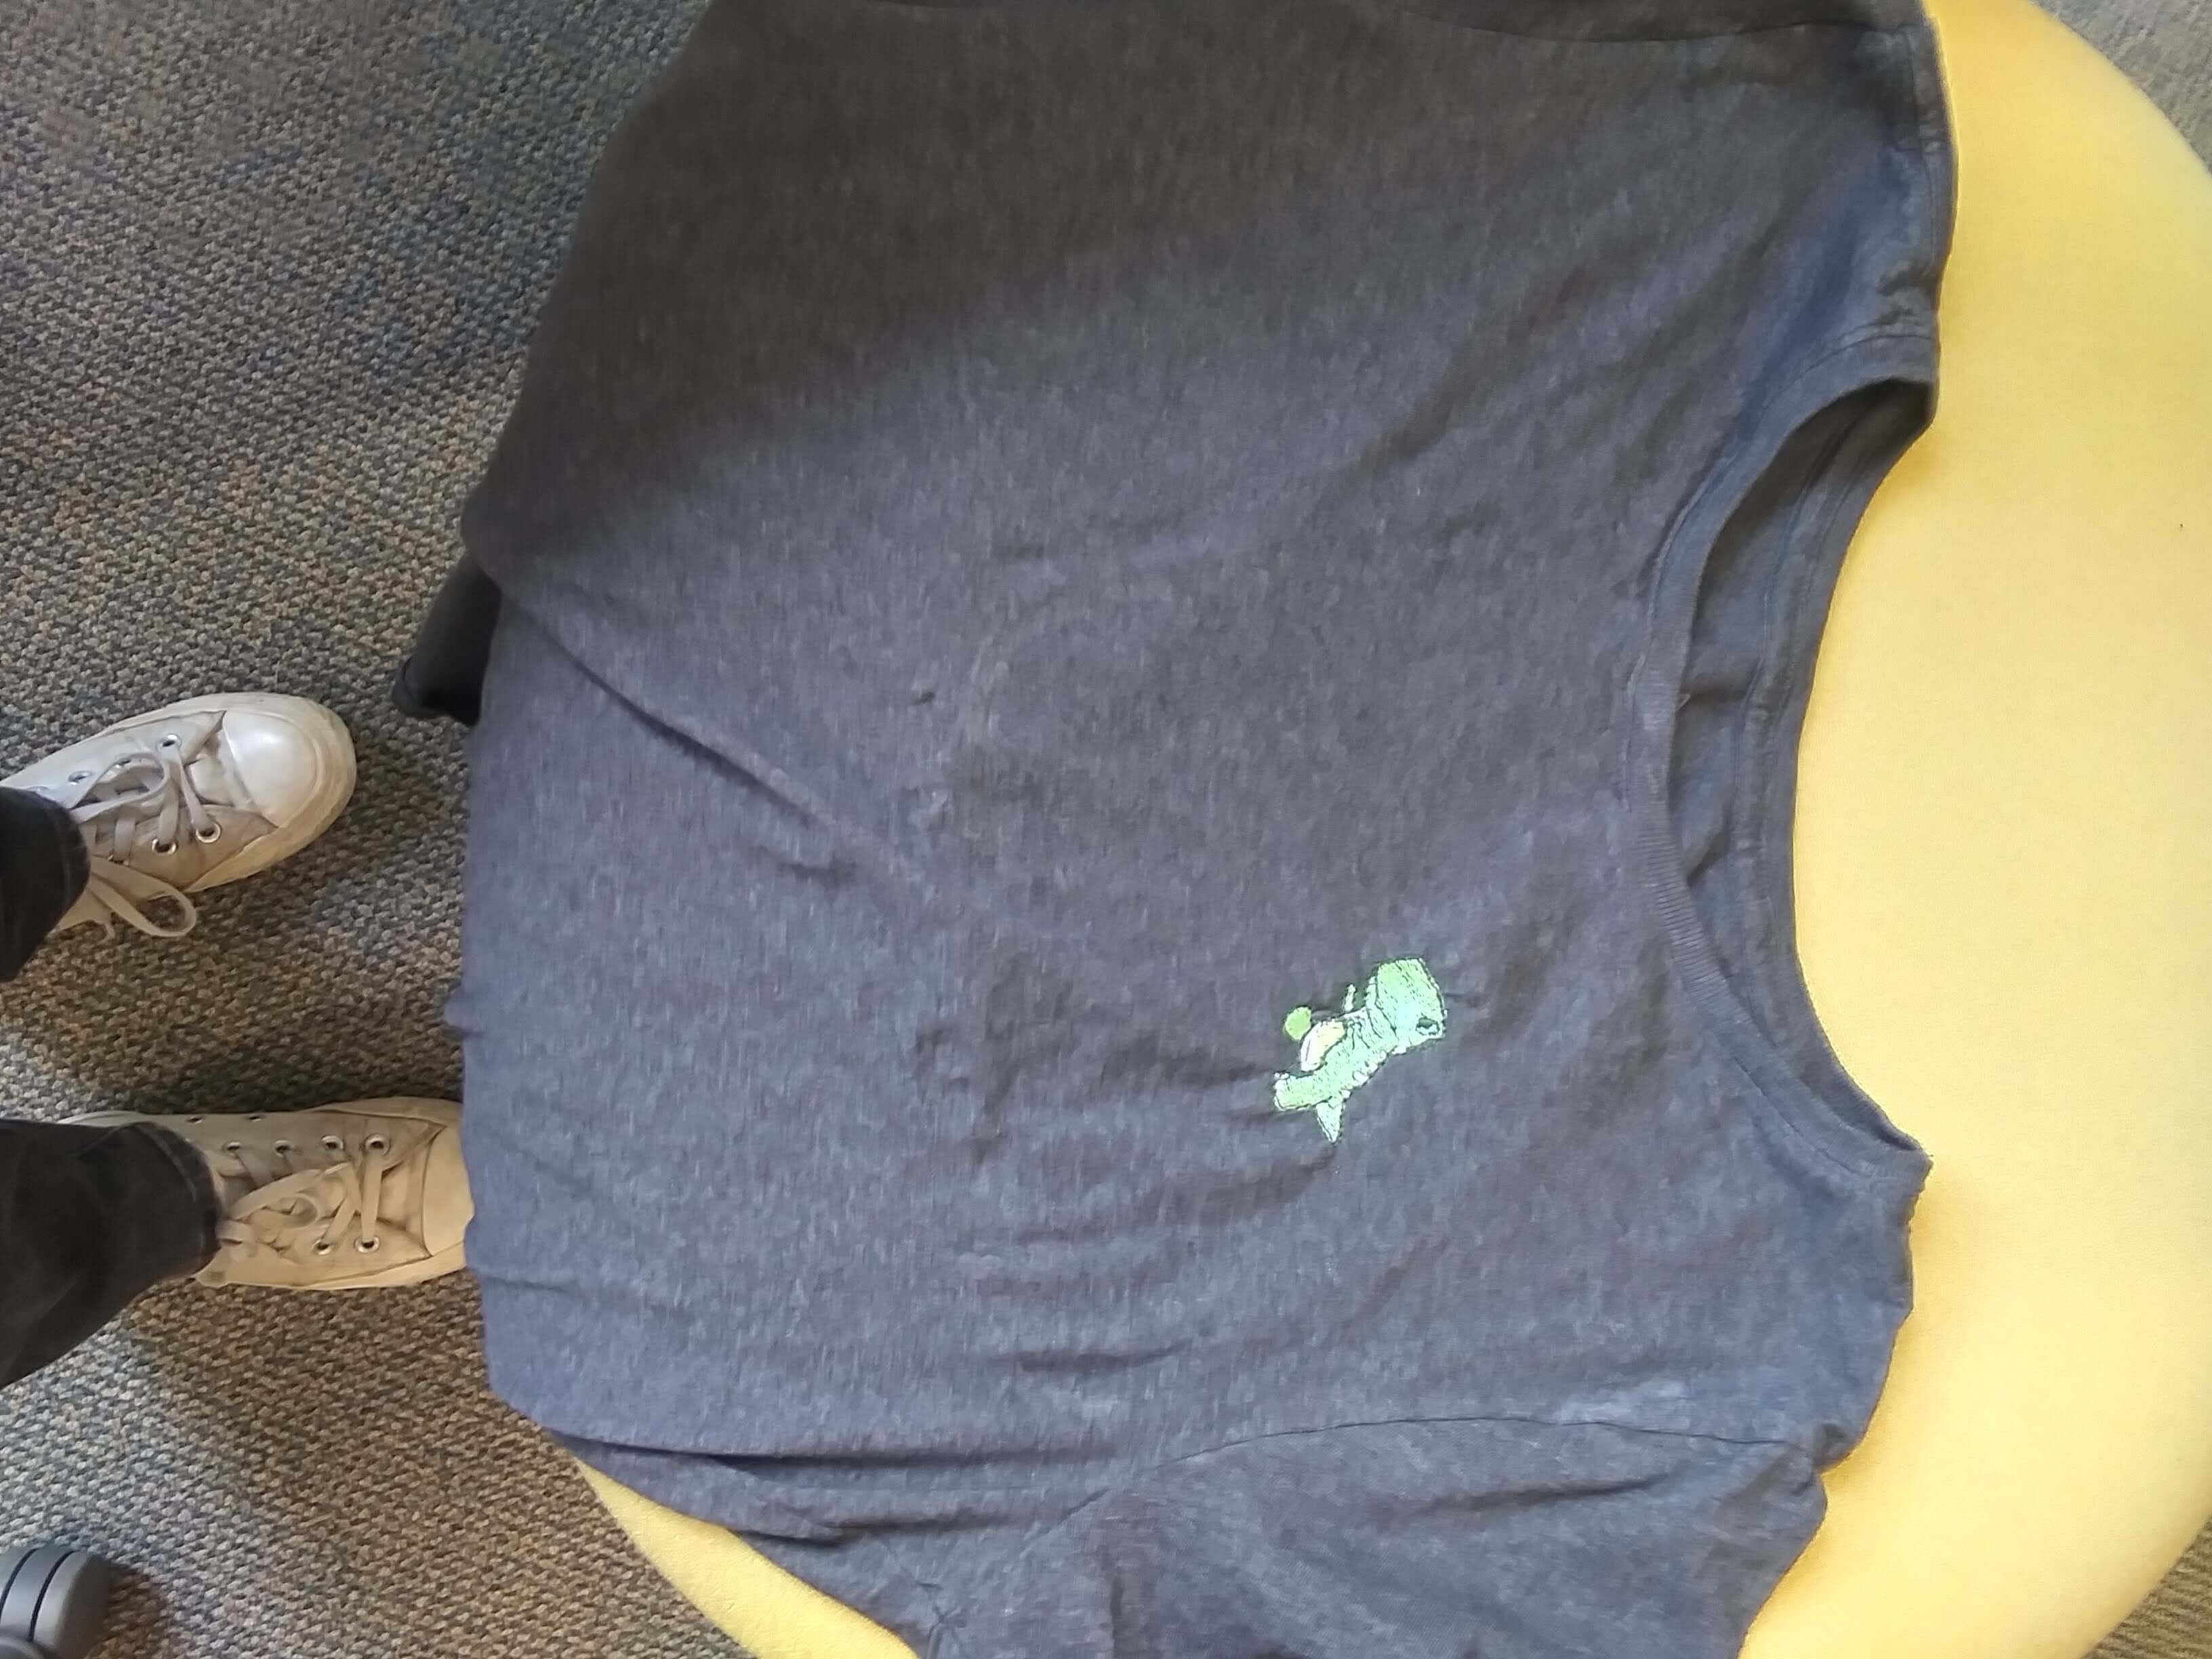
This week was quite fun for me. I have found that I really enjoy digital embroidery, and I will most certainly be embroidering an unnecessarily excessive amount of my belongings in the weeks to come.
Here is the design I used:
Dinosaur Design