Molding and Casting
Group Project
In this week's' group project, my group explored and compared different casting and molding materials and made a mold of our own.
To start off, there were a few key terms we had to define.
Pot Life is the amount the amount of time available for mixing the material before it needs to cure.
Cure Time is the amount the amount of time the material needs to set fully. This can be lowered in most cases by raising the temperature of the environment.
Mix Ratio is the ratio of each of the materials used to make the mold. This is done by either weight or volume depending on the materials being used.
Vacuum Degassing is a chamber that creates a vacuum, thus removing any air bubbles that could potentially ruin the project.
For our casting and molding materials, my group explored the specs for chocolate and Smooth Sil 940. Smooth Sil 940 is a food safe silicone used for creating molds used in cooking and baking. It has a pot life of 30 minutes and a 24 hour cure time. In general, release agents are not necessary, however Easy Release 200 works if needed. The mixing ratio is 100A:10B. Chocolate is one of the easiest and most fun materials to mold with. To prepare, all you need to do is melt the chocolate. This is done easily with either a microwave or a double boiler. Once the chocolate is fully melted, let it cool until the temperature reaches 80 degrees, then place it in the mold. The pot life doesn't matter much because chocolate can be remelted, but it will generally become unmalleable about 20 minutes after being melted.
Here is a link to the spreadsheet my group made comparing various molding and casting materials:
Comparison of Molding and Casting MaterialsIndividual Project
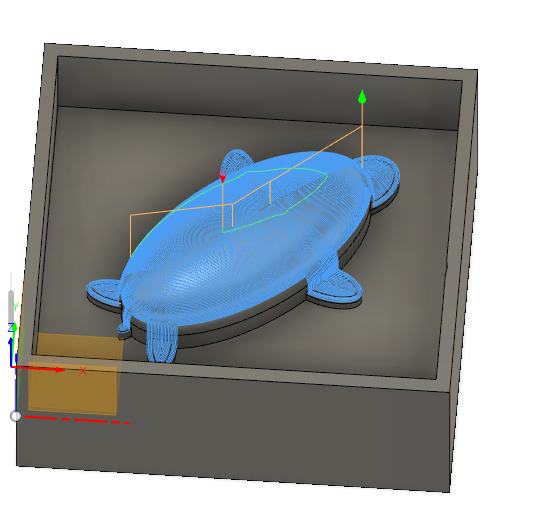
In this week's individual assignment, I had to create a design, then cast and mold it using materials of my choosing. I enjoy baking, so I opted to create a food safe mold so that I can mold chocolate. For my design, I made a turtle using Fusion 360.
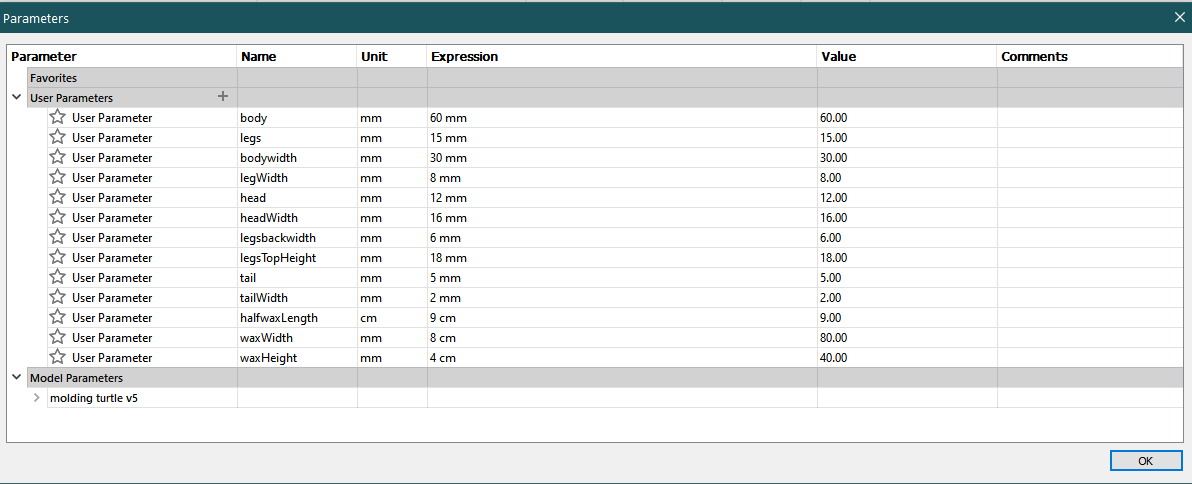
To create my turtle design, I started off in Fusion 360's Design Mode. Because everything on my turtle needed to be proportional, I began by creating parameters for each part of the turtle.
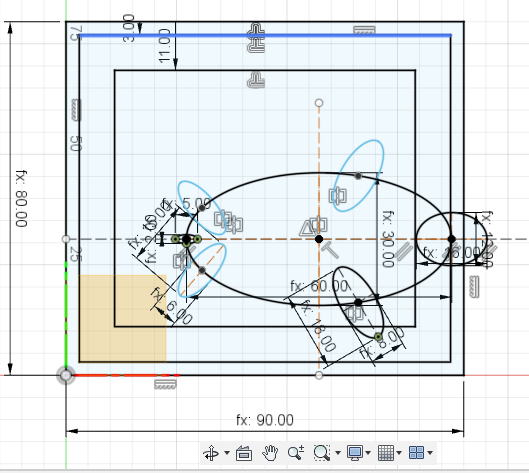
Then I started working on the sketch. I used an oval for the body, and created arcs for the head, tail, and legs.I used the mirror tool to ensure that the legs were symmetrical on each side.
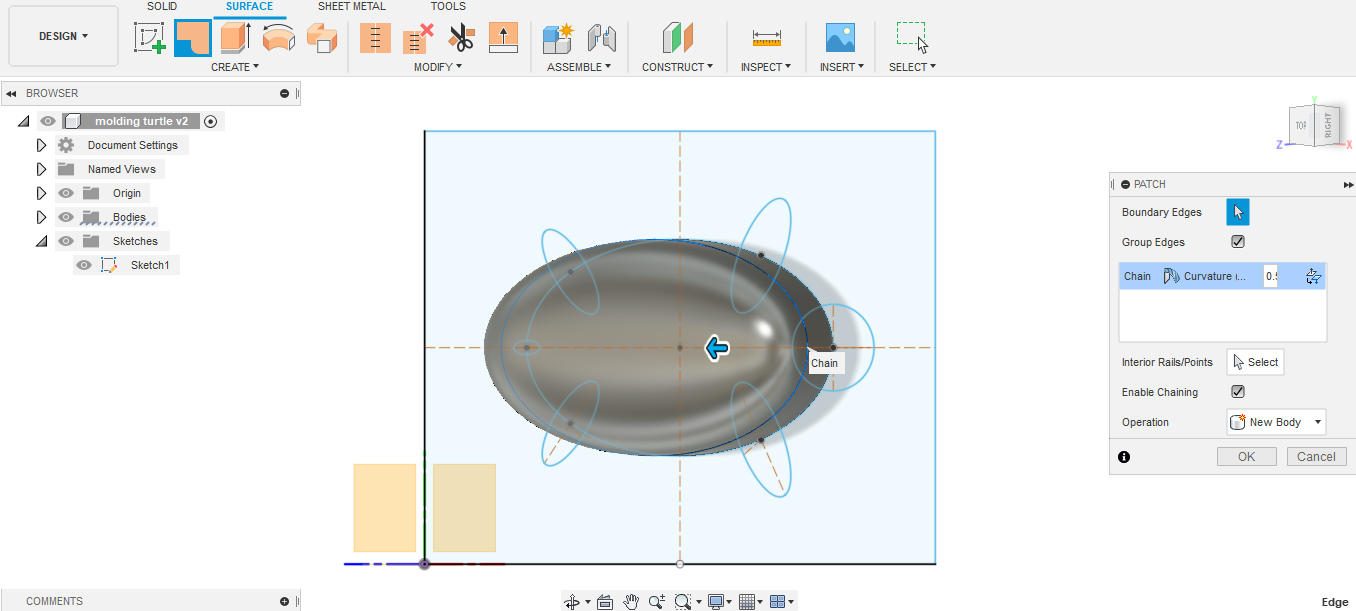
I extruded the body 5mm. Then, to create the round shell shape, I used the Surface Patch tool to create a curvature.
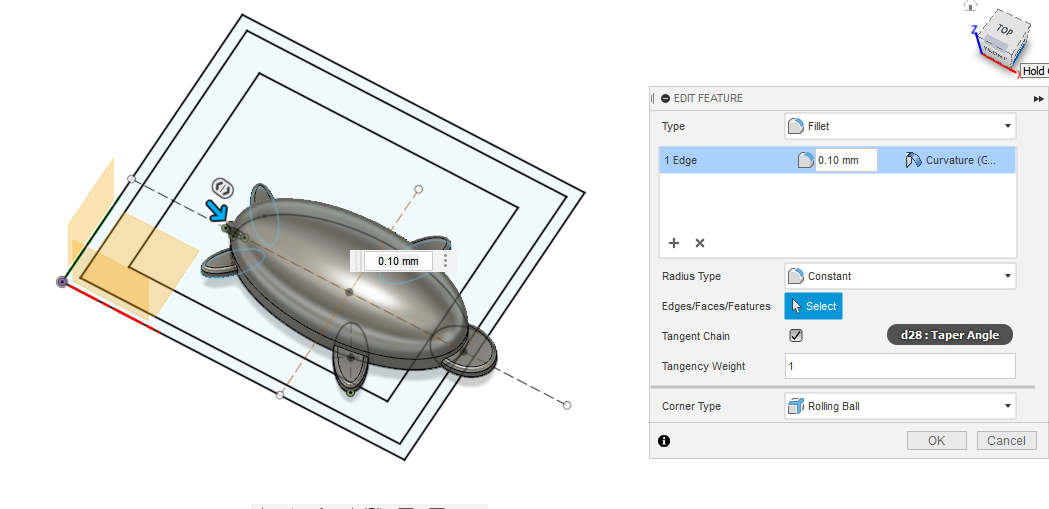
I extruded the head, legs, and tail as well, then added a Fillet to each of those edges to make the turtle look more natural.
With that, my turtle was complete and it was time to make the box. To create the mold, I first had to mill a block of wax using the Roland Mill. This meant that I would need to include the block of wax in the design. I measured the block, set its dimensions as parameters, and added the box into the Fusion 360 model.
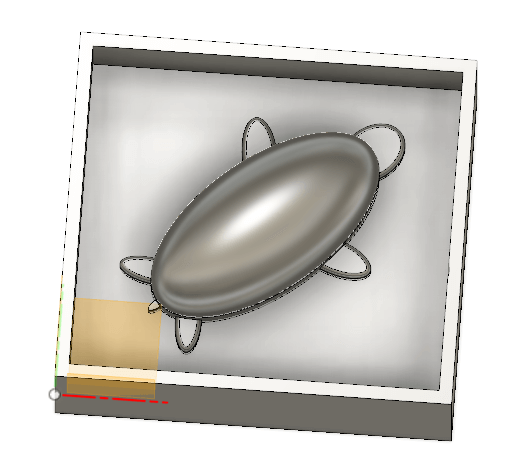
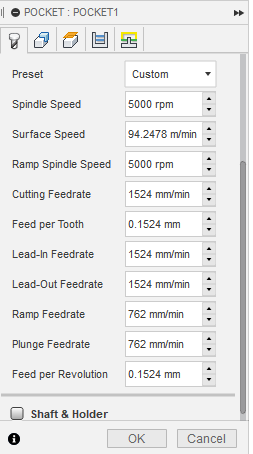
Then it was time to work on the toolpath! Because my design was so large, it made more sense for me to do two cuts: a rough cut to take away the larger chunks, and a second more detailed cut. Running a rough cut first allowed me to take off larger chunks of wax, cutting the milling time by several hours. For the rough cut I used the 6mm Roughing Endmill, and the detailed cut was done using the 1.2mm Endmill. I set the spindle speed to 5000 rpm and double checked all the other specs were correct.
I viewed the toolpath to ensure everything was correct, then repeated the process with the detailed cut.
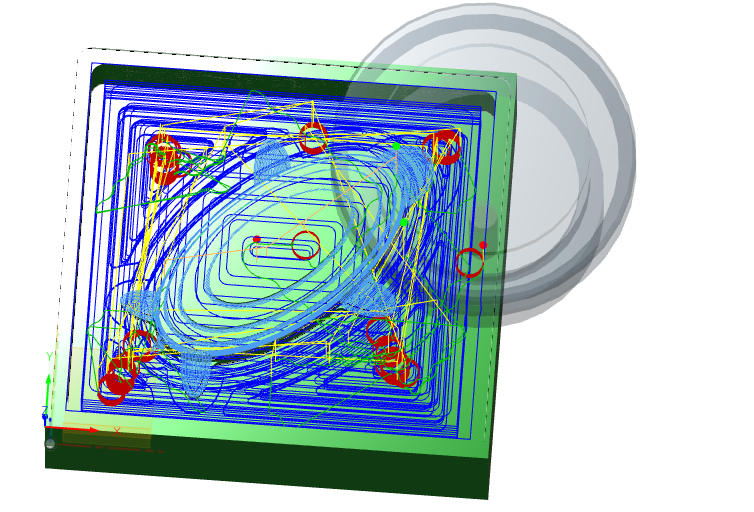
The specs were the same for the detailed cut as they were for the rough cut, but looking at the varience between the two toolpaths makes it pretty clear why making two cuts was necessary. The second cut much more detailed and realistic.
I saved both cuts as RML files and began the milling process.
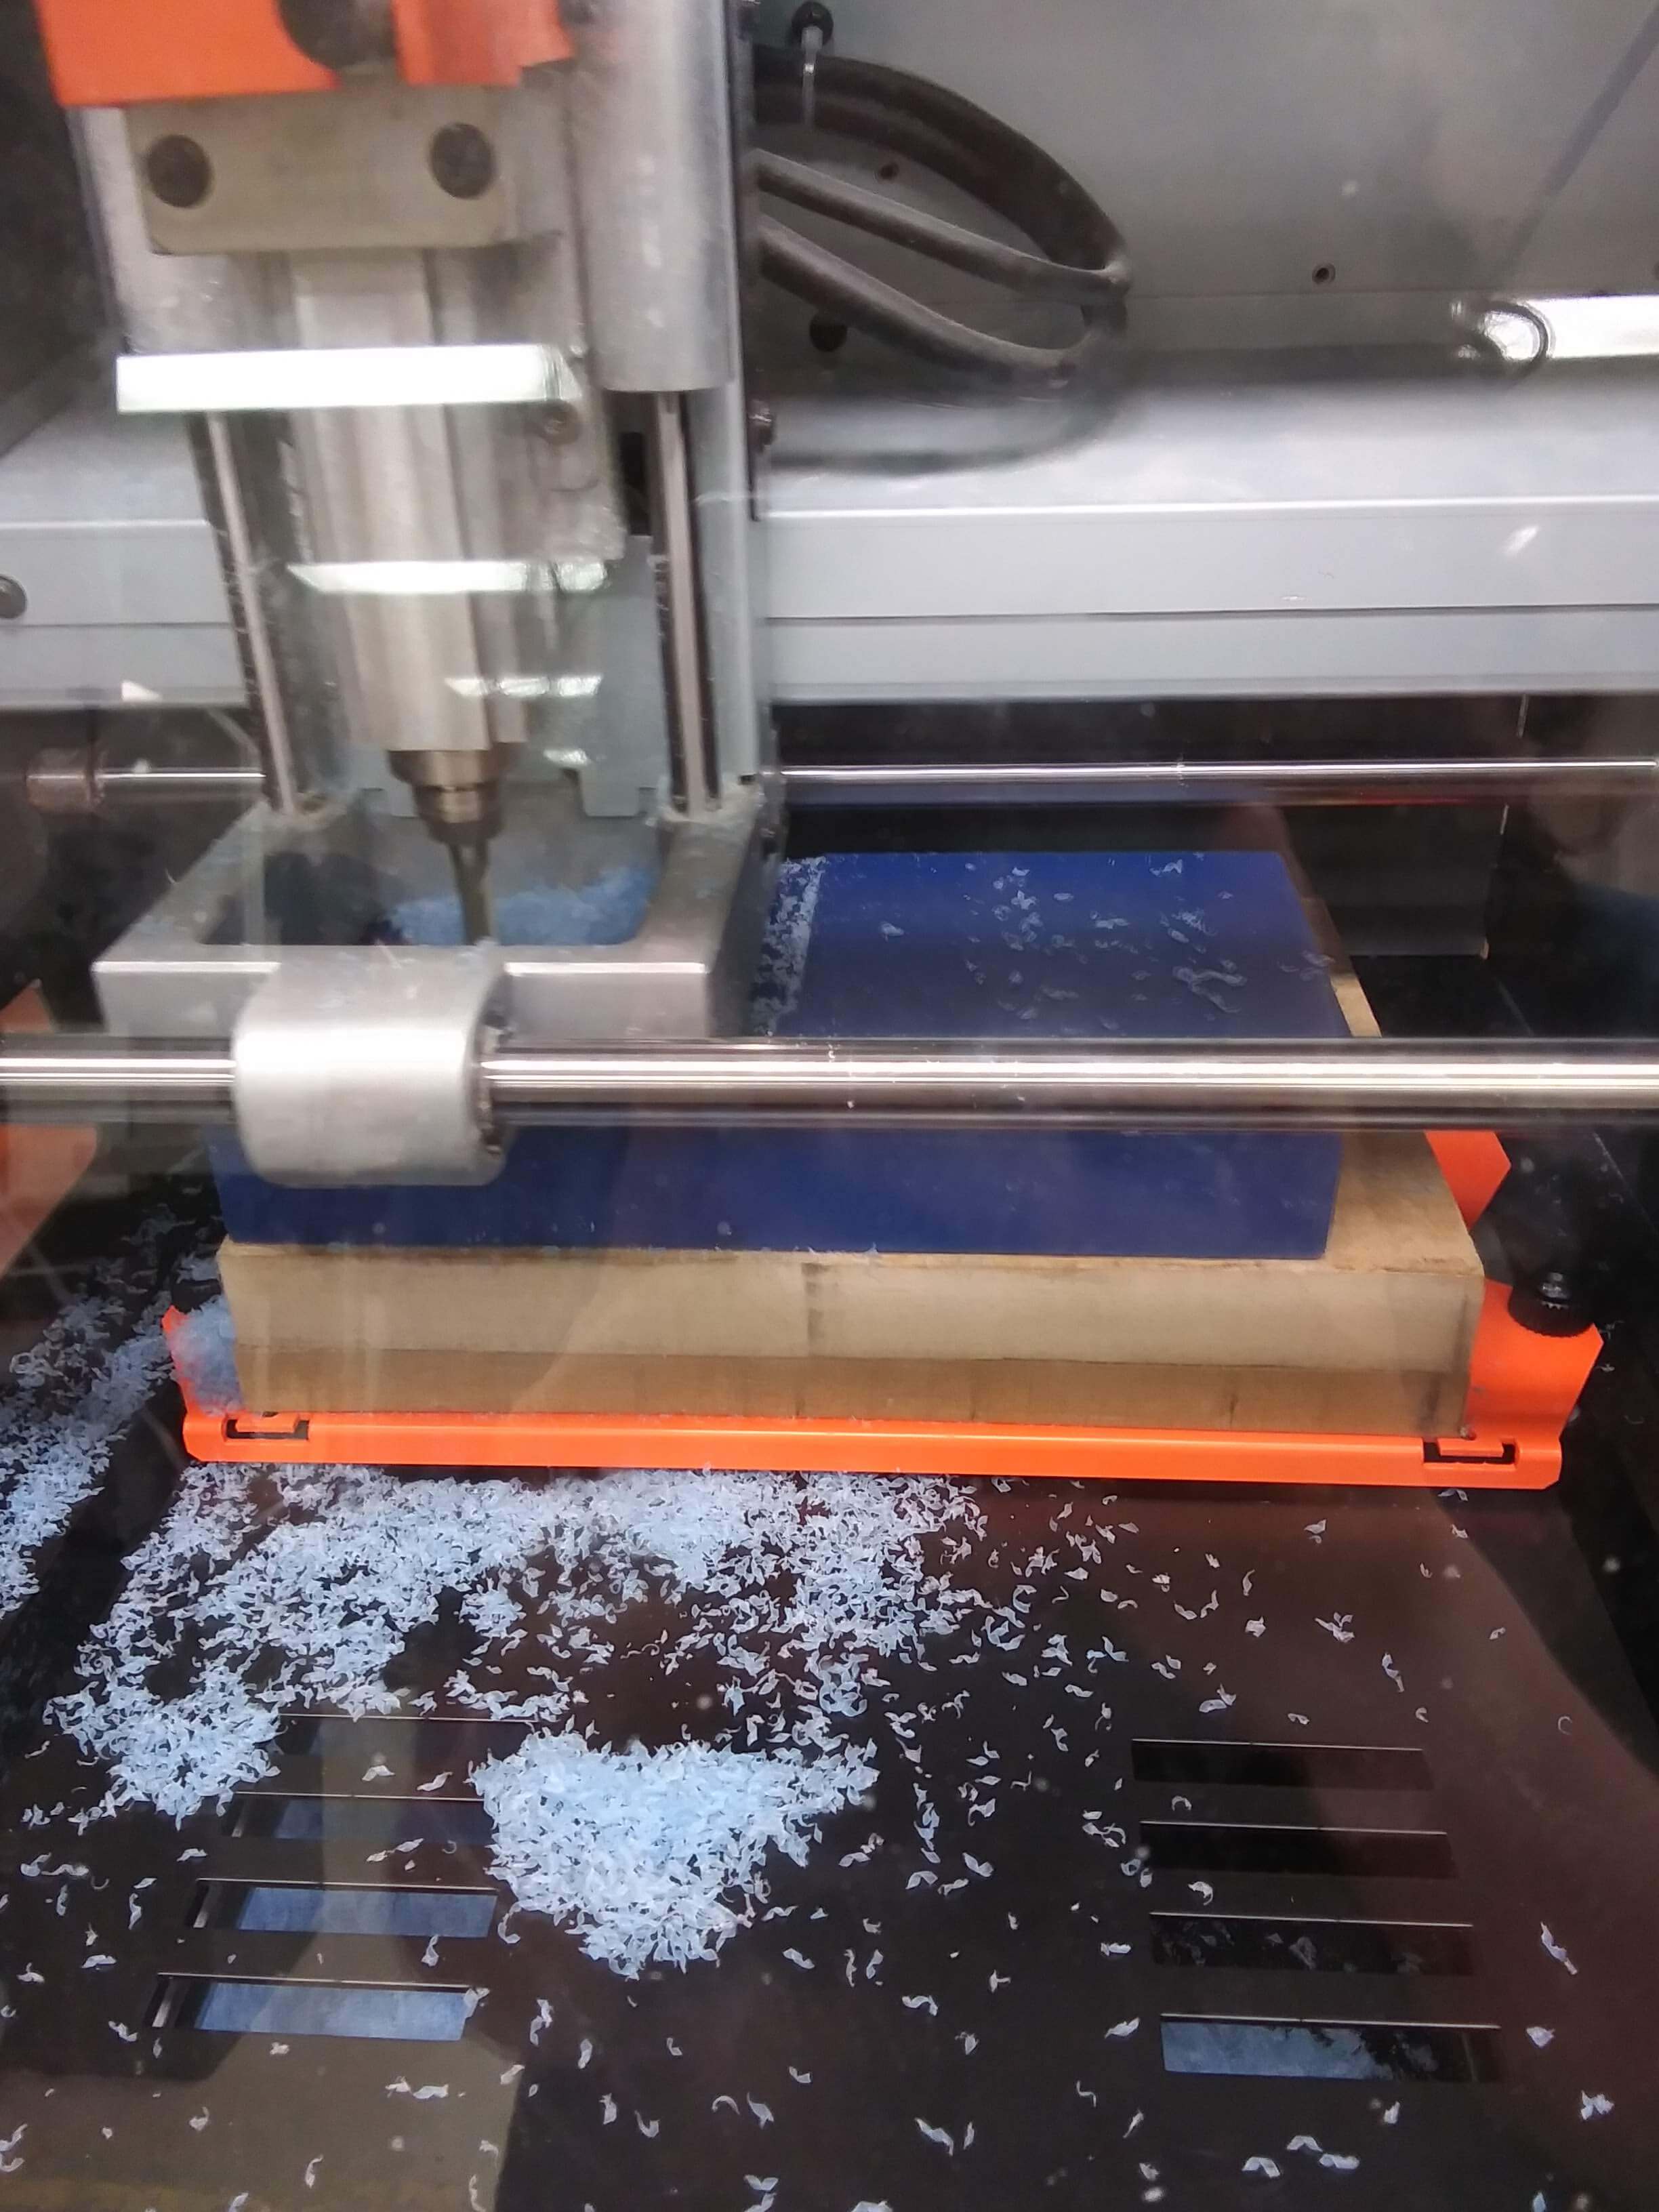
Here's the turtle after the rough cut:
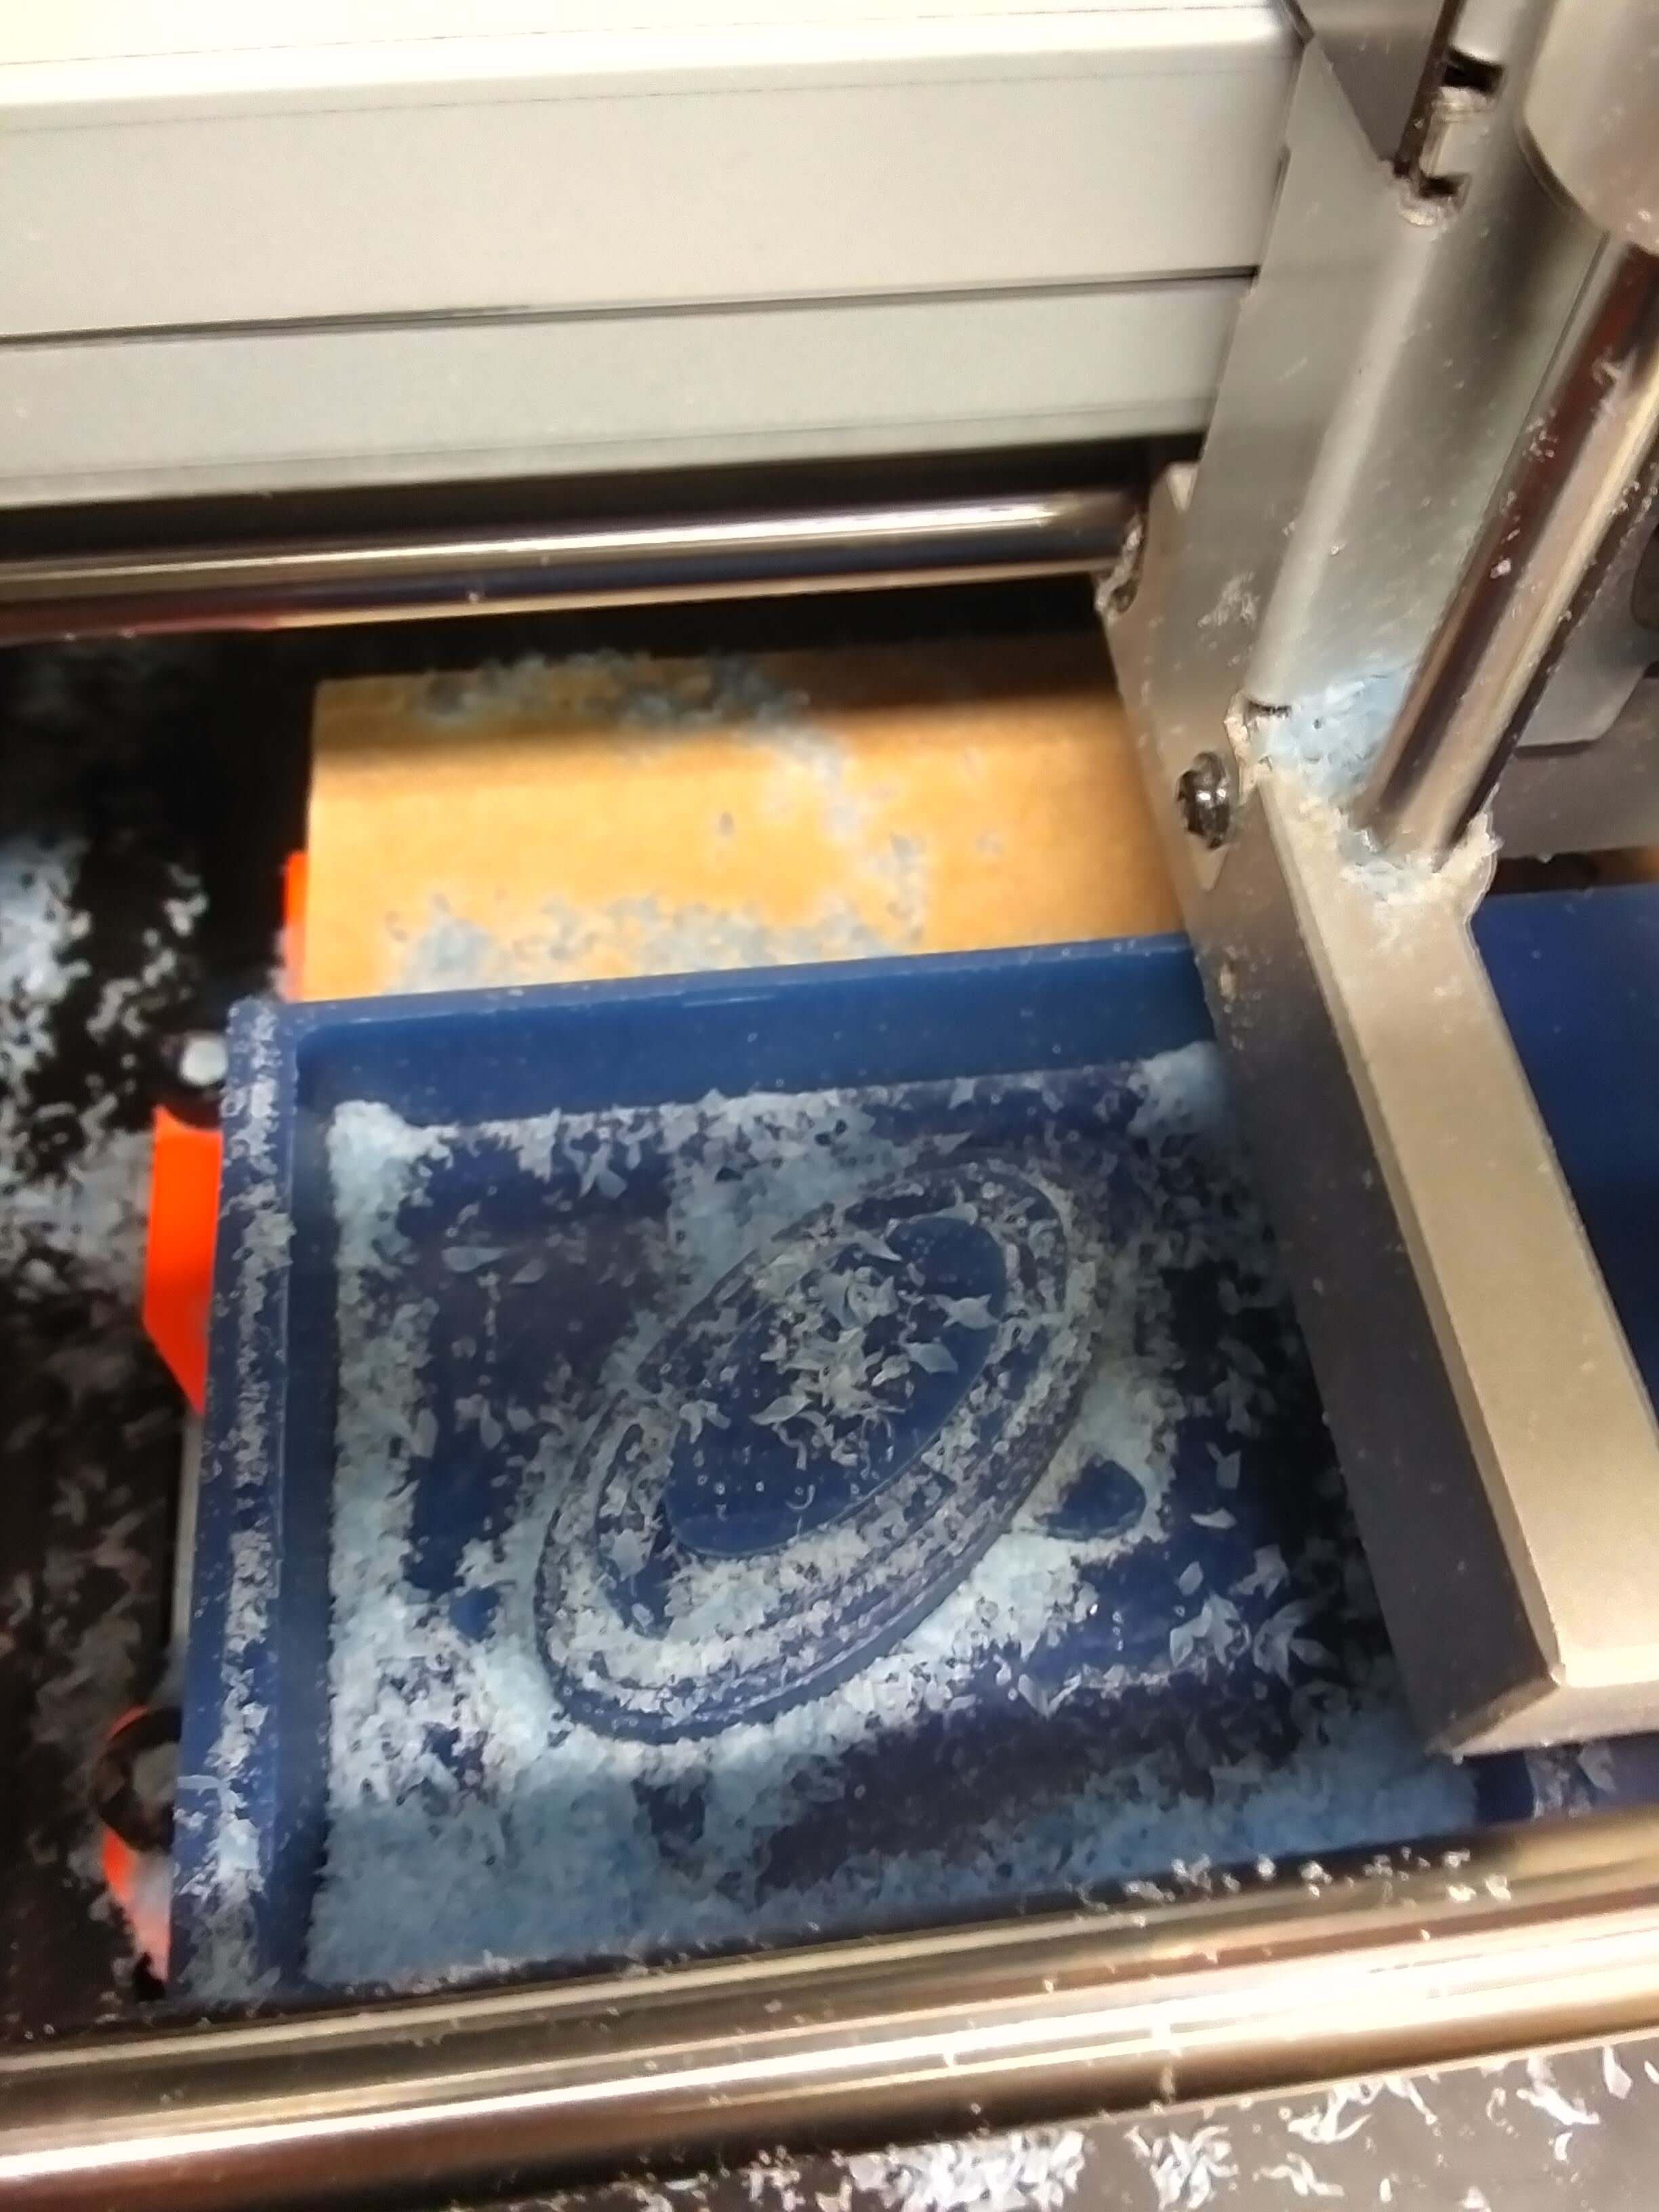
And here it is after the cut using the smaller endmill:
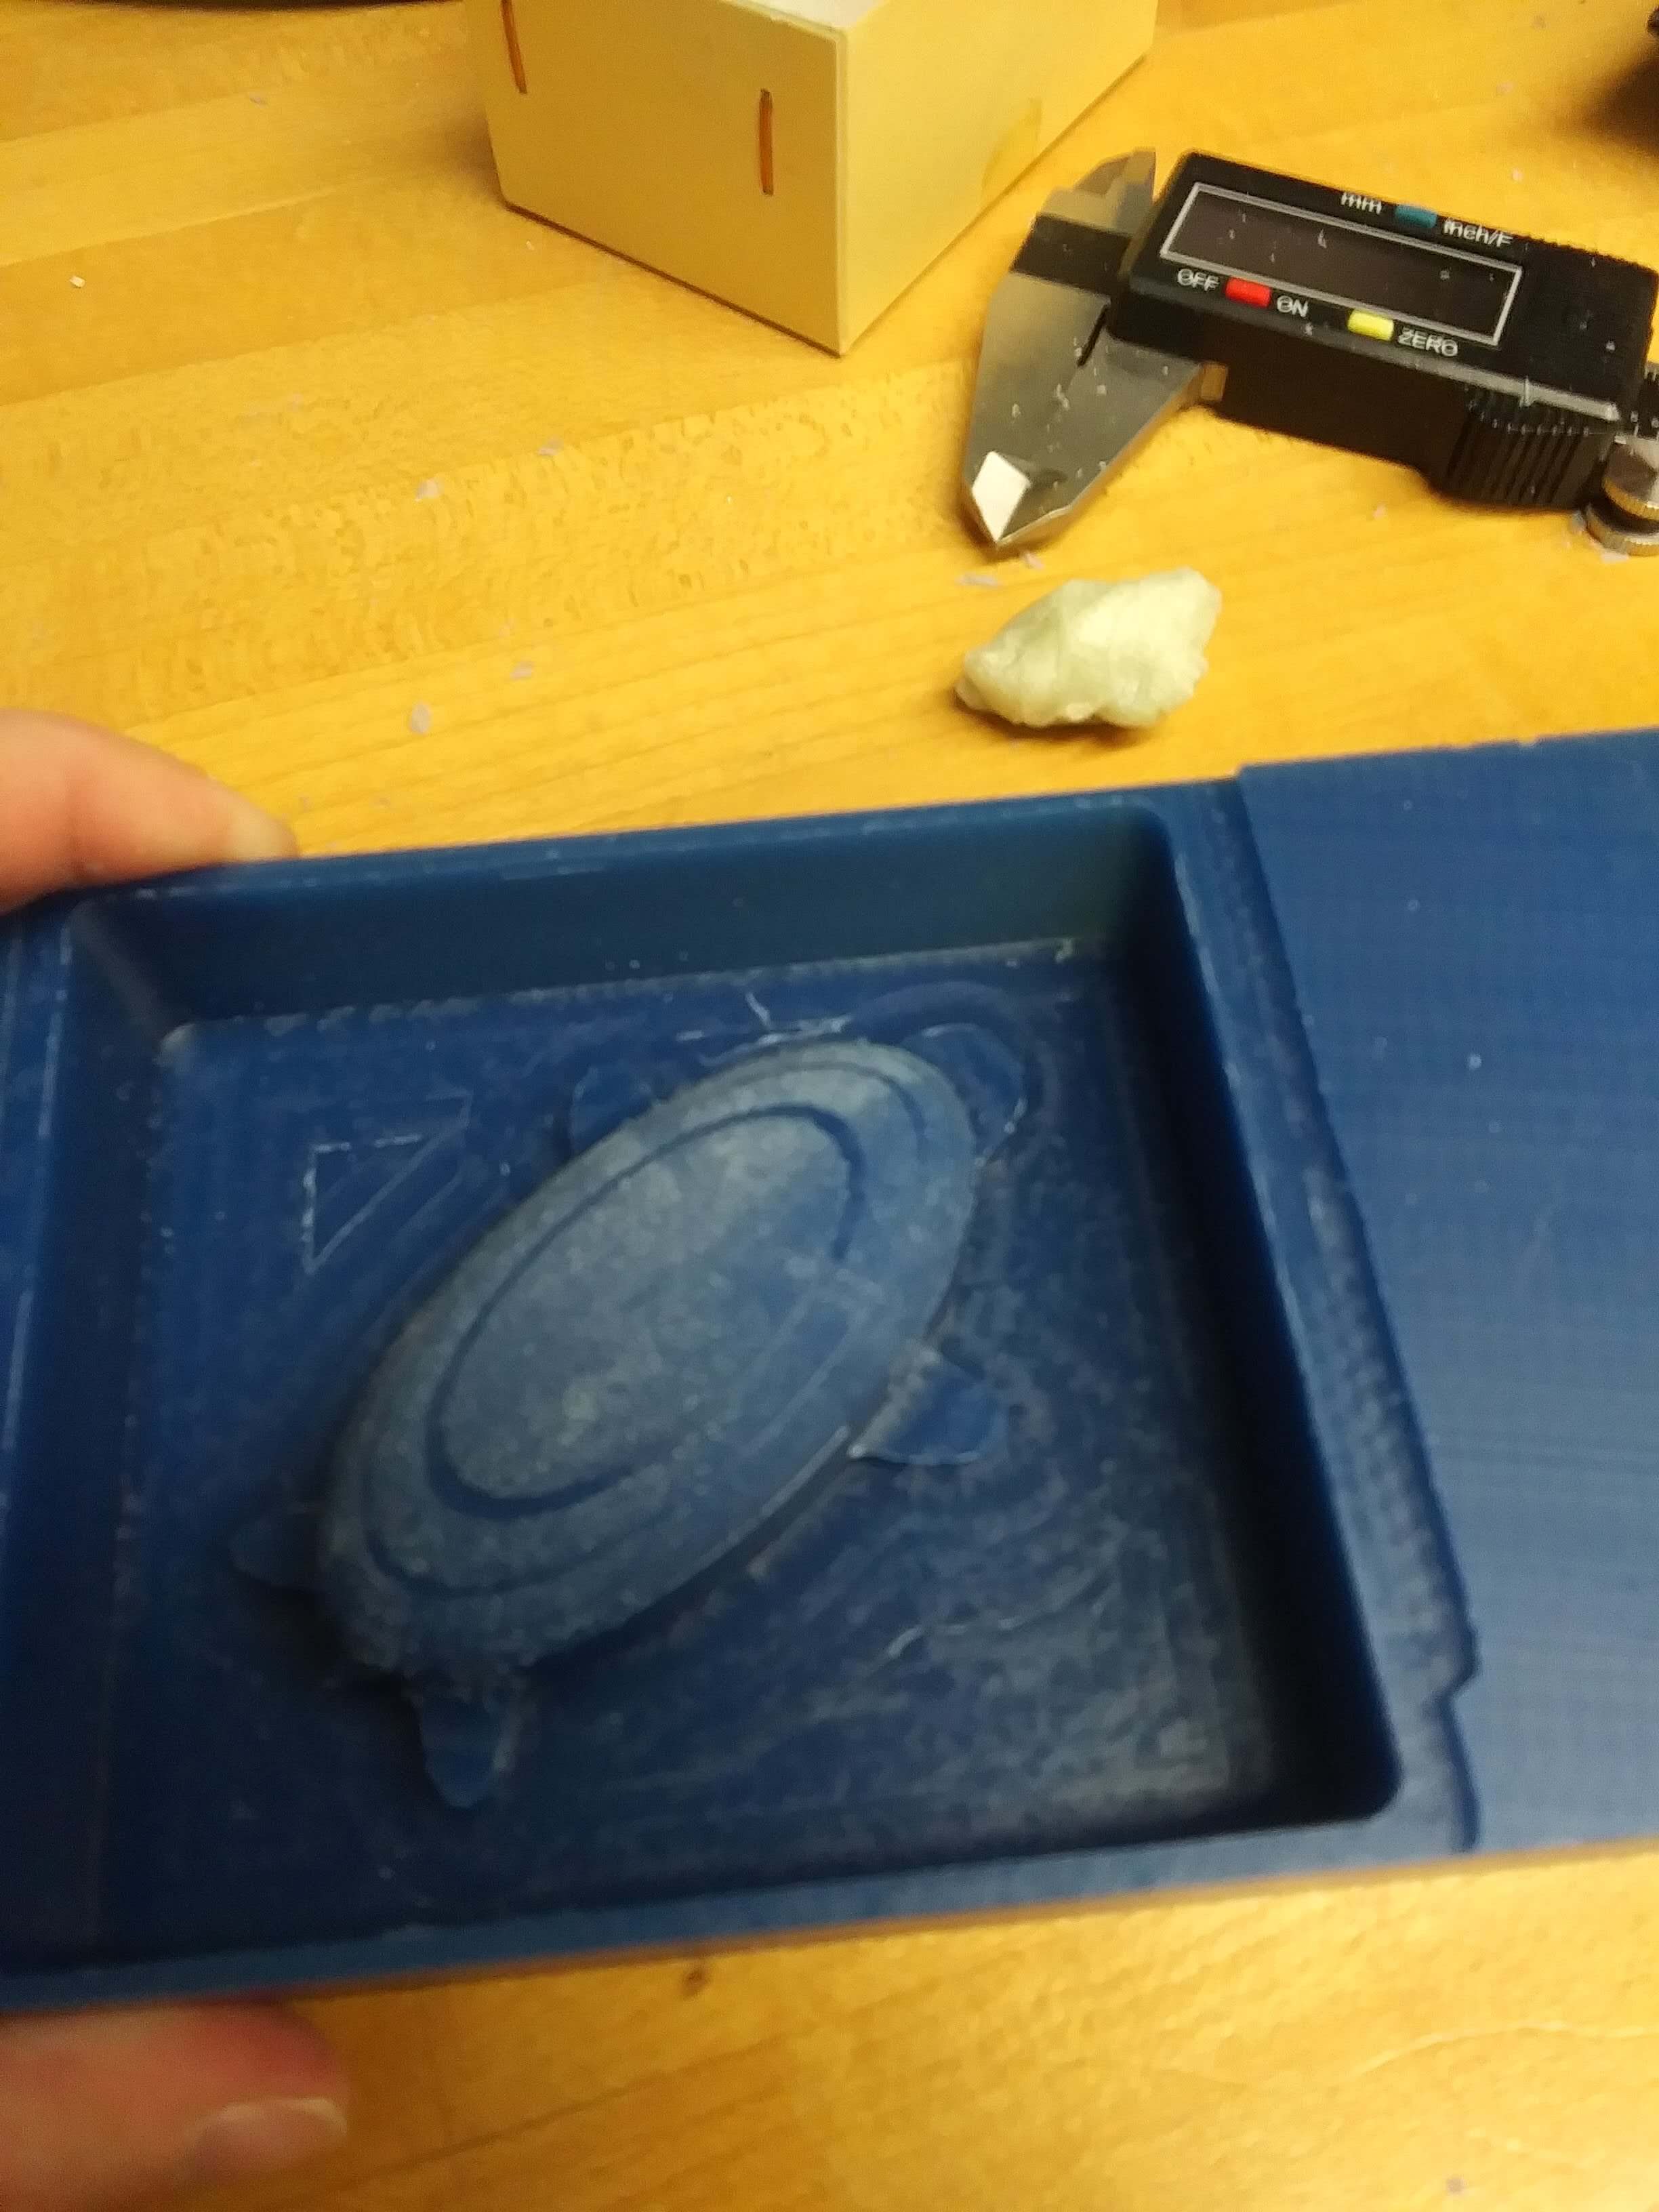
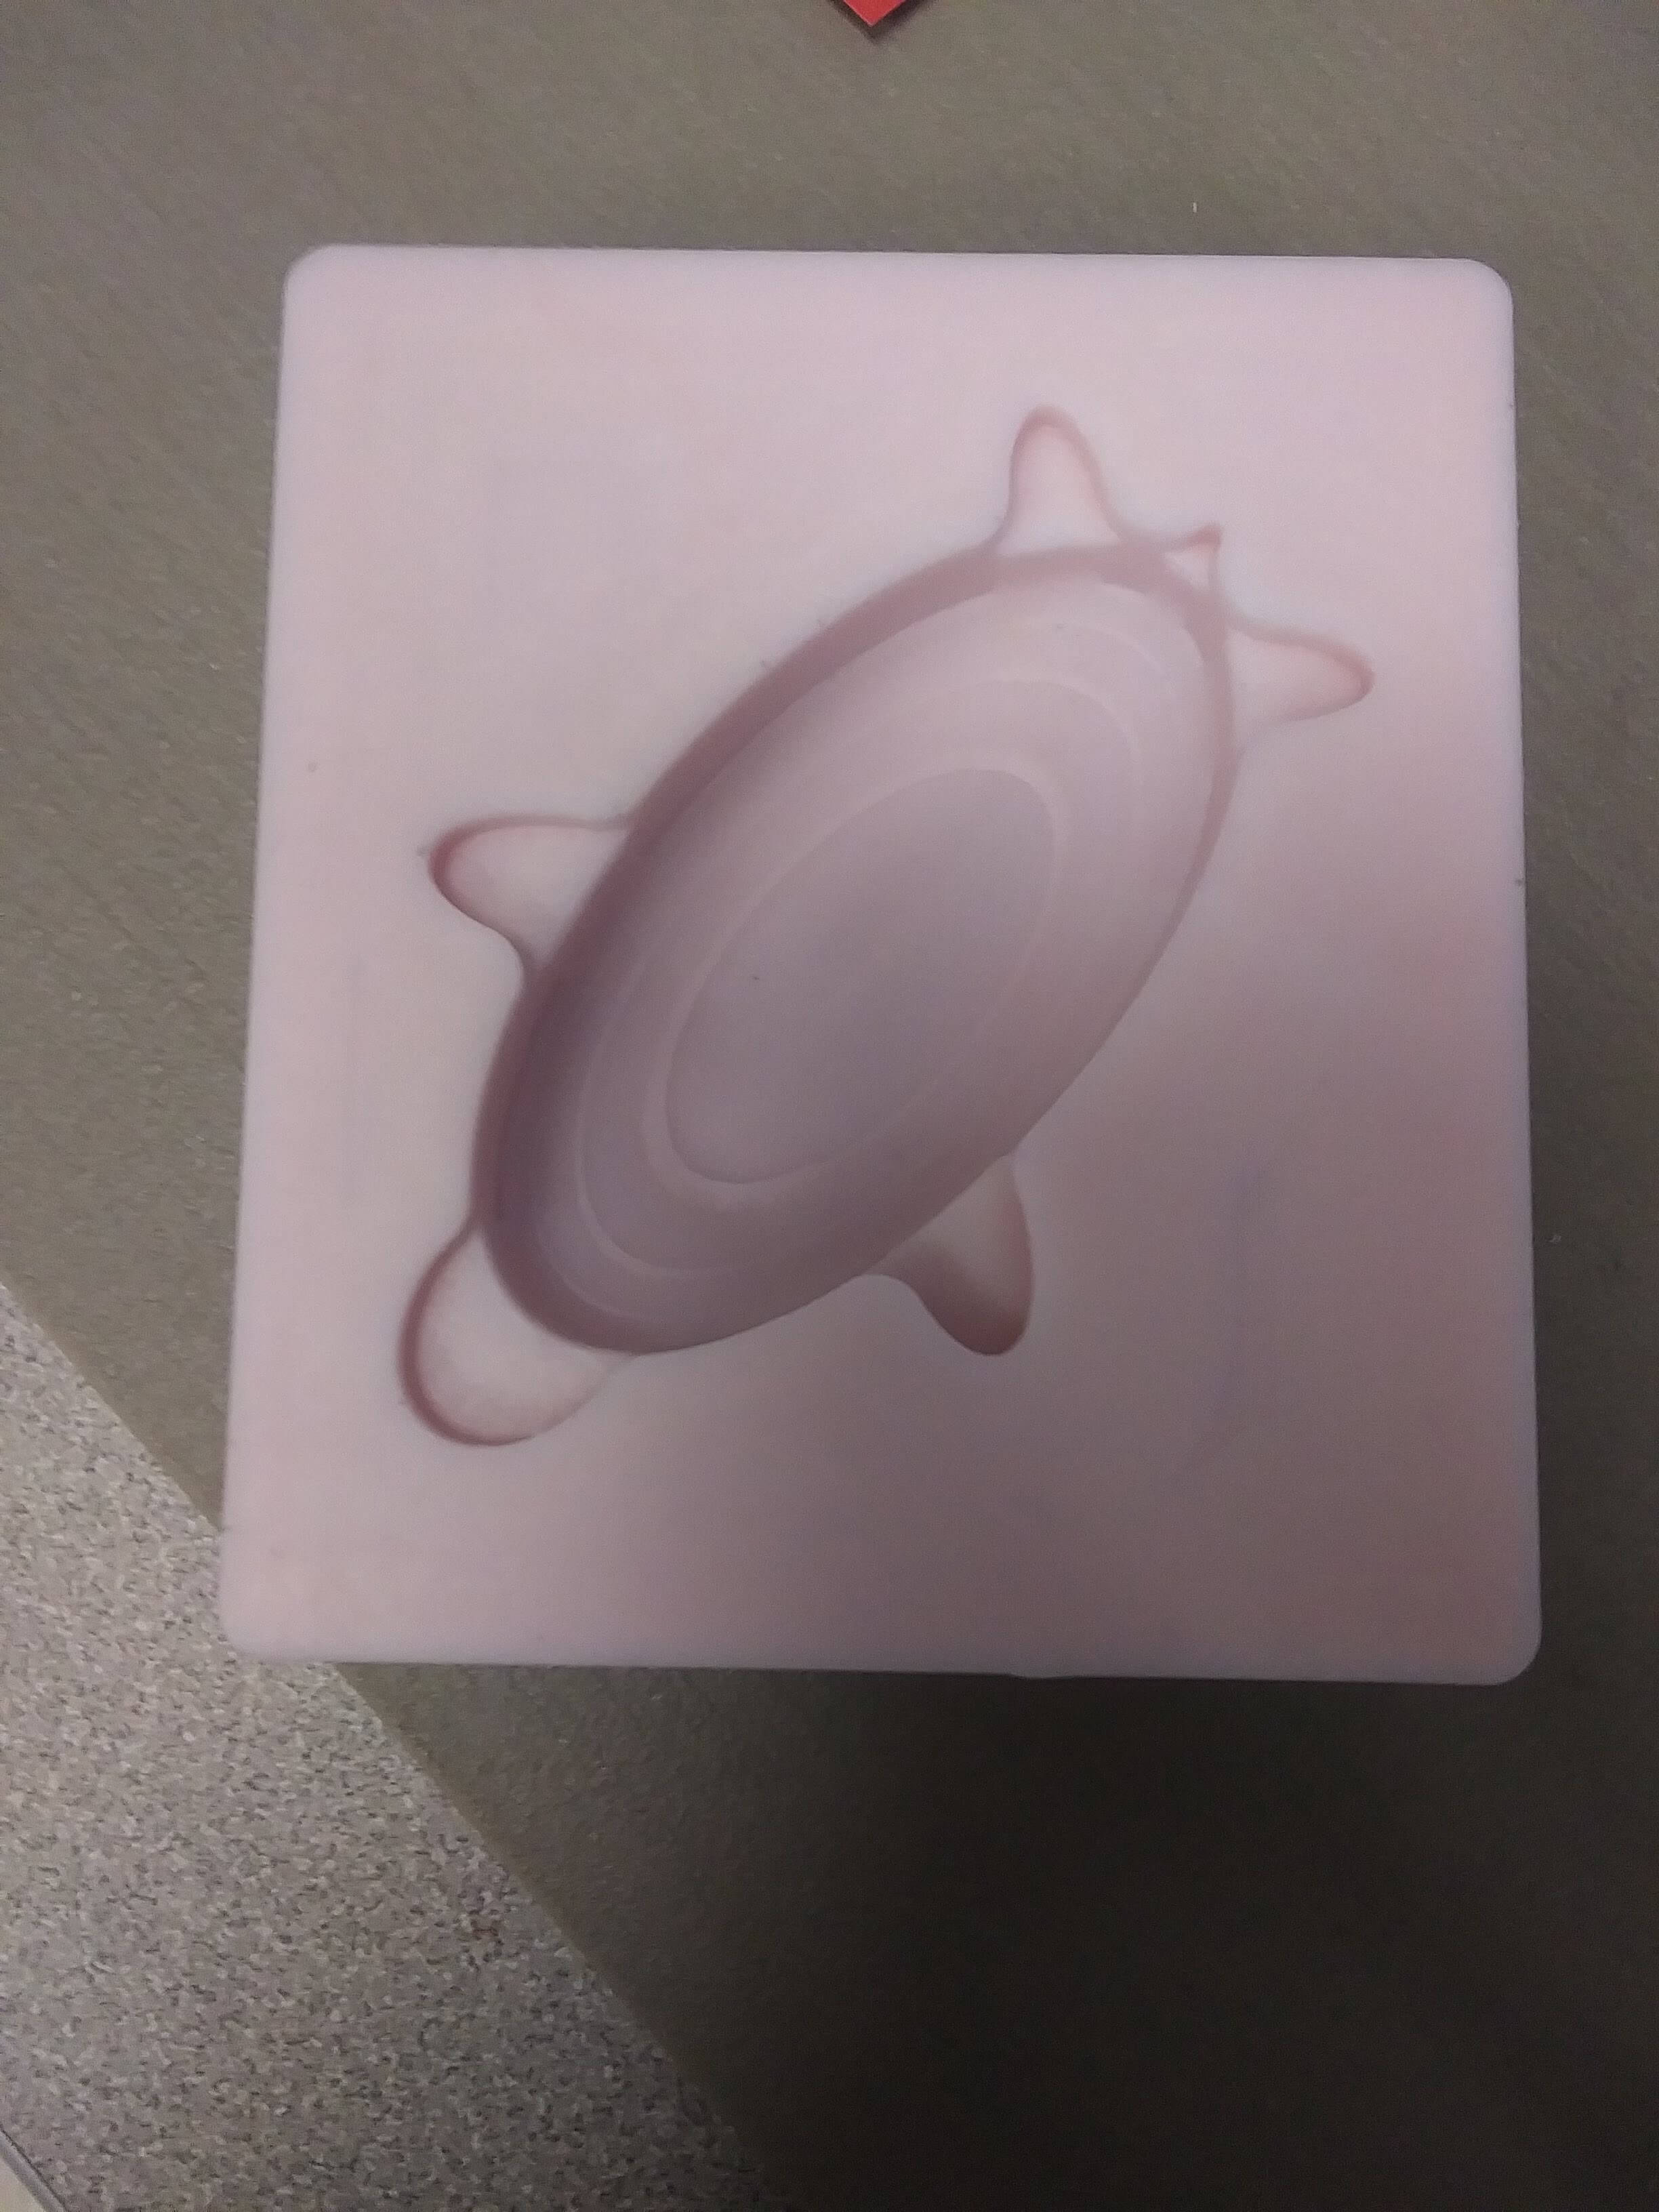
I set the Z-axis of the second endmill a bit too high, so some of rough cut's paths were still visible, but they did not impede on the design enough to justify remilling. Then it was time to create the mold. Because I needed to use food safe material, I used Smooth Sil 940.
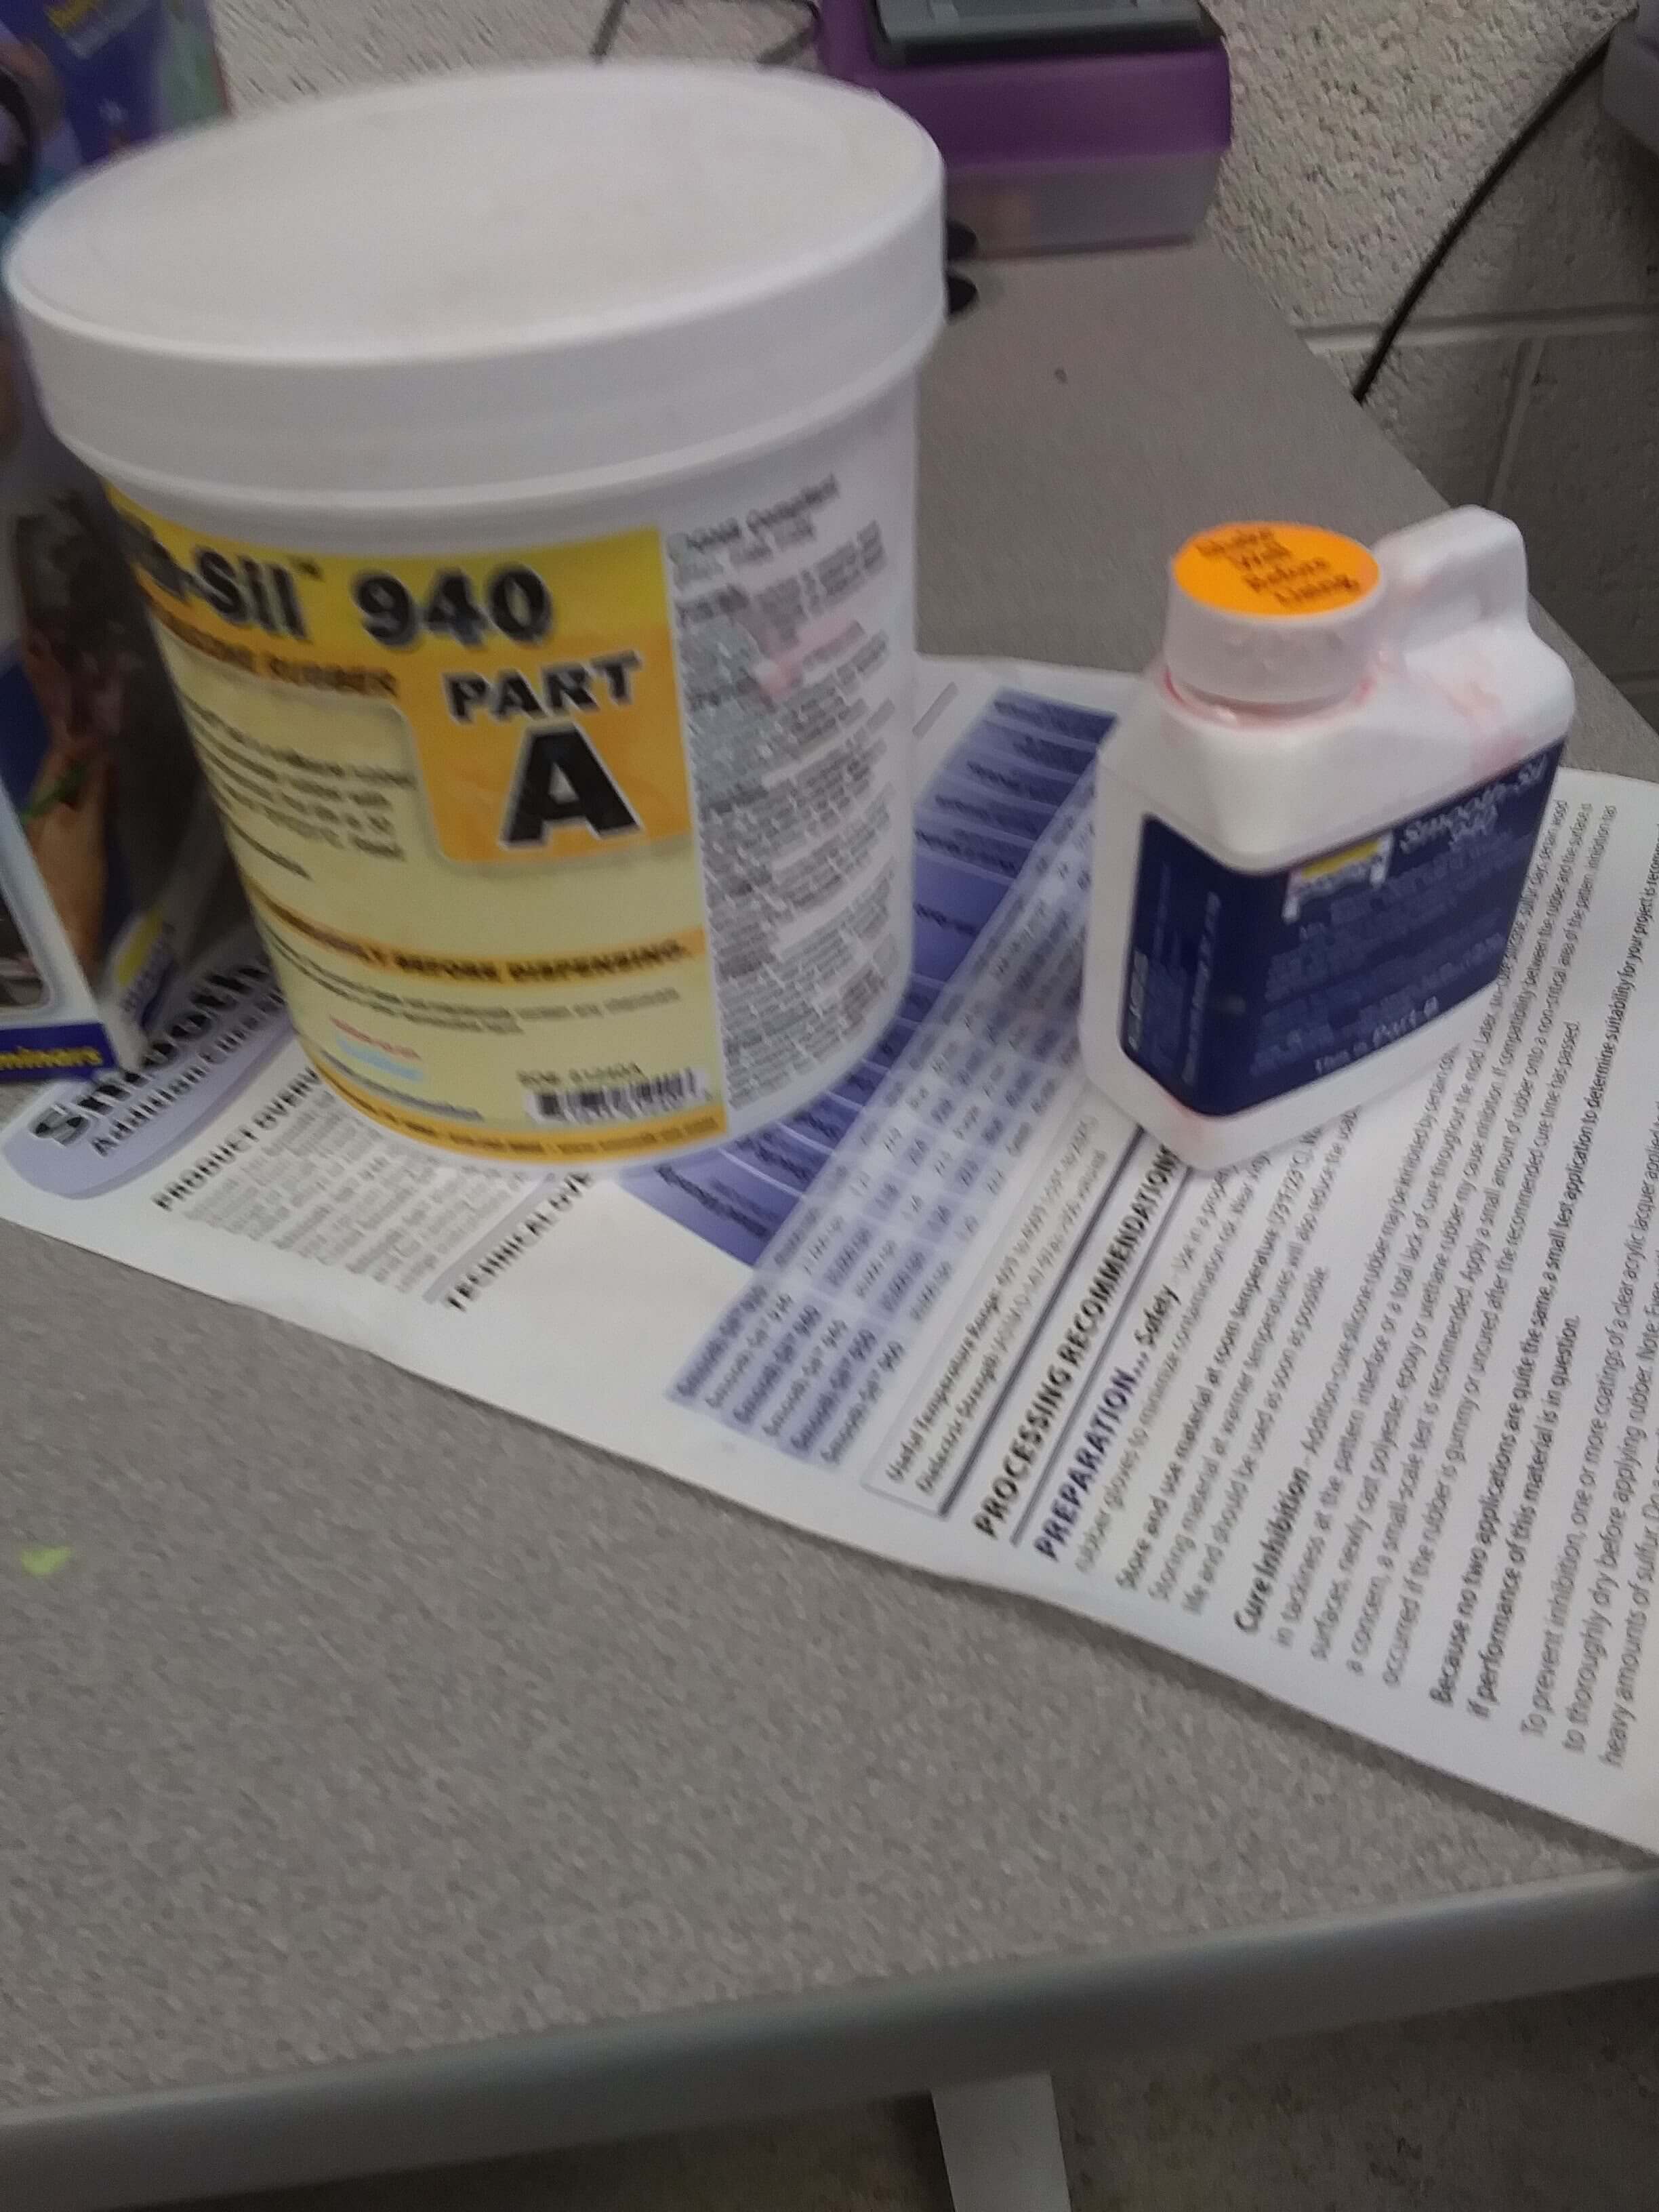
Smooth Sil 940 has a 30 minute pot life and a 24 hour cure time. The ratio of Part A to Part B was 10:1 by weight. I used 60 grams of part A and 6 grams of Part B Then I mixed the two together and put them in the mold overnight to set. Around this point, it woulod have been a good idea to put this in a vacuum compressor to eliminate any bubbles from the mixture, but I forgot to do this. Luckily, there ended up not being too many bubbles once it set, so this didn't make much of a differance.
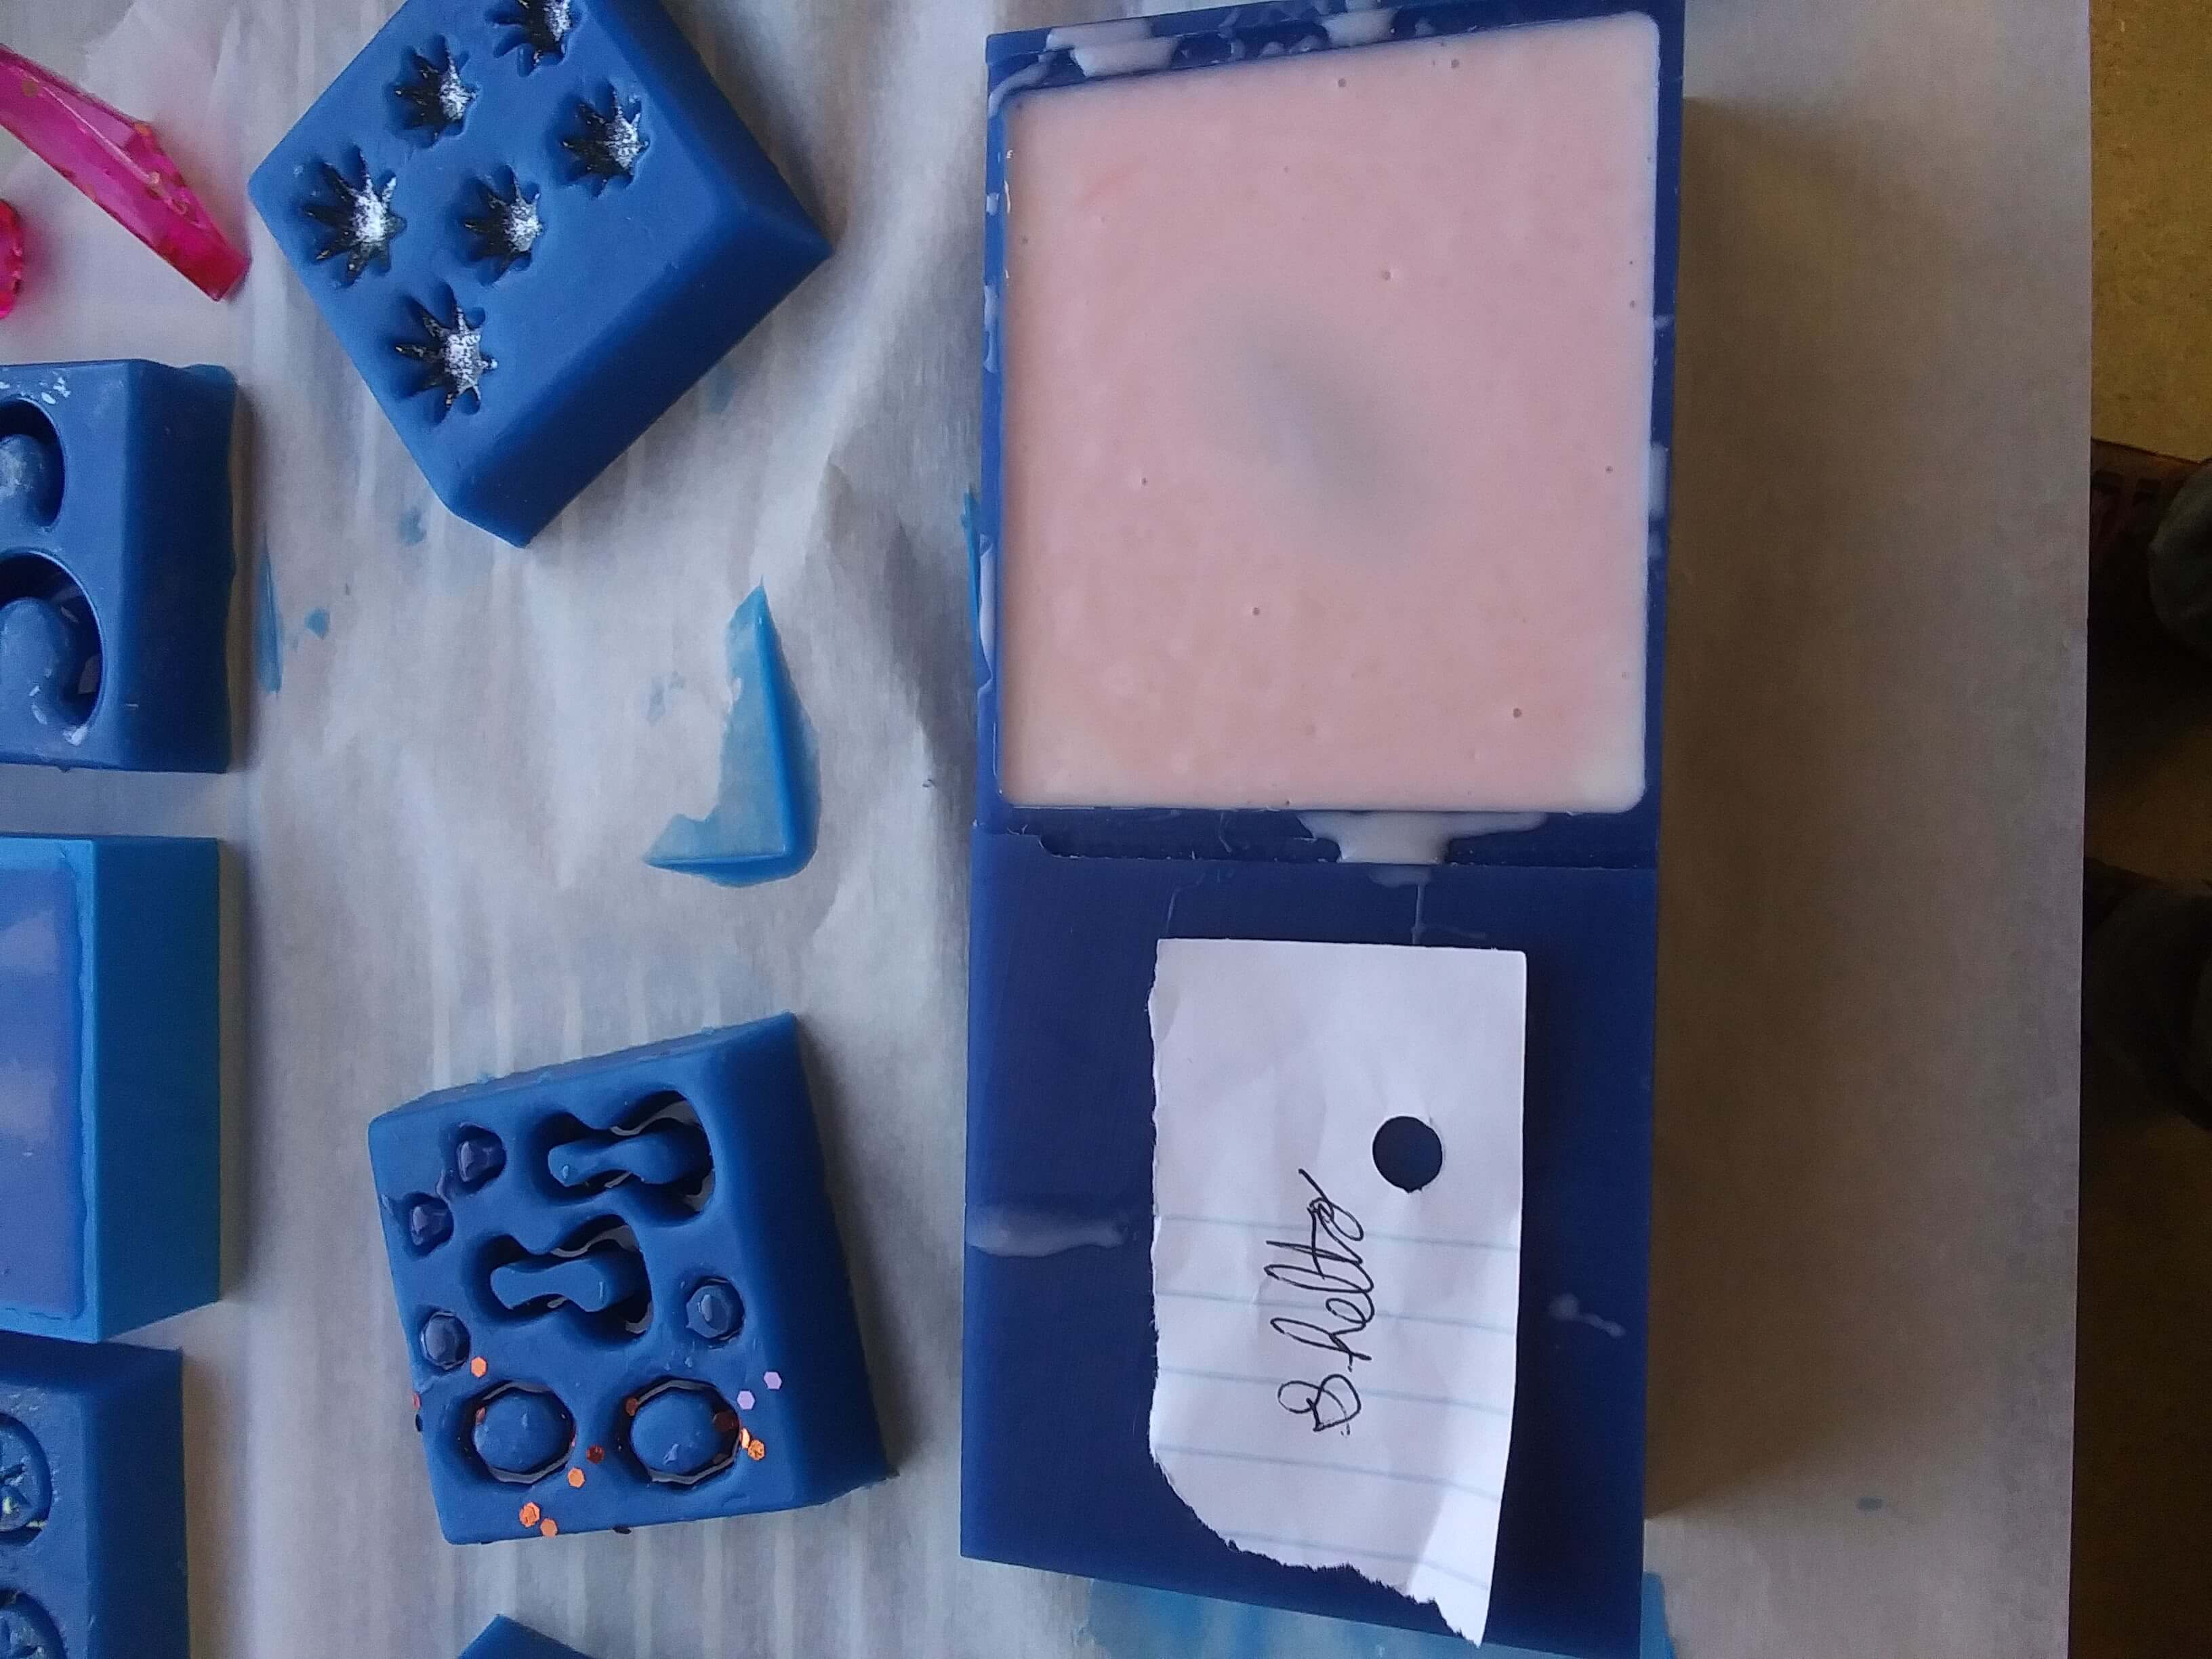
I let that set for 24 hours, then used a bent paper clip and a popsicle stick to pry the mold out of the wax.
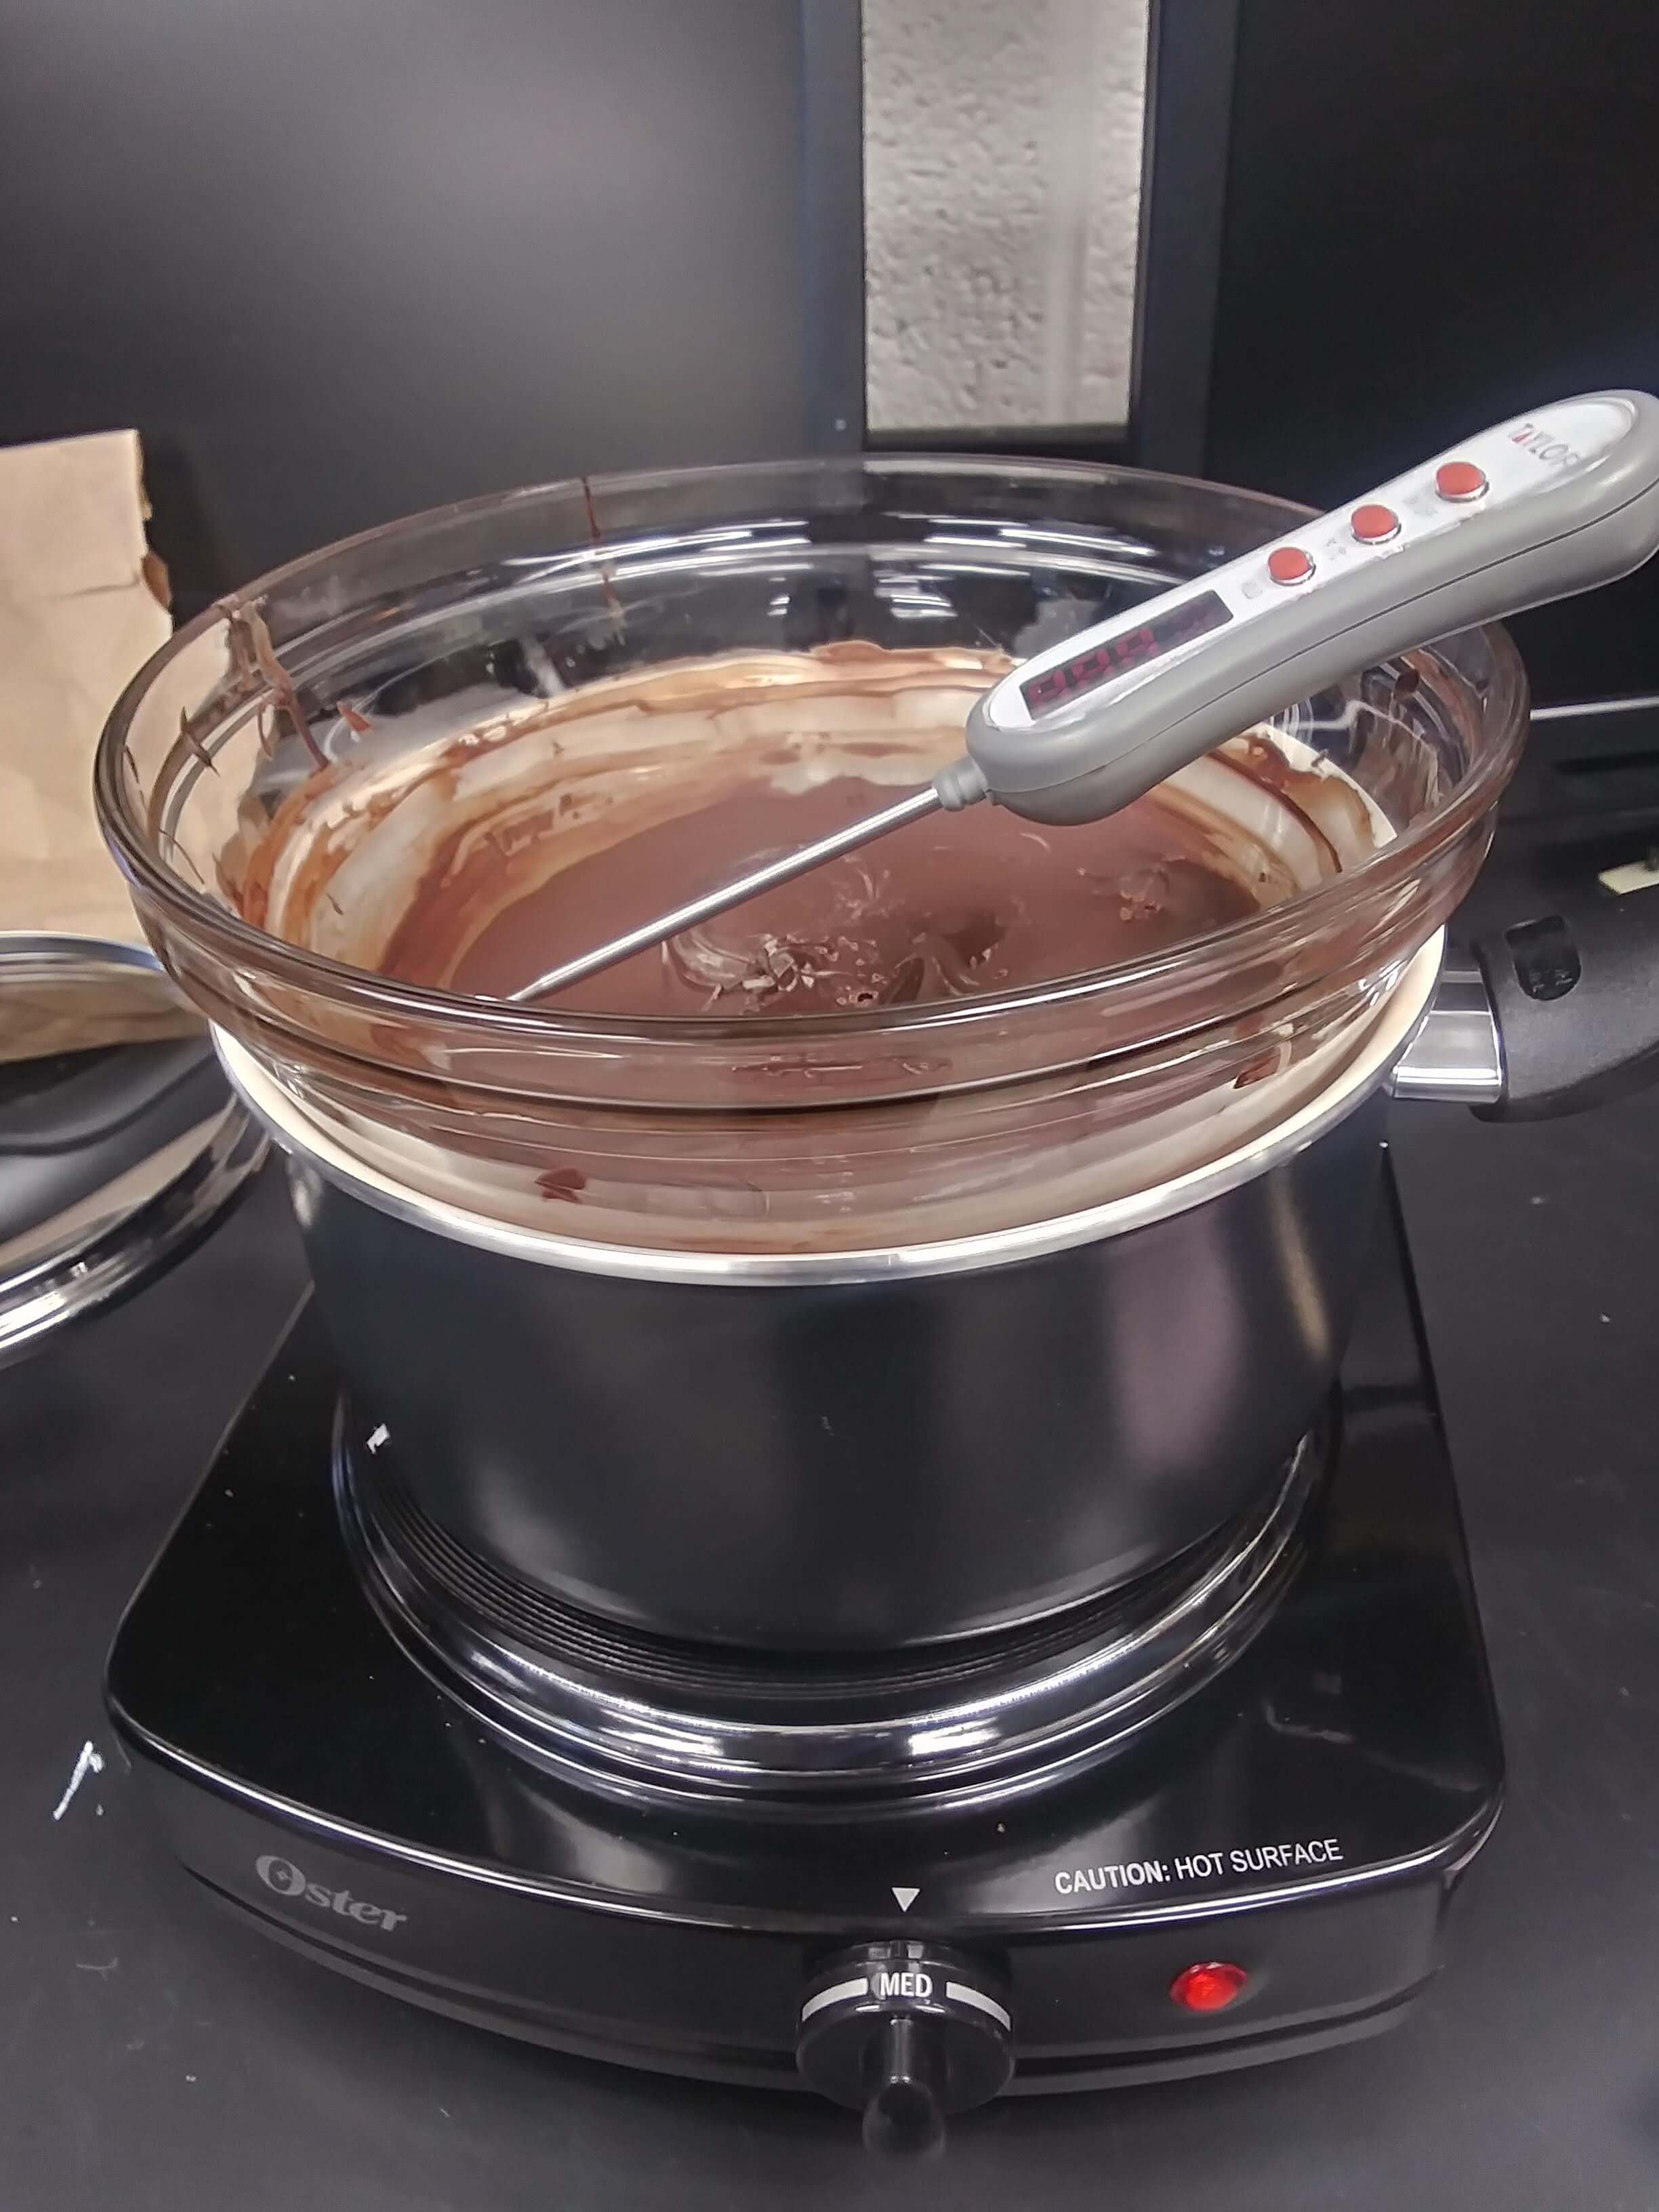
At last, it was time for the best part of the week: the chocolate! I created a double boiler to melt the chocolate.
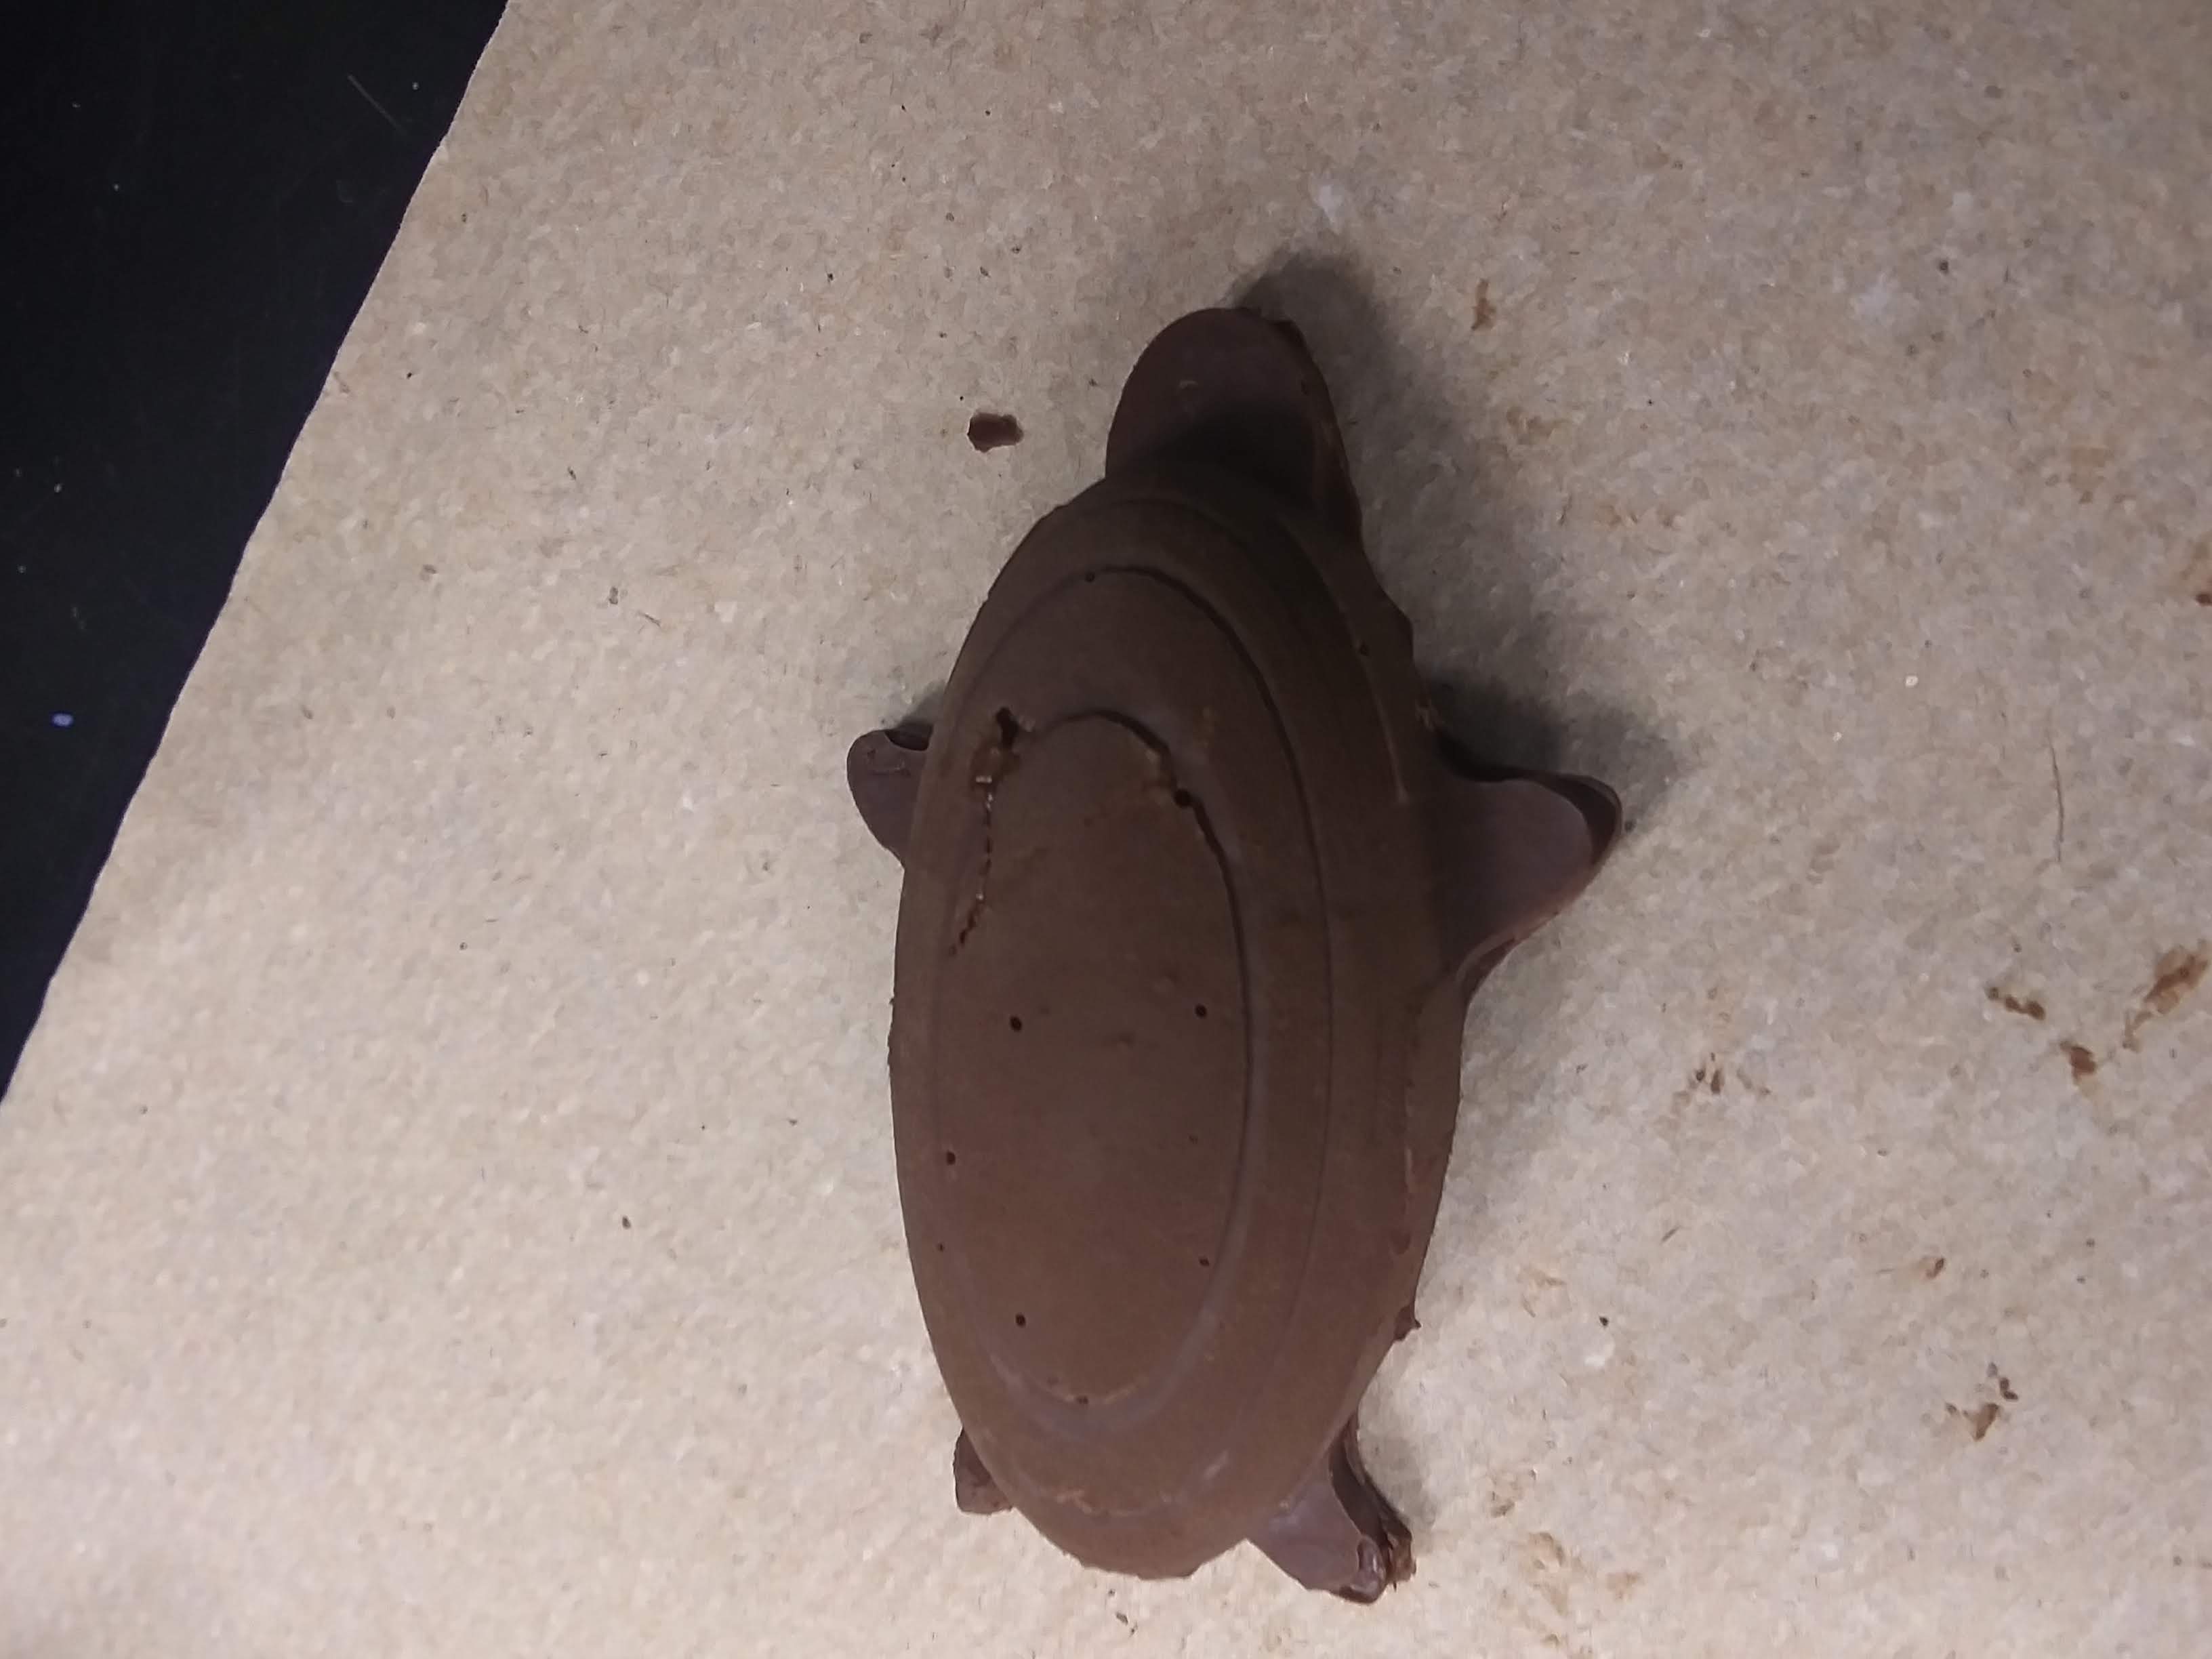
I out the chocolate in the mold and let it set for 15 minutes. The final product, as I had hoped very much resembled an adorable turtle!
Links
Rough CutsDetailed Cuts
Fusion 360 Design