Project Managment
Git and personal site
Intro.
This is helpful while making self portfolio especially when you are open learner and deschooler like me.
In this week I will explore different tools and modules that can be useful while Project Managment
Purpose is to use it to record my FAB-Academy doings and learnings.
Week Assignment :
Work through a git tutorial build a personal site in the class archive describing you and your final project
Git & Gitlab
*storing, sharing & version control
Git is a distributed version-control system for tracking changes in any set of files, originally
designed for coordinating work among programmers cooperating on source code during software
development.
GitLab is a web-based DevOps lifecycle tool that provides a Git-repository manager providing
wiki, issue-tracking and continuous integration and deployment pipeline features, using an
open-source license, developed by GitLab Inc.
Login in gitlab
Since I have user ID and password already so my job is just to login and managament my project in it.
If you are window user you need to install Gitbash to
begin with git and gitlab
In ubuntu you mostly need no installation if so you can get it by using command
apt-get install git.
I have window 10 in my system and ubuntu on virtual machine.
so first let start with window 10 since except git installation there are no big differents in
using.
I installed Gitbash in my window system.
*Gitbash terminal
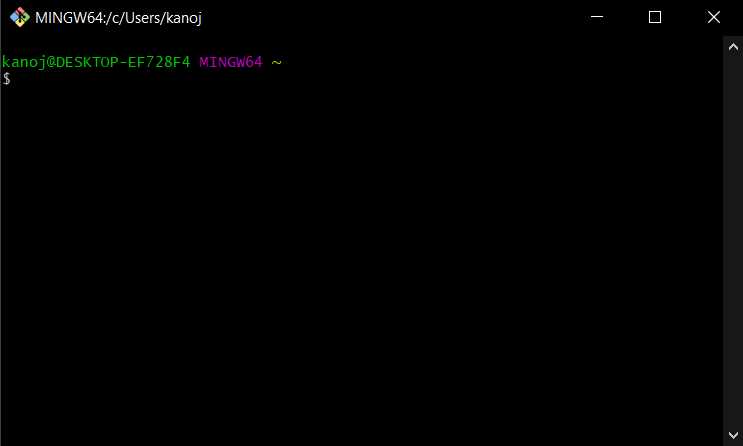
Generating and Copying the SSH key
The SSH (also referred to as Secure Shell) is a method for secure remote login from one computer to another. To support SSH, GitLab requires the installation of the OpenSSH client. GitLab supports secure communication between Git and its servers using SSH keys.
Follow the steps:
*Gitlab on web
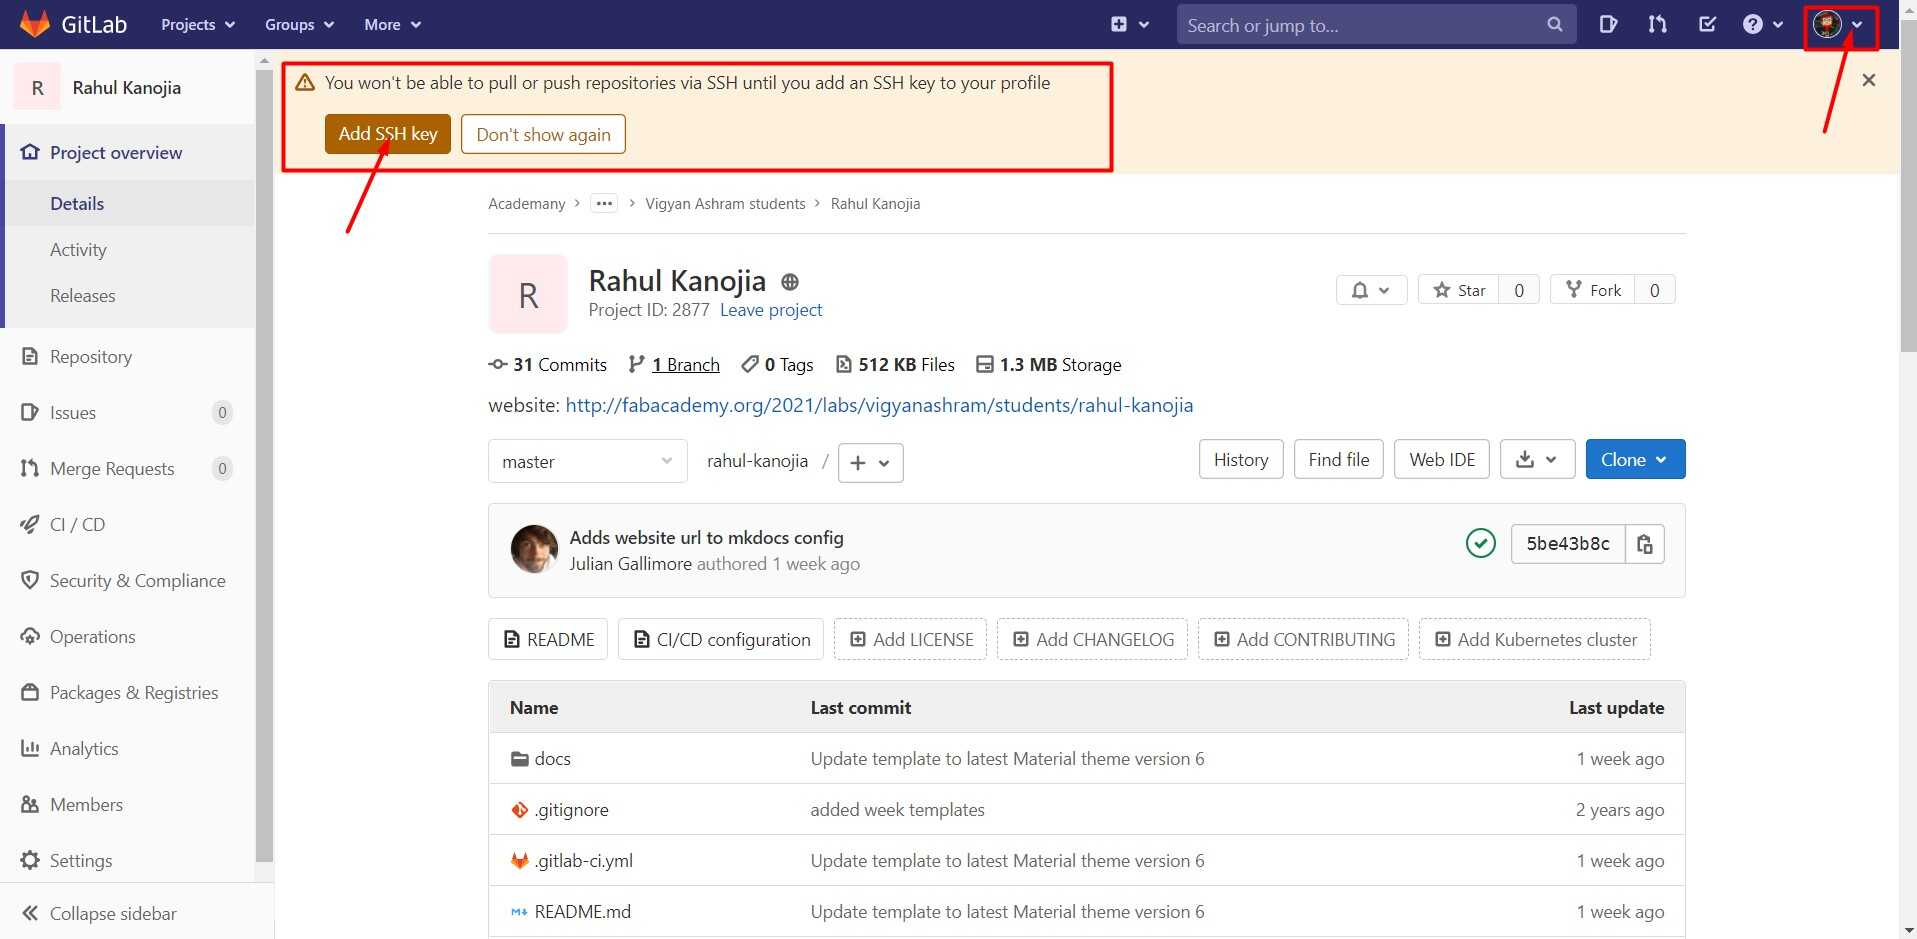
Go to your Gitlab account login with Use user name and password. After getting in your account
you will find "Add SSH keys"
option directly or You can find it in usersetting/SSH keys
*Gitbash terminal
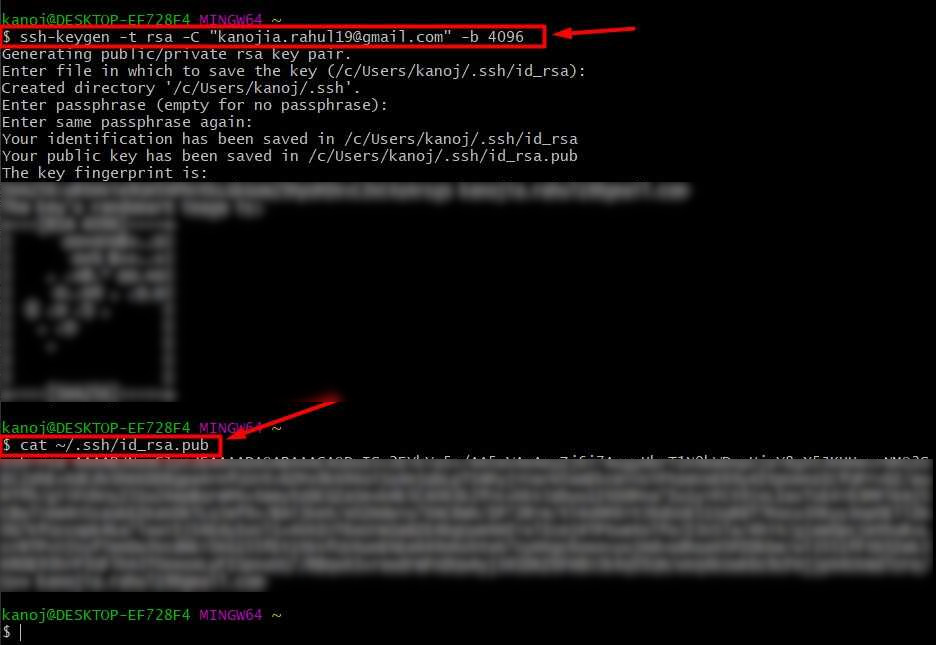
ssh-keygen -t rsa -C "yourmailID" -b 4096
cat ~/.ssh/id_rsa.pub
*Gitlab on web- usersetting/SSH keys
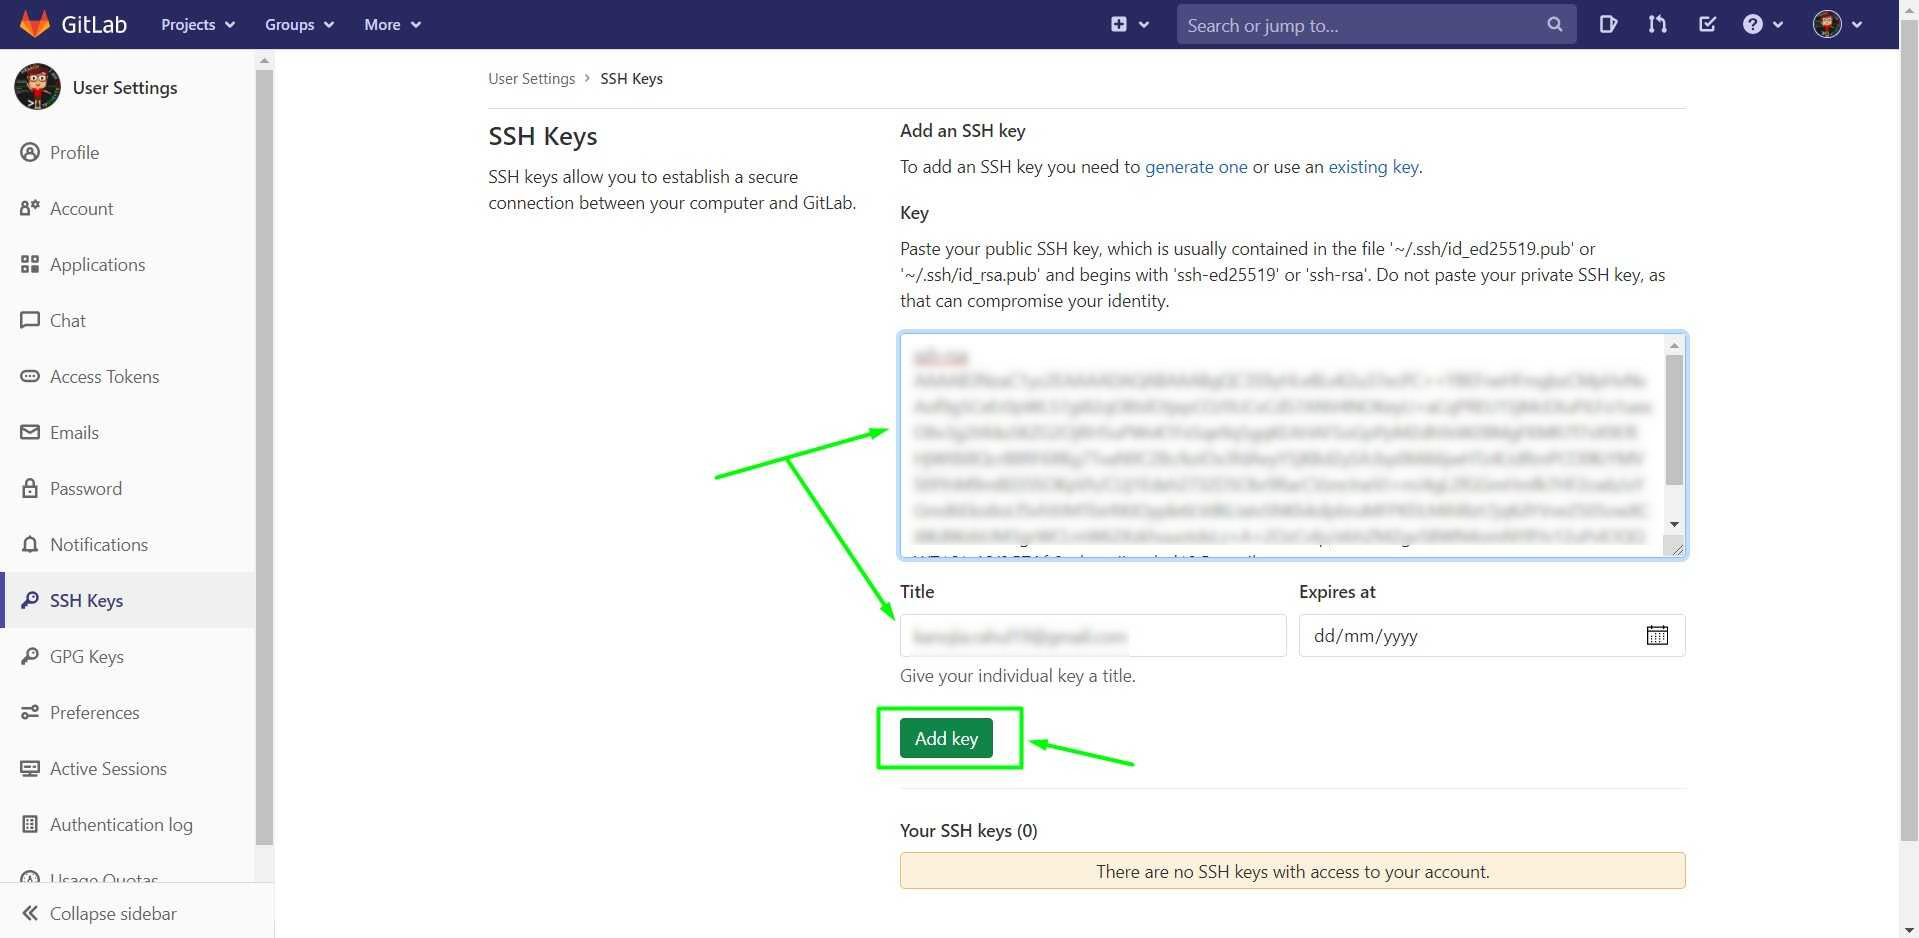
Paste key in Profile Settings and click on SSH key

ssh -T git@gitlab.fabcloud.org (to check your key configured or not )
first time it will show some message but if try again it will show no msg
cheers!
we have completed first step.
now let jump to second stage.
git clone

On gitlab web in you project you will find clone option on top of list of files and folders .when you click it, it will show to links one is ssh link and another is http link. Copy any one link.
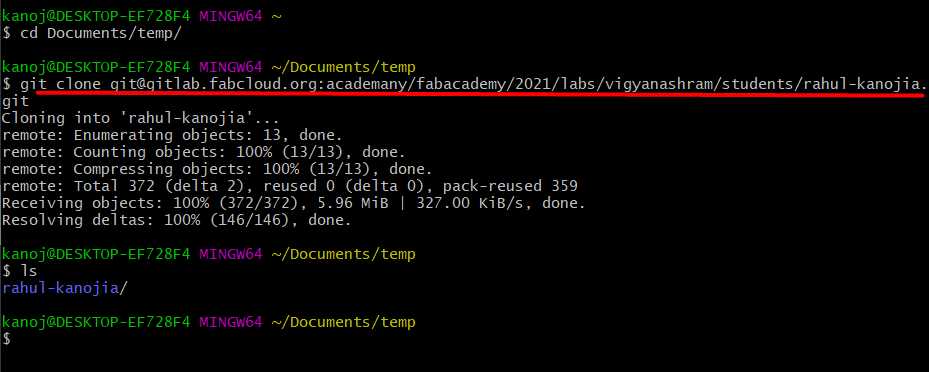
using "cd" command go folder where you like to clone your repository.
next use command "git clone paste-your-link-here"
press Enter
it will clone or download you repository in your computer
git config

git config user.name "your-user-name"
git config user.email "your-email-ID"
git pull/add/commit/push
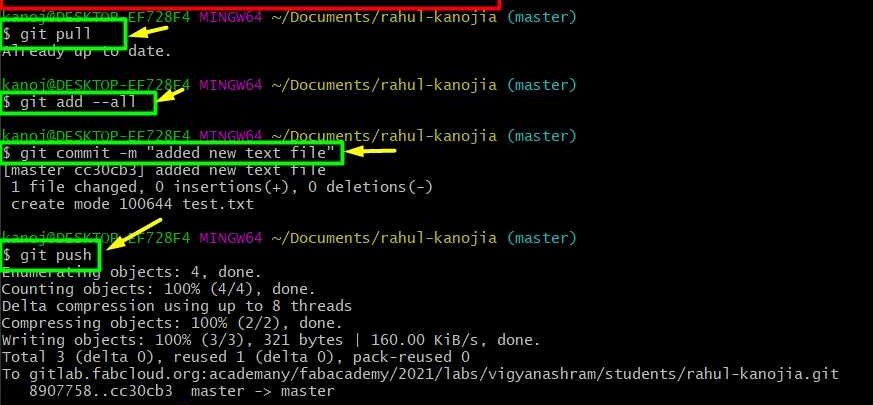
similar to cloning but pull command will just update change made in your git repository instead
of downloading whole repository.
you have to use git pull every time before you begin with pushing to avoid conflict.
After editing you need to update your online repository for that follow step from git pull
next use 'git add -all' command
then ' git commit -m "message" ' to commit
and finally end with 'git push'
Learning Html, CSS, Javascript
* important language for webdesigning
Since I am familiar with Computer Programming Language like C/C++ and Python
I was Clear with Logic and structure of Programming, Since I never done Web-Design and
neverever explored html, css, and javascript before
So my focus task was to learn them.
Thanks to 'w3school.com' - This is the website full
of tutorials on Programming Language with a simple examples.
Getting Started
Before starting with anything go through exercises provided on w3school.com on html and
css.
In Computer we can use just a notepad for writing web-page *no extra installation or setup
is
needed for Html.
Hello! World
*copy code on any text editing software and save file with a extension .htm or .html
<!DOCTYPE HTML>
<html>
	<head>
		<title>HelloWorldPage</title>
	</head>

	<body>
		<h1>Hello World</h1>
	</body>

</html>
After saving file into .htm or .html double click on a file where you saved it to making it
run.
By default it will excuete in your default web browser.
Hurey!
Once to acheive this much you can continue with your Practice with examples available on
w3school.com.
We move forward on making our own webpage
visual Studio Code
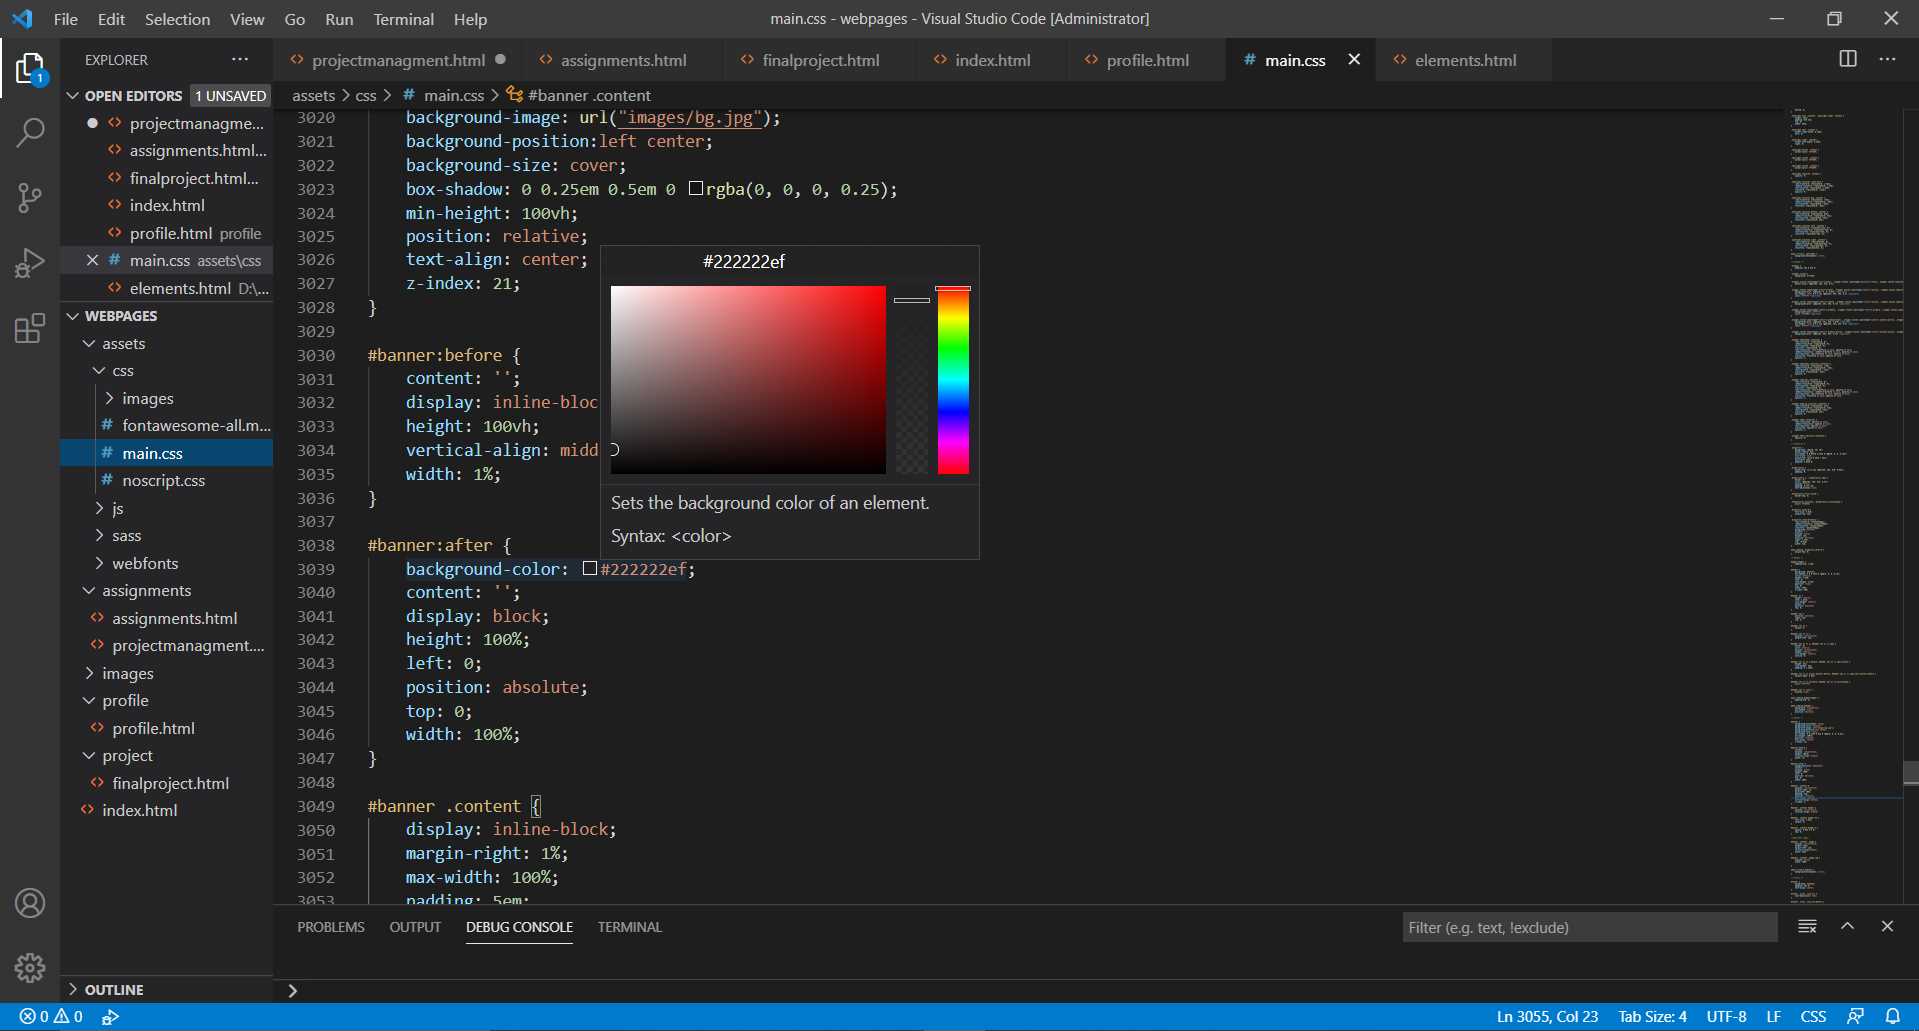
Since coding started to become more complex and long standing on notepad or even on notepad++ is not enough so jumped on visual studio code which is Open Source code editor developed by microsoft.
Bracket
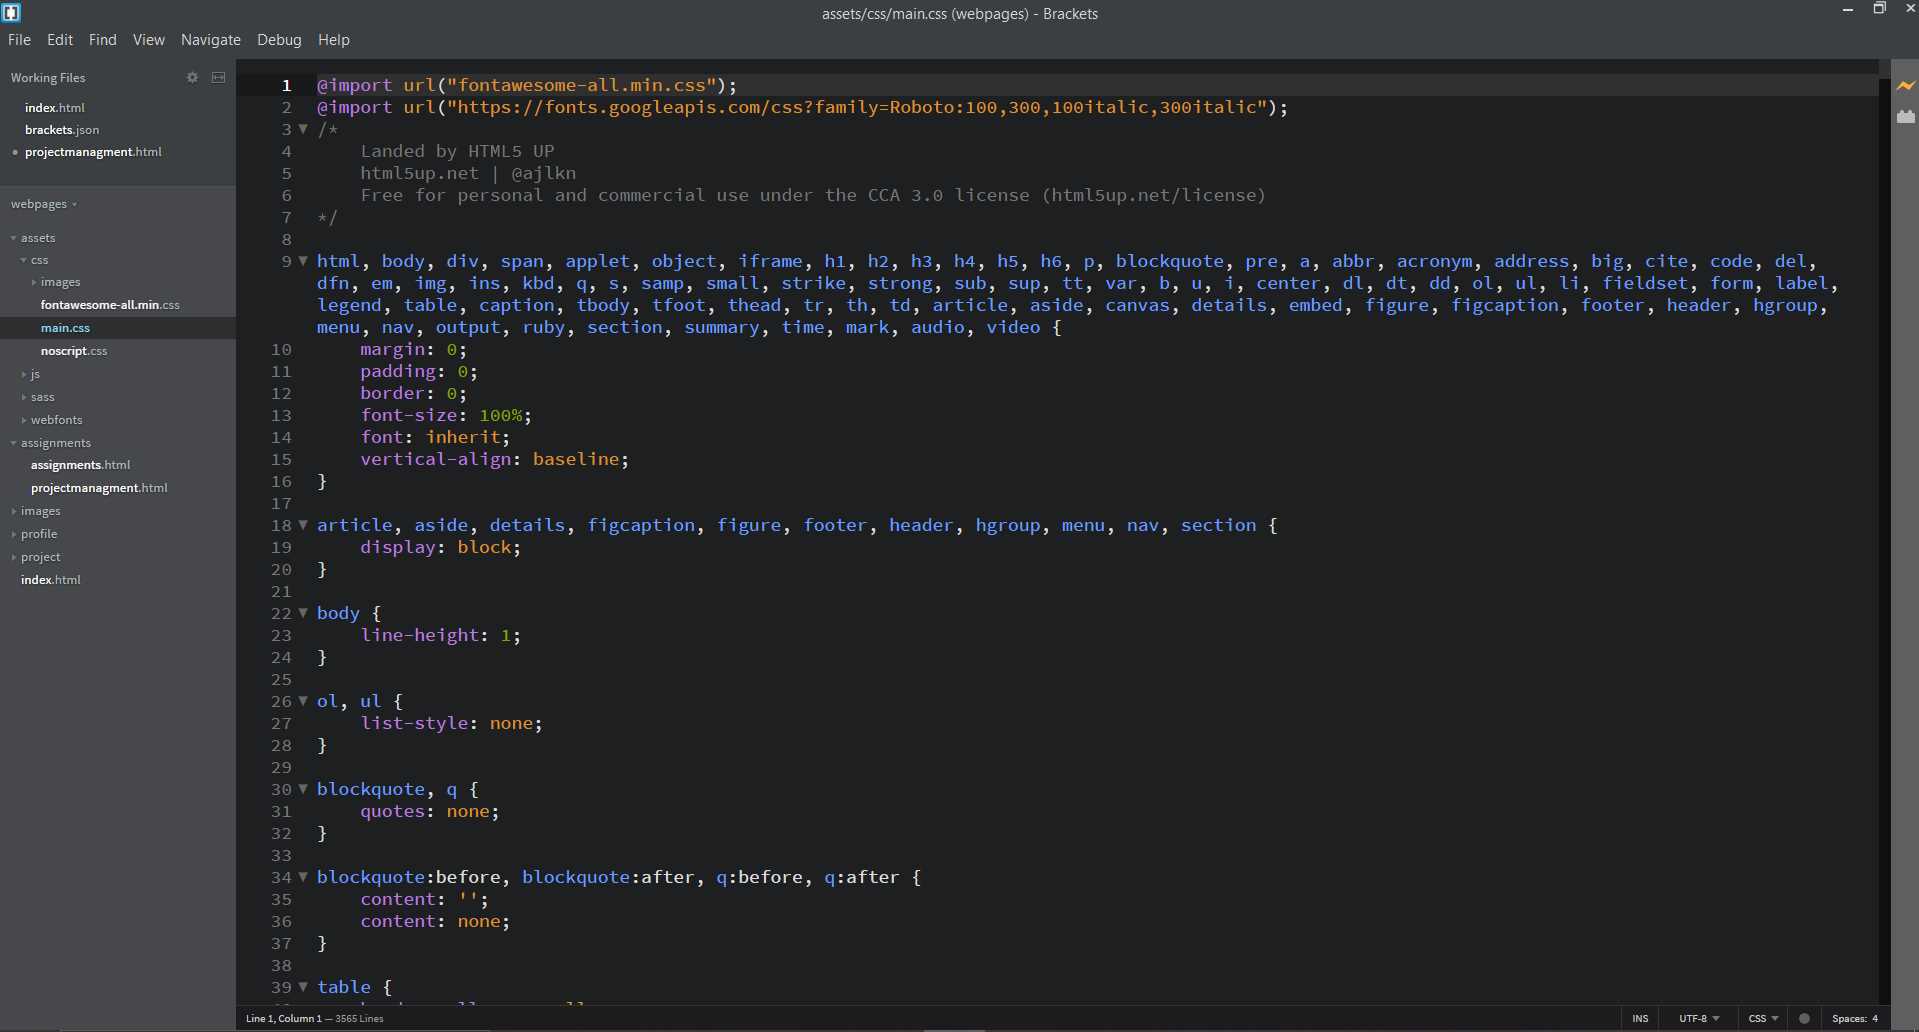
Bracket is another good application that I have explored. I prefer using both, but I sticked on vscode because I was using it before and drag/drop sentence or code using mouse is what I use more .
*webpage that I build from zero
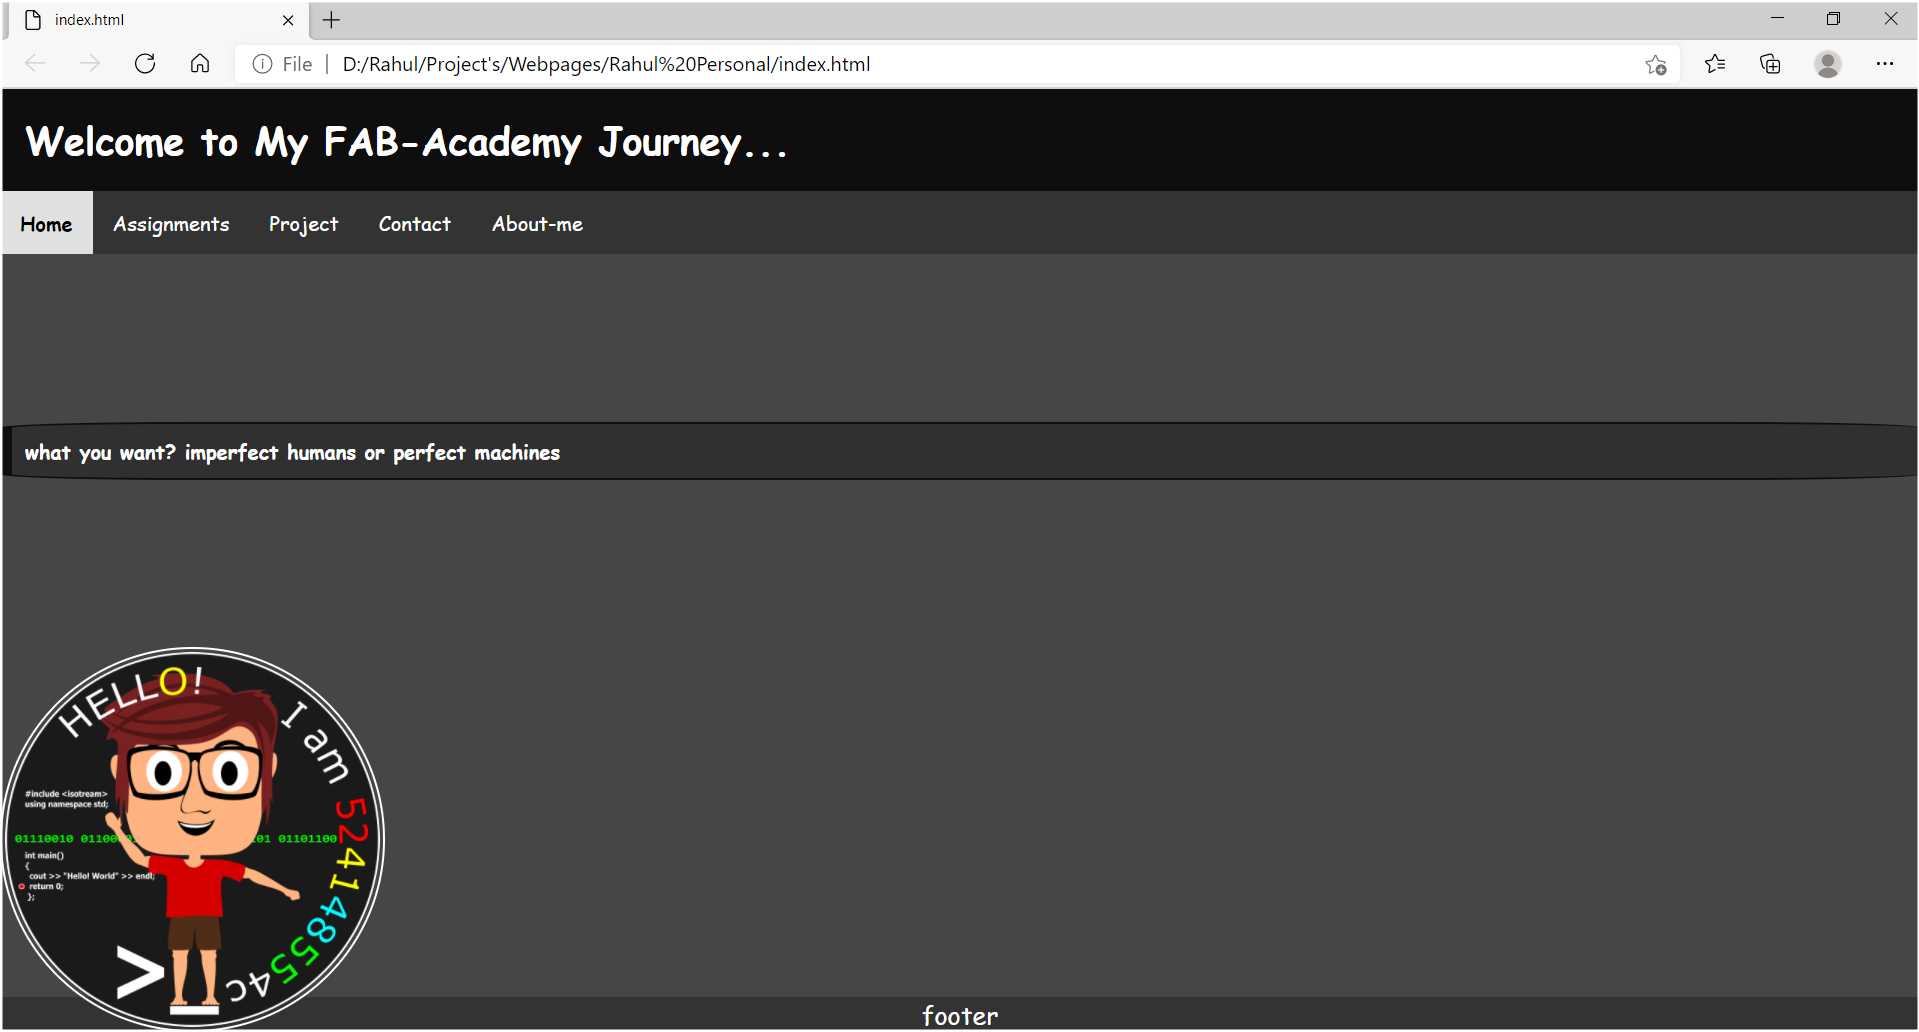
I started to build web-page from zero but it is hard task in limited time
so I took template named Landed from HTML5 UP and modified it
according to my need.
So I begin to play with codes. I use visual studio code for editing so to change colors I search
for words like color:, background:, background-color:,
background-image: in main.css file and started to change parameter
until I settle to this color theme
I changed profile pic with my avatar that I made using inkscape. I made two vector images with little different to animate it using simple javascript i.e
<span class="image" onmouseover="document.getElementById('xz').src='images/myself1.svg'"
onmouseout="document.getElementById('xz').src='images/myself2.svg'">
<img id="xz" src="images/myself2.svg" ></span>

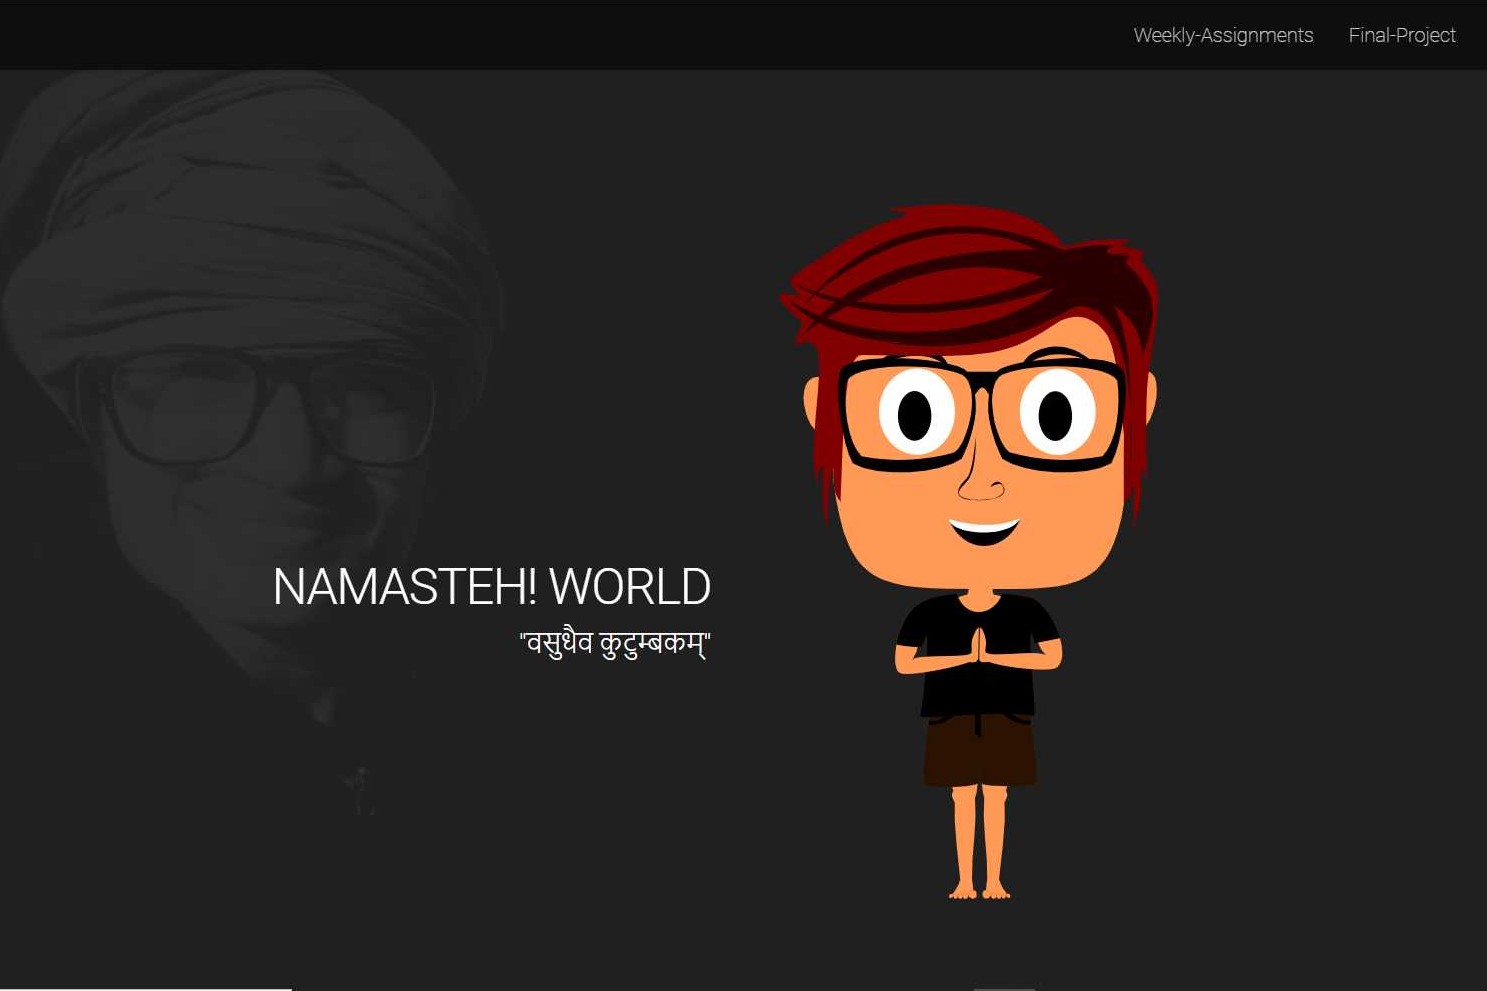
Some visible change that I made you can see on down images. Like here I modified side navigation bar in webpages by changing code in main.css file.
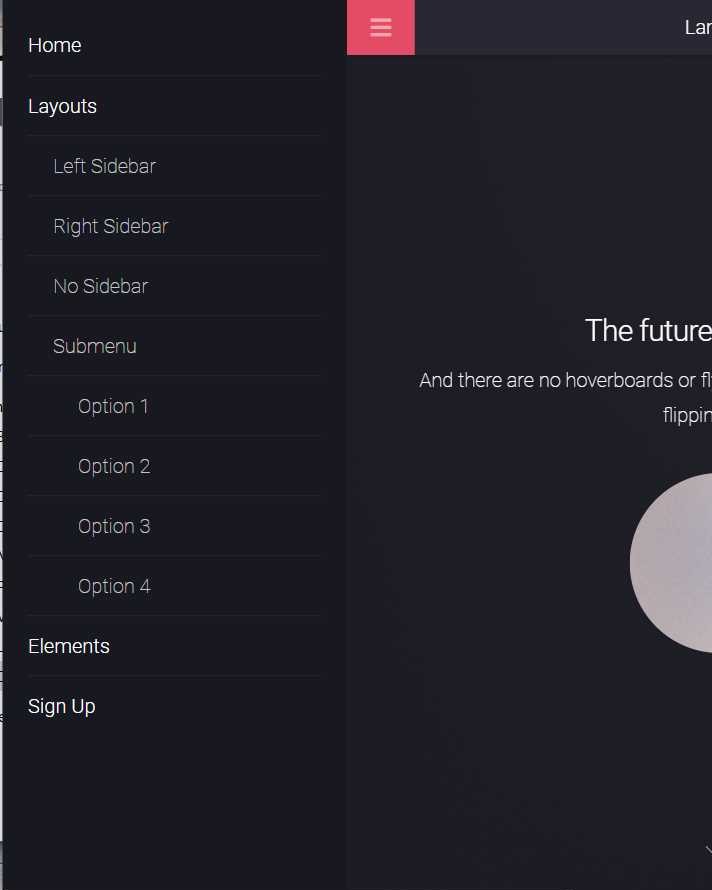
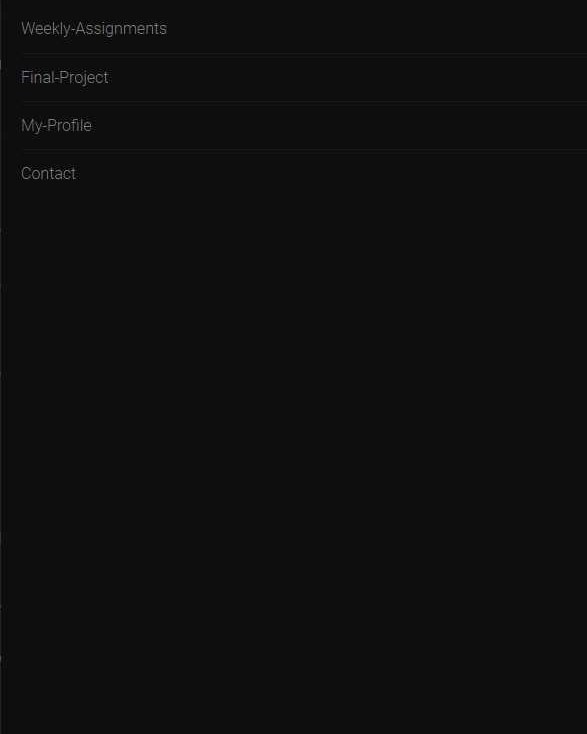
Here I found one another interesting thing as you see in below Images is Icons package. Thanks to Fontawesome and again W3school for tutorials on How to use Fontawesome Icons on your pages.
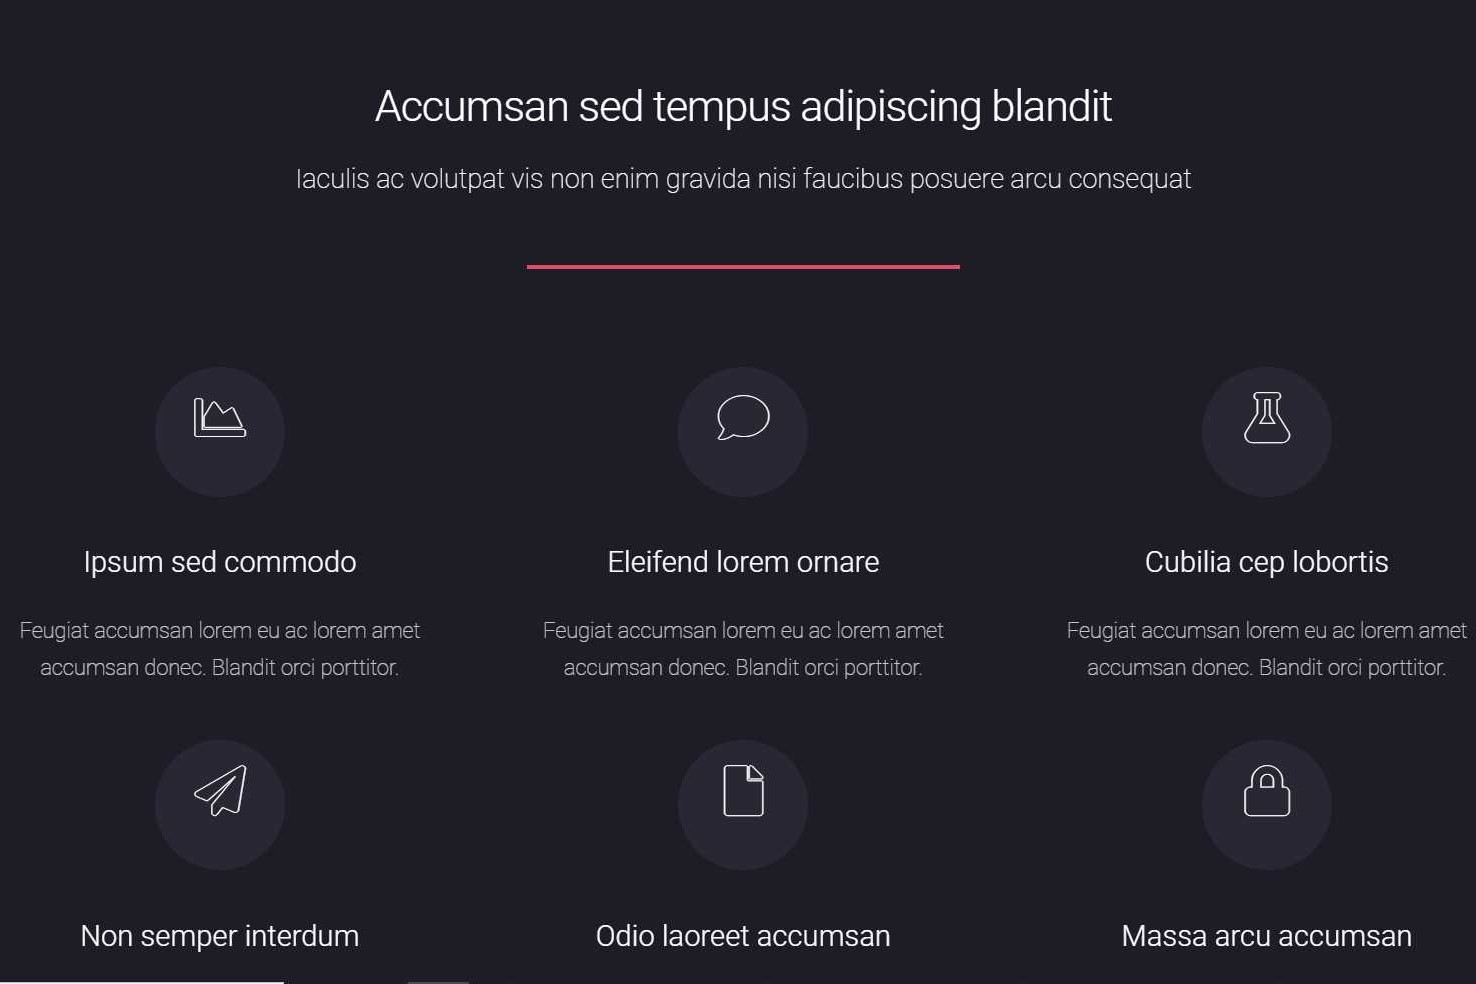
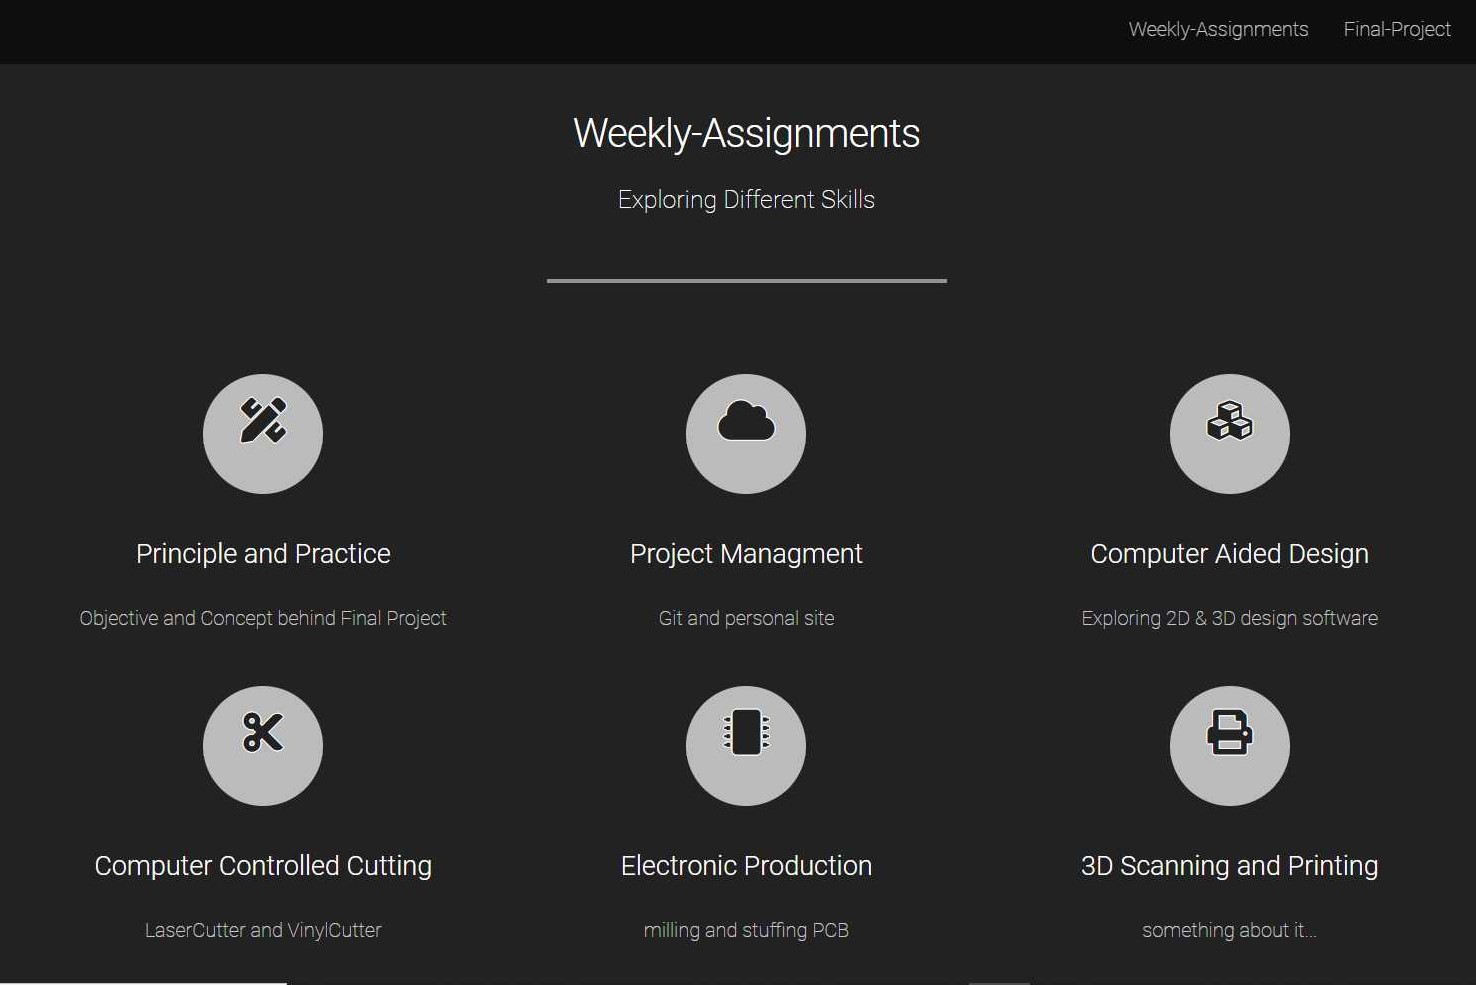
I displayed some changes That are bold and visible but with that there are many small changes that I have made to make pages work according to my design. Using templates is not shortcut anyway and it not describe your potential or creative less.
Screen Capturing
You can take screenshot using window + prt sc on window 10 os and
prt sc for ubuntu. This feature is are inbuilt. But you are not happy with that I
am then you can give a try to 'Lightshot'.
Lightshot is open-source software and I found it very useful in documentation work and now I
prefer using this more
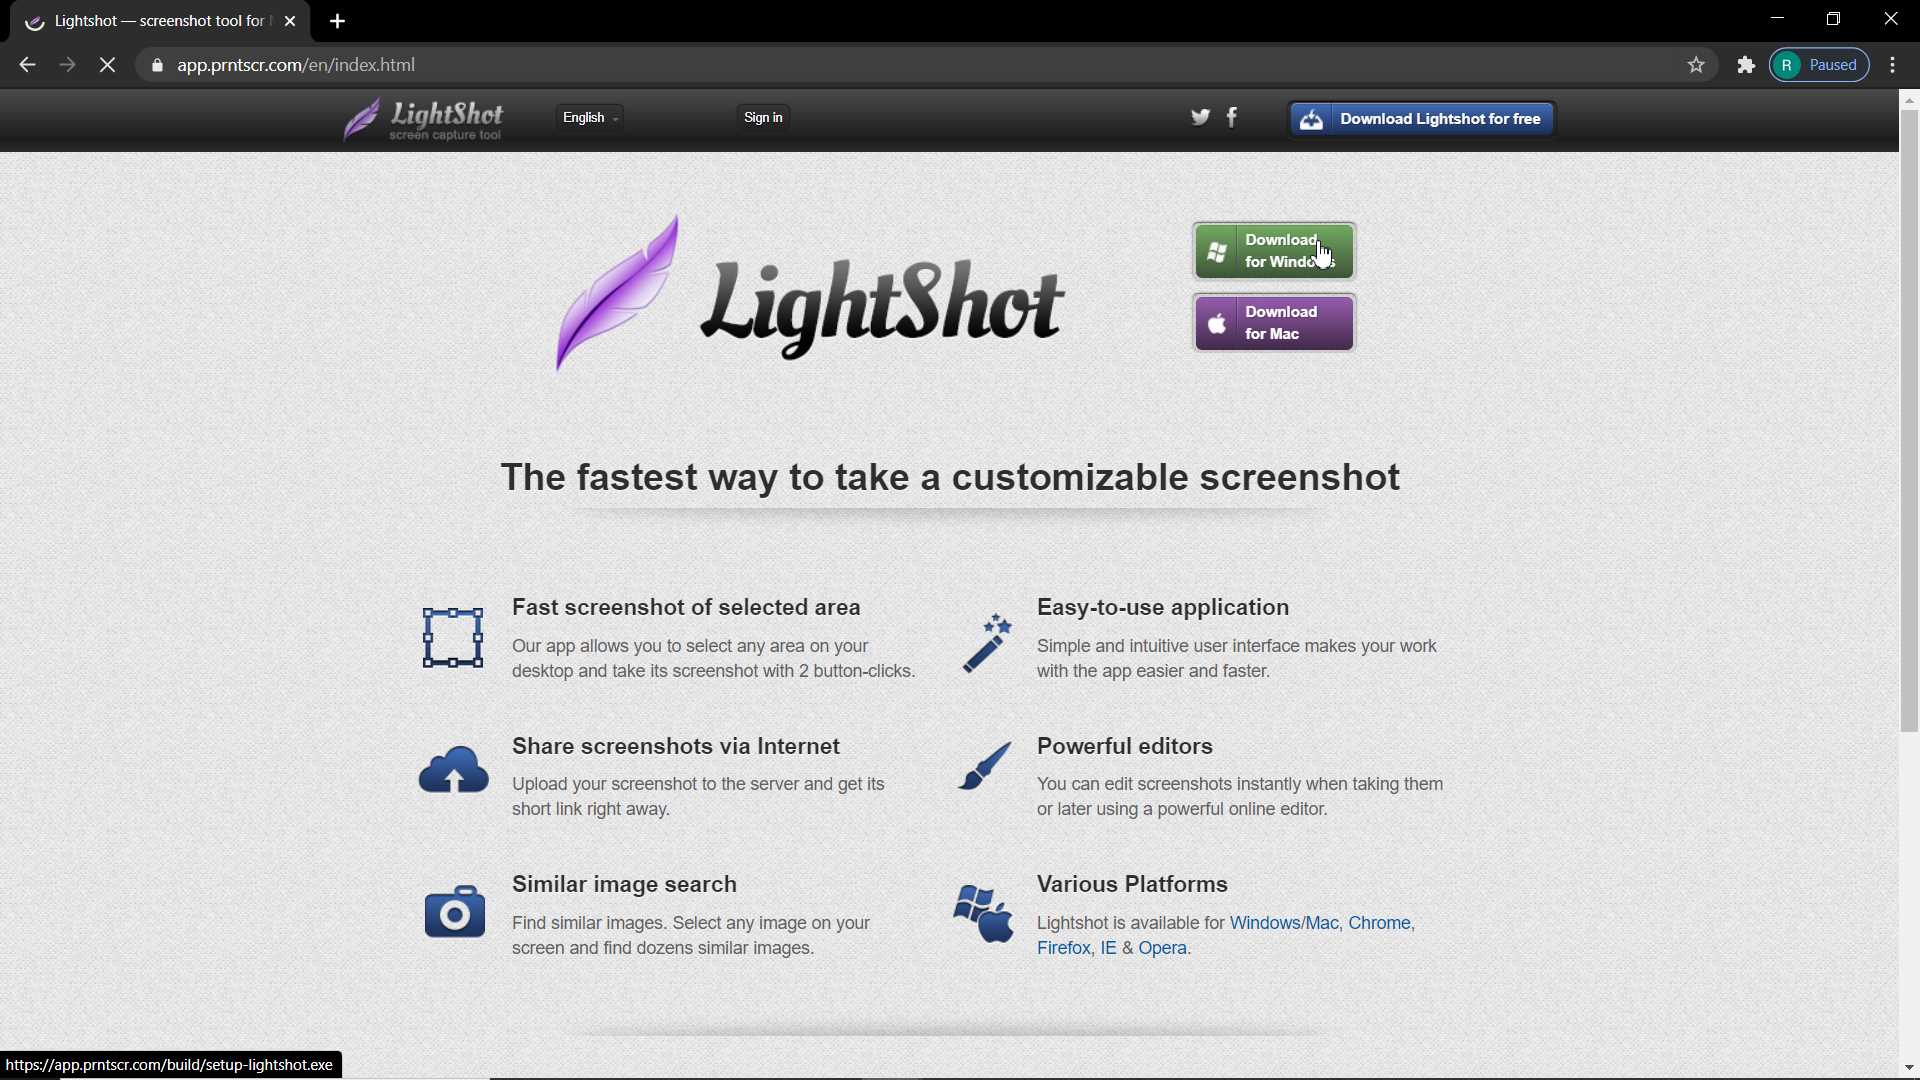
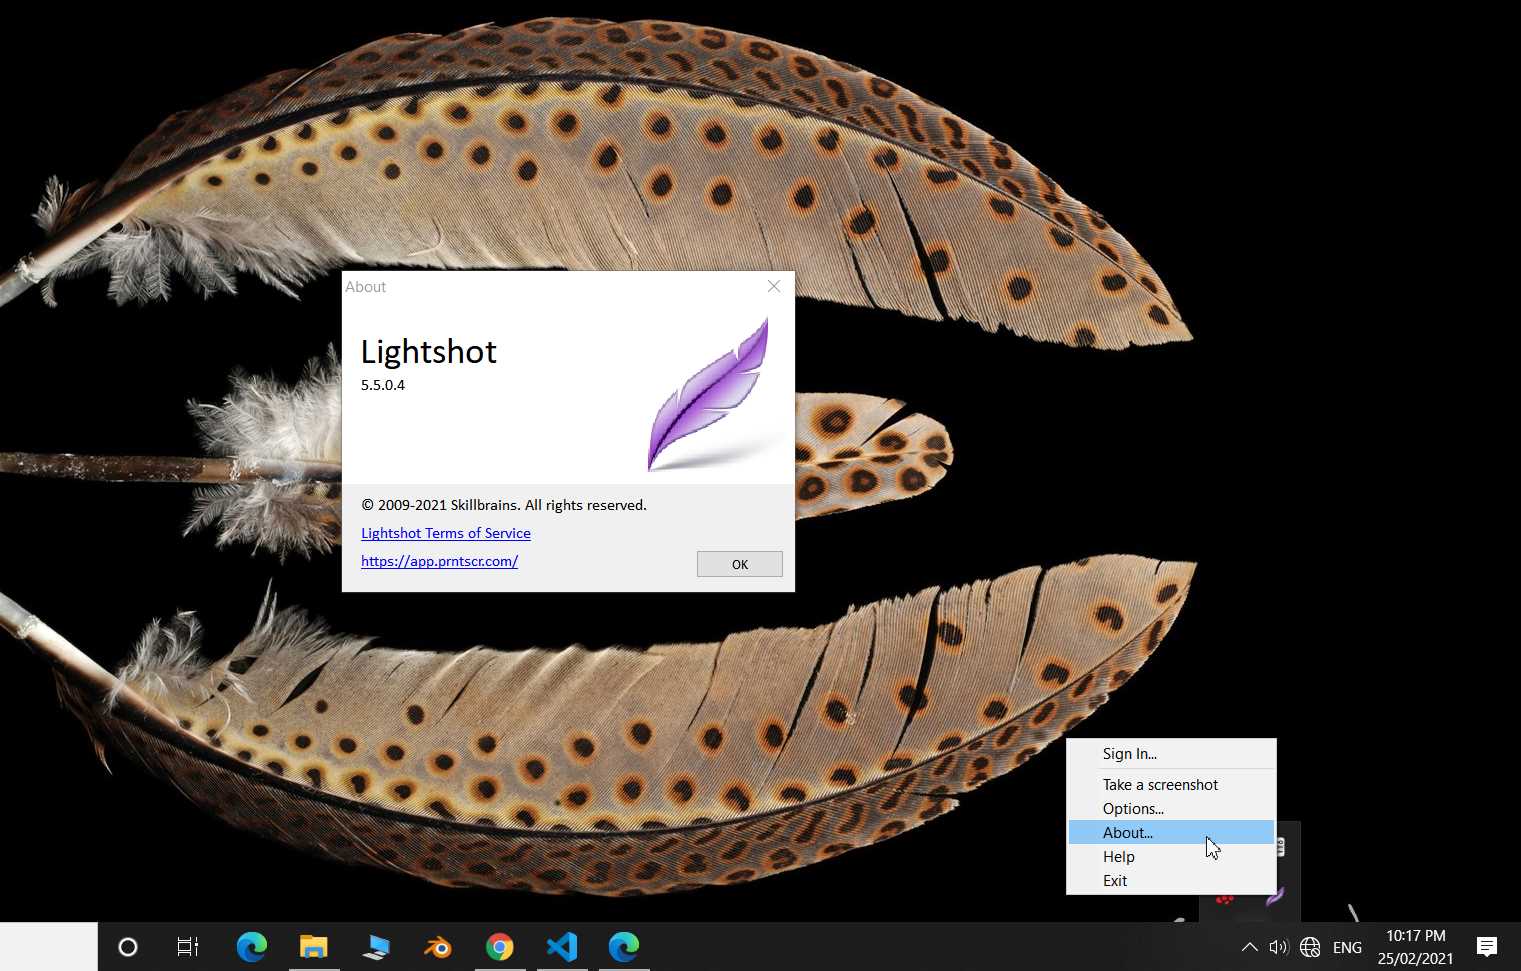
Image Compression
Image you capture most of time are larger in size which is not good to use in webdesigning because it unnecessarily increase your repository size and loading time. What we can do is compress, resize and change format of images as per need before putting it on our webpages. This can be done using image editing software. Since I am using gimp for long I selected to use it. For our special purpose It have wonderful plugin called BIMP (Batch Images Manipulation Plugin) which help you to work with multiple image at same time.
Open Gimp application. In menu bar goto File/Batch Image Manipulation
New window will pop up. Select Add in Manipulation set and select operations you want to apply on image
Next click on Add images in Input files and options to add Images
Click Apply to finish Job
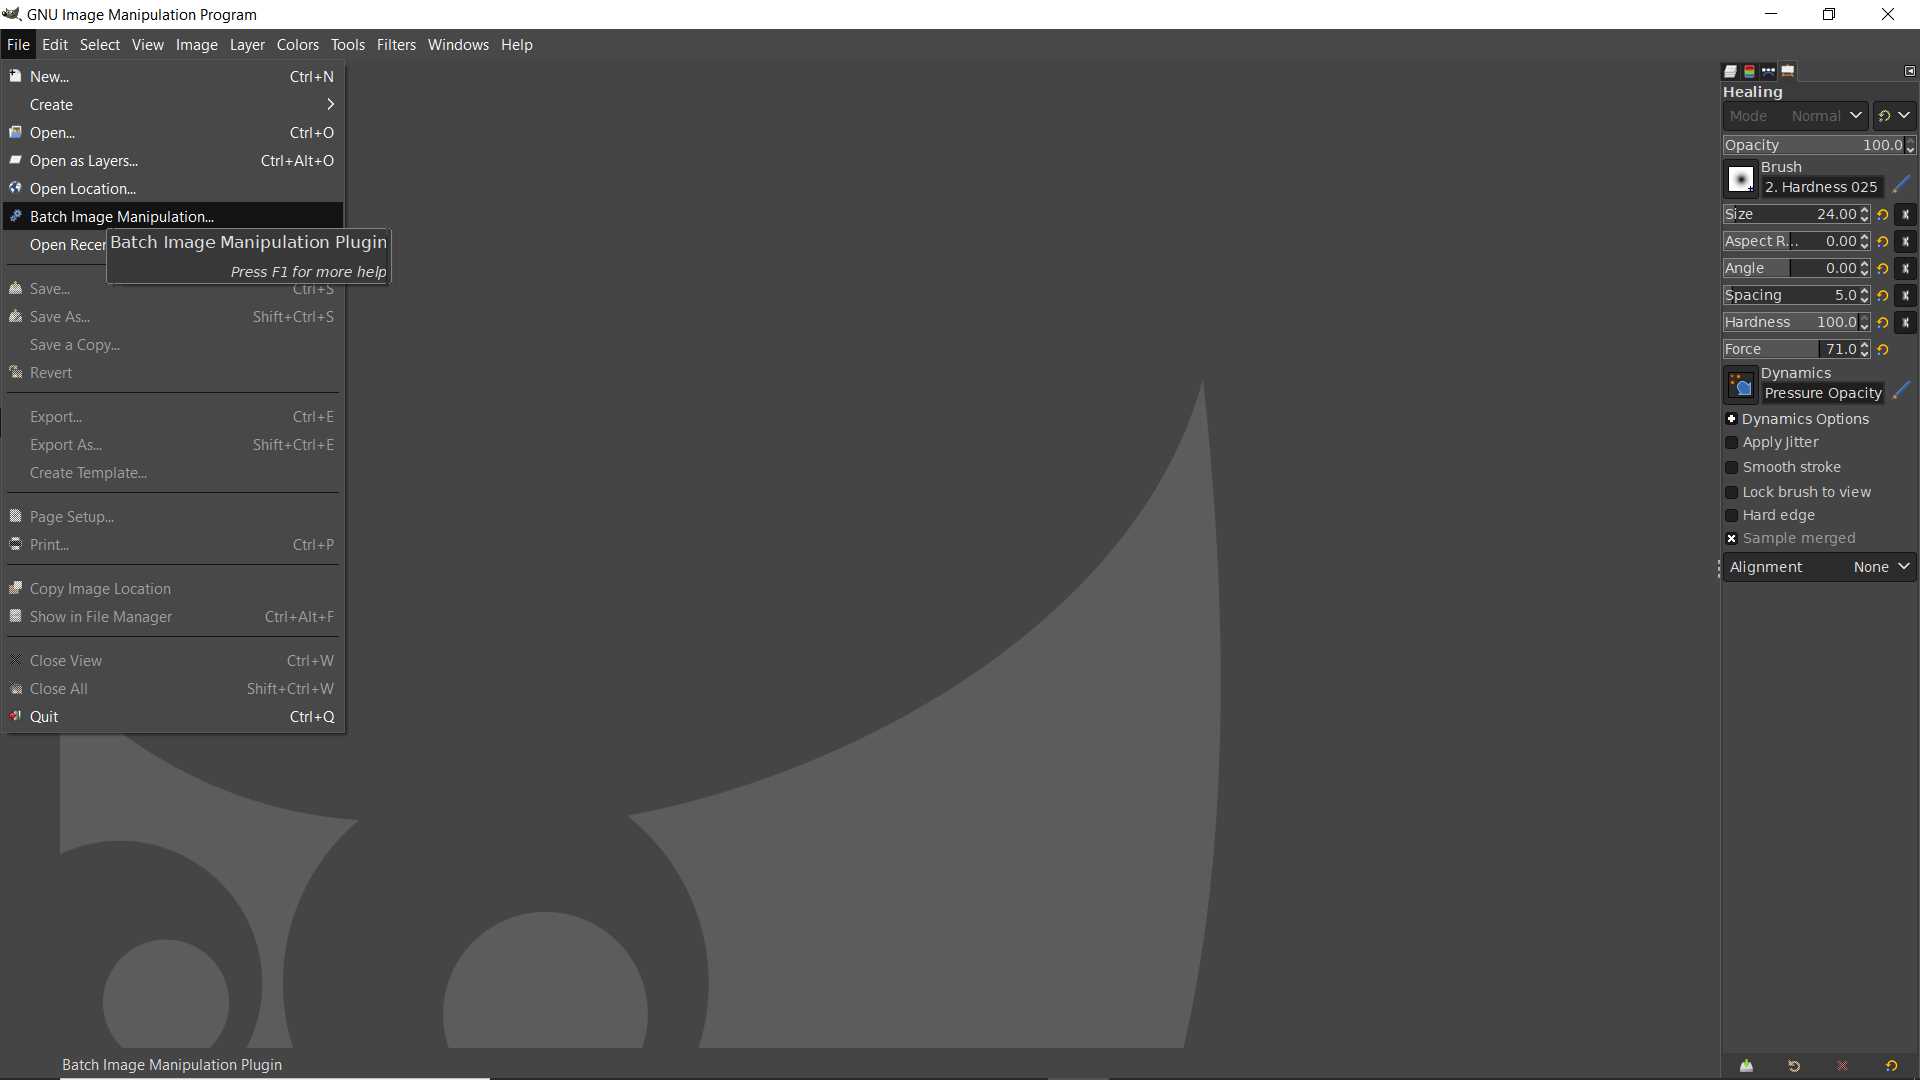
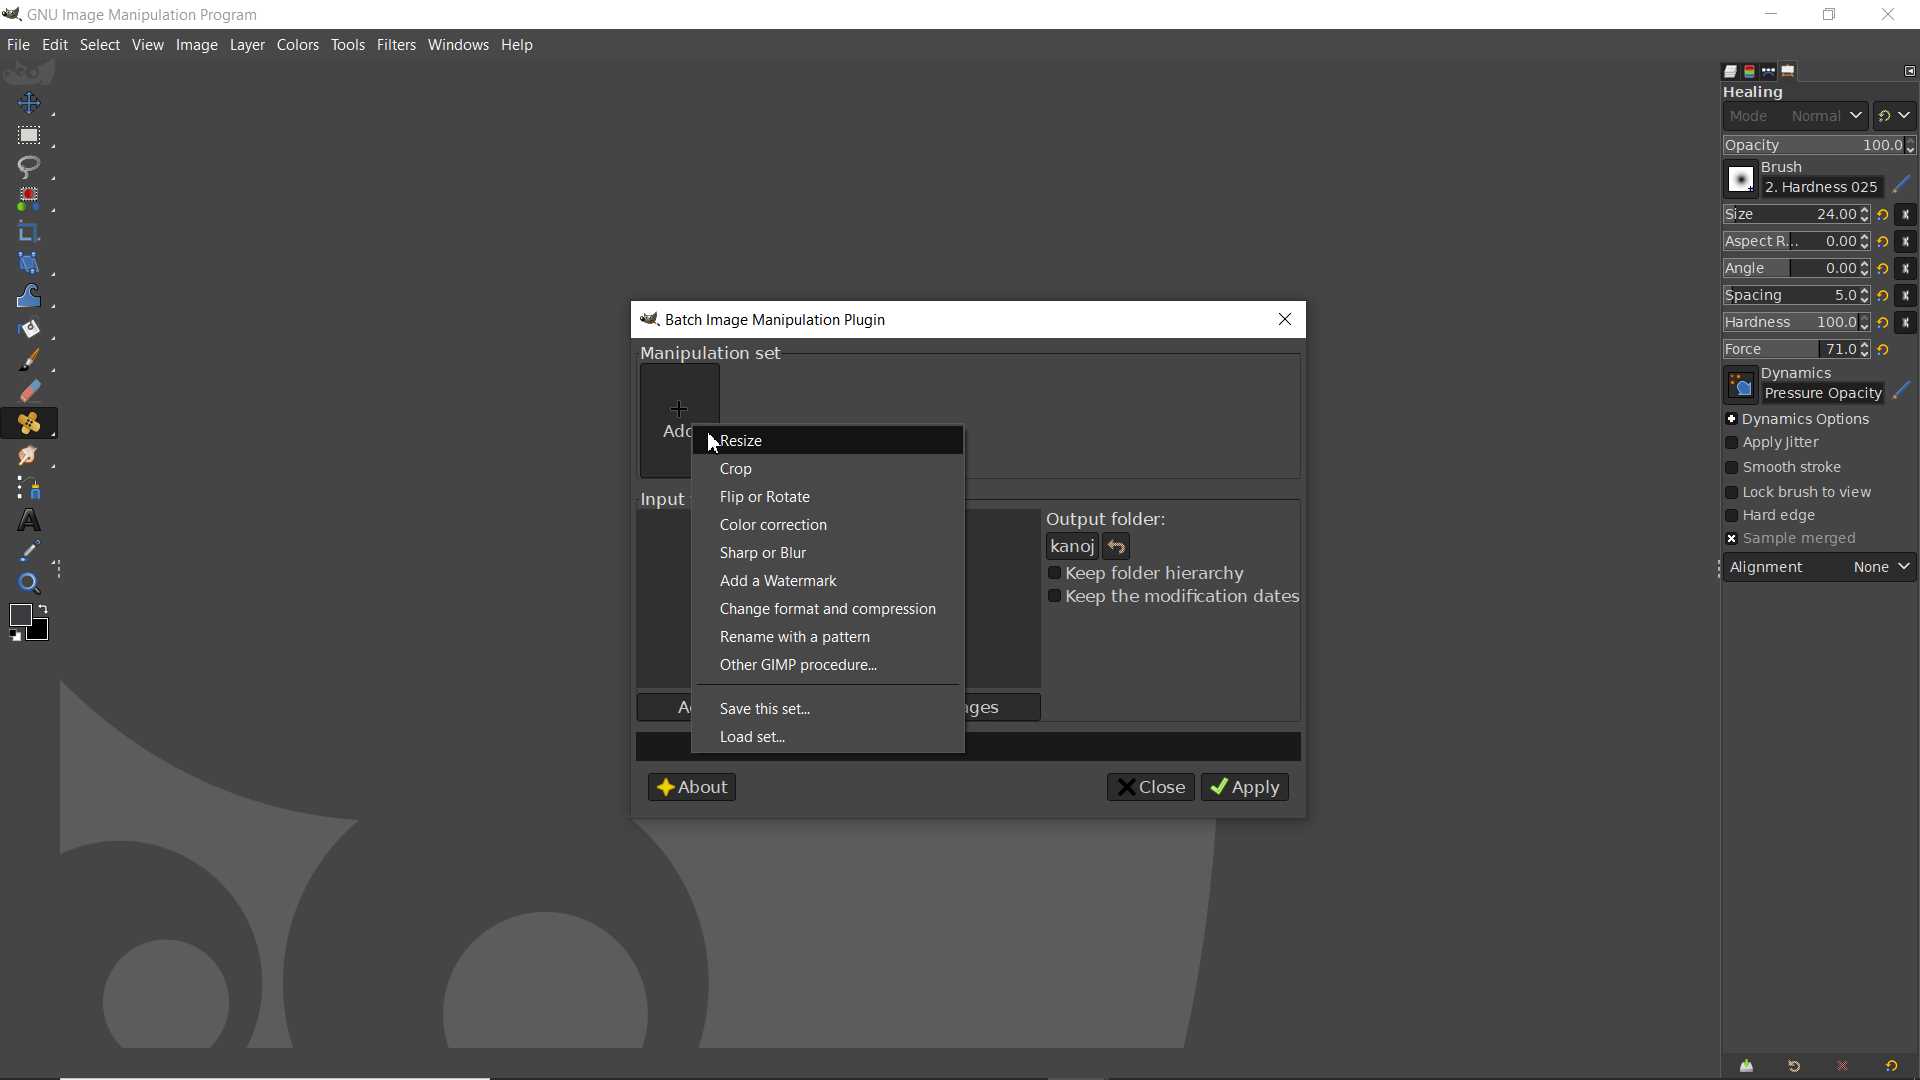
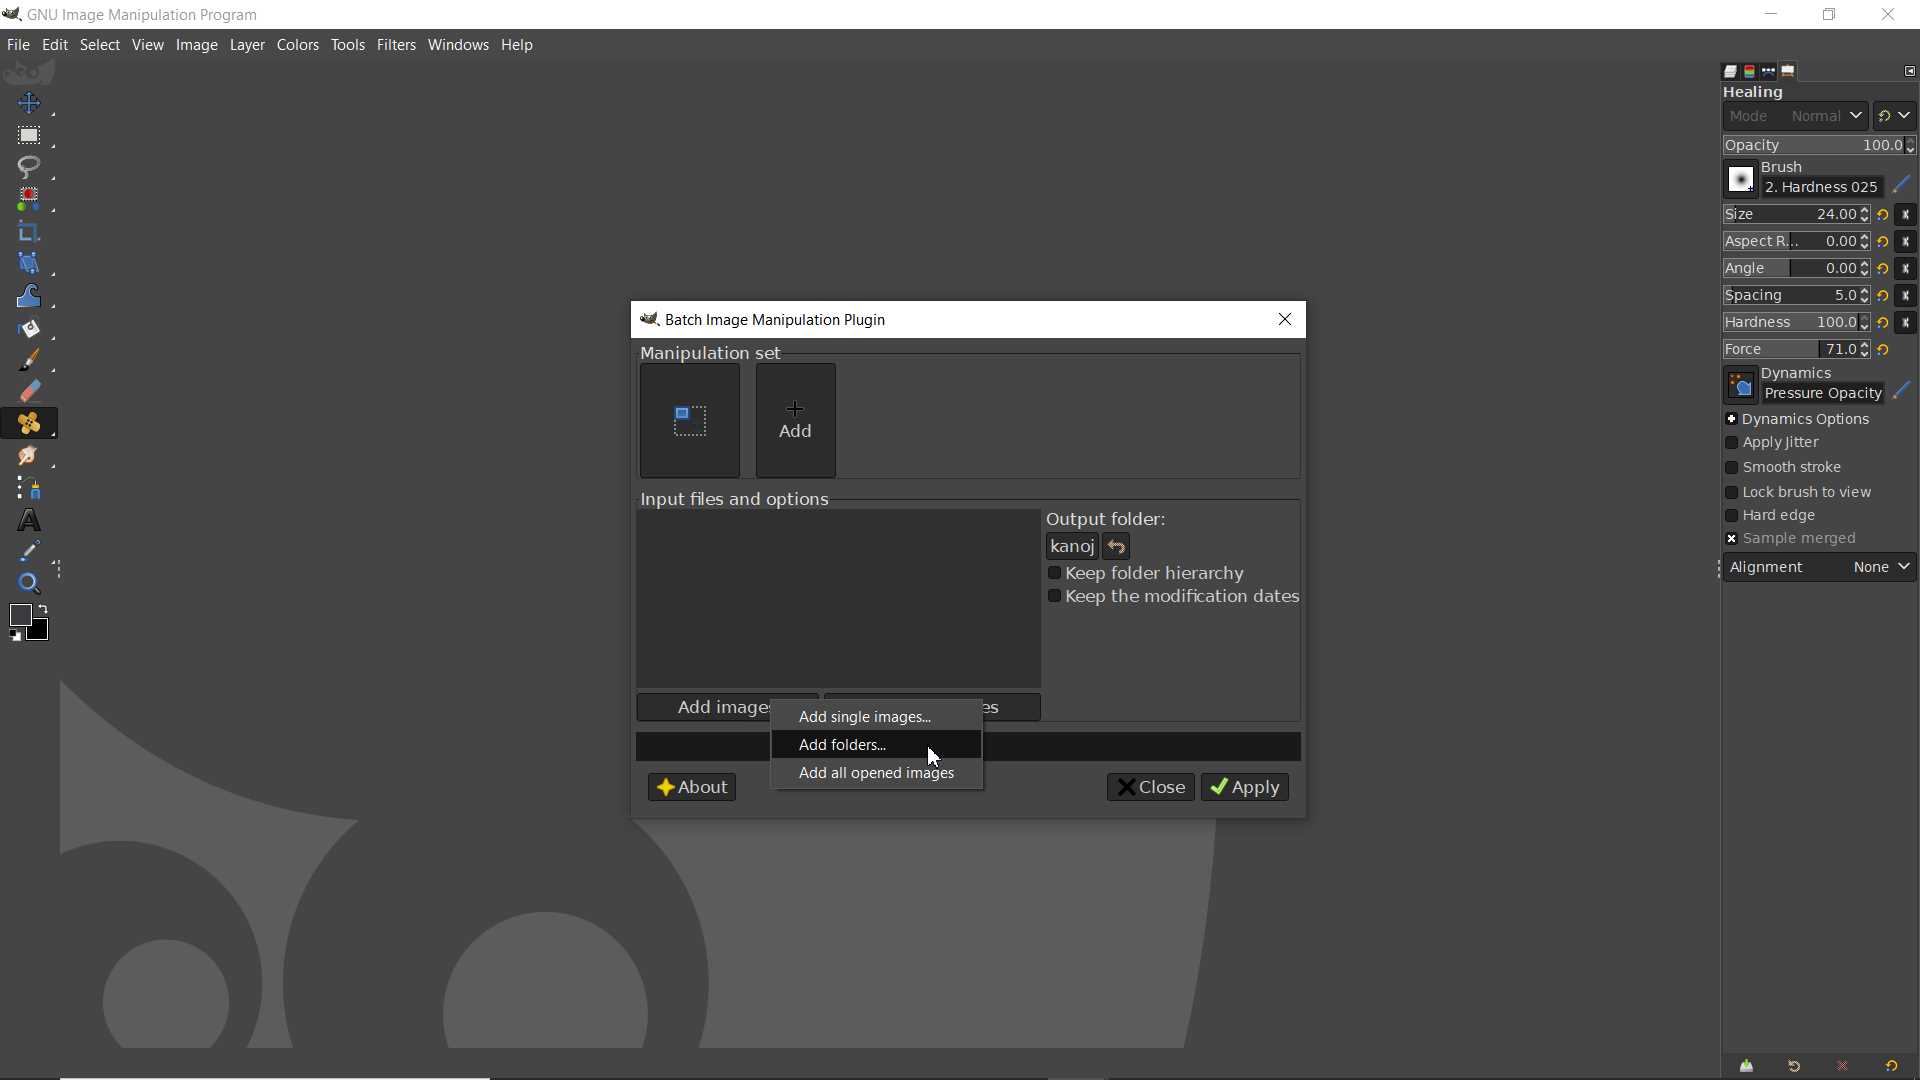
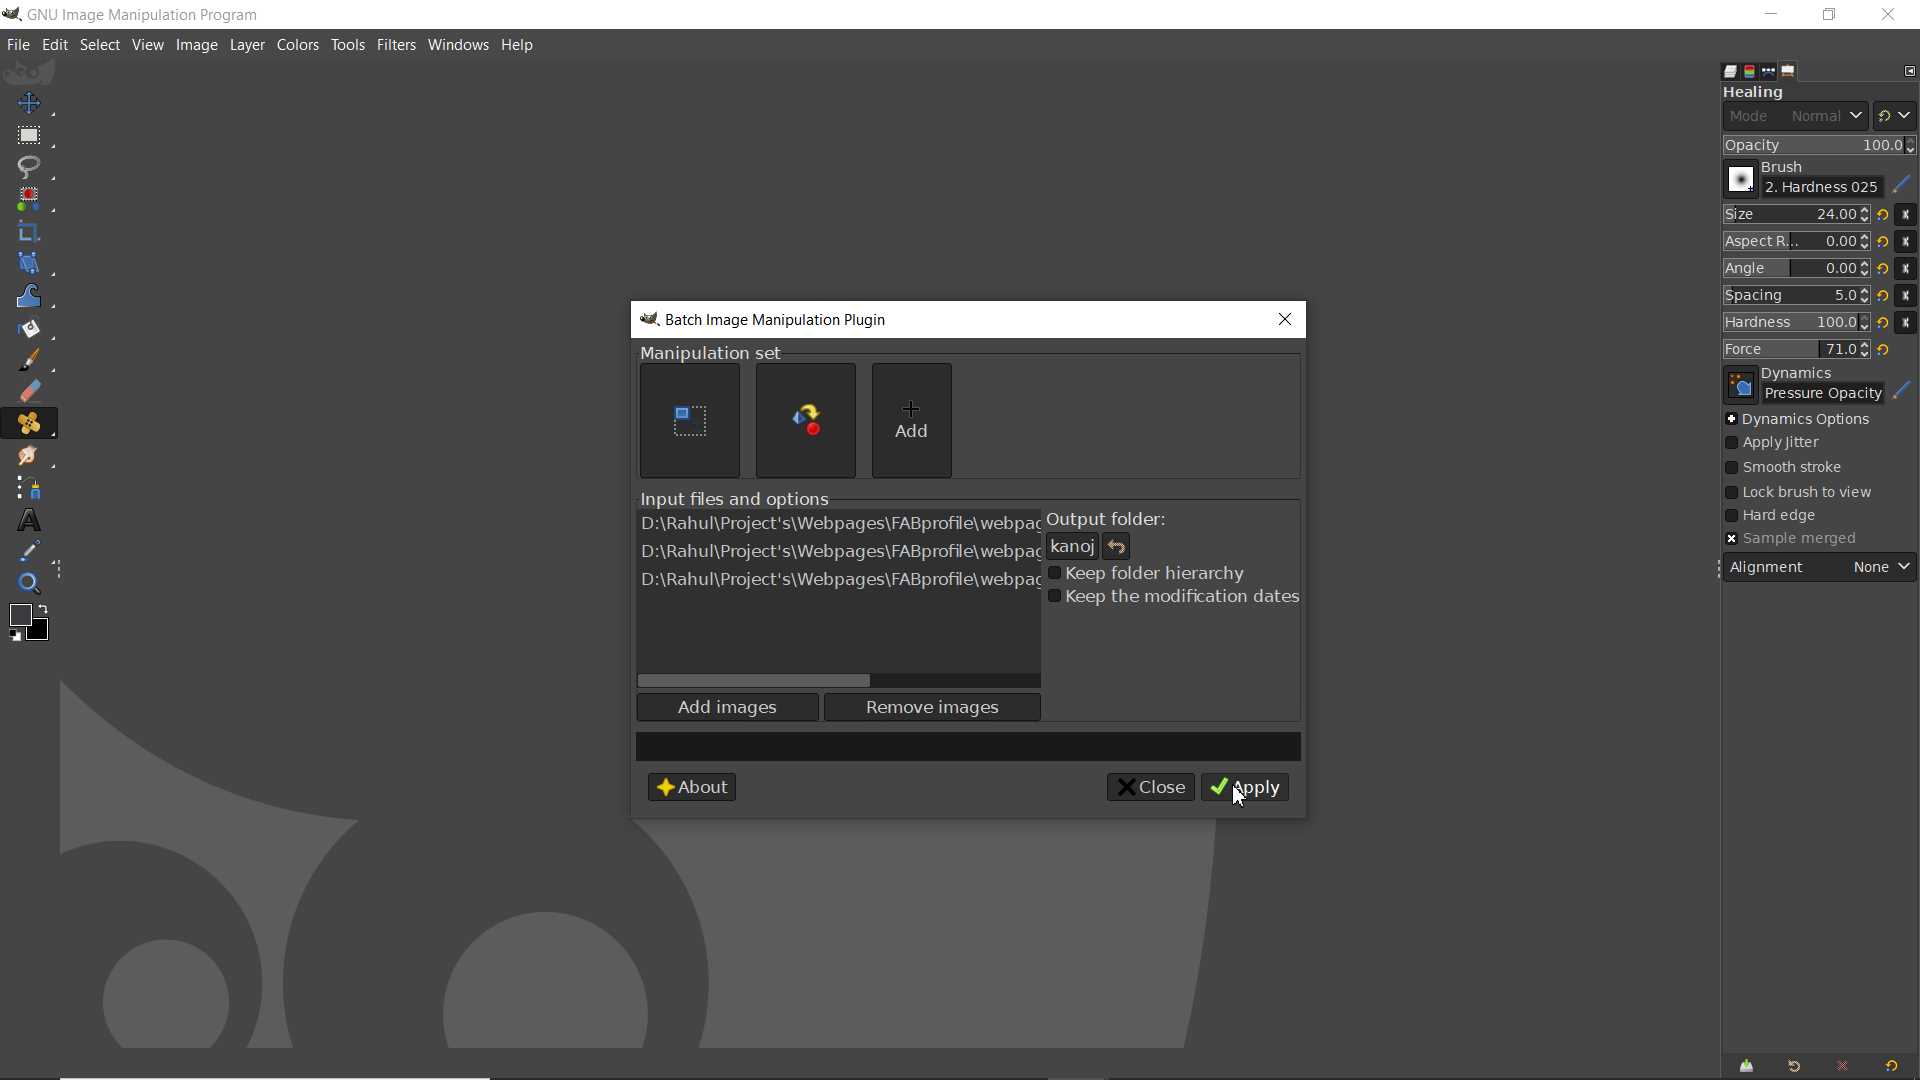
BIMP is also available in standalone version In which you dont need to open whole Gimp for using Bimp.
Video Editing and Compression
Videos are good way to store and share works. It give visual and audio feel of thing you want show. Later in documentation I will use videos
Kdenlive
Kdenlive is a open-source video editing software. since in my previous work I used adobe premiere pro and my other professional software but kdenlive was new I heard so I started exploring it
I add this instruction later, example here I showed I have used for my other future assignments
still I using it only for video Compression and basic editing
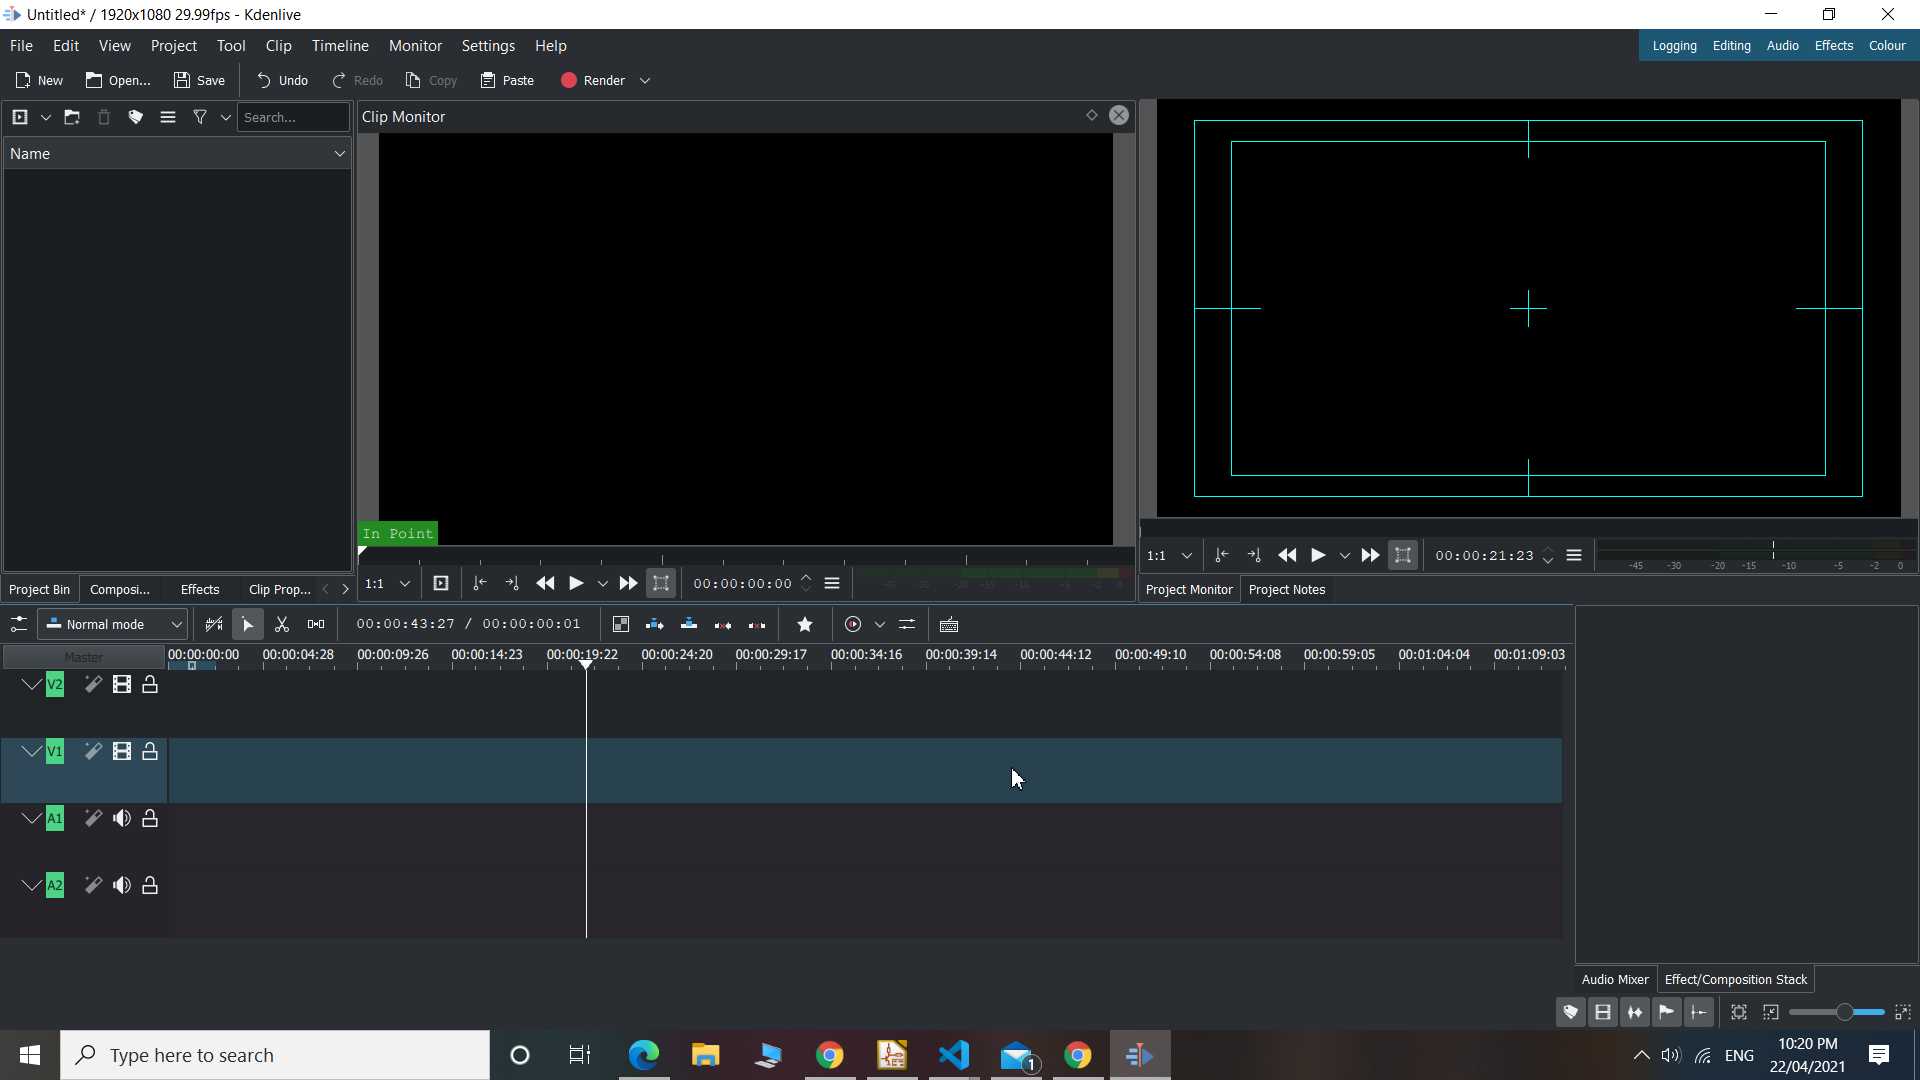
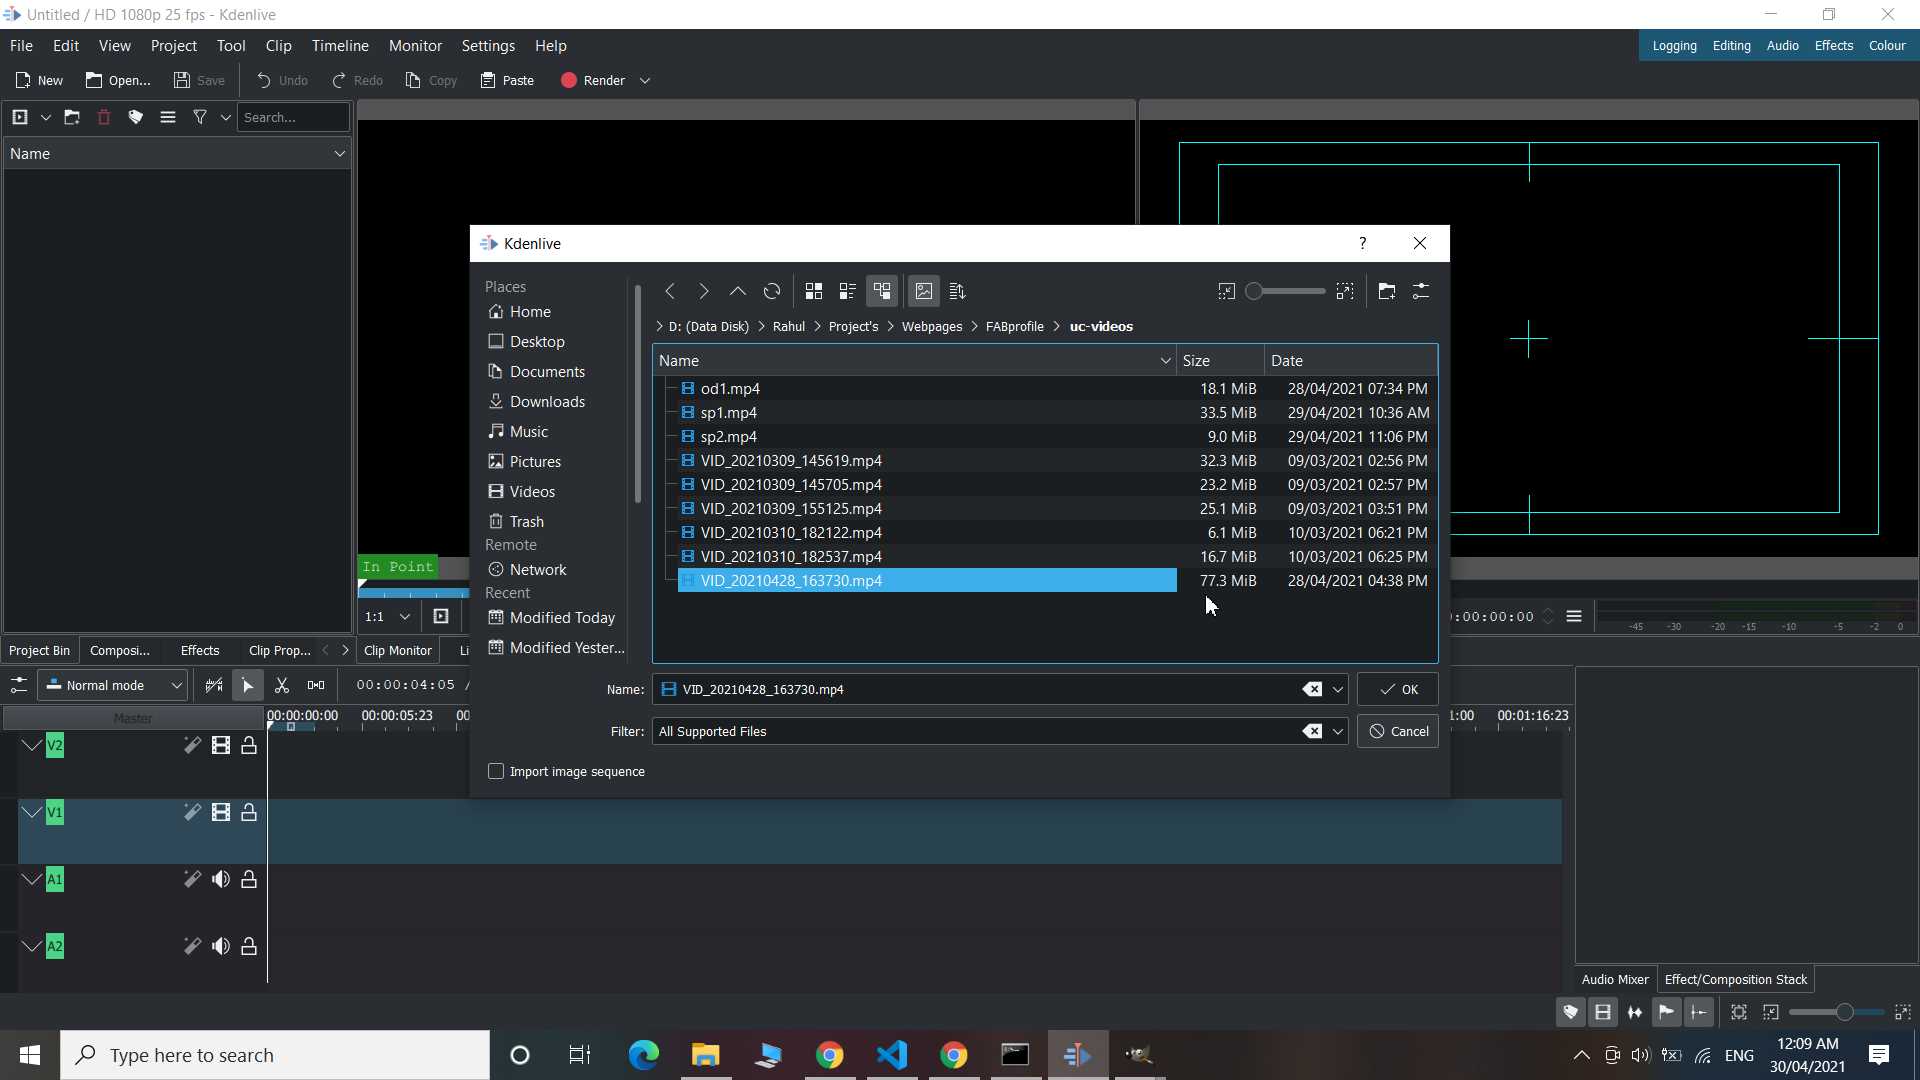
Open clip you want to edit or compress. Here you see my video in 77 mb in size which is very large to put on internet
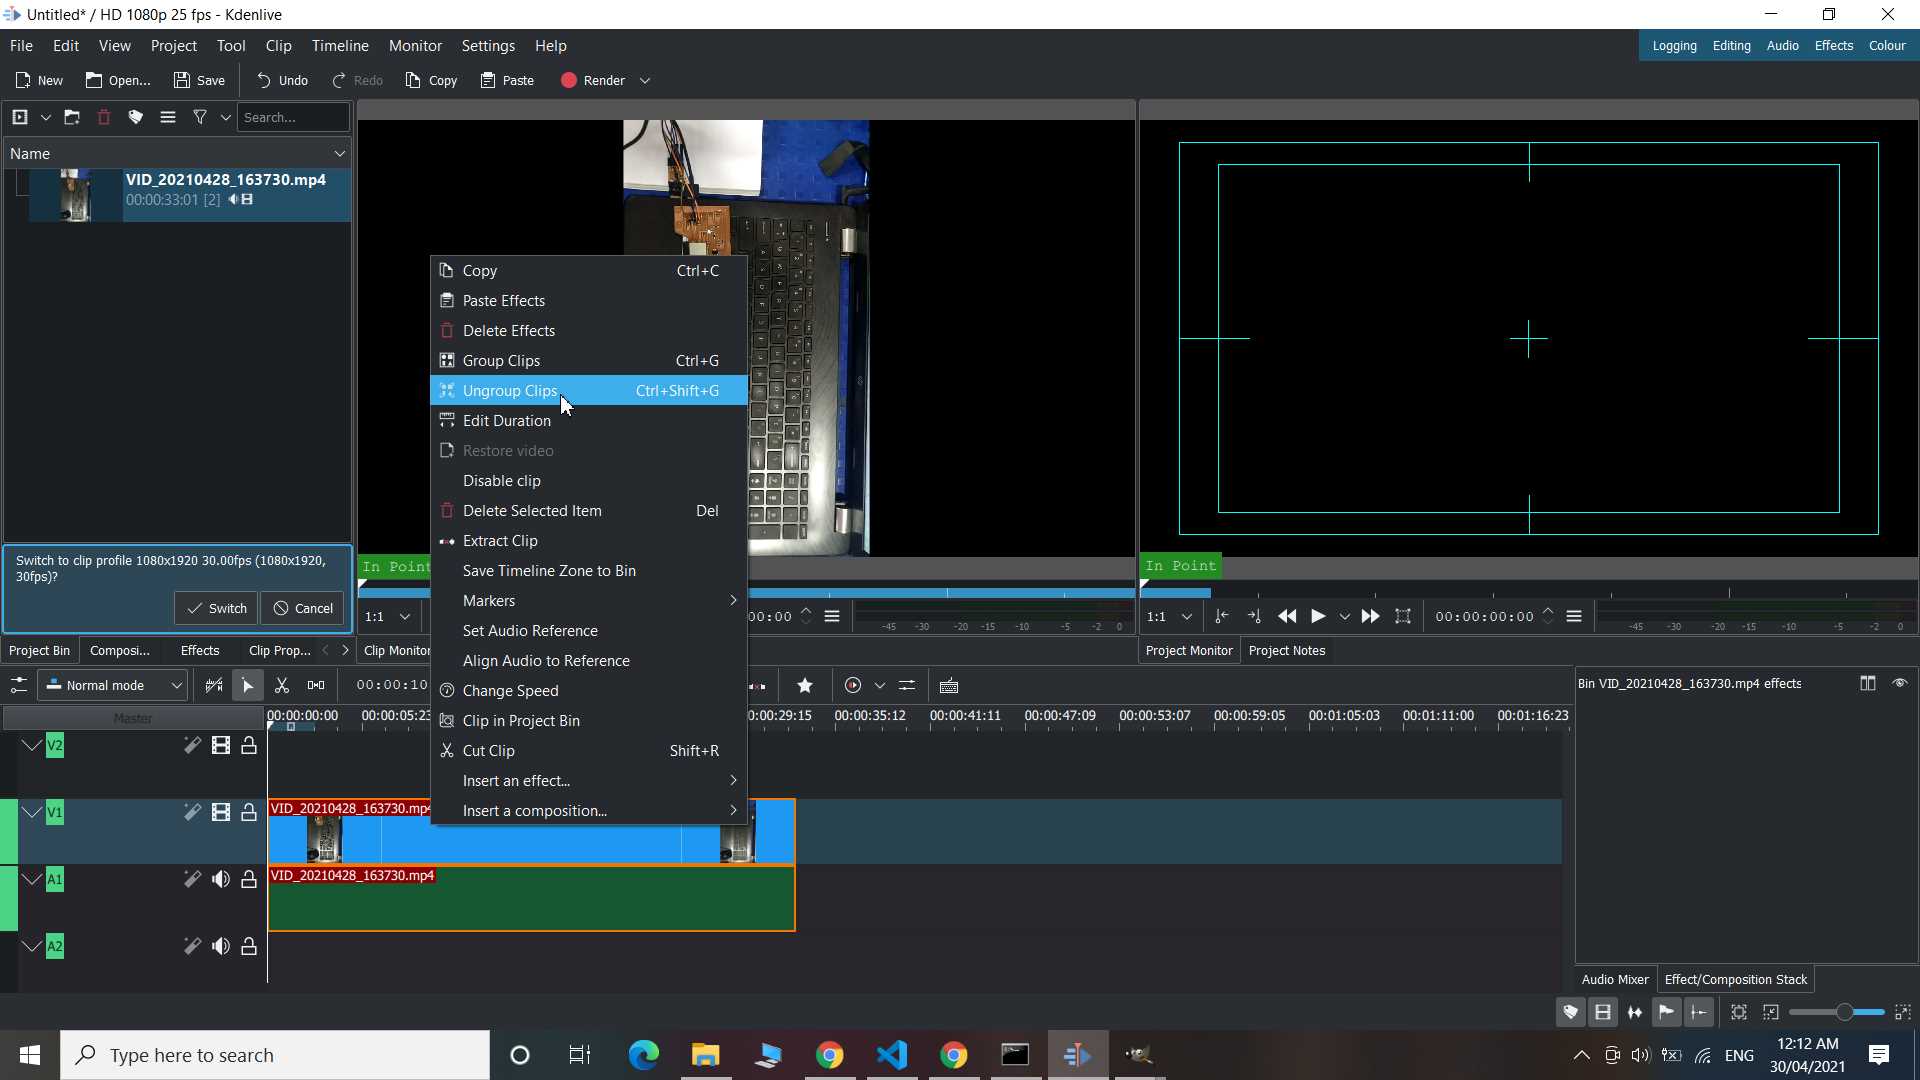
so to compress it as much as possible I Drag it down to timeline and ungroup clips to delete audio because there is no audio is needed in this clip
Render edited clip in given format and reduce the quality to decrease size even more
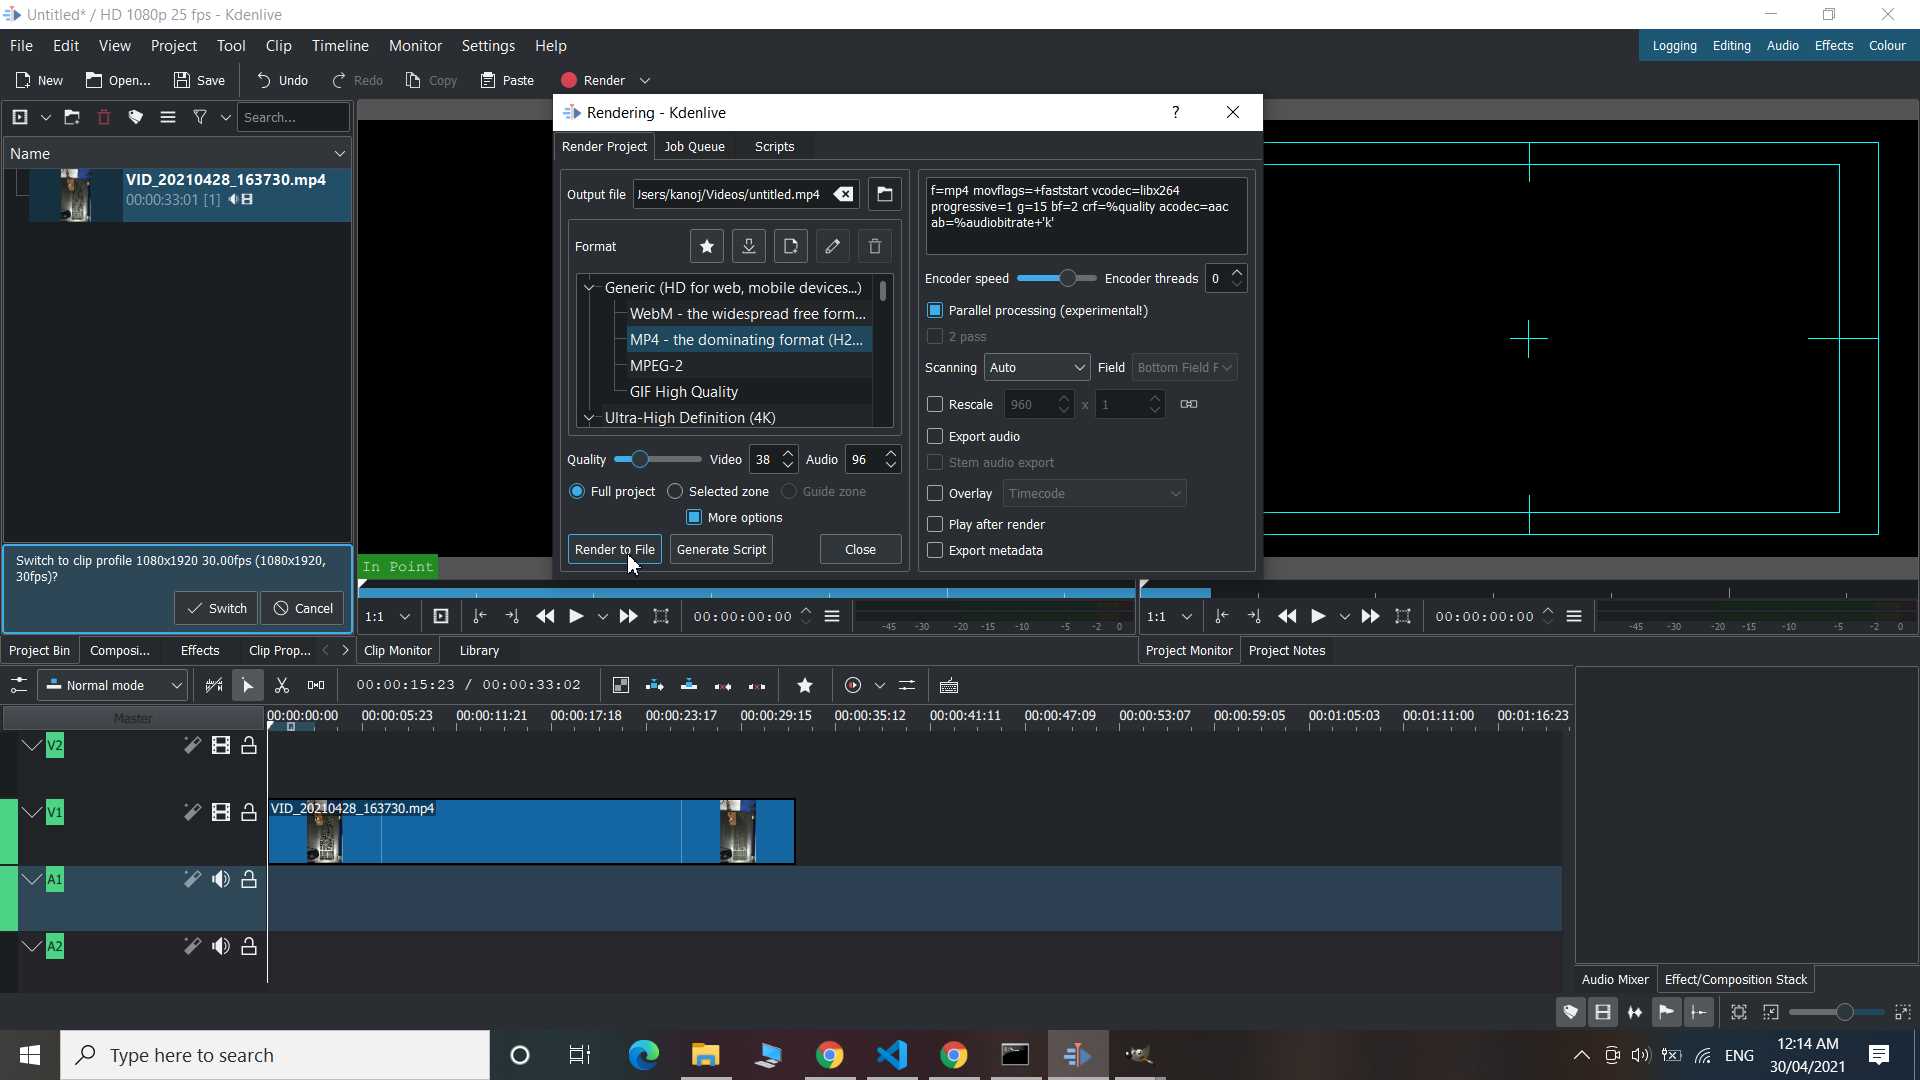
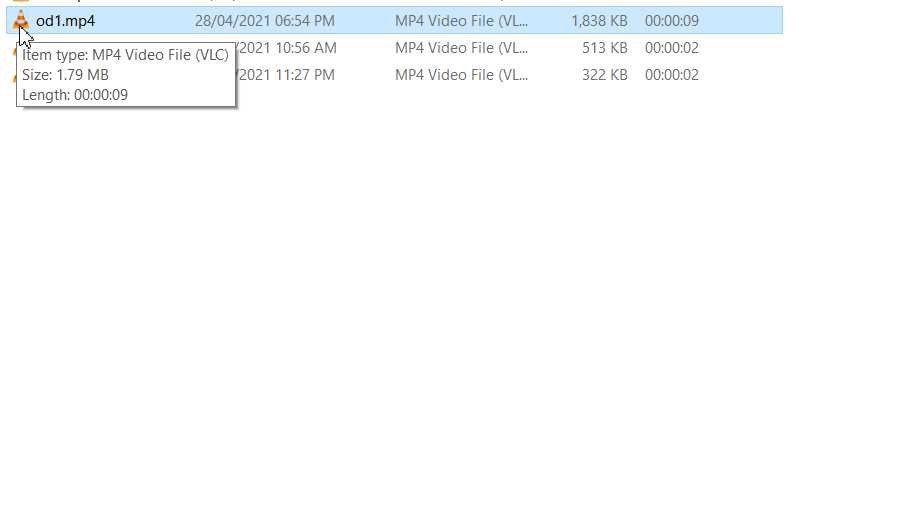
As you see size got reduce to around 1 mb thats very good Compression
Gantt Chart
A Gantt chart is a type of bar chart that illustrates a project schedule, named after its inventor, Henry Gantt (1861–1919), who designed such a chart around the years 1910–1915. Modern Gantt charts also show the dependency relationships between activities and the current schedule status.wikipedia
Till now I had no such habit of pre-planning something in text or graphs. This word is completely new to me but yes content is not so unkown. I not explored so much because pre-planning and schedule making take to much time but yes It is helpful and give direction and goal to work on each day.
Here I used Ganttproject to make gantt chart. This not so difficult to learn hope oneday I can build habit of working in such formal way but for now truth is I move as I feel. but yes this is small schedule I like to follow and experiment with it.
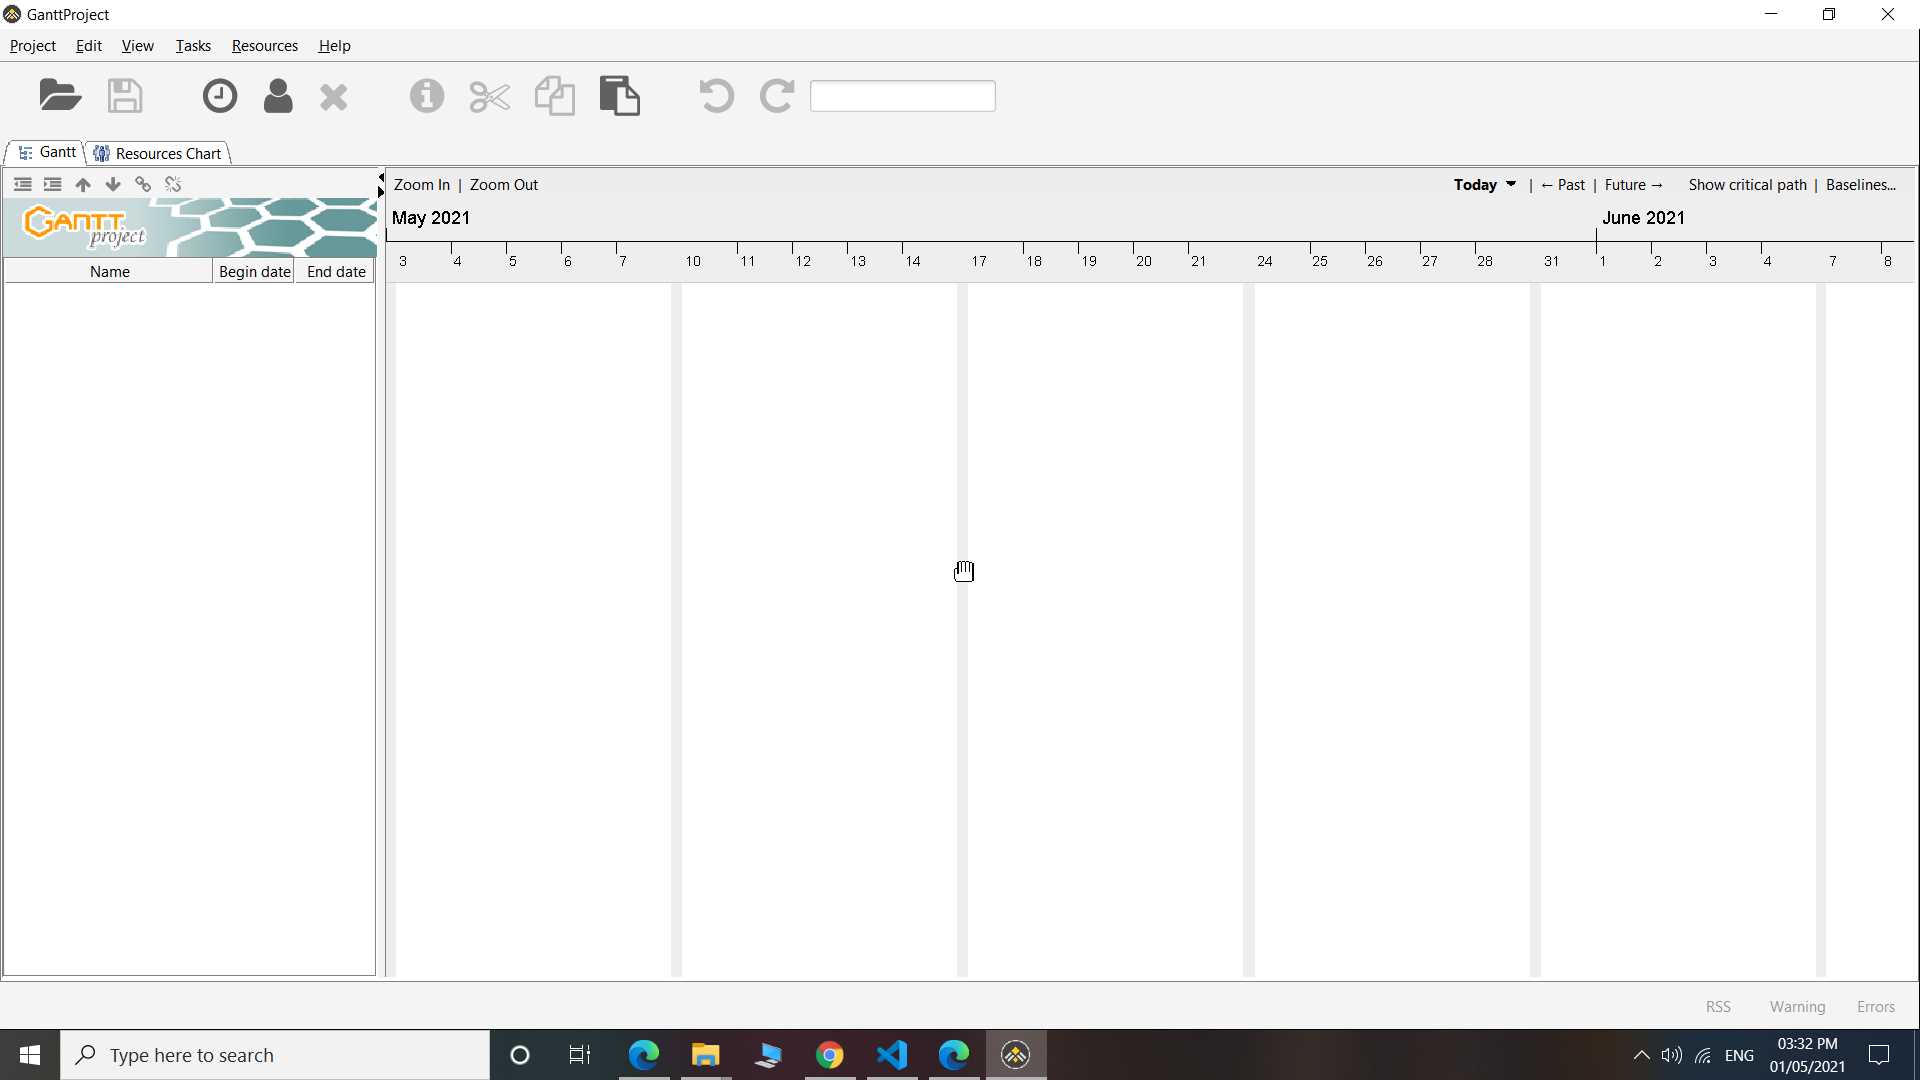
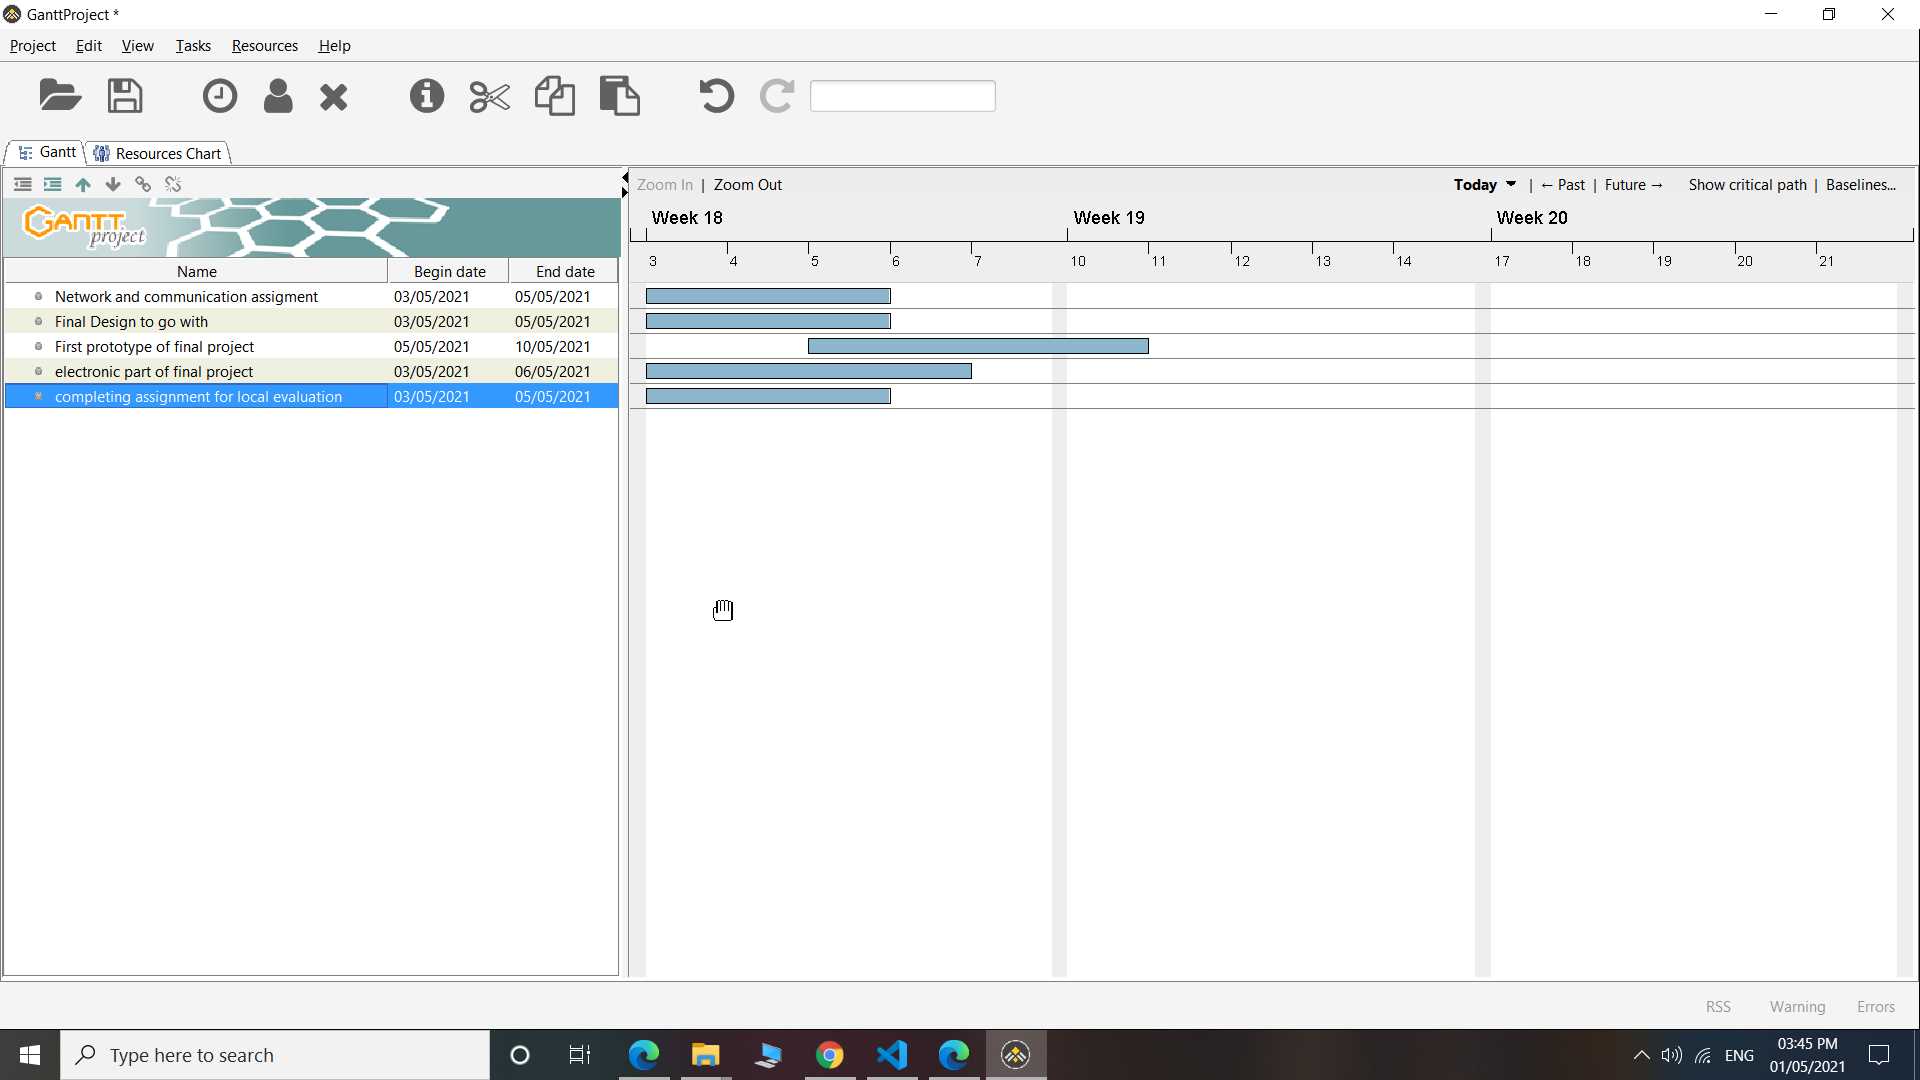
Till now Everthing gone as I was planned for and I started liking to do or work in such way make me feel more organized and managed person but building this as a habit will take time.
Learning Outcomes
This week brought lot of learning and working experience for me. I learn web programming language like HTML, CSS, and javascript. Project managament was one part of somethings that made me to join FAB-Academy because other things I was already was doing. This set of skill I believe has and will increase more and more my self documenting and portfolio making habit. Now Onward I will keep record of my works and journey for people who want to learn from it and for myself to remember journey and process. I am deschooler now I have less believe on degree/diploma/certificate hence this kind of managament and skill will help to bring sometime which is more authentic about me and my work.
Download file's :
webpages.rar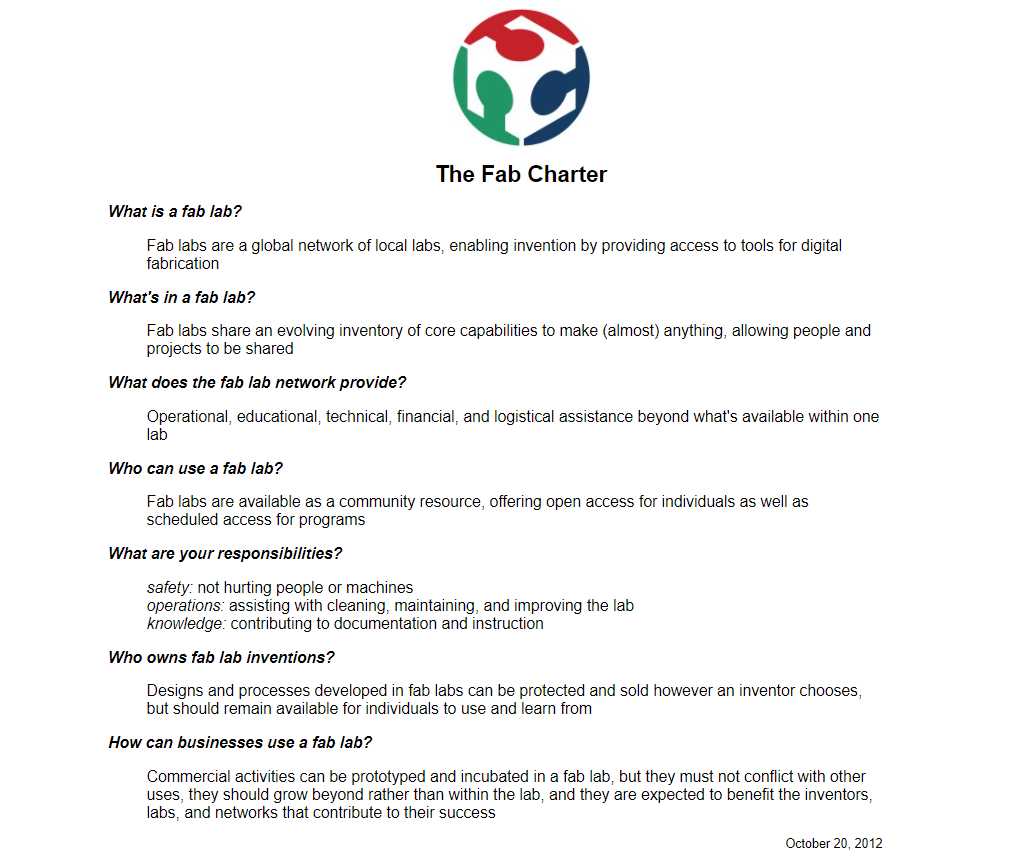
This give a understanding about fablab and fab Academy. Here as a Fabstudent I understand all and looking forward to explore more possibilities and wonder that fablab can bring in my work.
I read and accept all terms and have no personal issue with any statement.