Mohit Ahuja's Fabacademy 2021
Project Management
In this assignment, we were supposed to create a custom website to showcase our work. Now I had a little bit of experience in html programming from my school days, but it wasn't too intensive. And it was a long time ago. So I had to brush up on my HTML skills. Apart from that, I already had some experience making my own webpage using Github pages so the process used to create the website using Gitlab was actually quite similar. Here is how everything went down.
Setting up the Local Repository
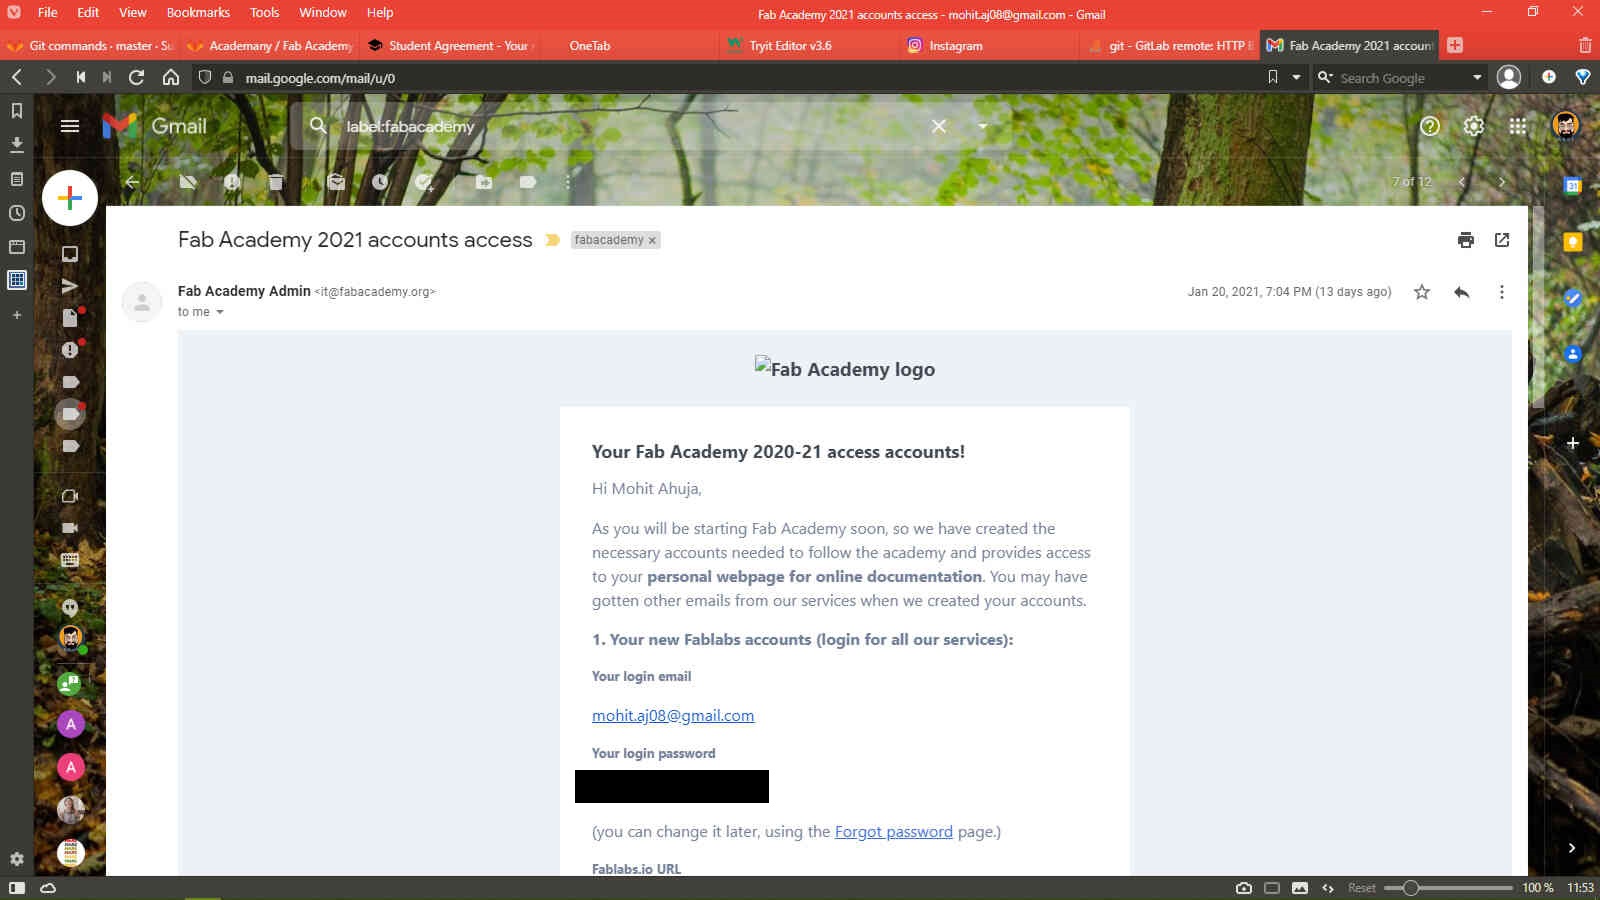
First of all, I used the mail sent by FabAcademy Coordination to access my GitLab Account.
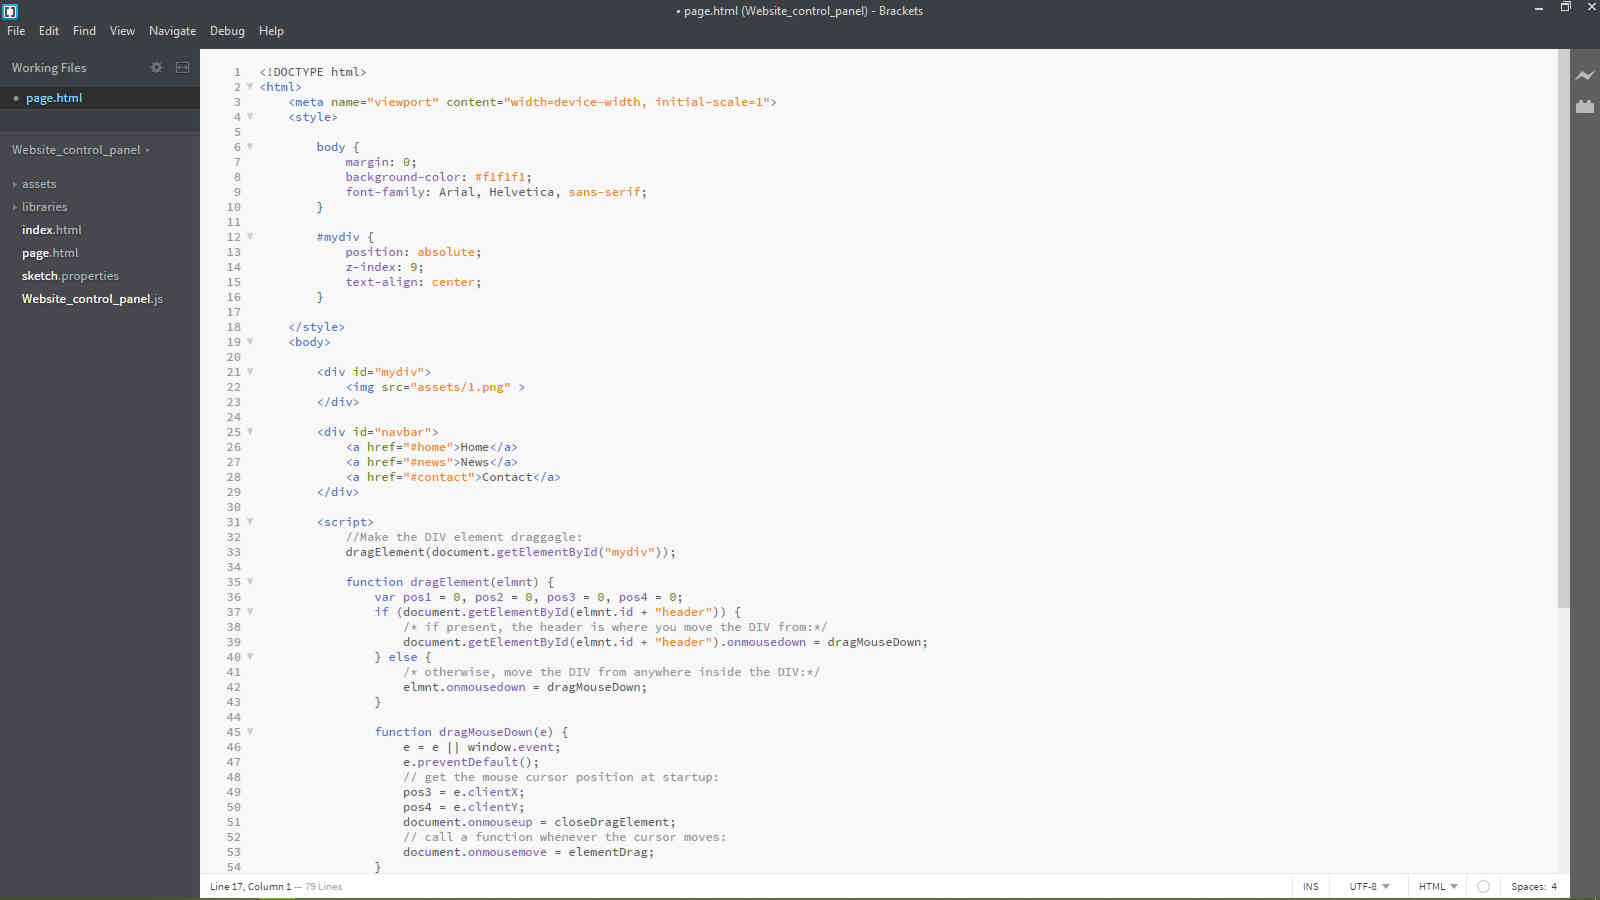
Then I installed Brackets, which is an open-source webpage editing software created and maintained by Adobe.
The next order of business was to download the GitLab Repository locally so that I could edit the files in the computer locally and then upload the files to the repo using Git. I actually had Git bash already installed in my PC because of a project i did in the past, but if you want to install Git Bash, it is actually pretty straightforward. Just go the download page and click on the link for software according to your OS. I followed the download instructions given by the installation software.
Now, I opened Git Bash in my computer:
And I typed the following command:
This command is used to generate an SSH key, which is a random sequence of letters and numbers which is shared between two devices to exchange data, which in this case, was being used by the Gitlab Server to send and receive data to and from my computer.
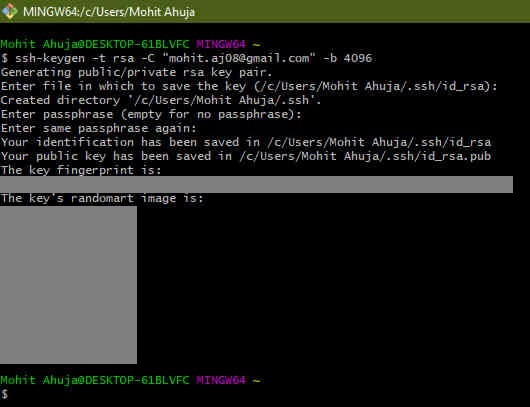
I've hidden the generated key in this picture.
Now, to copy the key, we use the following command:
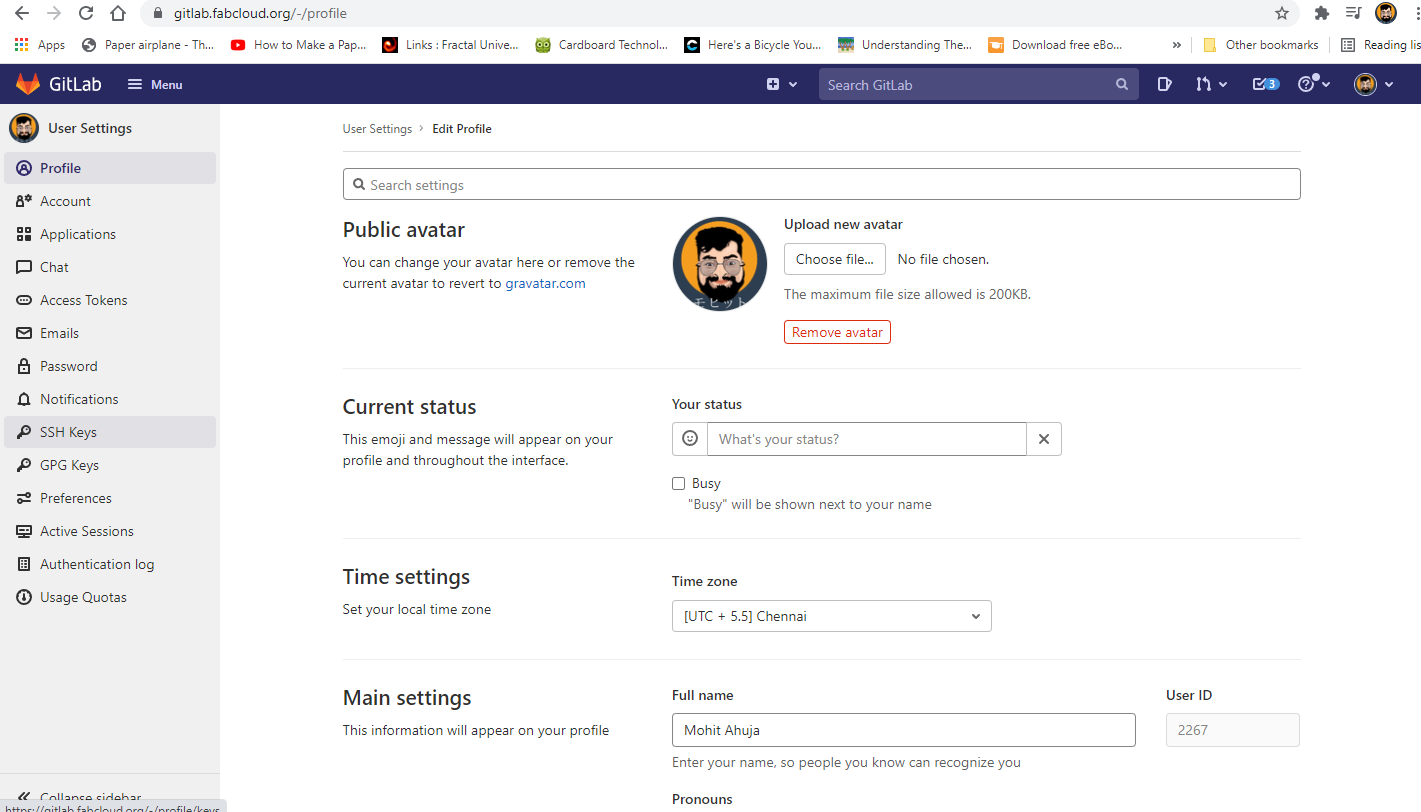
After this command, I went to the GitLab Repository page in my browser, clicked on my profile picture, and selected the "Edit Profile" option, as shown below:

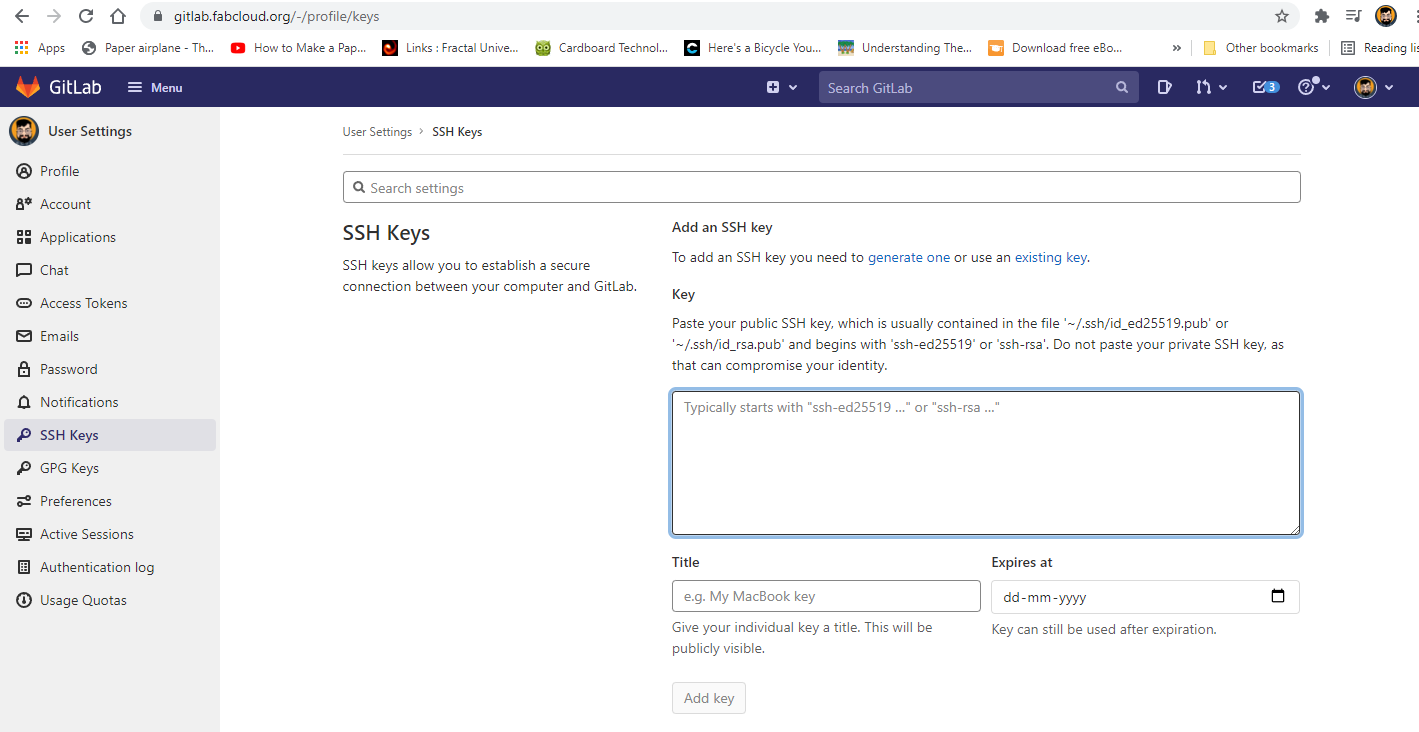
In this part, on the left side we have the option called SSH Keys, so I clicked on it.
After that, I pasted the key that I had generated in the previous step in the box highlighted below:
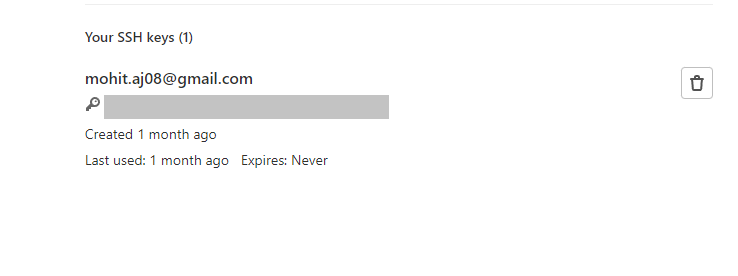
After that, I clicked on the "Add Key" button.
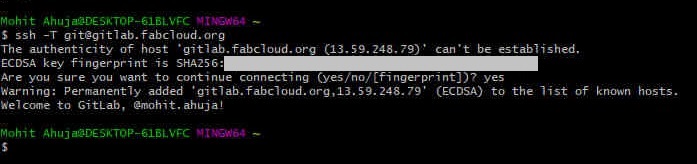
After this, I went back to the Git bash Terminal window and ran the following command:
This piece of code produces the following output:
After this, I moved to the Documents folder by using the command:
Then, I proceeded to copy the repository to the Downloads folder by using the command:

I moved to the newly created mohit-ahuja folder by using the command:
After this step, I proceeded to add the username and email for authentication by using the following commands:
git config user.name "Mohit Ahuja"
git config user.email "mohit.aj08@gmail.com"
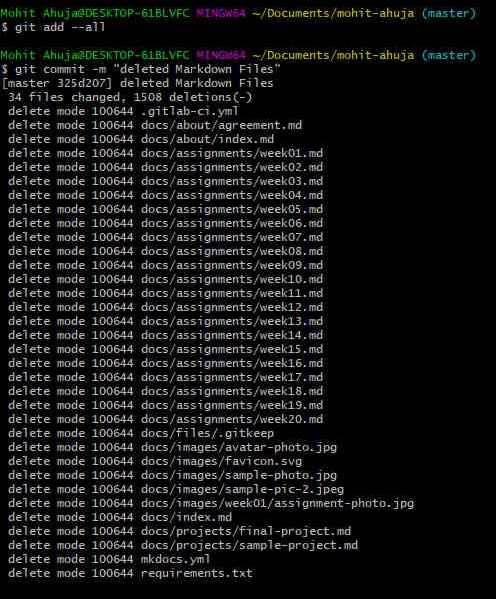
Then I deleted the existing files in the Markdown format by just going to the mohit-ahuja folder, selecting the files and deleting them. After this, I ran the following commands:
git add --all
git commit -m "deleted Markdown Files"
git push
Making the website
So in order to make the website, I tried a number of different things, which I will describe below:
Code Editors
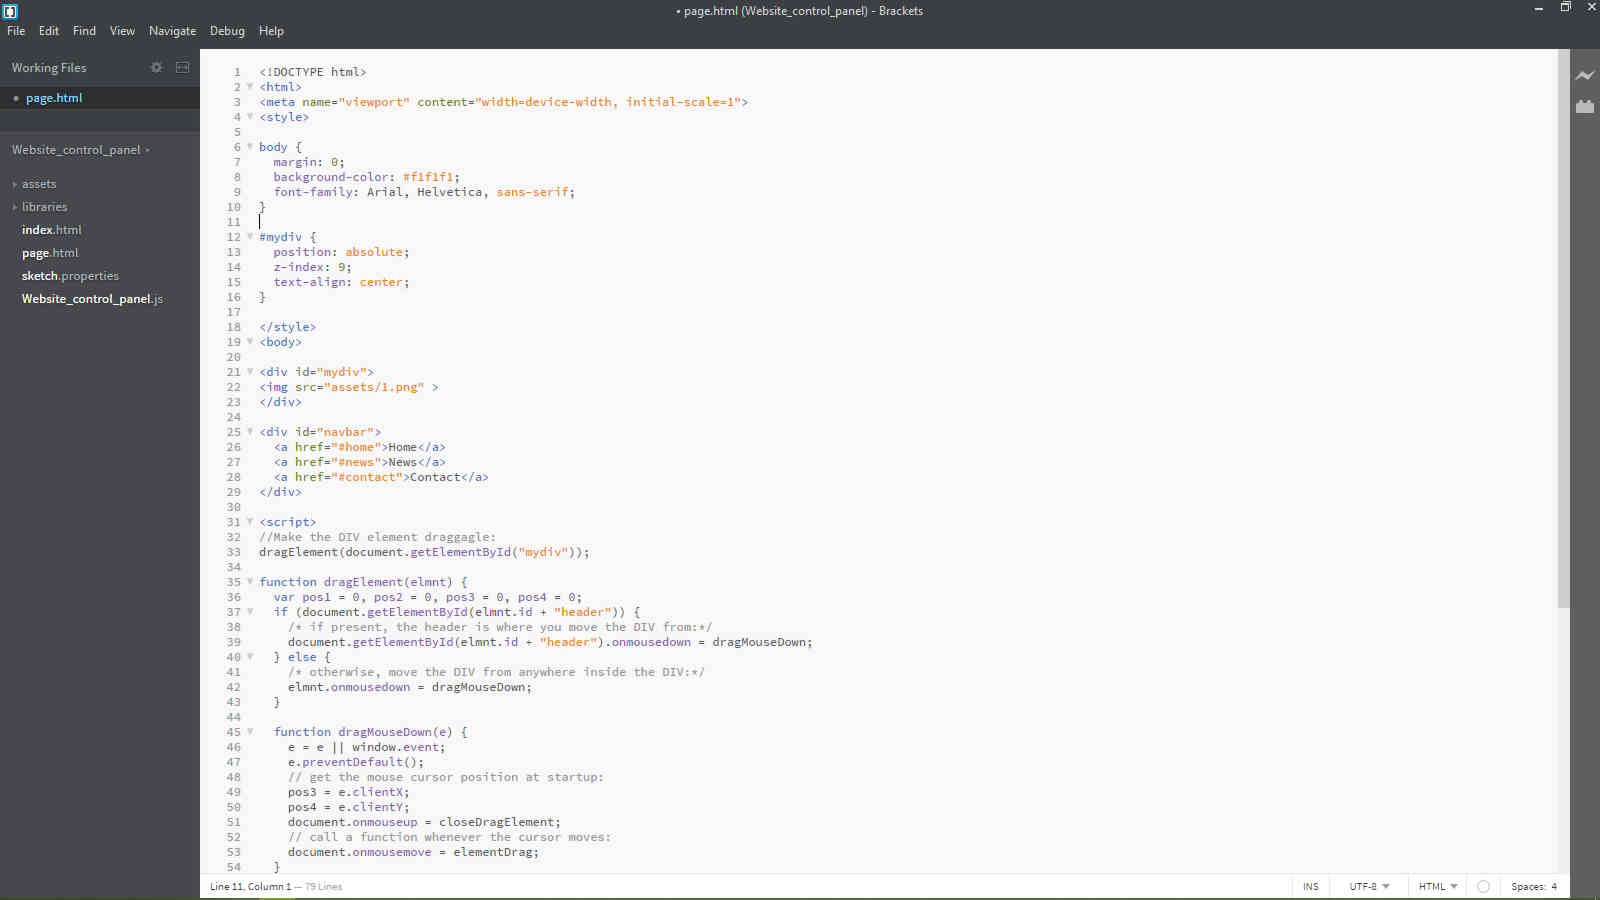
Brackets
I have prior experience of using brackets because of my experience helping past fabacademy students and seeing how they edited their pages. It has a clean UI, is free of cost and lightweight. Plus the live testing feature is really useful.
I have learned C++ coding in school, and ever since then I have always liked to do code indentation. So I expected brackets to have an automatic-indentation command. But that was not the case. So I decided to go looking for it. First, I found this extension on github when i searched on google.
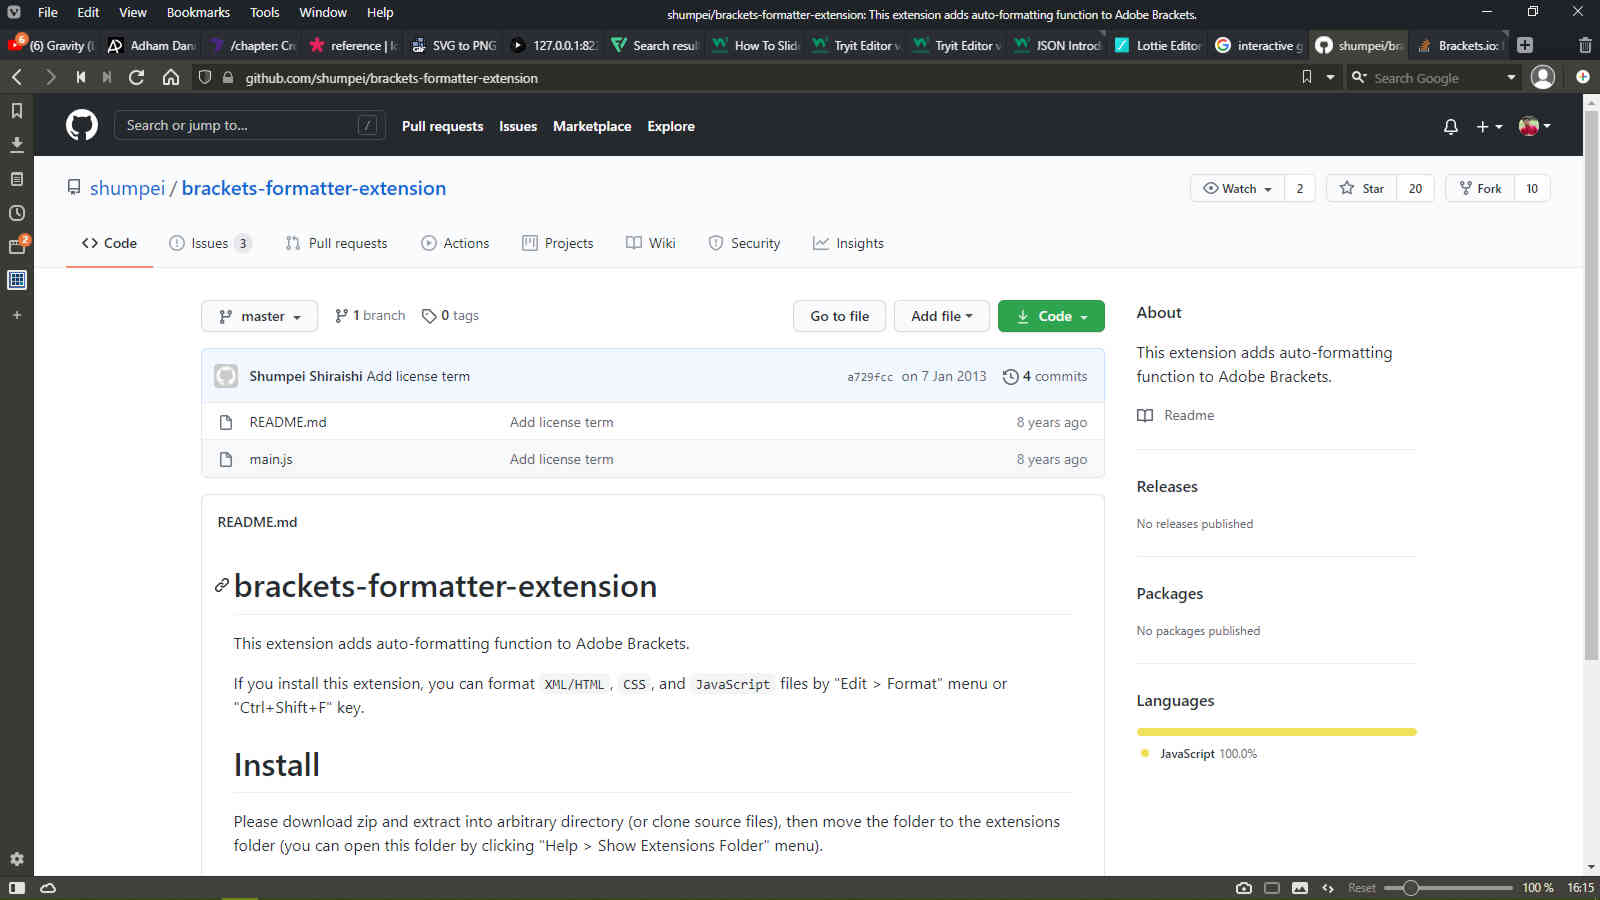
But after adding it to the software, it didn't seem to work as advertised. Eventually, I found the extensions manager, where i found the extension known as Indentator, which I highly recommend.
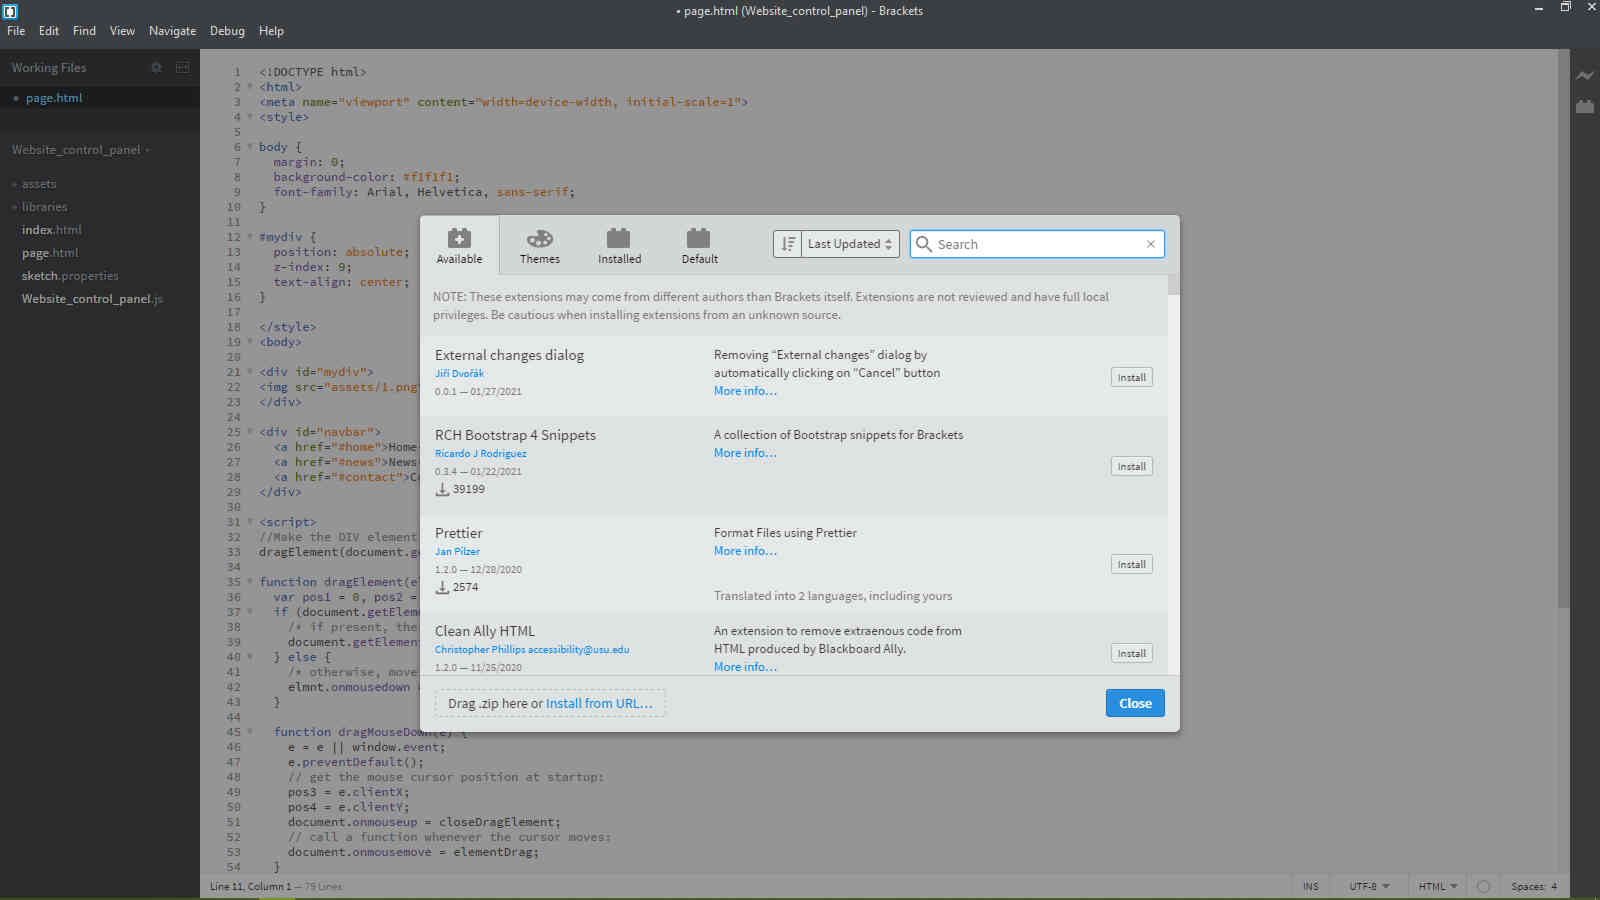
After Indentator was added to the software, all I needed to do was press Ctrl+Alt+I on the keyboard, and it worked like a charm.
Adobe Dreamweaver
So Brackets was working okay for me. Until a weird bug started appearing out of nowhere, which caused the software to freeze up randomly and if I didn't save my file prior to it, I would lose all of my progress with my documentation. After a while, this got pretty annoying and I decided that it isn't worth it to save my file every 5 minutes so that I don't risk losing my data lest it freeze randomly. I looked at other softwares that some of the past fabacademy students had used, and I found that Adobe Dreamweaver seems like an amazing software to work with.
Dreamweaver also has a feature of setting up the repository of the website that we're editing. But I decided to keep the setup I did using Git as it is. Dreamweaver also has this great feautre where the live website can be viewed and edited in the software itself. There is also a split view, where in the same window you can see the website and how your changes in code affect the code in real time. All in all, it seems fair that they charge this much for their suite of softwares, they are feature packed!
Basic HTML
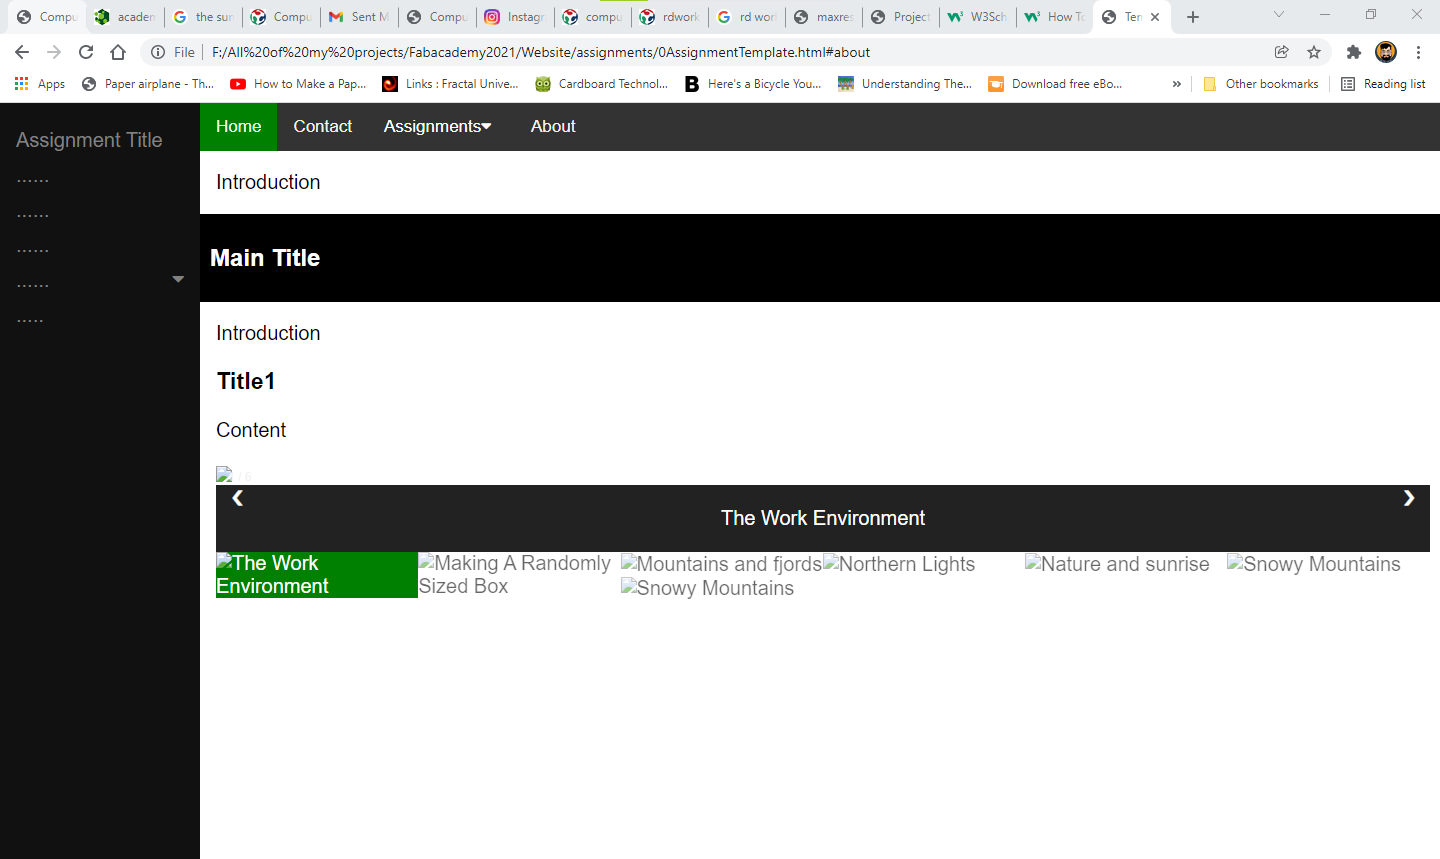
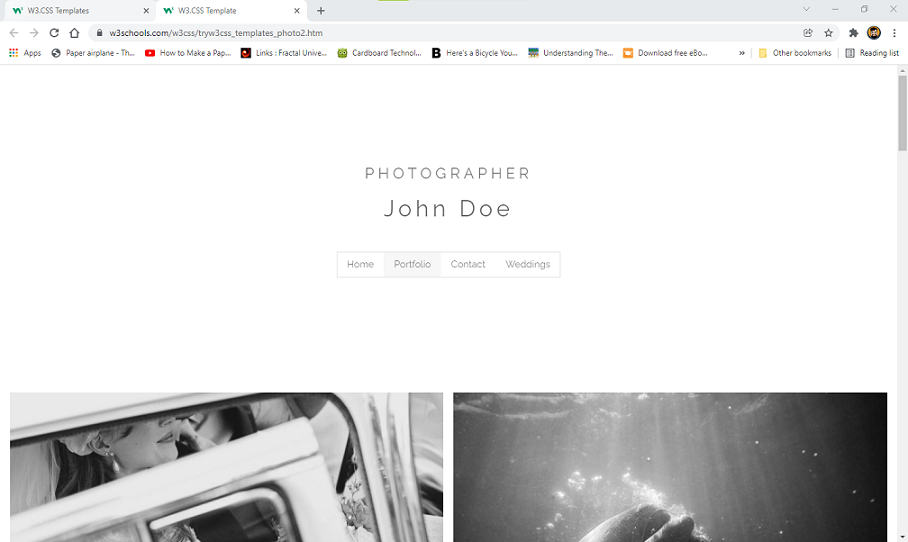
So my first trial was a modified w3schools Template. This is what that looked like:

I had an idea for making a website with a floating toolbar which could be used to navigate around the website. I got the idea from looking at this code snippet on w3schools:

This is the design for the toolbar that I came up with:


But the floating toolbar was more of a nuisance and started getting in the way of displaying information on the webpage. I thought of trying to create a toolbar that stays small in size when not in use and then expands upon being highlighted by the cursor. I tried creating something like that but eventually had to give up after several tries. After that, I came up with this design after going through a bunch of w3schools templates:
It was simple, and clean and I wasn't too proud of it but it would work for the time being.
Also the main landing page was also not upto my standards, I made a simple sort of collage for my homepage, but it was missing something. And I couldn't quite understand what it was.
The Update
For many weeks I documented my work with this template. But eventually I got sick of the design (or a lack of design really.) And I decided that I need to update the webpage to make it more aesthetically pleasing. I went on a hunt for some premade templates and came across this one from the w3schools templates page. This one in particular caught my eye:
Redoing all the pages that I had documented this far seemed daunting and almost unnecessary. But I really wanted my design to look good. So I proceeded to redo all the webpages, as well as document the page for that week. Finally my website looked like what I wanted it to look like.
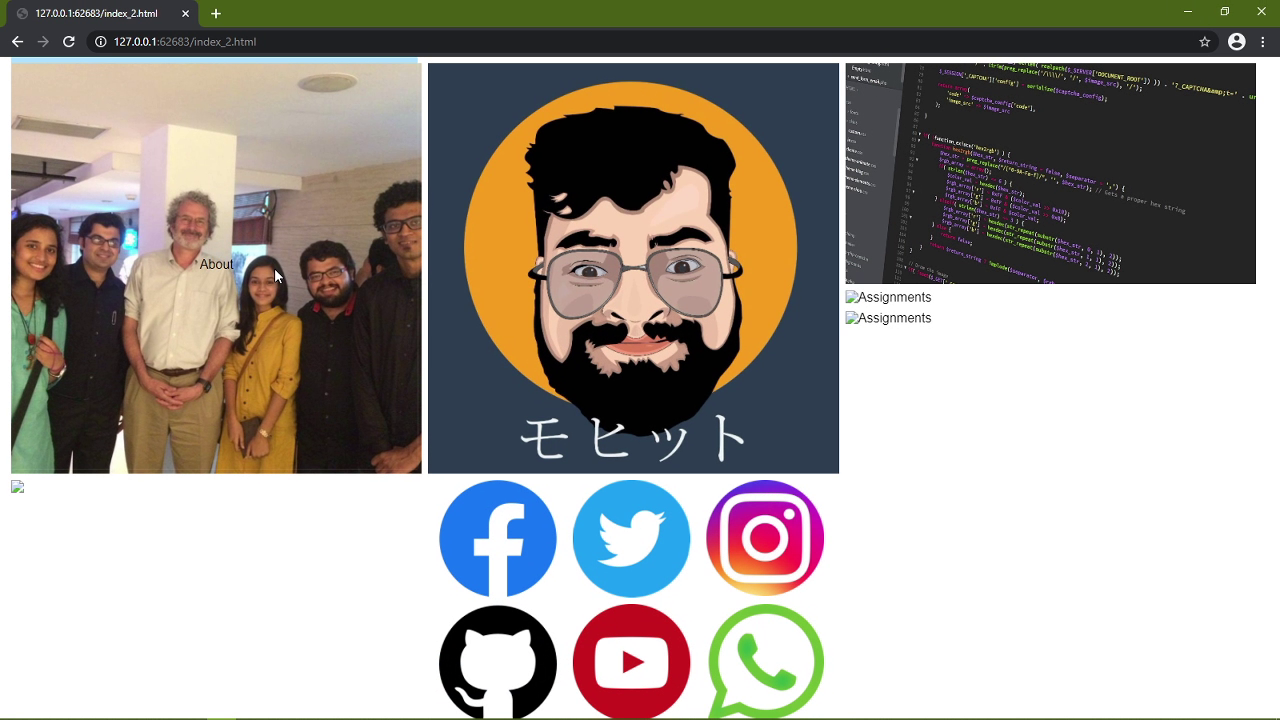
With the homepage, I wanted to make something resembling an instagram or pinterest homepage. A cascade of images that are related to each individual assignment. That is also a big reason why I chose the template that I did. But I wanted to have some extra elements. For instance, I wanted to have a text appear upon hovering over an image which would be the name of that assignment.
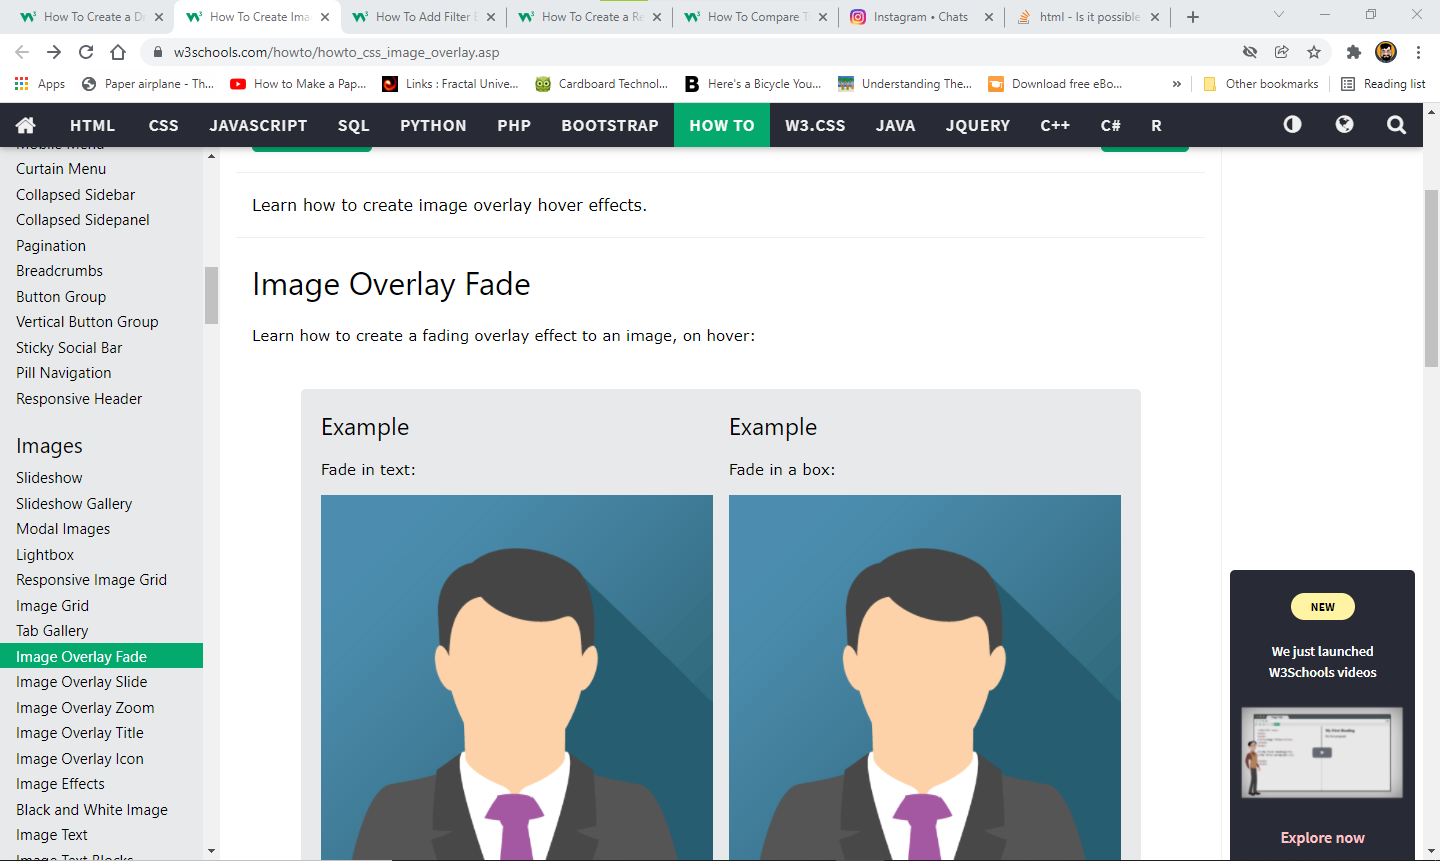
But when I applied this effect to the images on my homepage, the text became difficult to read, because the images usually had many different shapes and colors. So I added the effect to blur the background and also make the background translucent when the mouse hovered over the image. I used the help of the code snippets from the following w3schools page for that.
Finally, after making all the changes, this is what the website looked like:
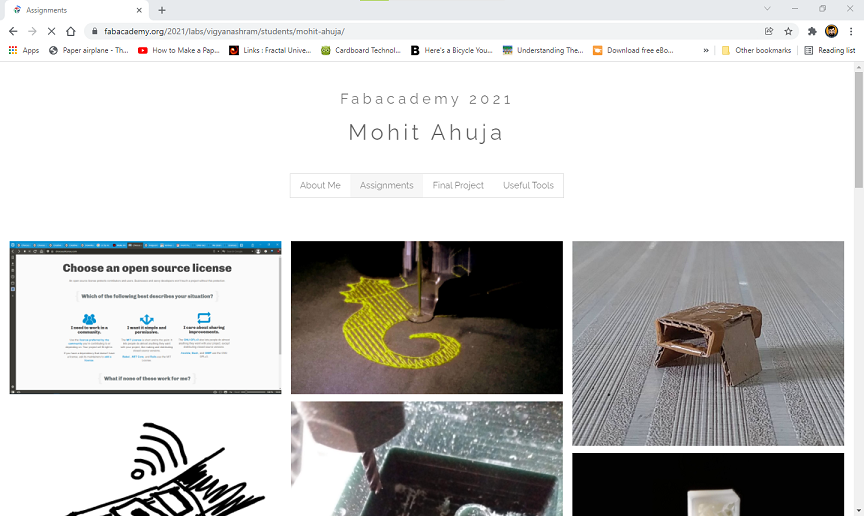
So now when I hover over an image, you can see that the image gets blurred and the title of the assignment appears.
And this is what the layout of a typical page would be like.
I was happy with this layout and I proceeded to add my documentation to the page.
Image an video
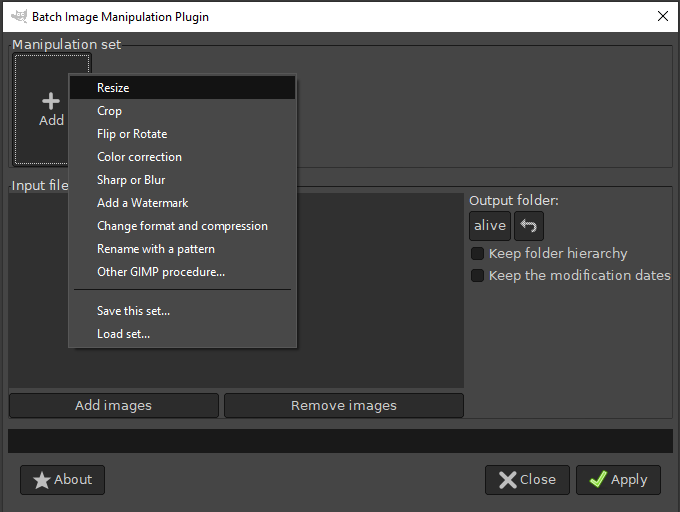
For compressing the images, I used an extension called Batch-Image Manipulation Program or BIMP for GIMP.
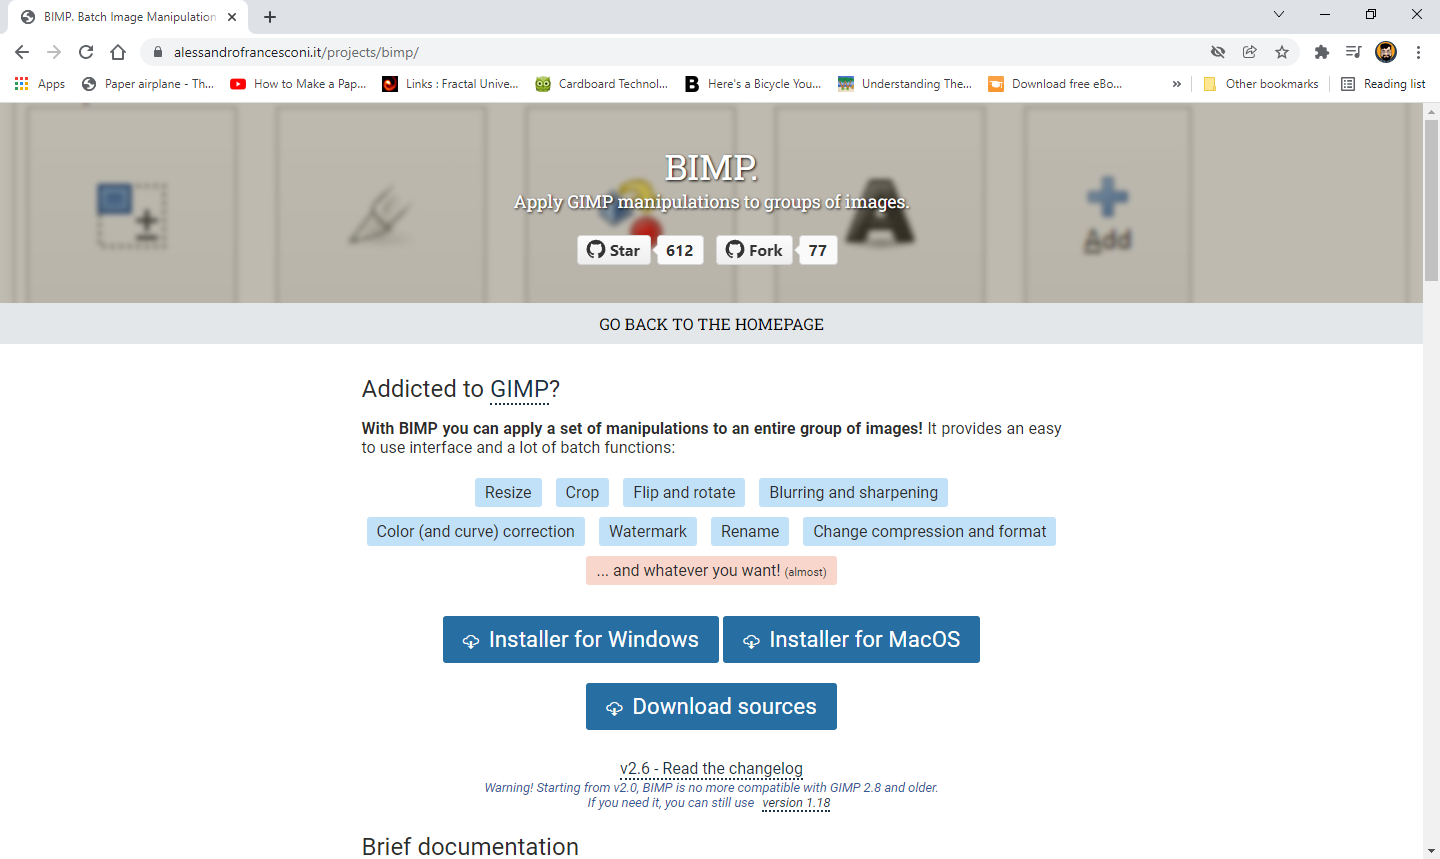
It is a simple to use application for editing multiple images at the same time. This is the workflow that I used to edit a bunch of images at the same time.
First of all, I need to run GIMP and open BIMP from the File menu.
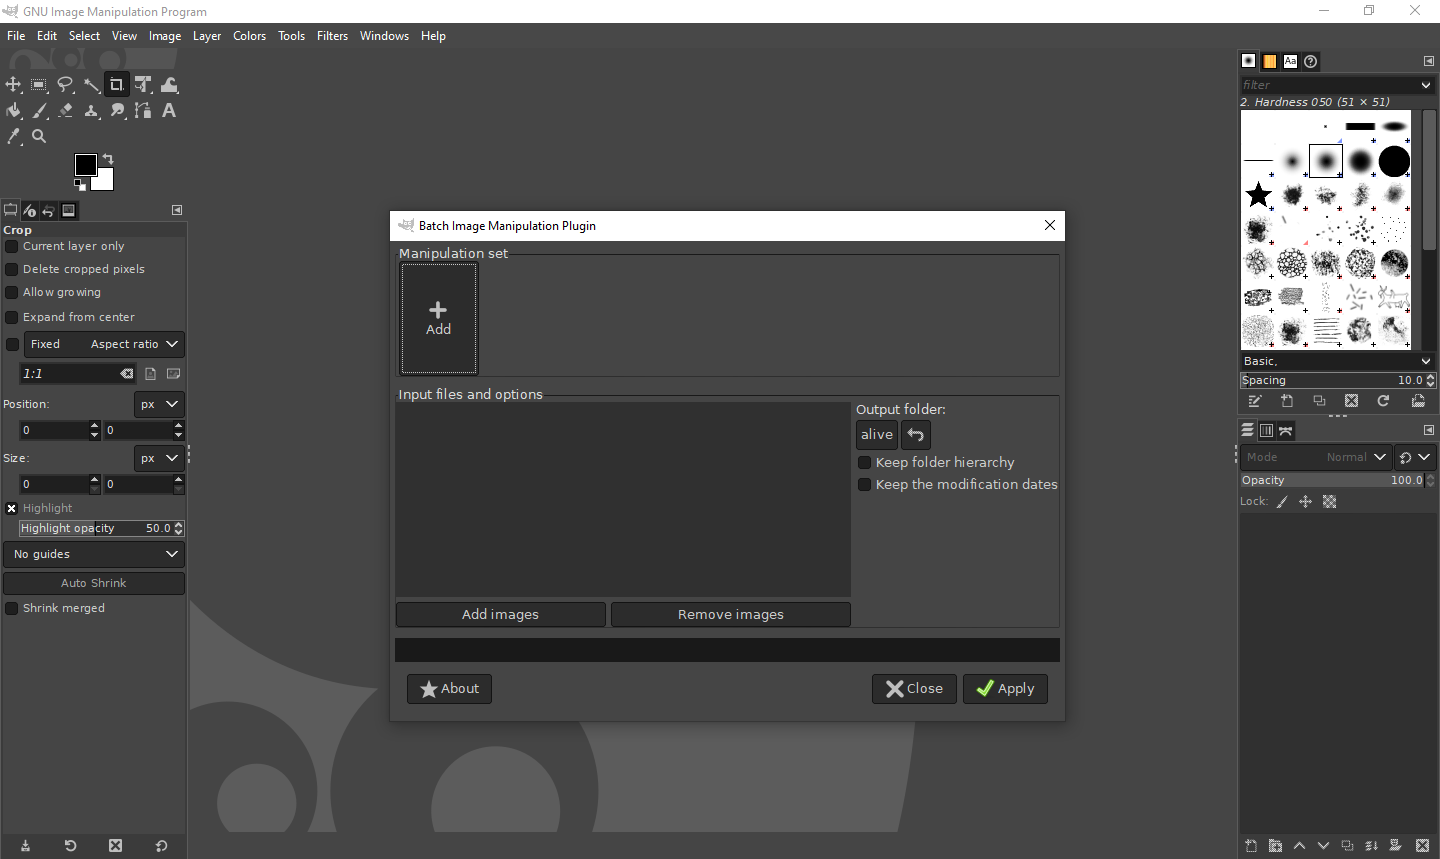
After that, I will select the filters that like to apply to the images by clicking on the '+' symbol.
Then I select the Resize filter and this window pops up:

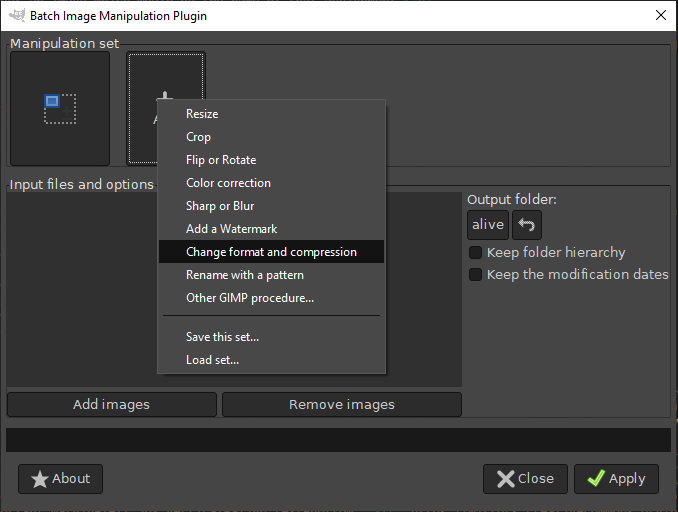
After setting the parameters, I clicked on OK and added another filter, this time to change the format of the images and compress them further.
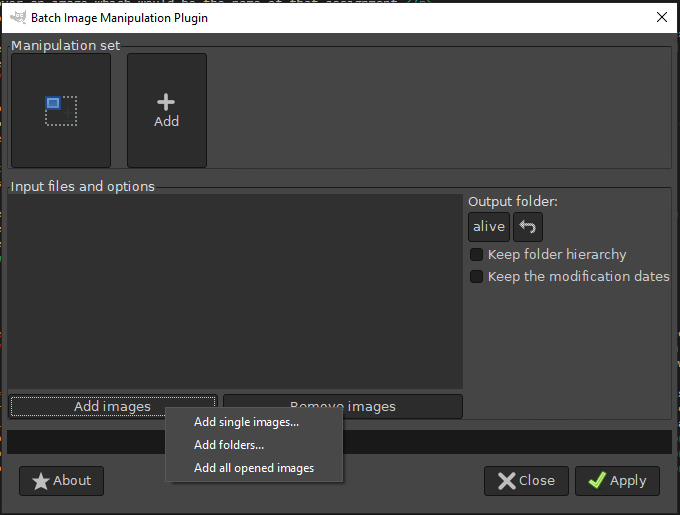
After setting those parameters too, it was time to add the files, so I clicked on the add images button on the bottom left of the window, and then selected the add folders option and added the folder which contained the screenshots and images for the assignments.
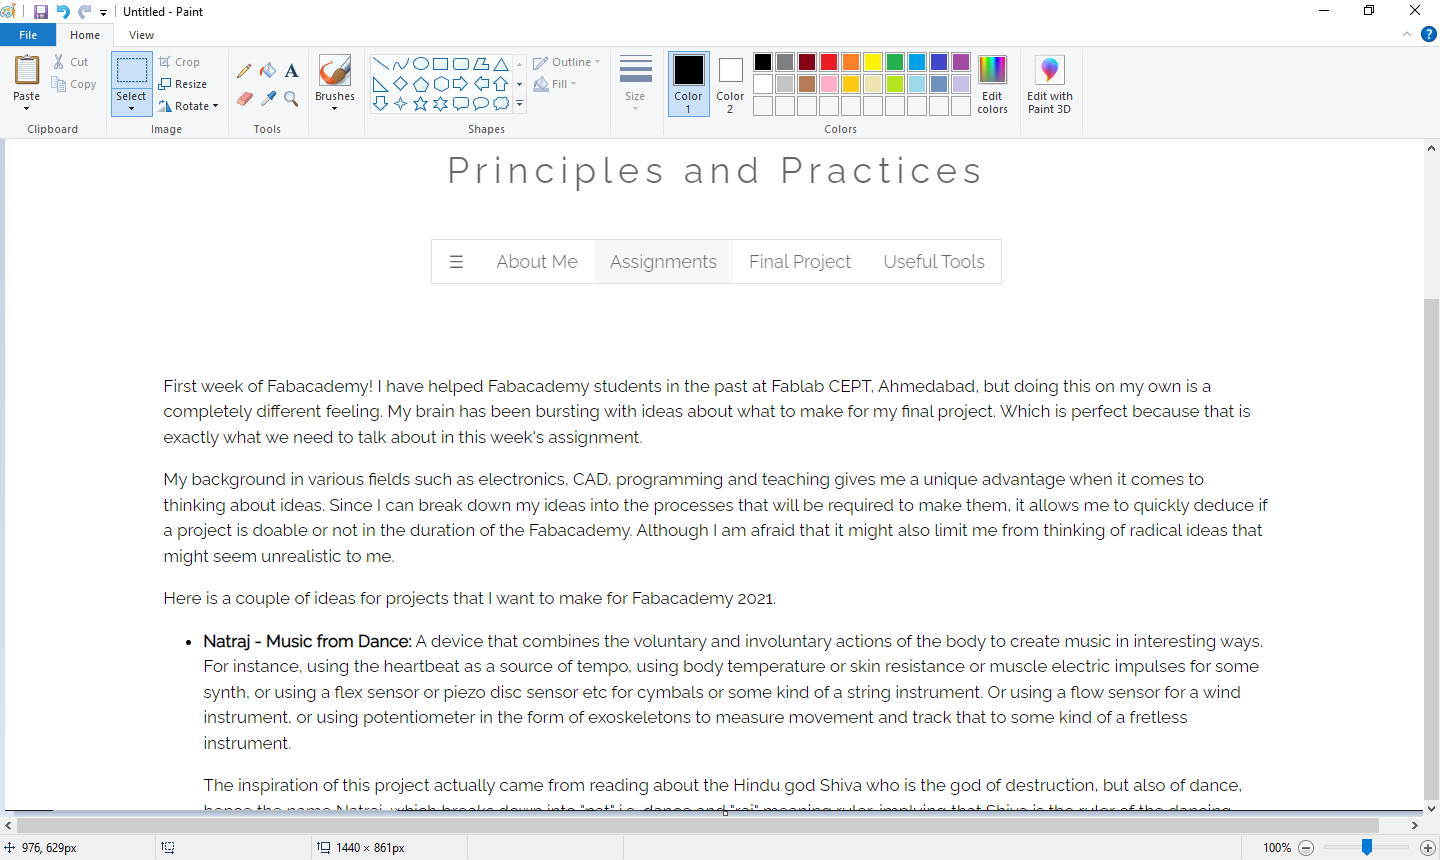
For taking screenshots, I decided to use the Print Screen button and Paint. It is easy, works in all situations and I was already used to it.
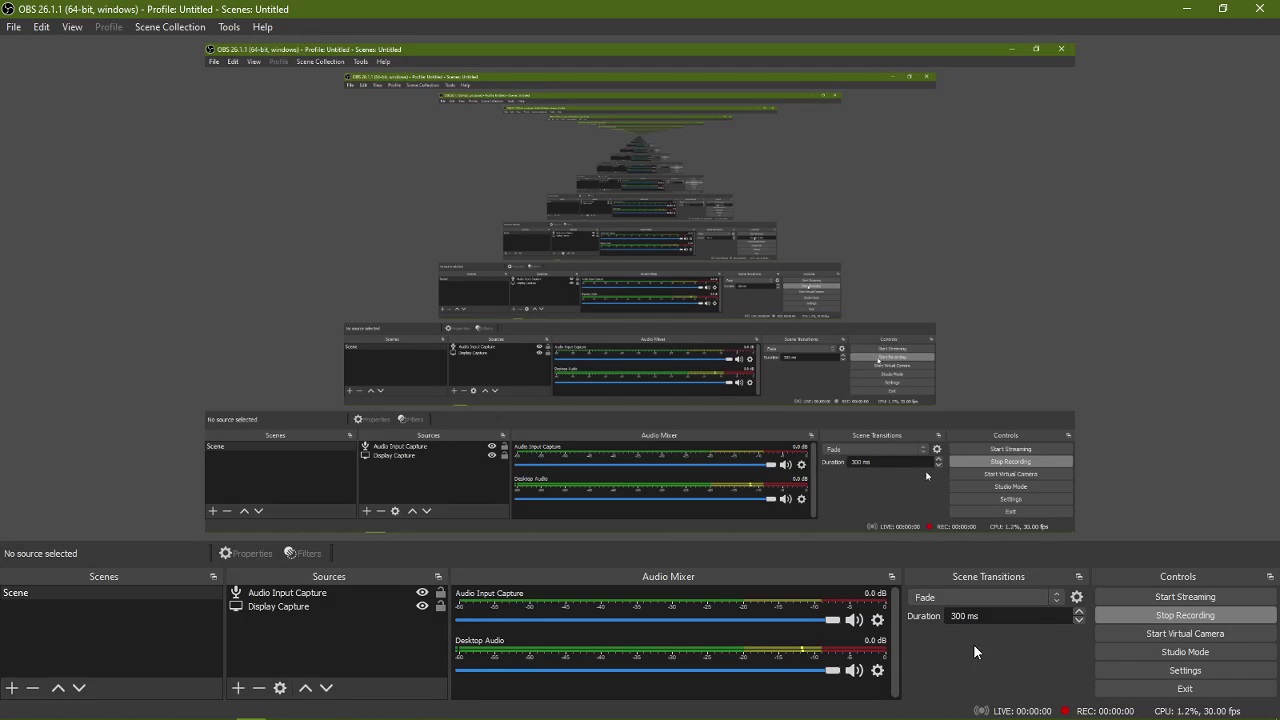
For taking screen recordings, I decided to use OBS Studio, which is also a well known software for screen-recording and streaming.
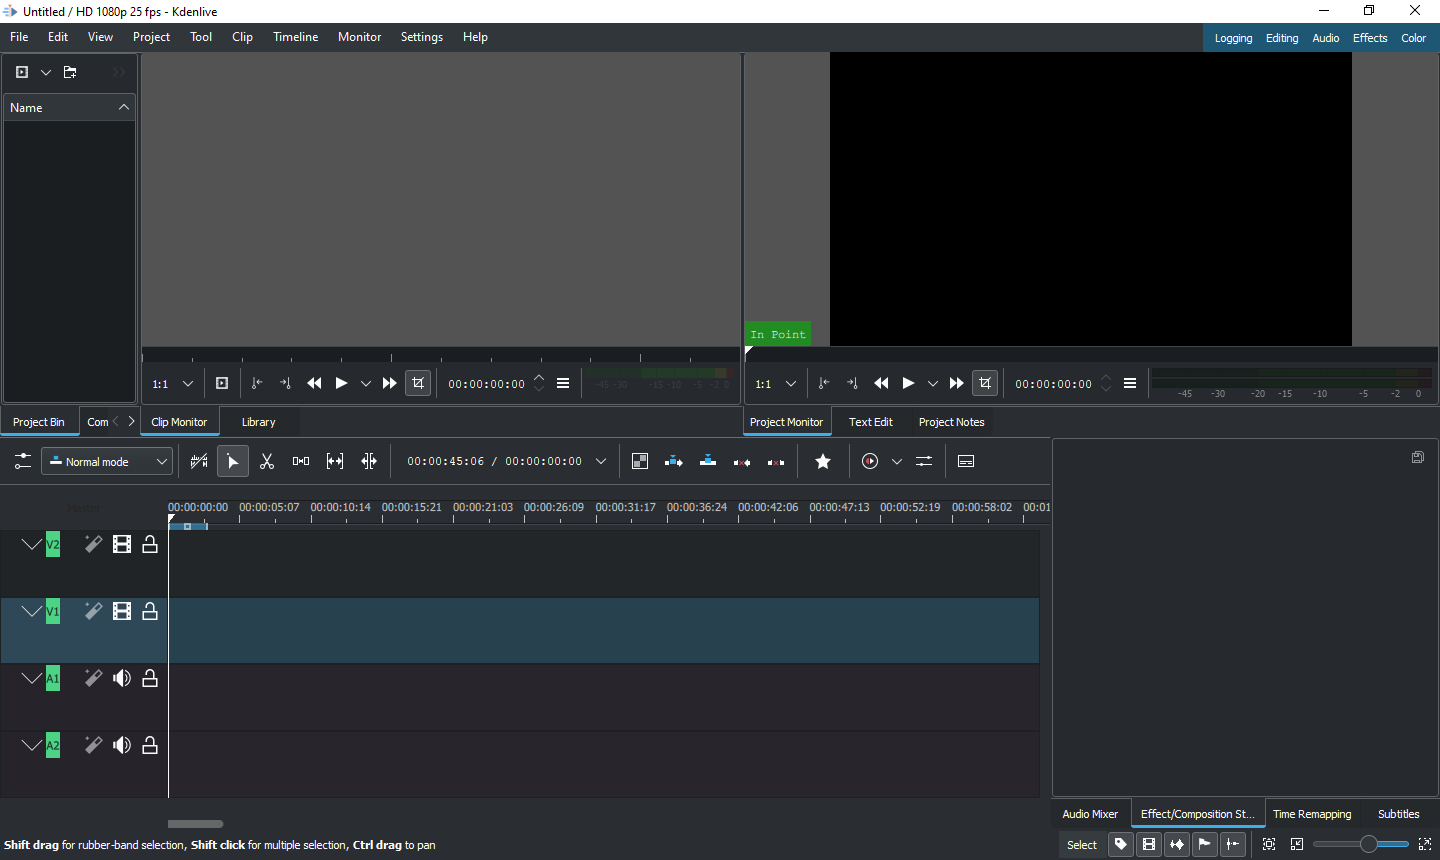
To edit videos, I used kdenlive, which is an open-source, free software for video editing, and it worked well for the most part, but it gave a few issues while processing larger files. So for editing something like a couple of hours worth of screen recordings, I used Adobe Premier Pro for editing them.
The Fab Charter
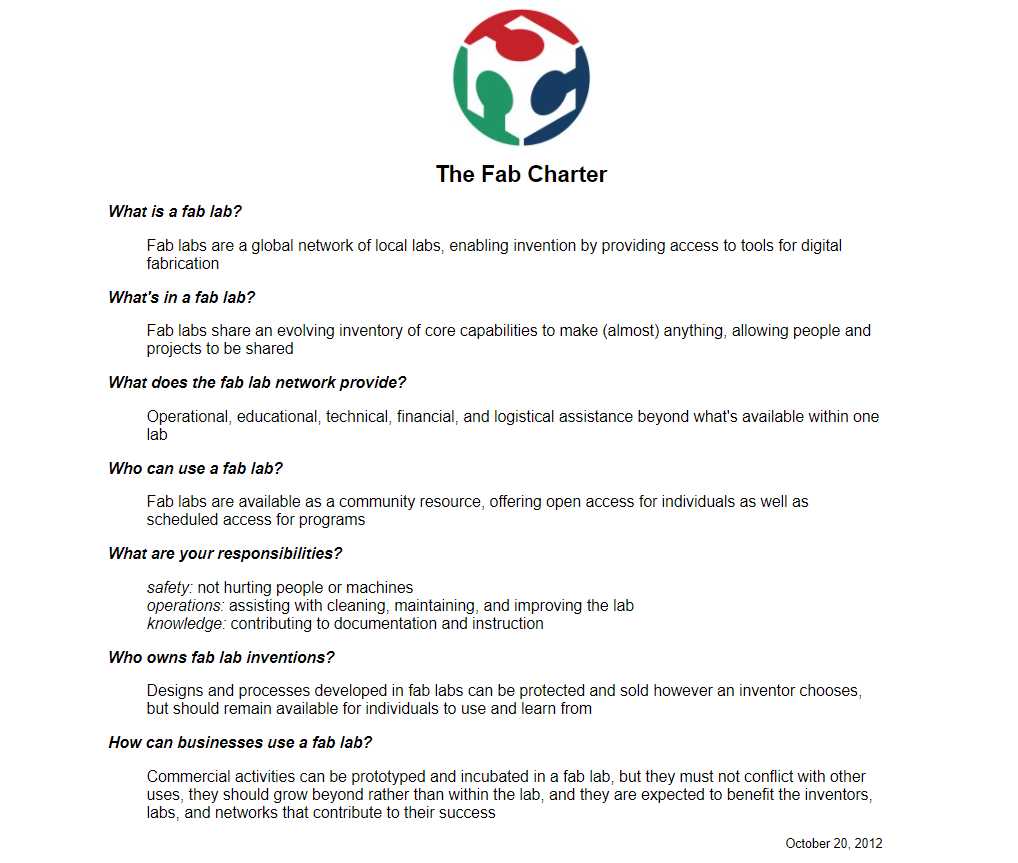
I verify that I have read and accepted the fab charter in its entirety. I personally conform to a lot of the ideas mentioned here. I have also signed and uploaded the student agreement to the local repository.
Student Agreement