Fabacademy 2021
Group Project: Computer Controlled Cutting
Laser Cutting is arguably one of the most useful manufacturing process that Fablabs possess. It is capable of engraving or cutting various different types of materials which depends upon the wavelength and power of the laser. Laser cutters are available in different wavelength, power levels and bed sizes for different applications. The ones that are seen most often commercially are:
- Fiber Laser
- CO2 Laser
- Diode Laser
The Vigyan Ashram Fablab owns an 80-watt CO2 Laser Cutting Machine by SIL. Here are the specs of the machine:
- Model No.: 1325-1318
- Laser Type: CO2 DC Glass Laser Tube
- Wave Length: 10.6 μm
- Cooling: Water Cooled
- Laser Power: 80 Watts
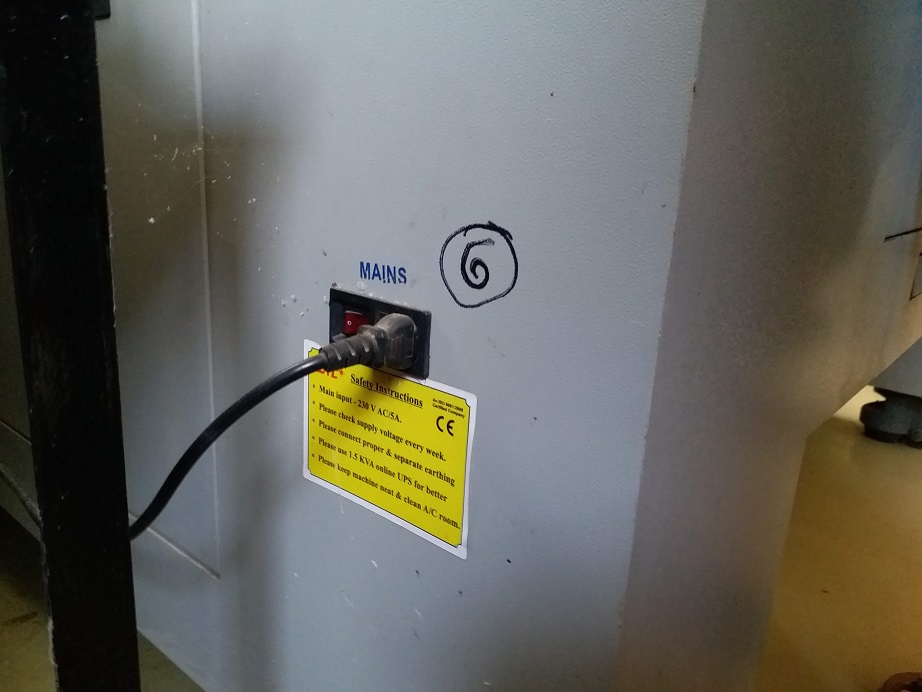
- Supply Voltage: AC 230 V ±0.05%
- Bed Size 600mm x 900mm
- Cutting Speed: ~ 30000 mm/min
- Engraving Speed: ~ 64000 mm/min
- Reposition Accuracy: 0.1 mm (Max)
- Work Environment Temp: 0 C - 45 C
- Humidity: 5% ~ 95%
- Graphic File Support: PLT, CDR, AI, DWG, DST, DXF, BMP, JPEG, TIFF, GIF, PCX
For more information about the laser cutter, please visit this page: CO2 Laser Cutter
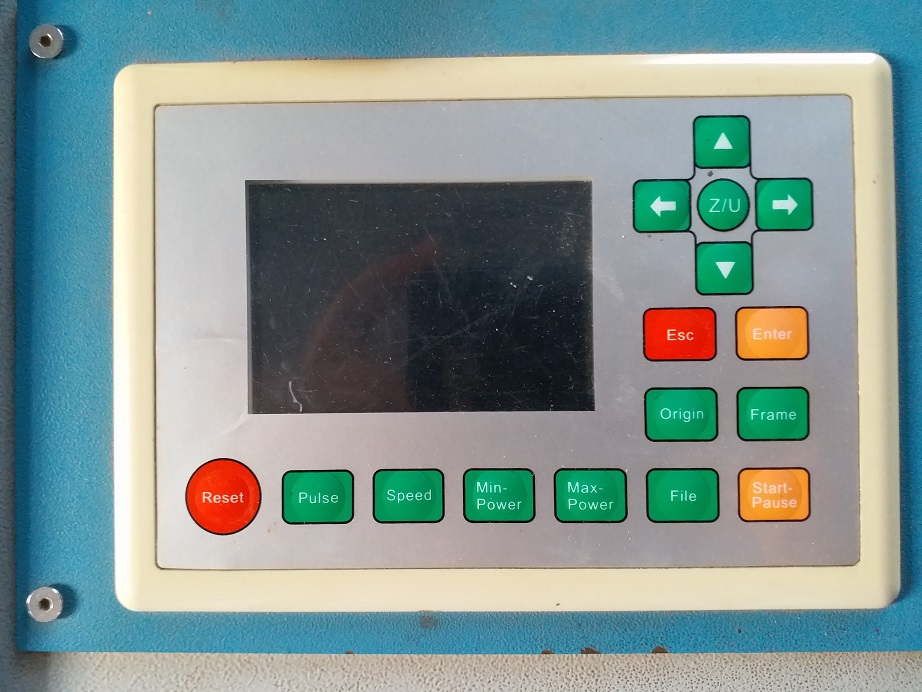
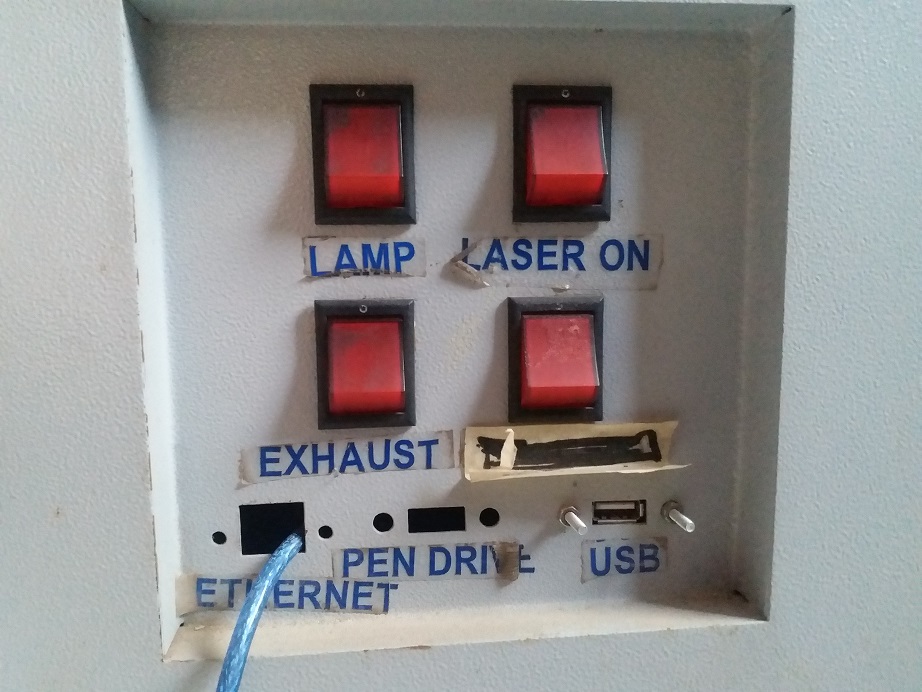
Turning the Laser on
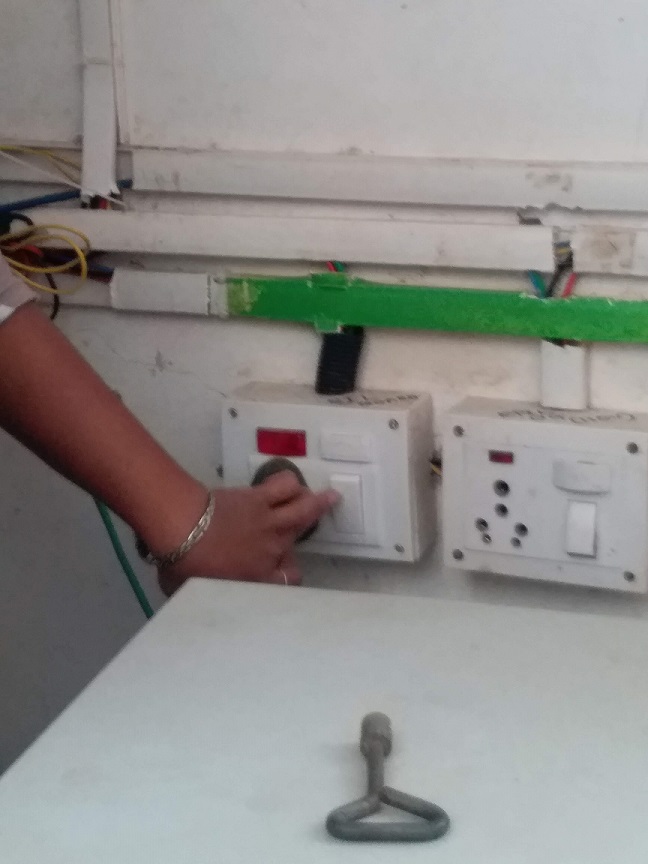
Situated in a remote rural area means that the Ashram has to deal with frequent power cuts and fluctuations. This is a major issue that could harm a laser cutter. So in order to ensure that the laser stays safe, there are a number of peripherals that are used to reduce fluctuations. Therefore to turn the machine on, there are actually eight steps that one has to go through. Here are the things that need to be done to make the machines work:
- Servo Voltage Stabilizer: A servo voltage stabilizer is a closed-loop control mechanism which serves to maintain balanced 3 or single-phase voltage output despite fluctuations at the input owing to unbalanced conditions. (source: Elprocus.com)
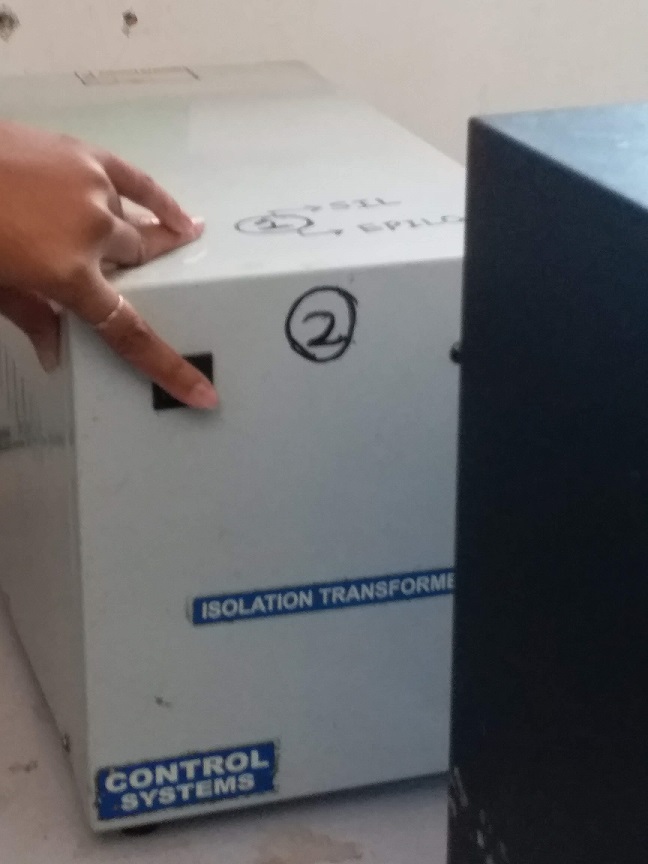
- Isolation Transformer: An isolation transformer is a transformer used to transfer electrical power from a source of alternating current (AC) power to some equipment or device while isolating the powered device from the power source, usually for safety reasons. Isolation transformers provide galvanic isolation; no conductive path is present between source and load. This isolation is used to protect against electric shock, to suppress electrical noise in sensitive devices, or to transfer power between two circuits which must not be connected. A transformer sold for isolation is often built with special insulation between primary and secondary, and is specified to withstand a high voltage between windings. (source: Wikipedia)
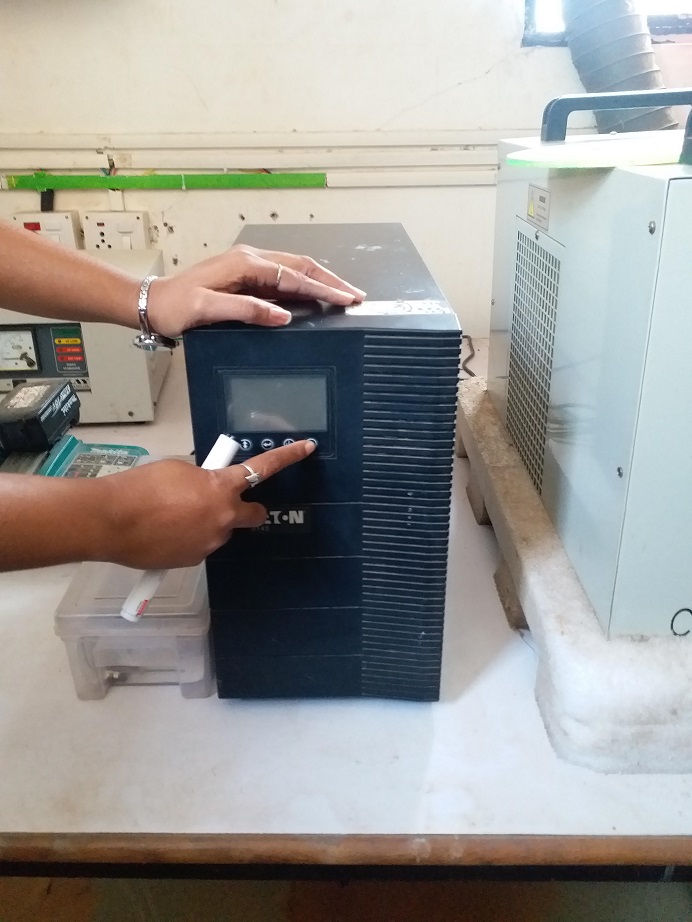
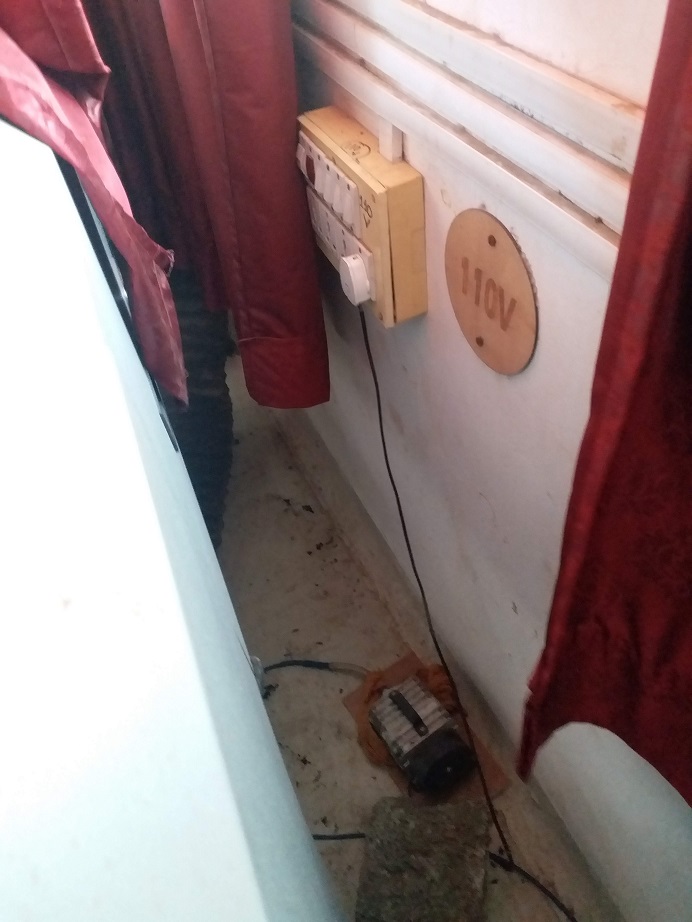
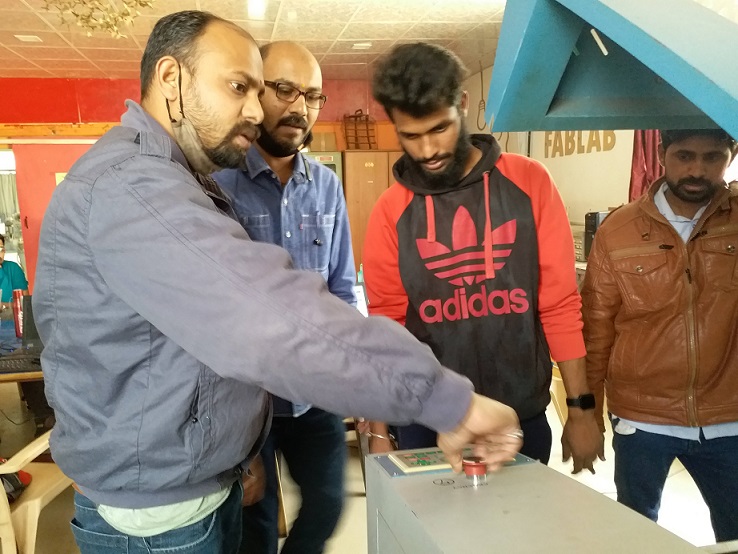
- Inverter: This component makes the machine run for x time after the main power has been disconnected. Helps to turn off the machine in a controlled manner in the event of a power cut. To turn it on, the button has to be pressed until the display shows that the load is connected.
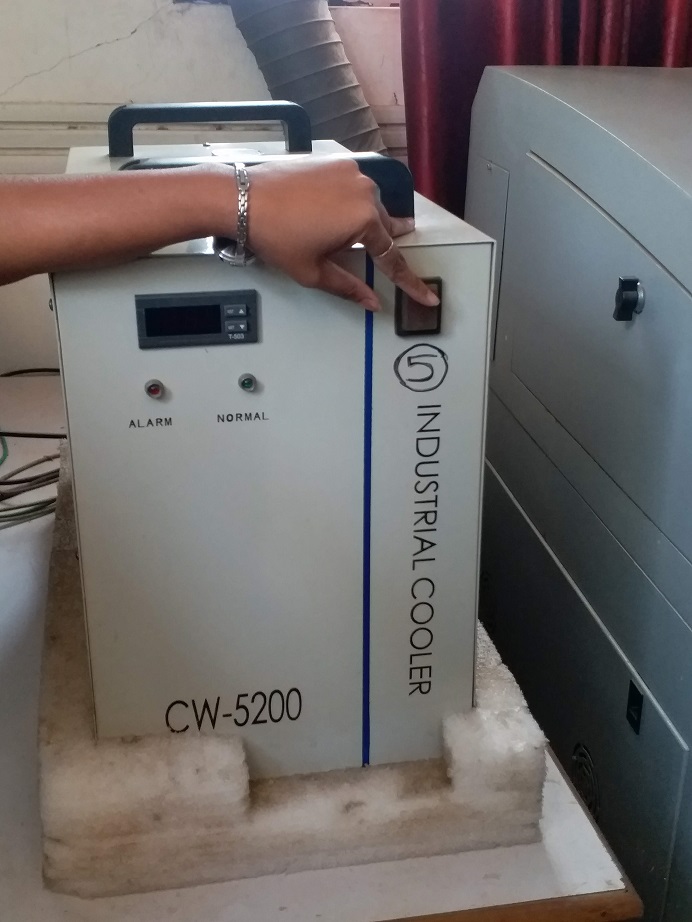
- Chiller/Cooler: This component is used to cool the CO2 laser tube, and needs to be filled with de-ionised water, or atleast RO purified water. Pressing the red button turns it on.
Preparing the materials.
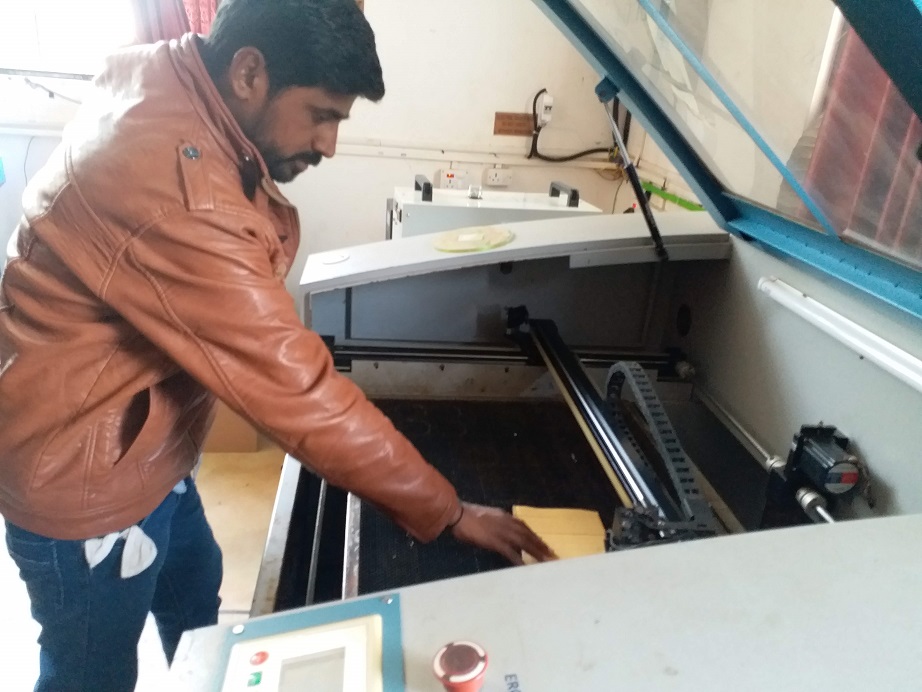
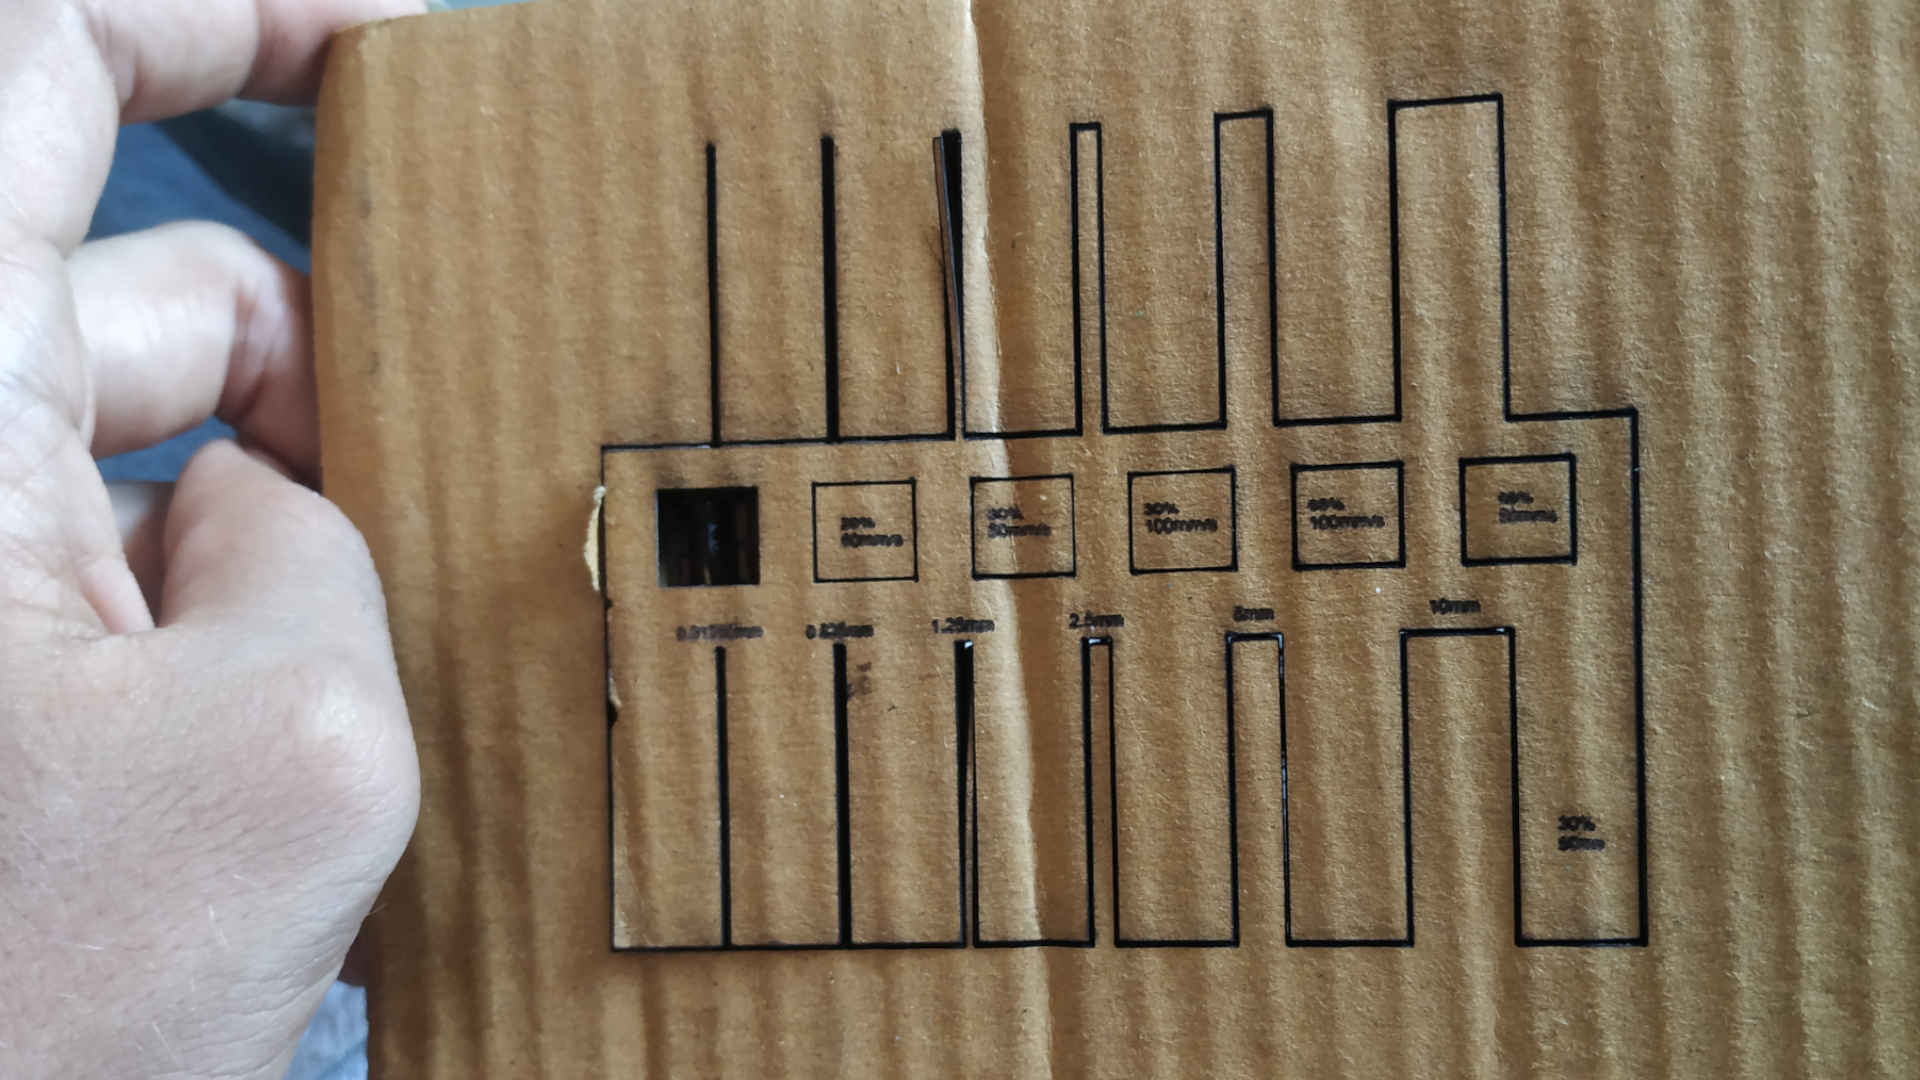
Cutting and measuring kerf

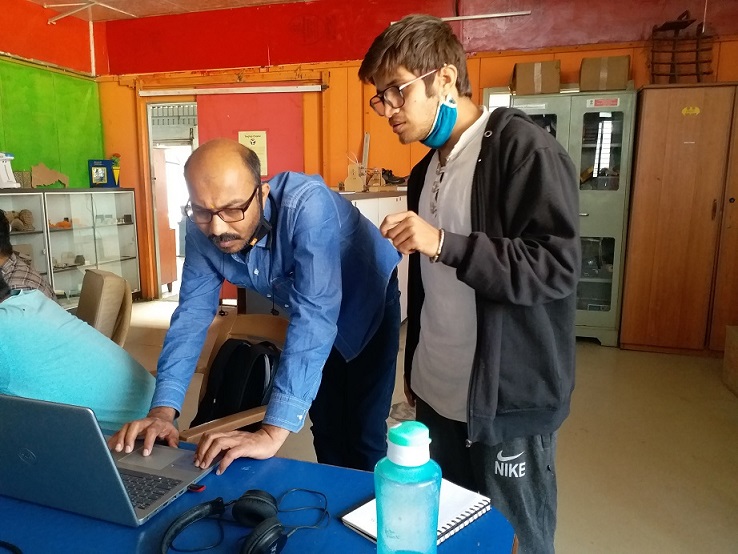
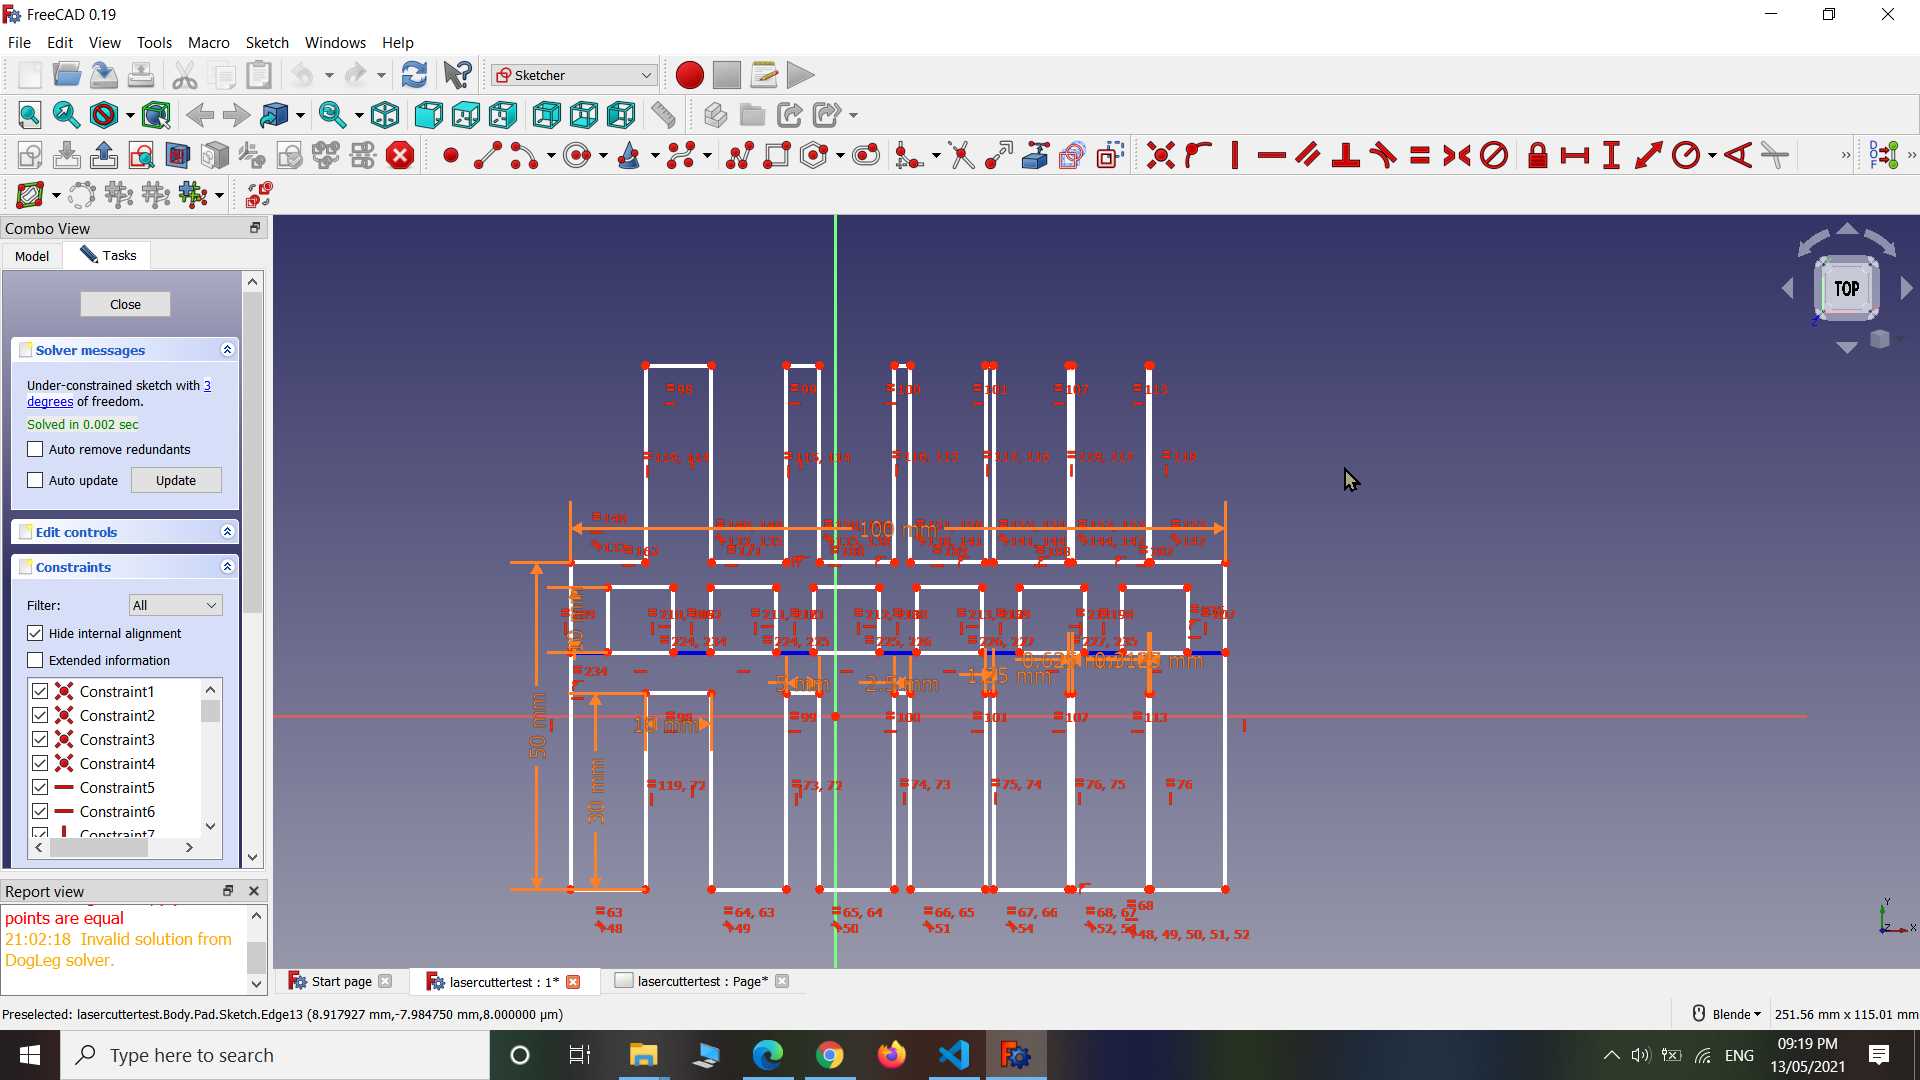
Preparing file and measuring material thickness
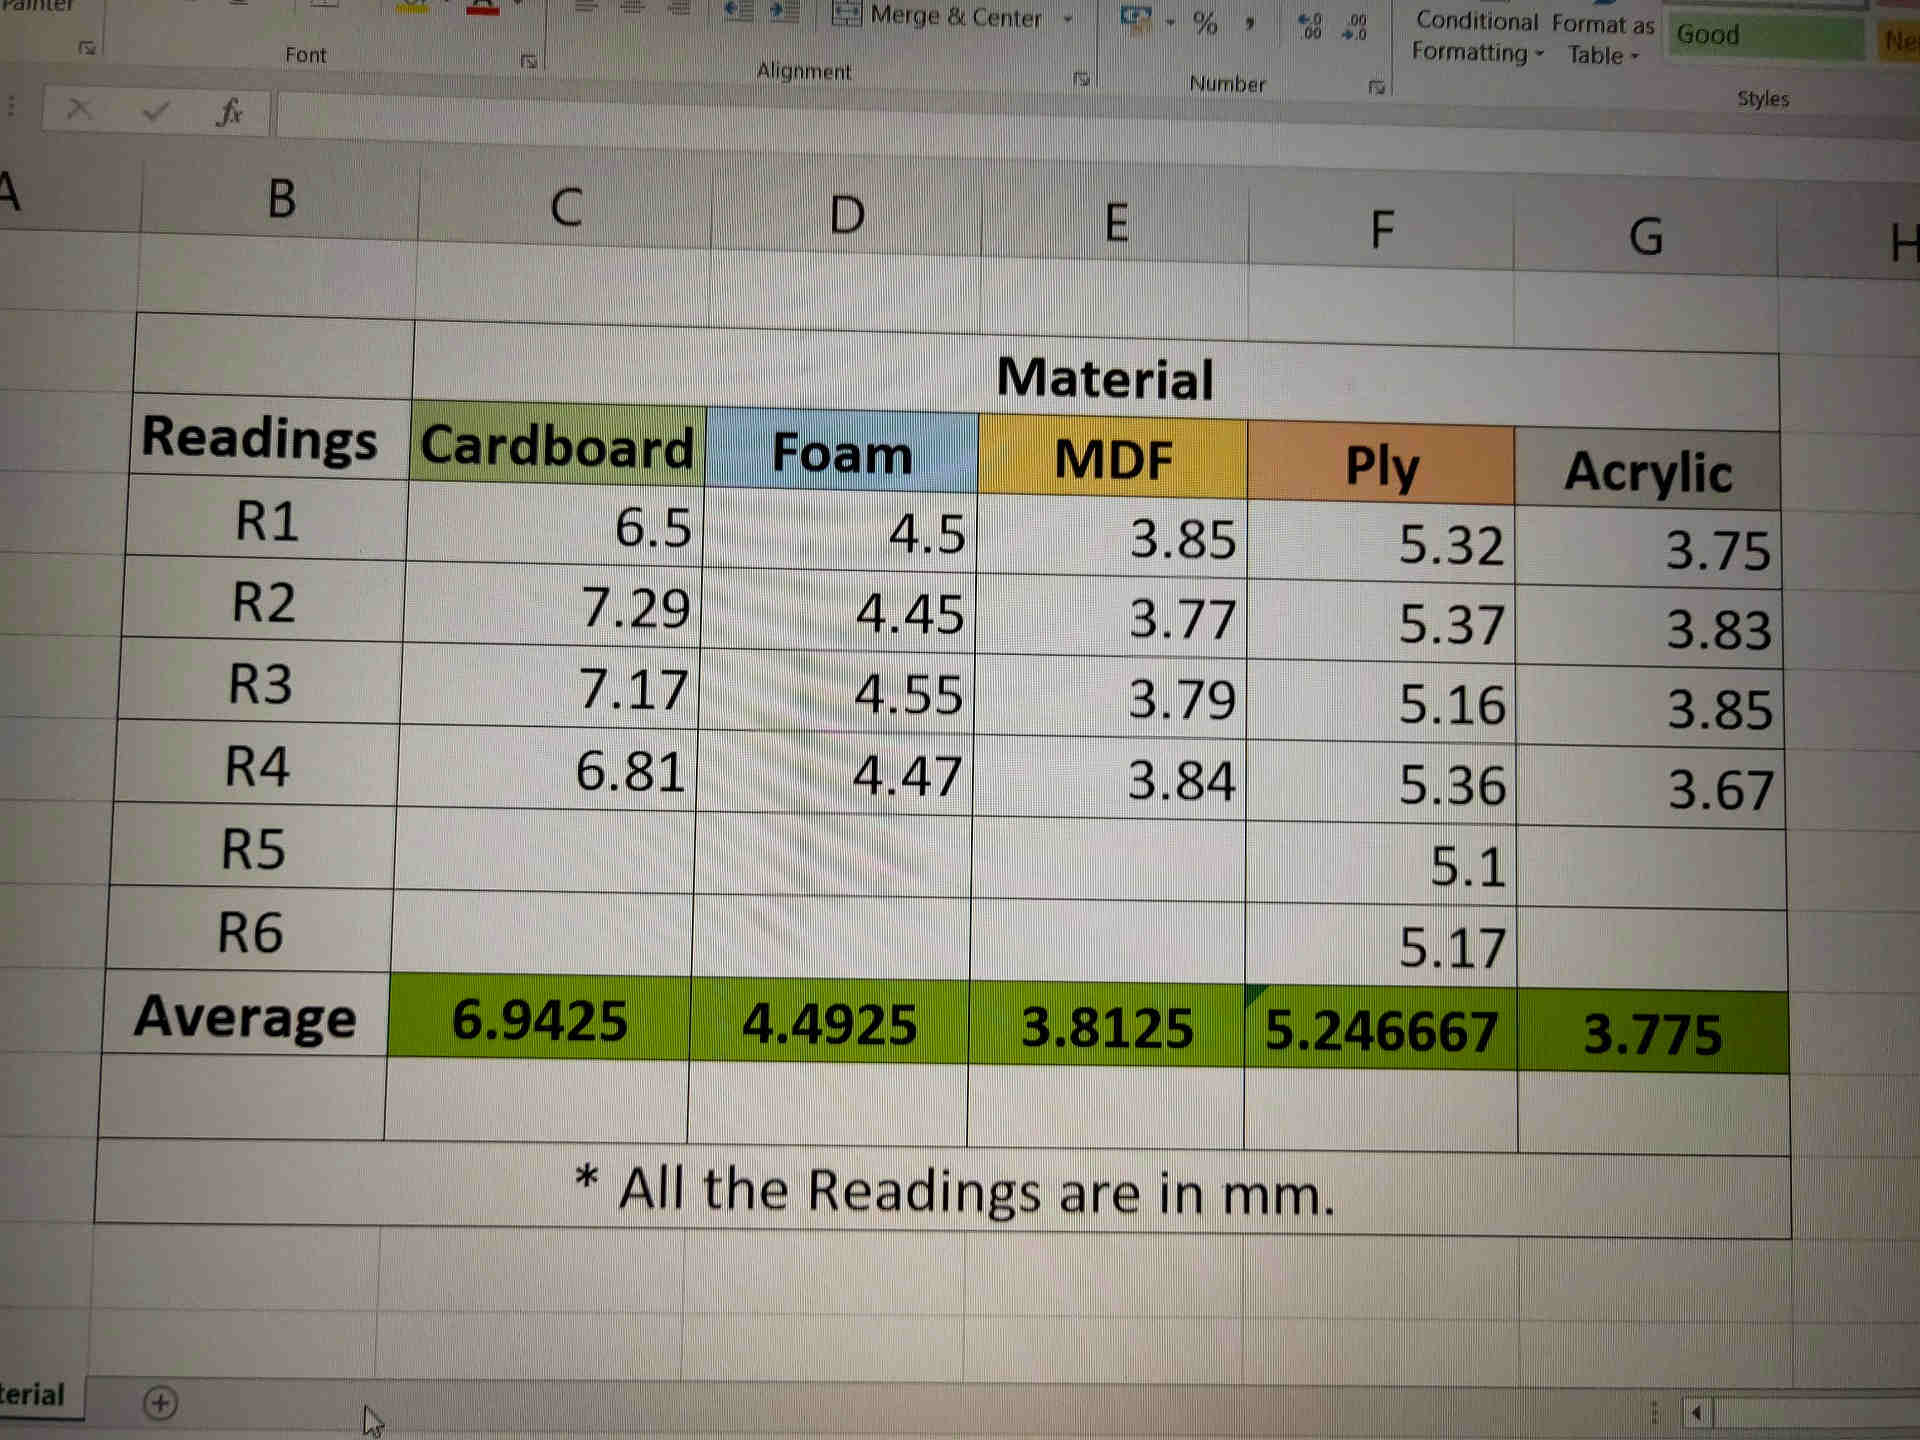
Results
These are the results for the different materials:
- Cardboard: This material was tested by Rahul Kanojia who reported the following:
"Here I took cardboard to work on. I found it required high speed and little less power to cut well and if cardboard is multi layer than number of pass to given is equal to number of layer it have. This idea worked well
From experiment it seem average kerf value range from 0.15 to 0.18 mm in different material accordingly and it vary by thickness of material and number of passes you give. This all are observed data."
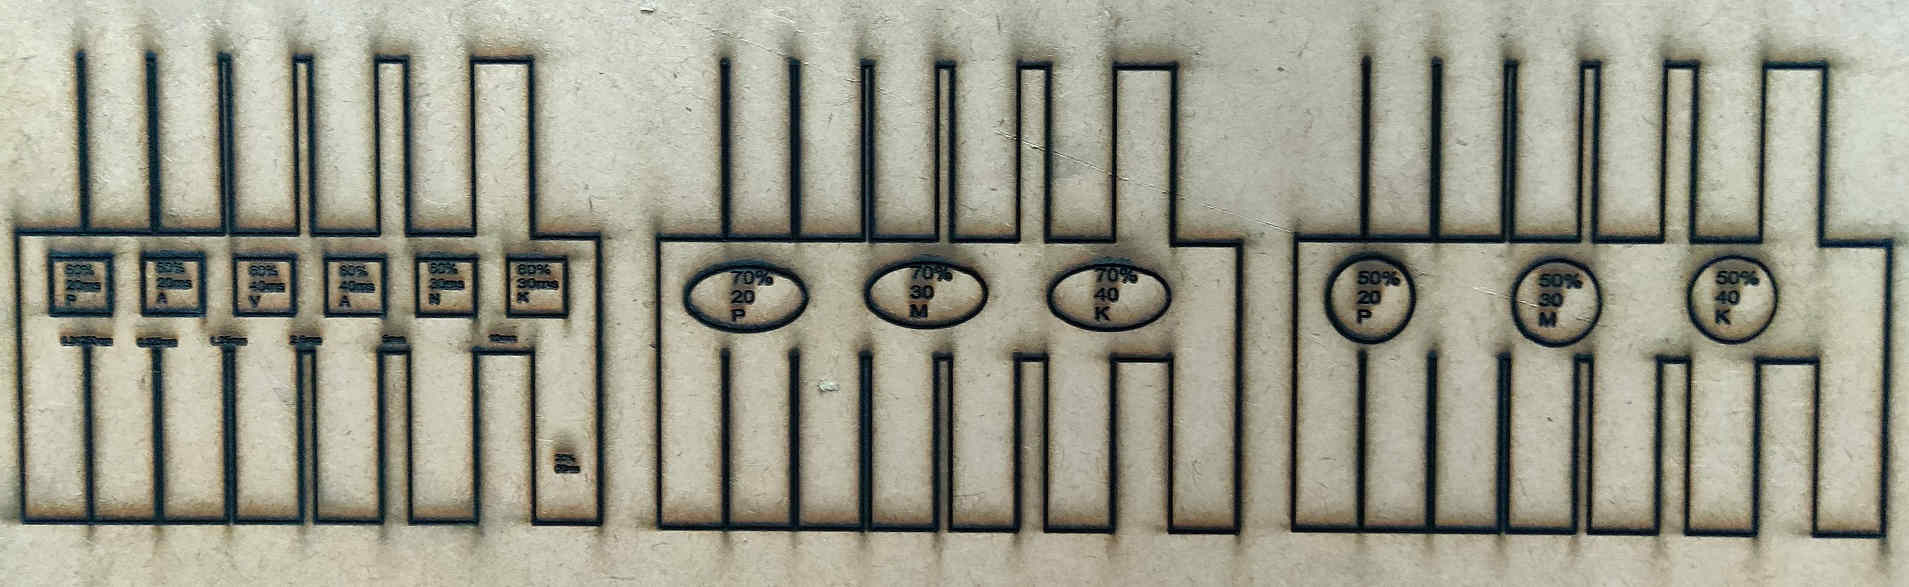
- MDF: This material was being tested by Pavan Kuchar who reported the following:
After various combinations of power and speed for MDF, I found out that the MDF of 3.81 mm thickness needs to be cut at the Speed of 10 mm/sec and power of 70% because when I cut the MDF with the Power of 50, 60 and 70% with speeds from 20 to 40 mm/s, it was not cut.
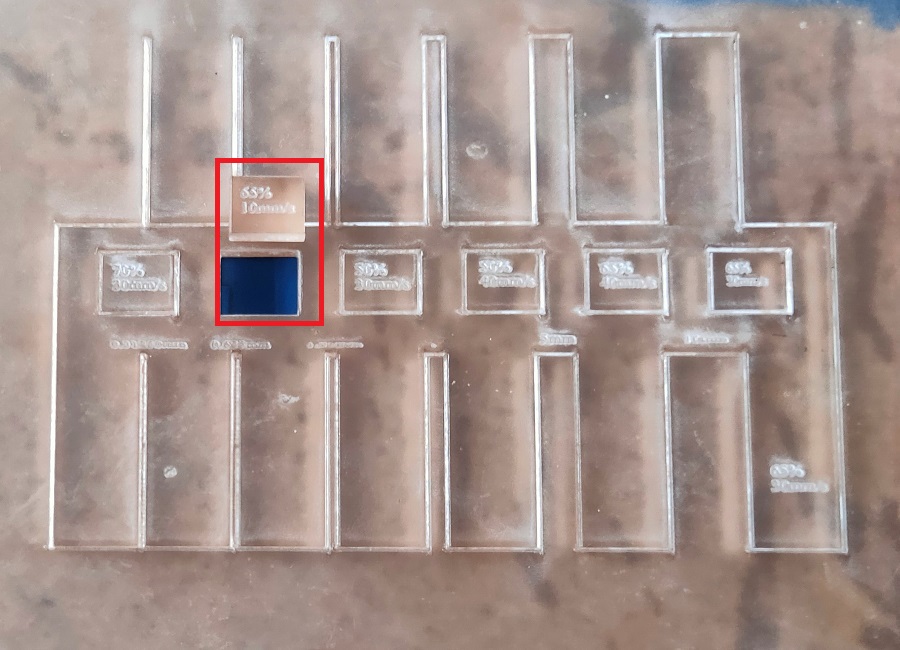
- Acrylic: This material was tested by Anand Tale, who reported the following:
After completing the experiment we found that 10mm/s is the prior speed and 65% is power for cutting Acrylic material with thickness 3.75mm.
- Foam: This material was tested by Vijay sir, who reported the following:
This is the result of Foam material after the different combinations of speed and power for foam I can conclude that the foam 4.49 mm thickness required to be cut the speed of 40 mm/sec and the power required is 50%.
