Week eleventh assignment is also a creative week.In this week we have to design an object in 3D software such that we are getting positive mould by milling it.By using this we have to create negative mould and positive object.This week Niel introduced us the detail process of moulding and casting also different material used for the same.Its intersting thing to do all the processes.
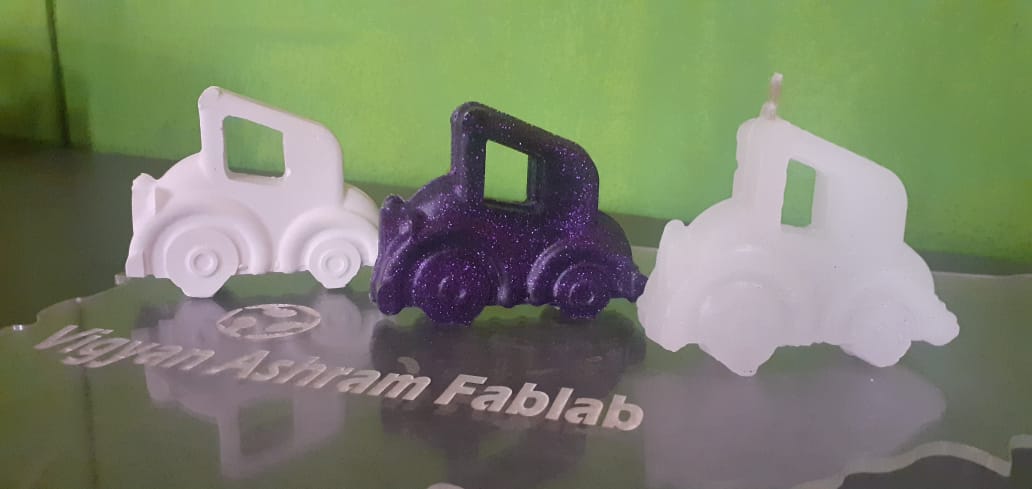
Hero shot.
Assignment-11
Moulding and Casting
OBJECTIVES
Group assignment
- Review the safety data sheets for each of your molding and casting materials.
- Make and compare test casts with each of them.
Individual assignments
- Design a 3D mould around the stock and tooling that you'll be using, mill it (rough cut + (at least) three-axis finish cut), and use it to cast parts.
Learning outcomes
- Design appropriate objects within the limitations of 3 axis machining
- Demonstrate workflows used in mould design, construction and casting
About Group Assignment
Task for the group assignment is to Review the safety data sheets for each of molding and casting materials in our lab.Make and compare test casts with each of them.Discuss the parameters with the group members.For more information of group assignmet click on About Group Assignment.
Individual Task for Group Assignment
For the Group assignment we are having different materials. we divided the materials and test its proprties. for the group assignment I have selected the Moldsil silicon and the Flex wax.Also tried to make the silicon mould and uesd Hydrostone as casting material.
About Moldsil Silicon(Part-A)
Moldsil 15 PLUS is a Room Temperature Vulcanizing Silicone Rubber for making strong and flexible molds for excellent reproduction of the master and having superb release characteristics. It is compatible with various master and casting material s. This grade has been specially designed to create molds with long life.For more details go through the Technical data sheet

- Room temperature cure.
- Low viscosity - easy flow and excellent detail reproduction.
- Excellent mechanical properties - suitable for deep undercut moulding.
- Good chemical resistance - compatible with various casting materials.
Features
Catalyst (Part-B)
The choice of catalyst depends on the application method and the speed of cure needed. Moldsil-15 can be cured in to elastomeric products using the following cure options:
- CAT-24 : Slow catalyst,Takes about 24 hours at room temperature .
- CAT-16 : Medium speed Catalyst,Takes about 16 hours at room temperature.
- CAT-04 : Rapid Catalyst,Takes about 4 hours at room temperature
Catalyst Properties

Handling Precautions and Safety
mouldsil-15 PLUS contains constituents that have been found to be safe. Hence special handing precautions except general industrial hygiene need to be followed. Catalysts (CAT-24, CAT-16 and CAT-04) contain organo-tin compounds and are flammable and might cause irritation upon contact with eyes and skin. Adequate protective measures are recommended. Refer to Material Safety Data Sheet (MSDS) for safe use of the product.
The result of mixing is as shown in the following image.

Casting moldsil silicone.
I also tried to make the mould by using mouldsil silicone the test reult is shown below.Note that take atleast 10% more than required material because at the time of measuring process some of the material stick to the container and we are not get required one.The mould is casted with hydrostone material.


Pouring Hydrostone.

Poured hydrostone
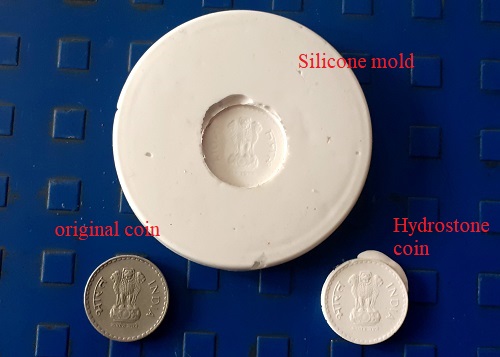
Silicone mould with cast material.
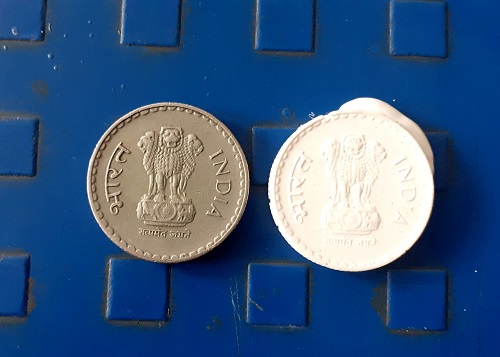
original coin and casted hydrogen coin.
About Flex Wax
A wax-plastic material for making molds quickly, easily, and inexpensively. Simply melt it, then brush it on or dip the object into it. Flexwax melts at 120°F (49°C) , a comfortably warm temperature. It cools in a few minutes to form a tough, flexible mold.

By using fles wax we can made the mould very easily.Take the piece of flex wax ,just heat the suraface ,it becomes soft to press the object have to make the mould.The result is shown in folowing image.
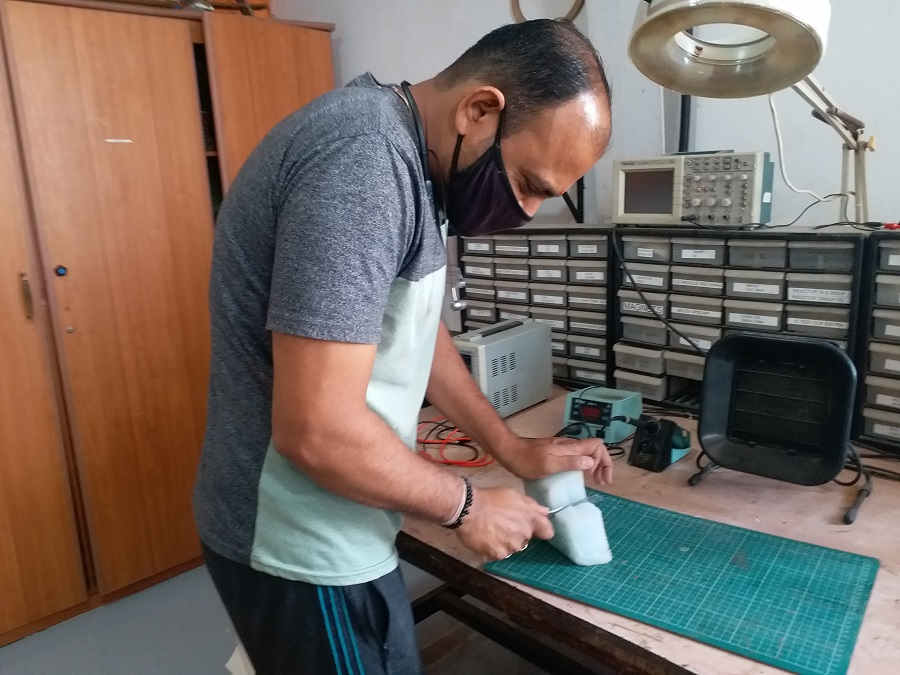
Cutting the wax in to pice.
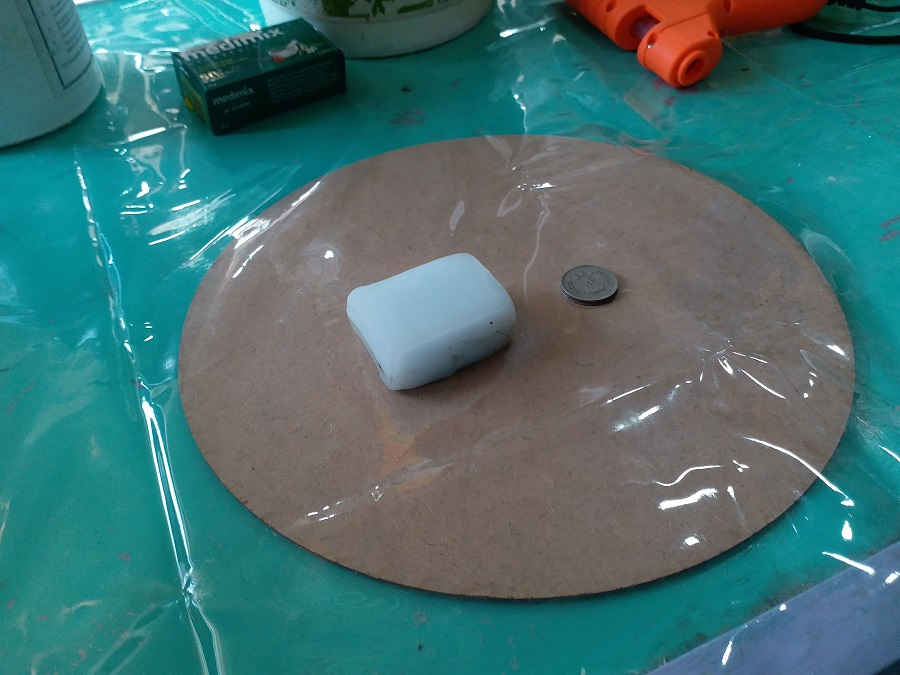
Wax pice with coin.
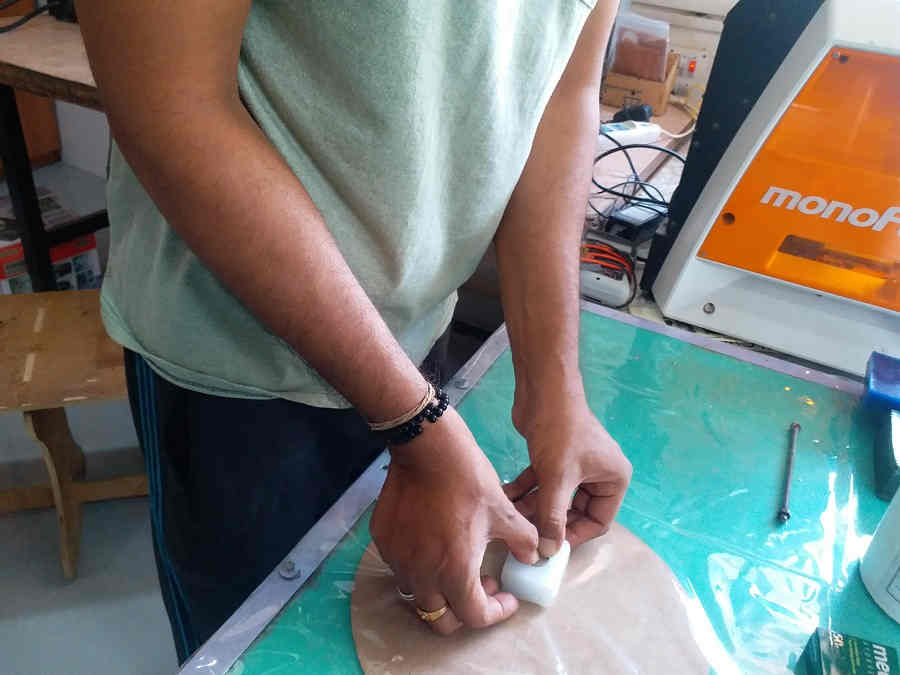
Applying thumb pressure on coin.
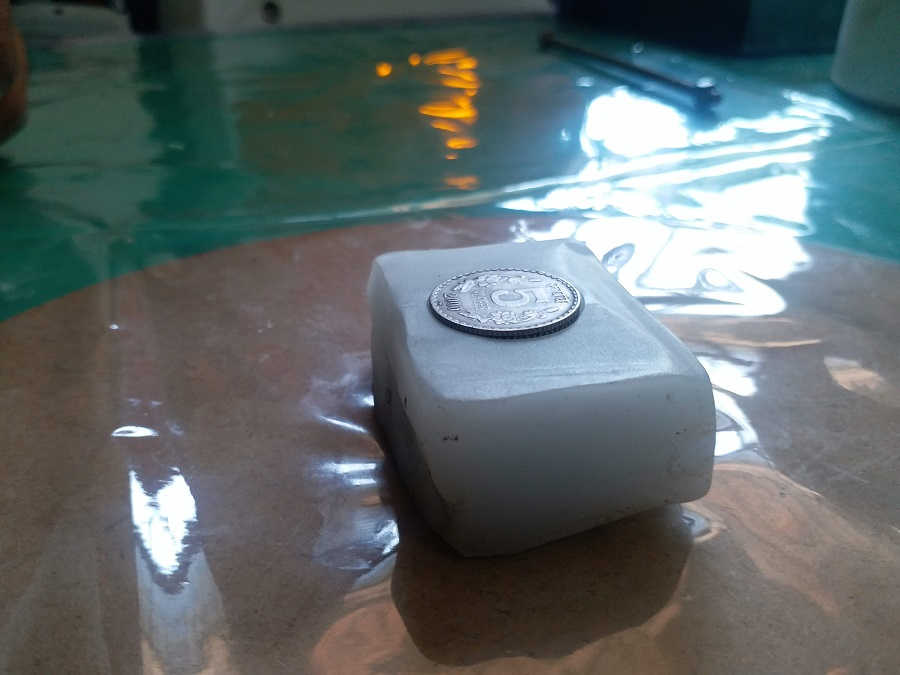
Cion pressed in to the wax.
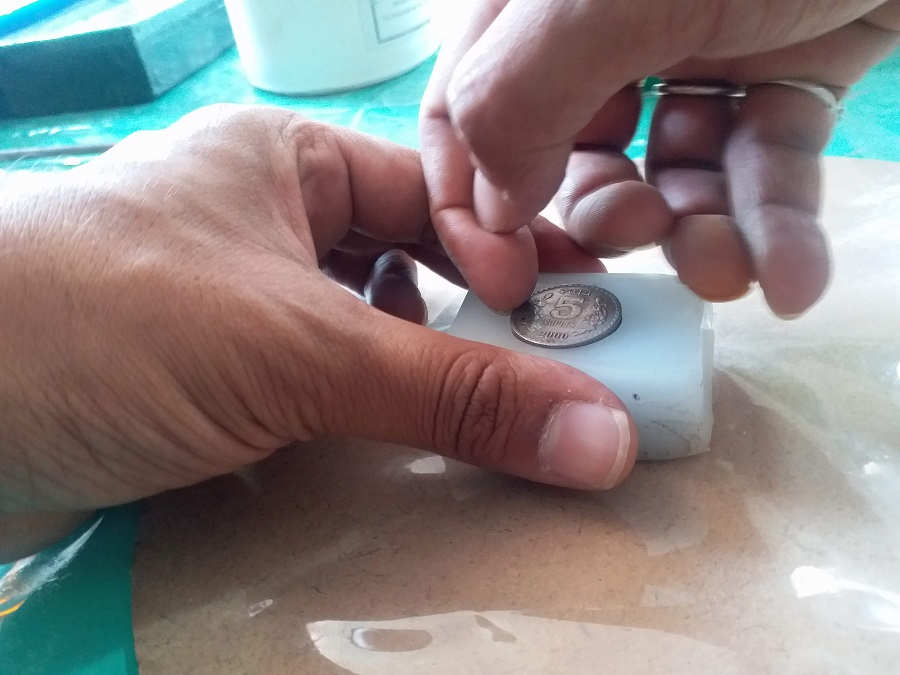
Removing coin fron the wax.
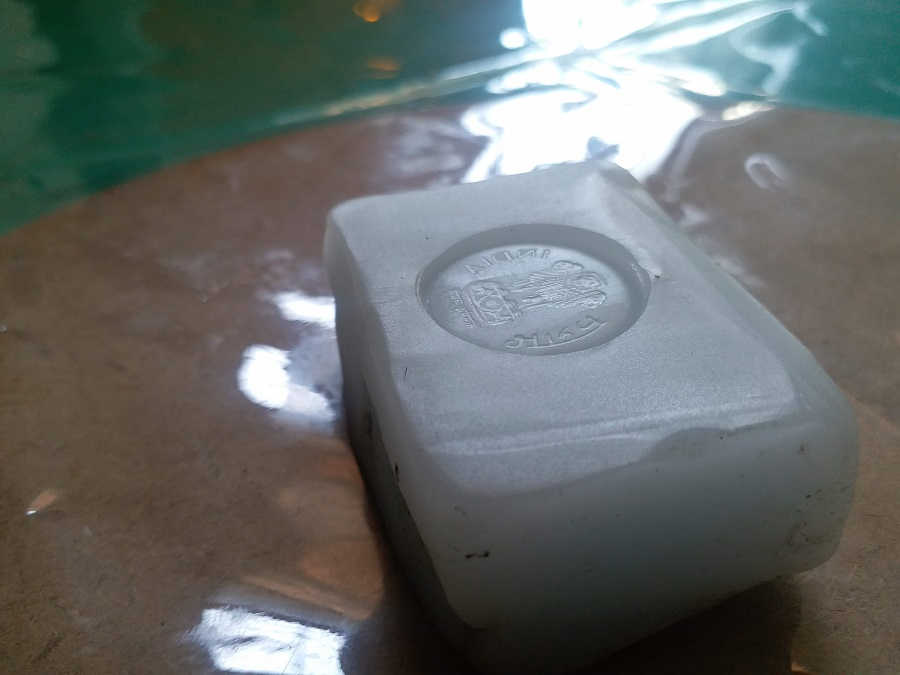
Flex wax coin mould is ready.
Summary
- Moldsil Silicone is the good moulding material for hard casting.
- The curing time is more than 16 hours if uesd catalyst-16.
- Take atleast 10% more material than required.
- safety precautions are very important while handling material.
- Flex wax is very soft do not apply much pressure on it.
- Removed the casted material slowly,other wise the mould get deformed.
Individual assignment on Moulding and Casting
In this assignment task is to design a 3D mould,mill it with milling machine and used it for casting.we have to design positive mould cast it with required material to create negative moluld to create positive object of required material.Main thing is that if you have to cast flexible material used hard material for moulding also if you have to cast hard material used flexible material for moulding.The work flow for this assignment is given as follows
- About Moulding and casting.
- Designing an Object
- Designing Mould
- Milling the 3D (Positive) mould
- Casting the mould
- Creation of an Object
About Moulding and casting
Moulding
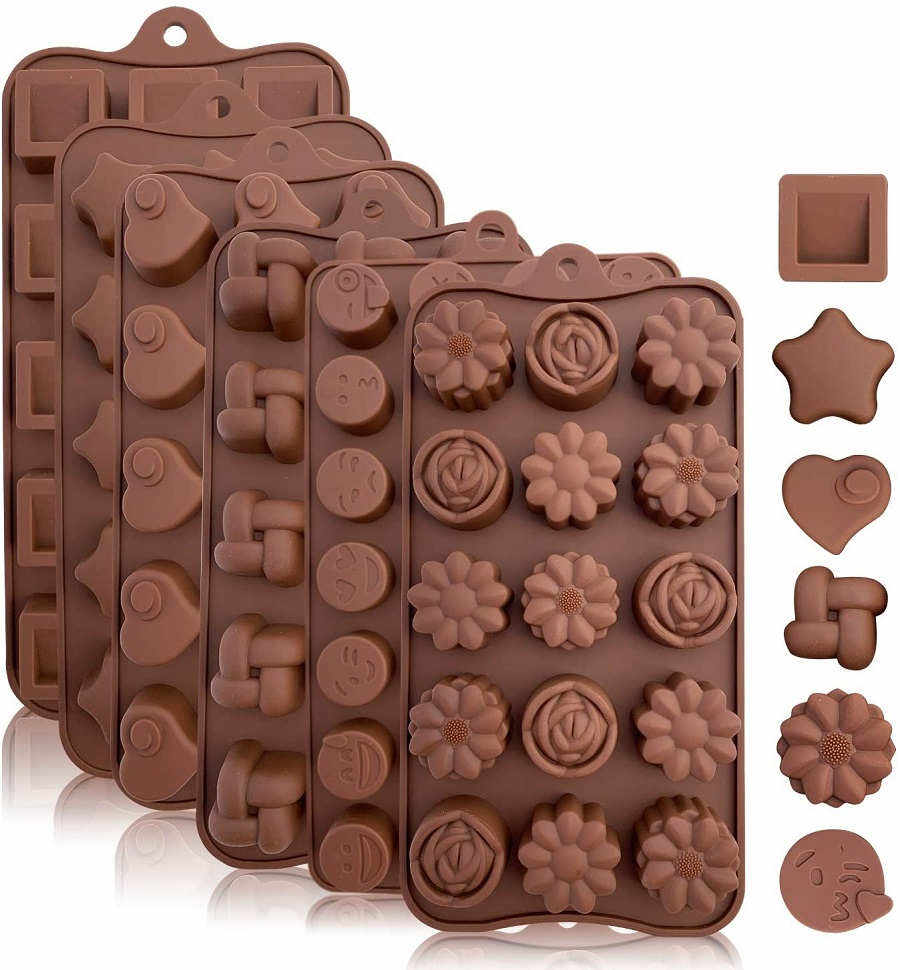
Moulding is a manufacturing process that involves shaping a liquid or malleable raw material by using a fixed frame; known as either a mould or a matrix. The mould is generally a hollow cavity receptacle, commonly made of metal, where liquid plastic, metal, ceramic, or glass material is poured. In most cases, the mould is derived from the initial pattern or template of the final object; its main objective is to reproduce multiple uniform copies of the final product. As the liquid cools and hardens inside the mould, the final configuration is achieved. Its removal is facilitated by the use of a release agent or ejection pins.
Casting
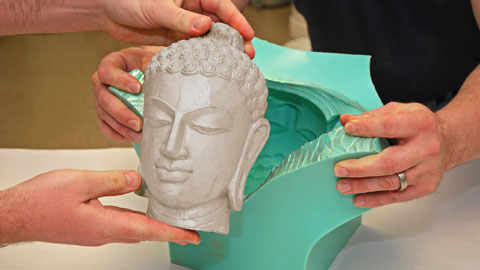
Casting is a 6,000-year-old moulding process that involves filling a liquid material into a mould of a desired shape. The liquid goes on to gradually cool and solidify. The solidified part is called a casting. It is either ejected or broken out of the mould to finalize the process. Typically, metals or cold setting materials such as epoxy, concrete, plaster, or clay are used in casting. Casting is the preferred process for producing complex shapes that would otherwise be too difficult or costly to make through other methods. A copper casted frog is the oldest living proof that intricate casting patterns were used as early as 3200 BC.
Designing an Object
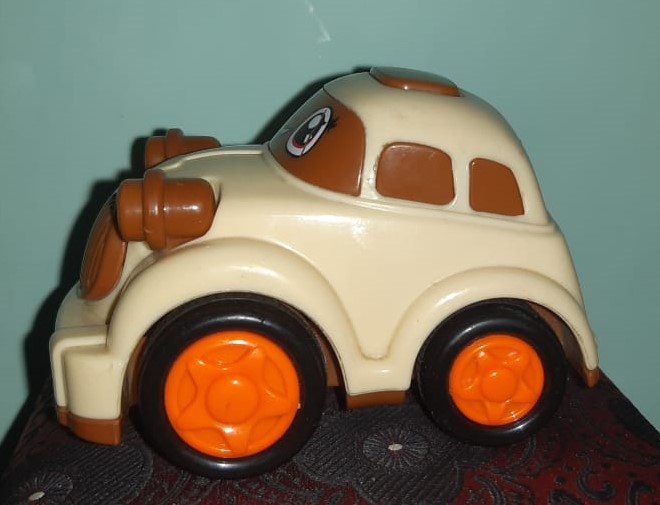
I like the vintage car.My twins Raghav & Raman having vintage toy car in their toy collection so for this assignment i decide to make small vintage car.I inspried with following one.
To make the design I am using Rhino 6.I create the car with Cylinder, Rectangle with boolean union operation.the design car is shown below.
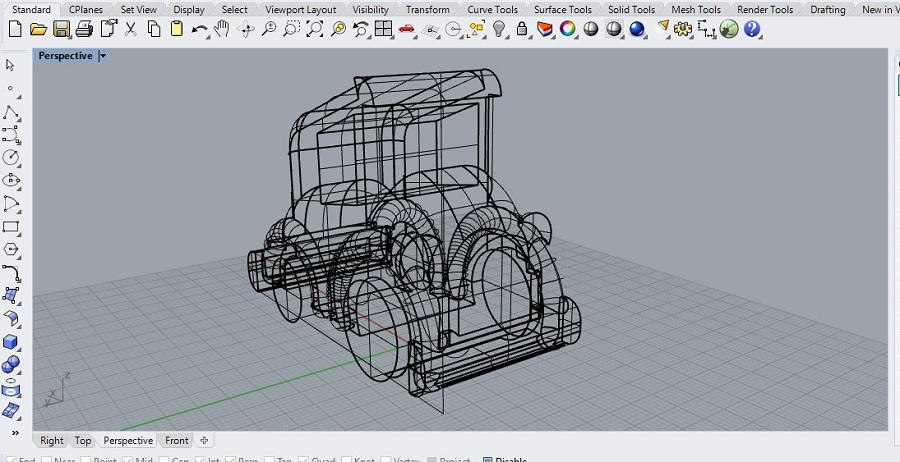
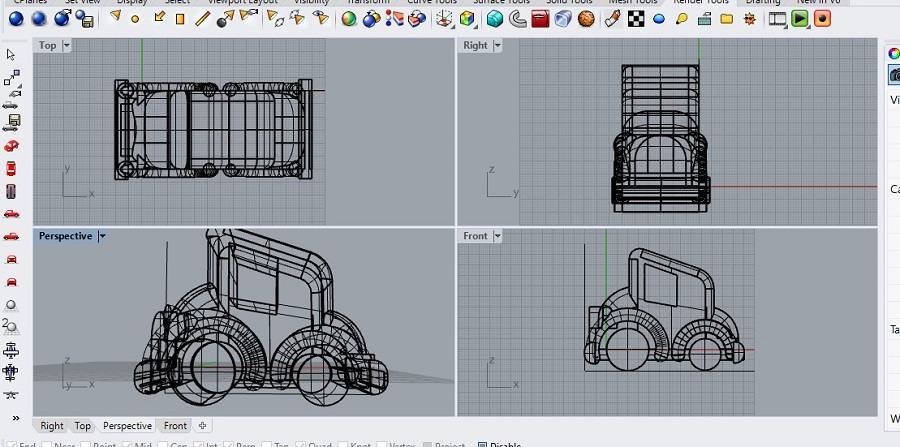
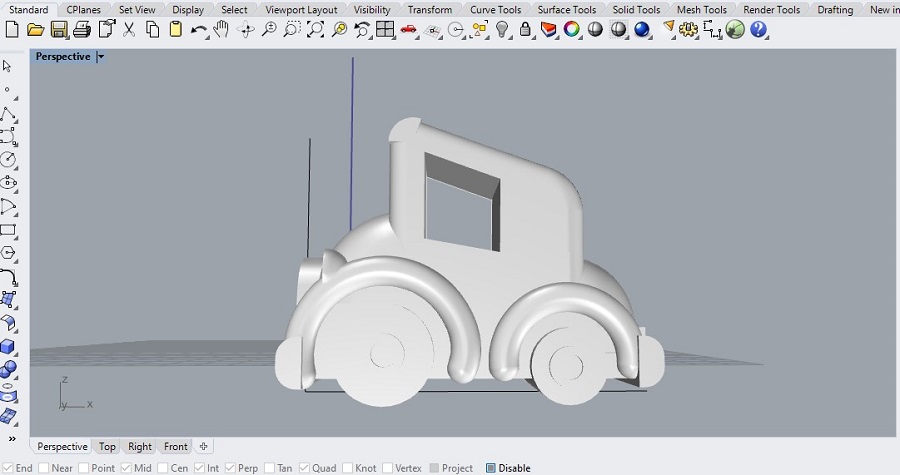
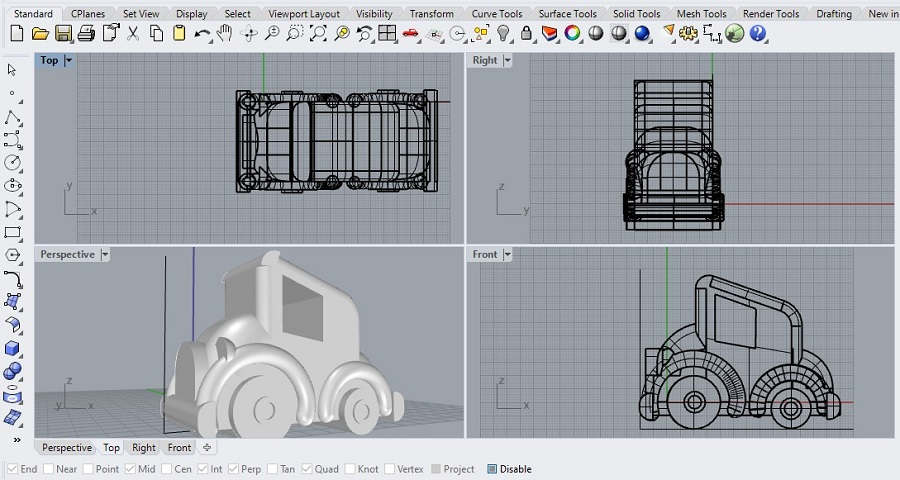
Designing Mould
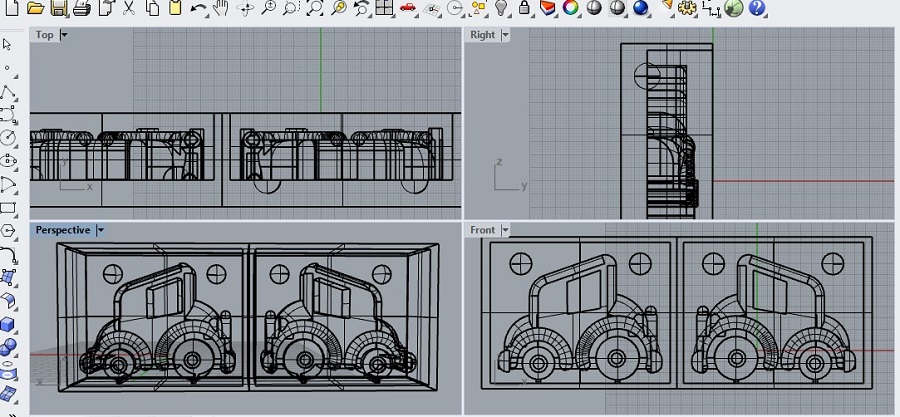
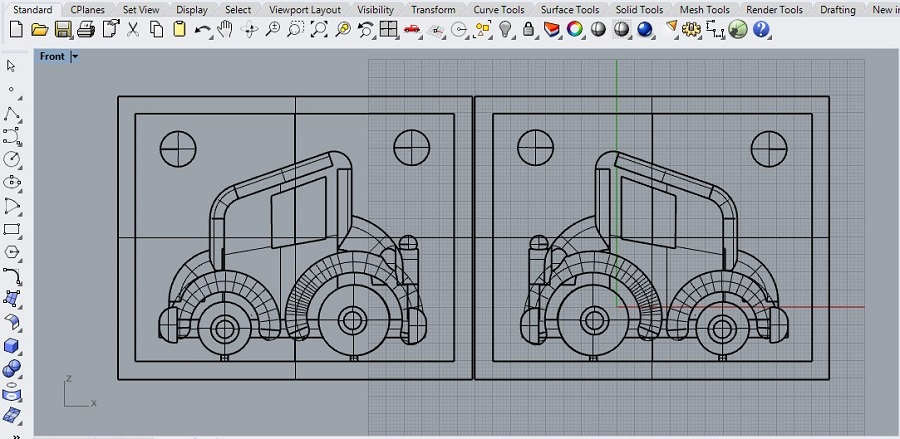
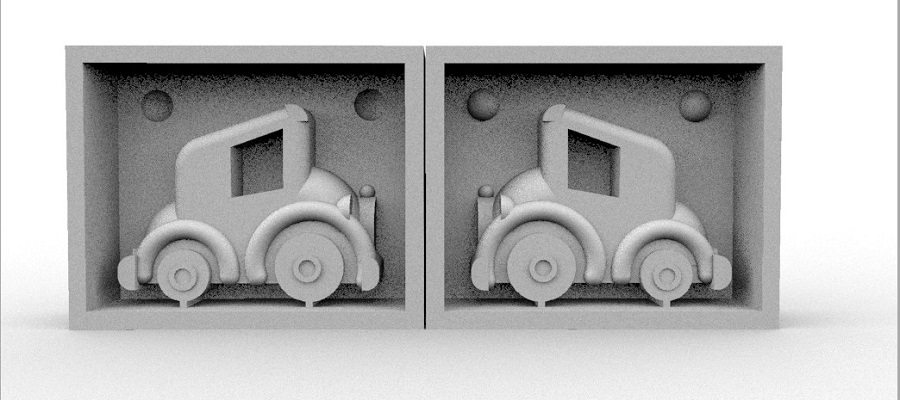
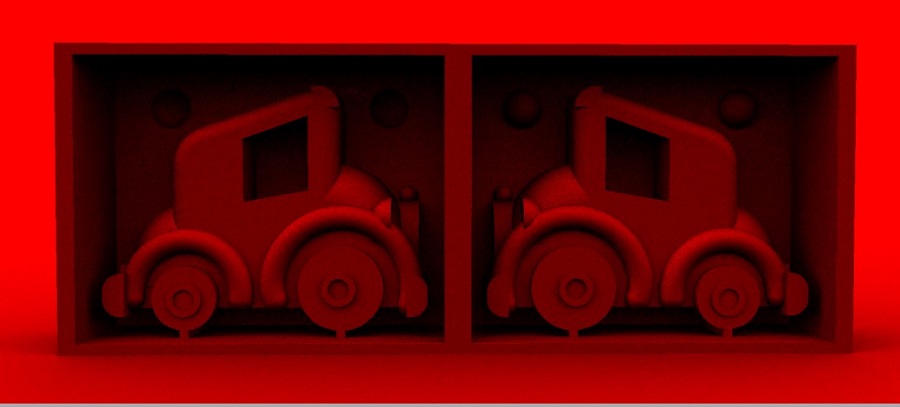
For designing the mould dividing the object in two parts,create copy of design object and boolean substract it with shape rectangle.also i added sphere for better connection between two parts.I attached the wheels of the object wuth the wall of mould, one is act as inlet for pouring the material in and other on is act as air vent.One important thing tell by our instructor for filleting the edges of an object so,cast material easily removed from the mould.
Milling the 3D (Positive) mould
Milling of design object in SRM 20 milling machine consist of following three steps.
- Surfacing
- Roughing
- Finishing
For operting the SRM -20 we have to used Modela-4 player for G code generation, V- Panel for SRM-20 communication and Virtual Player for Modela.
For milling ,the design mould file in Rhino.6 exported in .STL format.Import the stl file in Modela 4 player software.
For making the mould I have made the machinable wax block of (18cmX10cmX4cm ) Dimensions, and prepare the design according to the block.The dimnsions of my desin is little bit more so I have used two blocks. the process for the software operation is as follows.

Open the Modela 4 software goto file, open the file.

Select the STL file to open.
.jpg)
Select the material from top right corner.Compass for origin setting.

Goto the compass set the orientation.

Set the origin at front left.

Goto the new process select the surfacing option.

Showing cutting surface.
.jpg)
Select the proper bit.
.jpg)
set the depth of surface.

Choose the tool path.

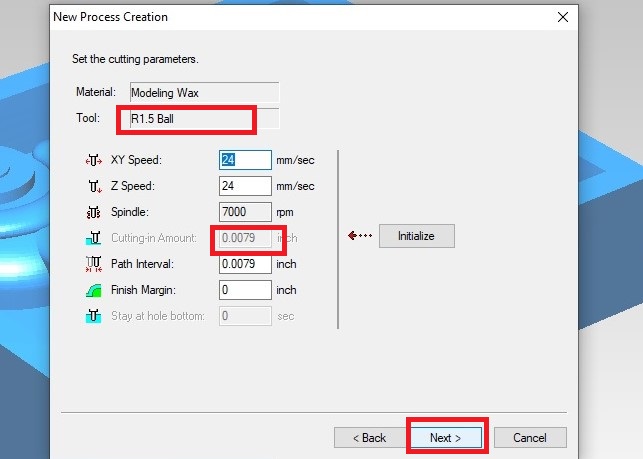
Set the cutting parameter.You can change it as per requirement.

Goto the V-Panel set the origin.
.jpg)
Set the origin.

Surfacing Tool path.

set the cutting position.

Click on ok for surfacing process.

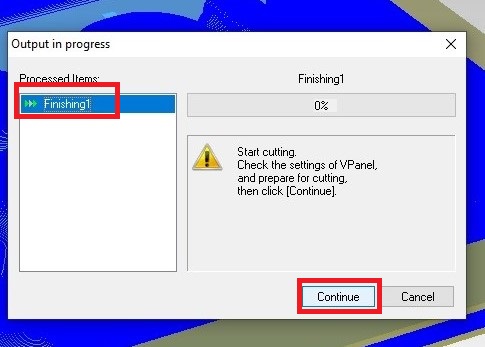
Click on continue for surfacing.

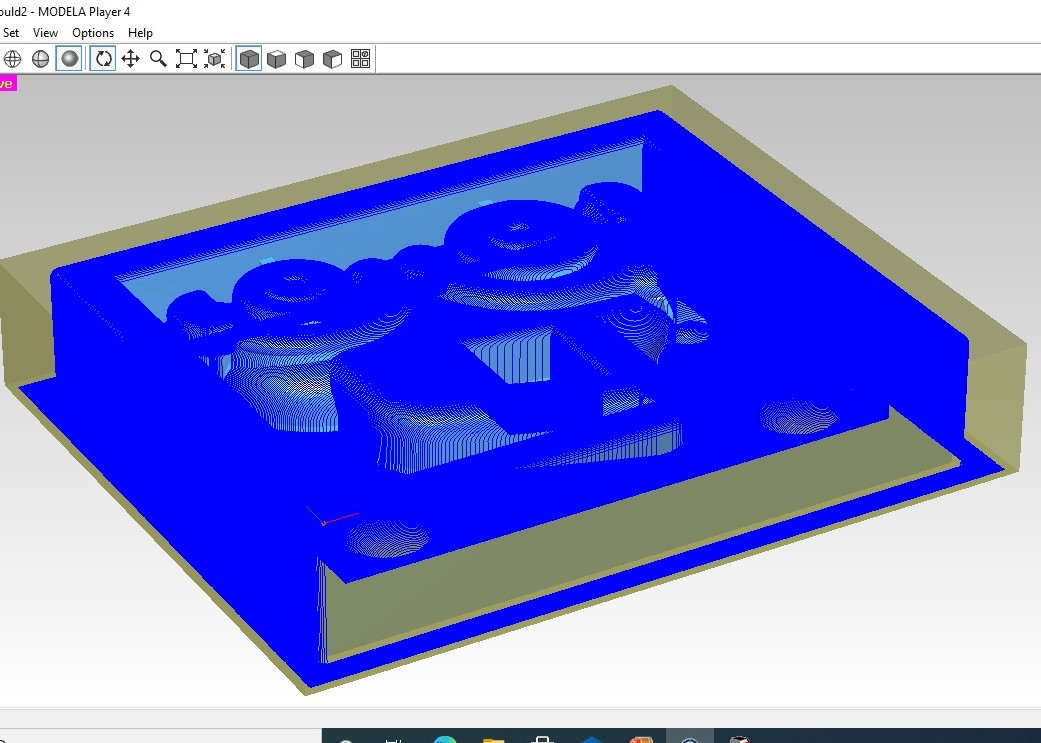
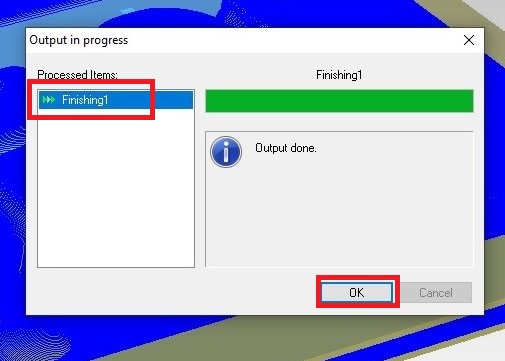
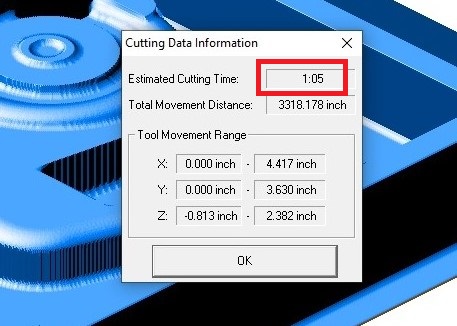
Goto the Virtual player check the estimated time.

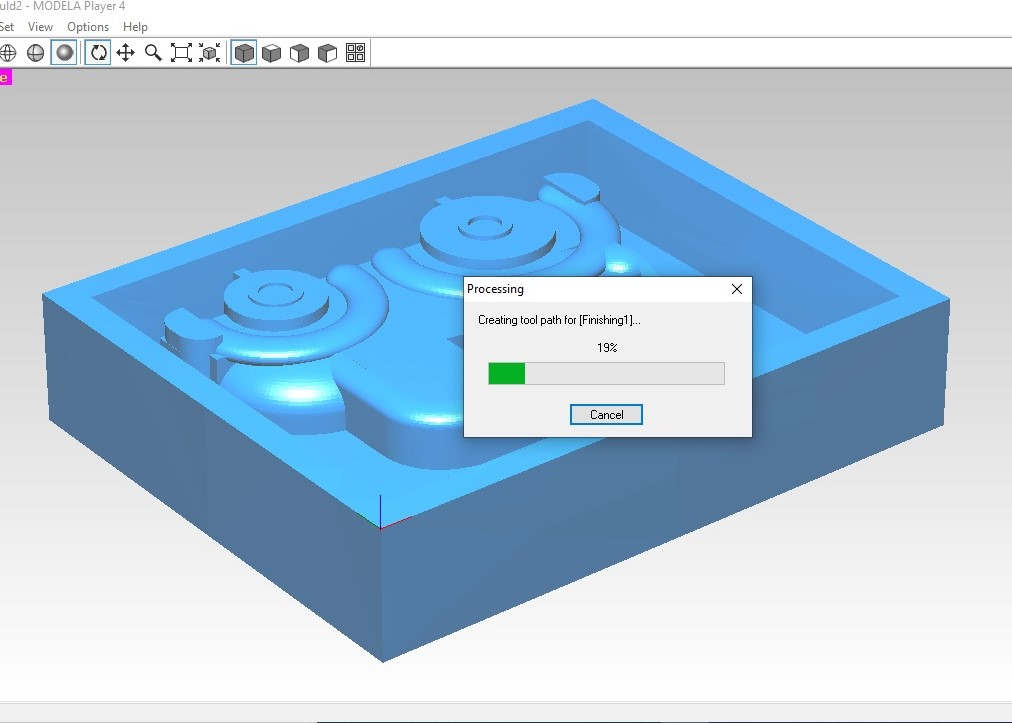
For rough cut only select the Roughing in the new surface.the rest process is same.
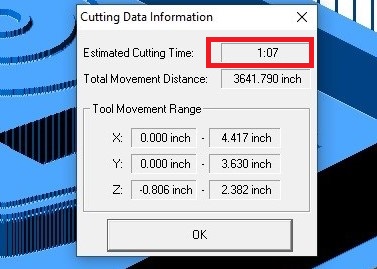
Estimated time for rough cut.

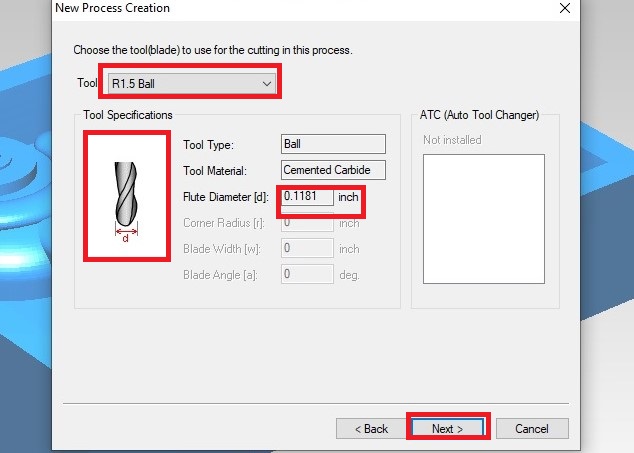
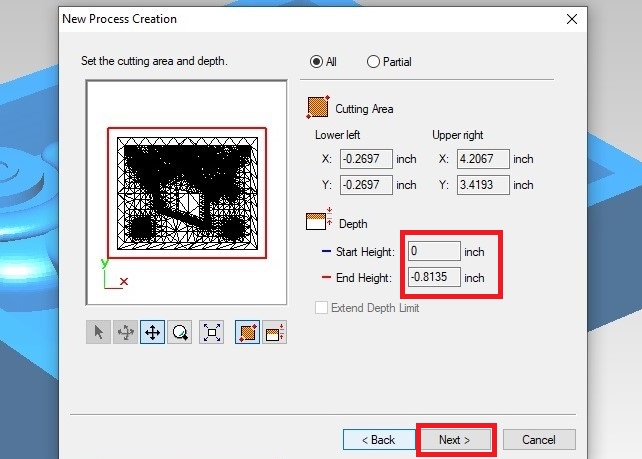
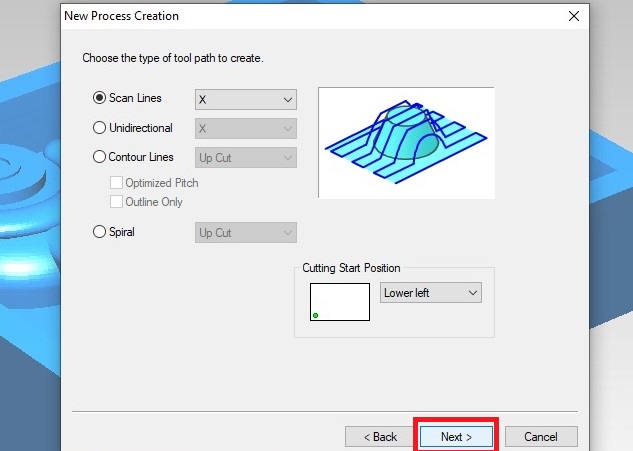
Surfacing the machine wax in SRM 20

Placing machine wax in Machine.

Prepare the surface.

Roughing the surface.

The object after rough cutting.
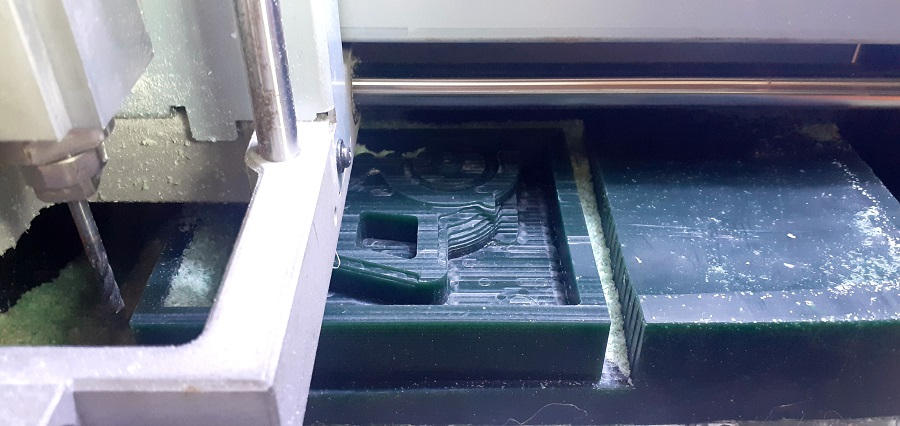
Surface before the finish cut.

The object after Finish cut.
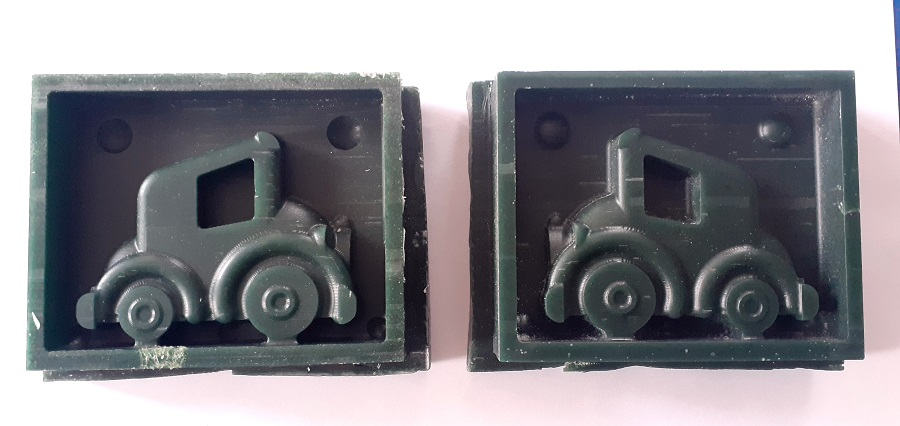
Two sides of wax mould.
Casting the mould
Once the machineable wax block is milled, the positive mould is ready. Now for making the negative mould from this I used the Mould sil silicone. The process for the casting negative mould is as follows.

Used water for checking the volume of mould.

Filled the mould with water.
the volume of water is measured then we have to calculate the same for silicone. scince the density of water is 1 it is same for ml or gram.Now for silicone mould the ratio for Base material and catlyst is 100:5. so firstly multiply the water volume by density of Silicone and with find the ratio for Catalyst.For the calculation go through the following image.

Weighing Balance,Moldsil-15 and Catalyst.

Tare the glass weight.
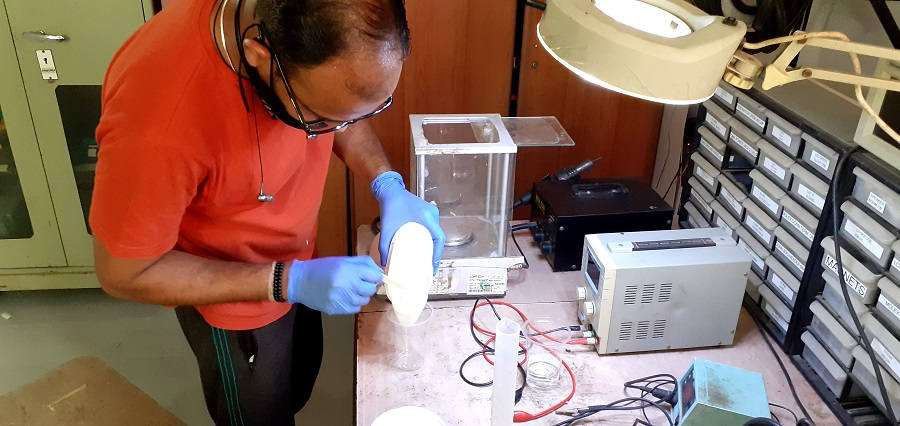
Pouring Silicone in mixing glass.
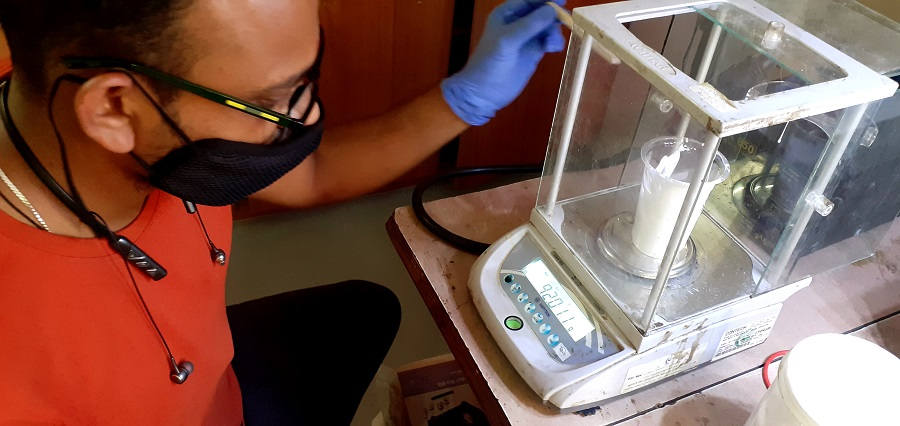
Add and weighing the Silicone.
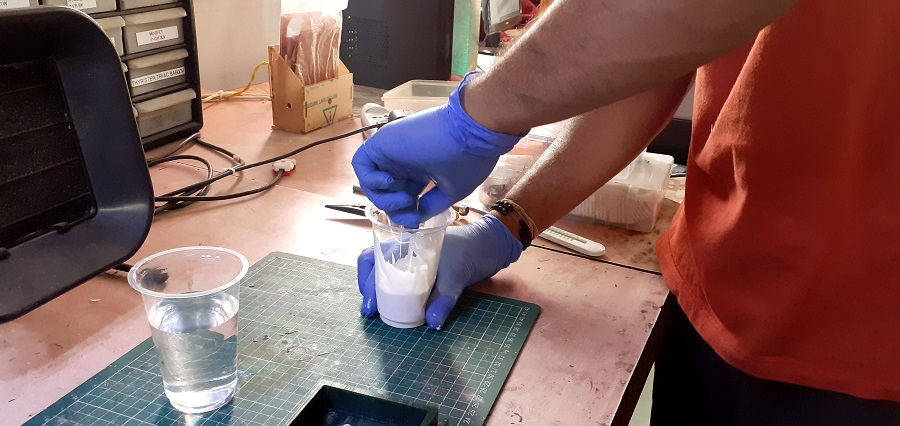
Strigging the silicone such way that no air entered in to it.
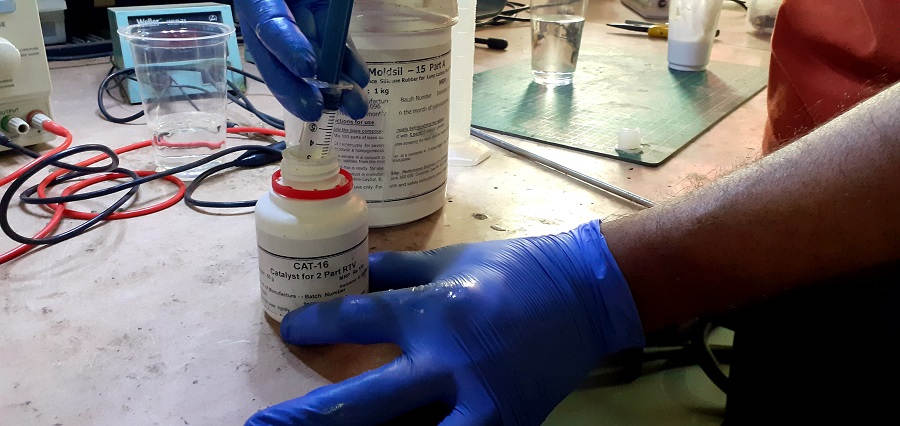
Pouring Catalyst in the mixing glass through Syringe.
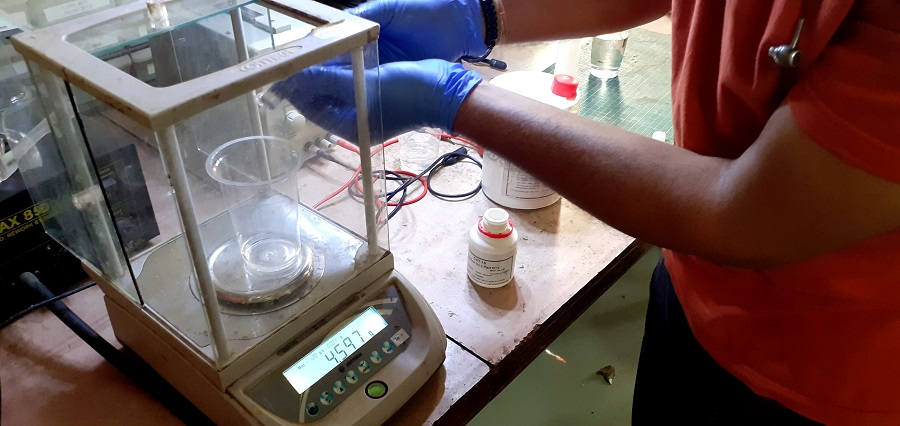
Weighing the Catalyst.
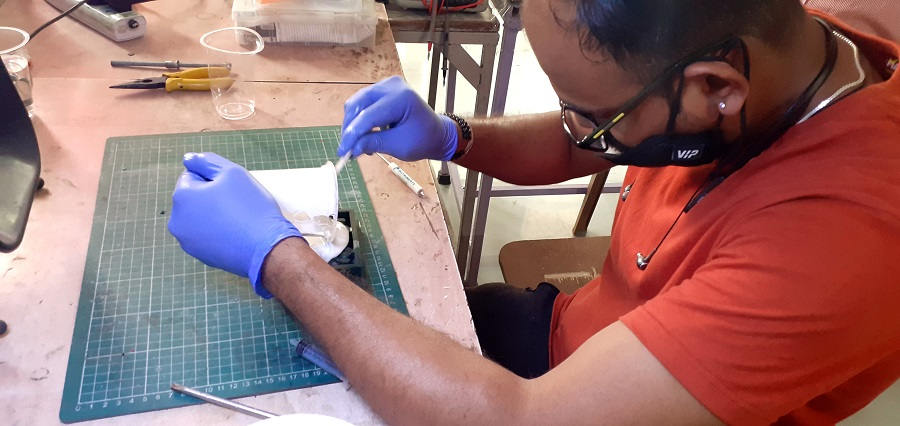
Mix the Catalyst and silicone base and pour it as early as possible in the mould.
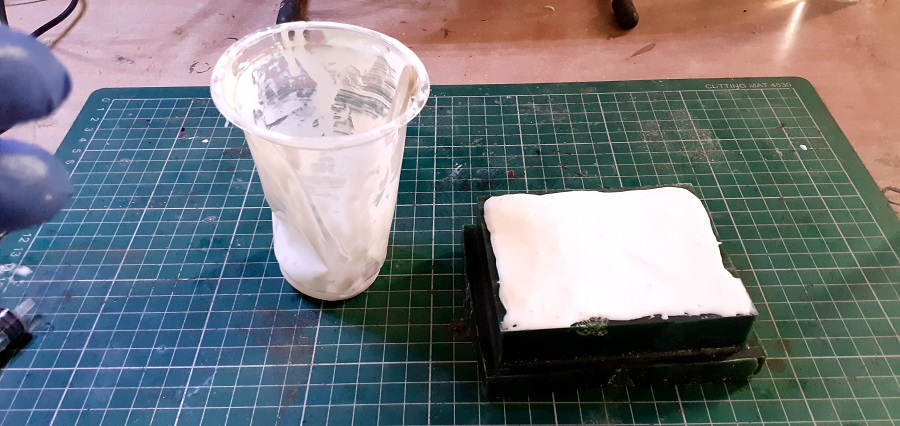
silicone is poured in mould while few material remains in the mixing glass.
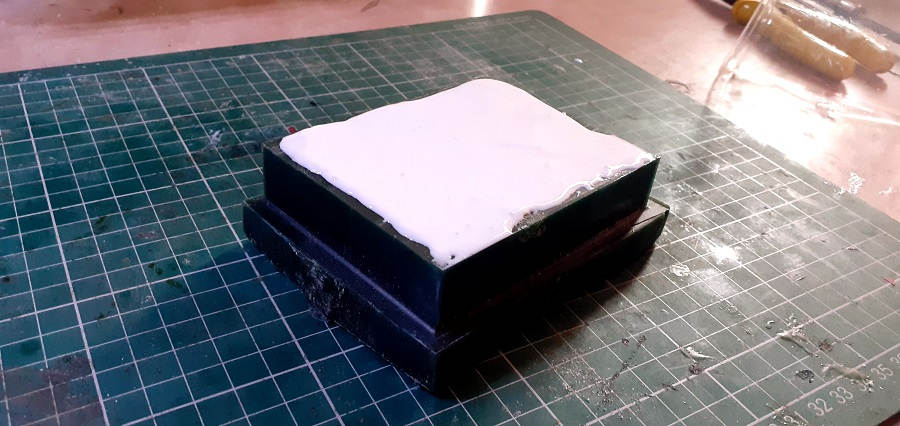
As per data sheet I tried to remved the silicone from the mould after 16 hours but it is not cured completely so,I kept it for few hours more.
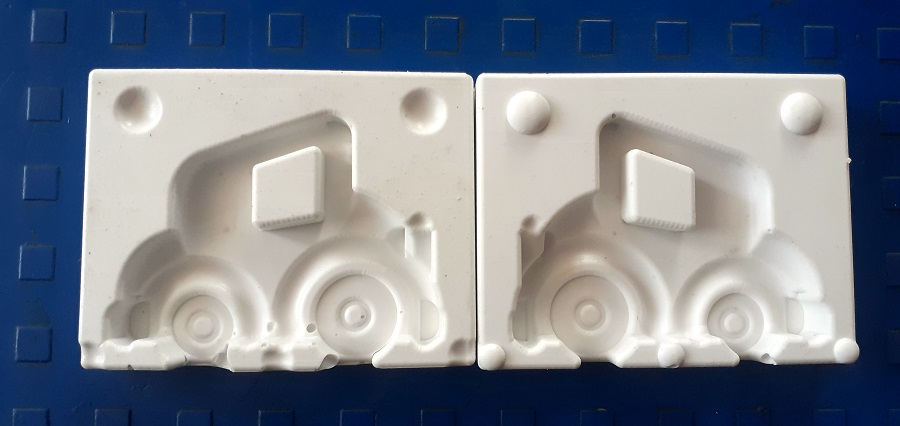
Two sides of Silicone mould.
Creation of an Object
Now its time to create opsitive object from given mould.I have used following material for casting.
- Hydrostone
- Epoxy
- Praffin wax
Hydrostone
Its first material I have used for casting.As per group assignment for hydrostone casting the ratio is 100:32 means 100 parts of water and 32 parts of water, so I follow the same ratio for casting material as shown in the images.
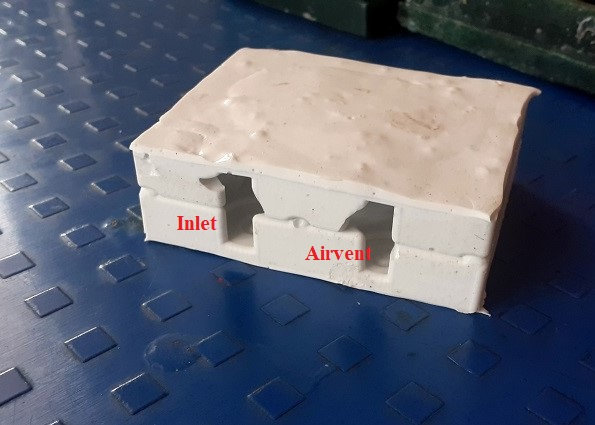
Inlet and airvent.
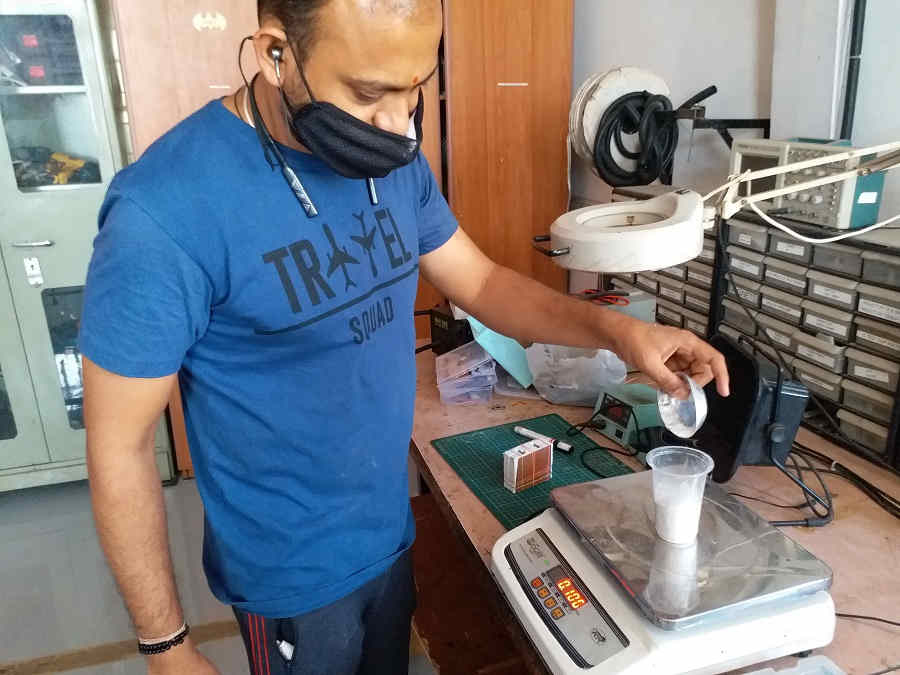
Measuring the hydrostone.
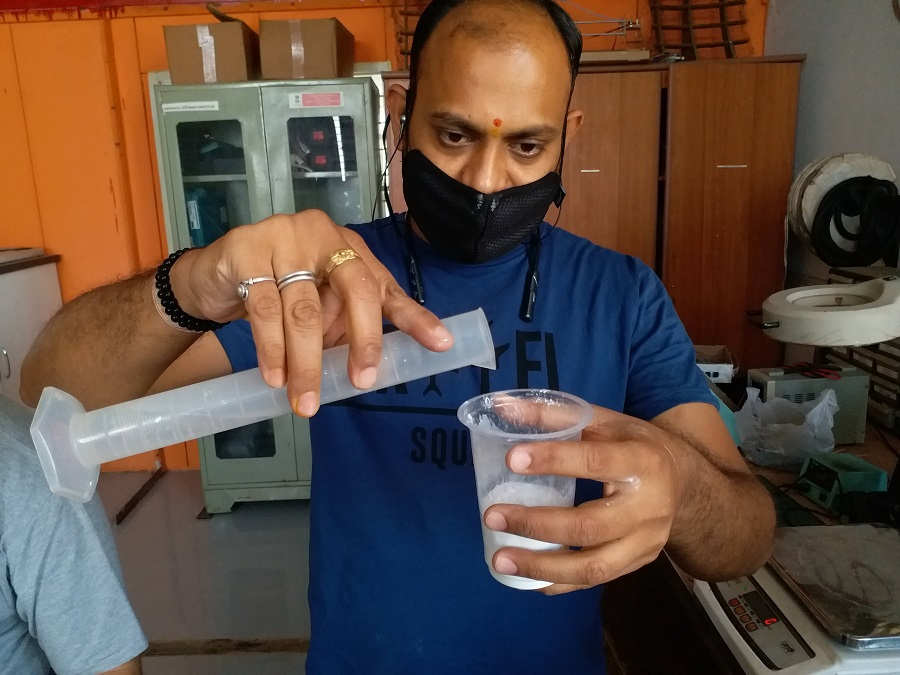
Adding water in hydrostone.
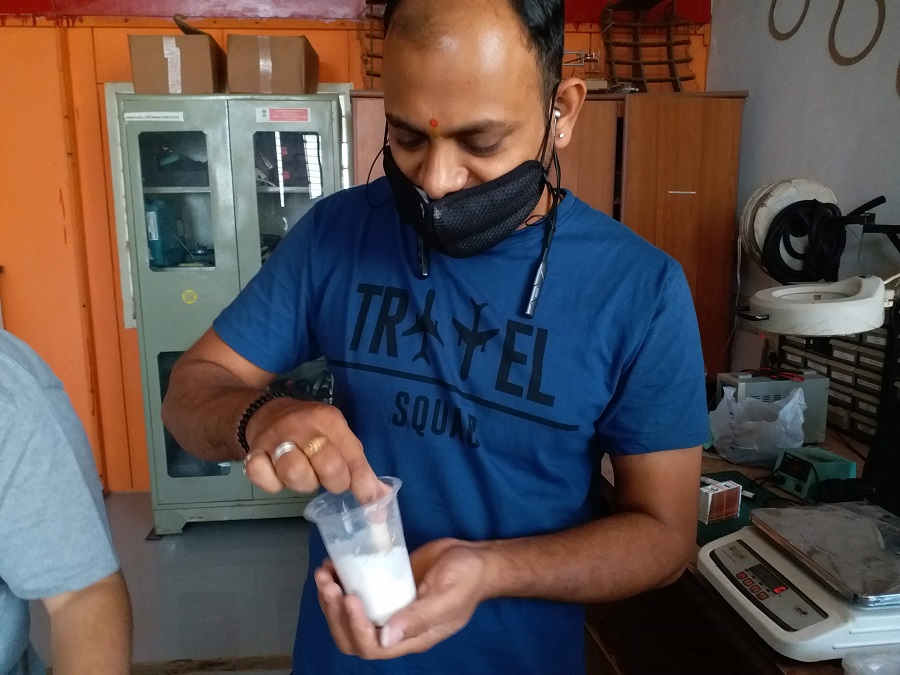
Mixing water and hydrostone.
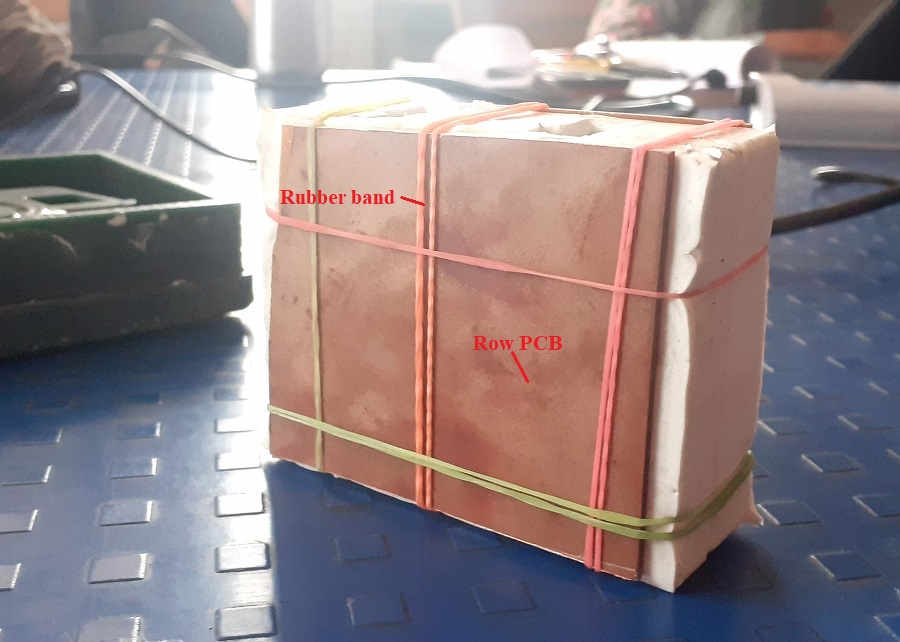
Used rubber bands and row pcb for mould support.
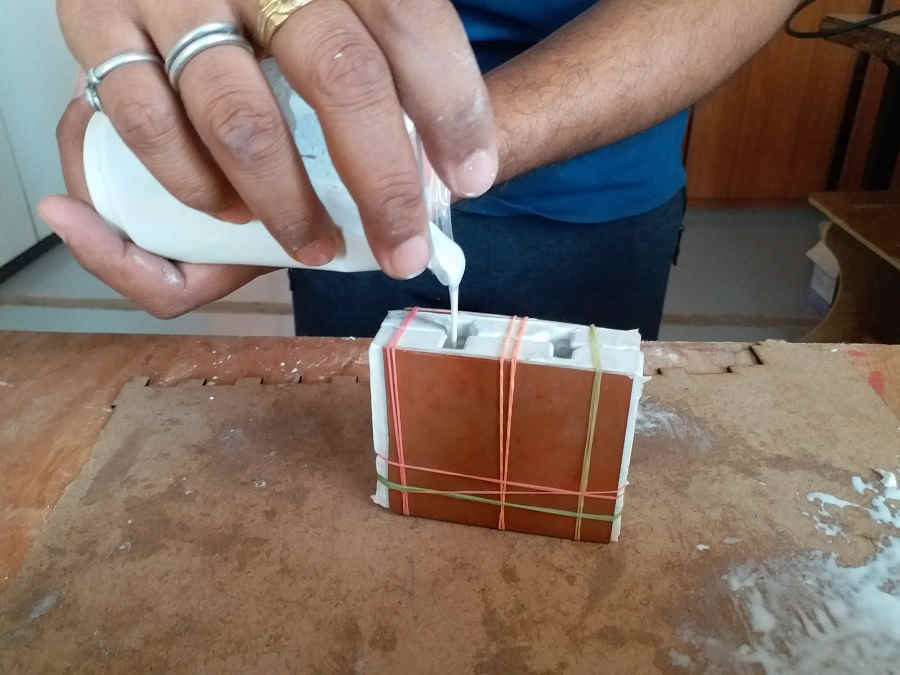
Pouring hydrostone in mould.
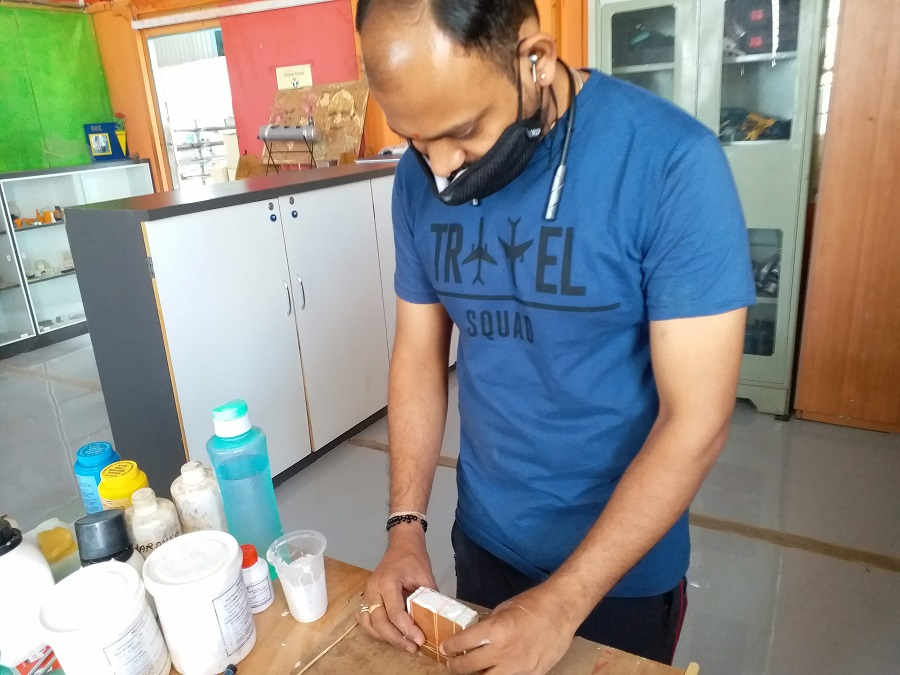
tapping for removing air.
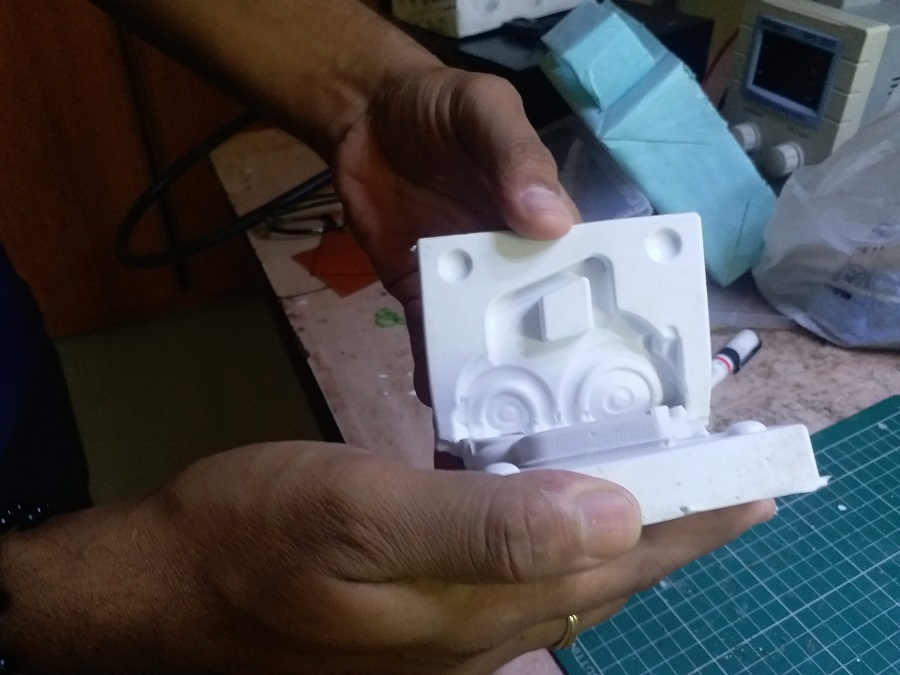
After 2hours opening the mould.
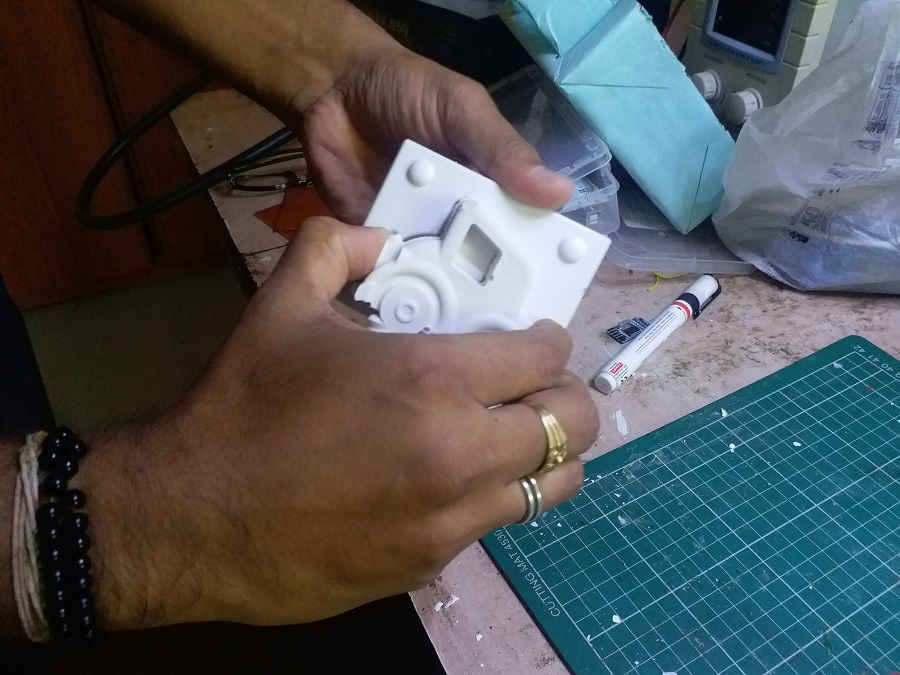
Removing the object from the mould.
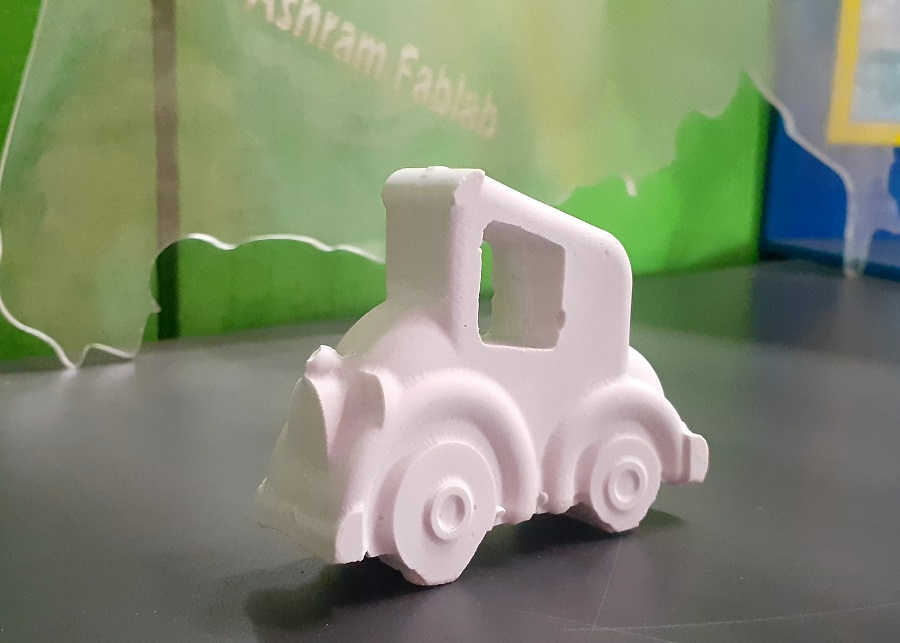
The hydrostone car is ready.
Epoxy
Its second material I have used for casting.As per group assignment for hydrostone casting the ratio is 2:1 means 50 parts of resine and 25 parts of hardener, so I follow the same ratio for casting material as shown in the images.
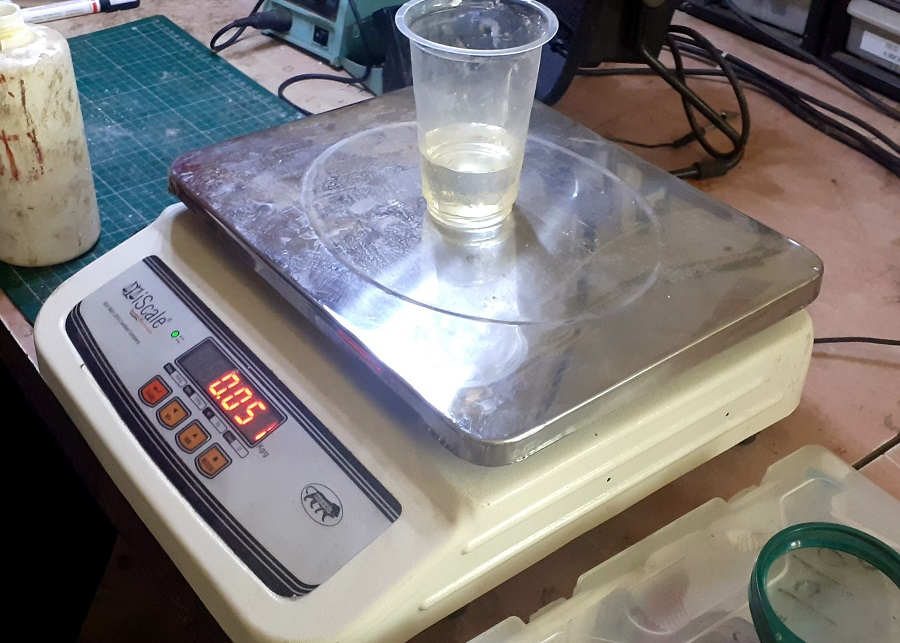
Measuring the Resine.
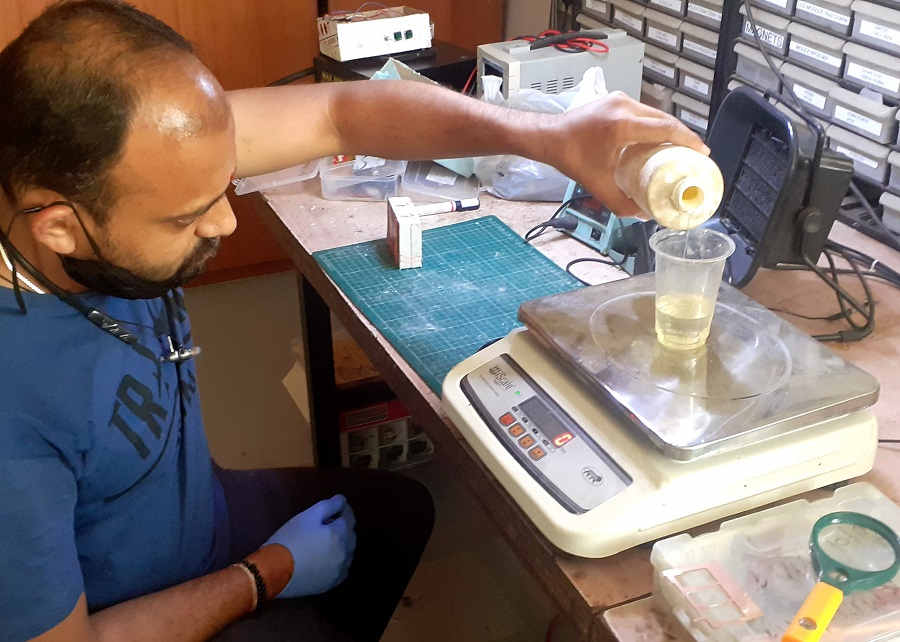
Adding Hardener.
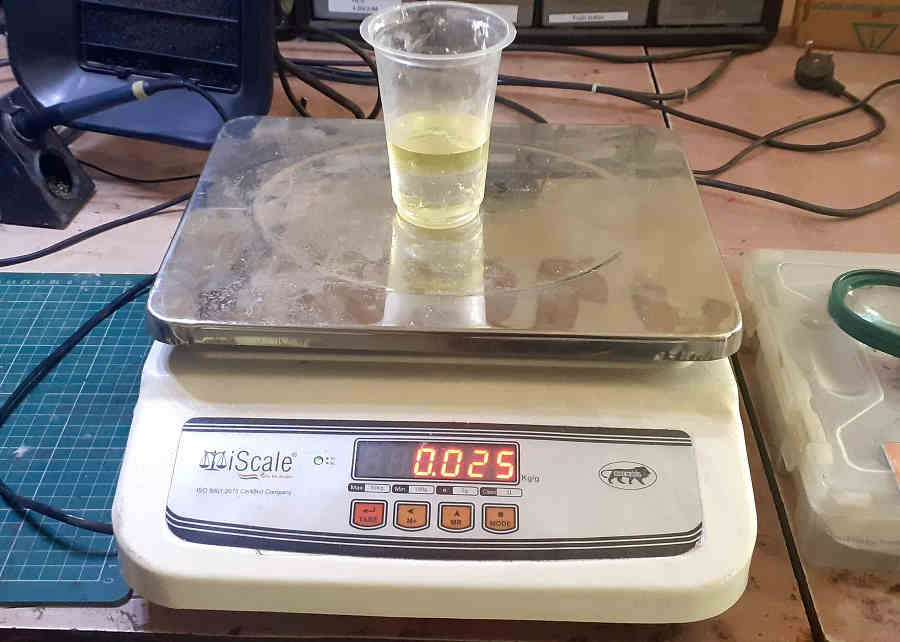
Measuring Hradener.
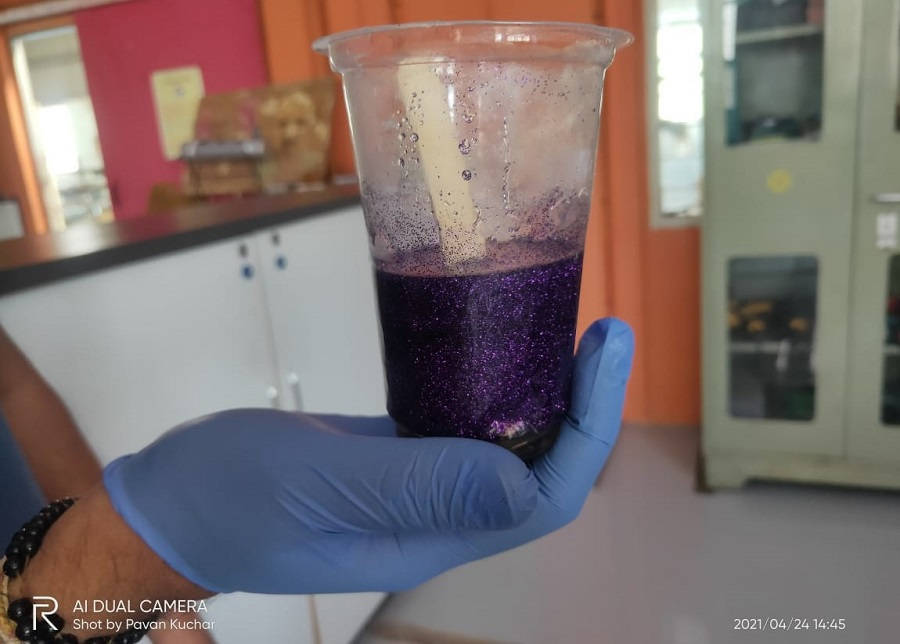
Mixing gliter in the Epoxy mixture.
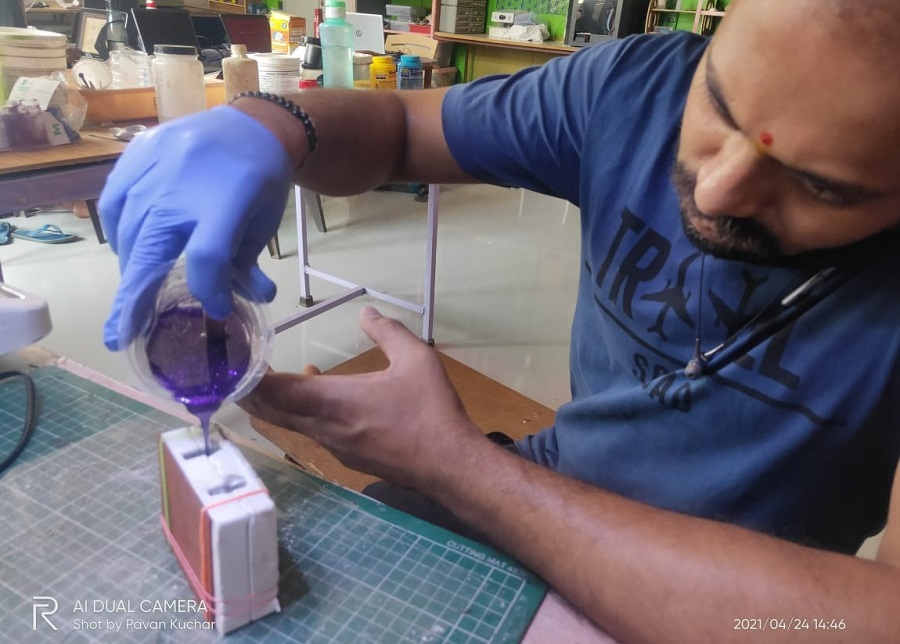
Pouring mixture in mould.
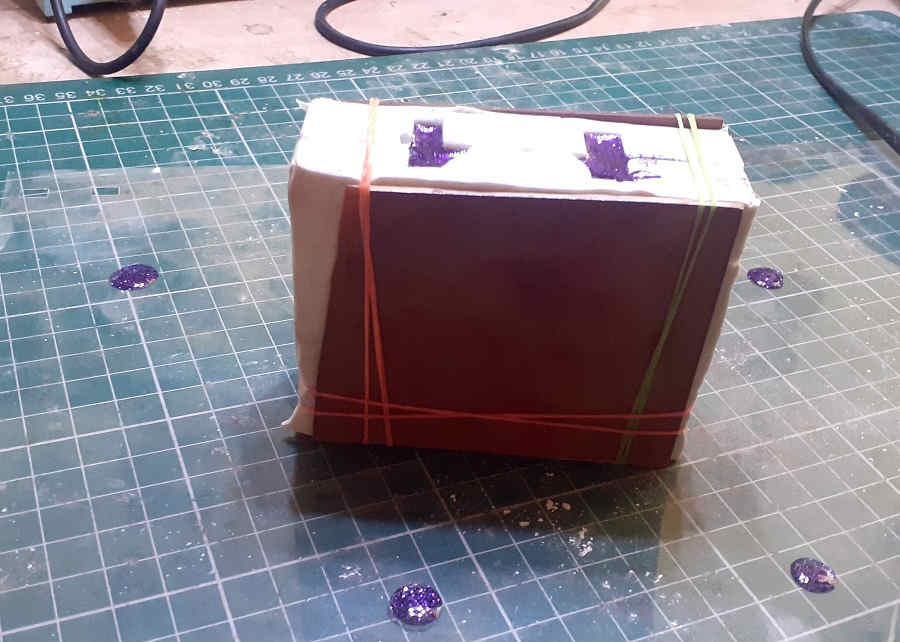
Keep it for 16 Hours.
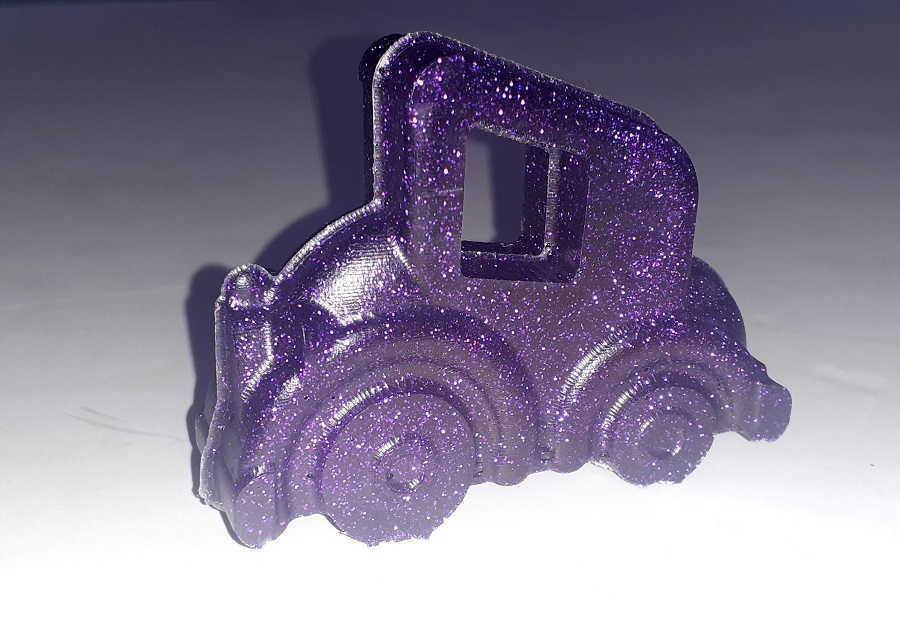
The Epoxy car is ready.
Paffin Wax
Its third material I have used for casting.It is very simple to uesd this material,just melt the wax and pour it in the mould.the process shown in the following images.
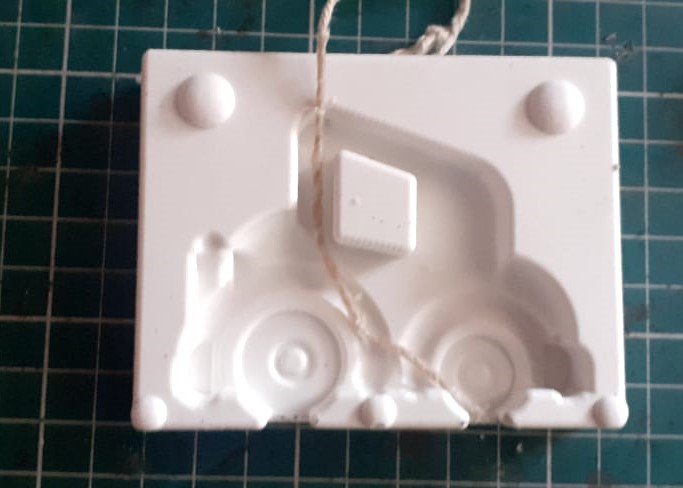
Adding candle wick in mould.
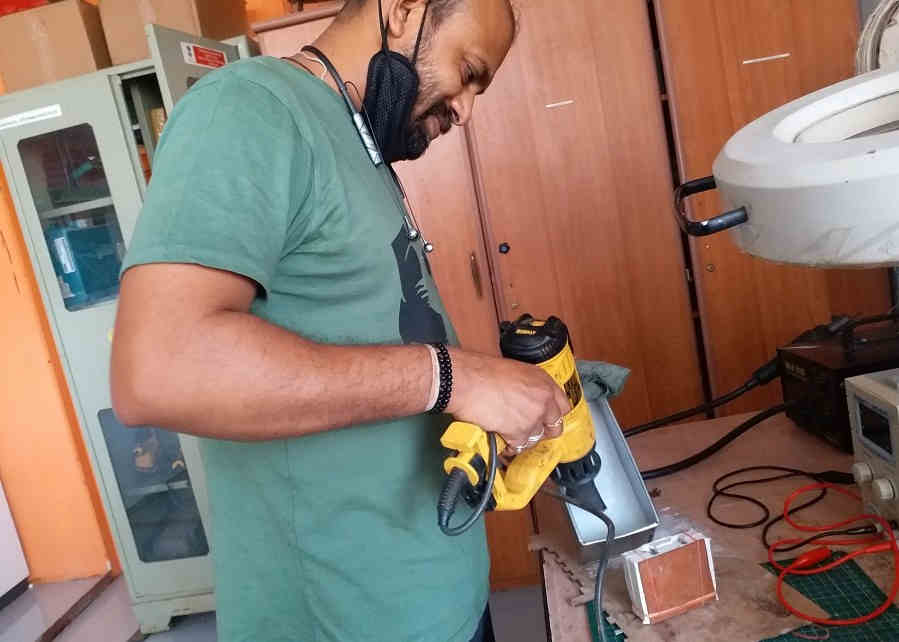
melting wax using hot air gun.
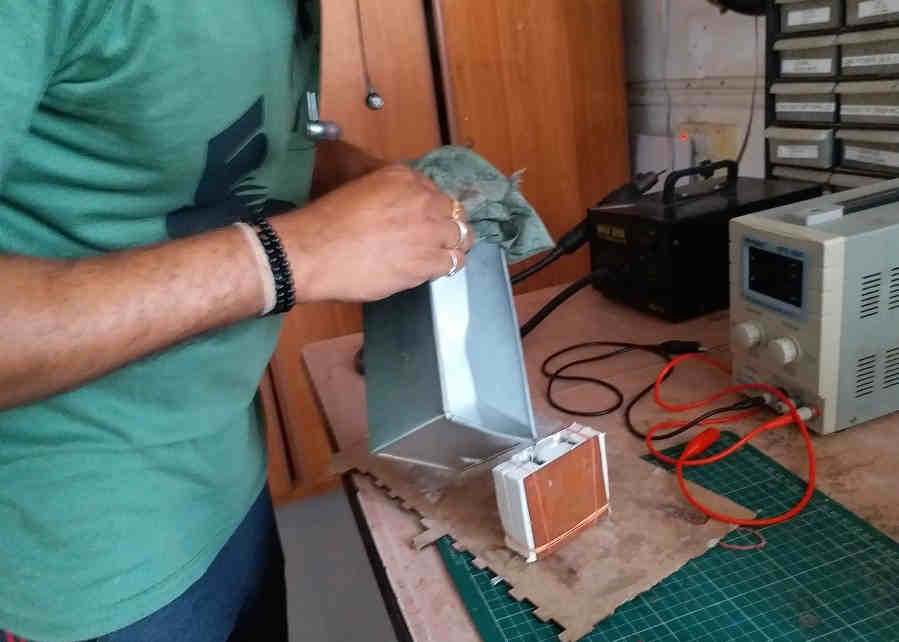
Pouring wax in the mould.
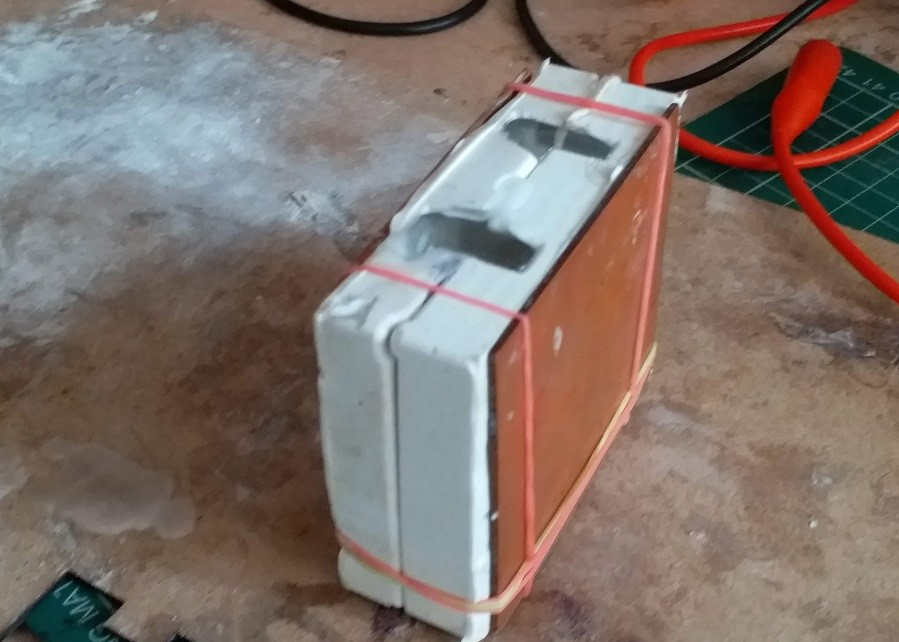
waiting for 1 Hour.
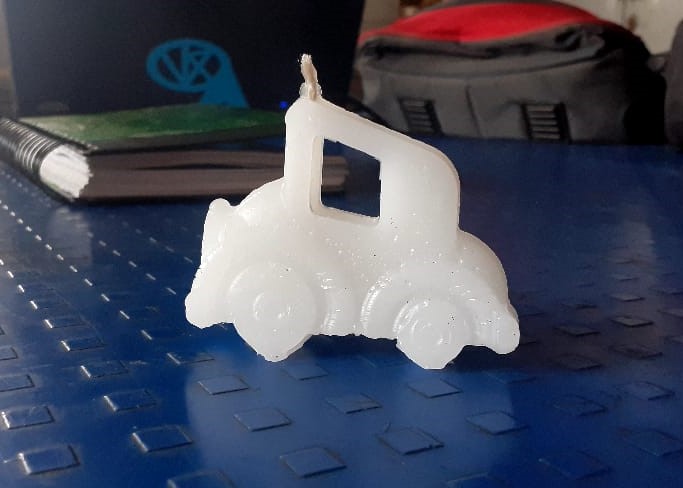
The Candle car is ready.
Learning Outcomes
- In group assignment, I have checked the properties of Moldsil silicone and Flex wax.
- I have design the Vintage car in Rhino with control dimensions.
- I have design the mould in the Rhino.
- I used Modela-4 player,V- Panel and Virtual Player for Modela for operating SRM 20 machine.
- I used the SRM 20 machine for milling the Machinable wax.
- I used moldsil silicone for the creation of negative mould.
- I used Hydrostone,Epoxy and praffin wax as casting material.
Downloads
SAMS-Smart Azolla Multiplier System by Anand S. Tale is licensed under CC BY-SA 4.0