Group assignment(Link)
Before doing the individual assignment, the group spent some time to familiarize ourselves with the lab's safety measure and testing the machine.
SAFETY FIRST
Gear up by following Safe Work Practices in our lab
Test the CNC machine ShopBot
we drew some rectangular test slots of similar size with difference of adding 0.1mm & 0.2mm & 0.4mm as shown in the picture below to test the joints and the best clearance value that will fit perfectly.
Feeding the measurement & setting:
-select the profile toolpath in toolpath operation then insert the material thickness 12mm plywood
-The cut depth 13.5mm with the step down of 3mm
-the tool end mill 6mm with spindle speeds 12000 & feed rate 2500
-machine vectors are outside we didn’t add a Tabs since it is a small pieces however it is advisable to add Tabs if the design is big
The best clearance value was adding 0.2mm that will insure proper fitting.
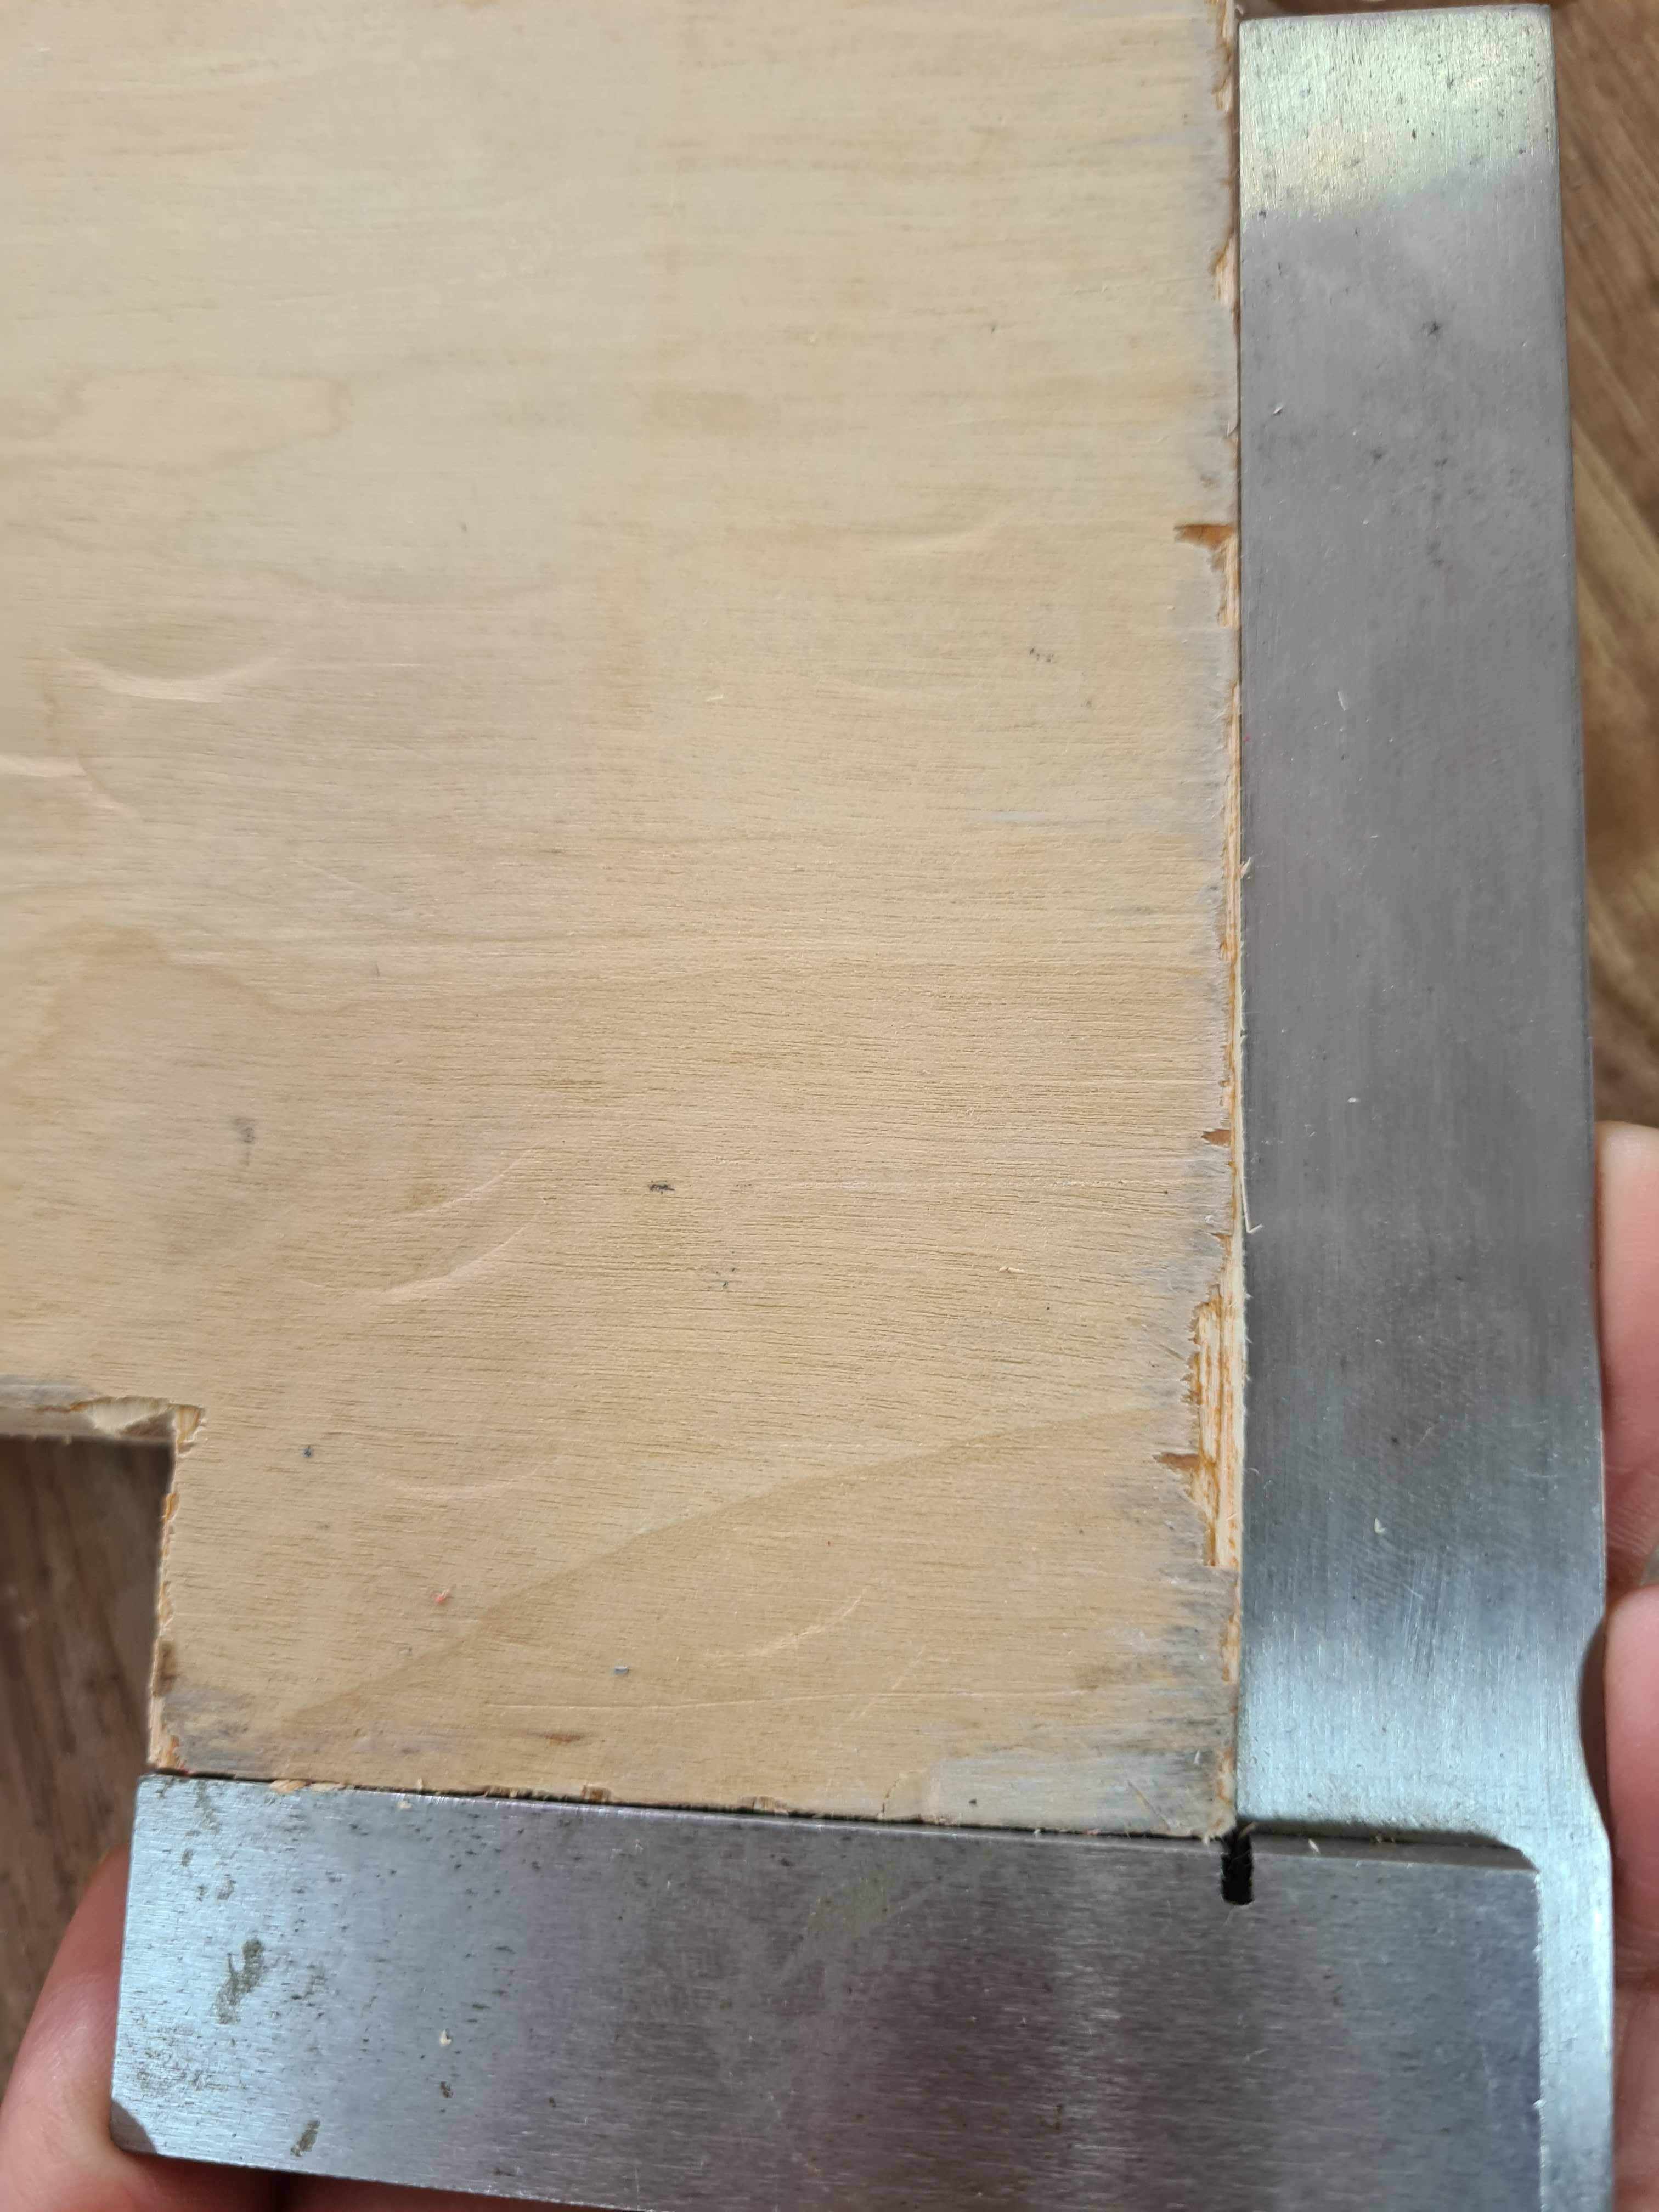
ALIGNMENT TEST:
using try square tool to check the angles is accurate 90° angles of the piece. As shown in the picture below that the angles is 90°.

Individual assignment
This week we will be doing something big such as furniture using the accumulative knowledge from previous weeks which will consist of these 4 main phases:
1.DESIGN
2.PROTOTYPE
3.MILL
4.ASSEMBLE
1.DESIGN
For the individual assignment I plan to design something completely new instead of modifying a design from one of the many training videos. I inspired my idea when I saw our material boards shelves in Fablab, it needs some makeover because some times when I wants to use specific material that buried beneath all the materials boards it was difficult to take it out. Therefore, I thought if we have a vertical storage shelf it will be easier to choose & take out the board.
Using Fusion360 I started to set the parameters for my design to be able to change it easily later on, inserting the parameters for a prototype size as shown below
Then sketching the vertical board storage shelf & extrude it to the final design
Then layout the parts to be ready to export it to DXF file to laser cut it.
2.PROTOTYPE
Before making something big I have to know what is the end result by testing my design. I decided to make a small prototype using laser cutting skills that I have learnt from the "Computer-Controlled Cutting" lesson. I lunch the CorelDraw & import design file to laser cut the prototype using Universal Laser PLS6MW Laser machine.
I put the 3mm MDF sheet in the machine then alter the laser settings window appeared to set the: power= 100%, speed=2.6%, PPI=300 then click cut.
The size wasn’t right therefor I make a size test kit
After several tries, I got the measurement right & edit my design parameters to be ready to ShopBot it.
3.MILL
We reach the milling stage in this part we will use the ShopBot PRS Alpha which is a CNC machine that allows users to cut, drill, carve materials along 3 axes, X, Y, & Z.
VCarve
Importing my (.dxf) files to VCarve software & setting up new job. Here set the size of the stock material as well as its thickness. Move the parts to optimise the space and reduce wastage of material. Then if needed add “dogbone” fillets to all the corners in the joints.
Toolpaths settings:
•The cut depth = (material thickness + adding 1.5mm).
•The Tool is Mill 6mm.
•The spindle speeds 12000 & feed rate 2500.
•The Machine Vectors is Outside for my design.
•The Tabs is added because it is required to hold the work piece down and prevent movement during the milling processes then to be manually chiselled off after the milling process.
Using the ShopBot machine under the supervision of our instructor in the Fablab UAE. Starting by calibrate the X,Y axis using the keypad controller, calibrated the Z axis by using the Z-zero accessory. You can see all the details in this useful User Training Manual some of the guid shown below.
Starting milling while observing from outside
Milling job is done! using Vacuum Cleaner to vacuum all the wooden debris
chip away the supporting tabs using chisel & hammer. Having many tabs will waste a lot of time & energy.
Eng.waleed helped me to chip away the stubborn tabs
4.ASSEMBLE
Before assembling, I sanded off the rough edges of the pieces using Electric Sander Machine. (don’t forget to wear the Face-mask & goggles to aviod the dust)
I couldn’t assemble the pieces the joints were little bit stubborn so I sanded it more manually.
Then finally assembling the pieces together
Done with My Finished Product: vertical board storage shelf
MY DESIGN FILES:
vertical board storage shelf design . dxf
vertical board storage shelf design (Autodesk Fusion 360 File)