BUILD THE FOUNDATION OF THE GRADUATION PROJECT
The introduction to the Git and GitLab were a first step to be involve into the building our first FabLab Academy project during the year of 2021. I used before GitHub to build my contribution within an international hackathon project since 2018.
Gitlab is an open-source web-based development tool which has the service of managing projects, thus permitting software and projects builders to collaborate and share their programmed codes, and have the ability to retrieve previous versions of the project’s codes.
The first stage of building a project is to download Gitbash which defined as an application owned by Microsoft and provides it's users with an emulation layer for a Git command-line experience which is executed on the Unix style command-line environment.
![]()
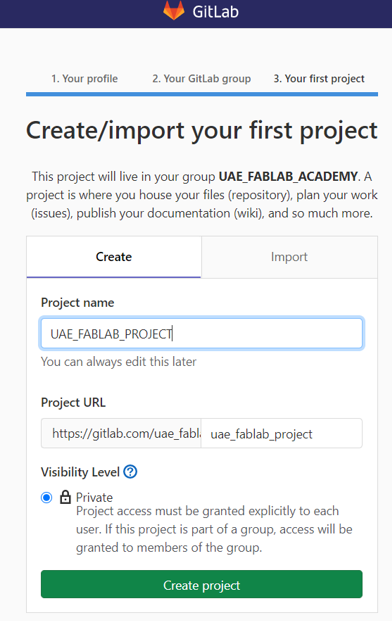
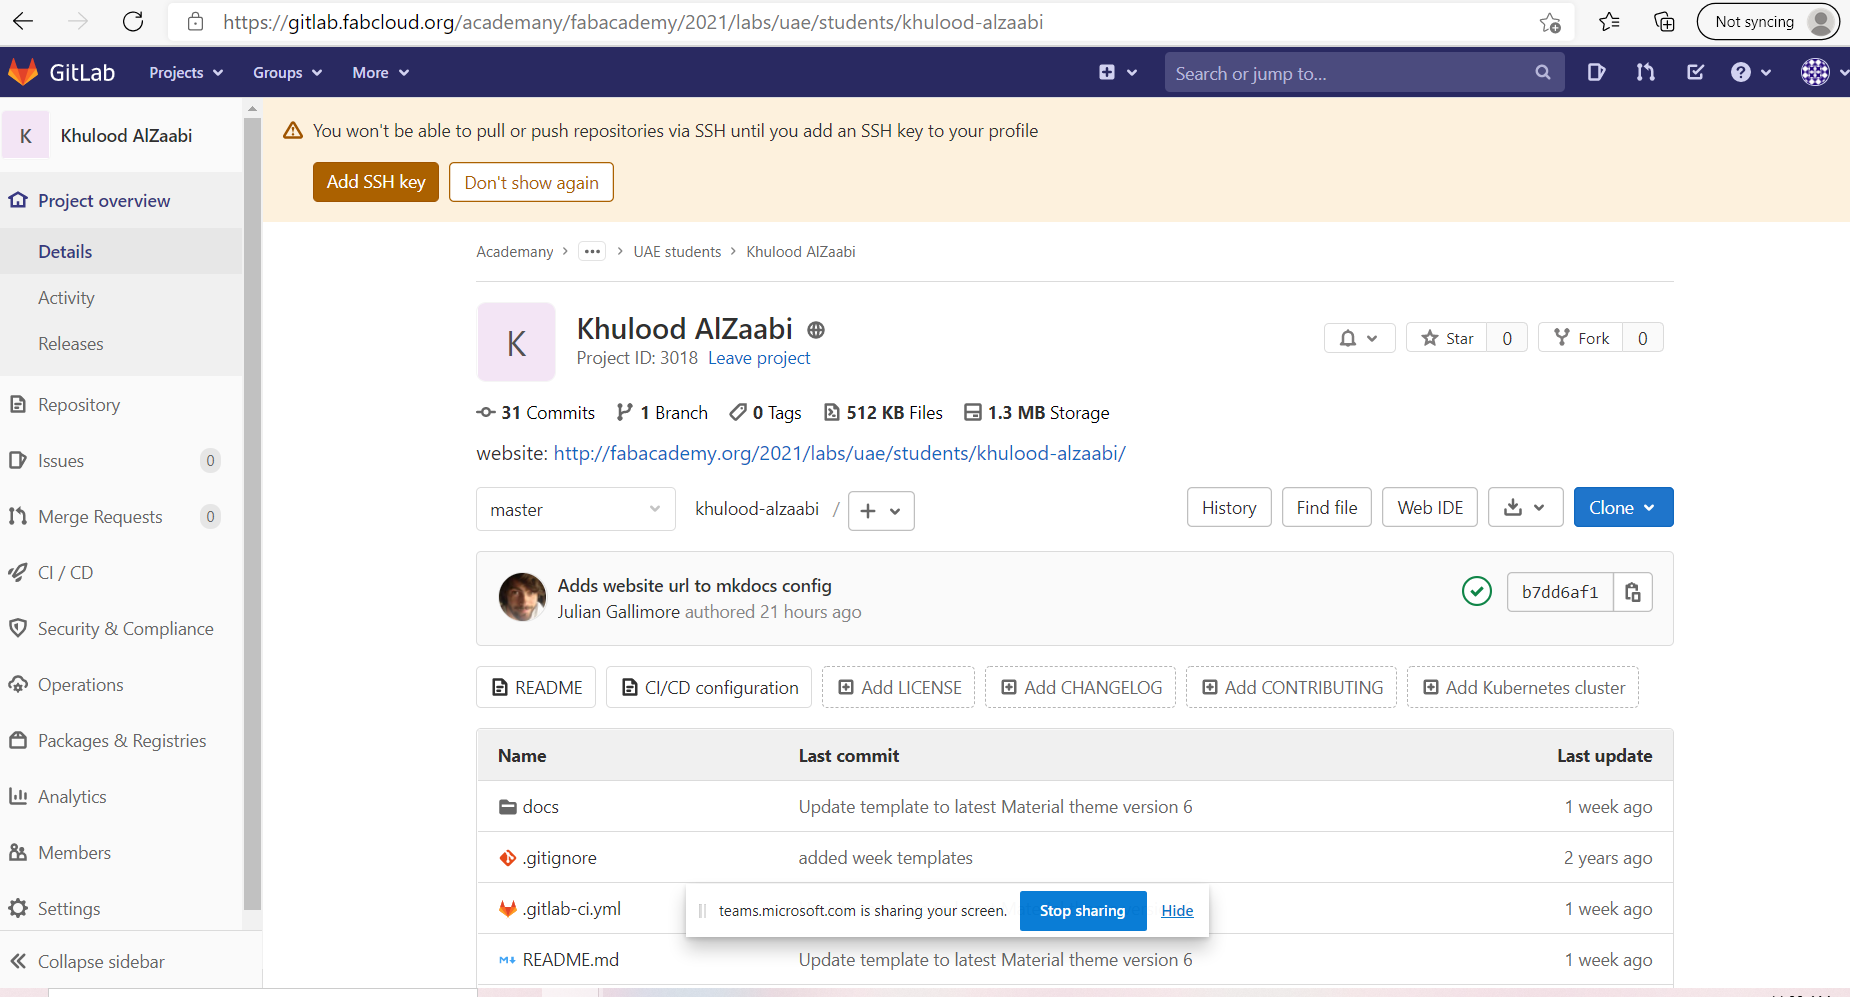
Next step is to create GitLab account following with creating a new project.
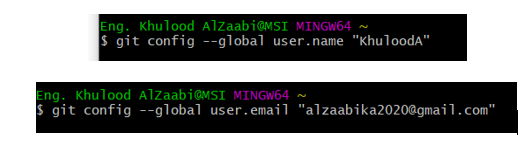
Link GitLab account being created to our local computer project folder to hold the project's files through using Gitbash command-line, and firstly setup our Git account through entering the below commands within the configuration file:
git config --global user.name "KhuloodA"
git config --global user.email "alzaabika2020@gmail.com"
The follwoing step is to generate an SSH key which is defined as an authentication credential used to establishe the sessions through a Single Sign-On (SSO).
ssh-keygen -t rsa -b 4096 -C "alzaabika2020@gmail.com" into the Gitbash command prompt and to save it on the specified folder.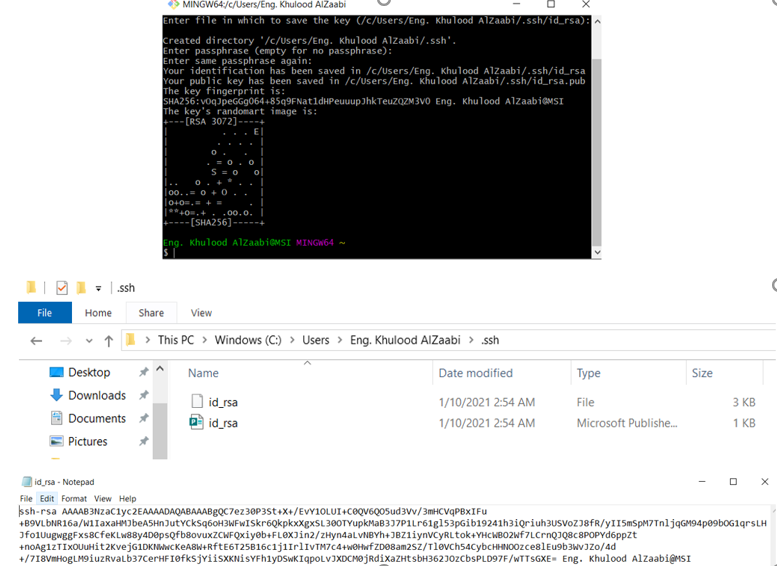
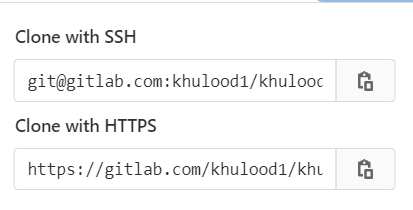
For any projects or files within GitLab, the engineer could “clone the URL” into the local PC folder through following these steps:
git clone then paste it into the text field.(NOTE: Show the hidden file through checking view tab, and choose to show the hidden file ".git".
Use this command mkdir to create new directories or folders, whereas this command touch to create an empty file.
Use this command pushto push the project back to the GitLab as the follwoing:.
First type this command cd change directory to access the folder that contains needed file.
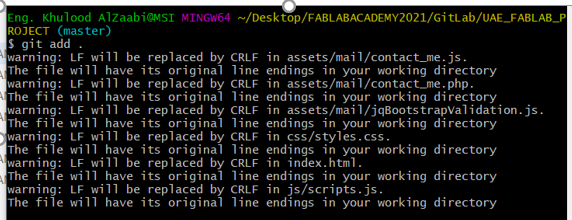
Next is type this command git add . with the purpose of adding all the changes being made to the folder.
The command git commit -m “message” is then used to add a signature message to each push made to Gitlab, the command can be quite helpful in identifying and labeling changes made in each push.
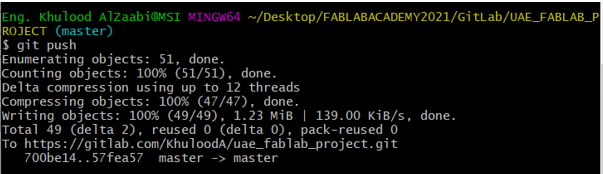
At last,type this command git push to push the created files to the specified repository.

NOTE: This is the link to view Git Cheat Sheet Git Cheat Sheet
Here we have to create our own website to host our FabLab project locally on our PC, and globally into the GitLab.
HyperText Markup Language (HTML) is one of the programming language being used to crerate a website. The tutorial of this website was useful w3schools including valuable guidelines for all startup within a website development field.
Navigate to the Bootstrap template website and browse Bootstrap Templates to choose a template for my project's website.
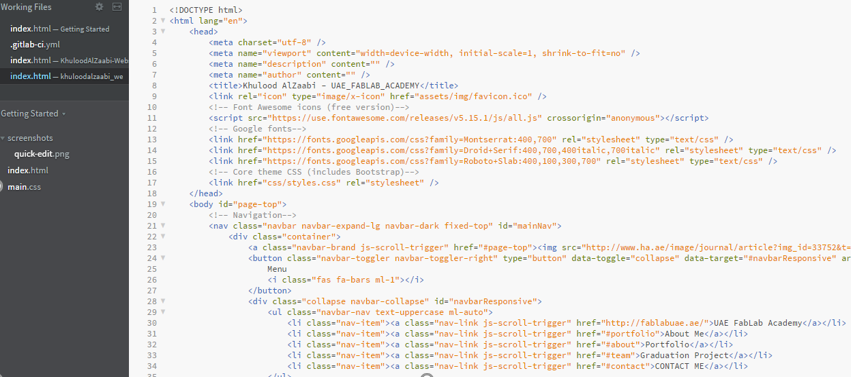
From the diverse Bootstrap Templates I chosen this theme Agency Portfolio to be then start downloading what's called Brackets, which is a software that permits the developer to edit their websites in HTML language and have a valuable feature which is; viewing the changes being made through clicking onto the live preview option.

To permit everyone to access our project's website, we have to upload the HTML files into the GitLab, thus hosting the website into a specific domain.
To start this task we have to push the website files to the GitLab through typing this command into the Gitbash git push as we mentioned earlier.
Next we have to configure the Continuous Integration/Continuous Deployment (CI/CD) which permit the developer to deploy their HTML codes continuously. This could be accomplished through accessing GitLab Dashboard of our targeted project, and navigate to the CI/CD configuration tab.
To do that, we have firstly to refer back to GitLab Documentation website tutorial navigate to this heading "Gitlab CI configuration" and choose this option OPTION A: GitLab CI for plain HTML websites. Later on, copy and paste the selected script into the CI/CD tab located on the GitLab page of the target project and verify the success of the configuration (view Green Tick).
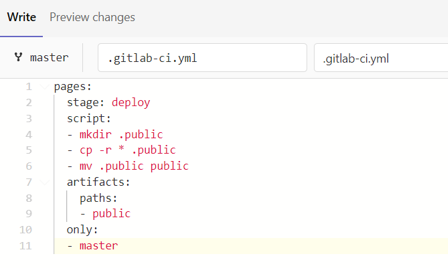
The function of this script is to create a job called pages which is defined as a command used to upload the result of a job back into GitLab, using GitLab Pages feature. Therefore, the Pages will notify the GitLab Runner start to deploying the website artifacts to a public domain whenever a commit command is pushed only to the specific branch, and in our case it called "master branch".
All GitLab pages were created after completion the website building and uploading the jobs' pages artifacts into the to GitLab.
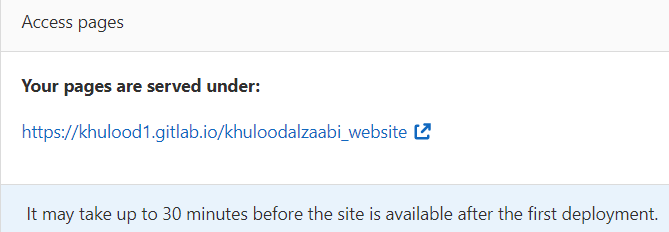
Next is to verify that the website's link being created within the GitLab pages through navigating to access pages in settings >> pages>
At the first deployment, the website launcing might take longer time around 30 - 6- minutes.
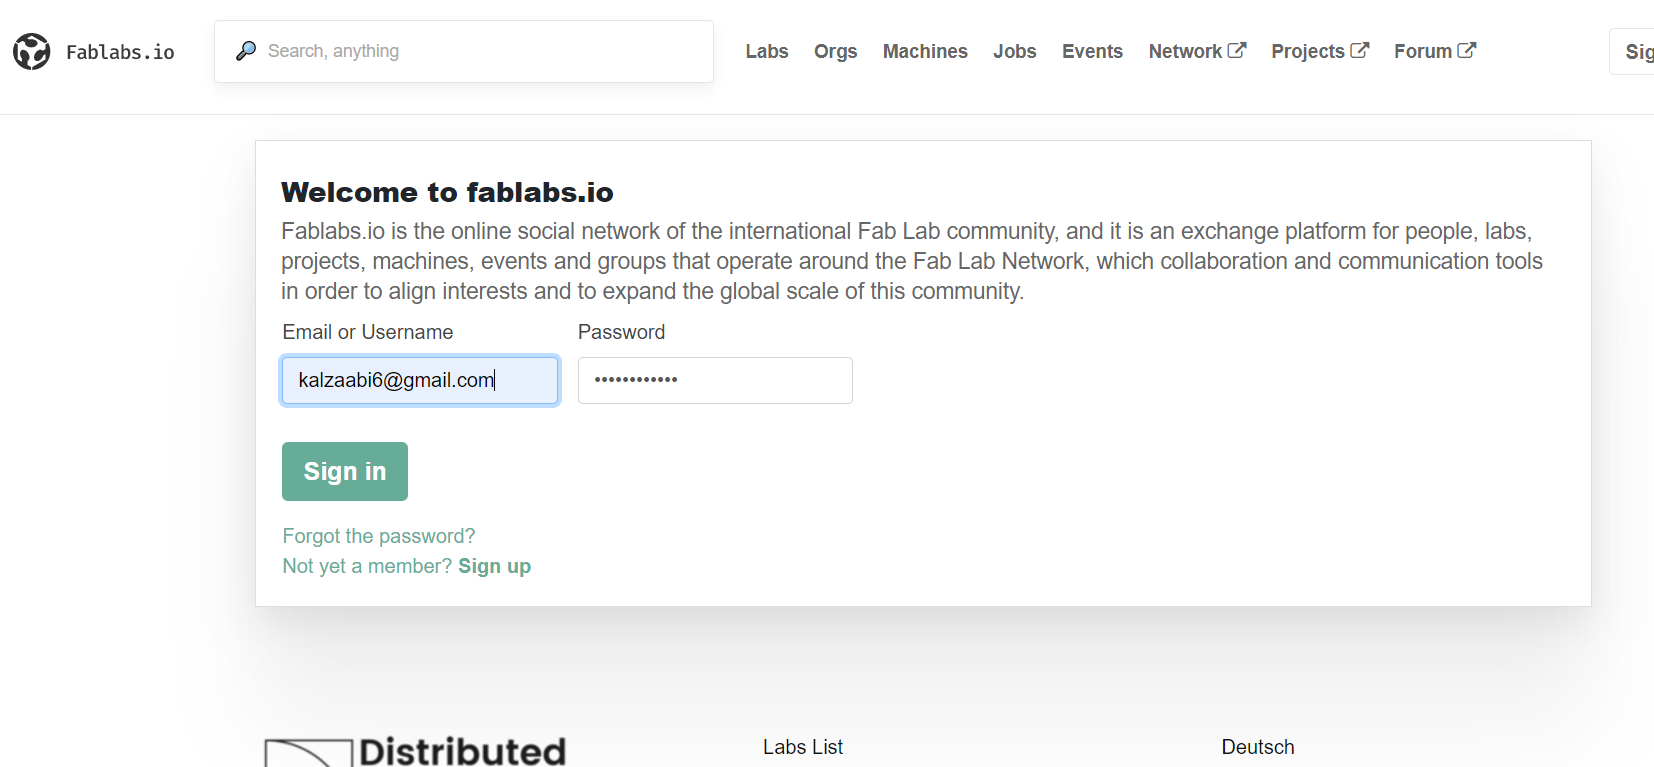
Connect to the fab cloud through following the instructions received via mail from the global fab lab academy.
Access gitLab fab cloud page, and followed the instructions through signing in and creating a new password using the forget password option.
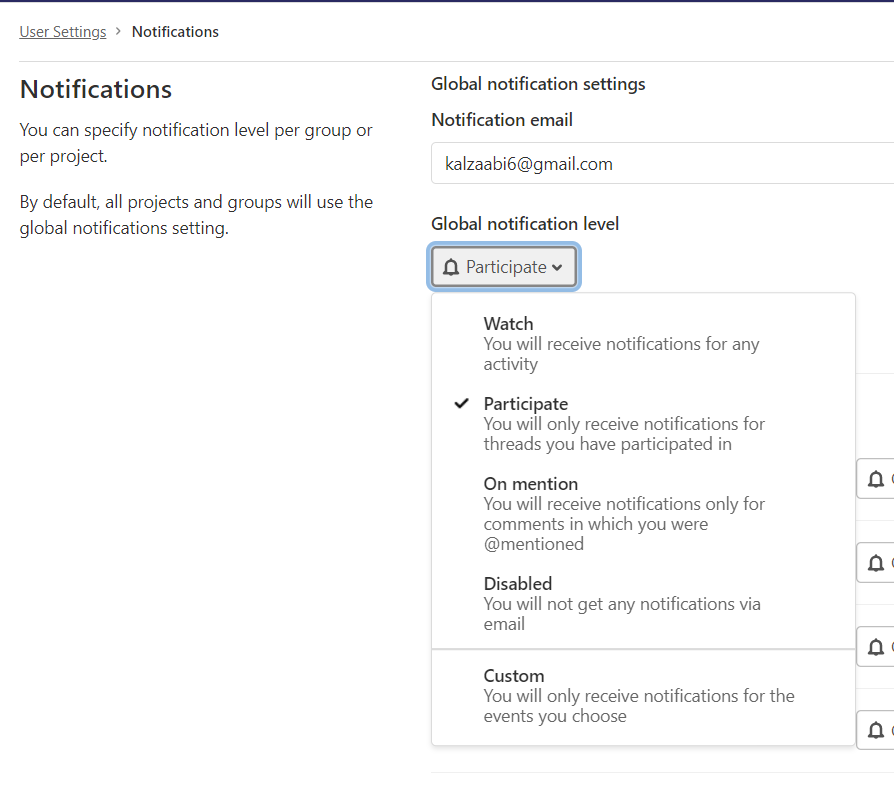
Login into the fab cloud, and change the notifications to watch, thus being notifying for for any new activity.
Got message notifying to add SSH key, thus being able to push / pull Repo. to the profile
The steps above explined how the SSH key been generated, so the same proccess being followed through creating a folder directory and cloning the files into a repository.
Verifying the GitLab pages link, on other wards, accessing the created website from other device was the significant issue I faced and that's due to forgetting to change the GitLab pages' visibility from "Private" to "Everyone".
Before beginning to build and push the website to the GitLab, I created a fork and assign the project into a specific group, however, later I get confused while attempting to push the local files to the targeted GitLab branch. As the purpose of creating a fork for the project is to manipulate the copy version "Fork" instead of maintaining the original version, and regarding the "Group", it is mandatory to create it if you wish to create a Fork copy for the project.
I faced difficulty in viewing the images within my created website when I access the website URL which is hosted on the GitLab, and that’s due to my mistake while embedding the images’ URL link into a website .html file. To fix that issue, I created an images file onto my local Repo, push the folder to the GitLab Repo and start embedding the images path onto a website .html file.
Due to the pulling proccess I did earlier, I got an error while attempting to push files to the GitLab, as shown on the image below, as the folder would like to push contains .git folder. So, the issue being solved through excluding .git folder while copying, and pushing the files to GitLab.