week4
to do:
in this week we were given a group task which is: Characterizing laser cutter’s focus, power, speed, rate, kerf and joint clearance
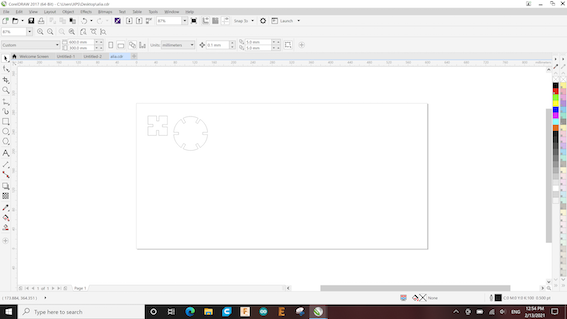
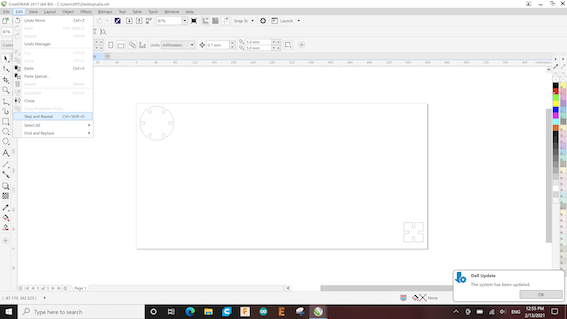
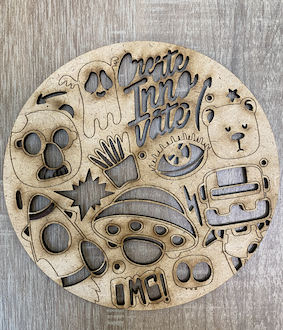
i started by designing a circular shape with four slots and a ketter A on it in Fusion 360
desiging to test on lasercut
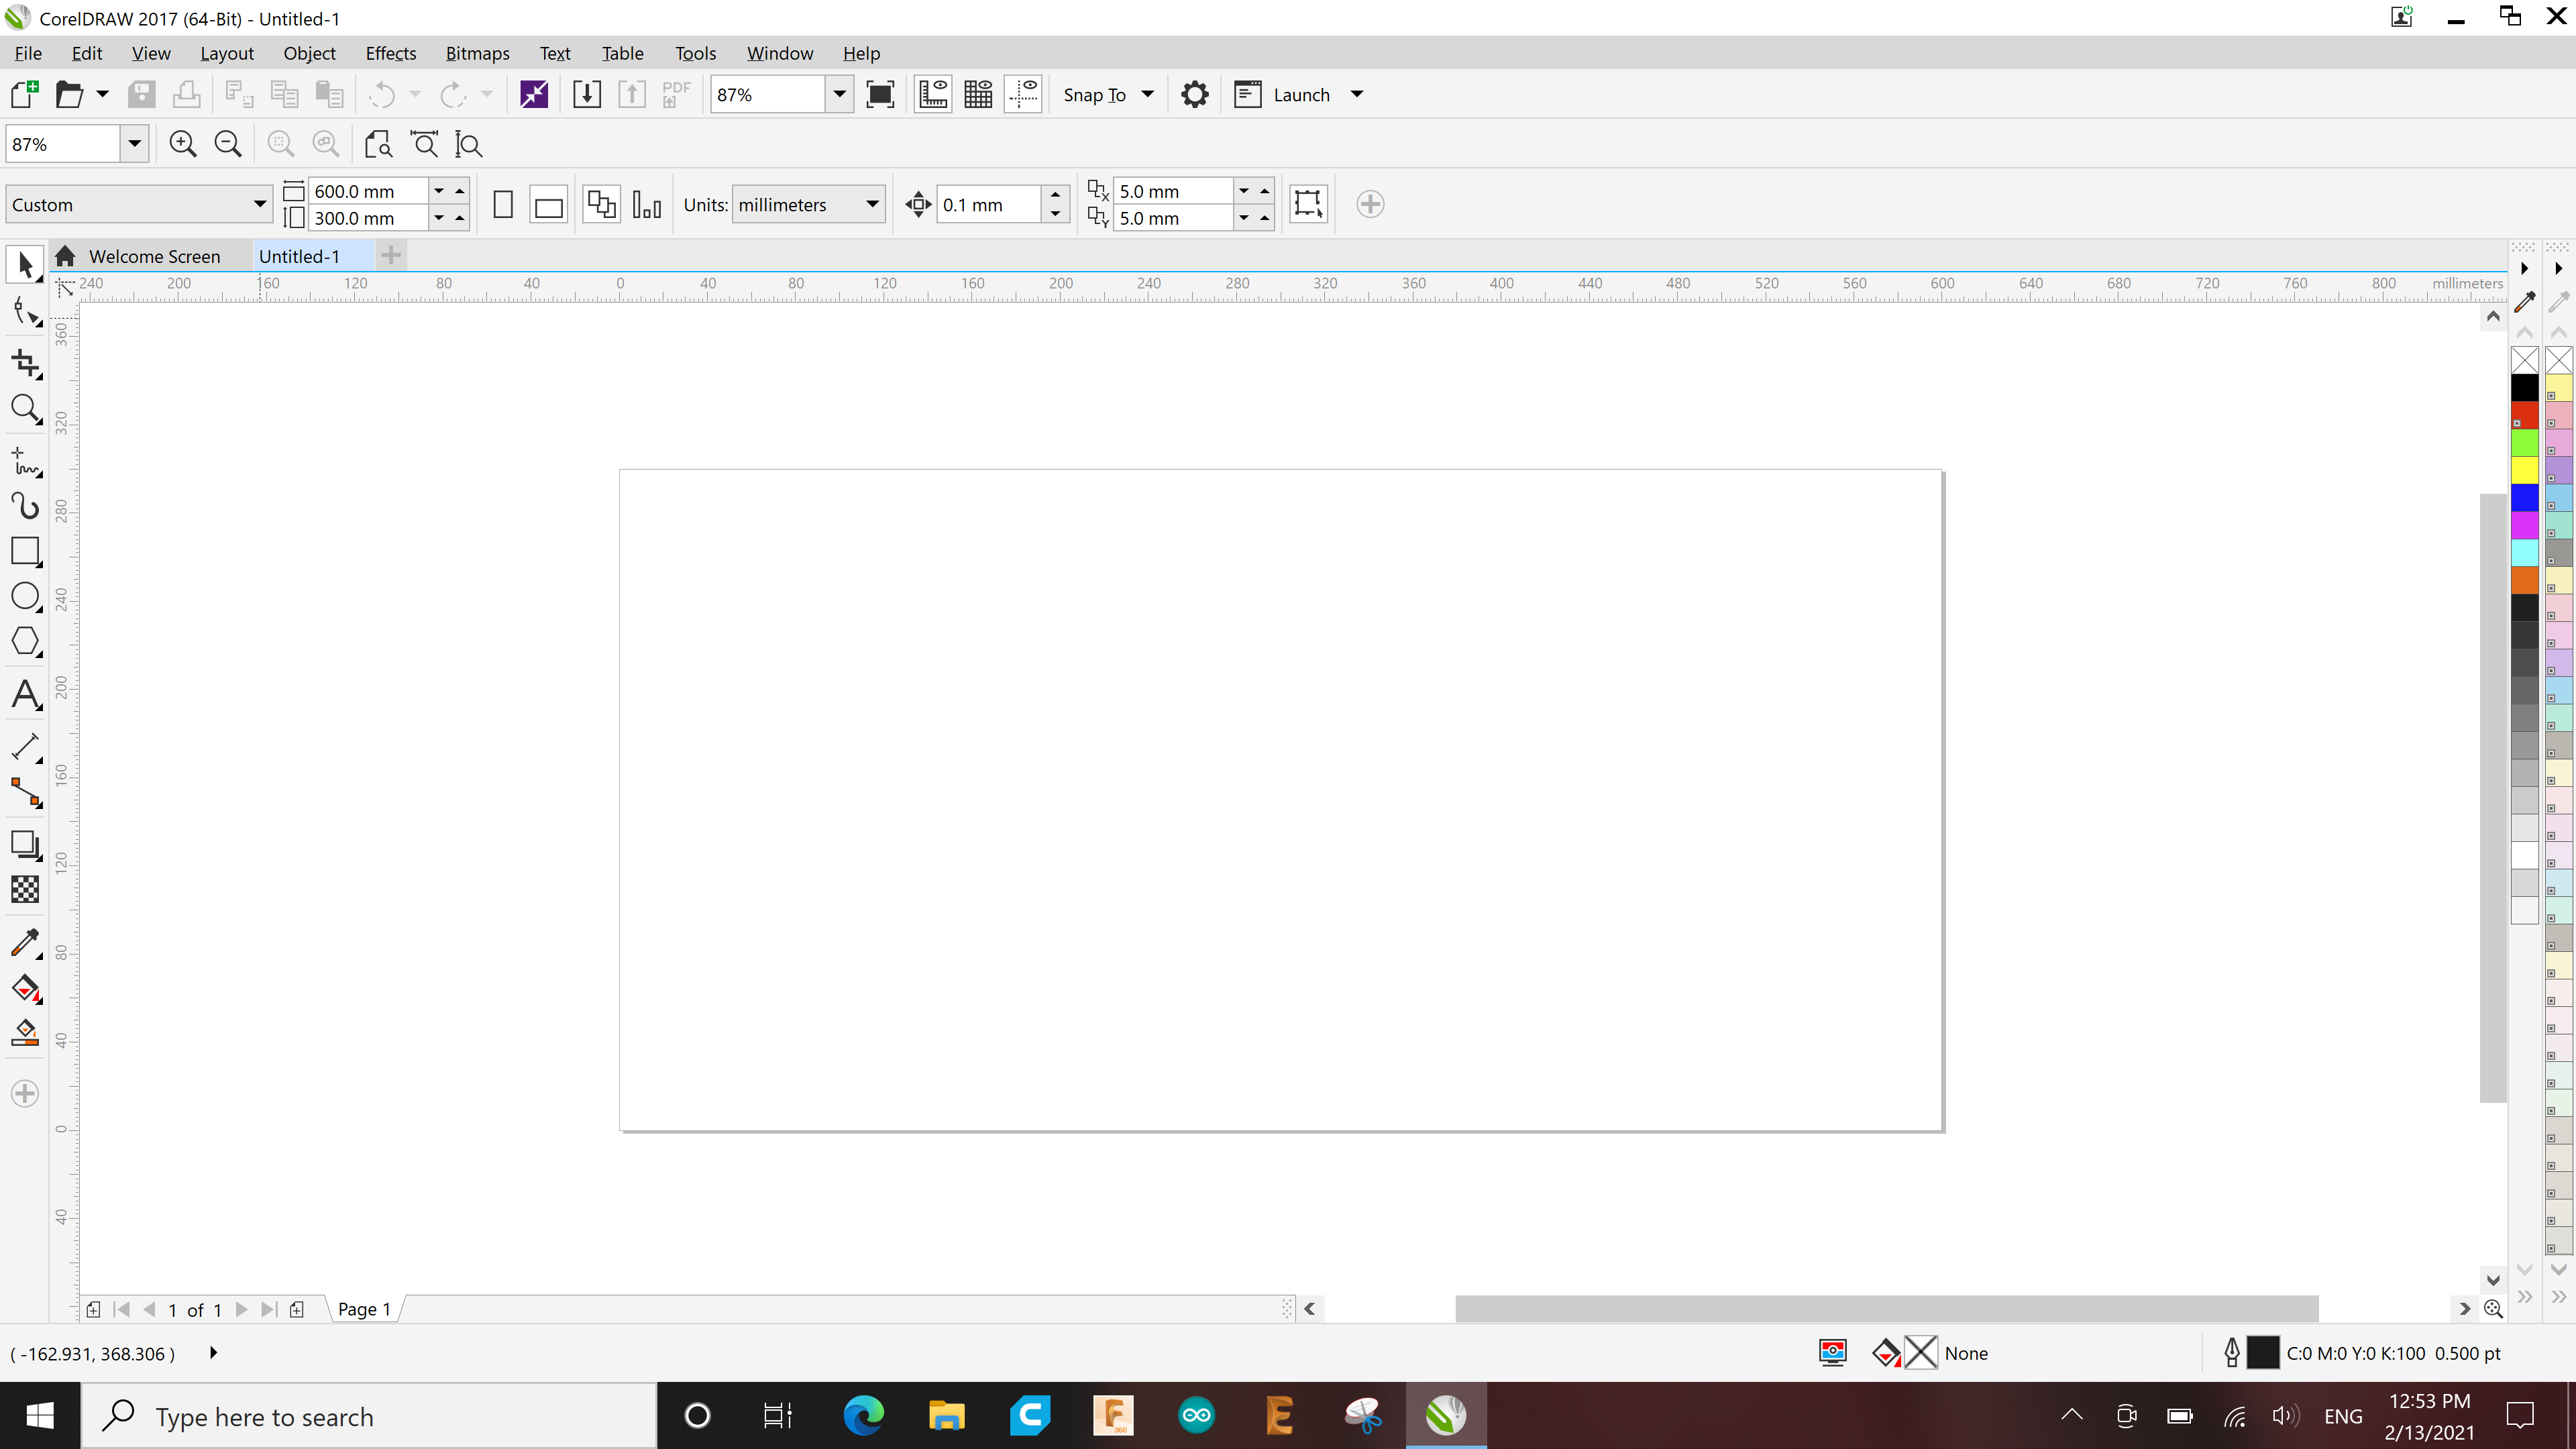
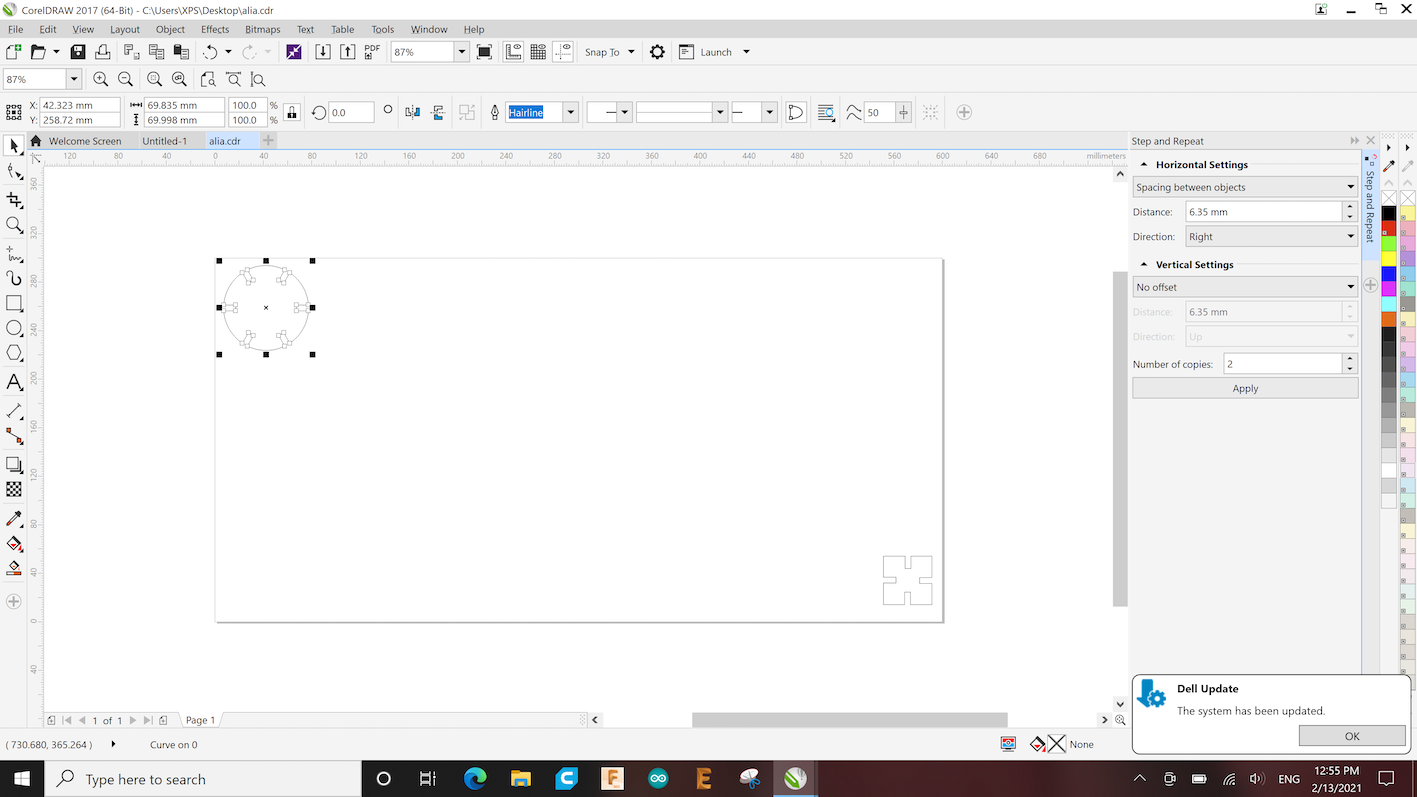
then i transferred my design to coreldraw and changes he drawing to outline color to red and line setting to hairline
later, i opened my drawing in the lasercut machine we have in the fablab which is universal laser system
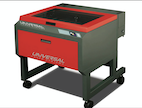
for the material, i decided to work with mdf 3mm
these are the steps i followed for the lasercut
test 1
- cut: power100 - speed6.4
- engrave: power80 - speed100
- ppi: 500%
the cut and engrave was succesful in this setting, i liked how clean the edges were and had no burnes
test 2
- cut: power manual - speed10
- engrave: manual - speed49
- ppi: 500%
in the second test i kept the power the same and changed the speed only, the engraving looked a bit burned and the edges were black the cut was a bit better than the first test
test 3
- cut: power73 - speed manual
- engrave: power100 - speed manual
- ppi: 500%
comment
test 4
- cut: power90 - speed52
- engrave: power65 - speed43
- ppi: 500%
comment
kerf
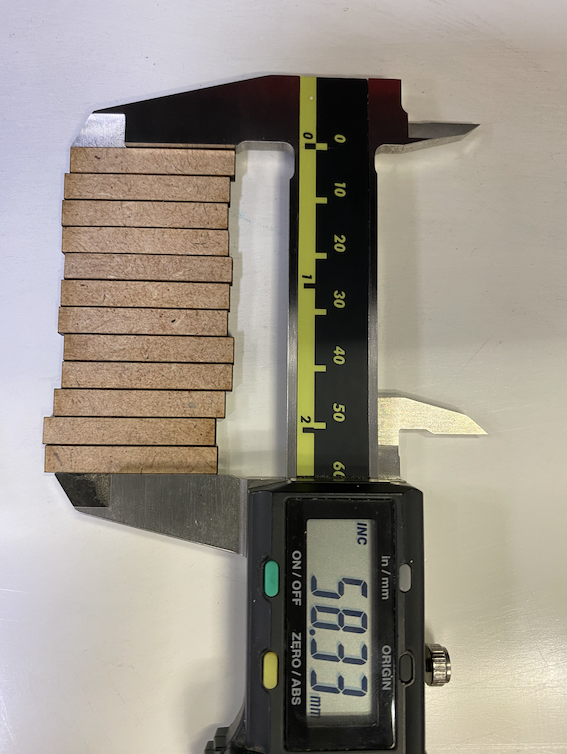
Sara from my group created rentangulars using fusion360 and shared the file with me and the rest of our group
after printing it i used a digital caliper to mesure the length to use it for calculating the kerf
to measure the kerf: kerf= theroetical length - measured length devided by the # of sections
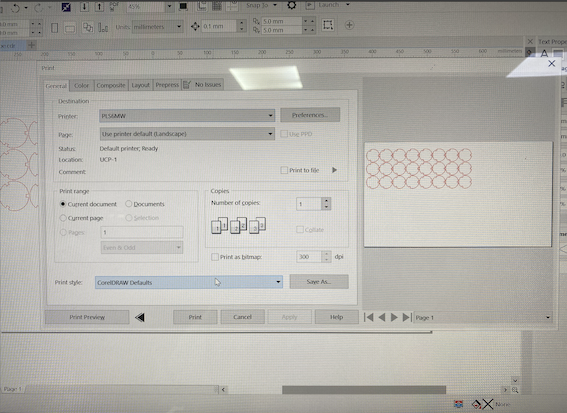
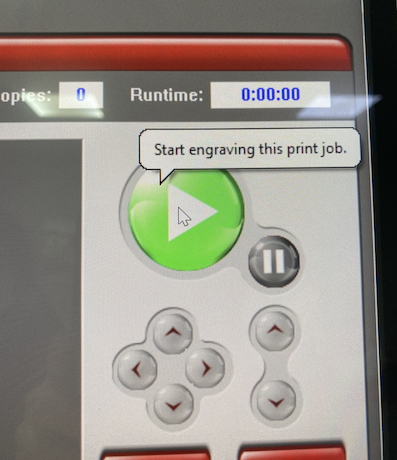
steps for printing using universal printing system laser cut machine
- click on control p in corel draw
- then click printing setting
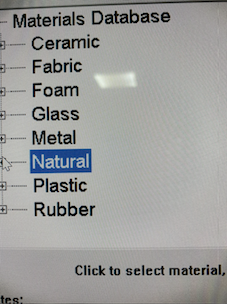
- open the lasercut app
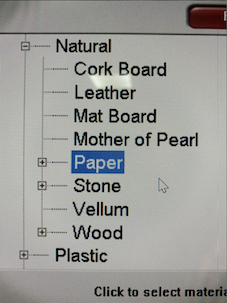
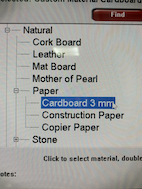
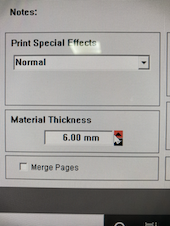
- click on materials and choose Natural > Paper > Cardboard 3mm > change the thickness to 6mm because i will use a 6mm cardboard
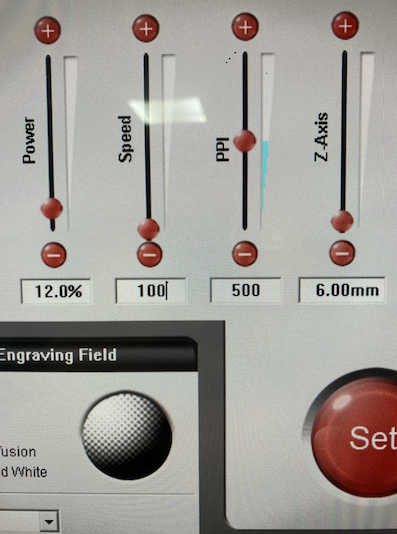
- decided vto use the manual power and speed because it is the most accurate
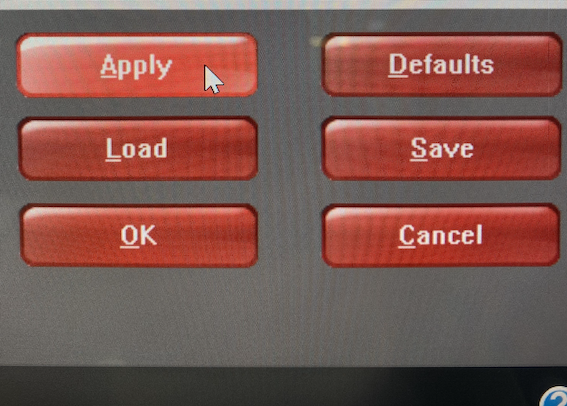
- lastly choose the place you want to print and click on start
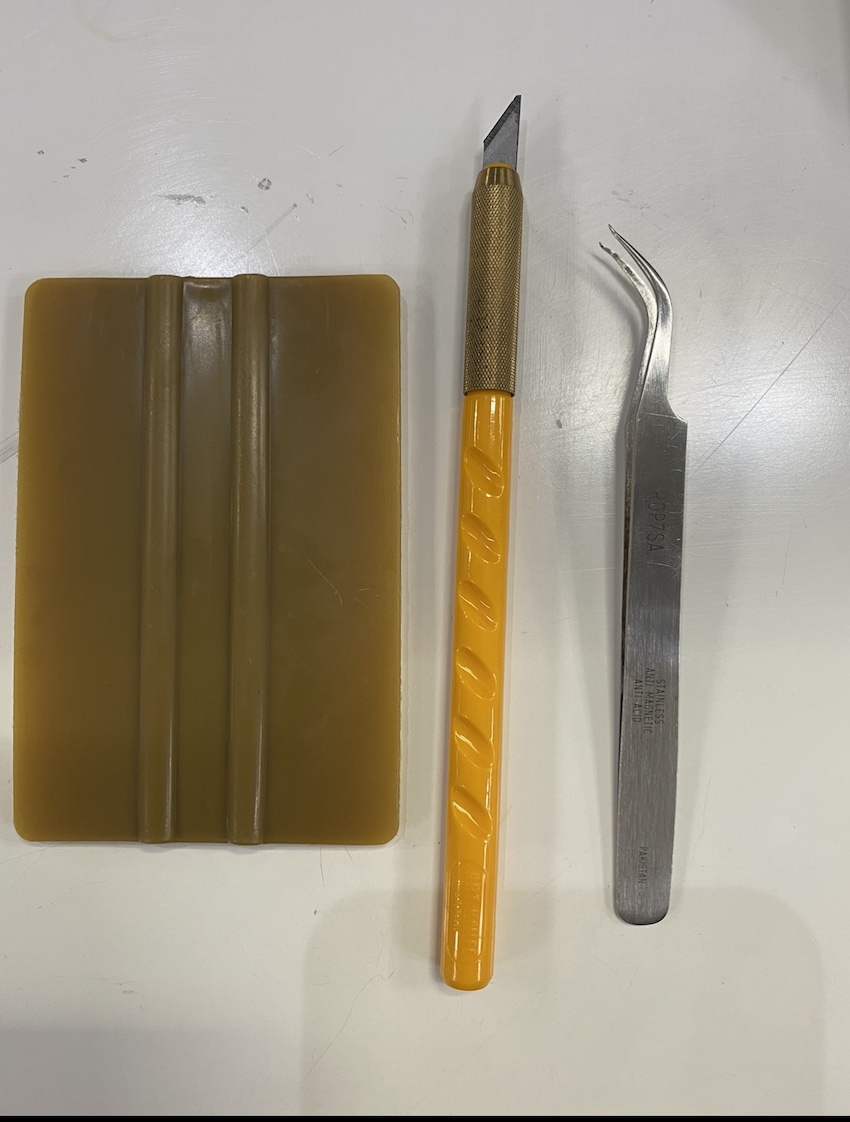
individual task:
cut a sticker using Vinyl cutter machine & design a press fit kit
press fit kit
i made two circles and one half circle, the first circle had 6 slots and the second 3. the half circle has 4 slots
i used coreldraw to make my shapes
the idea of press fit is to have the slot size in every shape so every shape can be connected to each other
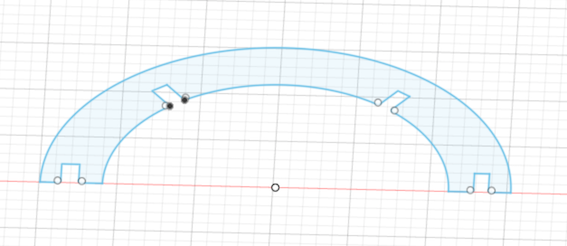
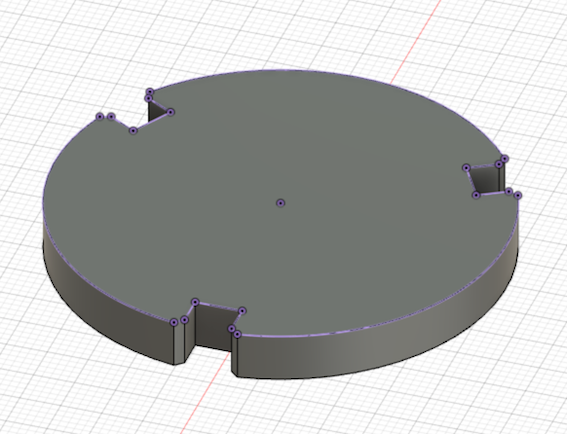
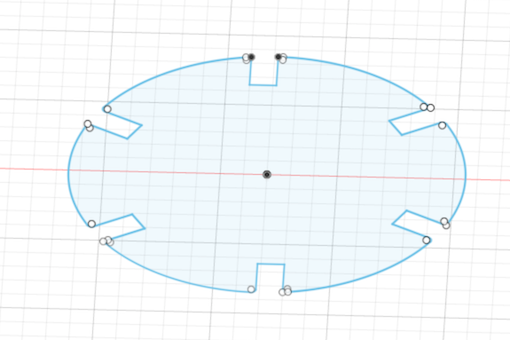
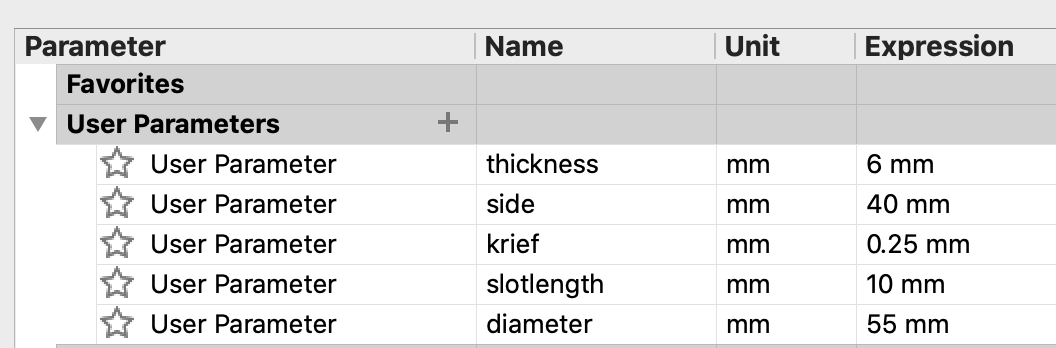
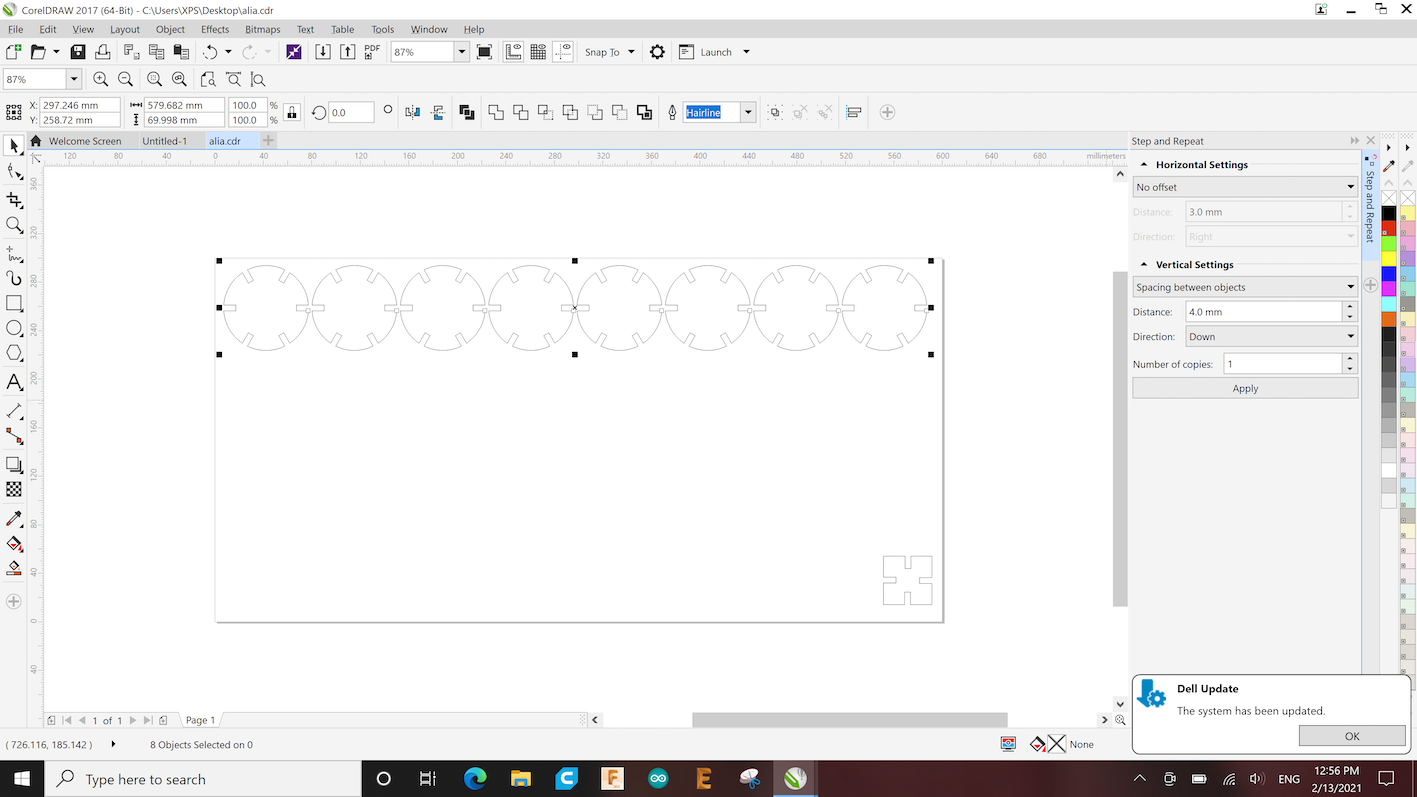
here are my three shapes
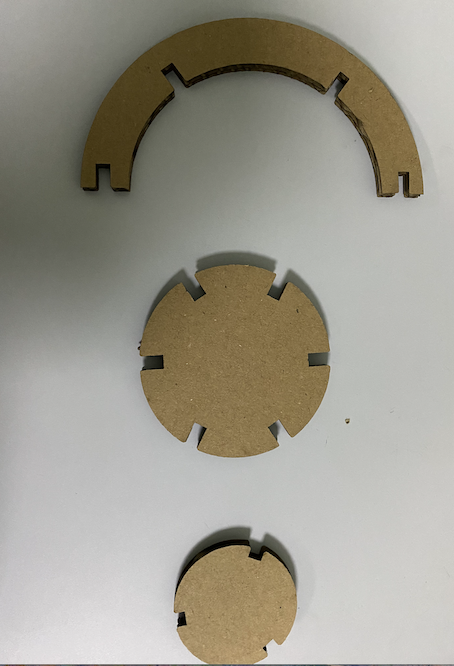
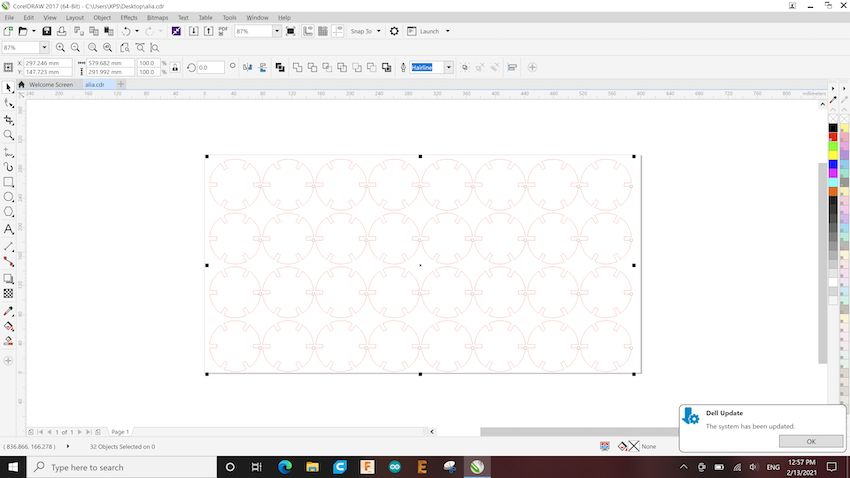
after printing, i started experimenting with the shapes and i came up with these designs
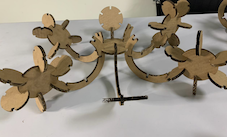

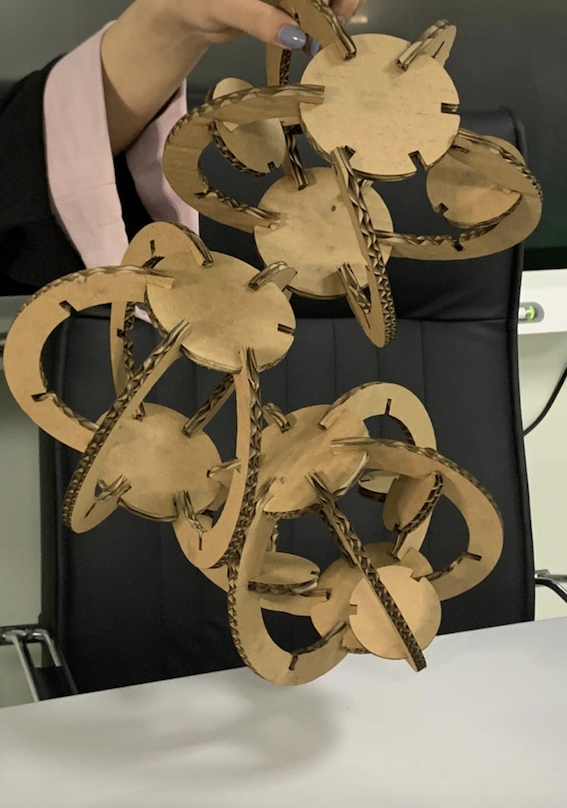
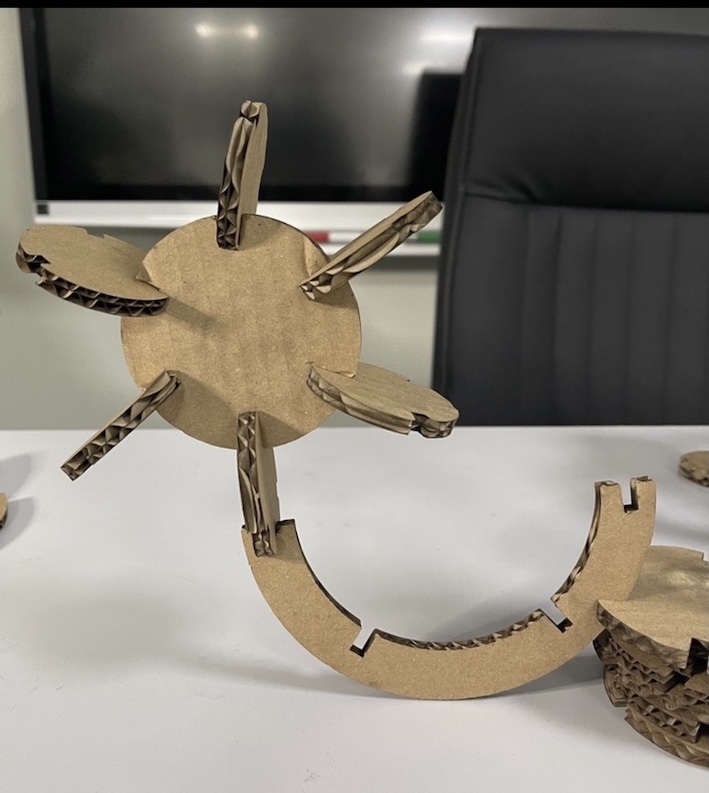
i really enjoyed the process of lasercut and the results so i cut these designs to experiment more with the machine
vinyl sticker
i Roland vinyl cutter to cut out a sticker design
i started desiging my stocker, i saw a found a design that i liked in freepik.com which is a free open source website, then i edited the picture and took the part i wanted
=======individual task:
cut a sticker using Vinyl cutter machine & design a press fit kit
first i started desiging my stocker, i saw a found a design that i liked in freepik.com which is a free open source website, then i edited the picture and took the part i wanted
>>>>>>> 083993df0d7418d55e838f0822f2bb2f4637a200i opened the image in adobe illustrator and turned it to Vector - a tutorial on how to change any image to vector is shown in my week2 page
then i opened the image edited it to fit the printer setting
in coreldraw
- open coreldraw
- click on create new file
- upload your design into the page
- change the outline color to red
i chose this design because i miss summer, i places the sticker on my tools box
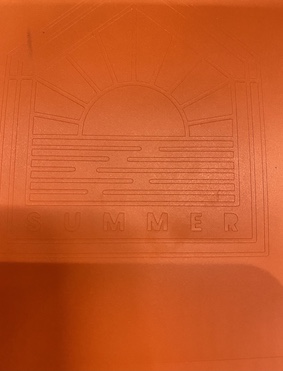
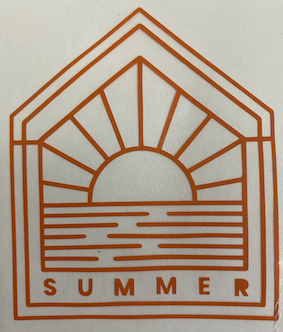
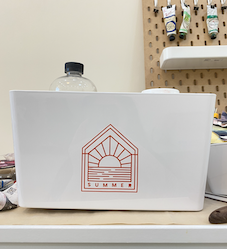
i chose this design because i miss summer