Computer-Controlled Machining
Group Assignment 2021 (Héctor and Gustavo)
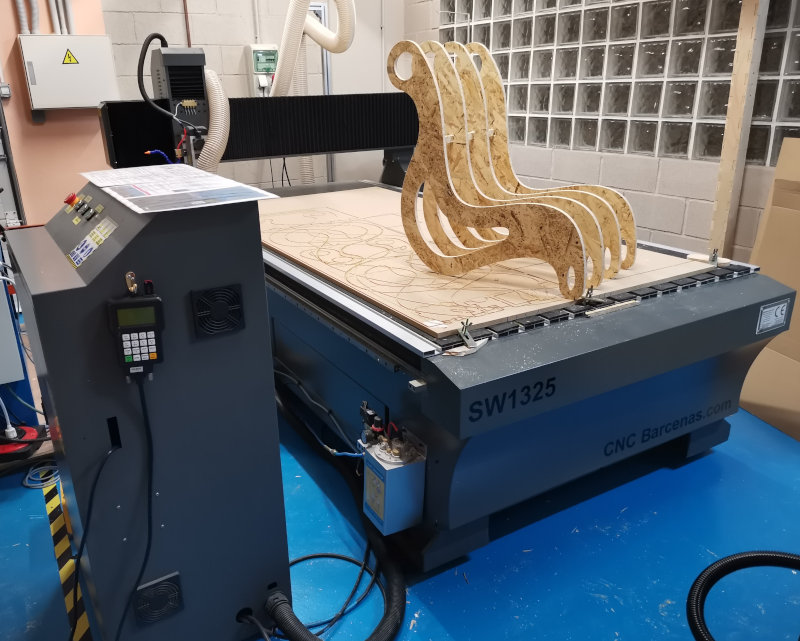
Our milling machine is the SW1325 de CNC Barcenas.
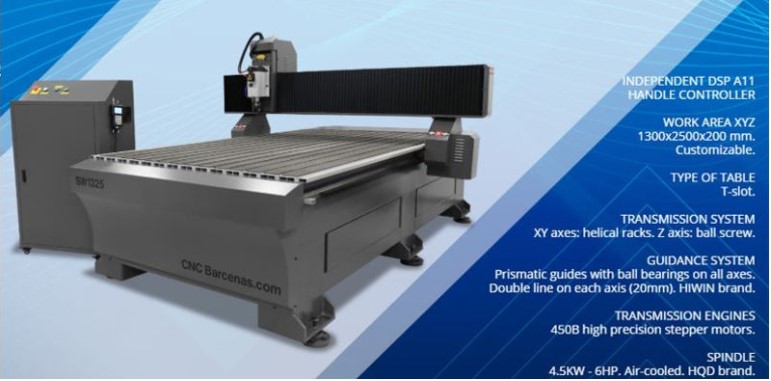
Maximum speed:
• In air: 20 meters / min.
• At work: 15 meters / min.
• Resolution +/- 0.05 mm.
• Electromandrino
Brushless high frequency motor with air-cooled ceramic bearings. Power 4.5 KW. - 6 CV. · ER32 milling cutters from 1 to 20 mm. From 4,500 to 18,000 rpm. with adjustable speed from the machine. Capable of reaching 18,000 rpm. and perform great works of cutting, carving, 3D reliefs on wood, plastics, resins, foams and a multitude of materials.
Aspire software
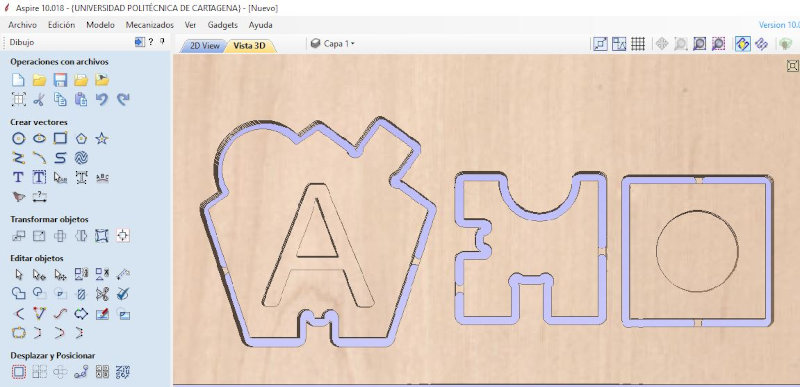
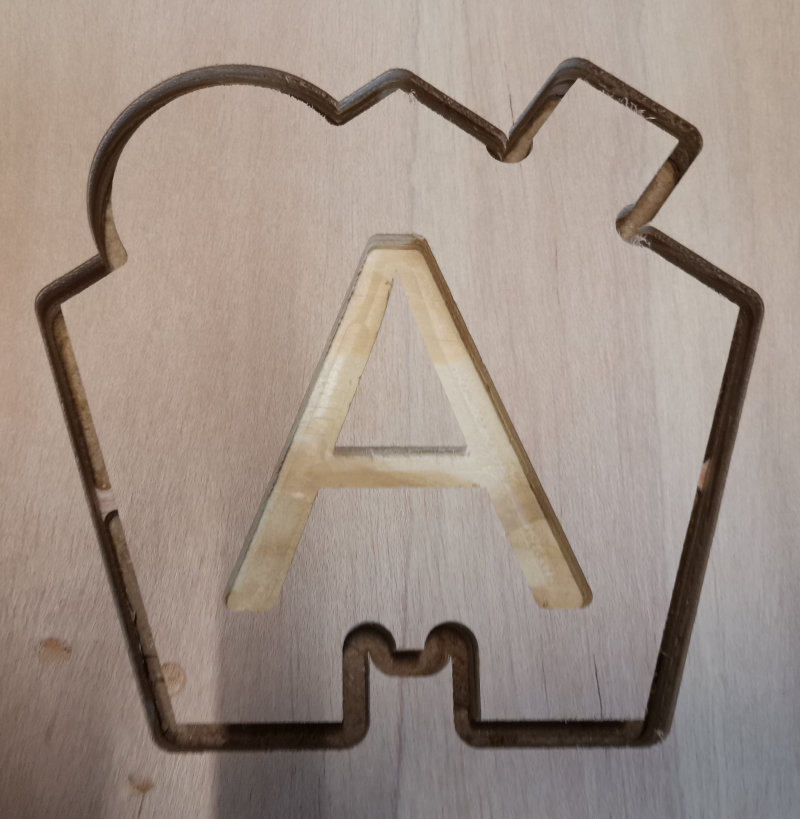
To generate the G-Code we use Aspire software. We design a part for the feed rate test. These steps will be general for all milling we do.
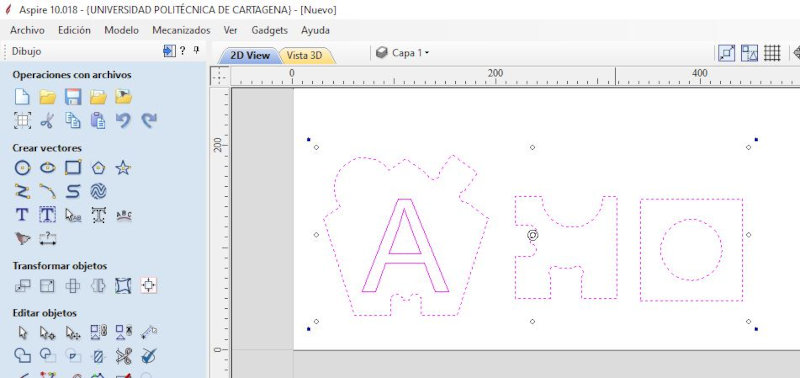
We select the profiling strategy and the metic tool (End Mill = Straight 6 mm).
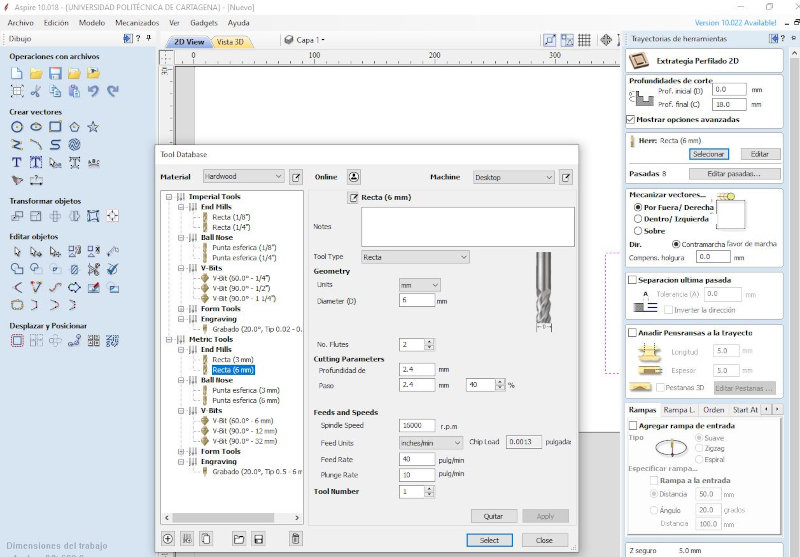
We add the Pensransas to the milling path to hold the pieces of wood.
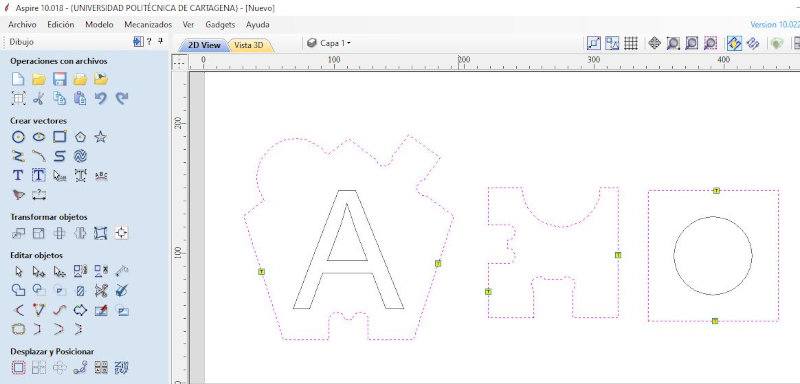
We select "Simulate toolpath" to obtain a preview of the milling.
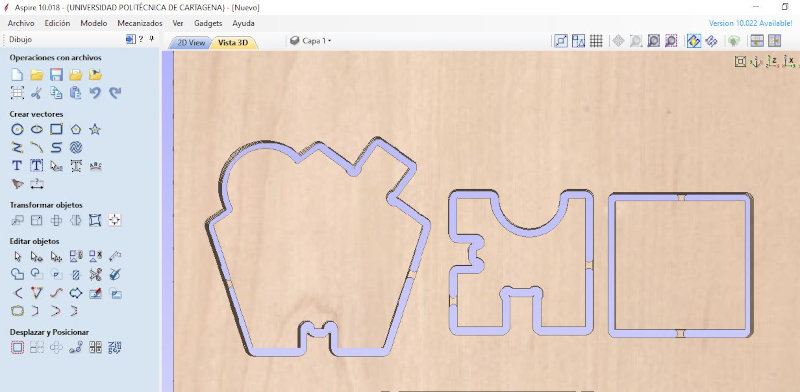
We carry out the engraving strategies and simulate the trajectory.
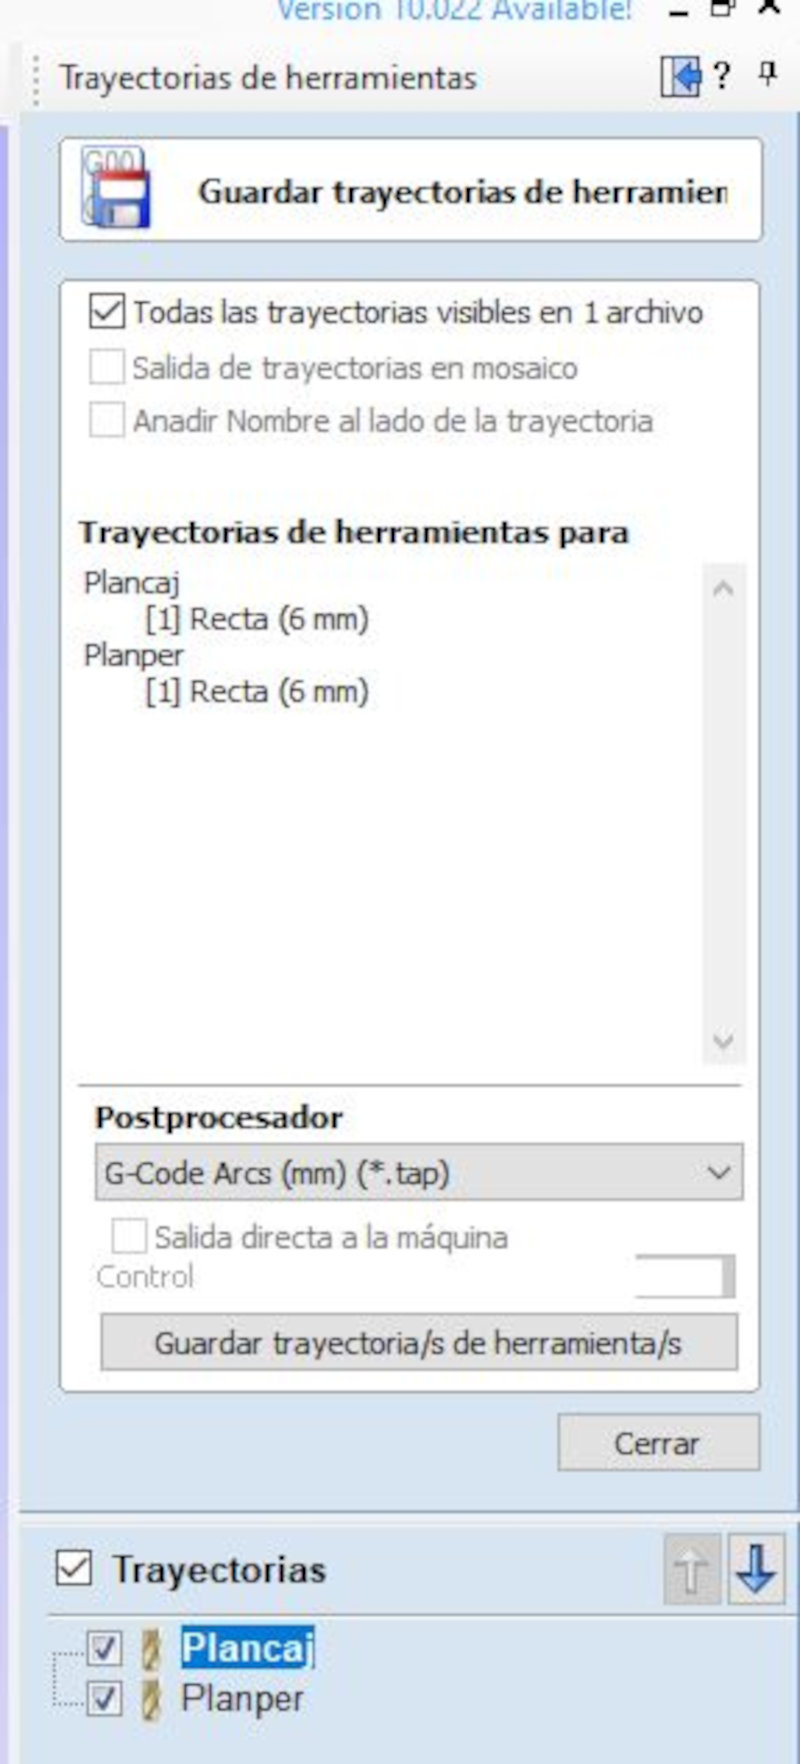
Select "Save toolpath" and export the files in "G-Code Arcs (mm) (*. Tap) format. These files are saved on a pendrive to later insert it into the usb reader that has the control of the machine.
Operating the milling machine
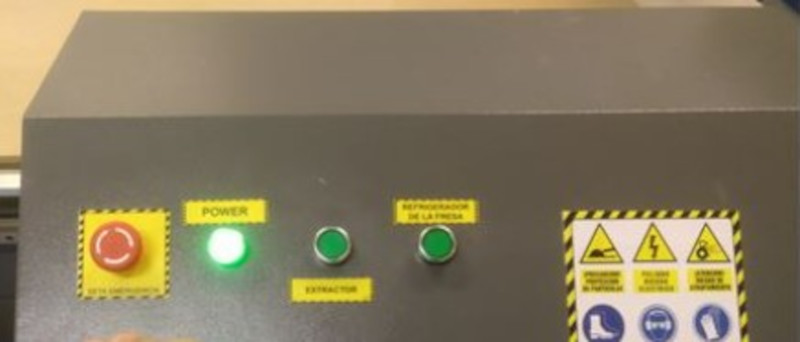
• Turn on the router.
• Insert the pendrive in the DSP with the files in Postprocessor format “G-Code Arcs (mm) ( .tap)” or “ISO plain G-codes-mm ( .iso) for the 4th axis”.
• Do HOME. The DSP will display: HomeTypeAtStart.
• Press axis home and OK key. The machine will be positioned at its starting point. The X axis to the left, the Y axis to the top of the table and the Z axis above. 3.2 The machine is now ready to work. This step is essential for the proper functioning of the machine. ALWAYS have to do HOME.
• Once the milling cutter is in the desired position, we will mark XY0 by pressing the ON / OFF + XY0 key. Once pressed, the DSP will indicate the X and Y axes at 0.
• WITHOUT SENSOR: We locate the position we want and press ON / OFF + ZC0 and then mark CLEAR Z.
• Load the machining files.
• We press RUN / PAUSE DELETE and the DSP will show us two options. Here we must choose where we have saved the machining file. The 1st option (U Disk file list) is the one we will use since we will always use the pendrive. We therefore press ORIGIN. 9.2.- The DSP will show us a list of the files that are on the pendrive. We will move to the file we want and accept it with the ORIGIN / OK key.
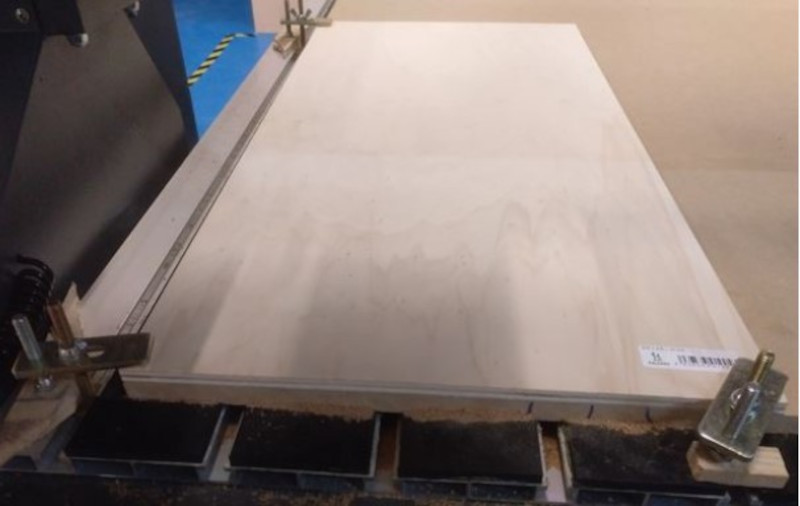
Place the wooden board on the router and fix it with the fasteners to avoid involuntary movements during the routing.
Select the home to bring the tool to xy0 and with the tools place the End mill, then select the Z axis to go down little by little until the end mill is touching the wood.
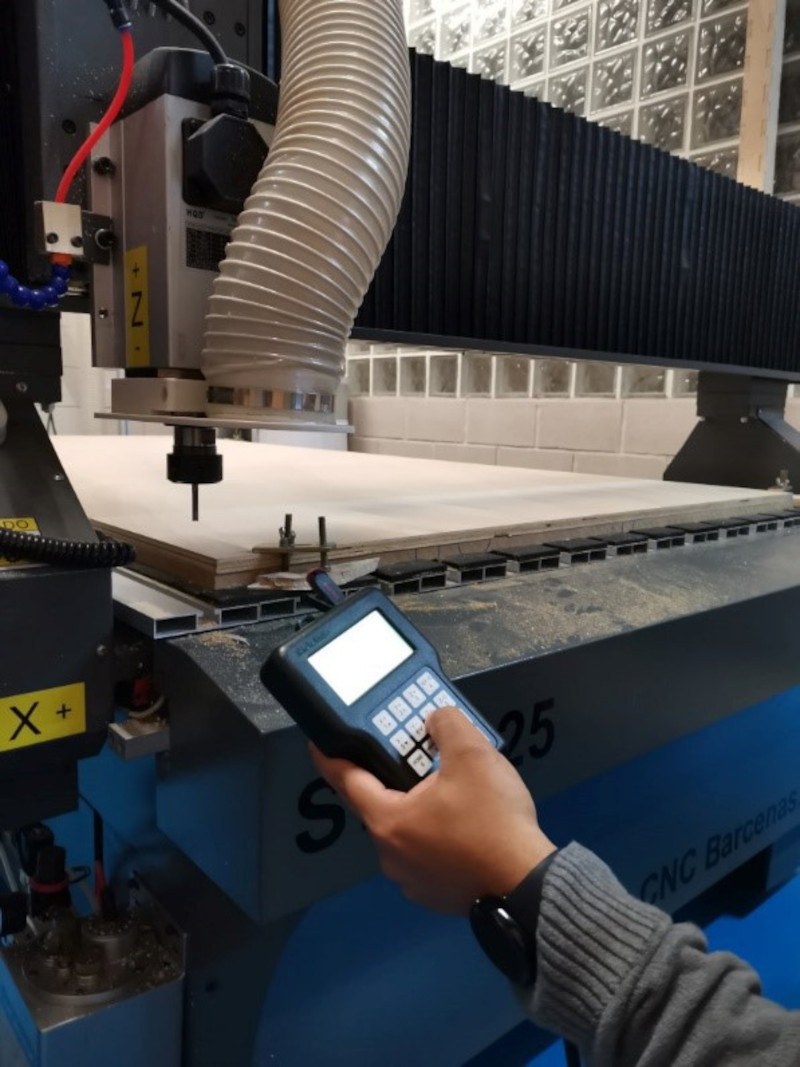

Press "Start" on the knob to start milling, first the engraving strategy will be executed and then it will end the profiling strategy.

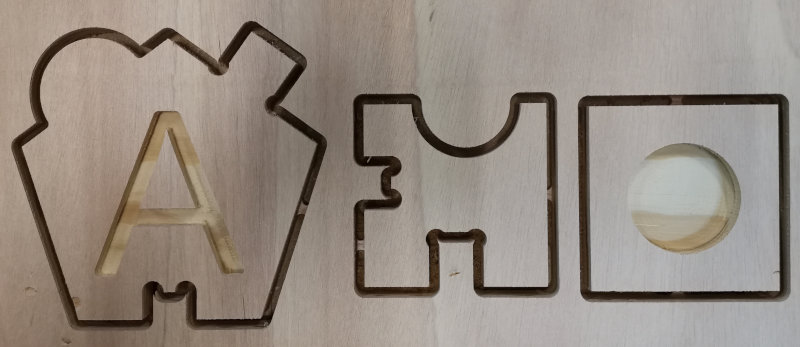
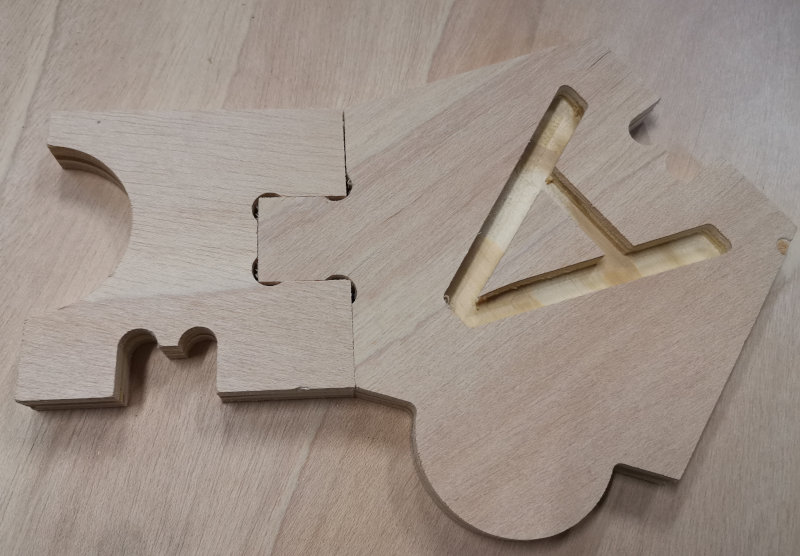
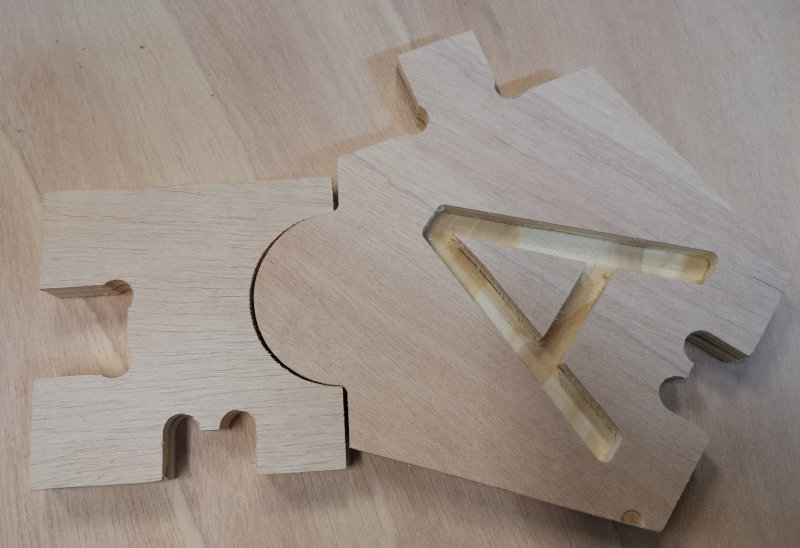
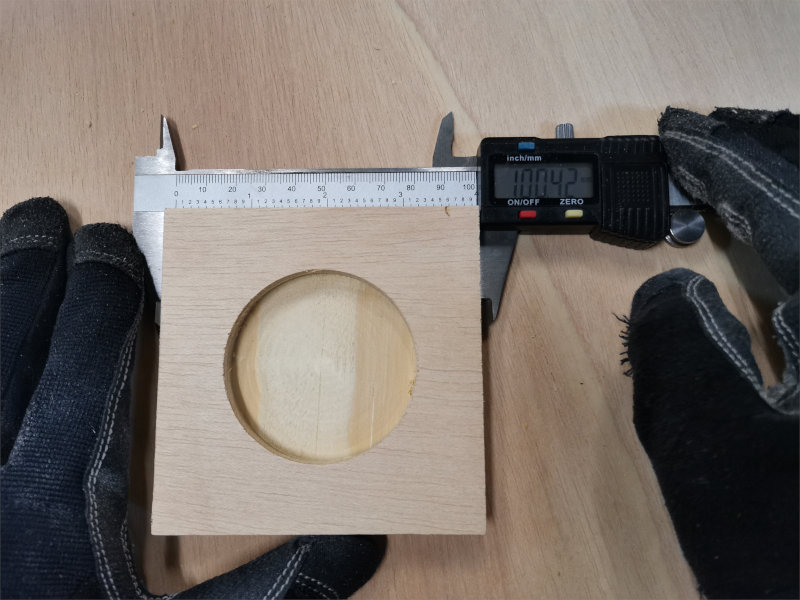
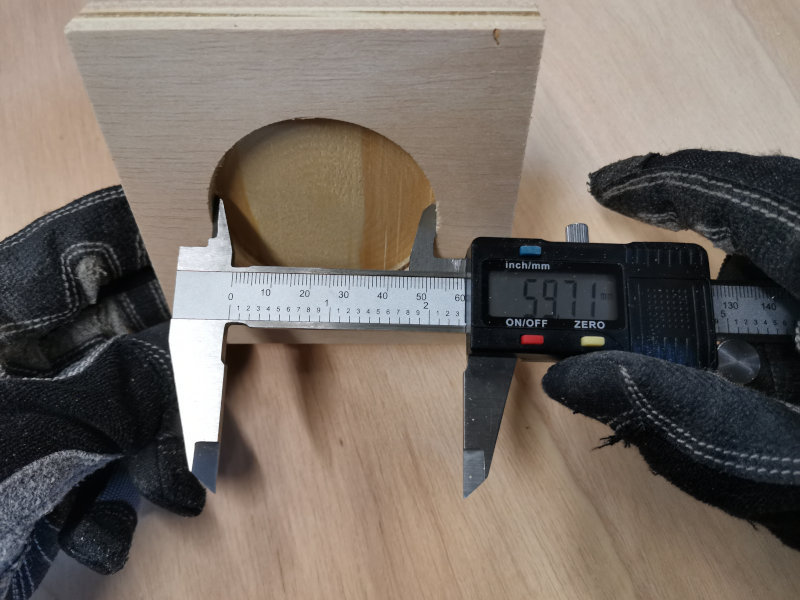
We gauge the outer and inner values to compare them with the design values and calculate the margin of error for milling. In the outer cut there is an error of 0.42mm and in engraving an error of -0.29mm.
The pressure grips of the wood are enough to assemble the pieces.