Electronics Production
Group Assignment 2021 (Héctor and Gustavo)
In our FabLab we have the following models of circuit milling machines:
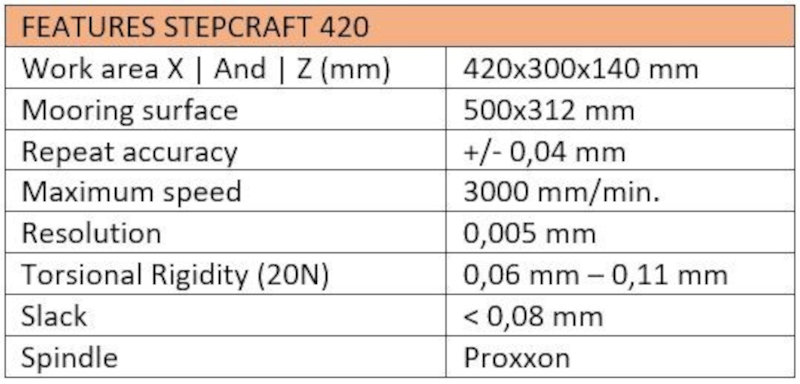
- Stepcraft 420
- Roland SRM-20
Characterization of the Milling Machine, STEPCRAFT420:
1. The Milling Machine:
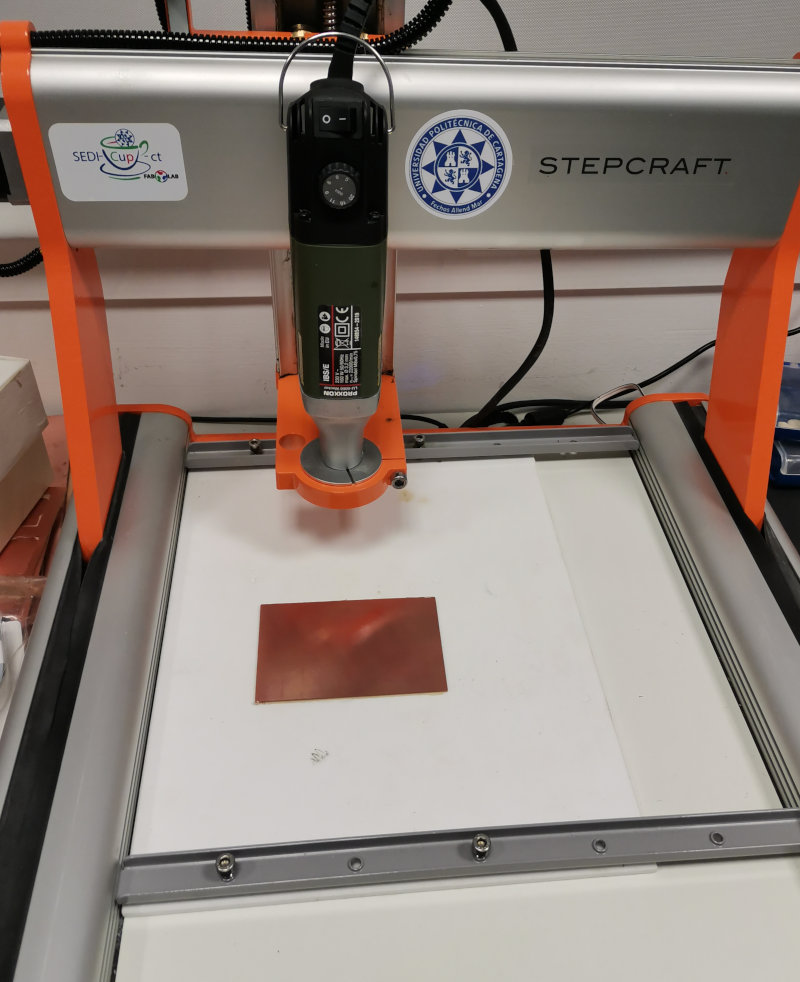
One of the machines we have in our Fablab is the Stepcraft420 machine.
Stepcraft420 website
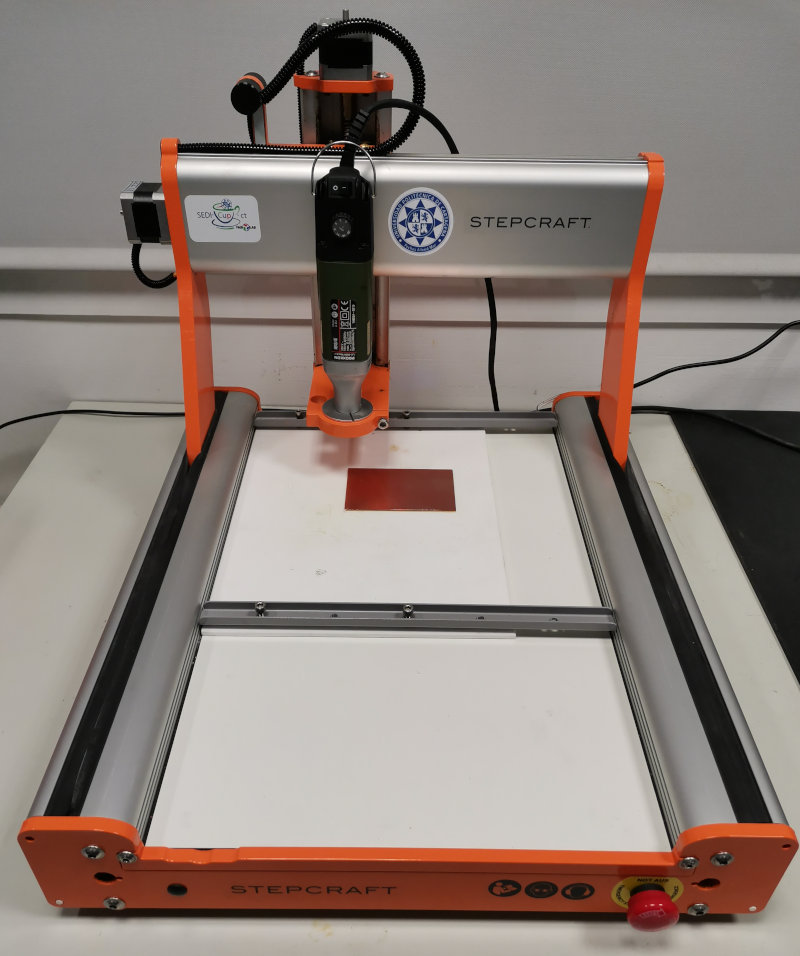
It is a multifunctional machine with different tools to work with milling, 3D painting and laser cutting. On the website there is more information about these accessories.
We have the D420 model.
2. Using Cut 2D to generate the gcode:
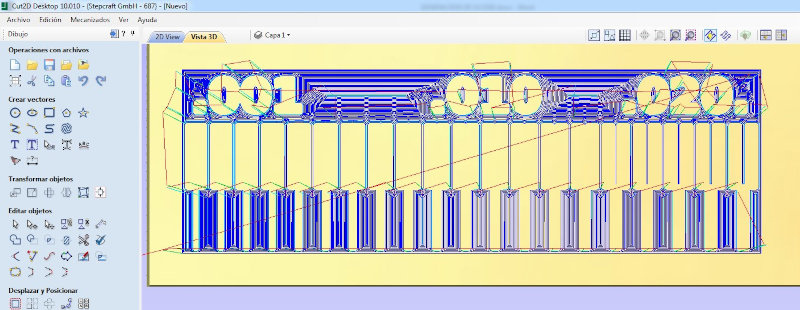
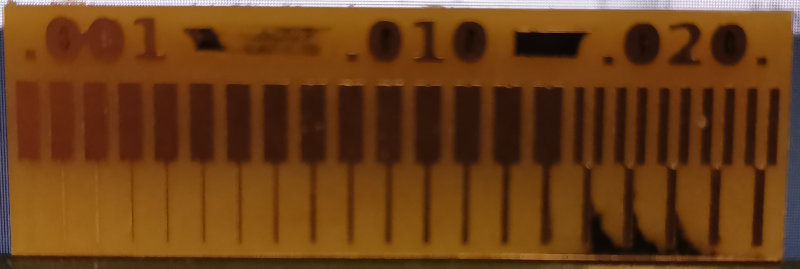
We take the feature PCB board to test the milling bits there.
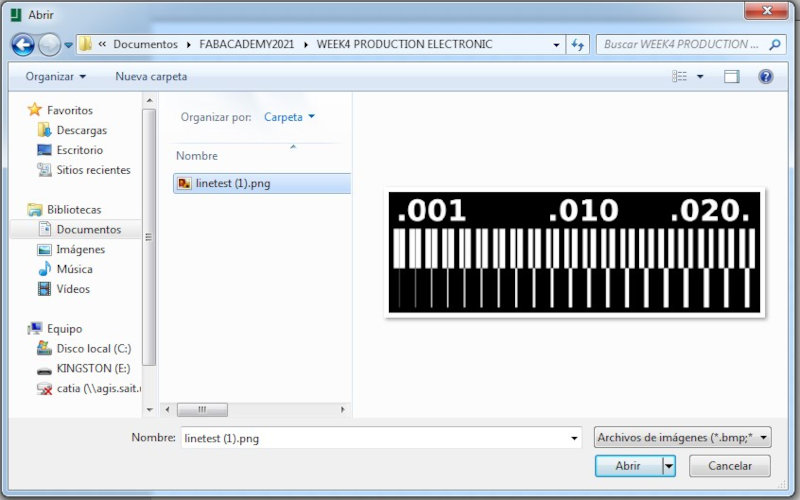
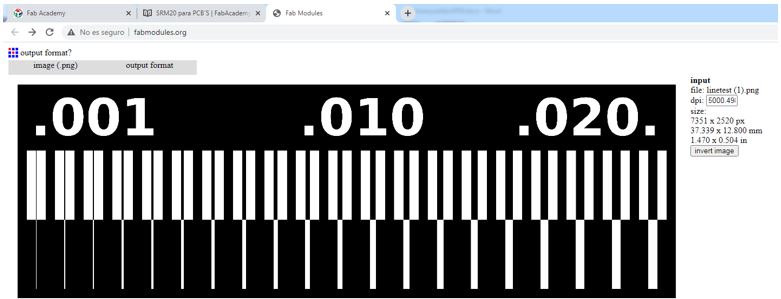
http://academy.cba.mit.edu/classes/electronics_production/linetest.png

With the model we need to generate the gcode to track the milling áreas. For this work we are using the "Cut 2D" software.
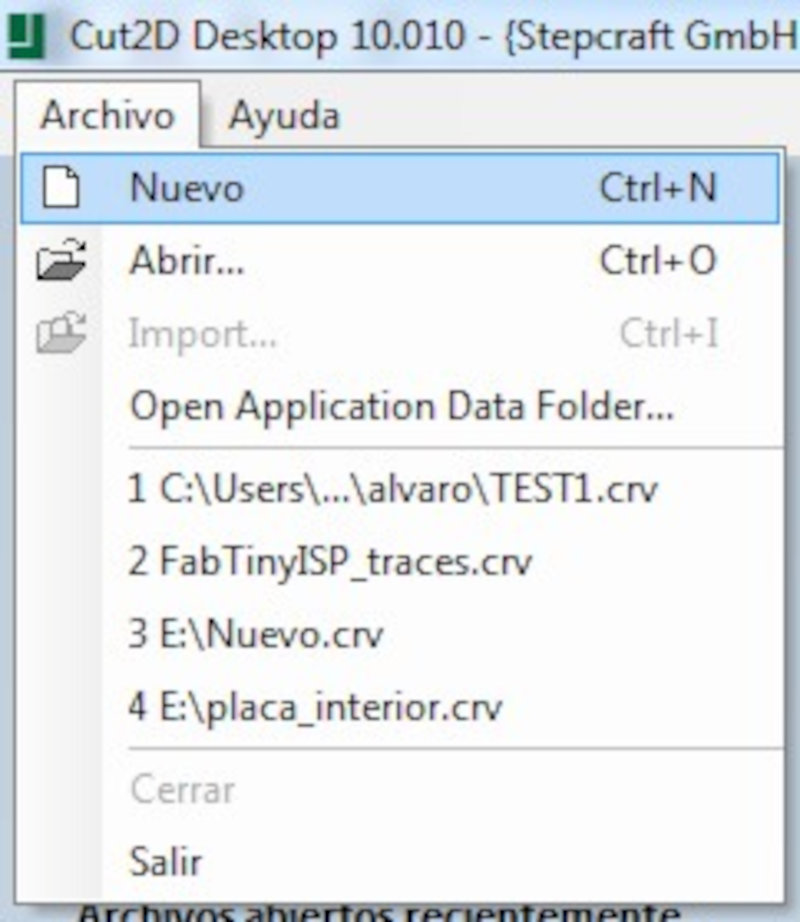
The first step is to create a new file.
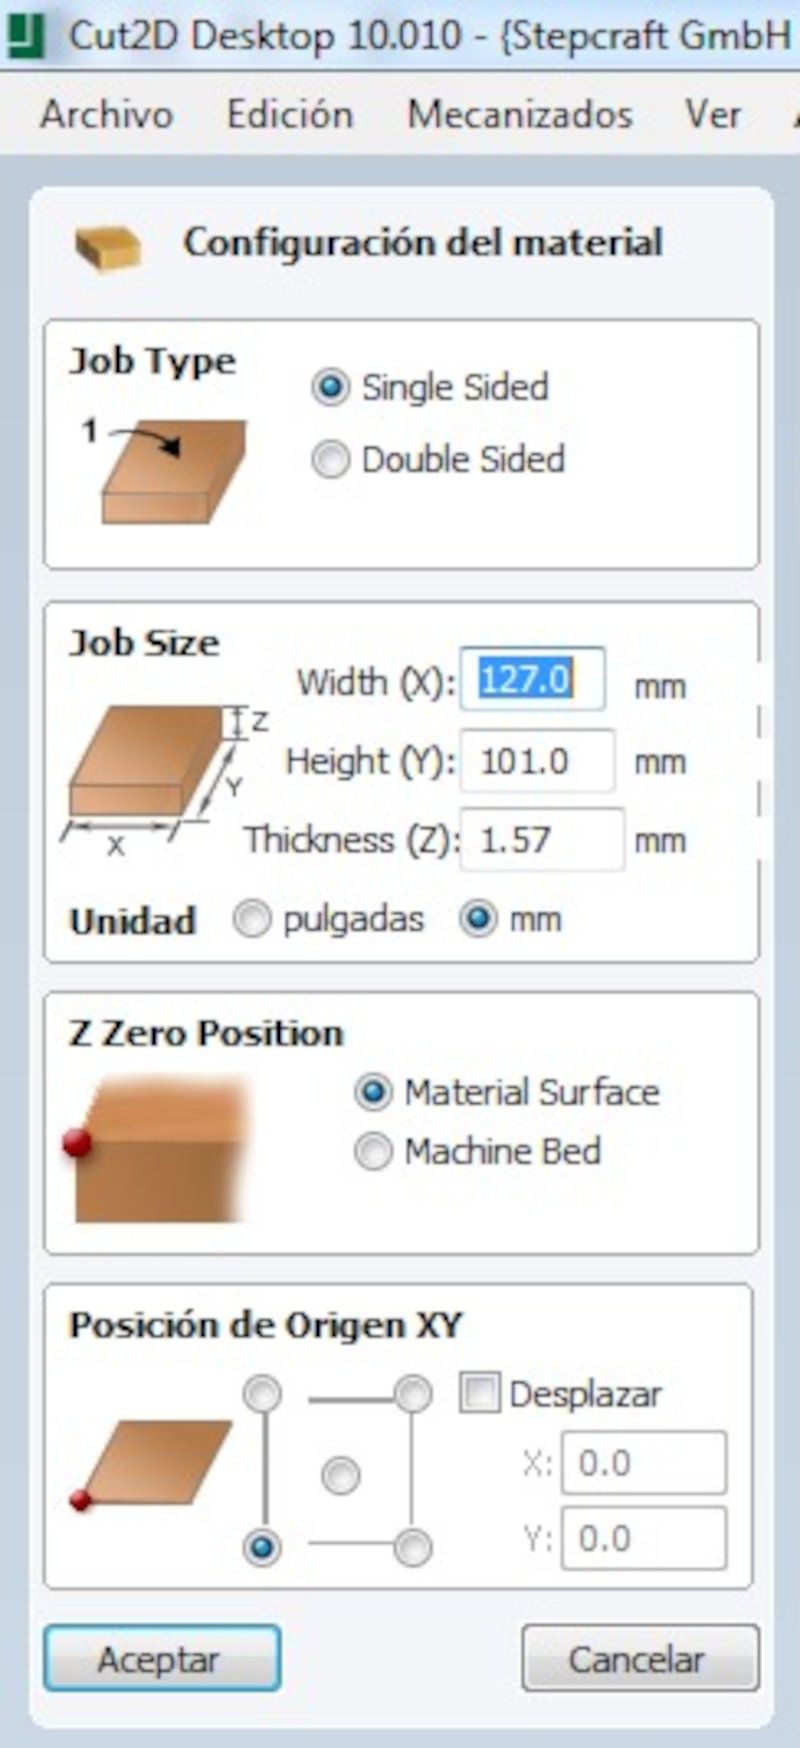
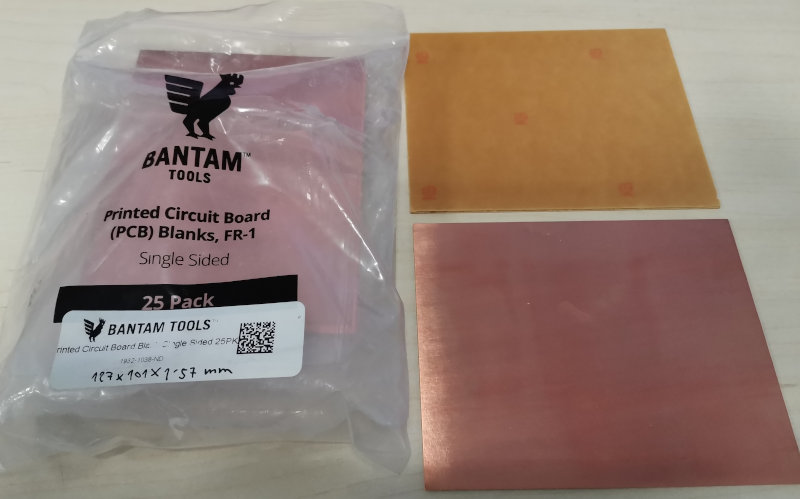
Later it is necessary to choose the material. A PCB in this case and configure its parameters.
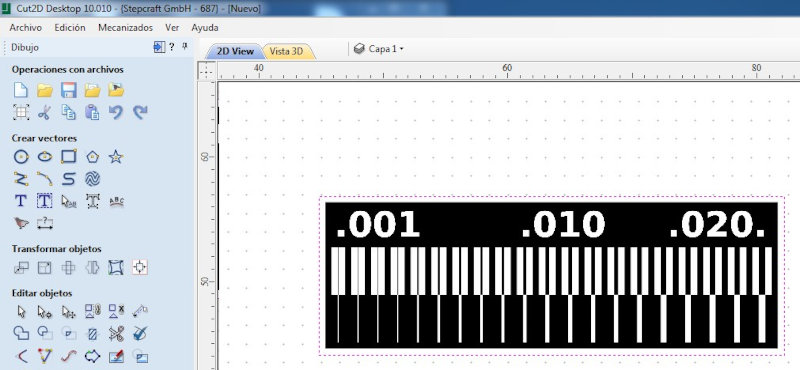
Later we imported the bitmap with the PCB layout.

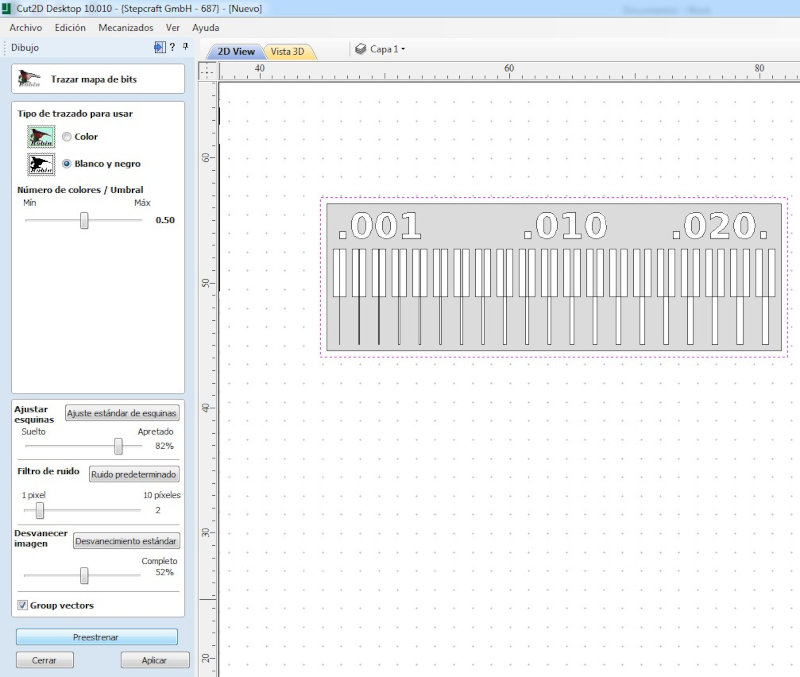
the next step is to convert the design bitmap to vectors with the Cut 2D software command.
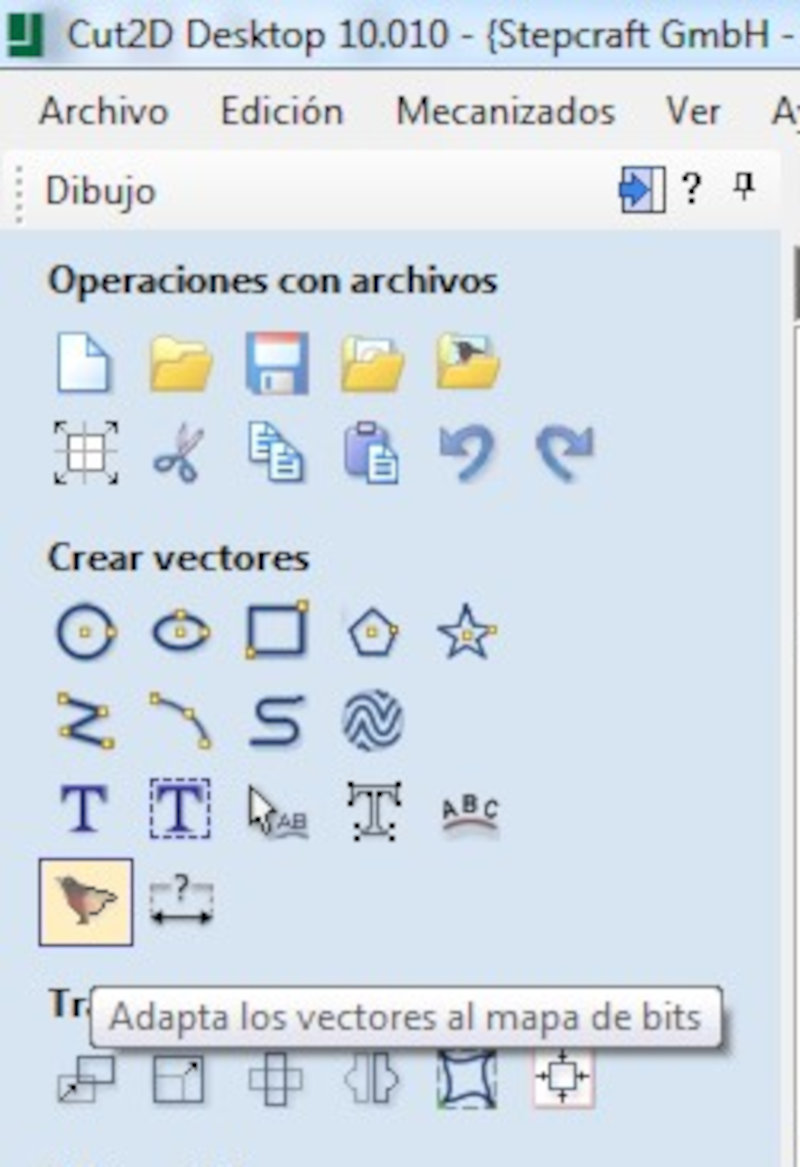
Select the command and press apply.
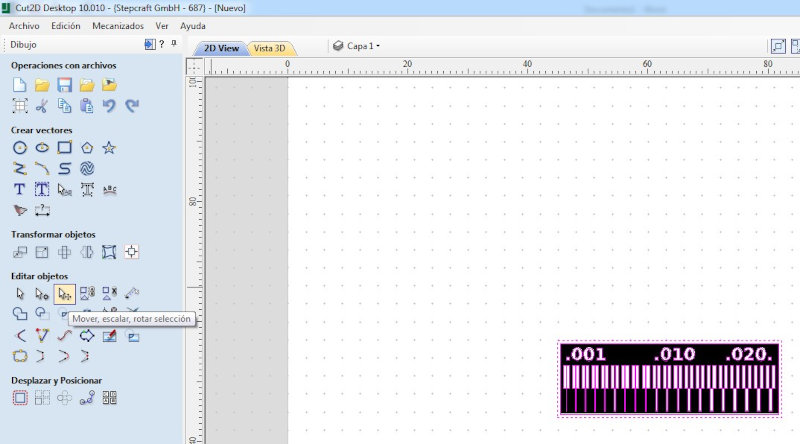
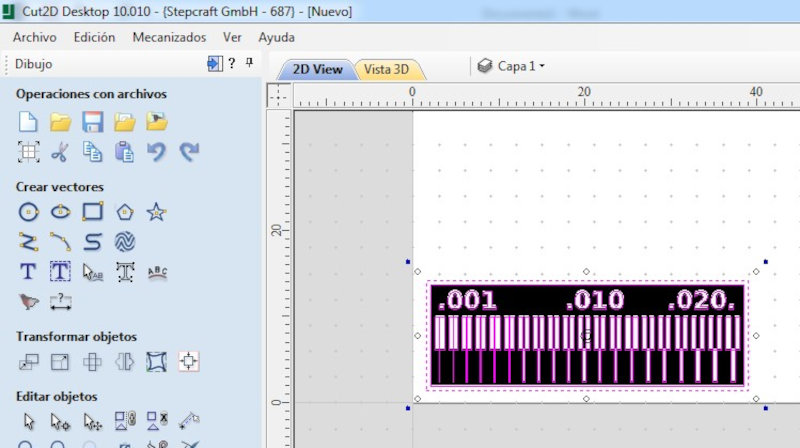
With a new PCB, it is advisable to move the layout in the lower left corner.
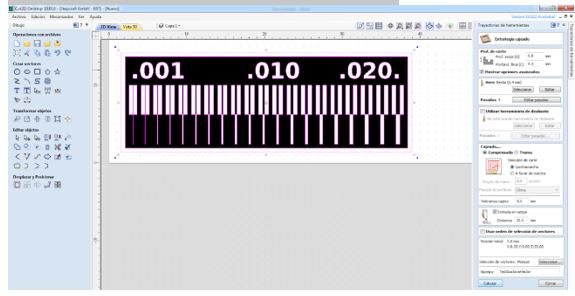
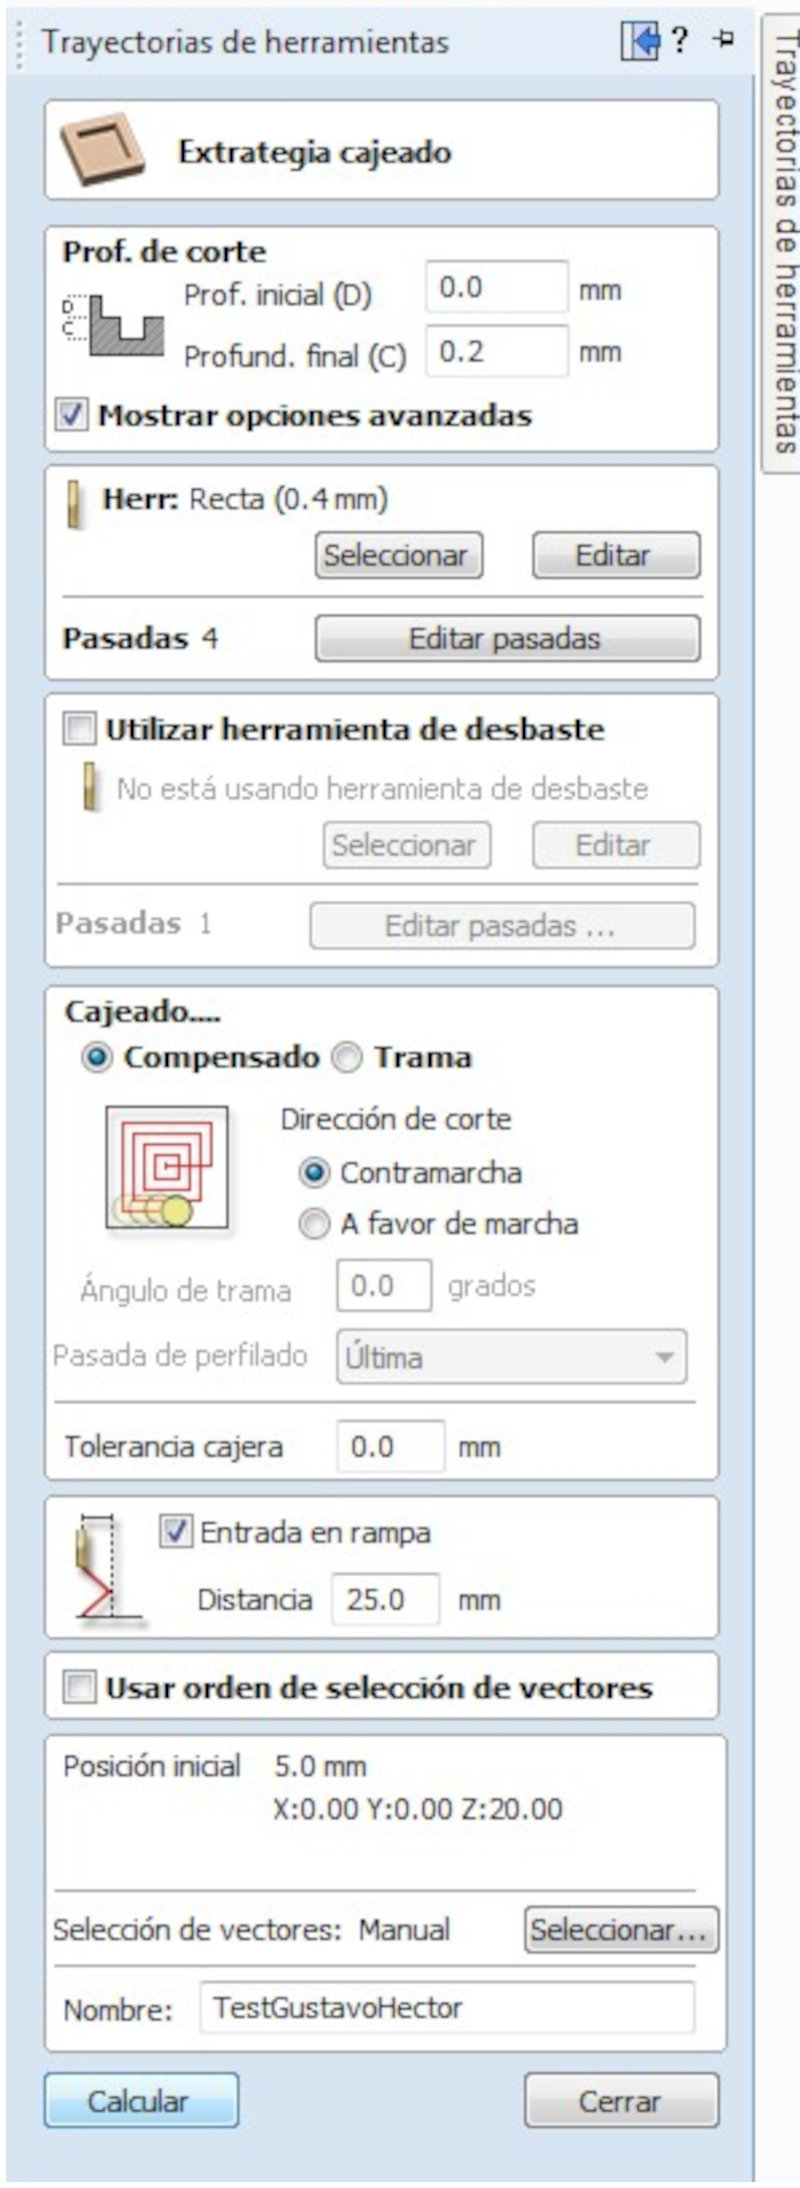
With PCB in place, we set the toolpath, in this case using a pocket operation.
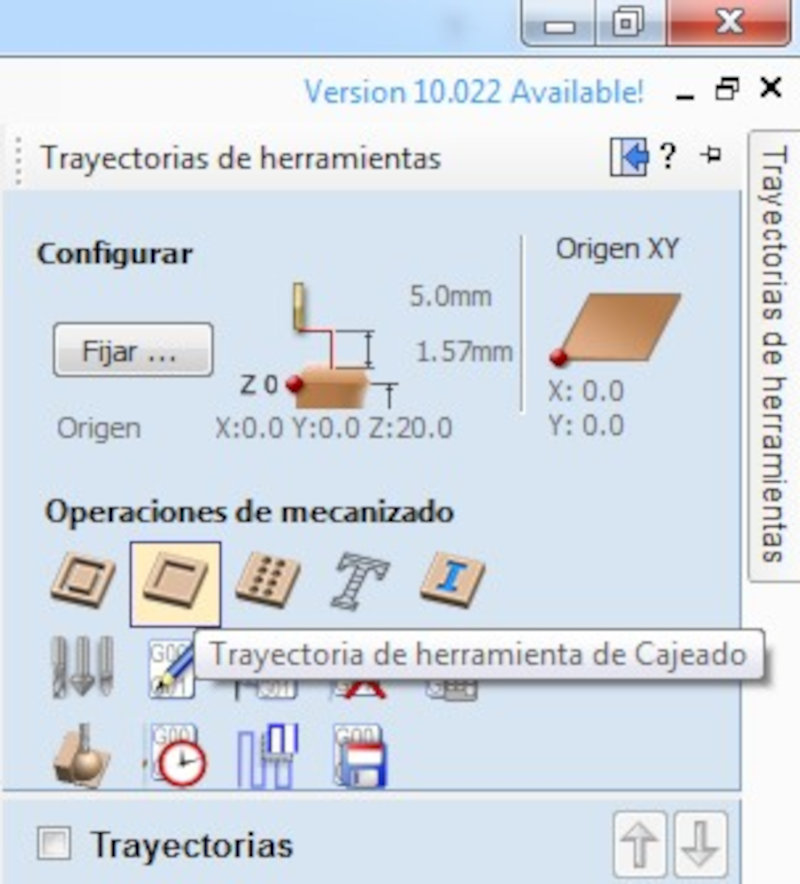
After selecting the operation, you need to set the parameters to trace the design shape.
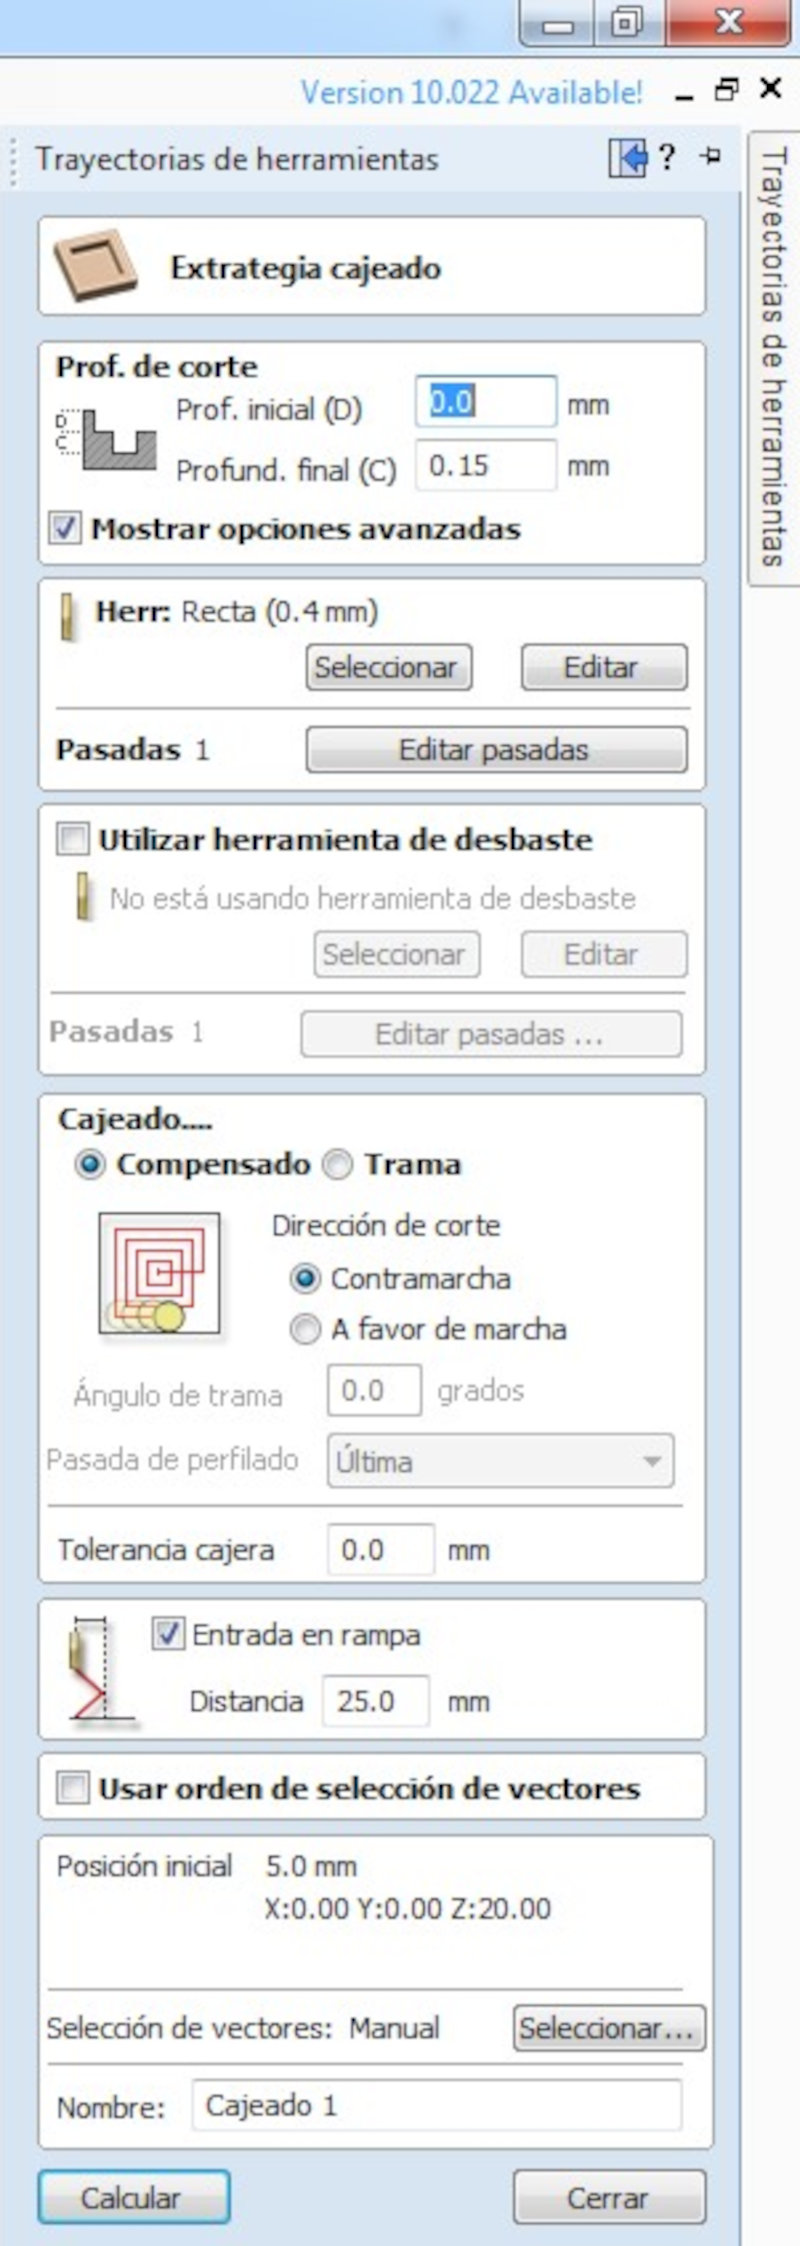
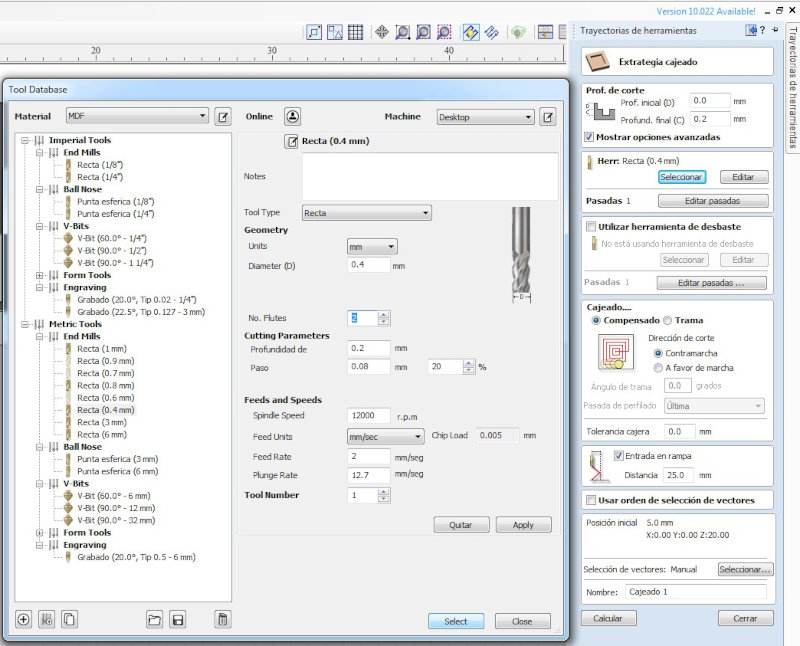
To select the tool and parameters, we have seen that in our Fablab (Sedicupct), Alvaro Macian and Lola Ojados use this same milling machine. They tested different speeds (4,3,2,0.5mm / s) and the best result was 2mm / s.
Feed speed: 2mm / s.
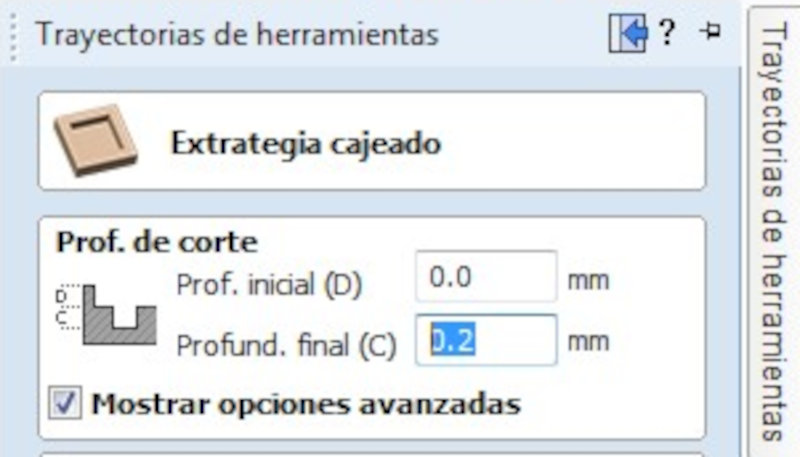
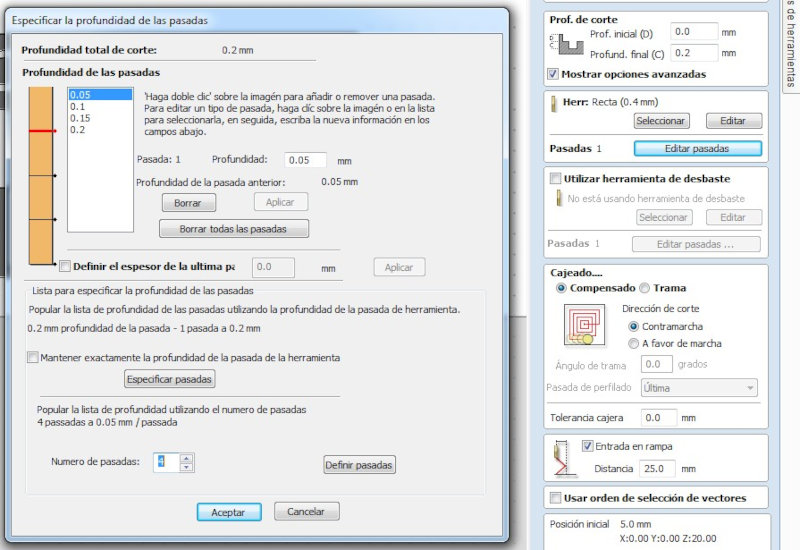
Depth of Cut: 0.2mm.
Spindle speed: 12000rpm.
Depth of Cut (Final Depth (C) = 0.2 mm.
Select Tool (0.4mm). Modify the “No. Flutes = 2 " to 1 flute, because we are test for this case a new milling bit.
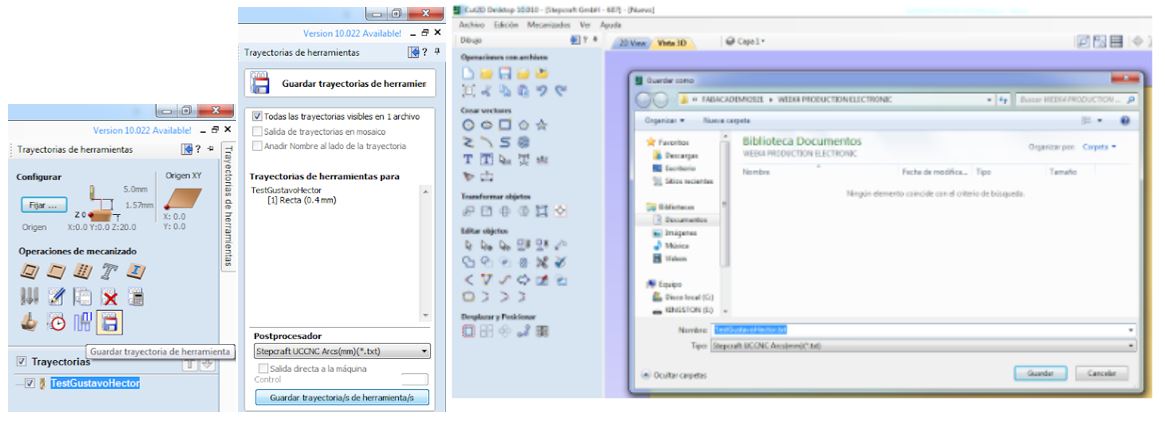
Select vector image, rename the file and Calculate the track.

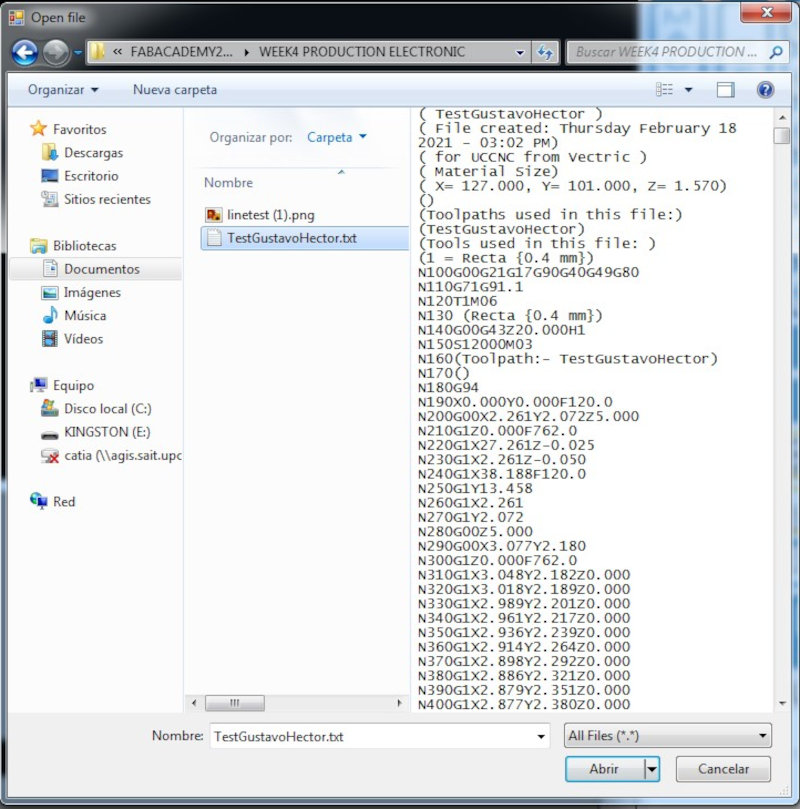
Later save the Toolpath by selecting "Save Gcode", and save the text file.
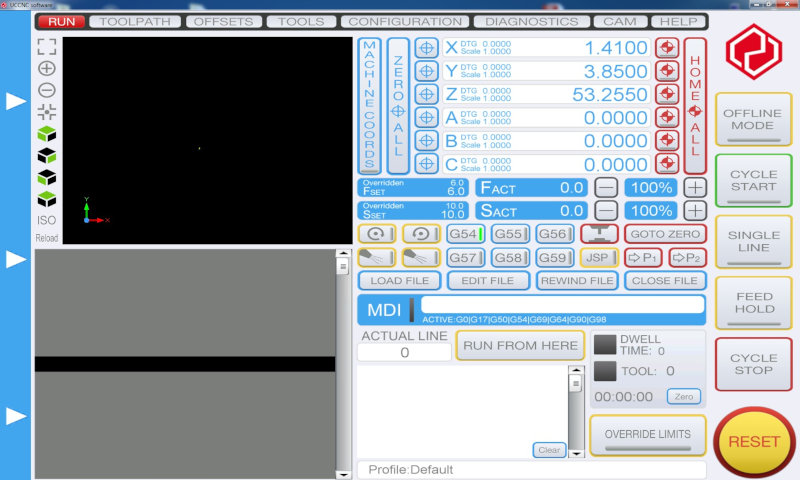
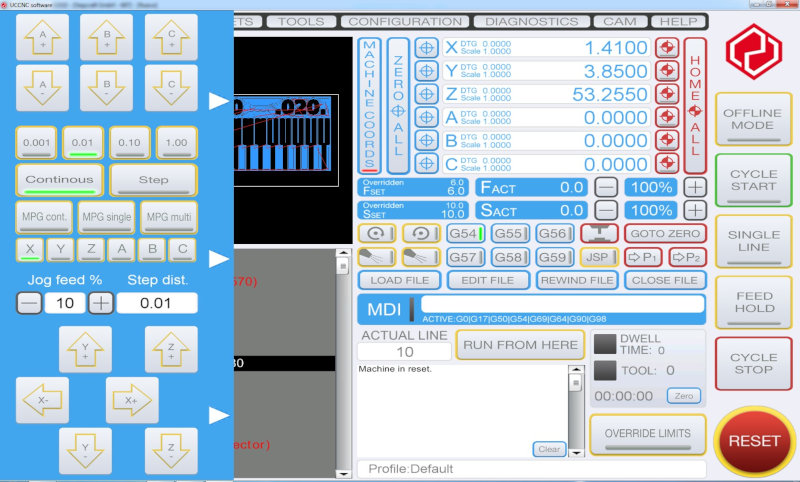
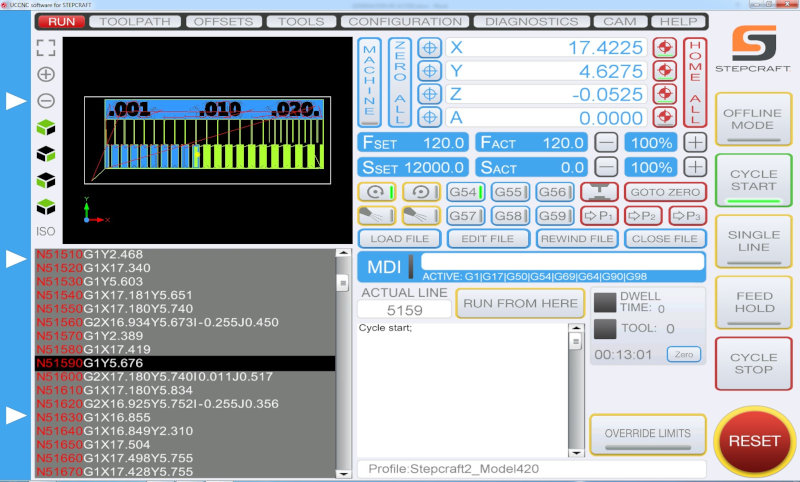
3. Using UCCNC software to use the milling machine:
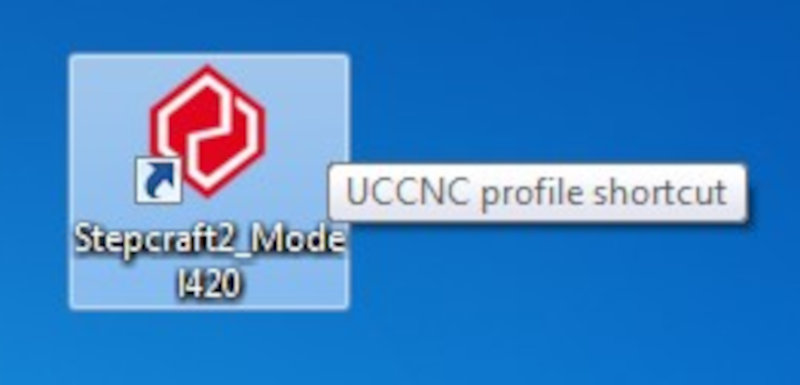
Run the UCCNC programme (It is the control software of the milling machine):
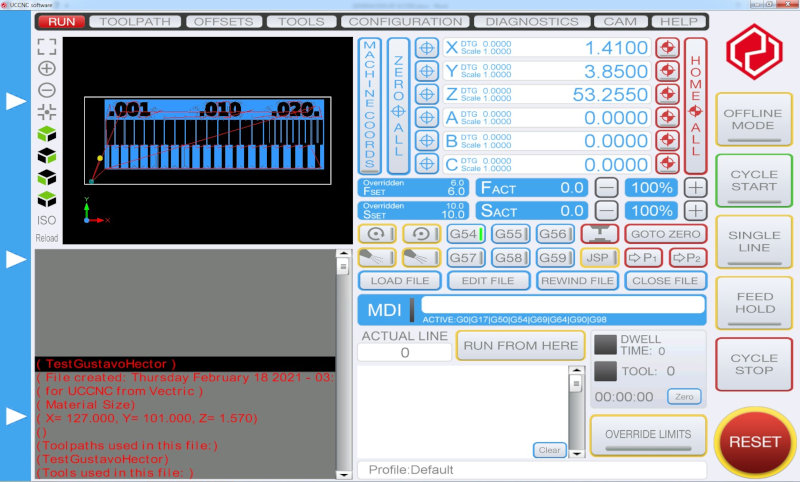
Open the gcode file (.txt) with “Load file” command.
If there is no problem, the preview will appear on the black screen.
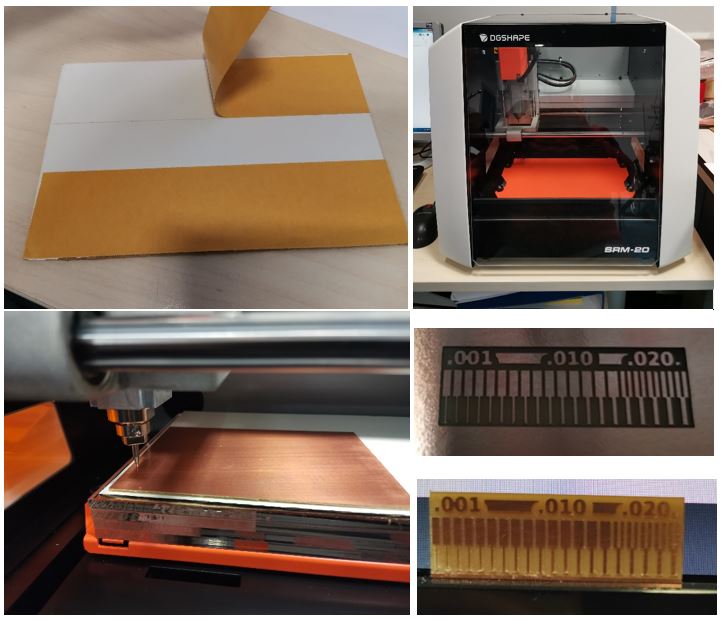
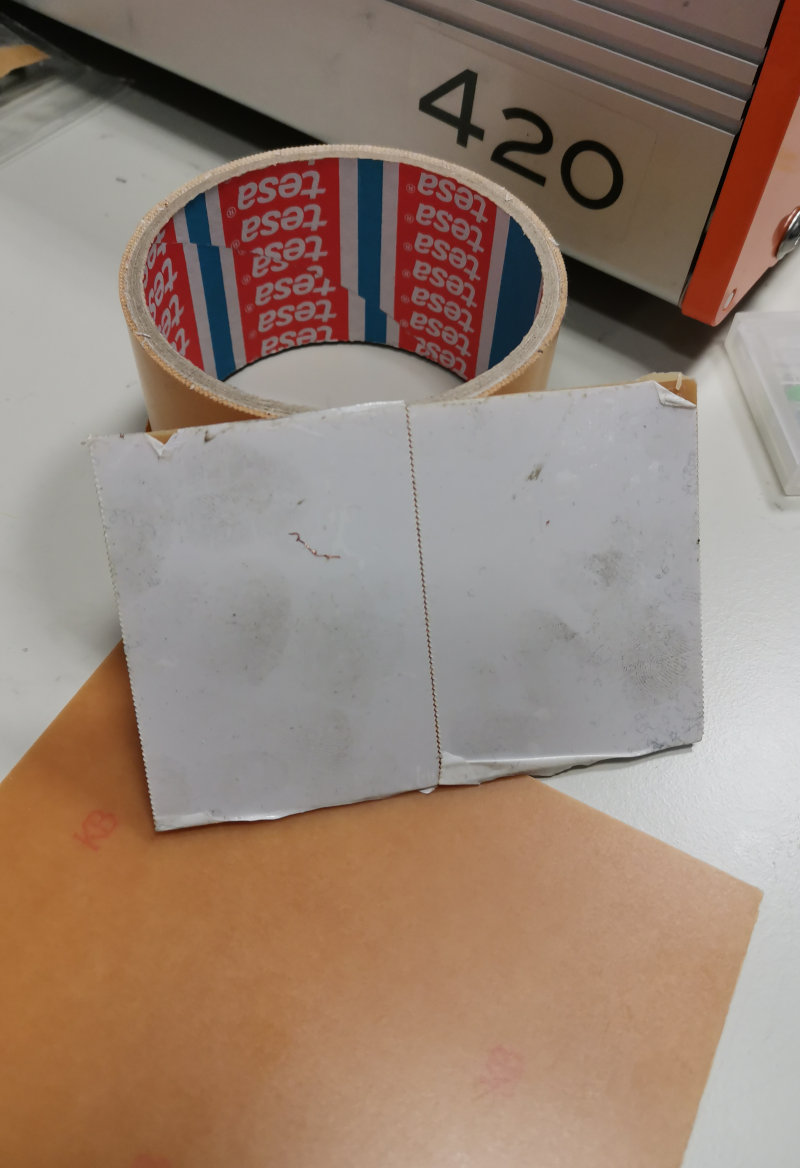
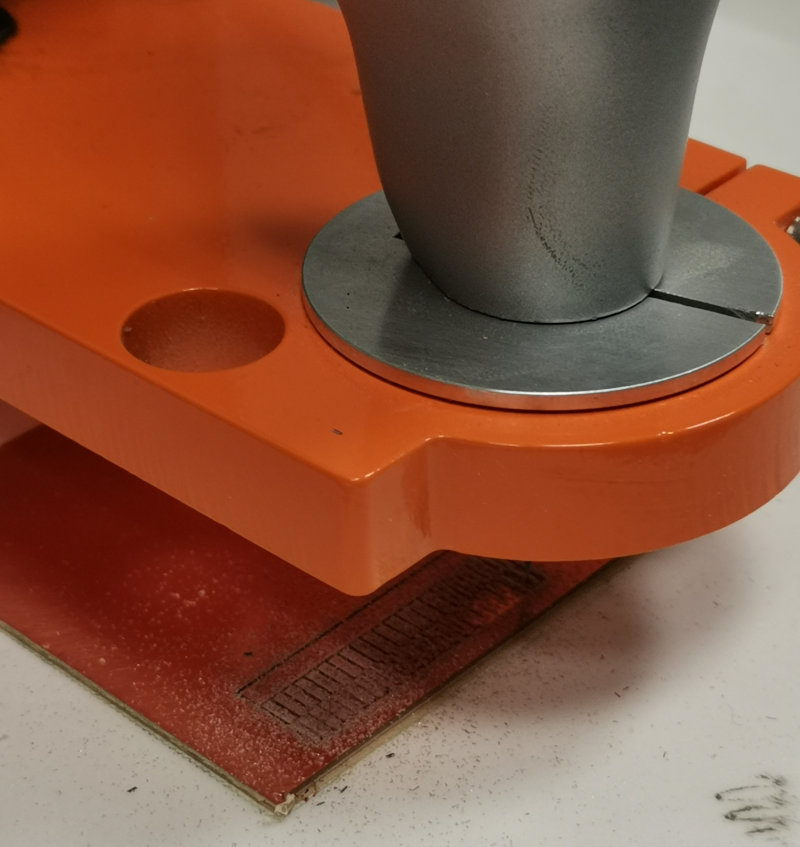
We must prepare the PCB and put double-sided tape on the copper-free side. This face will be glued onto the worktable of the milling machine. To keep it from moving.
Move the milling head manually with the left panel, or the keyboard (use the arrow keys with shift key to move faster, and repag and avpag to go up or go down the head).
*** REMEMBER: First click “RESET” and open the drop-down menu on the left panel.
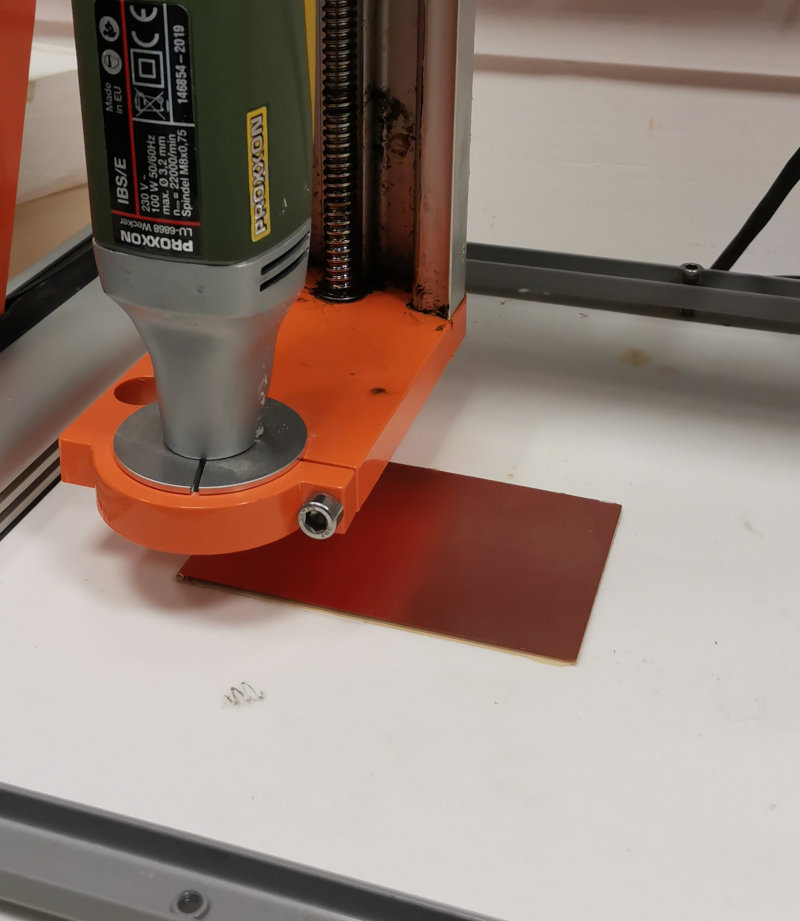
Attach the bit mill and hand tighten. Lower the head until it almost touches the surface of the PCB, loosen the thousand bit and gently drop it until it touches the PCB (use your hands so it doesn't fall off). Tighten with the wrench.
Set the zero of the Z axis. (click Z blue target)
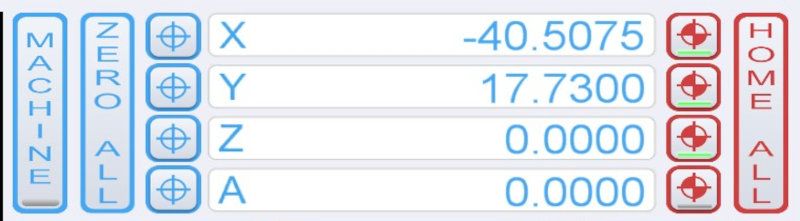
Raise the head in Z and set the x, y axis at Zero. (Click X,Y blue target)

We squeeze the bit milling.

Turn on the mototool at a speed of 12000rpm (optimal value for bit mill) and click on "CYCLE START".
The milling machine will start milling the PCB.
Later we need to change the bit milling (0.4mm) for the cutter bit milling (0.8mm). And repeat the step Z zero position before starting the cutting cycle.

Characterization of the Milling Machine,
Roland SRM-20:
Use a sacrificial material and tape it with double-sided tape.
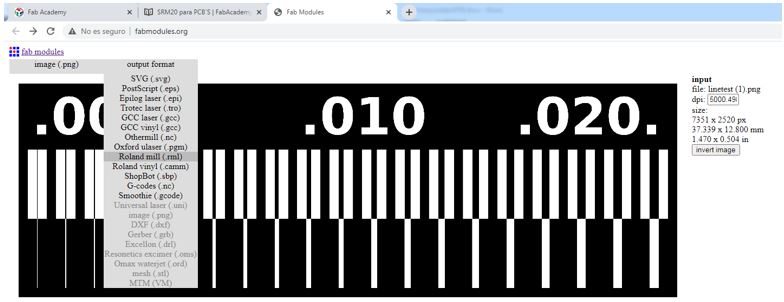
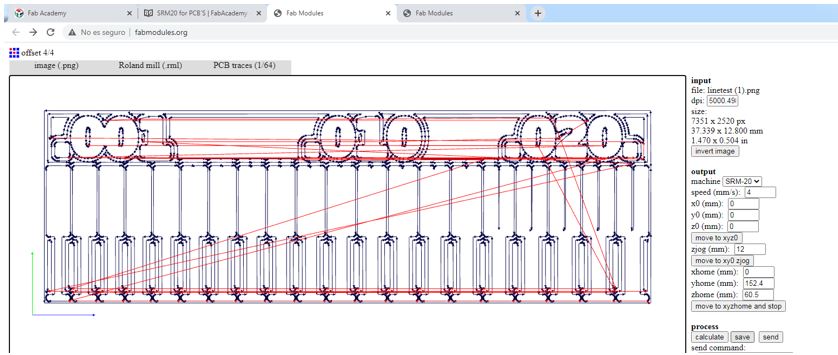
Open the fab modules http://fabmodules.org/
Select the image (.png) of traces
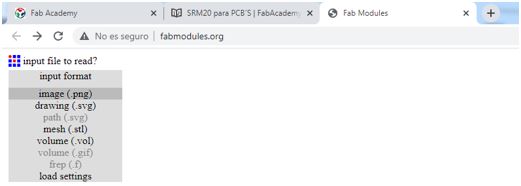
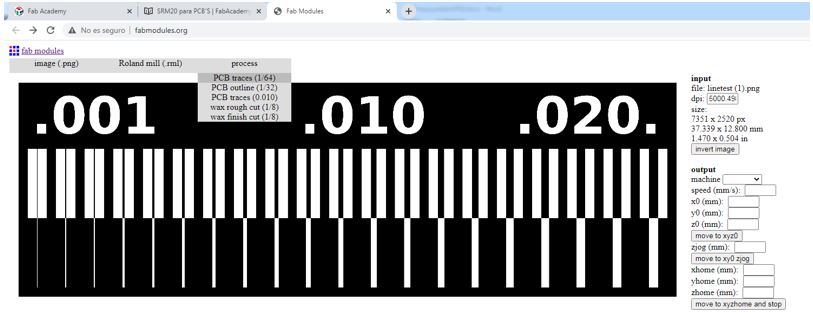
Output format (roland mill .rlm)
Process: PCB traces (1/64)
Output: SRM 20
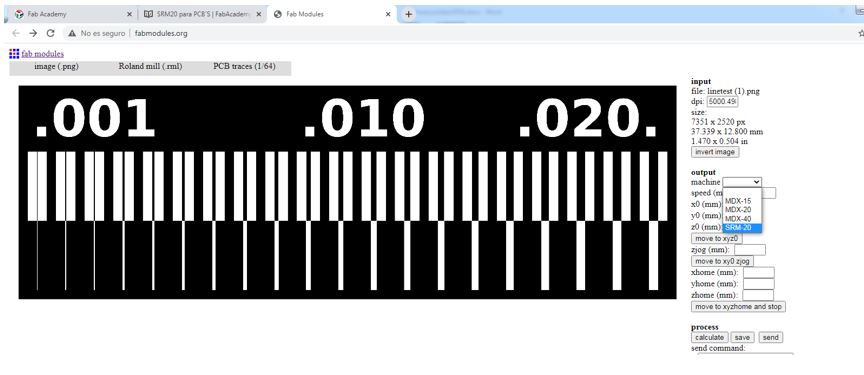
Machine - SRM-20
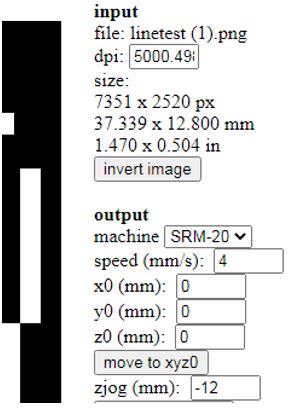
x0 (mm) - 0
y0 (mm) - 0
z0 (mm) - 0 These x0, y0, z0 are to configure an offset from the origin saved in V-Panel
zjopg - 12
Speed: 4 or 3 mm / s for new burs
x / y / x home is the home position after finishing the cut
Click on Calculate and Save
Do the same for the outline. Upload the image. Process (1/32) and speed 0.5
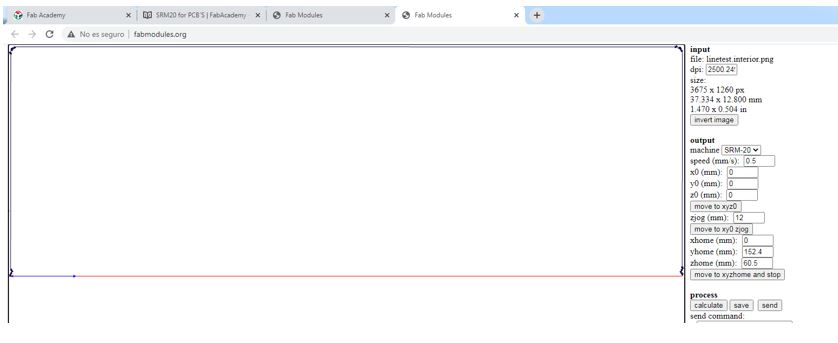
Calculate and save.
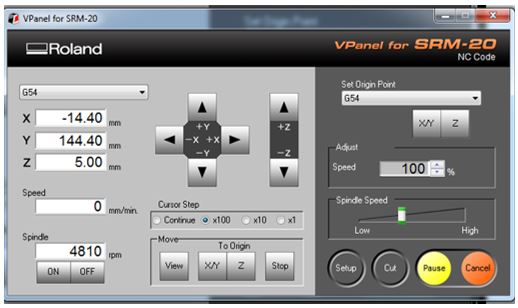
Turn on the Roland SRM-20 and the computer and open the VPanel for SRM-20.
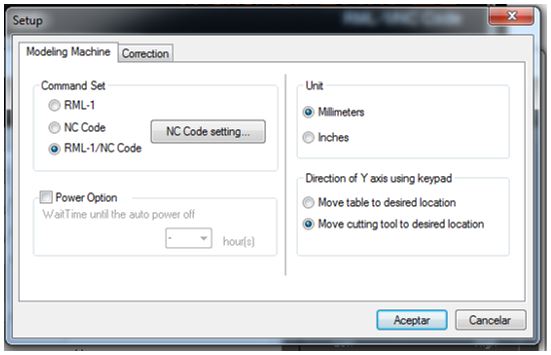
Click on "Setup". Verify that RML-1 / NC CODE and mm are selected.
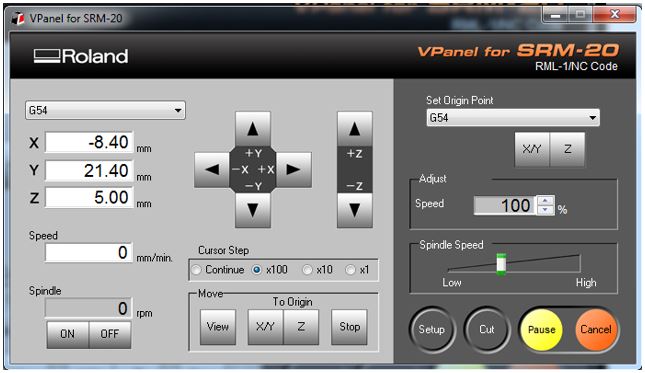
Move with the arrows the position of our origin in (x, y)